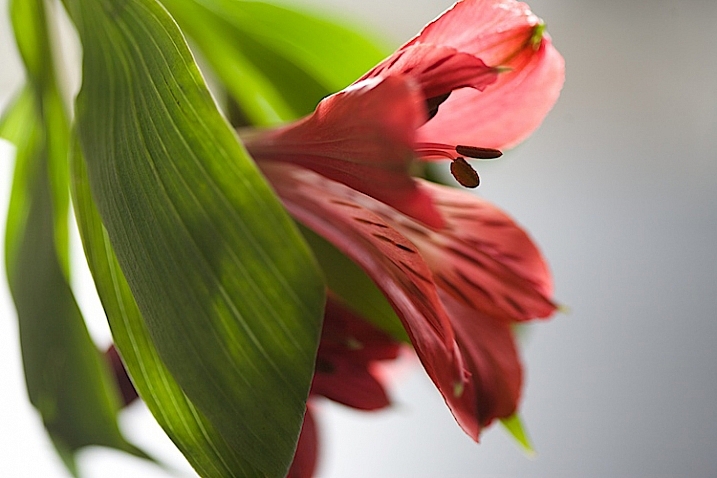
In this tutorial, I’m going to share with you some simple and inexpensive ways to create beautiful flower images. You will learn to add light by using a flashlight and a reflector. If you add in some imagination and patience, you will soon be creating gorgeous flower images of your own.
In addition, you will gain insight about seeing light, and how and recreate it on your own.
The techniques I am going to share are reminiscent of light painting and burning (from film days printing negatives), but in this tutorial we are going to take advantage of the ambient light, combined with light from flashlights to create some great effects.
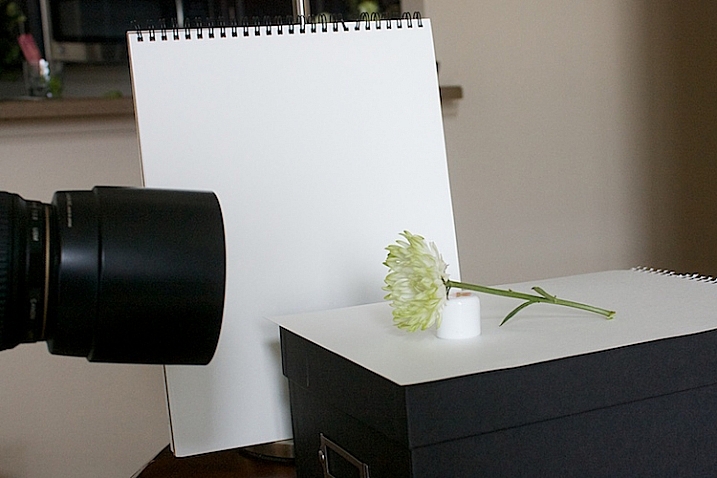
Setting up
You will need to put your camera on a tripod, and find a nice surface near some window light to photograph your flower. Set up to shoot using a shutter speed slower than 1/15th of a second, and it’s much easier if you use a cable release or use your camera’s self-timer feature.
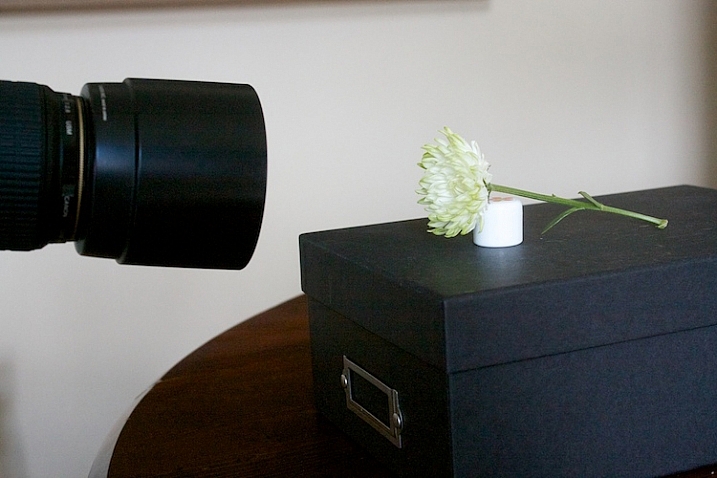
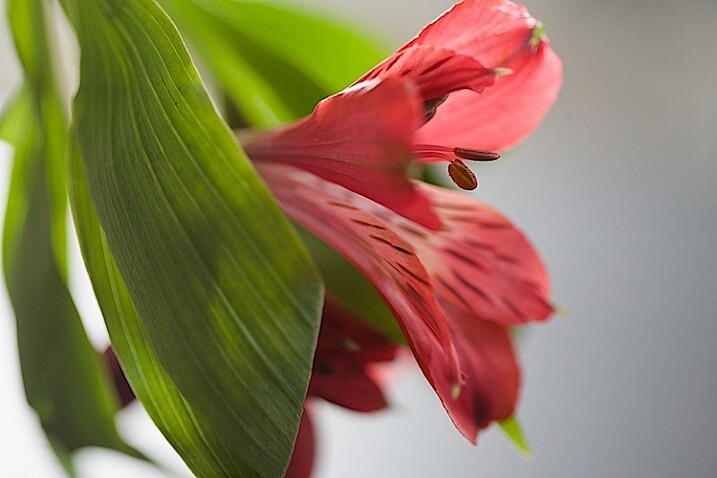
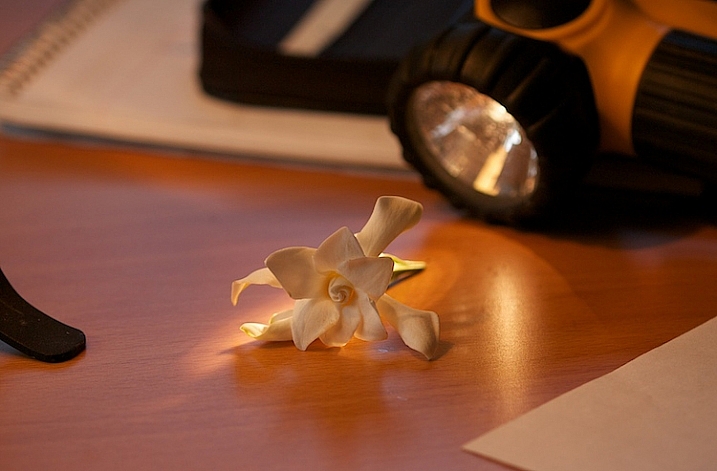
Here’s my set up, above. I chose an easy location, perpendicular to a window, providing some nice light. I used a prop to hold the flower up.
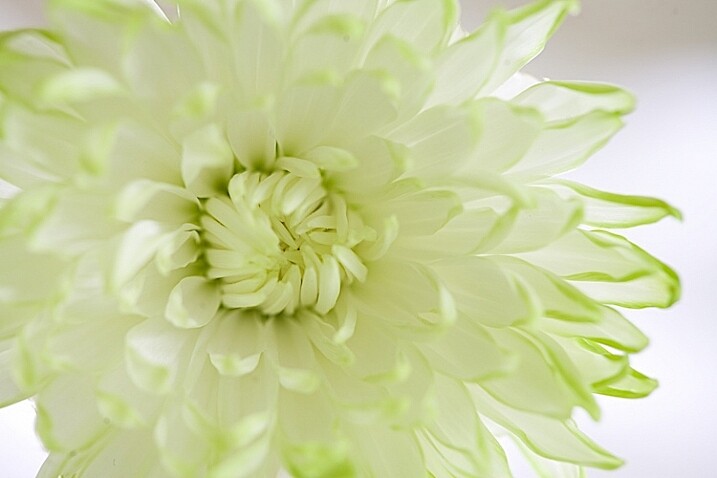
Window light only. Exposure was f/4 at 1/4.
I did a test shot, above, to determine my exposure using just ambient light. I slowed the shutter speed down just a little bit to see what results I would get.
Window light only. Exposure f/4 at 0.40 seconds.
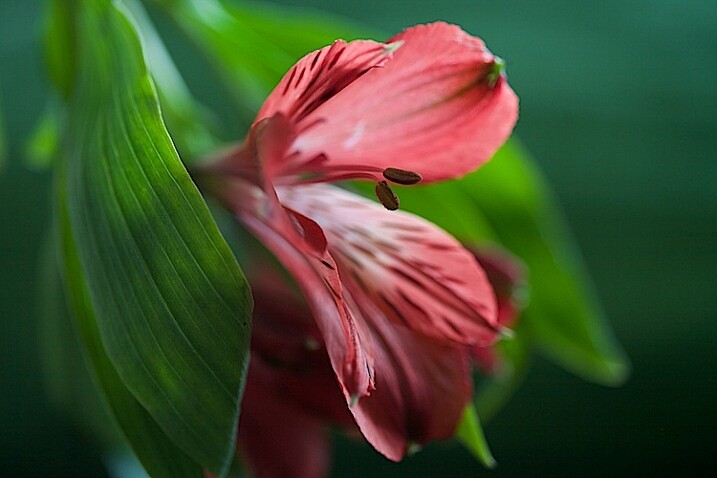
Add a reflector
It’s a little brighter at this exposure, but notice that the shadows are still quite strong.
To soften the light, I added a white fill card below, and to the side of the flower. It’s also called a reflector. Almost anything white can be used as a reflector. The idea is to fill in the shadows, and to make the light feel softer.
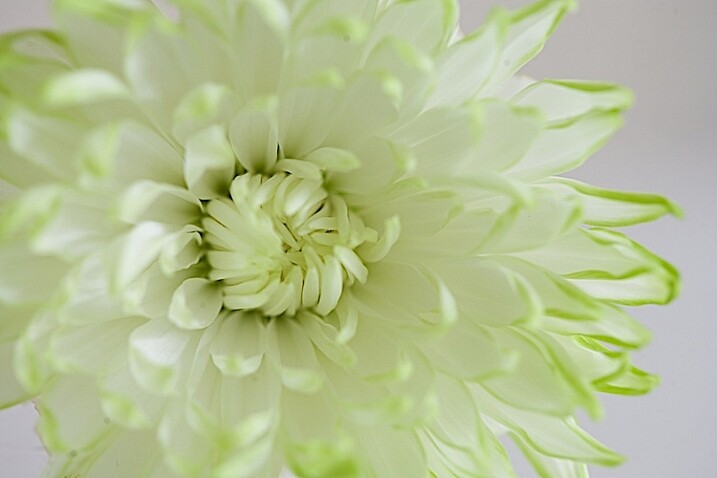
Window light with fill card. Exposure f/4 at 1/4.
This exposure above was taken with the fill cards in place. Compare it with the two above, and notice that the lightness/darkness is similar to the longer exposure. It’s pretty amazing how much light can be added to a photo just by using reflectors.
More importantly, note the quality of light. By that I mean, notice how the shadows are still present to the left of the center of the flower but are not as prominent. Also be aware of how nicely the shadows are filled in from the bottom.
Create a feeling that matches your subject
Flowers are soft. They are feminine. When we tell stories about our subject, we want to convey that feeling. One of the ways we convey feelings in photographs is in how we use light. Notice how the feel is different in the photos with the fill card and without. The second exposure feels softer and more feminine, and thus, supports the story of a feminine flower.
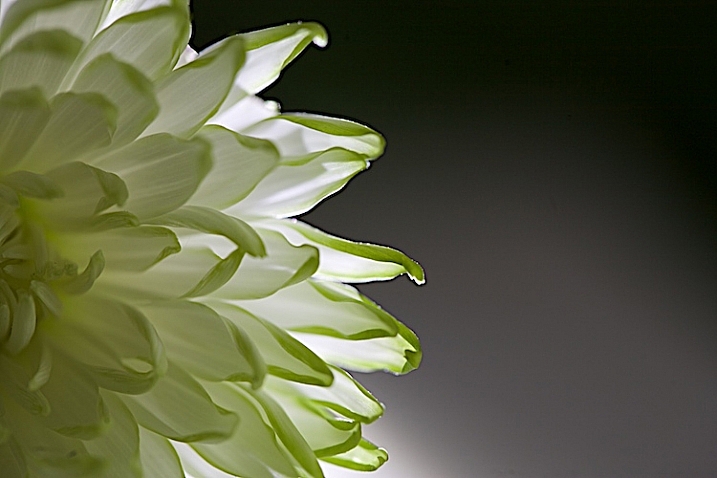
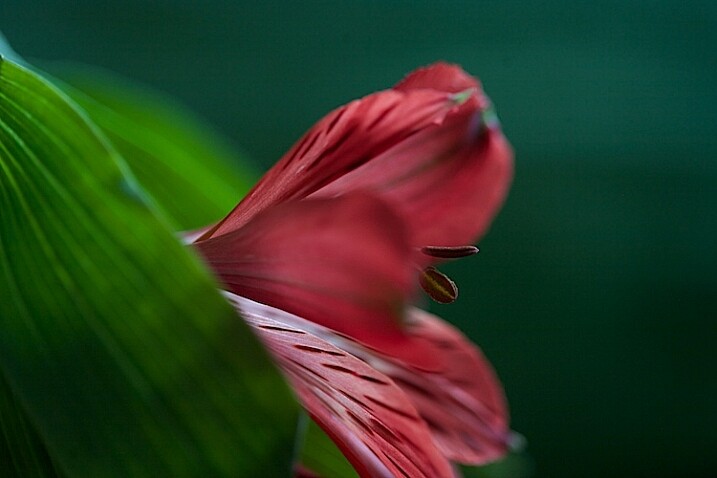
Add light from a flashlight for more drama
Now, to add a backlight with a flashlight. Make sure to position the flashlight in such a way that it doesn’t cause lens flare (the light isn’t hitting the lens directly). Make sure the light is pointing entirely at the flower, and not reaching your camera lens.

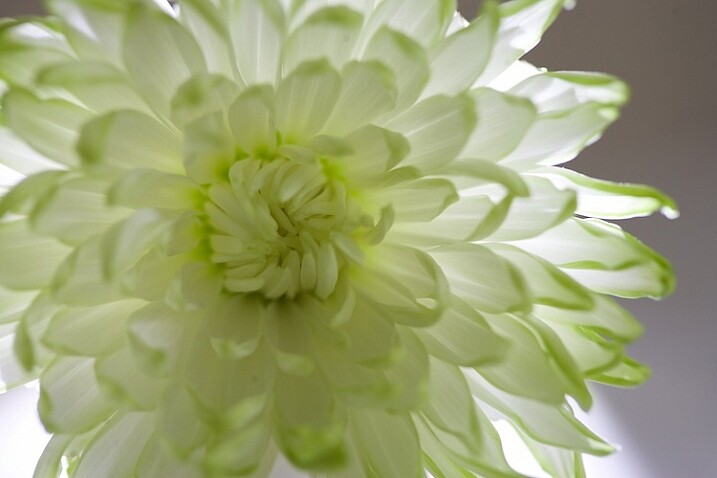
Flashlight with backlight, no fill cards or reflectors. Exposure f/4 at 1/4.
This is with a strong backlight. Notice how dark the center of the flower seems.
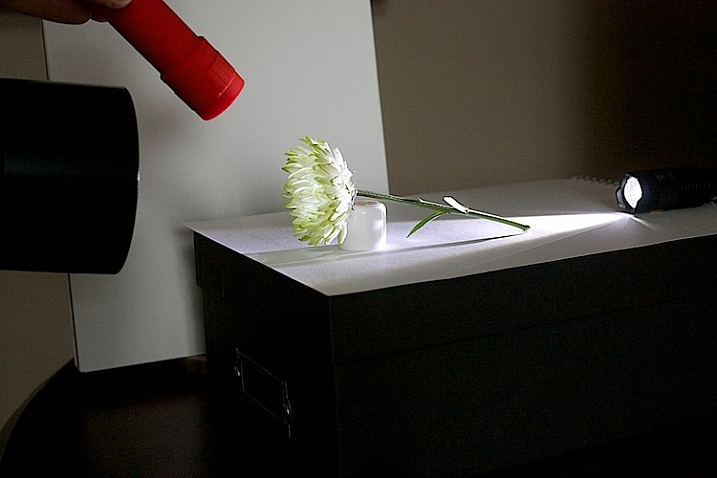
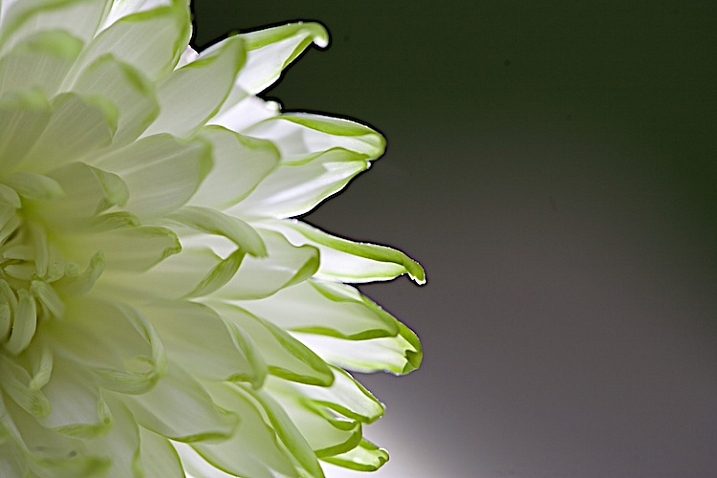
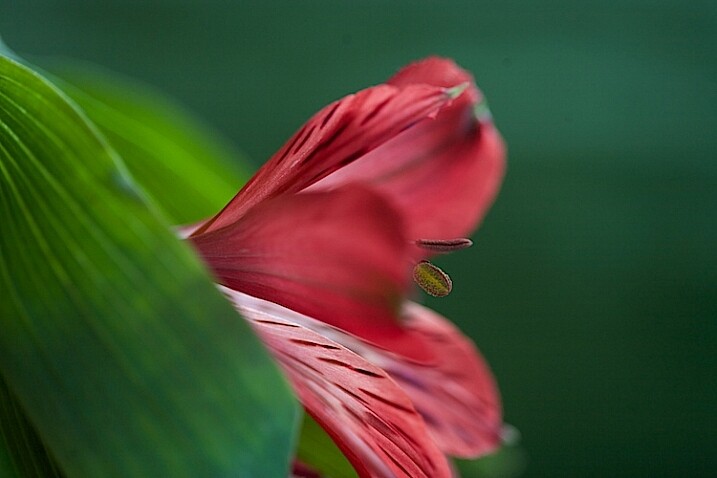
We can use a second light to fill in the center of the flower. I recommend using a slower shutter speed, 1/15th or less, and moving the flashlight while the exposure is made. If you don’t move the light, it will appear too strong and create harsh shadows.
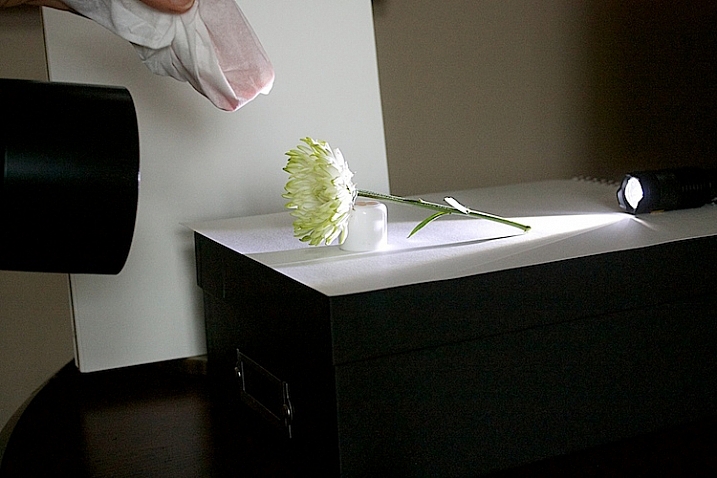
If the light appears too strong and too direct, use a diffuser over your flashlight. I used a kleenex to soften the light.
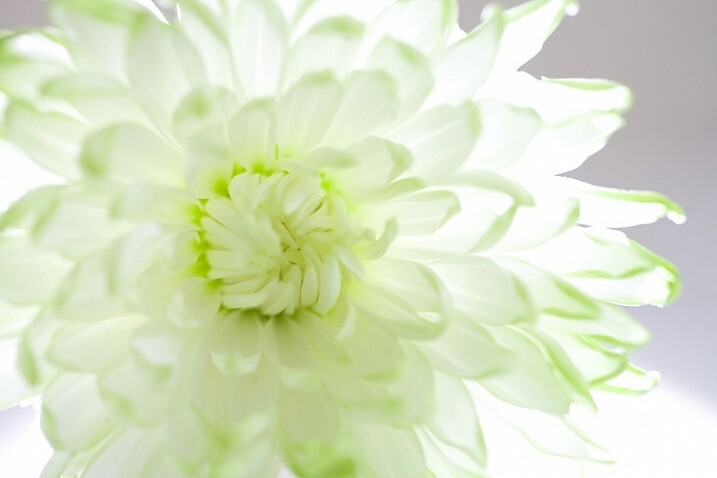
Flashlight as a backlight, with a second flashlight as a fill light in the front. Exposure f/4 at 1/4.
How does this feel to you now? Notice how I brought the exposure of center of the flower up, just by doing a little light painting. If you ever worked in a darkroom, you will notice this is similar to manipulating an image in an enlarger called, burning, but we are doing it live at the capture stage.
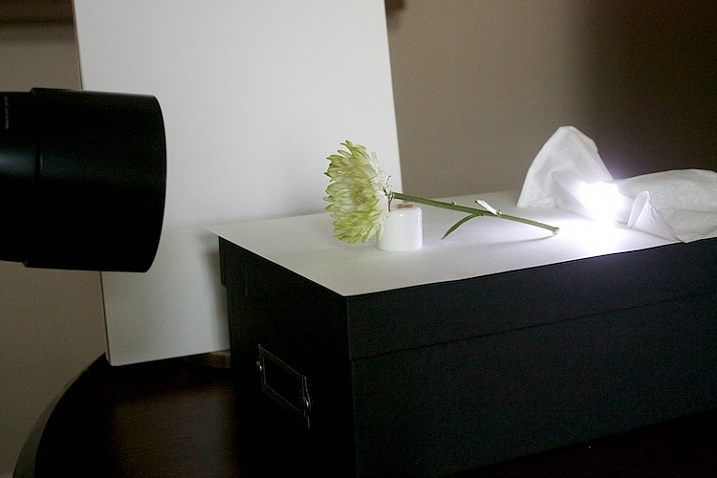
Let’s see what our flower looks like with a backlight that isn’t as strong. I used a kleenex diffuser on the flashlight in the back.
Using a softer backlight by diffusing with tissue.
Can you see how much softer the backlight is?
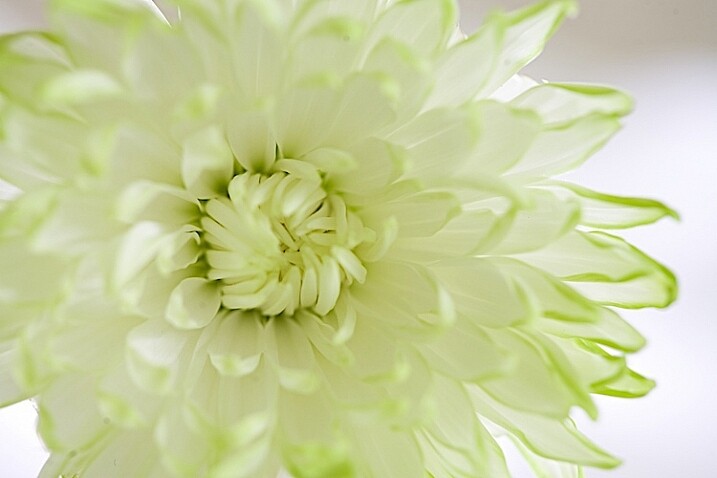
In this image, I added a little bit of fill with a flashlight and kleenex diffuser.
This is very, very subtle. But move your eye back and forth between the two. Can you see the one directly above is a little bit softer? The difference isn’t huge on a computer screen, but makes a big difference in a large print.
Get creative with light and composition
At this point, it’s time to get creative with your framing and play with light.
In composition, you want to decide what your center of interest is in the photograph, and draw the eye to that point. Notice how dark the center of the flower is in the top image, so let’s add some fill.
The center of the flower is lighter now (above). Which image do you like better?
Notice the stamen of the flower above. Can you see it’s just a black blob? What happens when we add just a little bit of fill with a flashlight?
The center of interest becomes more pronounced.
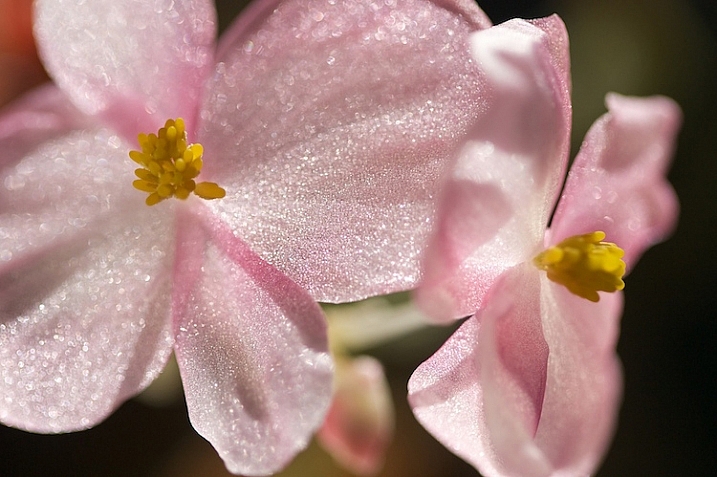
Let’s try another one.
Dark stamen.

A little bit of fill.
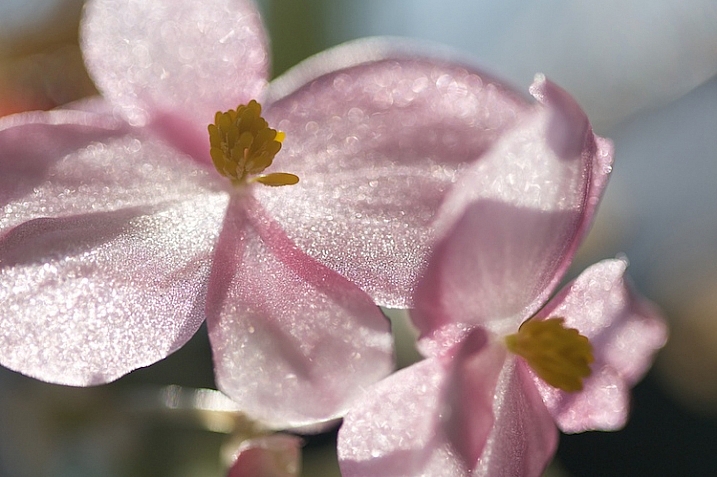
A new angle with no fill.
A little bit of fill light, highlighting the center of interest.
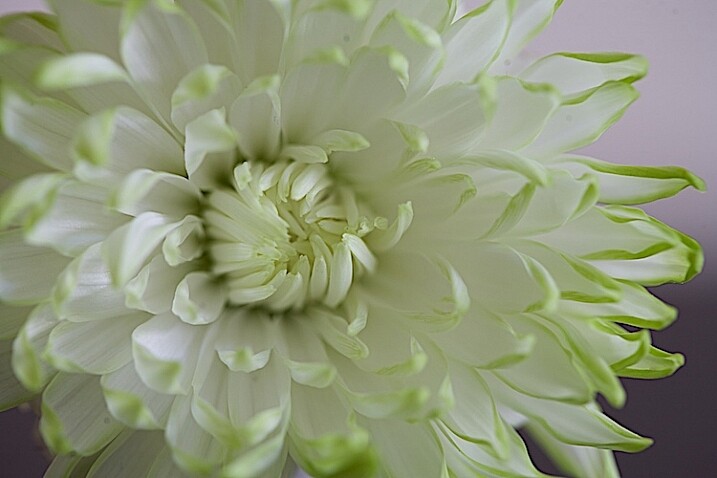
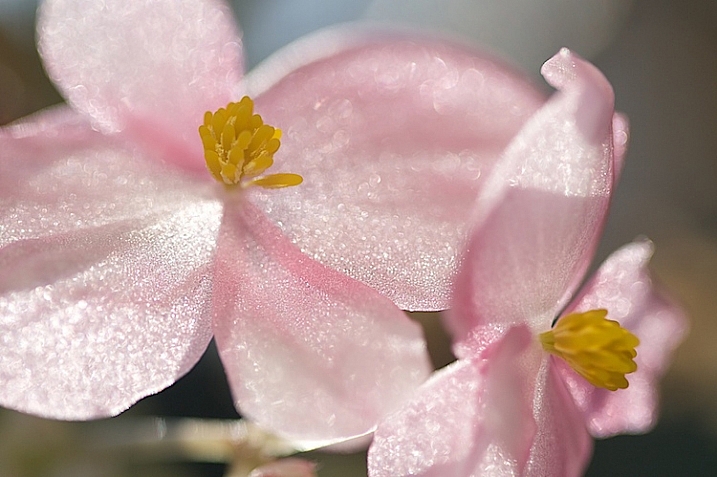
A few more examples
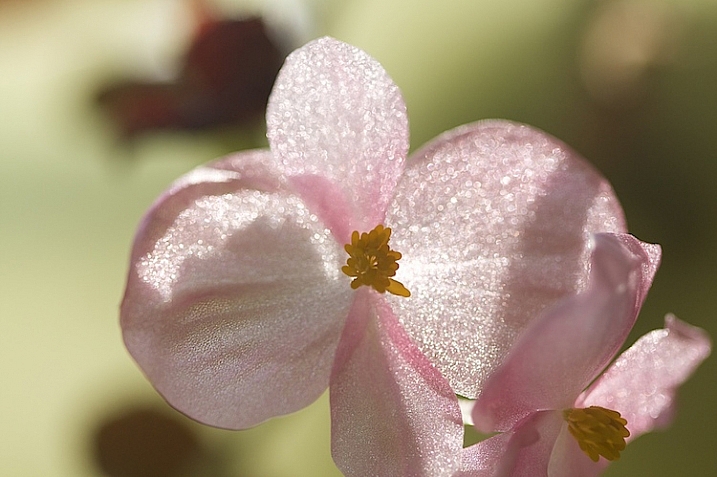
Let’s go back to this simple lighting setup.
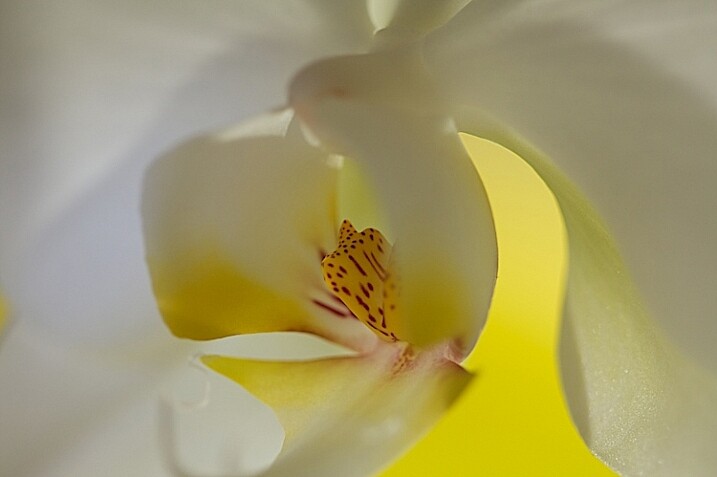
I used this setup on several different kinds of flower and I likde this white rose the best.
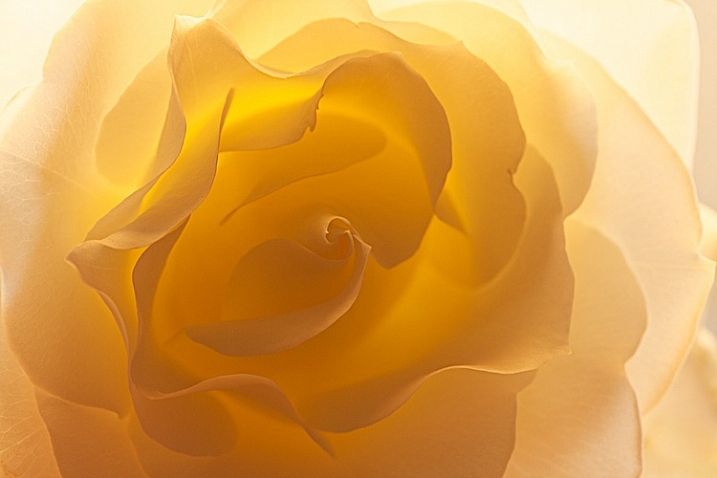
Can you see the beautiful light and how translucent the rose looks?
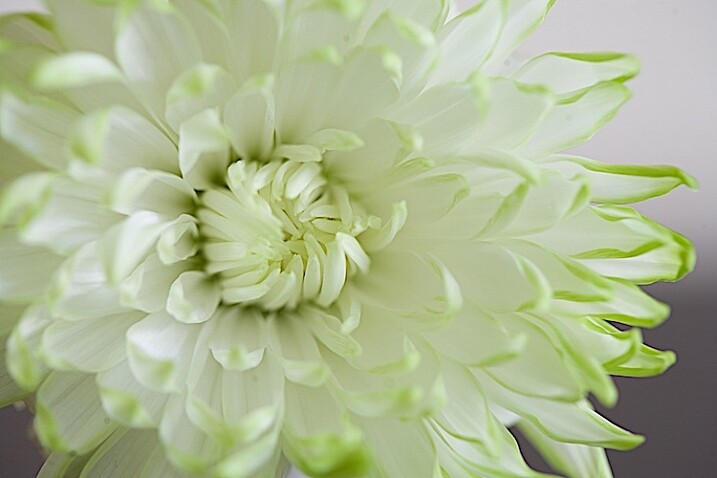
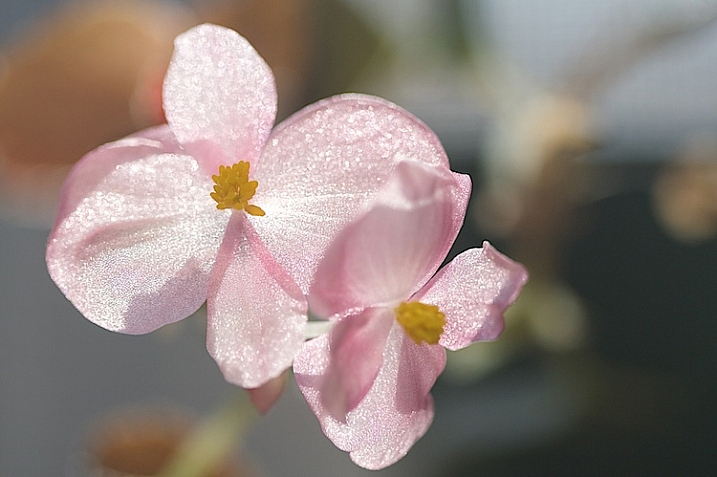
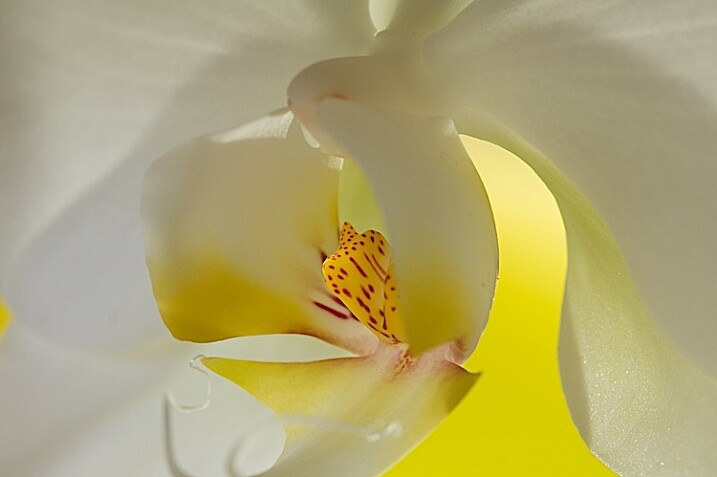
I like the overall feel to the image, however, there is a lot of contrast between the center of the flower and the outer petals. You want your viewer’s eye to go toward the center of interest, which is the middle of the flower, so I placed a reflector right in front of the flower.
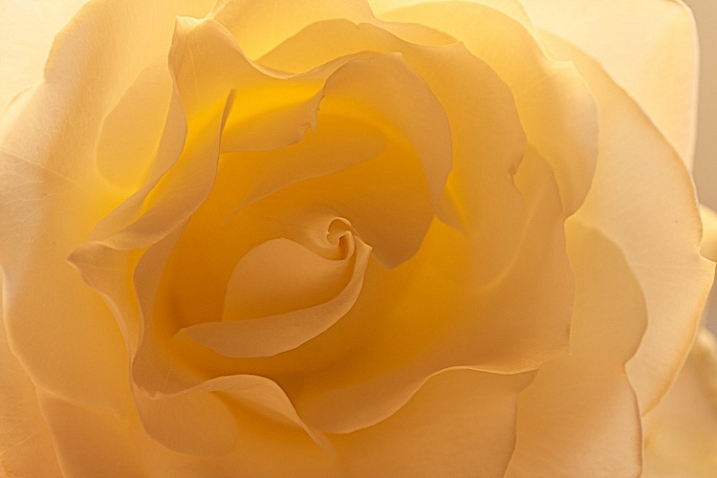
You can see how the light reflects back in, and brightens up center of the flower. I also like this frame better because it feels softer.
This technique can work outdoors, too. Just use your reflector and your flashlight, and see what works.
There is no right or wrong when deciding where to put your light, but it’s usually best not to shine your main light from the camera angle. In this photo, the light is to the right and it feels to harsh to me. There are strong shadows on the flower that don’t add to the feel of the photograph. I moved myself in order to move the position of the light source, the sun.
I added a fill card, and see how the stamen starts to stand out. This is much better, but I decided to play with camera angles to see what that would look like.
I liked this better, especially how the light created patterns on the petals of the flower, but I wanted my interest in the center of the flower. It still just seemed to dark.
In the photo above, I used a reflector to fill in the shadows and used my flashlight to add a little bit of light.
Then, I changed the angle just a little bit. This is with no fill (above).
Here is the same flower with a reflector and flashlight filling in the dark areas.
There is no science to this. It’s all about playing to see what works. Here are a few more example that I shot, these images have no corrections. They are straight from the camera to help you see my process better.
Without a fill.
With a fill.
This final photo used several reflectors, as well as using a flashlight in the center of the flower.
Now you have some great tips, and inspiration to create a gorgeous floral photo of your own. You’ve seen how you can use simple fill cards to add light and soften an image. You’ve learned how light impacts the story you are telling, and you’ve learned how a simple flashlight or two, plus a kleenex, can take your photos to a new level.
Let’s see your floral photos, please share in the comments below.
googletag.cmd.push(function() {
tablet_slots.push( googletag.defineSlot( “/1005424/_dPSv4_tab-all-article-bottom_(300×250)”, [300, 250], “pb-ad-78623” ).addService( googletag.pubads() ) ); } );
googletag.cmd.push(function() {
mobile_slots.push( googletag.defineSlot( “/1005424/_dPSv4_mob-all-article-bottom_(300×250)”, [300, 250], “pb-ad-78158” ).addService( googletag.pubads() ) ); } );
The post How to Create Gorgeous Flower Images using a Flashlight and a Reflector by Vickie Lewis appeared first on Digital Photography School.

Digital Photography School


You must be logged in to post a comment.