If you’re like me, it’s so easy to get focused on trying to take great shots that you forgot to make sure your images are straight, and not crooked. Not some crazy tilt, mind you – just a slight tilt. So slight that when you notice it in your images, it just looks weird. A more dramatic tilt and we’ll just call it art. But this slight tilt is just enough to drive you crazy and cost us a lot of extra time editing your images.
Well I am here to report that I have found a quick and easy way to fix this tilt fast using Lightroom. So easy, that you can even automate it so that Lightroom fixes it for you.
So if this tip interests you, keep reading to find out how:

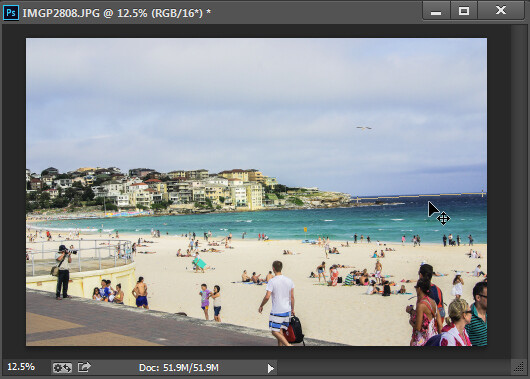
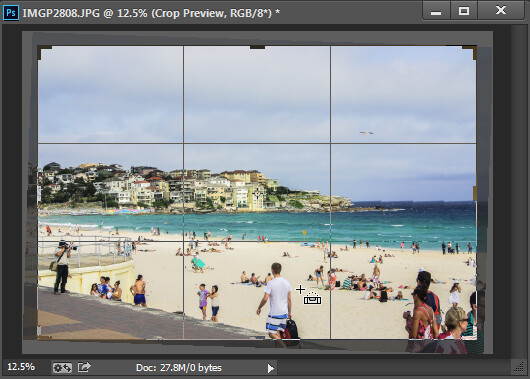
Take a look at the image above. Good shot, right? Photographically I think I did well with the image, but it’s crooked! I can’t give this image to my client like this, it needs to be straightened first.
Lens Corrections Panel
Beginning with Lightroom version 5 the Basic tab was introduced inside of the Lens Corrections panel. This tab gives you the easy to use Upright Mode buttons, which are powerful tools used to fix perspective issues with your images. The perspective issue that I always seem to be dealing with is crooked images.

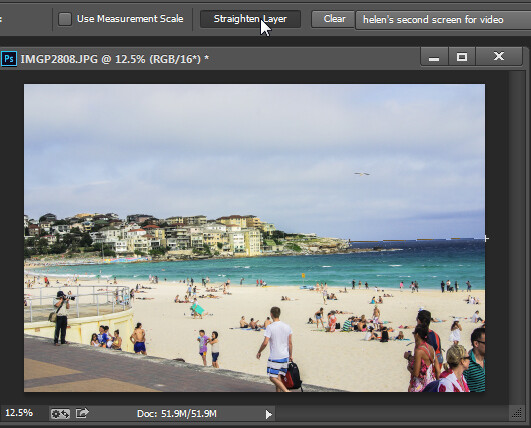
There are several Upright Mode buttons, but the one I want to show you in this article is the Level button. When clicked, this button works to straighten your images based on the lines present inside them. Obviously if there are no strong vertical or horizontal lines in the image, this button won’t work. But if there aren’t strong lines, who’s to say it’s crooked in the first place, right?
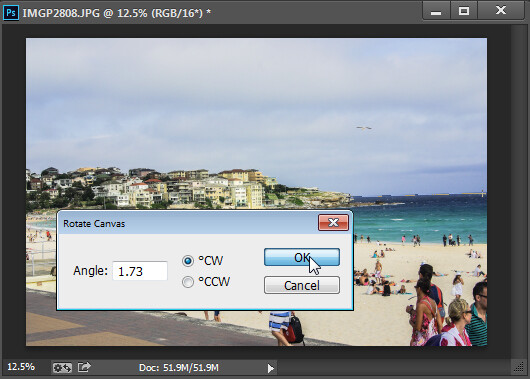
Images appear crooked to our eyes because of the strong lines within an image, therefore the Level button works great at straightening those images quickly, without much difficulty. Instead of going into the crop tool and manually rotating the image slightly to straighten it, I can go to the Lens Corrections Panel instead and click the level button to straighten this image very quickly.
I also like to have the Enable Profile Corrections check box checked as well as the Constrain Crop check box. These make sure Lightroom is straightening with as much information as possible.

Automating Your Upright Adjustments
Now here is the trick. When done properly, you can create a Lightroom preset, or sync your Level adjustment across any number of images, and have Lightroom analyze and adjust each image independently based on each image’s needs and requirements.
What this means is you can have Lightroom straighten all of your crooked images with the click of a couple of buttons!
Syncing
In the Sync dialog box under Lens Corrections check box, there are three check boxes you want to be concerned with: Upright Mode, Upright Transforms and Transform.

These three boxes determine how Lightroom is going to handle your straightening – whether to analyze each image independently or simply copy the same settings from one image to the next.
If all three are checked, Lightroom will simply apply the same setting to all of the images, something you do not want because each image requires specific straightening based on its own lines. You’ll notice that Upright Mode is grayed out, telling you that it isn’t active.

To do what you want, which is to have Lightroom analyze each image independently and straighten it based in its own needs, you want to ONLY have a check mark in the Upright Mode box. The other two are left blank (see below).

By doing it this way, Lightroom will fix your crooked images, according to the amount of straightening that each image specifically needs.
How cool is that?
Take a look at the images below. I took many shots in a sequence of the couple walking, and I want to straighten each one individually. Before learning this technique, I had to straighten each image individually – but not anymore.

Once I fix the first image using the Level button in the Lens Corrections panel, I can then sync the Upright Mode across all of the other crooked images, and each will be analyzed and fixed according to what it needs (even if they are all different amounts).

Look at that. All of my images were fixed with a few clicks. I don’t want to belabor the point here, but I constantly shoot crooked and this little trick saves me hours of tedious straightening over the course of a year.
Making a LR Preset
You can also automate this process by creating preset. You do this by first straightening an image with the Level button found in the Lens Corrections panel of the Develop Module.
Then, at the top of Presets panel clicking the (+) plus button to create a new LR preset.

This will bring up the New Develop Preset dialog box where you choose which settings you want in your preset, the folder you want to store it in, and what name you want to give it. Name your preset something that you will remember, put checkmarks in the Upright Mode checkbox and the Lens Profile Corrections checkbox and hit Create.

Now, when you have crooked images you can hit this preset and almost magically, your images will be straightened compared to the strong lines in the image.

Give it a shot, I think you will find yourself using this technique quite often to straighten your images quickly.


googletag.cmd.push(function() {
tablet_slots.push( googletag.defineSlot( “/1005424/_dPSv4_tab-all-article-bottom_(300×250)”, [300, 250], “pb-ad-78623” ).addService( googletag.pubads() ) ); } );
googletag.cmd.push(function() {
mobile_slots.push( googletag.defineSlot( “/1005424/_dPSv4_mob-all-article-bottom_(300×250)”, [300, 250], “pb-ad-78158” ).addService( googletag.pubads() ) ); } );
The post How to Straighten Crooked Images Fast Using Lightroom by Kelly David Sansom appeared first on Digital Photography School.


You must be logged in to post a comment.