The noble pursuit of street photography requires a good measure of cunning and bravado. Of course, there is the ever present hurdle of luck and opportunity. Beyond knowing your streets, their patterns and ad hoc events, getting that wonderful shot is a guessing game.
When you are in the right place and you see the converging paths that will result in a great decisive moment, you need to be able to capture the scene. This can be learned and practised. Here are some practical tips to help you build your street photography confidence.
I feel like I’m wearing a sign that says, “Look everyone, a street photographer!”
I know what you mean. When I first started out, doing street photography, I was so focused on seizing photo opportunities I could see people staring back at me. On numerous occasions people I spotted as a potential photo saw me and moved away. Market vendors are deeply suspicious and, even now, I still get glared at.
I quickly realized I was missing shots because I was looking conspicuous and acting a bit weird. That slow purposeful walking and excessive bobble headed looking, then stopping and staring for longer than normal people stop and stare. Very conspicuous.
What changed?
Tourists. London is a tourism mecca and even on week days, the capital is buzzing with visitors from all corners of the globe. I take quite a lot of photos of tourists but, when I don’t want them in my shot, they can be quite annoying. In fact, tourists annoy everyone as they parade through other peoples’ photos with no remorse. Here’s the real value though. While people are irritated with tourists being in their way, they are also tolerated. Others, particularly locals, don’t shy away from their business. They jostle through the visitor throng, or continue their conversations. Tourists are, for the most part, ignored!
This was a great revelation for me and, as a street photographer, I decided to be just like a tourist.
Don’t look conspicuous
Dress casually and for walking
Check the weather and wear layers for the best and worst of the predicted forecast. I would steer clear of photographer jackets and other ‘practical’ photographer clothing. Think tourist: jeans, sweaters, hoodies, etc. I’ve tried a street photo walk in a three piece suit after a morning meeting. Don’t wear a suit either!
Personally, I recommend a small camera
Before you all jump to berate me, this is my recommendation for being inconspicuous as a street photographer. I used to walk the streets with a 1D Mark IIn and a 50mm f/1.2L lens. An extraordinarily capable camera with a decent fast lens. More often than not, the people I paused to photograph would see this camera and curtly move aside because the professional wants to take a photo and we’re in the way. And the shutter! On a train, I would stealthily raise this camera and fire off a shot. The looks I would get from people being loudly ‘papped’!
Use the neck strap on your camera
Raising a camera from your side to your face could be enough to be seen. With your camera around your neck, raising it to your eye is much less apparent. Of course, you can point your body and shoot ‘from the hip’ without moving the camera.
Carry a small bag or backpack
I take a spare battery, SD card, lens cleaner pen, business cards and a waterproof bag. That’s all, for the entire day’s shooting.
You don’t need a tripod.
Now step forth and be bold
So now you look pretty much like a stereotypical tourist with a camera, how do you act like one?!
Tourists look around a lot and walk slowly, but casually, taking in the scenery. As an exercise, try putting your camera in its bag and just walk around taking in the location. Can you still carry off that casual saunter with your camera in your hand or around your neck?
The second tip, and equally as important as the first, is to look through people rather than at them. Tourists look at the scenery and other people are simply obscuring their view. People will quickly realise they are not the focus of your attention if you are looking past them to what is behind them. It will take a while, but you’ll become practised with seeing a potential photo whilst still looking nonchalant.
Personally, I shoot with a rangefinder. Most of my shots are from around 15 feet away, so I leave my lens focused at that distance for quick response captures, like when someone walks toward you.
Otherwise I will focus for distance and then frame the shot. The trick here is to focus on another object which is the same distance as your subject. Then turn to your subject and shoot. You have minimized the time you are gazing at them by focusing elsewhere.
Street Portraits
Occasionally I will see someone who would make a great street portrait. I carry business cards around and this supports my brand as a street photographer. It’s this that gives me that needed boost to actually approach someone.
Be bold and polite and, this is imperative, know how you want them to pose. You have one chance to get them in position, after all, they’re doing you a favour.
As I approach the person I might say, “Hi, I really like your outfit/tattoo/hair/etc and I wondered if I can take your portrait?”
Take one shot. Check composition on your LCD. Take one more if necessary.
This is where I thank them and hand over a business card. I explain I’m a street photographer and point out my web site so they can go find their picture. This post photo exchange makes me feel less of an intruder and, hopefully, they are not fazed by the two minute distraction either.
Final thoughts
Hopefully these small tips will help you take street pictures while getting over the nervousness of simply trying to take photos. Through practice and experience, you will learn how people react and what you can get away with.
I don’t like to invade the intimate privacy of people or chase them down or ask them to walk back along the route I liked, so I do have a line I won’t cross, but I don’t miss a shot through lack of confidence.
Good luck!
The post Practical Tips To Build Your Street Photography Confidence by Michael Walker-Toye appeared first on Digital Photography School.

Digital Photography School


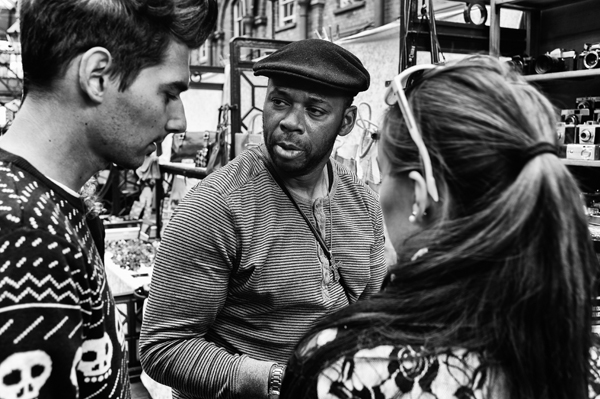
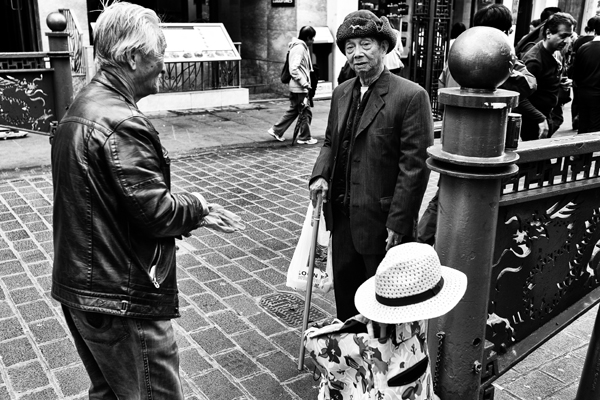
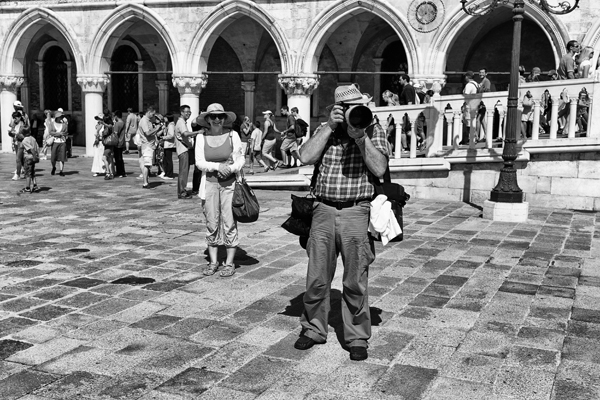
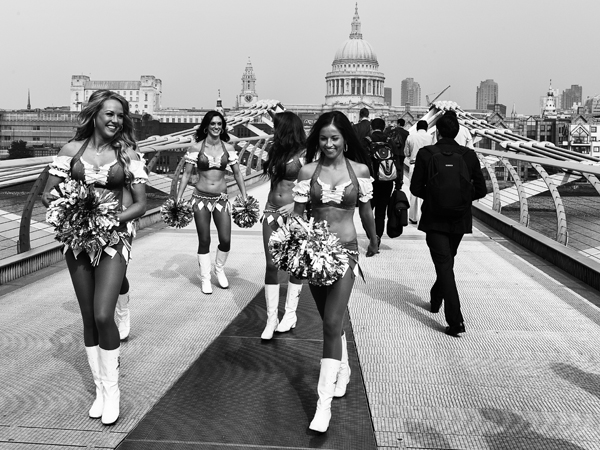
 Extra photos for bloggers: 1, 2, 3


 secure the frame.


You must be logged in to post a comment.