RSS
 

Posts Tagged ‘Afraid’

Don’t Be Afraid to Say These Things to Your Photography Clients

11 Jan

The post Don’t Be Afraid to Say These Things to Your Photography Clients appeared first on Digital Photography School. It was authored by Simon Ringsmuth.

say-these-things-to-your-photography-clients

Shooting photos for clients is an interesting business. People pay you to take great photos, but you also have to balance your photographic goals with the very human side of the job. You can’t just boss people around and expect them to come back or give you positive word-of-mouth. On the other hand, you can’t let your clients walk all over you. There’s a fine line between assertiveness and rudeness. However, as long as you are polite and respectful you should never be afraid to say these things to your photography clients.

say these things to your photography clients

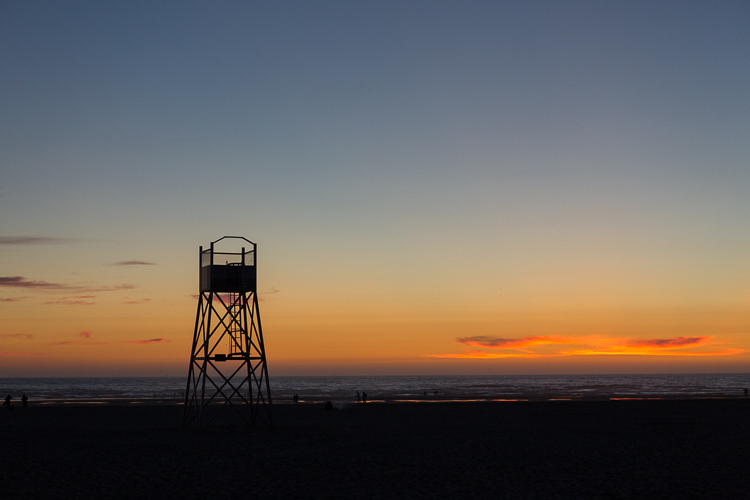
Nikon D750, 86mm, f/4, ISO 2800, 1/400 second

“I don’t offer discounts”

If you have been in this business for a while, you have almost certainly had clients ask you about some kind of sale, discount, sweetheart deal, or other tactic to get you to lower your prices.

I used to feel self-conscious about these sorts of requests, thinking I had some kind of obligation to accommodate my clients who didn’t want to pay full price. The thought of not offering a discount made me feel arrogant and cold-hearted.

The truth is, you are worth your price. If people want to hire you to do your best work, then there is no shame in asking them to pay for it. If someone asks for a special deal, politely but firmly decline. Tell them that your prices are competitive and you will take beautiful photos for a reasonable fee.

say these things to your photography clients

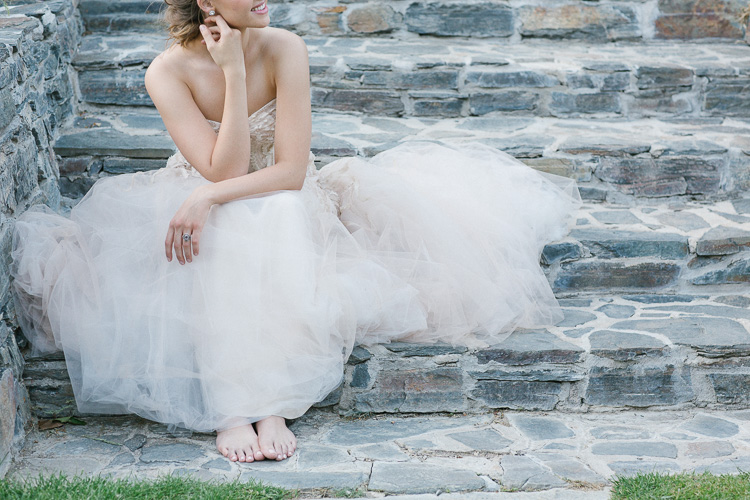
Nikon D750, 92mm, f/4, ISO 220, 1/180 second

Additionally, don’t use the phrase “I’m sorry” when discussing your prices. You should never have to apologize for charging what you are worth!

You might think you are being polite, but you have nothing to apologize for. So you shouldn’t feel obligated to say it.

I have had several situations where potential clients have asked me about offering discounts. At first, I felt uncomfortable sticking to my guns. However, every single time I declined to go down in price, I have felt good about the decision. Plus, the clients were still happy with my photos.

Recently someone asked me about taking photos of her daughter’s graduation. When I told her my price, she winced and asked if I offered any type of discount. I said no, and she eventually went with another photographer who had a cheaper rate.

While a part of me wishes I could have gotten this woman’s business, I think of the ramifications if I had gone down in price.

say these things to your photography clients

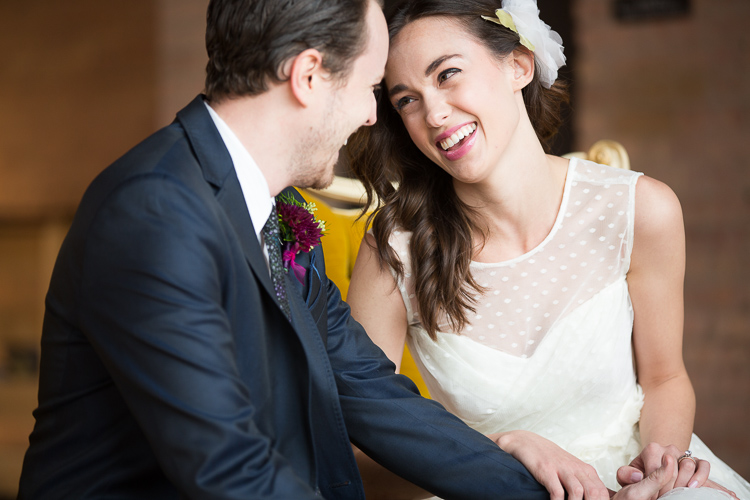
Nikon D750, 110mm, f/2.8, ISO 160, 1/125 second

She would have expected a similar discount on future sessions, and she would have almost certainly told her friends about this great photographer she knows who gave them a really good discount.

That would have started things off on the wrong foot with other potential clients who might be expecting me to drop my price.

The implications for lowering your prices can be much worse in the long run. So you should never feel bad for saying these things to your photography clients.

“You have something on your face”

There are many ways to fix blemishes, pimples, dust, dirt, and other imperfections in Photoshop.

I have had clients joke about taking ten pounds or twenty years off in Photoshop. That always makes me a little uncomfortable since I think my clients look great just as they are.

With almost every photo session, there is some type of artificial issue that can easily be fixed right on the spot.

If not addressed right away, these things can add hours to your post-processing time.

say these things to your photography clients

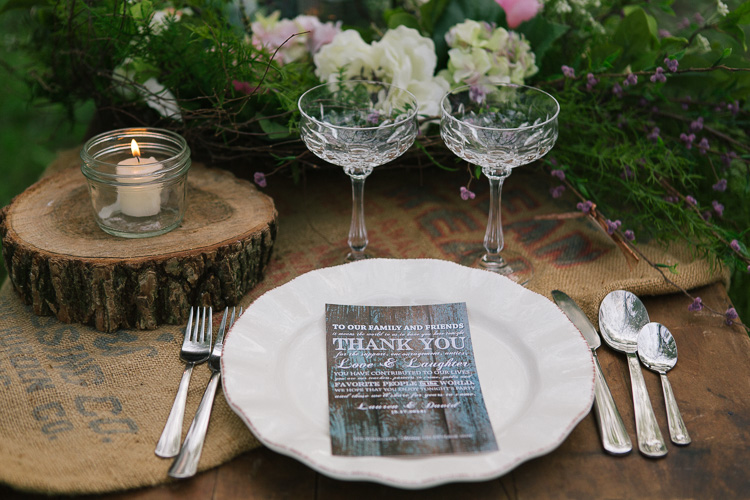
Nikon D750, 135mm, f/2.8, ISO 500, 1/350 second

You might feel a little nervous or uncomfortable telling your clients that they have a stray hair on their cheek or a spot of dirt on their shoulder. I know what that’s like, having been in the situation many times!

Kids are fussy, the wind is blowing, rain is starting to fall, and you feel like you’re adding yet another burden to your clients by telling them they’ve got something on their face.

On the contrary, don’t be afraid to say these things to your clients! Every time I have neglected to mention an issue while taking pictures, I have regretted it afterward.

If you fix a blemish on a single photo, you have to fix it on all the photos. If it takes one minute to fix the first time, multiply that by 20, 50, or 100, and the simple task quickly turns to tedium.

Image: Nikon D750, 92mm, f/2.8, ISO 400, 1/250 second

Nikon D750, 92mm, f/2.8, ISO 400, 1/250 second

Not once have I had a client get upset, offended, or otherwise bothered when I told them about a problem like this. If anything, they have appreciated my watchful eye and attention to detail!

Kindly and politely tell them that they have a leaf on their dress, a speck on their forehead, or a butterfly resting on their shoulder. (I’m not kidding, it has happened!) You can deal with it in a few seconds and move on, instead of worrying about it and then wasting hours of your time editing it out on your computer.

“Sure, let’s try your idea”

Any time I prepare for a photo shoot, I always make sure I know the location, the types of photos the clients want, and other pertinent information. I even built several custom photo benches that I bring with me in case people need a place to sit. Basically, I try to have all my bases covered so I can make sure the session goes smoothly.

However, sometimes clients have other ideas. When that happens, I used to get defensive – I’m the professional, my clients need to listen to me!

On a sports team, it’s the players’ job to listen to their coach, and if every person on the field did things his or her own way, the game would be lost in short order.

say these things to your photography clients

Nikon D750, 112mm, f/4, ISO 1600, 1/250 second.

A photo session isn’t a sporting event, and you are a photographer, not a coach, and certainly not a dictator. You have great ideas for how to carry out the session, but your clients might too. It also behooves you to show them you care and will listen to their suggestions.

Even if you might not particularly like an idea that your clients have for poses, locations, or props, you might be surprised at the results. At the very least, it will send a message to your clients that you are flexible and willing to listen to them.

Even if the photos aren’t your favorite, word of mouth from your clients will help build a good reputation for you!

say these things to your photography clients

Nikon D750, 50mm, f/1.8, f/2, ISO 320, 1/250 second.

The image above is one example of how this can work out well for you and your clients. After I shot this family in the middle of a park, one of them told me he wanted to get a picture by a bridge. I was a little hesitant since the lighting and location weren’t my favorite, but I was happy to oblige. These photos turned out to be their favorite from the entire session!

“I have a location I prefer”

This seems a little counter to the last bit of advice since the idea here is to not take your clients suggestions into account. If you shoot outdoors, as I and many others do, you probably have some particular spots you like to use. Your locations have good lighting, pleasant surroundings, few people, and no bothersome elements like trash cans or street signs. You have used these locations many times, and they work great!

Your clients might have other ideas, though, and this is when it’s important to push back a little. I have had clients ask to do photos in spots that might look great for social media selfies, but they just aren’t well suited to a formal photo session.

In these situations, there’s nothing wrong with gently but firmly steering them to a location you prefer.

say these things to your photography clients

Nikon D750, 200mm, f/2.8, ISO 280, 1/250 second

It might seem harsh or uncaring to say these things to your photography clients, but it’s all about setting expectations.

When it comes to choosing a location, you know things your clients don’t. You pay attention to aspects of lighting and composition they would never think about.

If a potential client is insistent on using a spot that you would rather not use, show them your portfolio and explain the reason that you want to do it at another location.

Ultimately it’s your call – you can go with a spot they want, and the pictures might turn out great. But there’s a good chance you will encounter unforeseen obstacles, distractions, and other issues that will lead to sub-par photos.

If your client is insistent, you can politely tell them you won’t be able to meet their needs and recommend another photographer instead. Or you can do the session anyway, but make sure to scout the location first so you can prepare for what awaits.

Image: Nikon D750, 150mm, f/4, ISO 1100, 1/250 second

Nikon D750, 150mm, f/4, ISO 1100, 1/250 second

“Photos will be ready in two weeks, but not sooner.”

Your own timeframe for this might differ, but you must be honest with clients about these types of expectations.

They might have other ideas in mind based on experiences their friends have had with other photographers. If you need a specific amount of time to deliver the photos, then make sure to stand by what you say.

Be sure to explain this early when you establish a relationship with your clients, so they know right away what to expect. You don’t want them complaining on social media because they thought you would deliver their photos the very next day!

Let them know that you need time to carefully cull, edit, and even print their photos. A few extra days of work can mean the difference between good photos and frame-worthy portraits to hang on a living room wall.

say these things to your photography clients

Fuji X100F, 23mm, f/5.6, ISO 320, 1/125 second

Expectations

One trick is to under-promise and over-deliver. I let my clients know that they will receive their final images within three weeks. I almost always send their photos in two weeks. So in their eyes, I have not only met their expectations but vastly exceeded them.

Your clients might want photos quickly, but if you need time to do your post-processing, be firm and stick to your guns. Quality takes time, and you’re not just slapping on a filter like you would see on some social media apps.

And if you need a few weeks to work your magic, then make sure your clients know what to expect.

Image: Nikon D750, 50mm, f/1.8, f/5.6, ISO 6400, 1/90 second. (Using a +4 close-up filter)

Nikon D750, 50mm, f/1.8, f/5.6, ISO 6400, 1/90 second. (Using a +4 close-up filter)

Conclusion

At the end of the day, this is all about establishing a positive, healthy, and productive relationship with your clients.

Always be respectful, and always treat them how you would prefer to be treated yourself. If you say these things to your photography clients it will help send the message that you are a serious professional. Moreover, they will likely want to keep working with you well into the future.

We hope Don’t Be Afraid to Say These Things to Your Photography Clients will help you on your photographic journey. Do you have other things that you feel can be said to clients that can help the session run smoother? If so, share it with us in the comments!


The post Don’t Be Afraid to Say These Things to Your Photography Clients appeared first on Digital Photography School. It was authored by Simon Ringsmuth.


Digital Photography School

 
Comments Off on Don’t Be Afraid to Say These Things to Your Photography Clients

Posted in Photography


Everything you Always Wanted to know about a Career in Photography but were Afraid to Ask

08 Jun

Before I get into this article, I want to set the stage by saying that the objective here is not to diminish or make light of the concerns and questions that novice photographers have. In fact, at some point in our careers, we have all asked similar questions – sometimes out loud, and sometimes just in the solitude of our own minds. There is no wrong or silly question, and there are no right or wrong answers. These are in no particular order, and the views expressed here are solely based on my own experiences.

Memorable Jaunts DPS Article What you want to know - Beach sunset photos

One of my favorite images to date happened by pure accident – I saw the image in my mind even before I took a single frame.

Where can I learn about everything related to photography for FREE?

We are both lucky and unlucky to live in the era of the Internet. Any google search, on average, yields thousands of pages, articles, and YouTube videos. If you have a burning question about anything and everything, the easiest way to learn is via the Internet.

Sites like our own Digital Photography School are a great resource for almost any topic related to photography, from a beginner to an experienced photographer. Other sites like Creative Live offer many classes on various aspects of photography, as well as other creative genres. While most sites provide a great overview of a particular topic, any in-depth research requires time and money. There are number of virtual, as well as live workshops, all over the world covering all aspects of photography. A few that come to mind are The Design School and Clickinmoms (I have used both services and am very happy with the level of instruction provided there – this is just my personal experience).

You could also check out our dPS ebooks and online courses.

Memorable Jaunts DPS Article What you want to know - Chicago Wedding Photos

I learn a lot online, in the comfort of my own home, but every once in while, I like to take a live workshop – not just to update my portfolio, but also to learn from and meet others in the industry!

How do I shoot in manual mode?

Shooting in manual mode is one of the most intimidating things that most amateur photographers face. If you have a DSLR camera that has a manual mode, it is really not that hard once you get the hang of it. The best thing you can do in learning to shoot in manual, is to understand the exposure triangle and how the three key components of photography – shutter speed, ISO and aperture work – independently and with each other. Here is a good article that digs deeper into photographing in manual mode. Remember this too take time and practice. There is another interesting article here in the Digital Photography School archives that explains all three shooting modes and is worth a read.

Memorable Jaunts DPS Article What you want to know - Understanding backlight

Mastering manual mode is important, especially for images like this – backlit golden hour images…this is SOOC (straight out of the camera).

What lens will give me a blurry background?

If I had a penny for the number of times that I get asked this question from other photographers, as well as my clients who are looking to upgrade their DSLR cameras, I would have an overflowing piggy bank! Blurry backgrounds, or bokeh as it is know in the photography space, is actually a function of aperture (i.e. f-stop), focal length, and distance of the subject from the background. Check out How To Achieve Nice Bokeh [In Plain English] from the dPS archives that addresses this issue specifically.

Memorable Jaunts DPS Article What you want to know - Lilacs in the rain-1

A wide aperture on 50mm lens gives a shallow depth of field where most of the background is blurry.

How much money do I need to spend to get started with a photography business?

There are again any different ways to answer this question. You can essentially spend as much, or as little as you want, to get started. At a bare minimum you will need a good camera system (good is a very relative term here, there are several prosumer cameras on the market today, at various price levels). In many places in the world, particularly in the US, there are several rental companies that offer various cameras and lenses for rent. Borrow Lens, Lensrental and LensProToGo are a few that come to mind. You can also check with your local camera shop to see if they offer rental services.

You do not need the latest and greatest camera system to be a professional photographer. While gear is definitely a plus, skill and the ability to work with what you have to get the results you need are far more important, especially when you are just starting out. Once you develop your own shooting style as well as what you want to focus on, you can slowly build up your gear by adding equipment based on your current needs.

How can I make money from my photography, and do it fast?

401(K) 2012

By 401(K) 2012

Sorry to burst your bubble, but the short answer here is that you cannot make money in anything fast. Everything takes time, practice, and patience. Just like any other career, the more time and effort you invest in your photography, the more experience you will gain. With experience comes confidence and recognition. So if your end goal is to be a internationally recognized photographer, treat it like a career and a business and invest in yourself, your education, and your experience. Don’t be afraid to roll up your sleeves and do the hard work – and in time, you will reap the benefits.

How much should I charge for my photography?

This is again something that is very subjective. What you charge for your services depends on many factors like your skill level, the value of photography in the area that you live in, and the buying capacity of the clients that you are targeting. Another thing to understand is the monetary value of your time. Remember your time is not just the amount of time you spend photographing the client – also take into account any travel to and from the location, editing time, and backend work like backing up photos, uploading galleries, and other administrative tasks. Once you have a handle on all these factors as it relates to your situation, charge an amount that makes it worth your while to photograph your clients. If you are looking to earn a living through your photography, then treat it like a business and not just a hobby. Read: 7 Things That Keep You From Charging What You’re Worth (and how to get over them).

What kind of photography should I focus on?

The easiest way to answer this question is to ask yourself what you enjoy photographing. Write down all the genres of photography that interest you, and try them all out if possible. Ask family and friends to model for you, if you are interested in portraits. Photograph different locations at different times of day if you are interested in landscape photography. Experiment with different types of food and styling if you are interested in food photography. Once you have a reasonable amount of experience in these categories, pick one or two to focus on, and give it your best. Don’t be afraid to experiment once in awhile in other genres, just to flex your creative muscles.

Memorable Jaunts DPS Article What you want to know - Bridal Portraits

I am a wedding and lifestyle photographer – that is what I enjoy doing the most. But mixed in my portfolio will be a bit of travel and editorial images that help me flex my creative muscles.

How can I get clients?

This is another big one that I get asked a lot, and I wish there was an easy answer. In fact, this is something that even I still struggle with, six years into my business. Getting new clients, and keeping a steady stream of clients is hard work. You have to constantly market yourself and your services at every opportunity you get. When you meet new people, don’t be afraid to say what you do. It took me a long time to introduce myself as a professional photographer, but once I said it often enough, I realized that I got more confident in not only my photography skills, but also in my business skills. Network and connect with your competitors, as well as other businesses in your area. Do a trade for images if appropriate, and remember not everyone you meet will be interested in getting pictures taken, and that is totally okay.

Memorable Jaunts DPS Article What you want to know - Lifestyle Portraits

A casual conversation at a networking meeting led to an epic family photoshoot and I gained a good friend too.

How can I build a portfolio of my work?

The length of time you invest in yourself and your photography skills is directly proportional to how long you will take to build your portfolio of work. If you constantly focus on learning and improving yourself, the more confident you will become, and the more opportunities you will find to create work that you are proud of. I have a few general rules that I follow in my photography journey

  • Photograph something every week if not every day – the objective here is to learn new techniques and perfect things I already know with respect to my gear.
  • 10:1 ratio – for every 10 minutes I shoot, I want to produce at least one image that I am proud of.
  • Spend time on personal projects – my mantra here is create for the sake of creation.

For me, this is an easy way to constantly update my portfolio with work that I am proud of, and which also represents my creative style.

Memorable Jaunts DPS Article What you want to know - Wedding Styled Shoot

Creating for the sake of creation is a great way to update your portfolio as well as connect with other vendors and creatives in your space.

This is just a small set of questions that I found helpful when I was starting off on my career in photography. If you have others that have helped you navigate the photography waters, feel free to list them in the comments so others can benefit as well.

If you have different questions that you’ve been wanting to ask, this is the place to do it. Let’s see if we can’t get them answered for you as well.


Editor’s Note: This is one of a series of articles this week that are Open for Discussion. We want to get the conversation going, hear your voice and opinions, and talk about some possibly controversial topics in photography.

Give us your thoughts below on the article above and watch for more discussion topics.

See all the recent discussion topics here:

  • 7 Commonly Accepted Photography Beliefs Debunked
  • Is HDR dead? Some dPS Writer’s Thoughts on this Controversial Topic
  • How to Find your Personal Photographic Style
  • Why You May be Failing to Reach Your Potential as a Photographer
  • To Process or Not To Process? Let’s Discuss
  • How much do you process your images? – a dPS POLL
  • Does the Camera Matter? SLR versus Mirrorless versus Smartphone
  • Natural Light Versus Artificial Light: Which is Better?
  • How Limitations Can Help You Grow as a Photographer
  • Brand Name Versus Third-Party Photography Gear: Which is better?

googletag.cmd.push(function() {
tablet_slots.push( googletag.defineSlot( “/1005424/_dPSv4_tab-all-article-bottom_(300×250)”, [300, 250], “pb-ad-78623” ).addService( googletag.pubads() ) ); } );

googletag.cmd.push(function() {
mobile_slots.push( googletag.defineSlot( “/1005424/_dPSv4_mob-all-article-bottom_(300×250)”, [300, 250], “pb-ad-78158” ).addService( googletag.pubads() ) ); } );

The post Everything you Always Wanted to know about a Career in Photography but were Afraid to Ask by Karthika Gupta appeared first on Digital Photography School.


Digital Photography School

 
Comments Off on Everything you Always Wanted to know about a Career in Photography but were Afraid to Ask

Posted in Photography


Don’t Be Afraid of Manual Focus

04 Mar

If you’re a beginner in the wonderful world of photography, if you’ve never used an older film camera, or a combination of both, you might be unfamiliar with the workings of manual focus. Even if you are, you may not have thought about how you would use it in real-world situations.

Fortunately as DSLR owners, we have the best of both worlds between manual and automatic focusing; we have a choice as to how we decide the subject of our photo, and other points that aren’t as important. This is an advantage for you, and having a better understanding of the “other” focusing method will allow you more flexibility and leave you better prepared for a wider array of situations while in the field.

seagrass

But keep in mind, you’re not learning manual focus as a replacement for automatic focus, you’re learning it as a compliment.

While modern DSLR’s and their lenses have varying degrees of complexity for automatically focusing on a specific point within a scene, film cameras before them relied on a manual system to focus. The photographer would turn the focusing ring on the lens until the subject was sharp, then snap the photo. When the modern AF (autofocus) systems came around, the camera became smart enough to identify the subject(s) or the more important part of the photo, and focus on that without much interaction from the user.

You might think, why would I want to do it any other way? I can have the camera choose the most important thing to put into focus, or I can even manually select a focus point, and have it always focus there. What reason would I have to turn this system off completely and rely on myself?

There are a few reasons, in fact, but first, let’s cover how to use manual focus in the first place.

How to manually focus your camera

To manually focus an AF-capable lens on a DSLR, first locate the mode switch on the lens. It is usually labelled “AF – MF”. Switch it to MF. After you’ve done that, the lens will be in manual mode, and pressing down the shutter release halfway will no longer engage the autofocus system.

Find the focusing ring near the end of the lens. Twisting this ring will adjust focus, and you will immediately see the effects of this through the viewfinder, with different areas of the frame coming into, and going out of focus. Because your viewfinder isn’t a perfect representation of what your image will look like, you may need to use a couple of other tools to verify focus.

The AF-MF switch is located on the lens itself if compatible.

The AF-MF switch is located on the lens itself if compatible.

Firstly, you can use the depth of field preview button. Almost all modern DSLR’s have this feature, and it allows you to get an idea of how your current aperture and focus will appear in the final image. If equipped, the button is usually next to the lens mount, although the exact placement might vary depending on your camera model; be sure to check your camera’s manual if you’re unsure of its location.

When you press the button, the aperture will close down to its actual setting, so the preview image could darken a bit. This darkening will not be recorded on the actual image.

An even better way to monitor your focus is by using the Live View feature of your camera, which gives you an accurate representation of what your camera sees on the LCD screen. After focusing, switch to Live View and zoom in to the area you’re focusing on (zoom the view, not the lens). You’ll be able to clearly see what is actually in focus, and what is not.

So what shooting situations might benefit from the wonders of focusing like our forefathers?

Macro photography

When you’re shooting macro or close-up photography, you’re usually dealing with an extremely thin depth of field. At larger apertures, focusing is extremely important. Manual focus allows you to ensure that the most important part of your subject is crisp.

When shooting subjects up close, focusing manually will give you tighter control.

When shooting subjects up close, focusing manually will give you tighter control.

Low-light situations

As wonderful as autofocus is, it tends to falter a bit in low-light situations, the amount of which usually depends on the lens being used. You’ve undoubtably experienced times where the autofocus struggles to find a focal point, and leaves you with nothing more than a blurry preview through the viewfinder.

Subjects captured in low light are notorious for muddling up autofocus systems; manual focus is the best way to solve the problem.

Subjects captured in low-light are notorious for muddling up autofocus systems; manual focus is the best way to solve the problem.

Focusing manually allows you to take the guesswork out of these situations (remember to use Live View to check it)

Selective focus

There are also times where you may prefer to control your focus for creative reasons. Shooting a model through a frame of trees, for example, or requiring the background of the photo to be in focus while the foreground is not.

While modern autofocus system can usually get this right, manual focus allows you a level of control that’s hard to automate.

A photo like this gives the autofocus system too many options to get the depth of field exactly right.

A photo like this gives the autofocus system too many options to get the depth of field exactly right.

Wide-angle shots

When shooting with a wide-angle lens, particularly in landscape photography, your subjects can tend to be a larger objects shown on a smaller scale, such as trees, buildings, and other inanimate objects. In this situation, since they occupy a smaller area of the frame, controlling the focus of the shot on your own will usually yield better results.

Smaller subjects in a wide-angle picture means more work for the autofocus system.

Smaller subjects in a wide-angle picture means more work for the autofocus system.

Panoramas

When we take panoramic photos, or a set of photos stitched together in post-production, consistency throughout the shots is key in several areas, one of which is focus. Not ensuring your focus is consistent throughout the shots, along with other things such as lighting and white balance, can produce a disjointed result, failing to convince the viewer’s mind that they’re looking at one continuous photograph.

When your camera is set to focus manually, you can be sure that the proper subjects are always sharp in a panoramic shot.

When your camera is set to focus manually, you can be sure that the proper subjects are always sharp in a panoramic shot.

Low contrast situations

Autofocus on modern cameras work best when there is a higher level of contrast between the dark and light tones within an image. These systems tend to struggle when contrast in the frame is reduced, such as shooting a light-colored subject against a bright background.

Low contrast is another situation that tends to confuse autofocus systems; your eyes can better differentiate between the subject and the background.

Low contrast is another situation that tends to confuse autofocus systems; your eyes can better differentiate between the subject and the background.

Since the human eye has a much higher dynamic range than the cameras you’re shooting with, you can manually choose the best focus in these situations.

Give it a try!

Although it may seem counterintuitive to disable systems on our cameras that are intended to make things easier, it may be just the thing to spark our creativity.

A habit I always try to maintain is to visualize what settings I’ll need to use before I go out to shoot, and this is a good time to determine if the scenario I’m going to be presented with lends itself to turning my autofocus system off.

At the end of the day, just keep in mind that there is no right way or wrong way. The “right way” is different for all of us. However, knowledge is power, and you can only benefit from knowing the ins and outs of how your camera works and what options are available to you.

“There is only you and your camera. The limitations in your photography are in yourself, for what we see is what we are.” – Ernst Haas

googletag.cmd.push(function() {
tablet_slots.push( googletag.defineSlot( “/1005424/_dPSv4_tab-all-article-bottom_(300×250)”, [300, 250], “pb-ad-78623” ).addService( googletag.pubads() ) ); } );

googletag.cmd.push(function() {
mobile_slots.push( googletag.defineSlot( “/1005424/_dPSv4_mob-all-article-bottom_(300×250)”, [300, 250], “pb-ad-78158” ).addService( googletag.pubads() ) ); } );

The post Don’t Be Afraid of Manual Focus by Tim Gilbreath appeared first on Digital Photography School.


Digital Photography School

 
Comments Off on Don’t Be Afraid of Manual Focus

Posted in Photography