The post What to do When the Light’s Down Low appeared first on Digital Photography School. It was authored by Kevin Landwer-Johan.
Cameras create images using reflected light. When there’s not much light reflecting off your subject, the camera is challenged. You need to learn the methods of controlling your camera when you are photographing in low light situations.

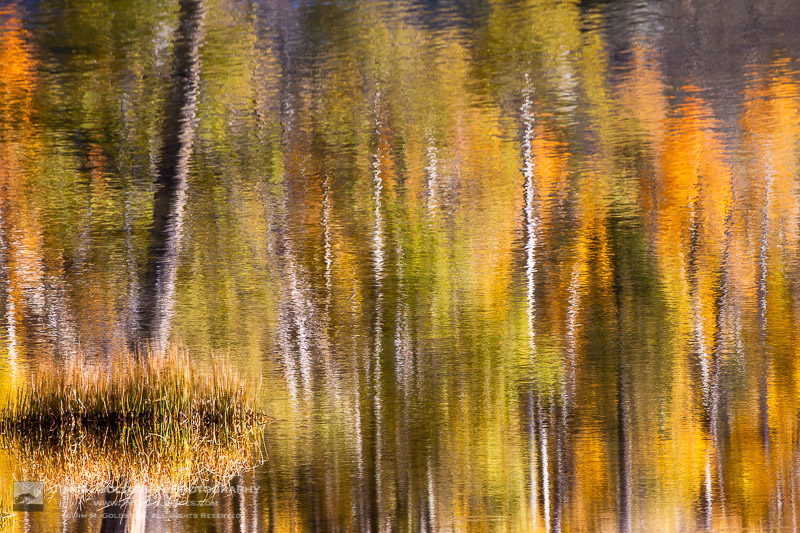
© Kevin Landwer-Johan
Our cameras and our eyes ‘see’ in different ways. When the light is low, our eyes often do not see color so vividly. When we are photographing in low light we can make adjustments to our camera exposure settings. This enables them to make photos our eyes never see naturally.
Light streaks from passing vehicle lights or blurred movement of flames in a fire are never things our eyes see naturally. These are only the result of using a slow shutter speed on your camera.
Opening up your lens aperture will produce a shallow depth of field beyond what your eyes will see. Doing this allows more light to affect the sensor and can produce some surreal results in low light.

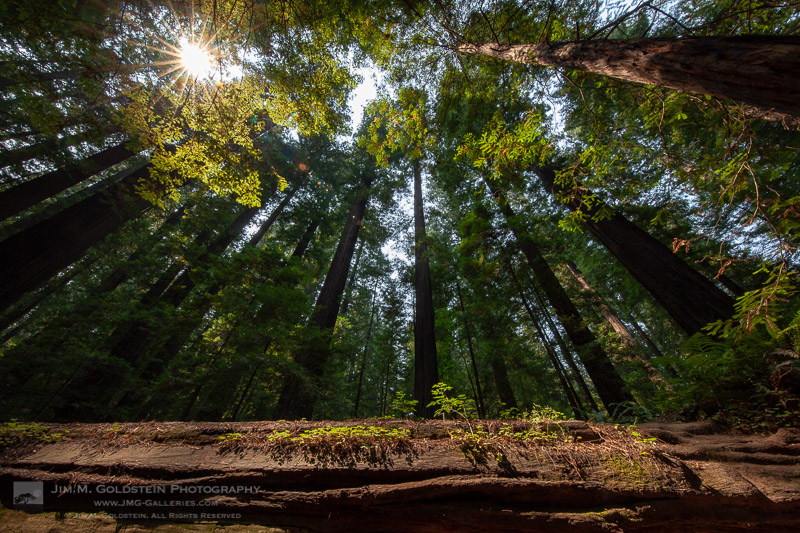
© Kevin Landwer-Johan
Setting your ISO very high, especially on newer cameras, makes it possible to take photographs in near darkness.
Visualize the look you want
Starting out with an idea in your mind about with the look and feel you want your photo to have makes it easier to achieve. This will lead to more creative development in your photography.

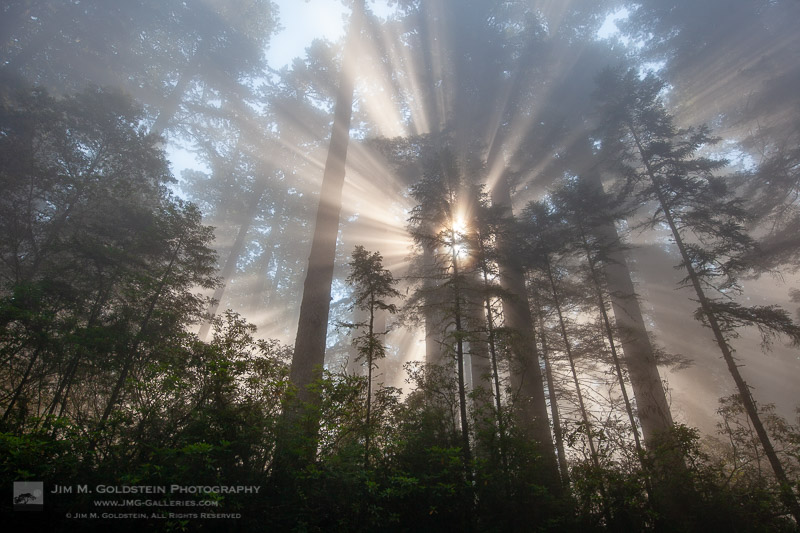
© Kevin Landwer-Johan
Starting out this may be a challenge for some, but it is a great thing to learn as it pushes you to learn how to use your camera more flexibly.
Consider if you want a sharp image, or if you want to embrace the blur of slow shutter speed if there’s movement in your subject. Think about how a wide aperture setting will affect how much of your photo is in focus. Is this the look you want?
How do I know which settings to adjust?
I can give you some guidelines but you will only truly know through experimenting with the settings yourself. I can’t tell you the precise settings to use because every situation you will photograph contains many variables.

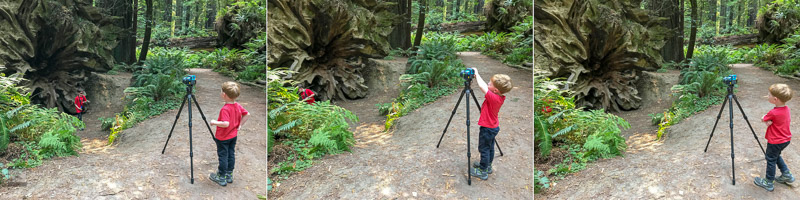
© Kevin Landwer-Johan
You could set your camera to Program Mode on Auto ISO and let the camera make choices for you. Alternatively, choose one of the night scene modes your camera may have.
Both these options are very helpful when you first begin to experiment with low light photography. Both, however, will produce rather generic looking results.
Automatic settings are best when you use them to get you started and then analyze the EXIF data they contain. Having in mind the way you want your photo to look means you can then study the aperture, shutter speed and ISO information contained in the EXIF.

© Kevin Landwer-Johan
Once you have done this, switch your camera to Manual Mode using the same three exposure settings. Now adjust the ones you think will begin to give your desired effect. Continue to make small adjustments, one at a time, tweaking them until you are happy with what you see.
As you practice this and become more familiar with your camera settings and lighting conditions you will no longer need to use an auto mode to help get you started.

© Kevin Landwer-Johan
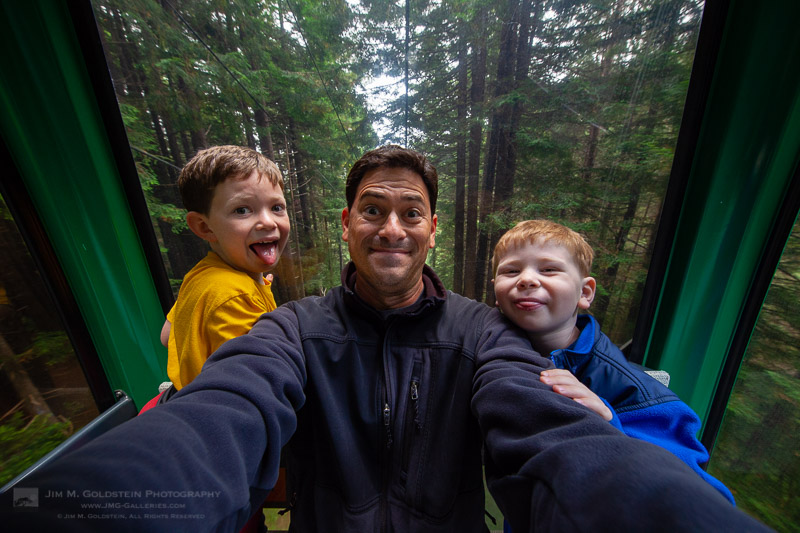
In this photo I was aiming to have my subjects relatively sharp. The lens I used on my Nikon D800 was the 35mm f1.4. The ISO was set to 4000, aperture to f/1.4 and the shutter speed was for 1/10th of a second. I did not use a flash.

© Kevin Landwer-Johan
An 8 second exposure time was used in this photo to allow for some motion blur in the people and the fire. My ISO was set at 1600 and my aperture was f/7.1
The varying amount of light from the flames meant I had to carefully watch my exposure settings and adjust them as necessary.
Adding an external light
Flash and LED light added to a scene when the light is low will influence your photograph. You need to control these lights carefully to be able to obtain the most natural looking results.
Too much extra light will cause unsightly shadows and possibly harsh highlights. With not enough additional light, you may not be able to see the effect at all. Again, when you are first starting out, experimentation is the key.

© Kevin Landwer-Johan
Test the various flash settings to determine which one will give you the best look. Try TTL or auto settings first. Depending on your camera and flash these settings in any situation the results will be better or worse.
If you are not satisfied, switch your flash to Manual Mode. Start with the power set to half and take a photo. Adjust the setting higher or lower and gradually taking a series of photos until you are happy with the result you see on your monitor.
Create RAW files and post process them
Low light being challenging, you will obtain the best results only after some post-processing. Camera technology continues to improve, but is not yet ideal, especially when the light is low.

© Kevin Landwer-Johan
Making RAW images allows you greater flexibility to post process and retain a higher quality. Most commonly you will want to reduce the amount of digital noise which occurs at higher ISO settings.
Color and contrast can both become flat and dull at higher ISO settings. Boosting contrast and saturation will make your photo look crisper.
Keep focused
Many cameras will struggle to autofocus in low light conditions. The lens may search for some time before it finds a focus point. Even then, it may not choose the point you want it to focus on if your camera is set to multi-point focus. In more extreme circumstances it may not be able to focus at all.

© Kevin Landwer-Johan
Manually focusing may be the best option. But this is also more challenging in low light. Using an external light source, like a flashlight, aimed at the area of your composition you wish to focus on can help. Once your lens is focused turn your flashlight off if you do not want it to affect your exposure.
Conclusion
Practice and experimentation will lead to the best results. The more you photograph in low light the more familiar you will become with the variables different settings will produce.
Start with easy subjects when you have ample time. Learning to take great photos in low light is not something that will happen overnight.
The post What to do When the Light’s Down Low appeared first on Digital Photography School. It was authored by Kevin Landwer-Johan.


You must be logged in to post a comment.