There are two main aspects to consider when beginning to attempt any variety equine photography, the photographic side (technical and creative) and the dealing with horses side (sometimes unpredictable and dangerous).
Lets start with the animal side, in this beginner’s guide to photographing horses.
I am not a horse person, but I have photographed a lot of them, and have spent a fair bit of time around them, their owners, and trainers, who have all taught me a lot.
Horses have distinct personalities which can range from extremes such as: a tendency gallop across a paddock to attack you on one end of the scale, to willing to defend you at their own expense at the other end. Their main instinct is flight, and they can be easily spooked by just about anything – including cameras.
There is a whole horse language involving their ears, leg stance, and head movement. The horse owners I have worked with prefer certain positioning of these things in photographs. For example, they really don’t like images where the horses ears are pinned back, which means the horse is not very happy. I would suggest spending some time googling horse body language before you set out on your first equine photo session – not only to know all the best positions, but to also know if a horse is about to attempt to do you some serious damage.
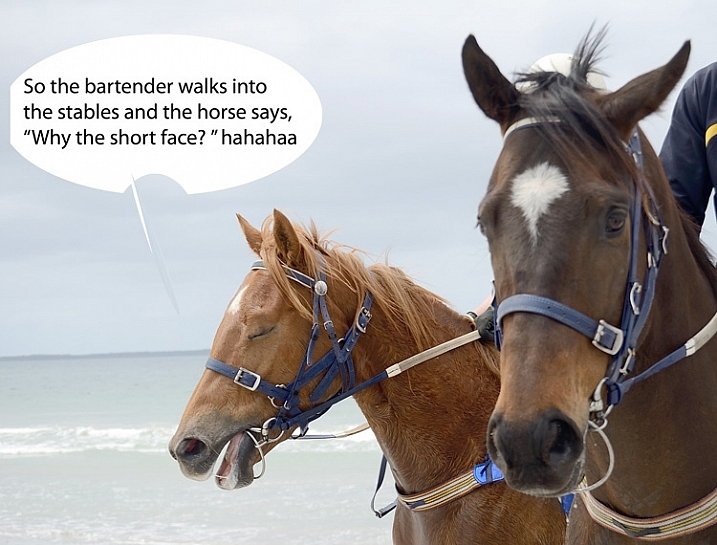
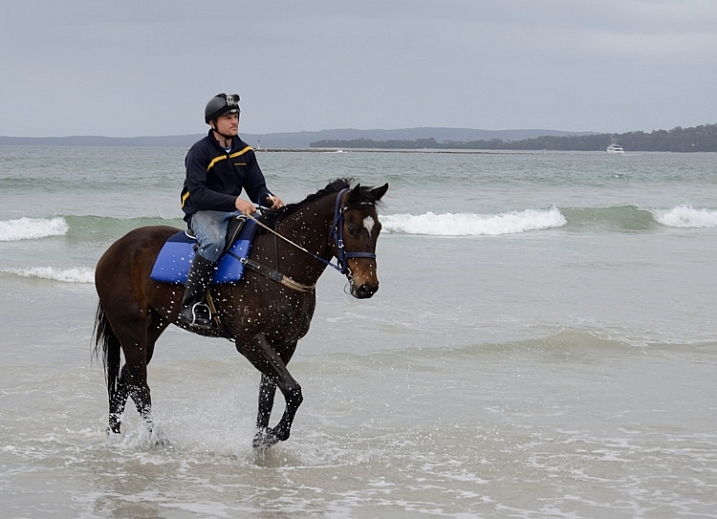
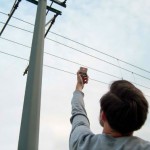
Ears forward but relaxed means the horse is happy, where as ears like the other guy in the above image, can mean the horse is confused.
Never stand behind a horse. Never catch a horse by surprise. Make sure horse knows where you are, they don’t like people jumping out from behind bushes, or sudden movements. Never run up to a horse. One owner trainer tells me that even wearing bright colors can startle some horses.
Horses and cameras
Unless you know that a horse is very used to flash, using one could endanger you, the horse, or the handler/rider. I would avoid it at all costs. The sight and any sound of your camera can be enough to startle them, even just the slap of the mirror.
I recommend having a chat with owner or handler about the horse’s personality – is he flighty, bite-y? Loves to kick? Hates photographers? Has never seen a camera? Know all that before you go in camera blazing.
If the horse is calm enough, have the handler introduce you. Let the horse approach you, sniff the camera, and move slowly, talk softly and calmly, and if it’s all okay to do so, give it a pat. If you’re unsure how the horse will react to camera sounds (or use silent mode if your camera has it), organize with handler to do a few test shots while the horse is calm, and you are all in safe positions, should the horse start bucking and kicking.
Pretty much all my horse photographs have been taken with a standard 18-55mm kit lens. That’s all we had at the local newspaper to photograph every kind of event, equestrian or otherwise. Regardless of what style of equine photography you are attempting, I would recommend a zoom lens so you can get in close on detail, without getting too close to the horse.
The photography
You’ll want a fairly fast shutter speed, even for portraits – those ears move fast. I’d recommend a minimum of 1/250th for general photography, faster if the horse is moving at high speed. Generally you want good horse shapes where you can see all four legs, and the animal has its ears forward.
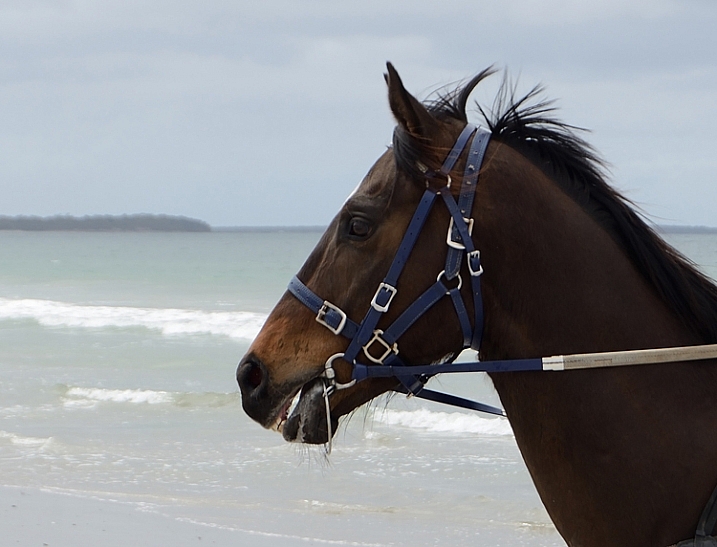
Race horse trainer Ritchie Butler on Tom.
Events
When photographing equine events, like show jumping, you aren’t necessarily that close to the horse, but the same rules apply. Make sure you find a safe spot where the horse can see you from a distance, and don’t keep moving about. Remember not to move towards the horse and rider, and do not use flash. Check with any officials before you start.
An image that involves horse and rider in mid-jump, with all legs off the ground and front legs tucked under, is generally preferred by riders and owners. You’ll need a fairly fast shutter speed, somewhere around 1/650th – 1/800th is a good place to start. Set your camera to continuous release (burst) mode, and press the shutter just as the horse lifts off.
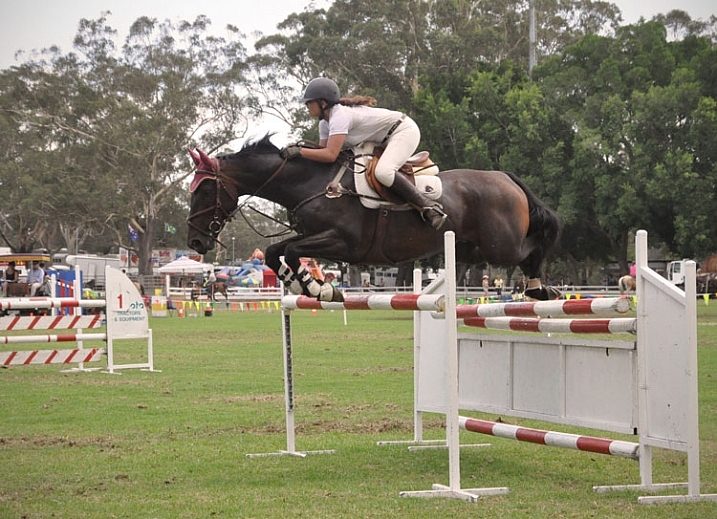
Photographs mid-leap, all feet off the ground and front legs tucked in, are preferred by show jumpers.
The races
When photographing horse racing I’d recommend the fastest shutter speed the light will allow, and again using continuous release mode. At some smaller race meets, it’s possible to get permission to get fairly close to finish line. For the shot below I asked officials if there was a safe position I could stand near the finish line, as well as capture horse and winners in the ring. They were happy to oblige once I told them I don’t use flash, and am aware that horses are very easily spooked.
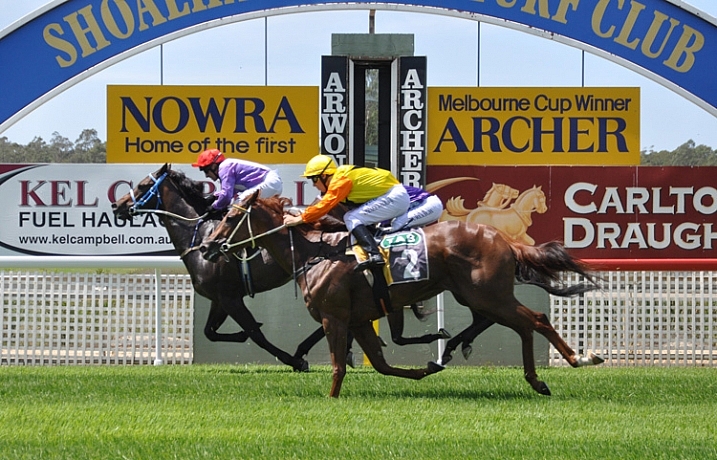
You don’t need super zooms or high-end gear to get a winning post shot, just access to a good position on the track.
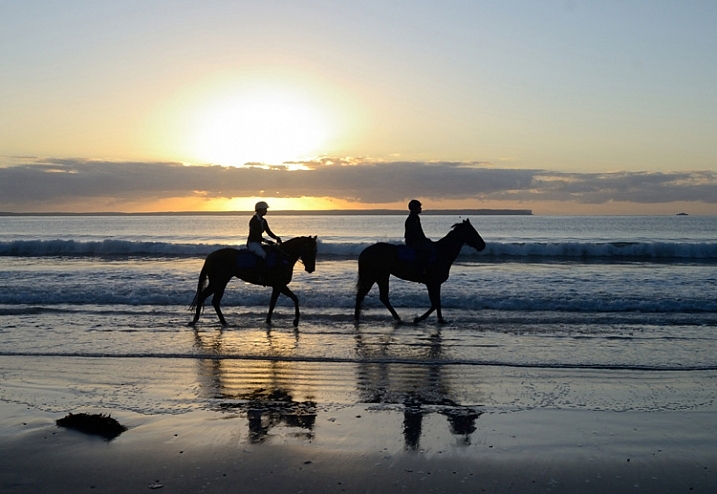
The races is a good time to try your hand at some panning shots. Panning helps to capture the sense of movement and speed, by moving your camera along with your subject, creating a blur of motion in the background. It can be a bit tricky at first, but here is a great article to help get you started with this technique.
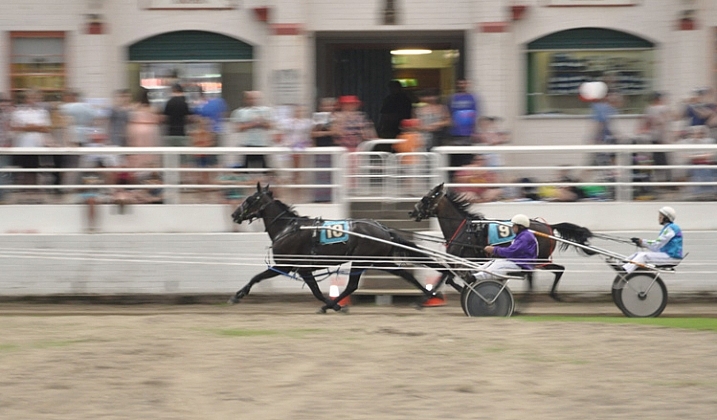
Panning to create a sense of movement.
Portraits
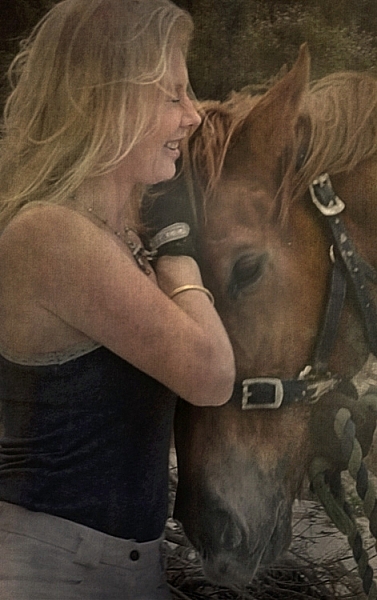
Horse people generally not only love their animals, but are also obsessed with them, and have a strong connection to them. Aim to capture the love between horse and person.
The tender moments when horse and rider have forgotten about you and your camera, often happen at the beginning or end of your photo session, while getting the horse organized.
Details
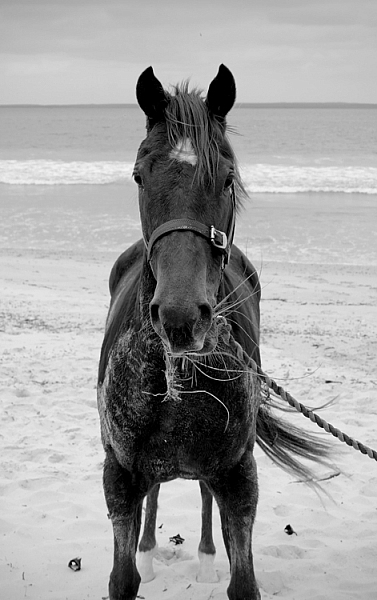
Horses are great for detail shots. Owners often have favorite parts of their horse, like the star on a forehead or other markings, or the way the horse’s mane sweeps. A zoom lens would be handy for this, unless you, the horse, and your camera, get on well enough to get up close and personal.
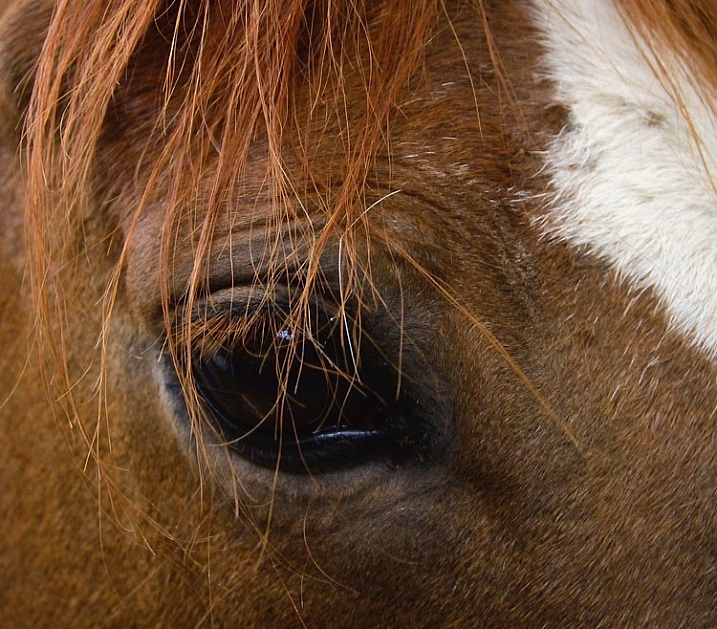
I didn’t need a zoom to get a close detail of this horse. This is Monty, I used to feed and blanket him twice a day for a several months, so we are old pals. His only concern about my camera was whether or not it was edible.
Take your time
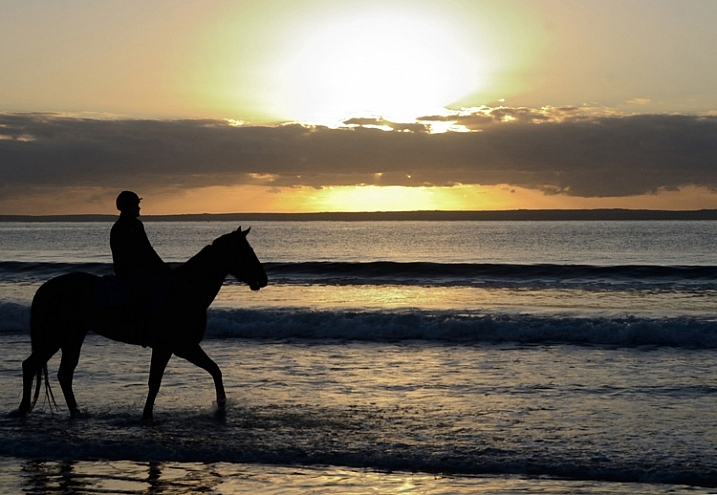
Spend as much time as you can with both horse and owner. Take a whole day if you can. Slow down enough to notice opportunities like interesting backgrounds or light. Ask questions about the horse’s favorite things to do. A horse might get really happy after being taken out for the day, and like to jump around in the paddock afterwards, where you can grab some interesting images. The photo below was taken after horses were exercised on the beach. Once the saddle was removed, they threw themselves in the sand and rolled around delightedly.
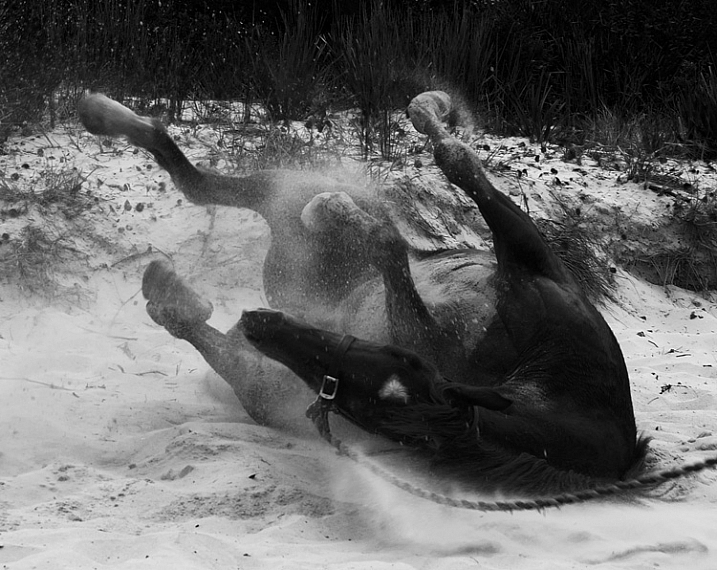
It’s a lovely thing to see and photograph happy horses.
Horses are wonderful to photograph, sometimes challenging, and with a wide scope of photographic styles and skills involved. I highly recommend giving it a go. Just stay safe, be respectful of the horses, get creative, and have fun.
Are you a horse person? I’d love to hear any more tips from you if know these creatures well, or have experience photographing them. We’d also love to see more horse photography from you, so post away in the comments below.
Giddy up!
googletag.cmd.push(function() {
tablet_slots.push( googletag.defineSlot( “/1005424/_dPSv4_tab-all-article-bottom_(300×250)”, [300, 250], “pb-ad-78623” ).addService( googletag.pubads() ) ); } );
googletag.cmd.push(function() {
mobile_slots.push( googletag.defineSlot( “/1005424/_dPSv4_mob-all-article-bottom_(300×250)”, [300, 250], “pb-ad-78158” ).addService( googletag.pubads() ) ); } );
The post Beginner’s Guide to Photographing Horses by Lea Hawkins appeared first on Digital Photography School.

Digital Photography School


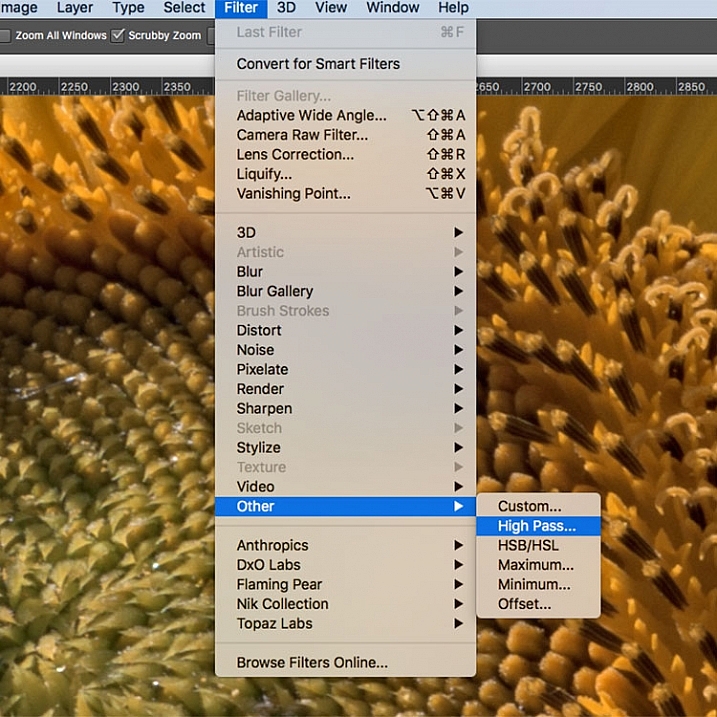
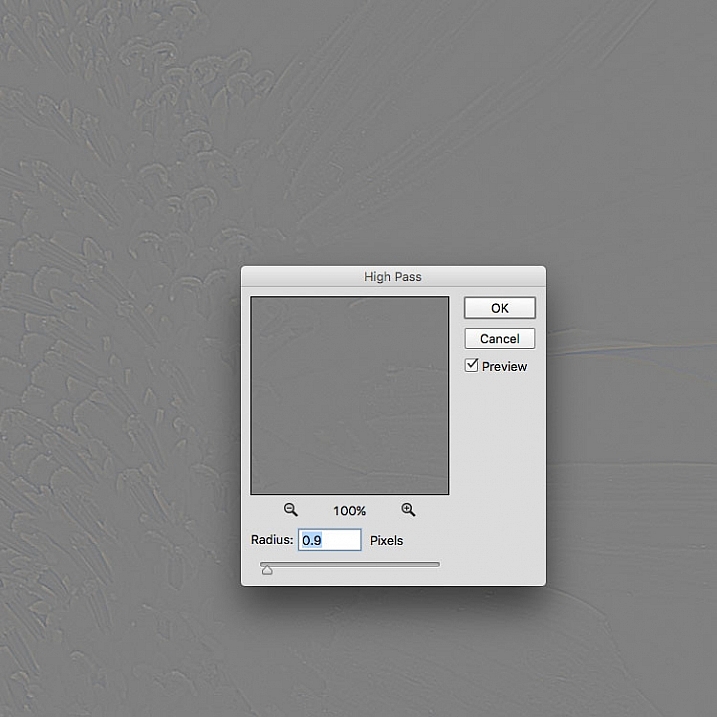
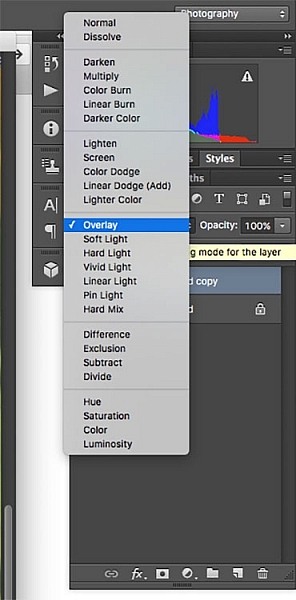 Once you’ve applied the High Pass filter, it’s time to get rid of that flat grey image and bring your photo back to life. Go to your Layers palette and select the Blending Mode drop-down menu and set it to Overlay. Your image will regain its color, and you can toggle the sharpened layer off and on, to compare the image with and without sharpening.
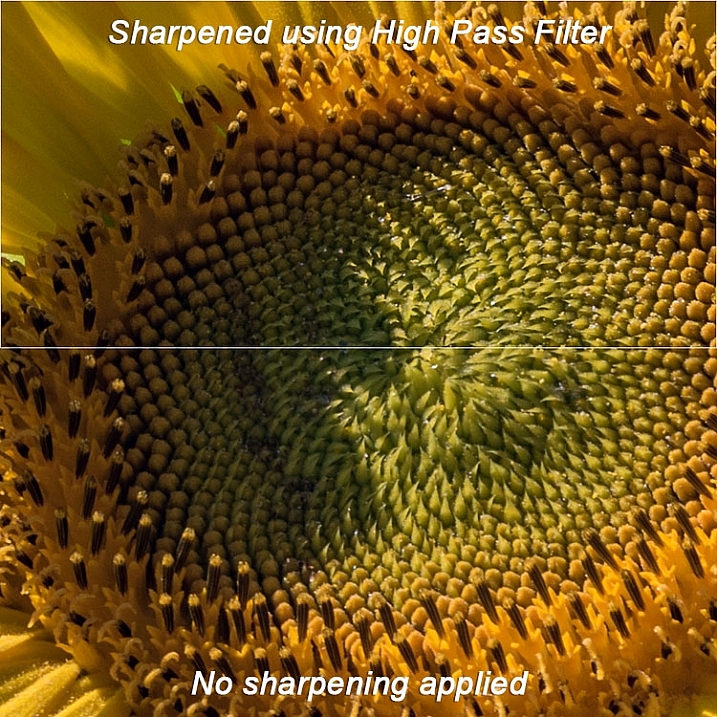


You must be logged in to post a comment.