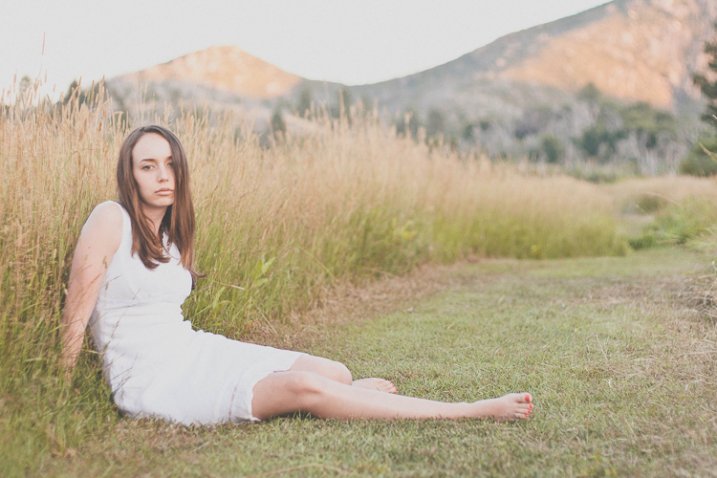
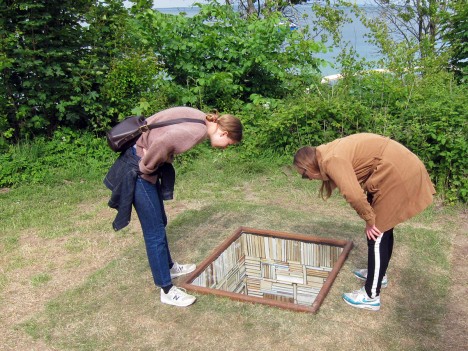
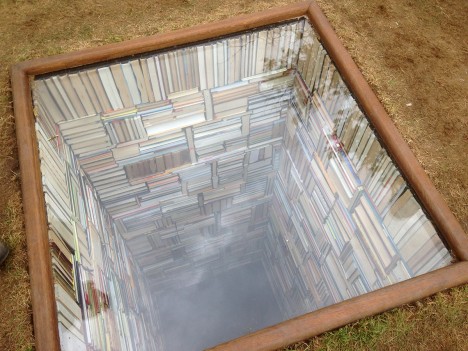
This location was discovered by walking BEYOND the main public area and exploring nearby dirt paths.
There’s nothing quite like the rush of finding a nook, a cranny, a wall, a corner, or a building that looks amazing in photos but has not been fully discovered by others just yet. Ask any photographer about unique locations, and most likely they will cringe a bit at the thought of giving up their secret spots. How, then, do you find new locations for yourself? It’s not always necessary to go outside of your city (or even your neighborhood!) to find a great photography location.
Here are several tips for how to find those hidden gems you crave:
1. Break routine
Do you have a usual way to drive home from work? How about that super fast shortcut that you love to take when meeting friends for dinner? Set some time aside to go a different route, and really look at your surroundings as you drive by. Take note of things like texture, if there is a lot of shadow or direct sun on a wall, if there are bright colors, and if certain areas have easy access from the road. Are there any buildings that stand out to you? How about the landscaping – any beautiful trees that provide a dramatic canopy or a large flowering bush that has bright colors?
Use this designated time to explore, stop spontaneously when something speaks to you, and take some quick sample photos (even if with your phone!) to keep on file for future reference.

Cell phone shot while exploring is on the left. Finished photo for a family portrait is on the right.
2. Leave the car at home
This may sound extremely basic, but if you are like most people, you’re used to driving everywhere. While this is a huge time-saver, it also causes you to not SEE your surroundings in as much detail. When you walk, you see the cracks in the sidewalk, the nooks full of graffiti in the small alley behind the shops, or the vantage points that can be seen at eye level. Changing your perspective is an instant way to re-evaluate your surroundings. If you’re not able to walk, consider riding your bike. It’s still a more leisurely way to explore the details than by car would be, and it’s much easier than a car to stop repeatedly and explore.

Not visible from the street, this pedestrian bridge gets overlooked from a car.
3. Ask
Sounds simple, right? Yet, how many of us actually do this? Most of us will search online, scan the forums and Facebook groups, and explore on our own. All this, we do instead of simply asking those around us. Next time you go into a small local store, ask the clerk if they have any favorite spots for photos, or ones that offer a fantastic view. Reach out to other local photographers you know; ask them if they have any locations they love going back to time and time again, and if they would be willing to take you there sometime. Ask your friend or relatives if they have any spots in town that they’ve always thought would be great for photos. Their answers may surprise you. Oftentimes, all you need to do is ask.
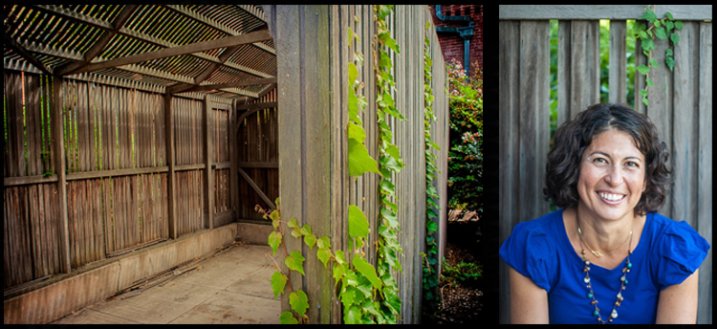
Many locals recommend this property, but few use the old carports as backdrops. Cell phone shot on left, final portrait on right.
4. Create an assignment
It can be overwhelming to just get in your car and drive without knowing what you’re seeking. To make things easier, give yourself a specific type of location that you’re looking for that day. Perhaps you want to find a beautiful skyline view of your city, or you want to find a wall that has colorful graffiti for a backdrop. Maybe just give yourself a theme – industrial buildings, or lush bright flowering landscapes, or open pastures, or patterns.
Having a goal in mind can give you some direction as to where to start looking. Looking for rustic and open? Head out of the city and into wide open spaces. Looking for urban and gritty? Go straight for urban neighborhoods and industrial areas of town.
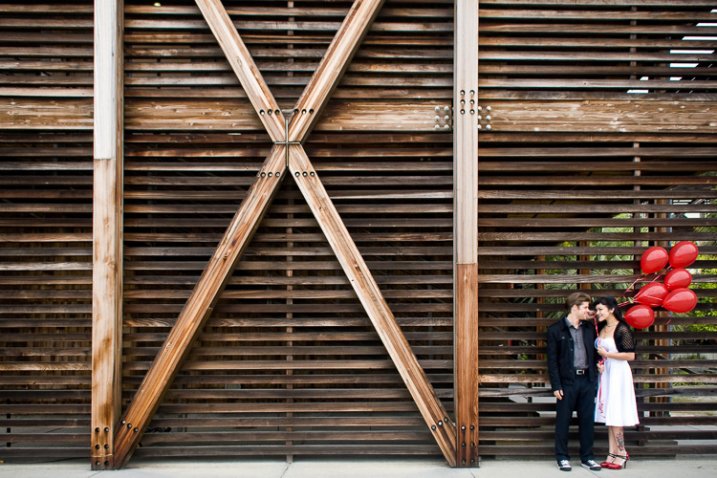
On a search for great texture and patterns, this wall was discovered. It is part of a research facility at a local university.
5. Yes, asking Google can help, too
Let’s face it, we go to Google for all our questions these days, and that’s okay. Do a bit of online research, keeping in mind some parameters for what you’re seeking. If you’re looking for old industrial buildings, be sure to enter that into your search. Be as specific as you can be, then get more general as needed to widen the net. There are also a good number of websites and books about “weird places” or “abandoned places”, all of which would have loads of appeal to photographers. If you do seek out abandoned or off-the-beaten-track locations, be sure to take all safety precautions possible to ensure a safe return.
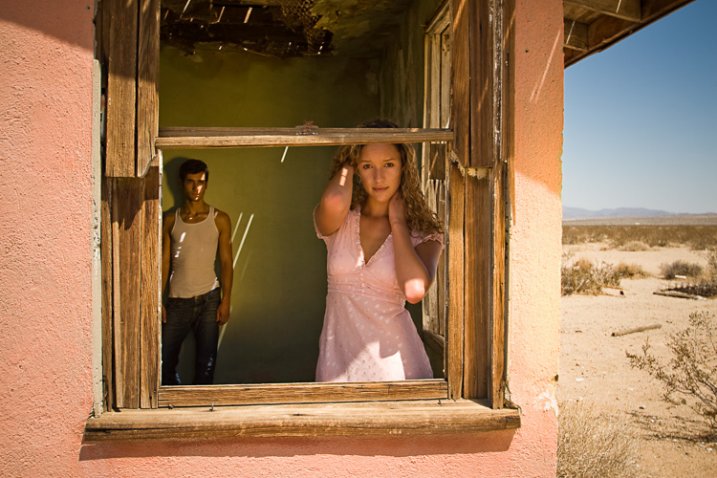
Researching abandoned locations in the desert resulted in this location near a major attraction.
6. Keep records of your discovered gems
This is a tip about finding locations, but more about making sure to remember them. Find a system that works for you to keep track of locations you like, what type of work they may be suited for, any outstanding characteristics, and any sample photos you snapped while exploring. While everyone will have a slightly different way of organizing this information, Google Maps is highly recommended for marking locations on a map and adding notes.
If you have a Gmail account, you can go to Maps and create your own. After each outing, you can add pins to locations you want to remember, name them whatever you’d like, and even add a few notes. In addition to this, I would recommend keeping a folder on your computer that is specifically for sample photos of locations. This comes in handy, not only for remembering a location yourself, but also for showing a potential subject and convincing them of your vision for their photos.
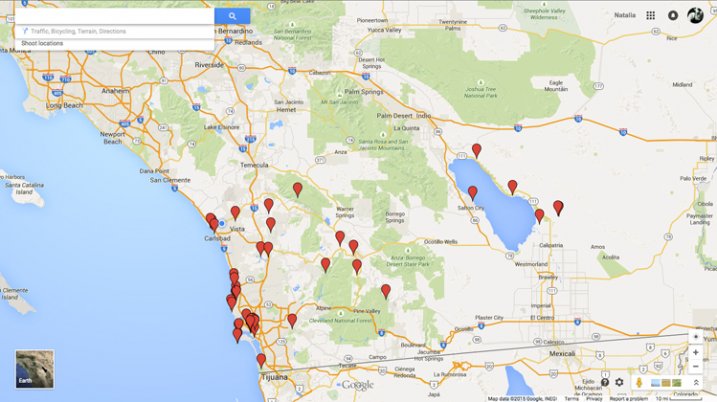
An ongoing project – the personalized Google Map.
Have you found tucked away locations that you are proud of? What tactics did you use for stumbling upon these spots? Please share in the comments below.
googletag.cmd.push(function() {
tablet_slots.push( googletag.defineSlot( “/1005424/_dPSv4_tab-all-article-bottom_(300×250)”, [300, 250], “pb-ad-78623” ).addService( googletag.pubads() ) ); } );
googletag.cmd.push(function() {
mobile_slots.push( googletag.defineSlot( “/1005424/_dPSv4_mob-all-article-bottom_(300×250)”, [300, 250], “pb-ad-78158” ).addService( googletag.pubads() ) ); } );
The post 6 Tips to Find Undiscovered Photography Locations in Your City by Natalia Robert appeared first on Digital Photography School.


You must be logged in to post a comment.