
Straighten an image in Photoshop
While most photo editing programs have a dedicated and easily discoverable Straighten tool, Photoshop does not and never has had. Instead, prior to Photoshop version CS6, it was notoriously difficult to straighten a photo.
This all changed with the new Crop tool in Photoshop CS6 and CC, and it is now much easier to straighten an image – even if it isn’t easy to determine that the Crop tool is how you do it.
I’ll show you how to straighten a crooked image in Photoshop, but before we look at Photoshop CS6 & CC let’s take a trip back in time to see how to straighten an image in Photoshop CS5 and earlier. Of course this process still works in later versions of Photoshop as well.
Straighten an image prior to Photoshop CS6 & CC
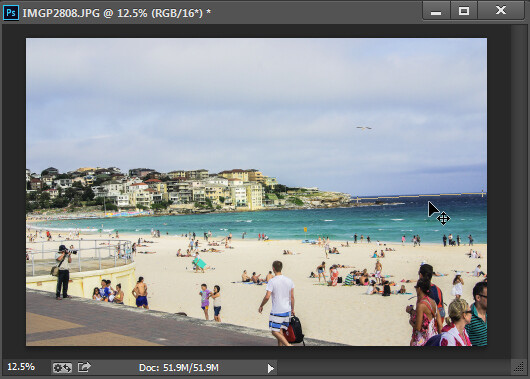
With an image open in Photoshop locate the Ruler tool which shares a toolbar position with the Eyedropper tool.

The Ruler tool shares a toolbar position with the Eyedropper tool.
Click and drag along some element in the photo that should be either truly horizontal or vertical. The longer the line you make, the more accurate the adjustment will be.
Drag along an element in the image which should be horizontal or vertical using the Ruler tool
Once you have the ruler line positioned along the line you wish to straighten, choose Image > Image Rotation > Arbitrary and the dialog will show the angle of that ruler line – in other words the angle to rotate the image to straighten it. Press Ok to rotate the photo and straighten it.
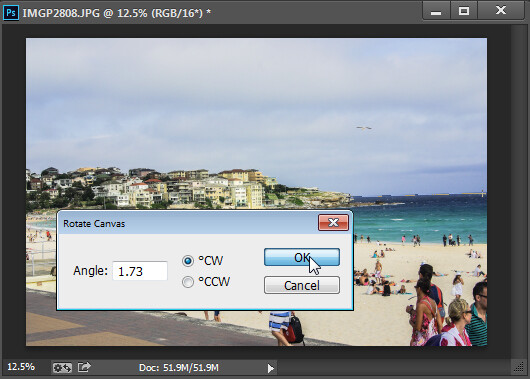
Choose Rotate Canvas to rotate the canvas to the selected angle.
In Photoshop CS5, the process was streamlined slightly by the addition of a Straighten Layer option which appears when you select the Ruler tool. Once you mark out the line to straighten to you can then click this icon to straighten the image (see image below).
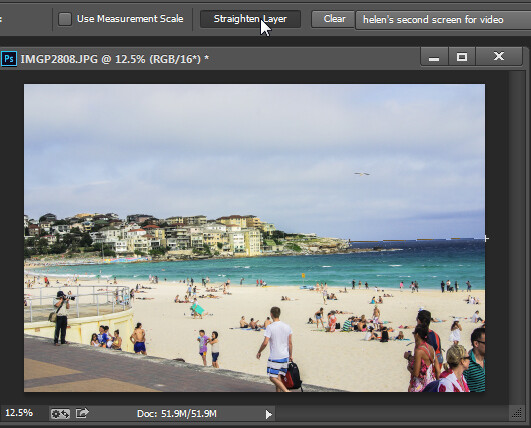
Click Straighten Layer in Photoshop CS5 and later to straighten using the Ruler tool.
Straighten using the Crop tool
In Photoshop CS6 and CC the Crop tool now has a Straighten tool built into it. So, to straighten a photo, click the Crop Tool (or press C) and click the Straighten icon on the toolbar.

Click Crop and then click the Straighten icon on the Tool Options bar
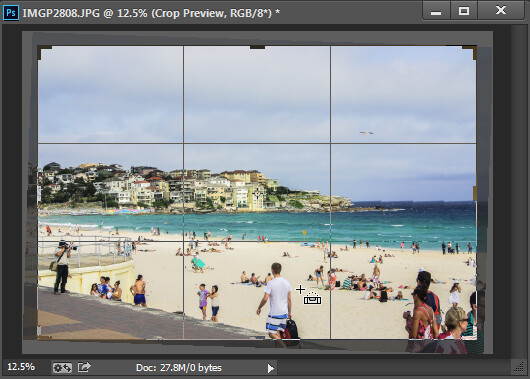
Now drag a line across the photo, along an element which should be horizontal or vertical.
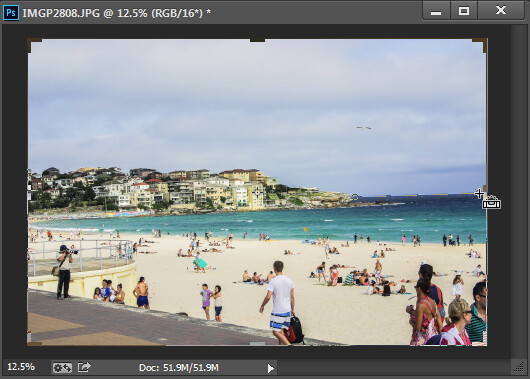
Drag along an element which should be horizontal or vertical
When you let go the mouse the image will be rotated automatically using the line as a guide and the resulting uneven edges of the image will be cropped away.
Press Enter to confirm the crop
Press Enter to confirm the crop. If you have the Delete Cropped Pixels checkbox enabled then the excess image will be permanently removed.

The Delete Cropped Pixels setting lets you choose whether cropped pixels are deleted or not
If the Delete Cropped Pixels option is unchecked, the canvas will be reduced in size to match the crop rectangle and the extra image pixels will disappear from sight but will still be accessible.
At any time you can reinstate these hidden areas of the image which lie outside the canvas by choosing Image > Reveal All.
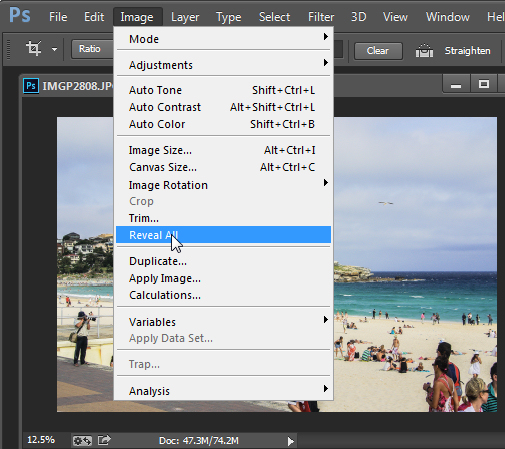
Use Reveal All to display contend hidden when you crop
For more Photoshop tips try these:
- 5 Easy Photoshop Tips for Beginners
- Photoshop Tips – Using the Blend If Feature
- Adobe Camera Raw (ACR) as a Photoshop Filter
- What’s new in Photoshop CC for Photographers
The post How to Straighten a Crooked Image in Photoshop by Helen Bradley appeared first on Digital Photography School.


You must be logged in to post a comment.