
The 3Pod P5CFH tripod folds flat– providing an innovative and reliable option for photographers looking for an affordable and compact carbon fiber tripod system
In a recent review of another tripod, I pointed out that writing a tripod review is actually more difficult than it sounds. The primary reason is that not much seems to change. The concept is simple, right? Legs. Head. Plate. On the surface, there’s not much new to write about. Companies like Manfrotto, Induro, 3 Legged Thing, and others are constantly coming up with new ideas for materials, colors, and other cosmetic features, but to the casual observer, innovations to the actual setup are seemingly few and far between. That’s why I got excited about test-driving this new 3Pod fold-flat travel tripod from Flashpoint. A recent newcomer to the Tripod Thunderdome, Flashpoint has a new line of six different tripods, designed around the needs of professional and hobbyist photographers and videographers. For this review, we’ll be getting up close and personal with the P5CFH Flat-folding Tripod with the K2 BallHead.
The Legs

A new flat design makes the P5CFH easier to pack.
This tripod offers full-featured camera support, balancing an innovative new design with carbon fiber construction, to provide a great combination of strength and stability. Being able to fold a tripod flat makes it easier to pack, and therefore increases its portability– as well as your chances of actually taking it out on location when you need it. The high cost of light-weight, carbon fiber construction is usually the factor that keeps many photographers from purchasing carbon fiber legs. A comparable tripod from one of the big-name companies could set you back up to $ 400, dropping it down a notch or two on your list of priorities. The P5CFH from 3Pod, however, cashes out at only $ 150, including the K2 BallHead.
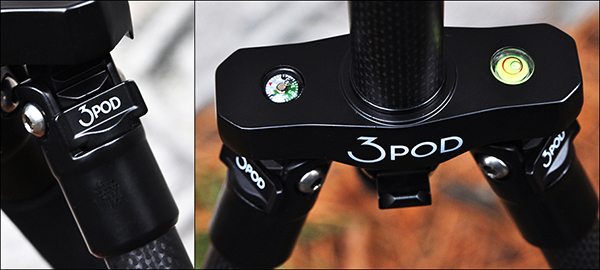
On the left, legs that adjust to three different angle positions. On the right, an integrated bubble level and compass for nature photographers, as well as a ballast hook for adding weight and extra stability.
As I pointed out in the earlier review, the low cost had me a bit skeptical. Something had to be wrong with it. What kind of carbon fiber rejects were they using, anyway? Thankfully, I didn’t let my skepticism get in the way of giving these tripods a fair shot. Let’s take a look at some of the specs and what comes in the box:
- Carbon fiber construction
- Double-jacketed, wear-resistant leg locks
- Three independently adjustable/lockable leg angles
- Height 56.5″ fully extended, 13.5″ folded
- Capacity: holds up to 20 lbs.
- Extendable/detachable dual-section center column
- Outdoor-ready spiked feet with removable rubber grip covers
- Hook for adding stabilizing weight
- Integrated bubble level and compass on tripod legs
- K2 hydraulic ball head with built-in bubble level
- Allen wrench set for tightening connections
- Padded carrying case
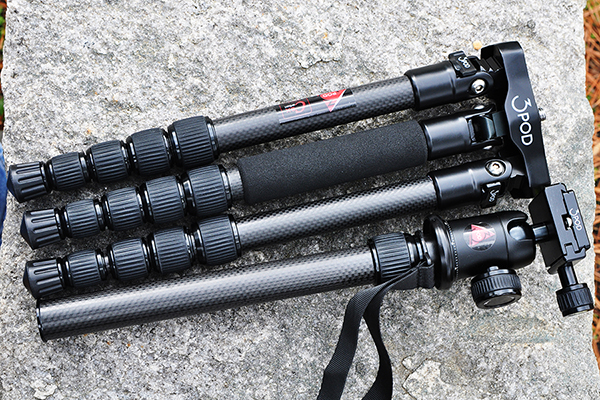
The fold-flat design means the center column has to be removed to get it down to its compact and packable 13.5″.
Because of the fold-flat design, the center column cannot slide down through the hub between the legs. In order for it to break down to its 13.5″ packable size, the two-section center column actually detaches by unscrewing it from the rest of the assembly. This could be a negative, since it means keeping track of two pieces, rather than one. The trade-off, however, comes in the form of a tripod that takes up significantly less room than its traditional counterparts. I put it through its paces with several different Think Tank camera bags, and I was able to pack it comfortably inside a wide variety of backpacks and shoulder bags.
The Head
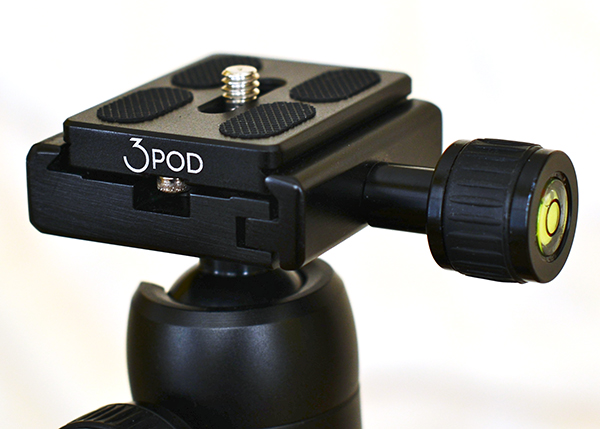
The K2 ball head provides a secure, sturdy platform for mounting your camera.
The K2 ball head is an Arca-Swiss compatible tripod head with a sliding quick release plate and universal 1/4″ mounting screw. It’s got a solid design, and handled weight distribution very well with various camera configurations (i.e., with and without battery grip). It’s made of scratch-resistant carbon, with a hard, protective finish for a (hopefully) wear-free appearance. Landscape and panoramic photographers will find the smooth, 360-degree rotation helpful, as well as two separate bubble levels.
Wrap-up and Recommendations
I’ve only been using this tripod for a couple of weeks, but so far it’s been sturdy, secure, light-weight, and convenient. With built-to-last, high-quality construction, it’s tough to find much in the way of fault. What we ask of our tripods is both very basic and incredibly important. While you may be hesitant to trust a $ 150 tripod with your $ 2,000 camera, if you’ve been looking for a reliable, affordable, and compact, carbon fiber tripod, the 3Pod P5CFH is a great place to start.

On the left: Think Tank Airport Commuter backpack. On the right: Think Tank City Walker 30 shoulder bag.
The post The 3Pod P5CFH Fold-Flat Tripod – A Review by Jeff Guyer appeared first on Digital Photography School.

Digital Photography School


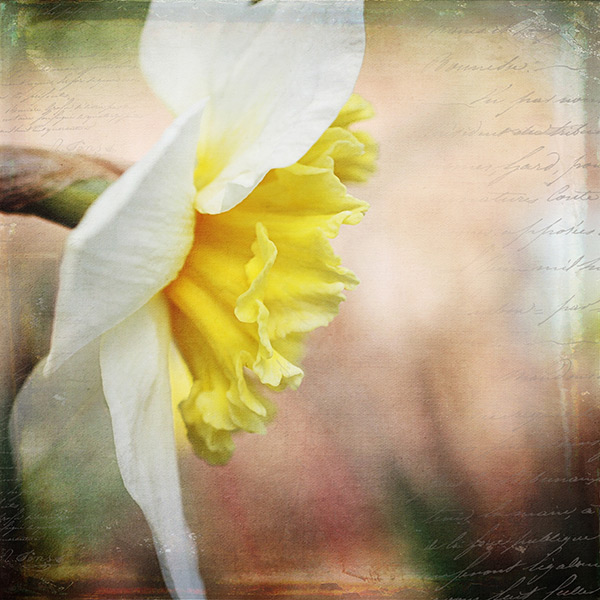
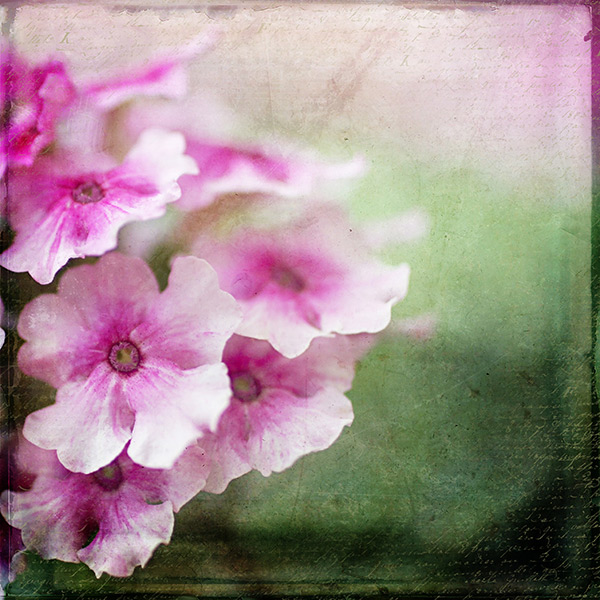
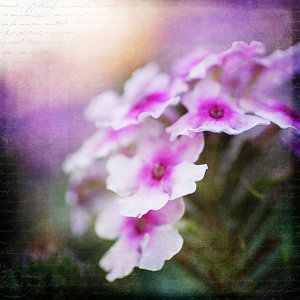 Where do you begin when you are considering using textures in your photography? I suggest you begin with the absolute best photo possible. Adding a texture to a bad photo does not make it a good photo. You want to make sure you have it exposed correctly, composed well, have a clear subject and not too much in the competing in the background competing. Textures work best with photos that are not too busy to start. Once I have chosen the photo I am going to work with, I do all of my edits before I add the texture, including adjusting the colors and sharpening.


You must be logged in to post a comment.