Category: Photography

  • New Book, Doc from Joey L are Both Pretty Awesome

    I was just planning to write about Joey's new book today, when he and Cale Glendening up and dropped a free, high-def 43-minute documentary onto Vimeo. Both are inside.

    Long story short, cancel any remaining cubicle productivity for the afternoon. Your work can wait. Read more »


    Strobist

  • How to Take Beautiful Bokeh Christmas Images [With 39 Stunning Examples]

    Pin It
    LOVE 10/50

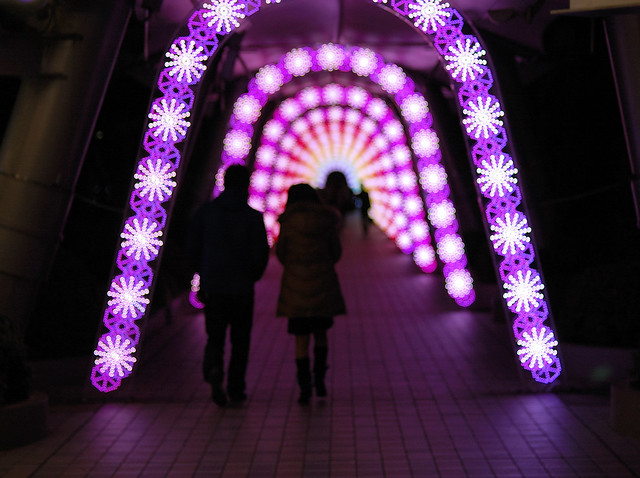
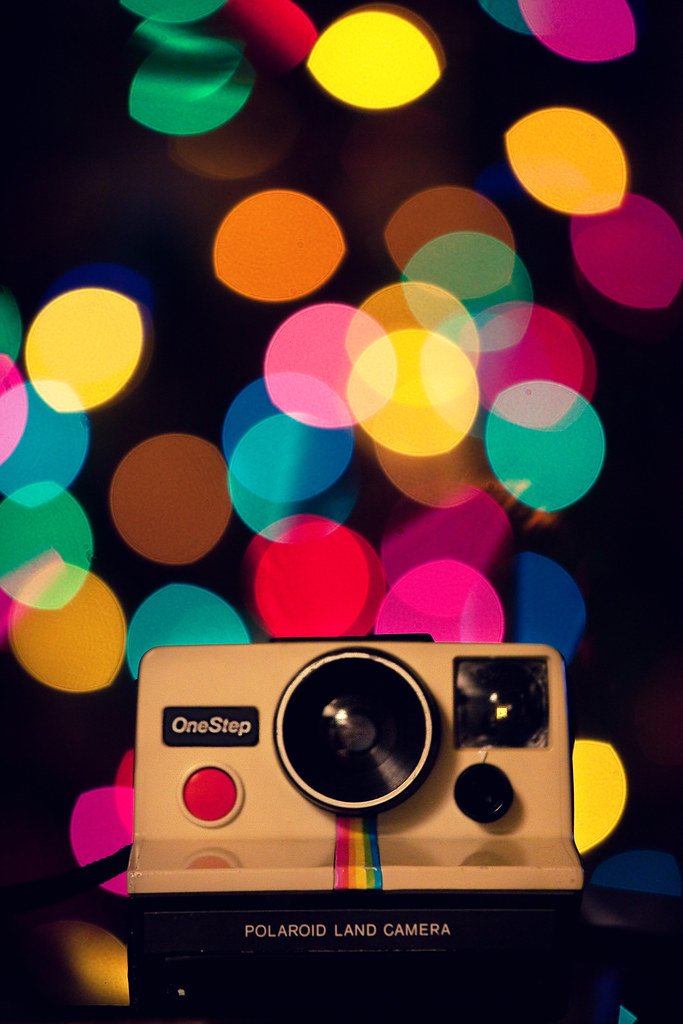
    It’s beginning to feel a lot like Christmas… and in our forums I’ve noticed more and more great Christmas images being shared – some of which feature a technique that is always popular at this time of year – Bokeh Christmas lights shots.

    Christmas tree lights II

    The technique takes a bit of experimenting and practice but is relatively simple to do. You need some Christmas lights and a camera lens with a reasonably ‘fast’ aperture (or a large aperture).

    #ds385 - Red Wool Socks

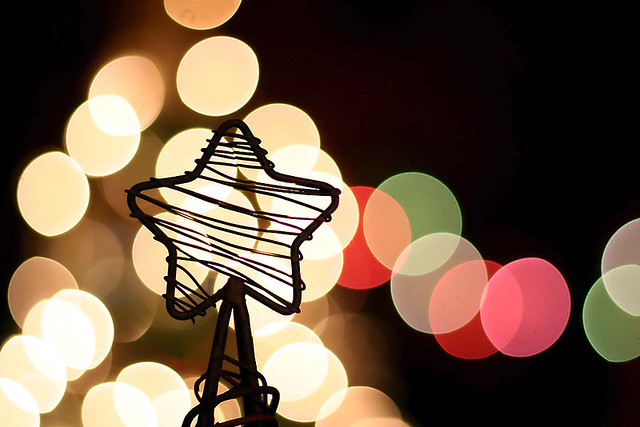
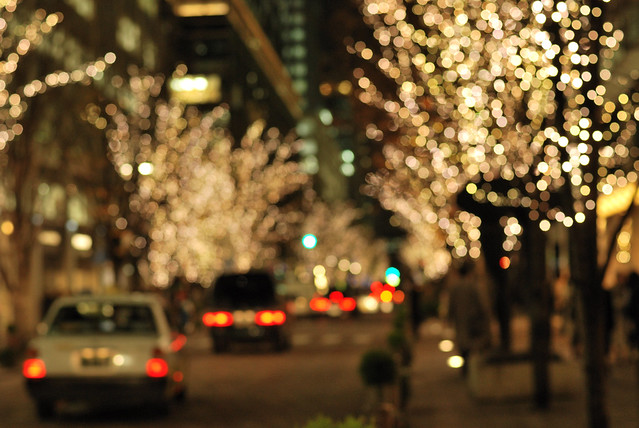
    The key is to shoot at the larger end of your available aperture – this throws the background (and foreground) of your shot out of focus and any Christmas lights in the foreground or background will become little balls of light.

    Dreaming about bokeh

    As you’ll see in most of the images featured in this series – the technique is particularly good if you also have some element in your shot that is in focus. This ‘subject’ might be a person, a pet, a Christmas decoration or something else.

    Gracie

    You can make the little balls of light bigger by increasing the distance between your in focus subject and the out of focus lights in the background.

    Holiday bokeh

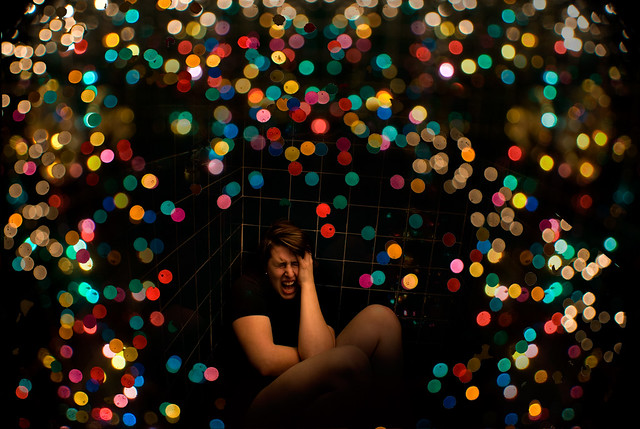
    While most of the images in this series have the Christmas lights in the background of the image (behind the subject) it is also possible to create the little bokeh balls of light by putting the lights in the foreground of your image (in front of your subject). You can see this in the image below. The impact is a little different as the bokeh balls will cover part of your subject.

    335/365: ¿Que puedo hacer con estas luces que no se haya hecho ya?

    Another popular technique is to create different shaped bokeh. You can make stars, hearts or even little snow flakes like the image below.

    Joyeux Noël!  Merry Christmas!

    To get these different little bokeh shapes is pretty simple. You just need to make a little cutout ‘mask’ for your lens. Rather than go over how to do it here check out this video tutorial that will walk you through it here.

    My Cat's Starry Christmas

    Love a Good Buzz - 347/365

    The other way to change the shape of your bokeh balls is to experiment with different apertures. You’ll find that in most cases the larger your aperture the rounder the ball – but go for a slightly smaller aperture you may find your bokeh becomes more hexagonal (or Heptagonal or Octagonal… the number of sides will depend upon how many blades your lens has).

    christmas kiss

    The different ways of using this bokeh Christmas lights technique is only limited by your imagination. Here are some more examples to give you ideas. Enjoy!

    Letters to Santa

    Christmas Ball-keh (Explored!)

    bright lights

    Day 4 - 25 Days of Christmas 2007

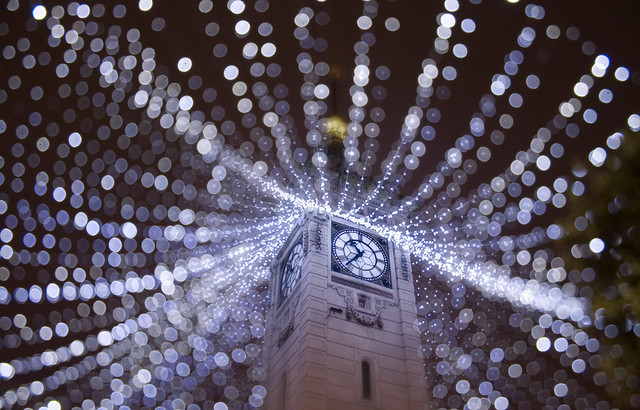
    Brighton Clock Tower

    magic of the season

    love

    Light way

    lick

    Seasons Greetings - Explore 28.12.09

    Happy Holidays!

    Merry Christmas to all my Flickr friends.

    Blurry Christmas....

    What to my wondering eyes should appear ...

    Have a Very Bokeh Christmas

    Warm Fuzzies

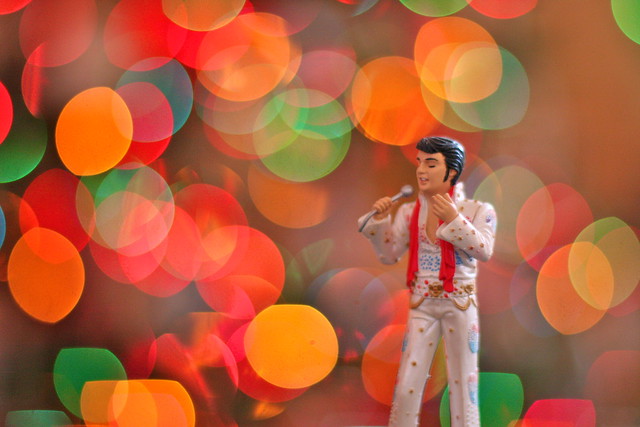
    Elvis!

    HAPPY CHRISTMAS BOKEH! XXX WWW.SIMONKEEPING.CO.UK

    Christmas lights bokeh

    2007-0001-0016

    Boy Christmas I

    Mireia

    50mm Noctilux-M f/1.0

    Christmas Lights Bokeh Baby

    Merry Christmas

    Bokeh Hostage + 65/365

    ...and to all a good night!

    Falling Stars (EXPLORE #18)

    Get more tips like these with our free weekly email photography newsletter.

    Pin It

    Post originally from: Digital Photography Tips.

    Check out our more Photography Tips at Photography Tips for Beginners, Portrait Photography Tips and Wedding Photography Tips.

    How to Take Beautiful Bokeh Christmas Images [With 39 Stunning Examples]


    Digital Photography School

  • Olympus PEN E-PM2 Review

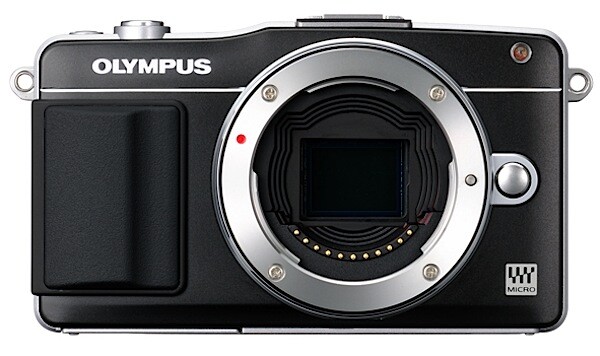
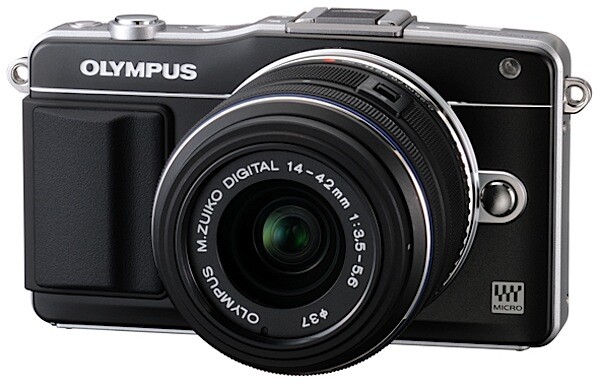
    You can’t complain about the lack of variety in the current crop of mirrorless interchangeable lens compact cameras! This one will sure fit many people right down to the ground.

    Olympus PEN  E-PM2 Review.jpg

    Although I have to admit it’s not my style of camera, mainly due to the lack of external controls — it’s mostly menu driven — the Olympus PEN E-PM2 is agreeably small and light and, with lens detached, the body is pocketable.

    With the f3.5/14-42mm kit lens fitted to the review camera, the distance from the back of the camera to lens front stretched to a lengthy 10cm … and that was with the lens at minimum ‘stretch’!

    Olympus PEN  E-PM2.jpg

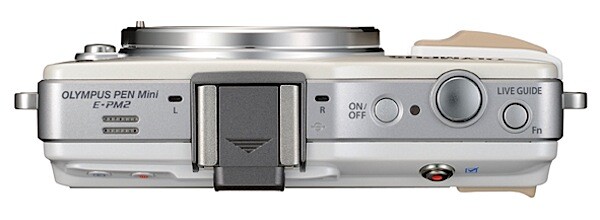
    Olympus PEN  E-PM2 top.jpg

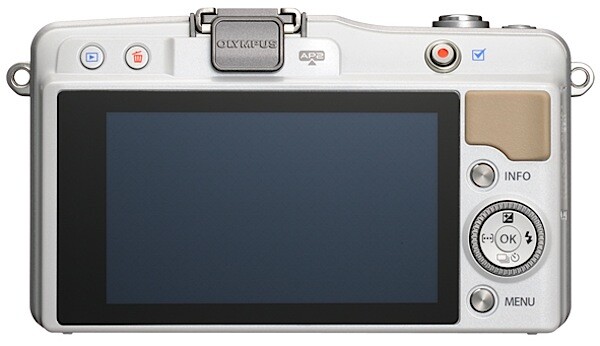
    Olympus PEN  E-PM2 back.jpg

    Olympus PEN E-PM2 Features

    Top deck controls: on/off button, shutter button, Function button, replay, trash.

    Rear: video record, four way rocker (exposure compensation, flash options, single/continuous shooting, AF targets), menu and info buttons. And that’s all!
    Menu 1.jpg

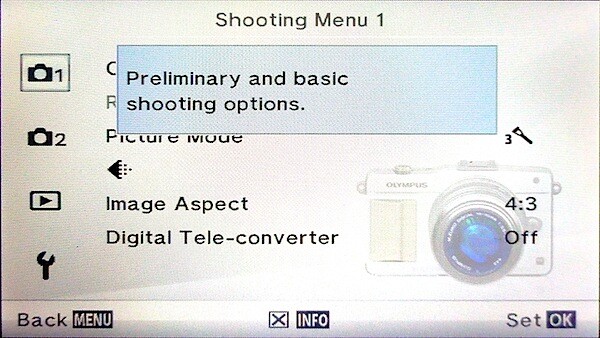
    Choices of Program AE, aperture and shutter priority and manual shooting modes are selected via the menu system, which is initially graphics supported and then moves into the familiar lines of text. Five minutes practice with this and you will become familiar with it. I have to say that using menu driven exposure options does remove a major hazard of rolling the mode dial to your choice: on some cameras the mode dial can be easily knocked to an unwanted spot.

    I found the touch screen LCD screen to be bright and clear and useable in bright daylight, although I regretted the lack of a vari-angle screen. A novel touch is that you can tap the screen to take a shot!

    The maximum image size is 4608×3455 pixels, enough to make a 39x29cm print.

    Movies in Full HD 1920×1080 pixel resolution are on hand.

    Menu 2.jpg

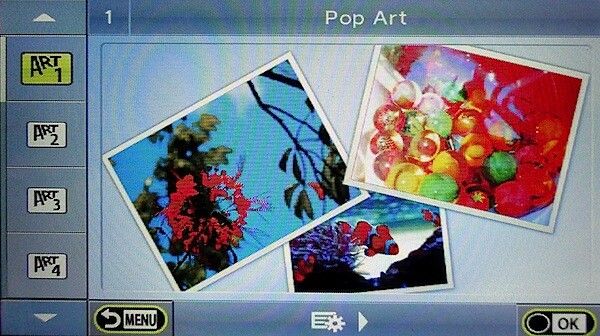
    Those who have experienced Olympus’ Art Filters will enjoy the options of capturing an image with a Pop Art, sepia, grainy look, pin hole and other ‘looks’ in a total of 12 ‘looks’.

    People who like the joys of connectivity with smartphones and tablet devices, will appreciate the PM2 which fully supports the new Flashair SD storage/wireless card that transforms the camera into a wireless access point.

    The top accessory shoe can support a wide variety of optional accessories, such as the eye-level digital viewfinders VF-2 and VF-3, an external stereo microphone, and the PP-1 Bluetooth data transfer module.

    Olympus PEN E-PM2 ISO Tests

    Olympus PEN E-PM2 ISO 200.JPG

    Olympus PEN E-PM2 ISO 400.JPG

    Olympus PEN E-PM2 ISO 800.JPG

    Olympus PEN E-PM2 ISO 1600.JPG

    Olympus PEN E-PM2 ISO 3200.JPG

    Olympus PEN E-PM2 ISO 6400.JPG

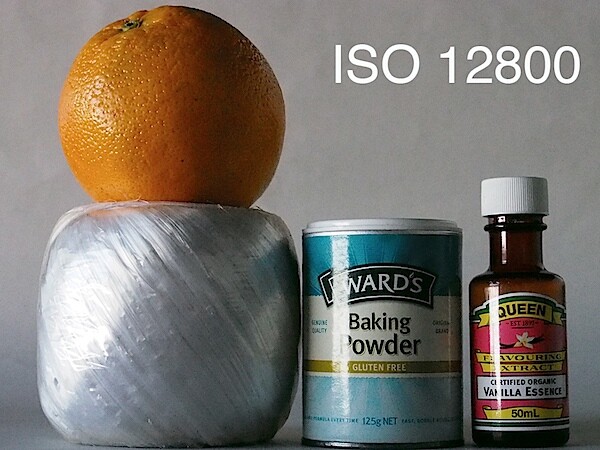
    Olympus PEN E-PM2 ISO 12800.JPG

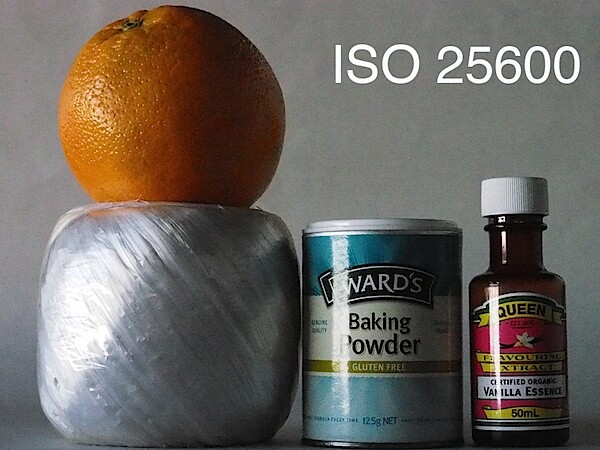
    Olympus PEN E-PM2 ISO 25600.JPG

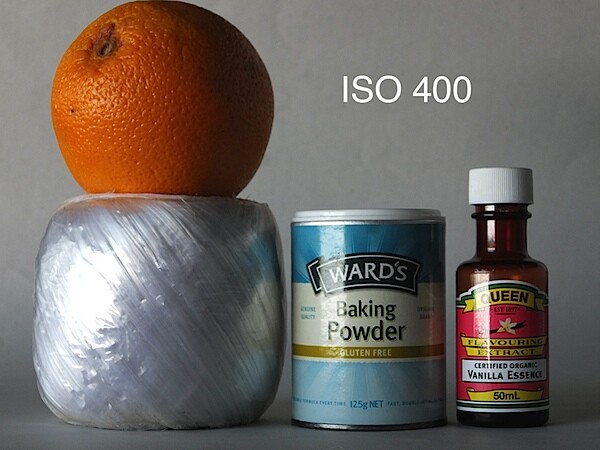
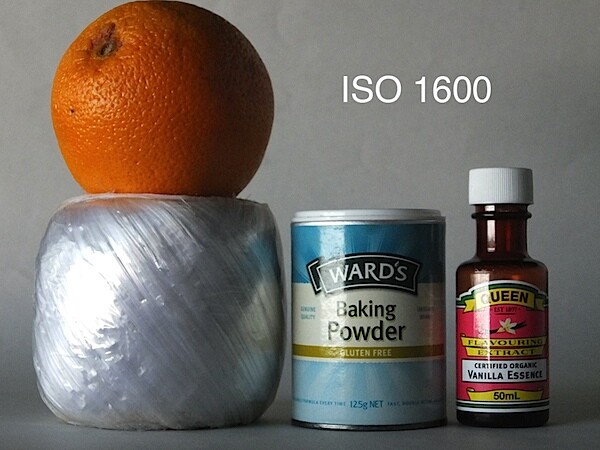
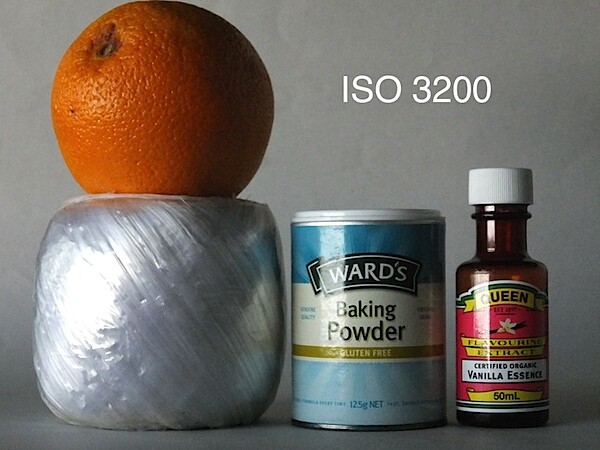
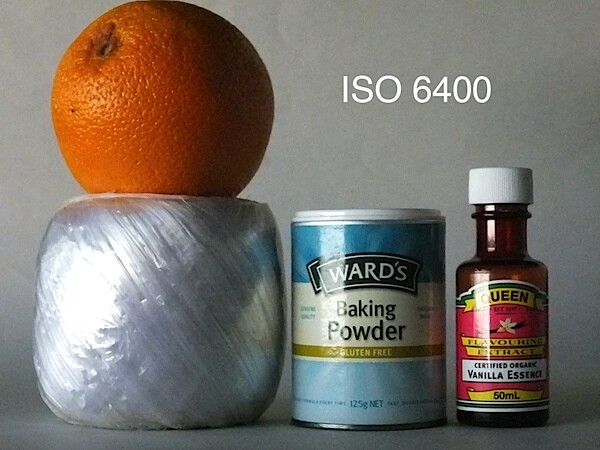
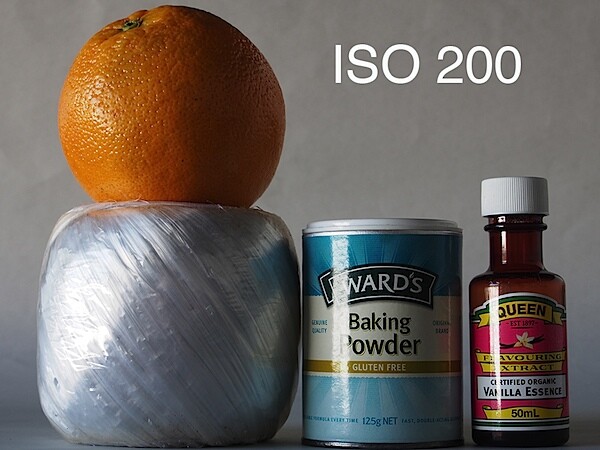
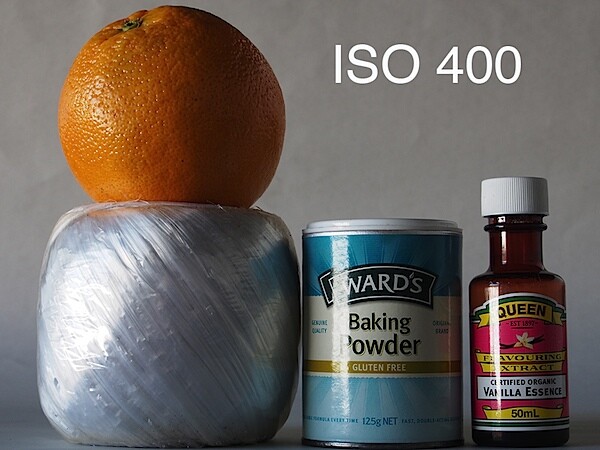
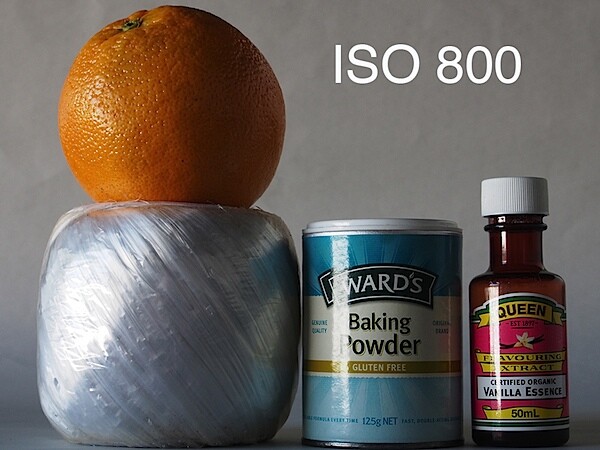
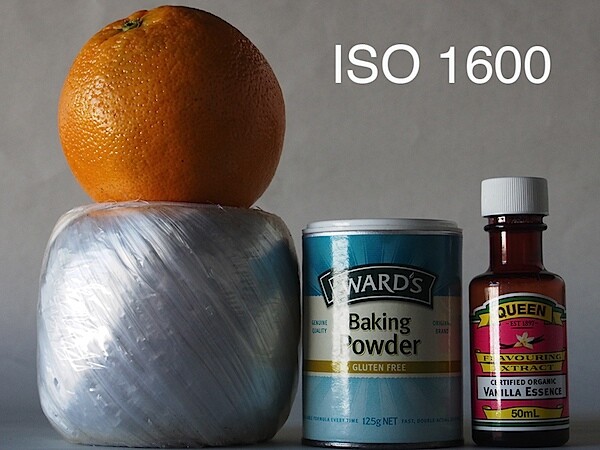
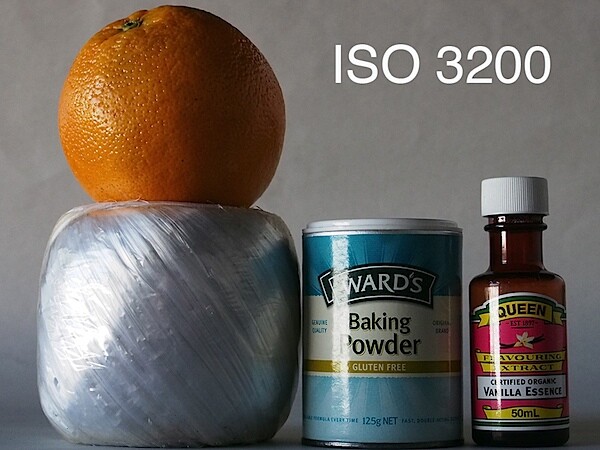
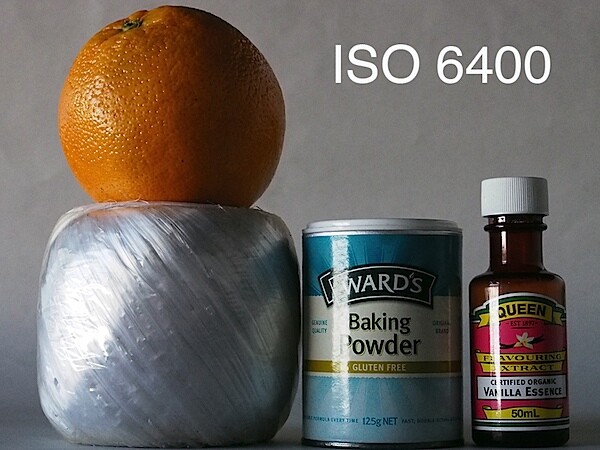
    Excellent performance all the way to ISO 6400. At ISO 12800 noise is still down and definition acceptable. By ISO 25600 the noise level has gone too far but definition is OK.
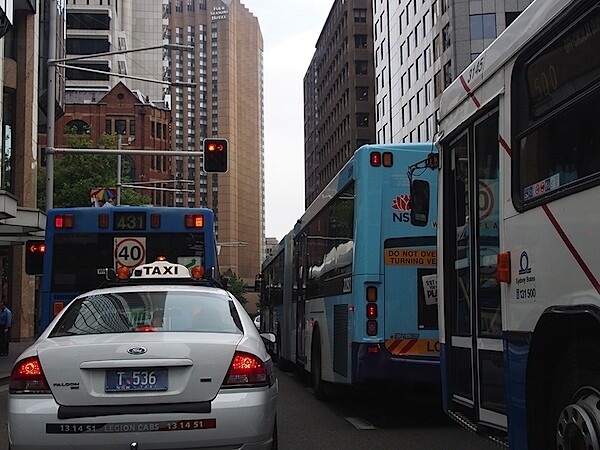
    City traffic.JPG

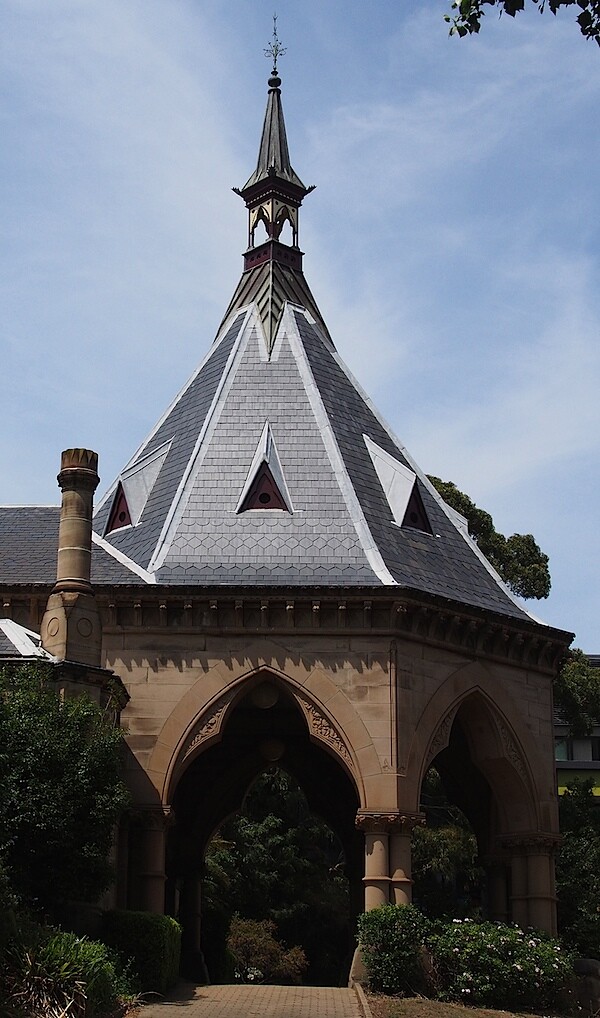
    Mortuary station 3.JPG

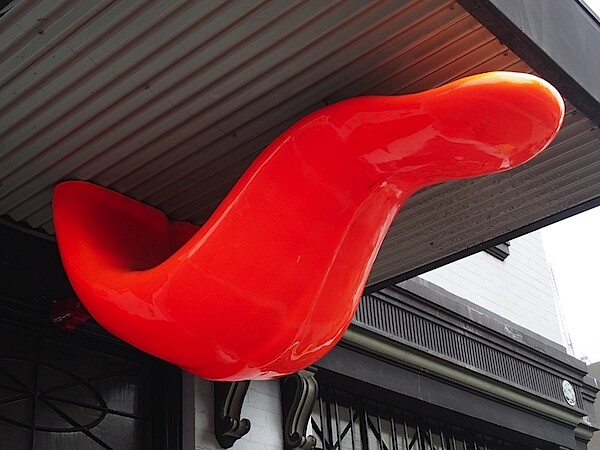
    Tongue ad agency.JPG

    Olympus PEN E-PM2 Review Verdict

    Quality: very good.

    Why you’d buy the Olympus PEN E-PM2: small, easily carried camera.

    Why you wouldn’t: you don’t like menu mining!

    This is a MILC model that will take very good quality pictures.

    Available in black, silver, red or white.

    Olympus PEN E-PM2 Specifications

    Image Sensor: 16.1 million effective pixels.
    Metering: Multi zone, centre-weighted averaging, spot.
    Effective Sensor Size: 17.3×13.0mm (22.5mm diameter) Live MOS.
    35 SLR Lens Factor: 2x.
    Shutter Speed: 60 to 1/4000 second, Bulb.
    Continuous Shooting: 8 fps.
    Memory: SD/SDHC/SDXC cards.
    Image Sizes (pixels): 4608×3455 to 1024×768. Movies: 1920×1080, 1280×720, 640×480 at 30fps.
    LCD Screen: 7.6cm LCD (460,000 pixels).
    File Formats: JPEG, RAW, JPEG+RAW, MPEG4.
    Colour Space: sRGB, Adobe RGB.
    ISO Sensitivity: Auto, 200 to 12800.
    Interface: USB 2.0, HDMI mini, AV, accessories.
    Power: Rechargeable lithium ion battery, DC input.
    Dimensions: 110x64x34 WHDmm.
    Weight: 269 g (inc battery and card).
    Prices: Get a price on theOlympus PEN E-PM2 at Amazon.

    Post originally from: Digital Photography Tips.

    Check out our more Photography Tips at Photography Tips for Beginners, Portrait Photography Tips and Wedding Photography Tips.

    Olympus PEN E-PM2 Review


    Digital Photography School

  • Delete Images?? NEVER!!

    Recently, Russel Masters wrote that deleting images was good for you.  While I agree there is a reason to delete some images- those clearly out of focus, poorly exposed, or with fatal composition flaws, I’m not a fan of wholesale deletion of images from a set.  This rule applies to portraits, landscapes, and anything else I shoot.

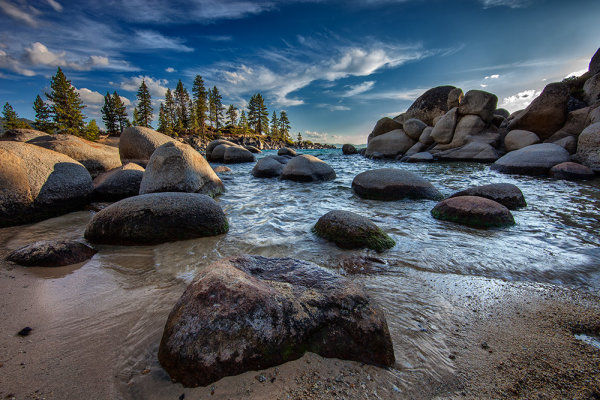
    Sand Harbor

    This image of Sand Harbor at Lake Tahoe, Nevada, languished on a hard drive for 3 years before I got around to editing it. It wasn't even in the folder I designated for the "keepers" I shot that day. The technical details: ISO 100, 1/25, f/16. EOS 5D Mark II with EF 14mm f/2.8L II.

    Here’s the deal.  I go through all of my images and immediately begin processing the ones that immediately strike me as being worthy.  Eventually I get through those, and then tend to walk away.  At this point, it seems Mr. Masters is content to keep the ones he’s deemed as “keepers” and deleting everything else in the name of hard disk space.

    I emphatically disagree with this philosophy.  First off, disk space in this day and age is relatively cheap. A 1TB external hard drive can be had for less than $ 100USD. I try to maintain redundancy with regards to hard drives, keeping two identical drives to store the files.  One is my working copy, while the other is simply a backup of RAW files, moved offsite to my office for safe keeping.

    Second, and more importantly, sometimes the emotion from the shoot gets in the way.   Several times, I’ve come home from a trip or a shoot and immediately worked on the images that struck me as keepers as soon as I shot them.  And those images still strike me as keepers, even years later. But I’ve had several times where I went back through images years after the originals were shot, and found gems that for whatever reason I didn’t even mark as a potential keeper.

    The above shot of Sand Harbor, Lake Tahoe is one example.  I shot this image, along with others that day, in 2009. I had several nice sunset shots and dusk shots that really popped for me. This shot was taken as I waited for the light to get more dramatic, and then was apparently forgotten in the heat of the moment as other images jumped ahead of it in my mind.  Fast forward to 2012.  I was going through old images on this hard drive, just basically looking for images I hadn’t yet processed and might want to.  I was bored and was looking for something to do.  I went through the images shot that evening and saw this one and wondered what I had been thinking in not processing the file.  Truth be told, it was a lot easier to process than some of the images I immediately worked on.  I simply tweaked the saturation and contrast and was done. Posted it to my website minutes after I completed the processing.  Within two hours, I sold a 20×30 print on acrylic for $ 225USD. Well worth the time and effort to edit.

    Boston Skyline

    This is another image, taken the same month as the Lake Tahoe shot. This was an exceptional shooting day for me. I went into Boston in search of this spot, found parking, and was thrilled to see all the sailboats on the Charles River, making for an excellent foreground. I used every lens in my bag this day, getting salable shots with each- everything from a 14mm f/2.8 to the 70-200 f2.8L IS. This shot was taken with the EF 24-105 f/4L IS, at 47mm. But due to the number of good shots captured that day, I just ignored it as being too blah. Since I finally edited it, it has sold 5 times!.

    Another such image is this one, of the Boston skyline. I’d shot this image in August 2009 as well. I’d had several shots I absolutely loved from this set.  For some reason, I find some of my best selling images are from in and around Boston.  I had decided to see what else I hadn’t posted to my website to see if I had anything worth posting that I thought might sell.  This image was one.   It’s less dramatic than some of the keepers I immediately edited that day.  In fact, it’s a fairly standard shot. But I had a great sky and good light that evening.  I felt it was worth working this image and posting it.  I’m glad I did.  In the 3 months since it was posted, the image has sold 5 times! Between the two images, I’ve made enough to purchase five 1TB hard drives- making Mr. Master’s argument about saving disk space moot.

    This shot was instantly deemed a keeper in my eyes, and edited immediately. I loved the effect the 14mm lens had on the clouds, and the interest added by the sailboats in the foreground. I had deemed the other shot, Boston Skyline, a bit too blah at the time of the initial edit. Three years later, I edited it, and within a few months has become one my best selling images.

    The bottom line is, I would be VERY careful of what I delete in terms of images.  Yes, get rid of those clearly flawed images. But the rest, even the ones that don’t strike you as worth processing?  Give them some time to age.  You may find they are a fine wine just waiting to be uncorked.


    Post originally from: Digital Photography Tips.

    Check out our more Photography Tips at Photography Tips for Beginners, Portrait Photography Tips and Wedding Photography Tips.

    Delete Images?? NEVER!!


    Digital Photography School

  • 5 Photography Tips for Beginners

    The road is for the journey, the real excitement lies in the ditches.

    Acquiring good pictures is a very relative term. I have viewed images from seasoned and well respected photographers that have left me scratching my brow and asking “why is that image so important and stellar that it sends the art critics ga-ga?  On the other hand I have viewed the work of amatuers that were sublime and left me in awe.

    Such is photography as an art medium.  As an amateur it matters not what others think of your images as long as you are true to yourself and have satisfied the reasons why you made the image in the first place.

    Oftentimes magazines and articles on the web overlook the photographer who has acquired their first camera. The articles are written in such a fashion that the writer assumes the reader has a basic understanding. What if they don’t?

    Below are five tricks for beginners that I have been teaching for quite some time.

    Tip 1:   Control the Amount of Light Coming from your Flash

    Many flashes on entry level point and shoot cameras “over-flash” the subject, and often there is little the photographer can do.  Until now that is. Carry a clean Kleenex brand nasal tissue with you, and carefully drape one layer of the tissue over the flash prior to pressing the shutter. Each layer of tissue will amount to lessening the flash output by an equivalent of one f/stop of light.

    Many photographers find the most pleasing flash balance to be between one and two f/stops of fill light. Therefore take three photos: one with open flash, a second with one fold of tissue and a third image with two folds of tissue. Just make sure the tissue is white.

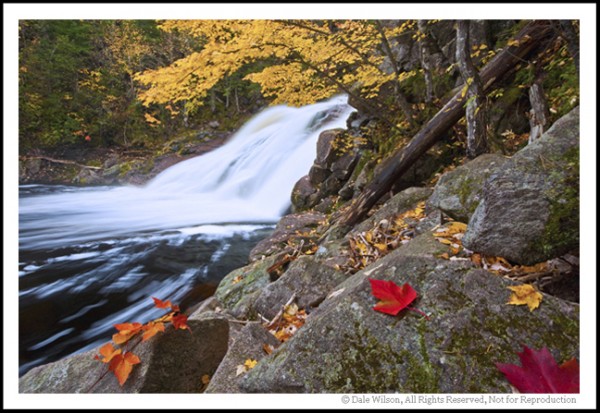
    Overcast days are perfect for photographing water.

    Tip 2:   Wait for the Right Light

    If the sun is hiding behind those cumulus clouds on a regular basis, just wait it out – it won’t be long.  Oftentimes with autumn colour, when the red and yellow foliage is dry, it really lacks vibrancy if the scene is not lit with bright sunlight. Conversely, if the scene is damp with moisture from fog, frost, or light rain, the photograph will usually record better when the scene is bathed in a soft overcast light. Know your light and adjust your shooting to the conditions. Nice sunny days equal big blue-sky landscape pictures; grey overcast days are perfect for portraits of people and things with no sky in the picture.

    Tip 3:   Use a Tripod, even with your Point and Shoot Camera

    Many cameras have the capacity to be attached to a tripod; if yours does, then use it. You will be amazed how the use of a tripod will almost single-handed make your photos that much better. The reason is simple: It will provide you the opportunity to stand, kneel or lay down behind you camera and study the composition elements in the viewfinder or LCD screen. How can you possibly do that if the non tripod-mounted camera is continually moving?

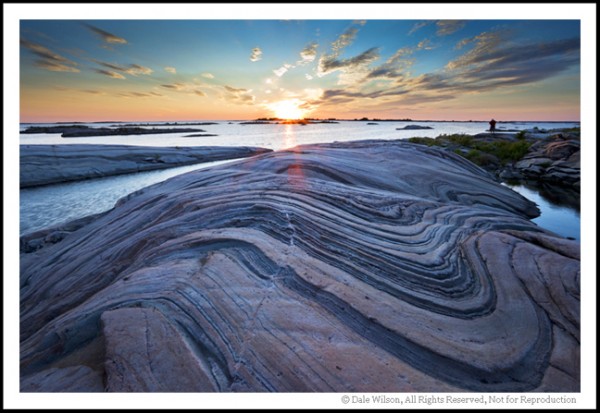
    Find interesting foregrounds and make that the centre piece of the image … sunsets are a dime a dozen.

    Tip 4:  Get down and wet-belly it

    Simply by viewing the scene from a different angle of sight, or perspective, your composition will improve dramatically. Observe experienced photographers the next time you are out shooting in a group. I’ll bet those photographers whose work you admire will have very dirty knees and seats on their trousers. Heck, some of us even wear contractors knee pads when working along rocky shorelines (I swear I have periwinkles imprinted on my knees).

    Tip 5:  I’ve Saved the most Important for Last

    Just get out of bed and do it.  It is usually advantageous when starting your photography career to give yourself assignments or participate in the weekly assignments found on the dPs website.  To paraphrase my good friend Daryl Benson: “You can attend all the workshops in the world and you can read all the books ever published, but if you are not out there just doing it then it is all for naught.”

    Most importantly, if you are having fun you are doing it right – disregard the critics!

    Post originally from: Digital Photography Tips.

    Check out our more Photography Tips at Photography Tips for Beginners, Portrait Photography Tips and Wedding Photography Tips.

    5 Photography Tips for Beginners


    Digital Photography School

  • Can we go Faster, Please? Lexar 1000x CF Cards

    This isn’t so much a review as a “I had the chance to use the Lexar 1000x CF cards and wanted to tell you about my experience”

    Time is one thing that we’re all finding we have less and less of, so anything that speeds a process up is a good thing. I’ve recently changed my focus (boom boom) in the kind of photography work I’m taking on, and find myself approaching weddings and portraits. Whilst a portrait shoot might be anywhere from 50 to 200 images, depending on what the person is after, a wedding might be 1000 images or even more – depending on the length of the wedding, the locations, the people involved etc… That can be anywhere from 20 to 40gb of images (camera depending, etc) and shifting that data into your computer can be time consuming.

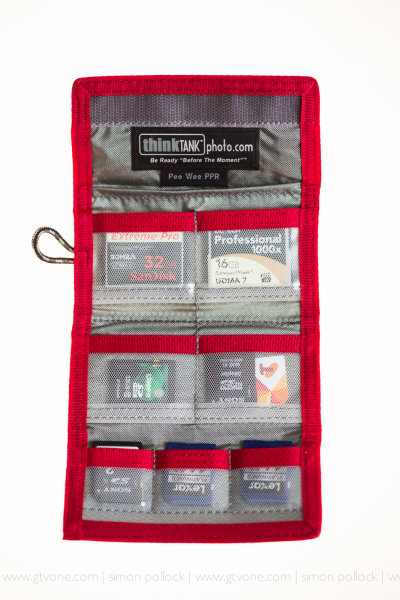
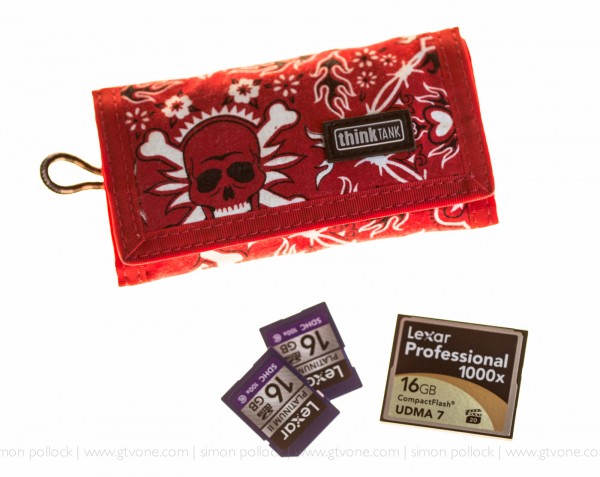
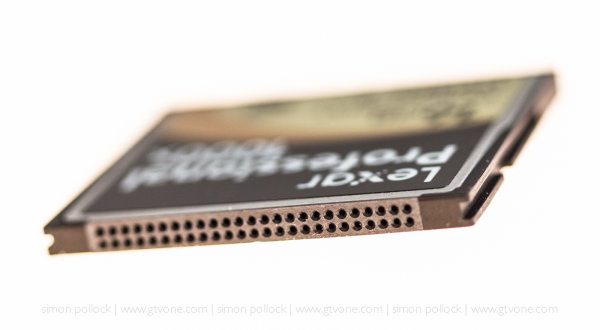
    Lexar 1000x memory cards

    The Lexar is quick in camera, emptying the buffer more quickly than any of my other CF cards including, but only just, the Sandisk Extreme Pro, but that’s not really an issue for me – I shoot with a Canon 5DMKII and MKIII and the Sandisk and the Lexar are fast enough for burst modes in both of these cameras, despite the newer MKIII being almost twice as fast as the MKII.

    Though, this can be an issue when you’re shooting fast events or continually filling your buffer before the card can write that data to its memory. Where the 1000x really came into its own was when transferring to my laptop via USB3 – I’m fortunate to be using a mid 2012 Macbook Air when on a location shoot, and so can transfer my files using the Lexar USB 3.0 card reader and the USB3 port on the laptop. Zoom zoom zoom.

    The speed difference between USB 2 and USB 3 is vast…. So, let’s go back to USB 1.0 — 12Mbps then, USB 2.0 at 480Mbps and we all ‘wowed’ so now, USB3.0 is able to transfer at a theoretical 4.8Gbps…..Don’t fear, I’m not going to geek out on you – let’s call it USB2 was fast at roughly 40Mbps, USB3 is about ten times as fast.

    So, taking a 16GB card full of images and transferring them via the Lexar USB3 (UDMA7) reader means that your transfer takes no time, when compared with an older card….

    My basic test, for you, went like this… Take the iPhone stopwatch, take a 10gb file (Video) and transfer it to the card… Twice… Then download it again, twice!

    We’ll start with the aData 16gb ….”not sure of the speed” CF card..

    Upload to my aData 16GB card took — 08:11.7
    Download from my aData 16GB card took — 04:07.3

    Yeah, was like watching paint dry! – That card is a backup for when all else fails!

    So let’s go to the Sandisk UDMA 7 Extreme Pro 32GB..

    Sandisk Upload — 01:46.4
    Sandisk Download —  02:56.3 (odd that up was faster than down, right? Well, this isn’t a lab)

    Right then, let’s pop the Lexar 1000x 16gb CF card in… UDMA7

    Lexar 1000x upload took — 02:15.8
    Lexar 1000x download took — 01:22.6

    Yeah, lightning! – That download was the important bit, the upload being plenty fast enough. From 4 minutes down when using the aData to 1:22 of the Lexar 1000x is pretty good.

    The Lexar comes with recovery software and is competitively priced. The Lexar 16GB is currently $ 77 and the Sandisk Extreme Pro 16GB is $ 79. The aData was about ten bucks, it’s true – you get what you pay for.

    Lexar Professional 1000x 16GB

    SanDisk 16GB Extreme Pro

    So, bottom line, do you need to buy the fastest memory card on the planet? Well – A few questions – is your camera new enough to handle a UDMA7 memory card? Are you able to take advantage of USB 3 on your computer? Does your shooting style require faster memory cards? — If you’ve answered yes, then simply click the link above and buy one. (They are affiliate links, and we thank you for your continued support)

    Now that you’ve read all this – maybe it’s time to pop across to another article on ‘how to care for your memory cards‘

    Hope that helps some of you umming and ahhhing about the newer faster compact flash cards.

    –Sime

    Post originally from: Digital Photography Tips.

    Check out our more Photography Tips at Photography Tips for Beginners, Portrait Photography Tips and Wedding Photography Tips.

    Can we go Faster, Please? Lexar 1000x CF Cards


    Digital Photography School

  • Fujifilm XF1 Review

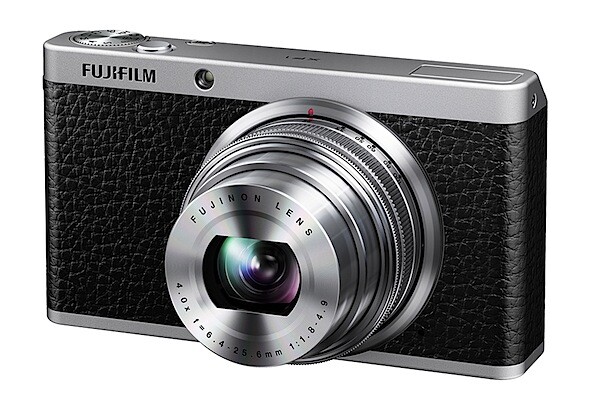
    XF1_Black_Front_Left_Wide.jpg

    After a swag of complex, interesting and somewhat challenging digicams passed over my review desk, I felt I deserved a holiday. So I fell upon this new, aluminium-bodied Fujifilm model as an example of what you can find out there: small, pocketable, easy to use, yet with a smallish zoom range … but with a very fast lens.

    It’s easy to get blasé in this business and sometimes I don’t immerse myself deeply enough in the press guff that accompanies these delights of technology. So when I pulled the XF1 out of the box I was flummoxed at how to start it up. No power button! Nowhere could I find a means to kick it into life. And of course the last place I would look for assistance was in the instruction manual PDF!

    So what to do?
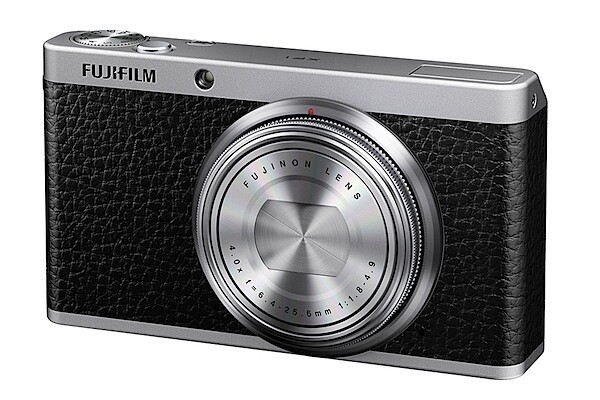
    XF1_Black_Front_Left_Off.jpg

    I then noticed that the lens was oddly flush with the camera body. So I idly twirled the lens, pulling it out a few mils. Then twirled it a bit more.

    Voila! Power’s on. LCD screen comes alive. What a gas! Cleverest startup I’ve ever seen.
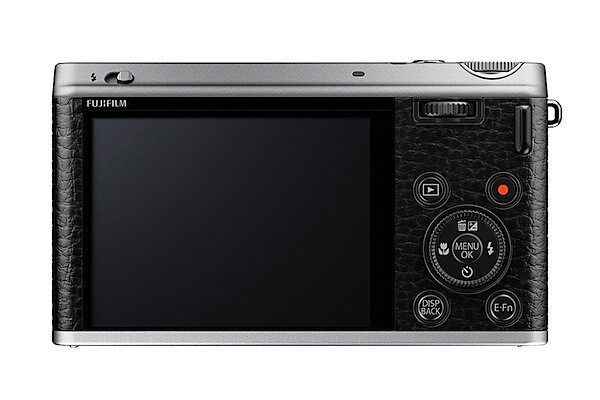
    XF1_Black_Back.jpg

    Fujifilm XF1 Features

    The review XF1 was beautifully styled with a chrome top deck and black body. Very Leica-ish! It’s also available in two other colours: red and brown.
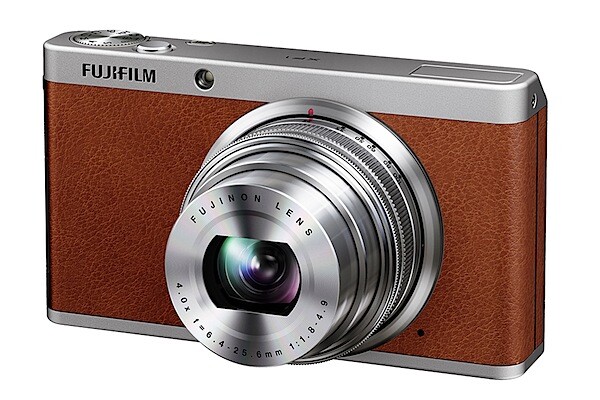
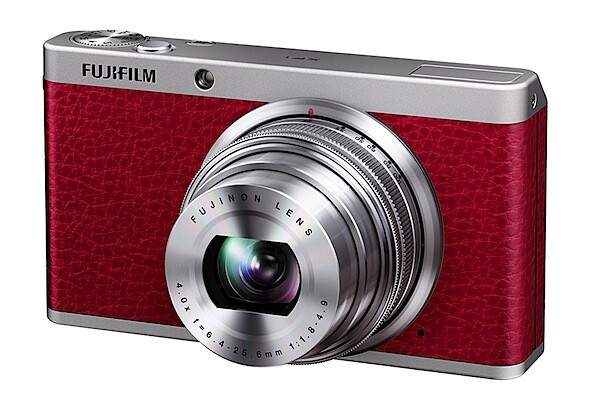
    XF1_Brown_Front_Left_Wide.jpg

    XF1_Red_Front_Left_Wide.jpg

    The lens is an f1.8 4x zoom, with the wide end a decent 25mm SLR equivalent, zooming into a useable 100mm tele end, ideal for portraiture.

    The maximum image size can deliver a 34x25cm print.

    Movies at Full HD res of 1920×1080 pixels can be shot.

    In keeping with the clean design philosophy, external controls are down to an absolute minimum.
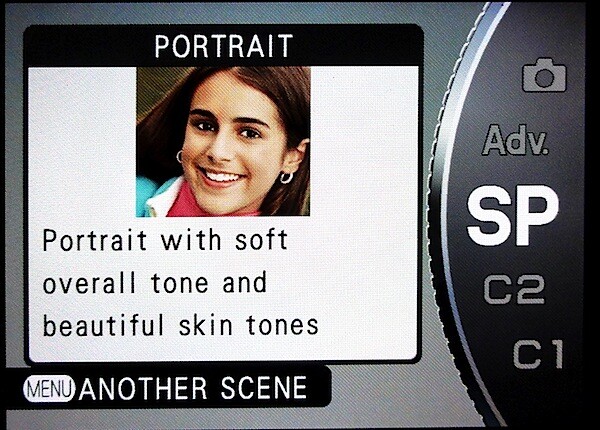
    Top deck: mode dial (PASM, auto, two custom settings, EXR, advanced settings, scene position) plus shutter button, Function and flash pop-up.

    Rear: four way rocker (trash, exposure compensation, macro, self timer, flash settings) display options, Function, replay and video record.
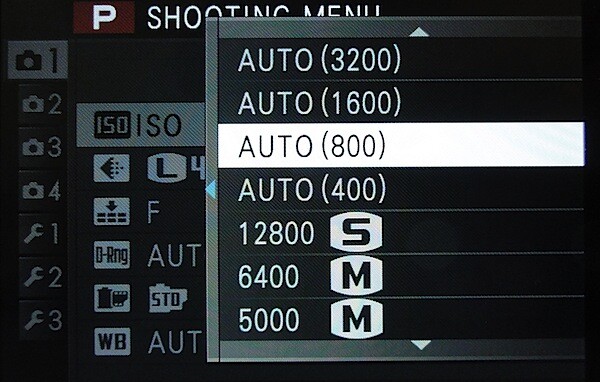
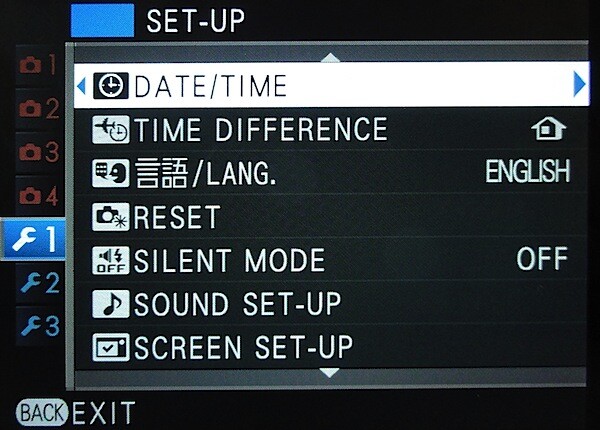
    Main menu.JPG

    Menu 2.JPG

    SP.JPG

    The screen menus are displayed in large, clear text in a series of well laid out panels. One of the best menu sets I have seen.
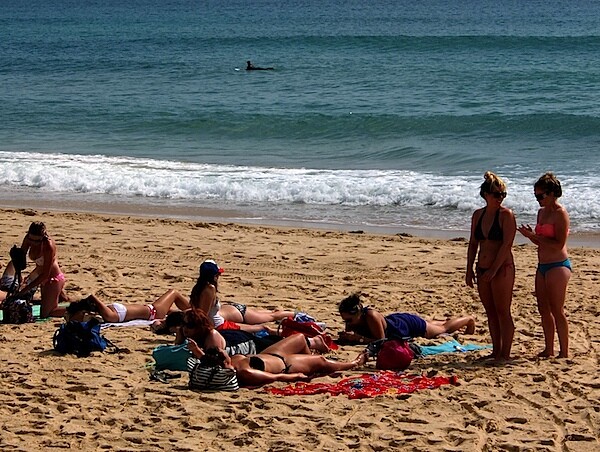
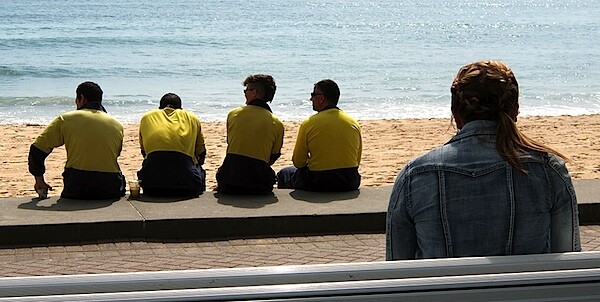
    Beach group.JPG

    Beach people 5.JPG

    Shop mural 3.JPG

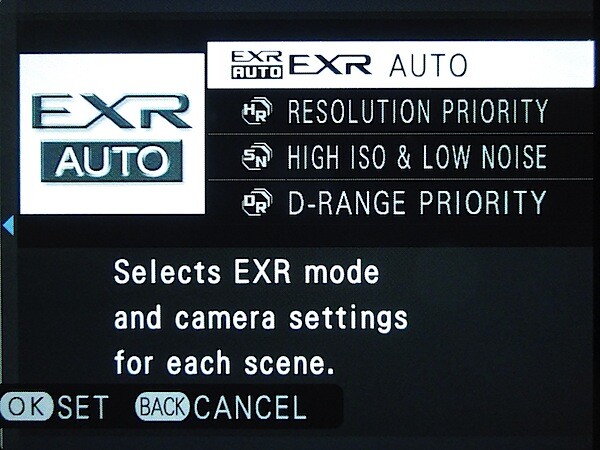
    A note on the EXR feature: in this mode the camera selects the optimum setting from 103 patterns; this helps you lift the quality of your image taking
    EXR.JPG

    Choose from an auto setting, or ones that place emphasis on resolution, high ISO and/or low noise or D-Range that will increase detail highlights. One worth exploring.

    Startup Time

    The camera is fast in departments other than the f1.8 lens: in less than a second I was ready to shoot my first shot with follow-ons coming in at a rate of less than a second each and as I became more practised in rolling the lens out obviously the startup figure would fall!

    Distortion

    Some evidence of barrel distortion at the wide end of the zoom; no problems at the tele end.

    Panoramas

    As with the XE-1, this model can shoot large motion panorama stills, with the camera capturing a run of individual frames, then stitching them in camera.

    Fujifilm XF1 ISO Tests
    Fujifilm XF1 ISO 100.JPG

    Fujifilm XF1 ISO 400.JPG

    Fujifilm XF1 ISO 800.JPG

    Fujifilm XF1 ISO 1600.JPG

    Fujifilm XF1 ISO 3200.JPG

    Fujifilm XF1 ISO 6400.JPG

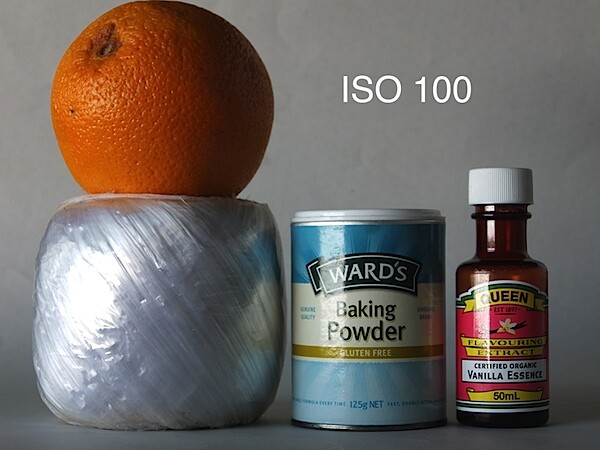
    Very interesting! The initial shot at ISO 100 revealed that the camera is not exactly razor sharp at close distances (ie 30cm).

    Higher ISO figures revealed that definition fell further, then noise became apparent at ISO 1600 and rose even more by ISO 6400 (2816×2112 pixels). No point in testing ISO 12800 due to an even smaller capture size (2048×1536 pixels).

    Fujifilm XF1 Review Verdict

    Quality: good at normal distances. Not the best for close up work.

    Why you’d buy the Fujifilm XF1: fast to get going; high quality snapping.

    Why you wouldn’t: you may find the startup routine unnecessarily fiddly … takes some time to get used to!

    There’s a lot to like in this camera, although I fell afoul of the startup routine when rolling the lens from wide to tele: if I ran the lens too hard against the tele end it shut down! Frustrating!

    I then figured out there were two startup configurations: travel mode, where the lens retracts fully inside the camera to minimise the camera size; pull the lens slightly away from the body, then (when ready to shoot) roll the lens to the desired focal length.

    An interesting camera for a number of reasons.

    Fujifilm XF1 Specifications

    Image Sensor: 12 million effective pixels.
    Sensor: 17mm EXR CMOS.
    Metering: Multi segment, averaging, spot.
    Lens: Fujinon f1.8-4.9/6.4-25.6mm (25-100mm as 35 SLR equivalent).
    Exposure Modes: Auto, Program AE, shutter and aperture priority, manual.
    Shutter Speed: 30 sec to 1/2000 second.
    Memory: SD/SDHC/SDXC.
    Continuous Shooting: Approx 3-16fps.
    Image Sizes (pixels): Stills: 4000×3000 to 1536×1536.
    Movies: 1920×1080, 1280×720, 640×480, 320240, 320×112.
    Viewfinders: 7.6cm LCD screen (460,000).
    File Formats: JPEG, RAW, JPEG+RAW, MPO (3D), MPEG4.
    ISO Sensitivity: Auto, 100 to 12800.
    Interface: USB 2.0, HDMI mini, AV.
    Power: Rechargeable lithium ion battery.
    Dimensions: 107.9×61.5×33 WHDmm.
    Weight: 225 g (inc battery, card).
    Price: Get a price on the Fujifilm XF1 at Amazon.

    Post originally from: Digital Photography Tips.

    Check out our more Photography Tips at Photography Tips for Beginners, Portrait Photography Tips and Wedding Photography Tips.

    Fujifilm XF1 Review


    Digital Photography School

  • The Best Thing For Your Smartphone Images

    Set Your Smartphone Pictures Free

    For the photographic community I think it’s fair to say that the jury is still out so far as the legitimacy of smartphone photography goes. Some say that it’s a fad, others that it is the future. Although I am no evangelist, I do think that the quality of images now achievable is pretty impressive and I can believe a future where the point and shoot is surpassed by the smartphone camera. As you can probably tell, I love taking pictures with my camera phone.

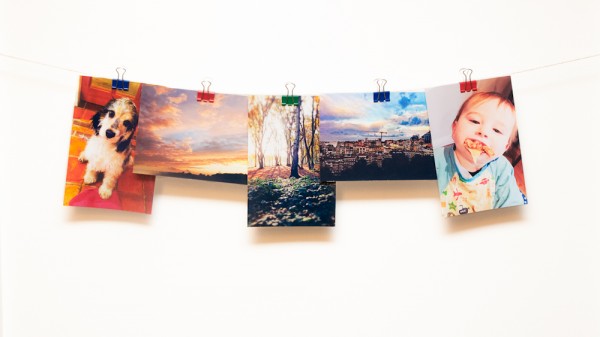
    So if you are like me your phone is probably jammed with all kinds of images none of which do anything more than live on your handset or PC.  I have always been a massive fan of printing my images, there is just something so satisfying about taking a picture from conception to capture and finally on to paper yet for some reason we don’t think that this applies to the pictures we take on our phone.  Recently I discovered the joy of printing images directly from my phone and I can hand on heart say that it’s the best thing you can possibly do with your smartphone pictures.  Just in case you aren’t sure how to get started here is a short guide:

    Disclaimer – The steps below cover wireless printing from the iPhone (just because it’s the only smartphone I have).   It is possible to print from Android handsets however the operating system doesn’t (I believe) do this natively so you may need to download an separate app to do this but the process should be broadly similar.

    • The printer – The best way to print directly from your phone is by using a wireless printer however not all printers support Apple AirPrint so don’t forget to check that your printer is compatible.  The Apple website contains a list of compatible printers however its worth checking your printer manufacturers website also.
    • Get your media – You can print on any media which your printer can handle however my preference is to use one of the various pre cut photo papers which are readily available online or in any stationary store.  I personally like to print on 6 x 4 glossy sheets as I find that this give a pleasing balance between image size and quality.  You can go larger if you like but don’t forget that the maximum size you can print and maintain image quality will be dependent upon the resolution of your camera.   A batch of 50 sheets retails in the region of £5 (about $ 8 US) so assuming you already have a printer its a pretty cheap investment.

    Printing

    As iOS have inbuilt support for wireless printing (via AirPrint) sending your images to your printer is actually very simple.  Check out the video below to see the actual process but in summary here are the main steps:

    • Navigate to your Photos app.
    • Select a photo to print.
    • Tap the share icon (the one with the pointing arrow).
    • Tap the print icon.

    Summary

    Printing from your phone is a fantastic way to make more of your smartphone images and is an especially good way to share your mobile masterpieces with friends and family.  Having recently discovered the joys of printing from my phone I can highly recommend giving this a try, its cheap, easy and a great way to bring your smartphone pictures to life. Enough said!


    Post originally from: Digital Photography Tips.

    Check out our more Photography Tips at Photography Tips for Beginners, Portrait Photography Tips and Wedding Photography Tips.

    The Best Thing For Your Smartphone Images


    Digital Photography School

  • How to Create Portraits that Captivate and Intrigue

    Yesterday as I wrote about an old professional photographer friend taught me about using a zoom lens as a compositional tool I was reminded of another influence that he had upon me – that of always considering the background and surrounds of your portrait subject.

    Image by Blazej Mrozinski

    I remember looking through one of his portfolios one afternoon and marveling at the way he was able to create shots that were just so…. interesting.

    He was the type of photographer who produced portrait images that you just couldn’t glance at – you were captivated by them, really drawn into the image.

    I remember trying to pick his brain as to how he did it and after a few moment of thinking he replied:

    “I spend more time thinking about the background in my shots than thinking about the main subject.”

    With that in mind I worked back through some of the images in his portrait portfolio again and realised that he was right – image after image featured subjects surrounded by well considered and interesting backgrounds.

    Image by orangeacid

    • The backgrounds gave context to and told the stories of the subject.
    • They didn’t overwhelm or distract from the subject – but gave meaning to it and brought them alive.
    • Sometimes the surrounds of the person communicated who they were and sometimes they left you intrigued – wanting to know more

    Image by an untrained eye

    I came away from that experience challenge to consider the backgrounds and surrounds of the people I photographed and found myself thinking less about how to pose people but thinking more about what scene to put them into.

    Image by mharvey.nyc

    PS: I’m not suggesting this is the only or even best way to take portraits. There’s certainly a place for minimalistic portraits too which isolate the subject – but I think many photographers could learn a lot from considering their backgrounds more.

    Post originally from: Digital Photography Tips.

    Check out our more Photography Tips at Photography Tips for Beginners, Portrait Photography Tips and Wedding Photography Tips.

    How to Create Portraits that Captivate and Intrigue


    Digital Photography School

  • Get Your Photo Equipment Ready for Winter

    Winter is coming, and unlike normal people, who rush to get new coats, sweaters and winter tires, geeky guys with photo cameras have some extra things to remember. Winter is, just like all other times of year, is great for photography. Even if it seems that the whole season is a dark eternal night, I think in every country and Continue Reading

    The post Get Your Photo Equipment Ready for Winter appeared first on Photodoto.


    Photodoto