Category: Photography

  • The Guide of How to Succeed at Freelance Photography

    Many photographers work freelance. It’s just the nature of the industry. You may believe that working freelance is the ideal life since it means no boss, no micromanagement and definitely no annoying co-workers to deal with on a regular basis. Not so fast, there! Working freelance photography also means the potential of no regular paychecks, no support from fellow co-workers Continue Reading

    The post The Guide of How to Succeed at Freelance Photography appeared first on Photodoto.


    Photodoto

  • Nikon Coolpix P7800 Review

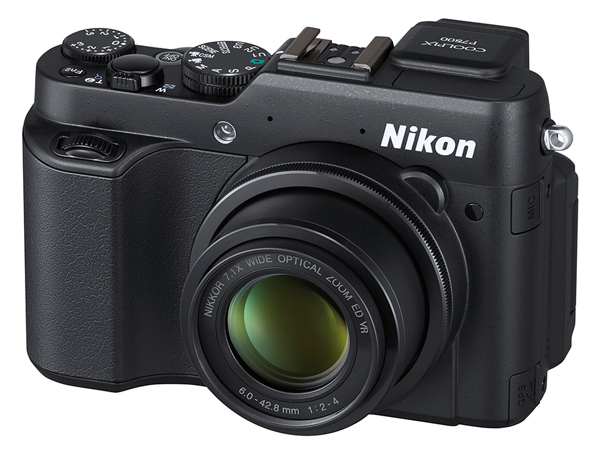
    Nikon Coolpix P7800 digital camera review

    It helps now and then to look around the market and see what’s out there. Occasionally, a downscale camera that has escaped your notice can precisely answer your needs. Successor to the COOLPIX P7700, reviewed only six months ago, the P7800 delivers full-scale manual shooting, with some functions normally available only in DSLRs.

    Features of the Nikon Coolpix P7800

    Zoom lens

    It has a 7.1x optical zoom that runs a 35 SLR equivalent range of 28-100mm. Sure, it’s not in the same territory as Sony’s 30x zoom model, the DSC-HX50V, nor Canon’s SX50 HS with a 50x zoom lens. But, as many have found out, these maxi zoomers need a considerable amount of TLC to bring home the picture bacon: steady hands, a firm support for the camera and a shooting environment that does not cloud distant views with atmospheric haze.

    Personally, I’ve found compact digital cameras with zooms up to 10x to be practical picture takers so, with a 7.1x zoom like the P7800, you’re well within handheld territory. Along with this is a pocketable size and manageable weight.

    Maximum aperture

    Another bonus is the lens’ fast maximum aperture at f/2.0. This drops to f/4 as you head towards maximum telephoto but becomes no smaller.
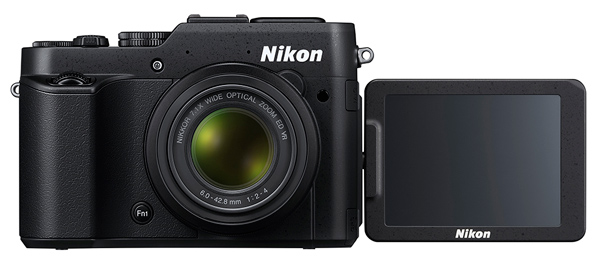
    Nikon Coolpix P7800 digital camera review

    Eye level viewfinder

    Another plus is an eye level viewfinder, so you can aim at the view in full sunlight and not have to battle with a washed out LCD screen. You may not have noticed it, but there are fewer and fewer digital cameras coming to market with such a viewfinder. This situation, I figure, is one that tips many photographers into the arms of the DSLR type of camera and ensnares people who are bereft of the skills to drive such a complex camera. Sure, the view in daylight is much better but if the technology is above your talent … well!

    Image size

    The maximum image size is 4000×3000 pixels or 34×25.4cm (13×10″)as a print at roughly 300 dpi.

    Video

    The Nikon Coolpix P7800 can capture Full HD video at 1902×1080 pixel resolution. Here is a sample video taken with the P7800:

    If you’re looking for the red button to record video … stop! There isn’t one. You must engage the video position on the mode dial and press the shutter button. This means you can’t shoot stills mid video recording. This absence of a red button to record, is rare amidst digital cameras.

    Burst rate (frames per second)

    For what it’s worth, the camera can fire off a burst of six full size images at a maximum rate of 8 fps.

    Handling

    As I said, the P7800 is an agreeable size and weight, made even more comfortable thanks to a prominent speed grip and good balance. The viewfinder is useable, although a little murky and lacking in definition – but it does frame your shot and confirm focus and level, plus such matters as; selected aperture, shutter speed, ISO setting, camera level, white balance etc.

    For more precise viewing (in ambient light less challenging than broad sunlight), you must use the rear LCD screen, which is variable in angle vertically and horizontally.

    Top deck controls
    Nikon Coolpix P7800 digital camera review

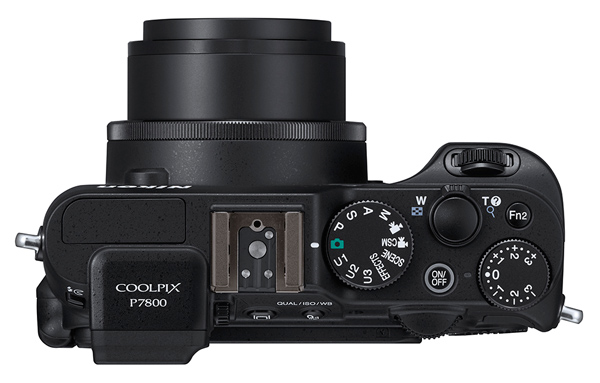
    Top deck controls: at extreme left is the pop up flash and across to the right is the mode dial with settings for auto, P,A,S,M, scene mode (portrait, beach, sunset, panorama etc), special effects (mono, painting appearance, cross processing etc), three user settings, movie and movie custom setting modes.

    Farther to the right are the power and shutter buttons, zoom lever, exposure compensation and the Function 1 button that switches the screen display options. Oh and I nearly missed this one: the Function 1 button is tucked away on the front panel, next to the lens. A bit puzzling and poorly explained in the manual, but I figured out that it can directly adjust the ISO setting, RAW, AWB amongst other matters.

    But there’s a trap with this button: press it with your forefinger and your thumb naturally applies a back pressure that unfortunately may well cause you to accidentally press one of the rear panel buttons.

    There are two command dials (one at front and rear) that can spin you through aperture and shutter speed options or roll through menu options.
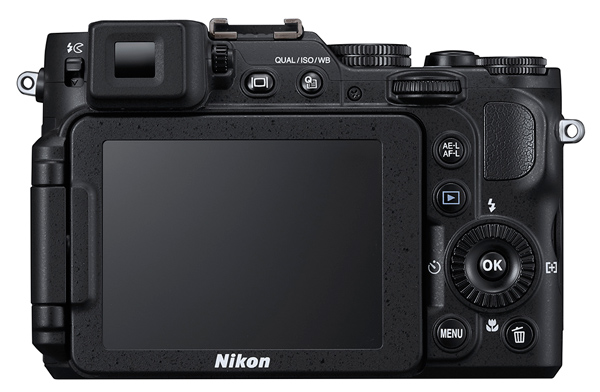
    Nikon Coolpix P7800 digital camera review

    Rear controls

    On the top level of the rear are two buttons: one triggers the turret finder or LCD screen; the other takes you into a quick menu situation. Beneath these is the replay button. Lower still is the four position jog wheel that takes you to flash options, macro shooting, self timer and AF area choices. Beneath this are the menu and trash buttons. At the right edge are the access terminals for USB, HDMI mini and AV outputs.

    Card slot and battery compartment are in the camera’s base.

    By using the WU-1a Wireless Mobile Adapter, you can transmit images from the P7800 to a WiFi equipped device such as a smartphone or tablet. You can also shoot through your mobile device using the Live view function.

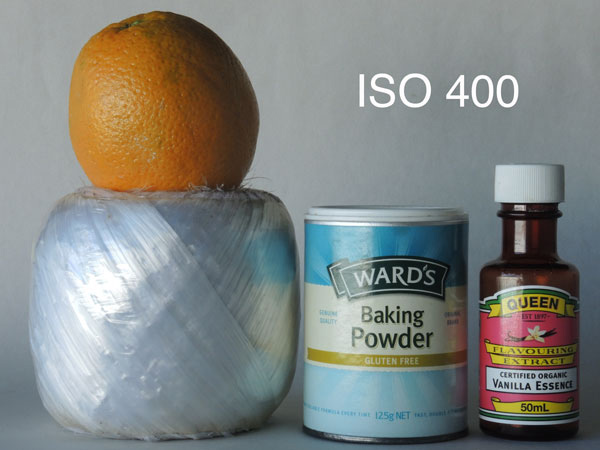
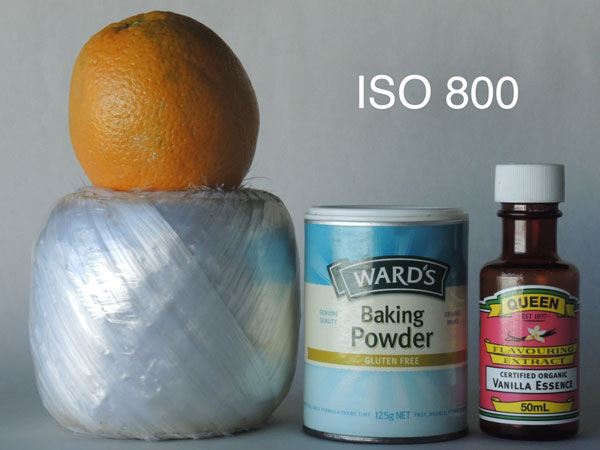
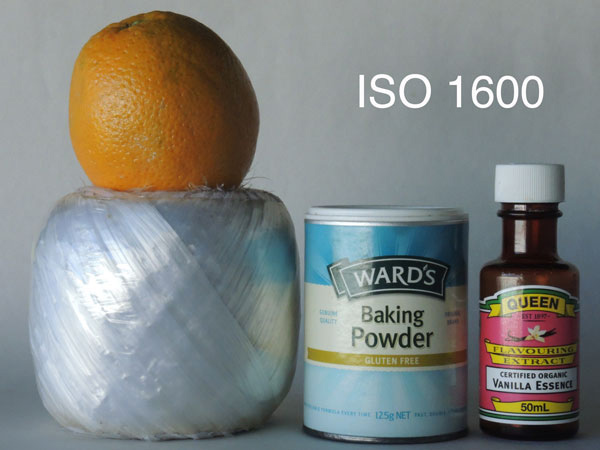
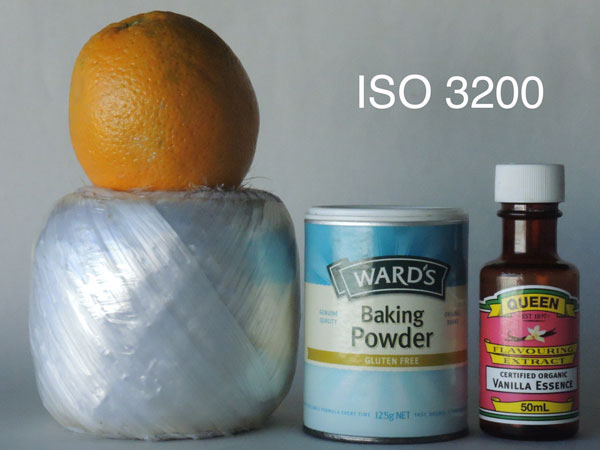
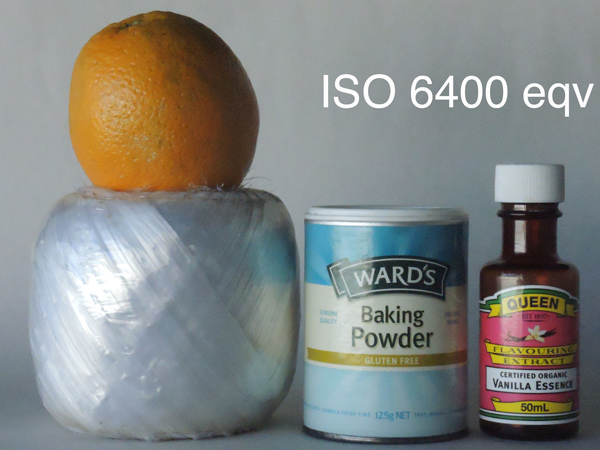
    ISO tests
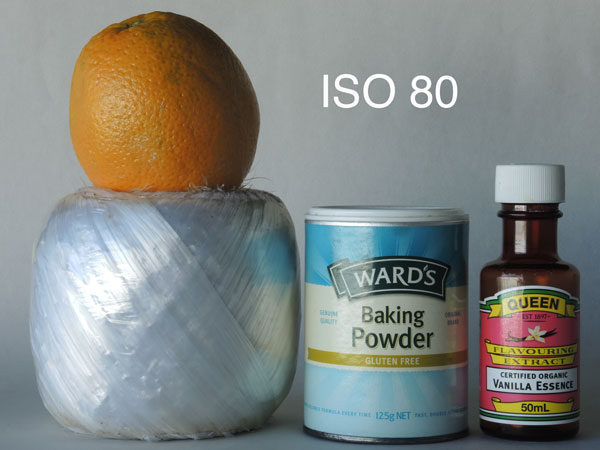
    Nikon Coolpix P7800 digital camera review ISO test

    Nikon Coolpix P7800 digital camera review ISO test

    Nikon Coolpix P7800 digital camera review ISO test

    Nikon Coolpix P7800 digital camera review ISO test

    Nikon Coolpix P7800 digital camera review ISO test

    Nikon Coolpix P7800 digital camera review ISO test

    Nikon Coolpix P7800 digital camera review ISO test

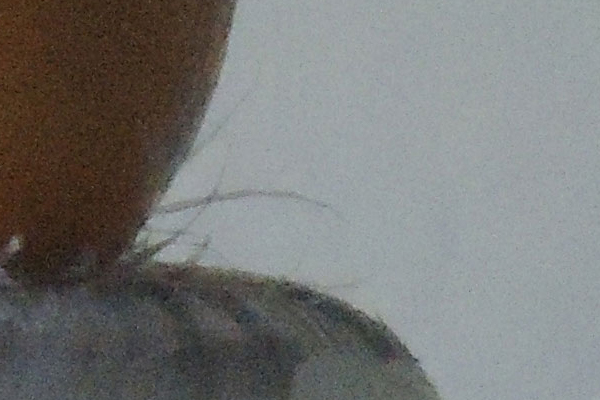
    ISO 6400 cropped to actual pixel size

    Noise rose slightly at ISO 1600. By ISO 3200 noise was up further and definition was suffering. Forget ISO 6400 equivalent.

    Startup time

    About a second after startup I could shoot the first shot, a little over a second per shot subsequently.

    Distortion

    No problems at either end of the zoom.

    Sample images and settings
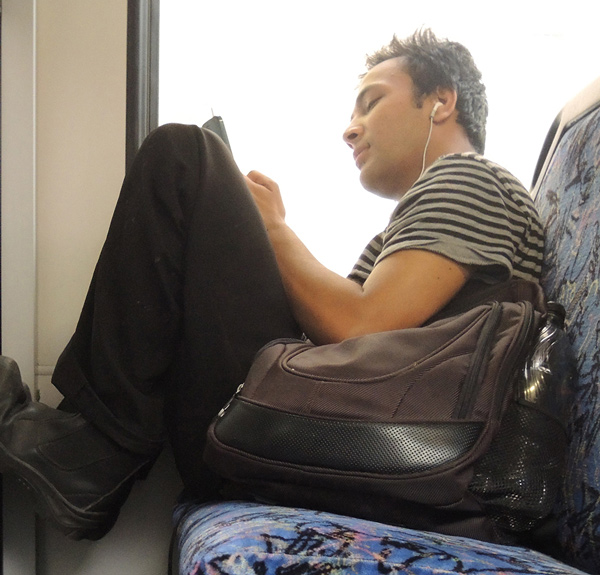
    ISO 800, f/2, 1/50th of a second
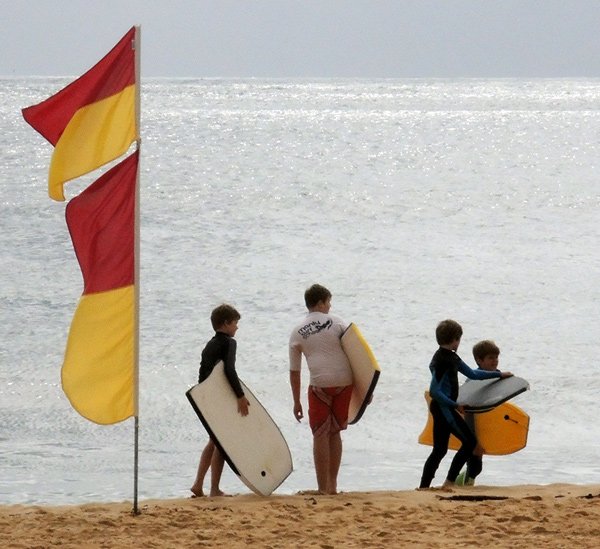
    ISO 800, f/2, 1/50th of a second

    Nikon Coolpix P7800 digital camera review image sample

    ISO 800, f/8, 1/4000th of a second, spot metering mode
    Nikon Coolpix P7800 digital camera review image sample

    ISO 800, f/5, 1/250th of a second, Matrix metering mode
    Nikon Coolpix P7800 digital camera review image sample

    ISO 800, f/4.5, 1/1250th of a second, Matrix metering mode
    Nikon Coolpix P7800 digital camera review image sample

    ISO 800, f/5.0, 1/1600th of a second, Matrix metering mode

    Comments

    Quality: above average, with accurate colour rendering.

    Why you would buy it: you want a ‘proper’ viewfinder (like a DSLR); it’s pocketable.

    Why you wouldn’t: buy it you want a maxi zoom.

    FWIW I had a ball of fun with the P7800 shooting around the city; the zoom range was perfect for this, with the telephoto end of the 200m equivalent ideal for the longer reach. Mind you, it won’t suit sports photographers … not long enough (or fast enough).

    Technical specs

    • Image Sensor: 12.2 million effective pixels
    • Metering: Matrix, centre-weighted and spot
    • Sensor: 15mm CMOS
    • Lens: f2-4/6-42.8mm (28-200mm as 35 SLR equivalent)
    • Exposure Modes: Program AE, shutter and aperture priority, manual
    • Shutter Speed: 60 to 1/4000 second
    • Continuous Speed: 8 fps
    • Memory: SD/SDHC/SDXC cards plus 86MB internal memory
    • Image Sizes (pixels): 4000×3000 to 640×480
    • Movies: 1920×1080, 1280×720, 640×480
    • Viewfinder: 0.5cm turret plus 7.5cm LCD (both 921,000 pixels)
    • File Formats: JPEG, NRW (RAW), MPO (3D), WAV, MPEG4
    • ISO Sensitivity: Auto, 80 to 6400
    • Interface: USB 2.0, AV, HDMI mini, mic input, accessory, WiFi, DC input
    • Power: Rechargeable lithium ion battery, AC adaptor
    • Dimensions: 118.5×77.5×50.4 WHDmm
    • Weight: 399g (including battery and SD card (just under 1 pound)

    Price: approximately $ 550 US 

    Web: Nikon Coolpix P7800

    DPS Rating: 4


    Post originally from: Digital Photography Tips.

    Check out our more Photography Tips at Photography Tips for Beginners, Portrait Photography Tips and Wedding Photography Tips.

    Nikon Coolpix P7800 Review

    The post Nikon Coolpix P7800 Review by Barrie Smith appeared first on Digital Photography School.


    Digital Photography School
  • How Low Can you Go? An Illustration of Camera Angle for Wildlife Photography

    This is a guest article by photographer Paul Burwell

    Whenever I teach wildlife photography, I inevitably go on at some length about the necessity of trying to get your camera near the height of your subject’s eyes.  This concept doesn’t only apply to wildlife photography, it applies equally well to photography of people, pets or hobbits.  When I teach this concept to a group of students, their eyes tend to glaze over until I put some images in front of them that can really illustrate the point.

    Safety first

    It obviously isn’t always practical or safe to get into a lower shooting position. This is true if you’re dealing with larger animals and especially predators, getting low may trigger their prey response where they start to consider you a potential snack, or in my case a meal.  It isn’t just your health I’m concerned about, as it seems the regular response to some sort of animal attack is for the authorities to track down the offending critter and end its time on earth.  So, when I’m telling you that your pictures will improve if you can get lower and match your subject’s eye level, you do still need to THINK about what you’re doing and the sort of subject you’re dealing with.  No photograph is worth either your health, or the health of your subject.

    How camera angle effects your images

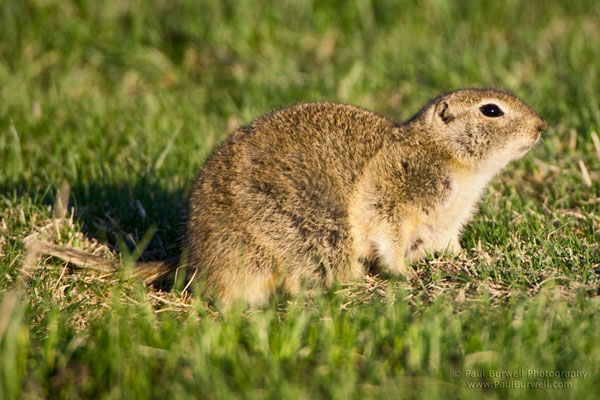
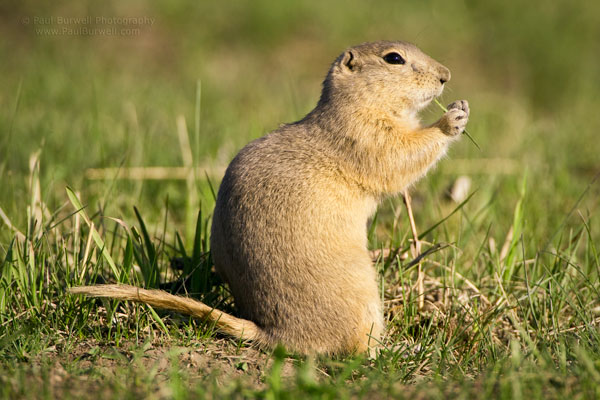
    I thought I’d use the following images, of the extremely dangerous and elusive Richardson’s ground squirrel, to illustrate how images improve as the angle of the camera to the subject changes in respect to the level of the subject’s eyes.  This is the perfect critter for this topic because, depending on the squirrel’s posture, its eyes are somewhere between one and six inches (2.5 to 15 cm) above the ground.  All of the images below were photographed with my full-frame Canon DSLR along with the Canon 500mm lens with a 2.0x teleconverter on it for an effective focal length of 1000mm.  All of the images were made at an aperture setting of f/9, the standard setting I use on this lens/teleconverter combination when I’m wanting as little depth-of-field as possible while at the same time stopping down a bit to compensate for the sharpness lost by using the teleconverter. 1000mm is roughly equivalent to about a 20x zoom, if you are using a point-and-shoot type camera, from what our bare eyes would normally see.

    Examples

    This first shot was taken from my vehicle with the lens resting just on top of the window opening.  The extreme focal length (or magnification factor) of images made with a super telephoto lens does help minimize the apparent difference in height (which ended up being about four feet or 1.2 metres) but you can still tell it was shot looking down at the squirrel.

    Richardson's Ground Squirrel sitting on the grass - shot from four feet height

    Richardson’s Ground Squirrel sitting on the grass – shot from four feet height (1.2 meters)

    On this next photo below, using my tripod with the lens about 18 inches (45cm) above the ground, you can really see how the camera angle has changed and how nicely the background resolves into a whole bunch of nothingness (technically called bokeh), but there is still an element of peering down on the ground squirrel.

    Richardson's Ground Squirrel sitting on the grass - shot from 18" camera height

    Richardson’s Ground Squirrel eating a piece of grass – shot from 18″ camera height

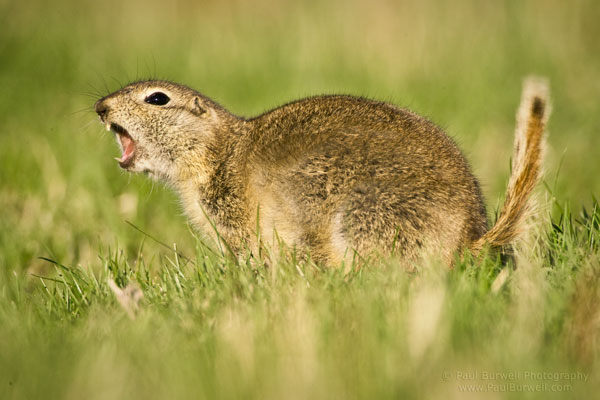
     The effect of getting your lens closer to your subject’s eye level is that the viewer of your images is able to look at the subject without looking down at it and the innate connection between the viewer and the subject is a lot more intimate and compelling.  So what happens when you get even lower to the point where your lens is as close to the eye level of the subject as possible?

    Richardson's Ground Squirrel giving a warning signal - 6 inch camera height

    Richardson’s Ground Squirrel giving a warning signal – 6 inch camera height

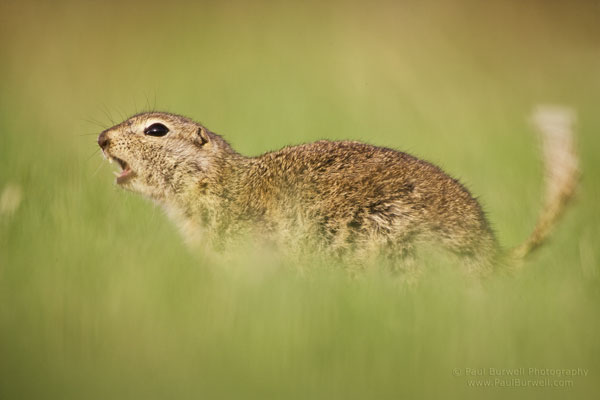
    Richardson's Ground Squirrel giving a warning signal - 6 inch camera height

    Richardson’s Ground Squirrel giving a warning signal – 6 inch camera height

    You can see the image becomes even more compelling with the lens and camera are now at the same level of the squirrel. I was laying in a prone position on the ground for these last two images, with the lens resting on a bean bag.  In the first of the two images above, shot at 6 inches camera height, you can really see the delineation line of what’s in focus and what isn’t (the DOF).  One could argue that the out of focus grass in front of the image is distracting, but, I’d argue that the dreamy effect created adds to the interest of the photo, and the squirrel’s head and eyes are nice and sharp.

    Summary and your turn

    I hope that these images, along with the accompanying text, help illustrate the point about getting to your subject’s eye-level whenever feasible. It’s not necessary to use a 500mm lens, you will have the same effect with whatever lens you have.

    • Have some feedback on these images?
    • Have questions about different situations?
    • This is the place to ask them or contribute your own thoughts.

    Paul Burwell wildlife photographerIn addition to being the owner of the Burwell School of Photography, Paul Burwell is a professional photographer, writer, educator and enthusiastic naturalist with over twenty years experience working with and educating adults. He is a contributing editor and regular columnist with Outdoor Photography Canada Magazine. Paul has been a finalist in the Veolia ‘Wildlife Photographer of the Year’ worldwide competition both in 2009 and 2010 and was named a ‘Top Wildlife Shooter’ by Popular Photography Magazine in 2010. You can find Paul on Google Plus and Paul Burwell.com.

    Post originally from: Digital Photography Tips.

    Check out our more Photography Tips at Photography Tips for Beginners, Portrait Photography Tips and Wedding Photography Tips.

    How Low Can you Go? An Illustration of Camera Angle for Wildlife Photography

    The post How Low Can you Go? An Illustration of Camera Angle for Wildlife Photography by Guest Contributor appeared first on Digital Photography School.


    Digital Photography School
  • Comparing Images with Lightroom 5’s Survey View

    Using Survey View

    Andrew S. Gibson is the author of Mastering Lightroom Book One: The Library Module, on offer now at SnapnDeals for a limited time.

    ‘Working the subject’ is an expression often used in photography to describe the process of taking a series of photos of the same subject. The idea is to work your way closer to the ‘perfect’ photo (if there is such a thing) by varying the camera angle, focal length, point-of-view and other factors. As part of the editing process it’s the photographer’s job to select the best images to process. In the old days this meant poring over a lightbox or contact sheet with a loupe. Some people still do it this way, but most of us work with digital images. One of the benefits of this is that software like Lightroom makes it very easy to view images side-by-side and organize the keepers into a “Collection” for processing.

    When I use Lightroom’s Library Module to cull my photos, I start off in Grid View and then use either Compare View or Survey View to compare similar images. The previous article in this series showed you how to use Compare View, and today I’m going to take a look at Survey View.

    Compare or Survey View – which one to use?

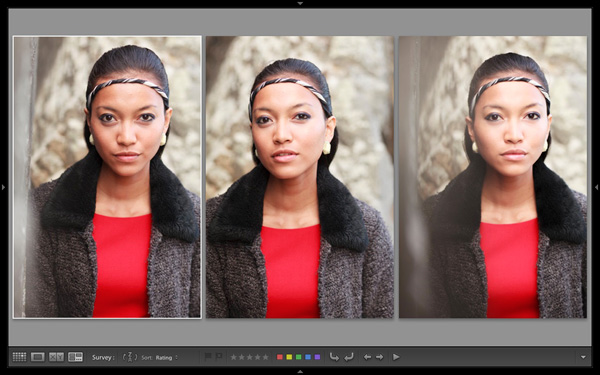
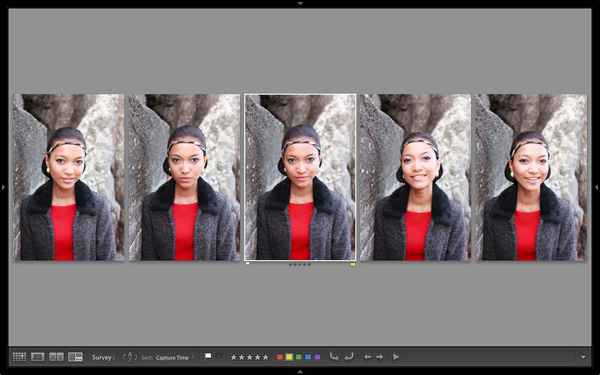
    What’s the difference between the two? The main difference is that you can only compare two images at one time in Compare View, but as many as you want in Survey View. Here’s an example:

    Using Survey View

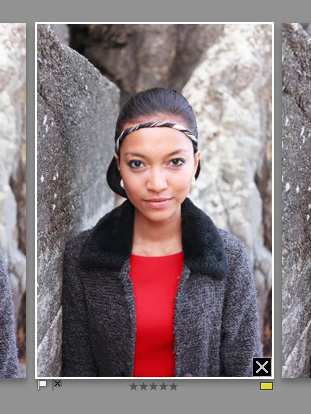
    To arrive at this view I selected five images in Grid View and used the ‘N’ keyboard shortcut to go to Survey View. Lightroom arranges the images in the way that fits the screen space best so you can look at them all together. A little common sense is required here – Lightroom will try and squeeze as many photos as you select into the one screen, but the thumbnails will soon become too small to be of any practical use. The practical limit is probably somewhere between eight and 20 images, depending on your monitor size.

    Using Survey View

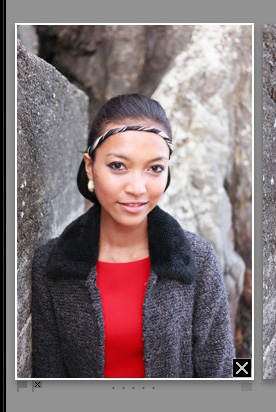
    The ‘most selected’ image is displayed with a white border, and if you have assigned a flag, star rating or colour label it is displayed underneath. These also appear in the Toolbar at the bottom of the screen (press ‘T’ to reveal the Toolbar if you don’t see it):

    If you hover over one of the images you can assign a flag, star rating or colour label by clicking one of the icons displayed underneath (you can also do this in the Toolbar). You’ll also see a white X in a black square in the bottom right-hand corner of the image. Click this to remove the image from the selection. Lightroom removes it from the screen when you do so, and the remaining images rearrange themselves. If you click the X by mistake, press Ctrl-Z (PC) or Cmd-Z (Mac) to bring the de-selected photo back.

    Using Survey View

    What do you do once you’ve decided which images are keepers? I find the simplest approach is to flag each image that I want to process, and send them to a new Collection (see my article Use Lightroom Collections to Improve Your Workflow for more information on this).

    Another useful feature of Survey View is that you can press the Space bar whenever you like to view the most selected image in Loupe View – useful if you want to see it in a larger size or zoom in to check for fine detail such as accurate focusing. Simple press the Esc key or use the ‘N’ key shortcut to return to Survey View.

    Mastering Lightroom

    Using Survey View

    My latest ebook Mastering Lightroom Book One: The Library Module is a complete guide to using Lightroom’s Library module to import, organize and search your photo files. You’ll learn how to tame your growing photo collection using Collections and Collection Sets, and how to save time so you can spend more time in the Develop module processing your photos. It’s available now over at Snapndeals, for a special price for a limited period.

    Post originally from: Digital Photography Tips.

    Check out our more Photography Tips at Photography Tips for Beginners, Portrait Photography Tips and Wedding Photography Tips.

    Comparing Images with Lightroom 5’s Survey View

    The post Comparing Images with Lightroom 5’s Survey View by Andrew Gibson appeared first on Digital Photography School.


    Digital Photography School
  • 5 Pieces of Photography Gear to Consider as Your First Upgrade

    Neil Creek is the author of our newest ebook Photo Nuts and Gear. In this post he offers some advice to the beginning photographer about the first upgrade they should buy for their camera.

    So you’ve been getting into this photography thing pretty seriously ever since you bought that “good” camera you wanted. It turns out that you really enjoy photography, and you think you’ll be doing it for a while. You want to know what cool camera gear is out there, and you know there’s a lot, but what should you get first?

    Where to start on the photography gear upgrade trail

    When you’re just starting your photography journey, it’s intimidating how much gear there is and how much it costs. It’s obvious that some photos are impossible without certain gear, and sometimes it’s not obvious when gear has helped a photo.

    I’ve been shooting and helping new photographers to get the most out of their gear for years, so I have a few suggestions for great first investments in photography to suit your varying interests and budget.

    A 5-in-1 reflector

    5in1reflector

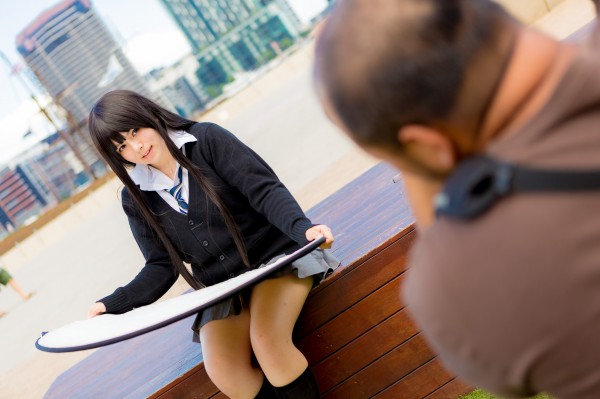
    Light is everything in photography, but sometimes you can’t quite get the right kind of light where you need it. A great example is outdoor portraits. With the light predominantly coming from overhead, there are often dark circles under the eyebrows. A reflector can be used to reflect some light back up into the face of your subject to fill these shadows.

    A 5-in-1 reflector is cheap and very versatile. Built around a collapsible steel ring spanned by diffusion material, it has a reversible cover with four different surfaces. The diffusion material inside is great for turning full sun into bright shade, for small and macro subjects as well as head and shoulder portraits. I’ve even used it as a flash diffuser in a pinch. The cover has three reflective surfaces: white for gentle fill, silver for strong fill, gold for a warm strong fill, and a black surface for eliminating light to bring shade back to a scene which is too evenly lit.

    This is an incredibly versatile tool at a very affordable price, and it neatly fits into the “laptop pouch” in camera bags which have one. This item should be in every portrait photographer’s kit.

    Who is this for: photographers on a budget who shoot in natural light
    Approximate cost: $ 20-50 depending on size

    creek-130310-051

    The Nifty 50 lens

    Lenses are a critical part of the optical system that creates the photographic image. Unfortunately almost every lens choice is a compromise between price, speed, image quality and more. Plus, lenses are expensive!

    creek-131028-048

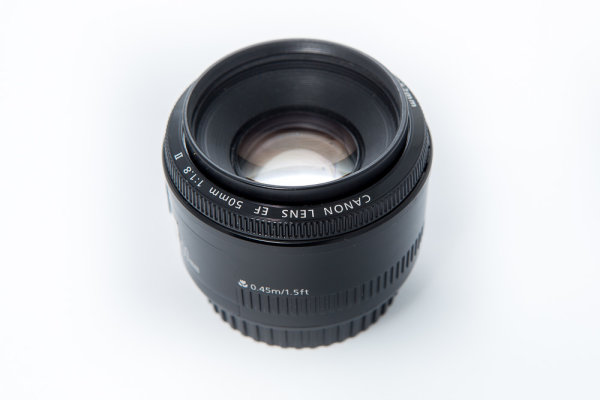
    There is one lens however that is possibly the best of all worlds: the 50mm prime, also known as the “Nifty 50″. Several lens makers have their own or similar versions of this lens, but the most famous is probably the Canon 50mm f/1.8. This lens is small, fast (thanks to its wide f/1.8 aperture), tack sharp and extremely affordable. If you are looking for an excellent portrait lens that will take well exposed photos in low light, it’s hard to go past the Nifty 50 especially if you are on a budget.

    These lenses aren’t without their weaknesses of course: cheap plastic body construction keeps the price and weight down, but negatively affects the durability; weather sealing is also thus not an option; it is notoriously slow to focus in low light; there’s no image stabilization; andthe focus ring is very small. Despite all this, it is hard to resist the appeal of professional level image quality, at a hobbyist price.

    Who is this for? Anyone looking for a high image quality, fast, small lens on a budget
    Approximate cost: $ 100-200 depending on brand

    A good solid tripodcreek-131031-028-Edit

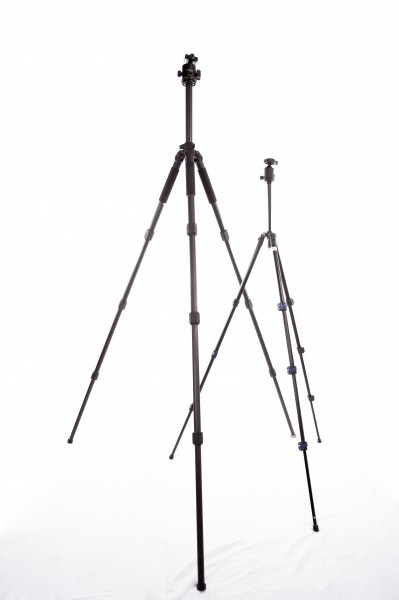
    Photographers are always limited by the amount of light, and without adequate amount, you are forced to make compromises with your settings. When you have to use a slower shutter speed you risk getting blurry photos from camera shake. A tripod fixes that. By providing a stable platform you can almost eliminate camera movement from short, to incredibly long shutter speeds.

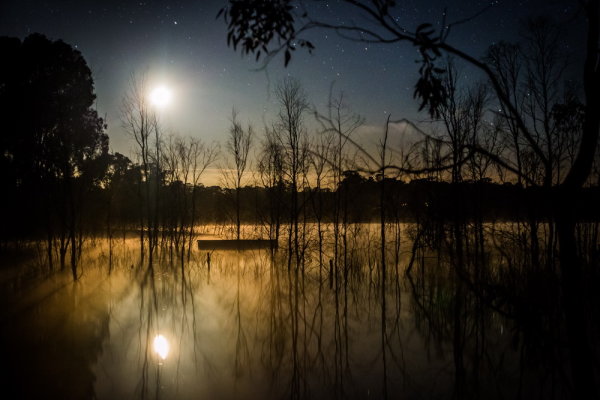
    Not only does a tripod fix the problem of a shaky camera, it opens up whole new photographic and creative opportunities. Seven of the eleven special effects photography techniques discussed in my ebook Photo Magic use a tripod. A Tripod is possibly the most versatile piece of photography equipment you can buy. You will be able to try photos and techniques otherwise impossible.

    Buying a tripod can be like walking through a minefield however. There are so many options from the very bad to the very expensive so it pays to do your research. For a first time tripod for a small DSLR user, I recommend one of the base end models from the big name tripod makers. I go into a lot of detail in Photo Nuts and Gear on choosing the right tripod for you. One tip – avoid department store tripods!

    Who is this for? Photographers shooting in low light, with macro subjects, landscapes, and creative low light photography such as light painting.
    Approximate cost: $ 100-200 for a first tripod

    creek-130928-341 - Copy

    An external hot-shoe flash or speedlight (speedlite)

    creek-131102-035

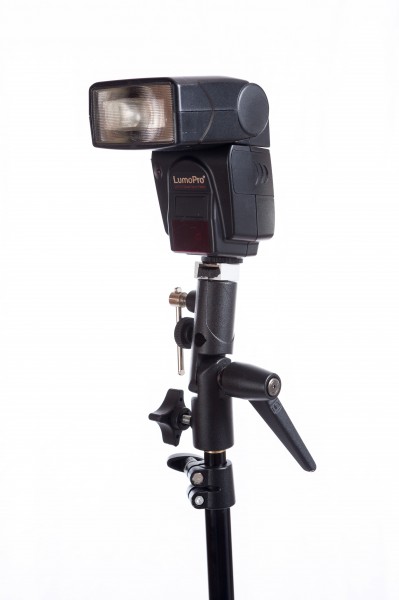
    A flash unit or speedlight is often one of the first big purchases camera owners make, and unfortunately it’s very easy to pay more than necessary. The flagship units from Canon and Nikon are very expensive and packed with features, many of which a new photographer won’t need. I personally recommend buying a cheaper, manual power, third party flash first. The ETTL, or auto exposure, feature of the expensive flashes is handy, but I find that manual power control is pretty easy to master, and it will save you a lot of money: enough to buy one or two more flashes for the price of a flagship model. Manual flashes are also compatible with the more affordable radio triggers that let you fire your flash off the camera and enter the amazing world of Strobist photography.

    Flashes adds a good deal of versatility when shooting in low light, but their real power comes when you get them off camera. A couple of flashes, triggers, light stands and simple modifiers can utterly transform your photography, and add creative options that match those offered by a tripod. A little research and careful spending can put all of these within reach for the about same price as a top of the line flash from Nikon or Canon.

    Who is this for? Photographers shooting indoors in low light, Strobist wannabes

    Approximate cost: $ 100-200

    creek-130426-192-hdr

    Walk-around lenscreek-131028-056

    Like most people, you likely bought your camera with a kit lens. These lenses are often good enough for most photographers, but unless you buy a top end DSLR (which come with higher quality lenses as standard), they’re not going to be the best you can find. Most kit lenses are a bit slow, a bit soft, a bit “plastic-y”. If you’re getting serious about being a photographer, you’ll probably want something better. A walk-around lens is one you leave on your camera by default, and use all of the time you don’t have a specific need for another lens. As such, most of your photos will be taken with it, and you’ll probably want to upgrade it once you can afford to grow your lens collection.

    There are a lot of options available, so you need to think a bit about how you use your camera, and what features are important to you. You will want to consider:

    • how heavy is the lens
    • how often you shoot in low light
    • what frustrates you most about your current lens
    • whether you’re always wanting to fit more in your shots or if you want to bring distant things closer

    All of these issues will affect the best choice of walk-around lens for you. Be prepared to possibly spend a lot of money. Lenses are expensive, especially high quality ones. Since there are so many options and factors to consider it’s hard to offer much practical advice in a blog post, but I go into a lot more detail in Photo Nuts and Gear. In short however, be prepared to do a lot of research to understand your options and how to choose between them. A good walk-around lens will get a lot of use over many years, and the quality of your images will be impacted by the choice you make.

    Who is this for?  Someone who is taking the first big step into turning photography from a pastime into a serious hobby
    Approximate cost:  $ 300-1800

    Post originally from: Digital Photography Tips.

    Check out our more Photography Tips at Photography Tips for Beginners, Portrait Photography Tips and Wedding Photography Tips.

    5 Pieces of Photography Gear to Consider as Your First Upgrade

    The post 5 Pieces of Photography Gear to Consider as Your First Upgrade by Neil Creek appeared first on Digital Photography School.


    Digital Photography School
  • Fantastic Digital Cameras Made for College Students

    Most university students will have lots of new adventures to record while in college; but let’s face it, these days, young people want to take excellent photos of their dorm room parties and campus life and appear cool while they’re doing it. A contemporary camera in hand not only helps folks save their college memories, but it also can make Continue Reading

    The post Fantastic Digital Cameras Made for College Students appeared first on Photodoto.


    Photodoto

  • How to Gel a Beauty Dish, v.2.0

    One thing I have learned about light and lighting: there's always different—and often better—way to do something.

    A few months ago we ran a piece on gelling various soft light modifiers, wherein I listed my go-to ways to color soft light. But someone in the comments offered a different way—a way better way—and I have been using it ever since. Here's what he suggested.

    Read more »
    Strobist

  • Do you Shoot in the Rain or Pack up at the First Drop?

    In line with this week’s photography challenge, weather, I want to do a quick survey to see if you shoot in the rain or not.

    I get a lot of questions from my students about shooting in the rain (or snow, or on the beach) and whether or not it will damage their camera. Of course that depends on the camera body you own (some are weather sealed, some are not – if you aren’t sure read your manual or check the manufacturer’s website), and the precautions you take.

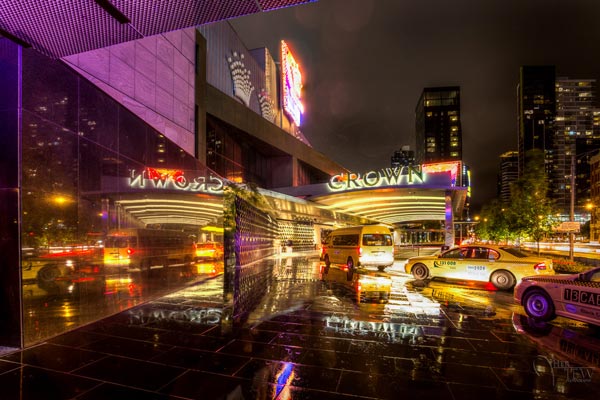
    Personally, I do get out in the rain and shoot. In fact this was done in the pouring rain in Melbourne (dPS headquarters) at the casino. I ducked under an overhang, covered up my camera and myself, and got puzzled looks from the passers by.

    Photography of the Melbourne casino in the rain

    So, my question for you is – do you brave it? Or do you play it safe?

    Note: There is a poll embedded within this post, please visit the site to participate in this post’s poll.

    Post originally from: Digital Photography Tips.

    Check out our more Photography Tips at Photography Tips for Beginners, Portrait Photography Tips and Wedding Photography Tips.

    Do you Shoot in the Rain or Pack up at the First Drop?

    The post Do you Shoot in the Rain or Pack up at the First Drop? by Darlene Hildebrandt appeared first on Digital Photography School.


    Digital Photography School

  • 10 Signs you Might be a Photo Geek

    I’ve watched a few of this guy’s videos and I have to say they’re quite funny. If you can’t laugh at yourself, who can you laugh at?
    This video is by DigitalRev TV, hosted by, as he puts it in his YouTube profile, “an asian dude with British accent”. He covers 10 tongue in cheek signs that you might be a photo geek if . . .

    So, are you?  I’m pretty sure I am but I’m usually the last one to bring a big camera to social events, or any camera at all. So maybe I’m a recovering one? There is hope!

    Have any other signs you’d add to this list? Come clean, are you a Photo Geek too? It’s okay, you’re among friends here.

    Cheers,

    Darlene-1-250x130

    Post originally from: Digital Photography Tips.

    Check out our more Photography Tips at Photography Tips for Beginners, Portrait Photography Tips and Wedding Photography Tips.

    10 Signs you Might be a Photo Geek

    The post 10 Signs you Might be a Photo Geek by Darlene Hildebrandt appeared first on Digital Photography School.


    Digital Photography School

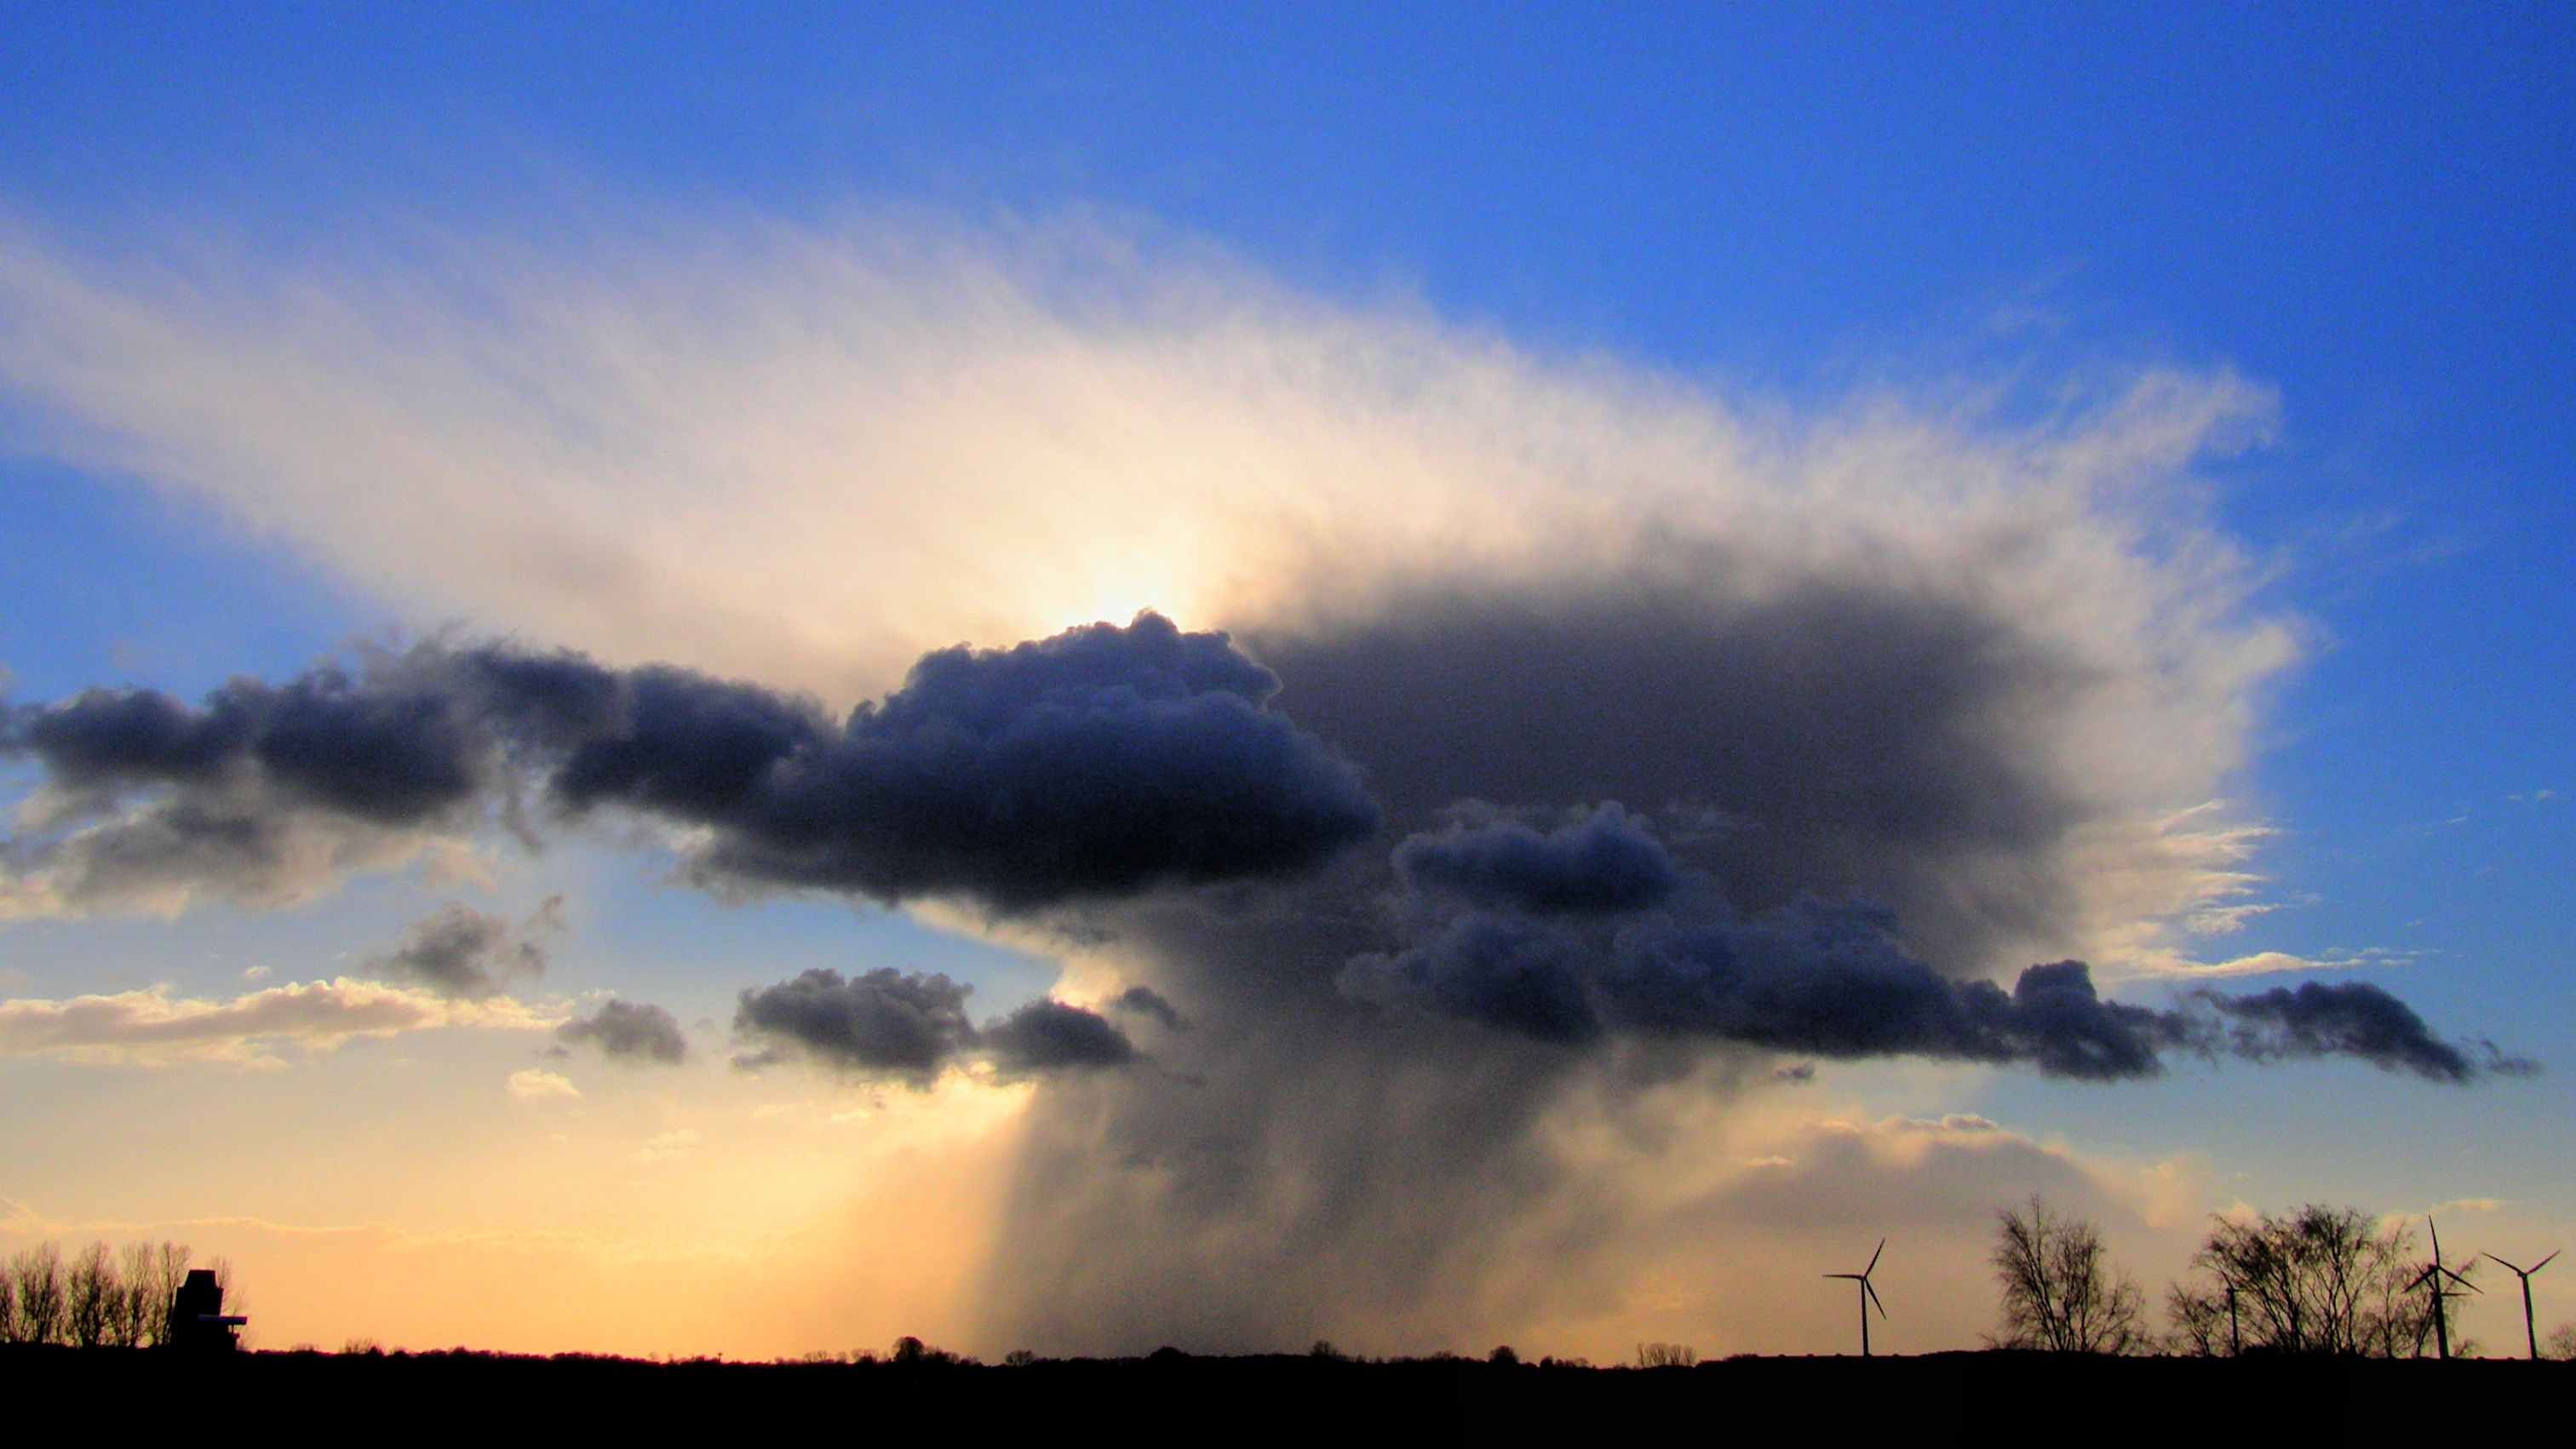
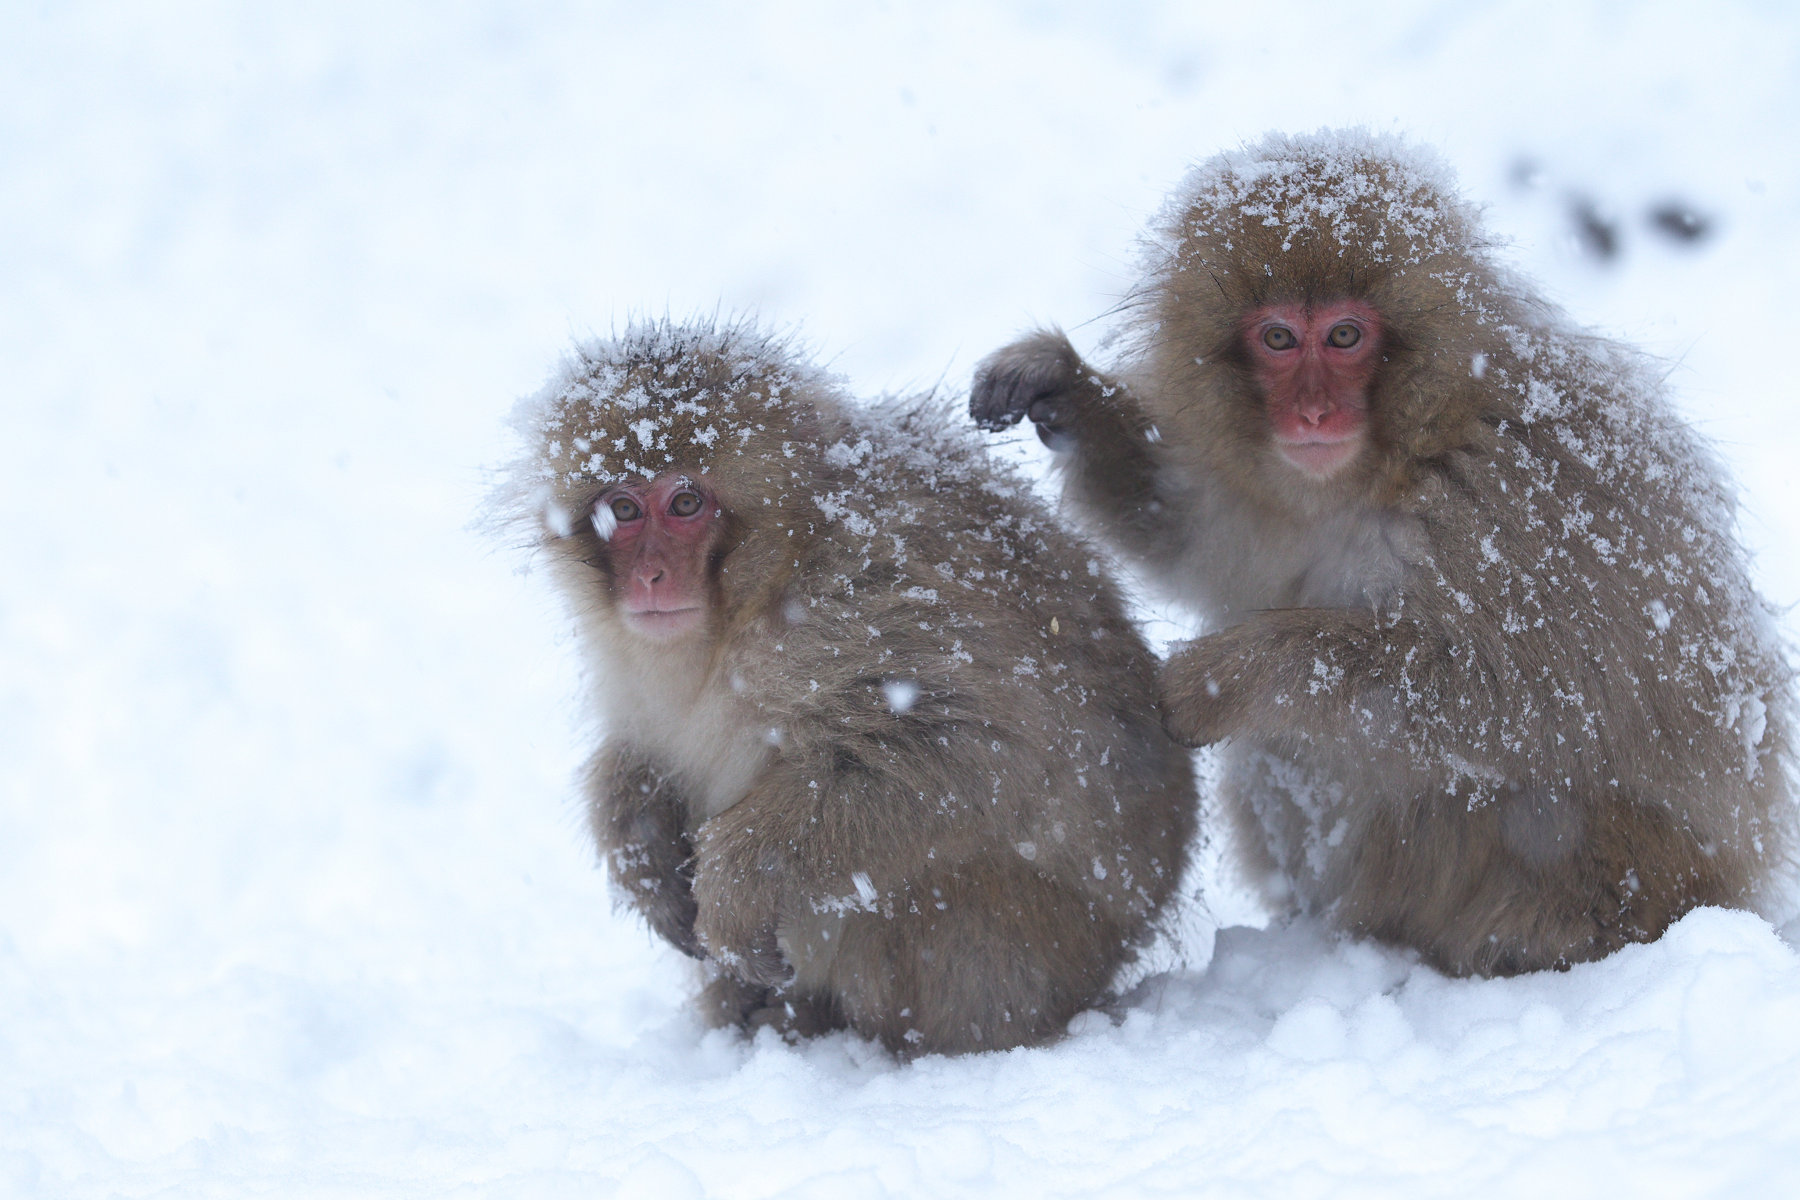
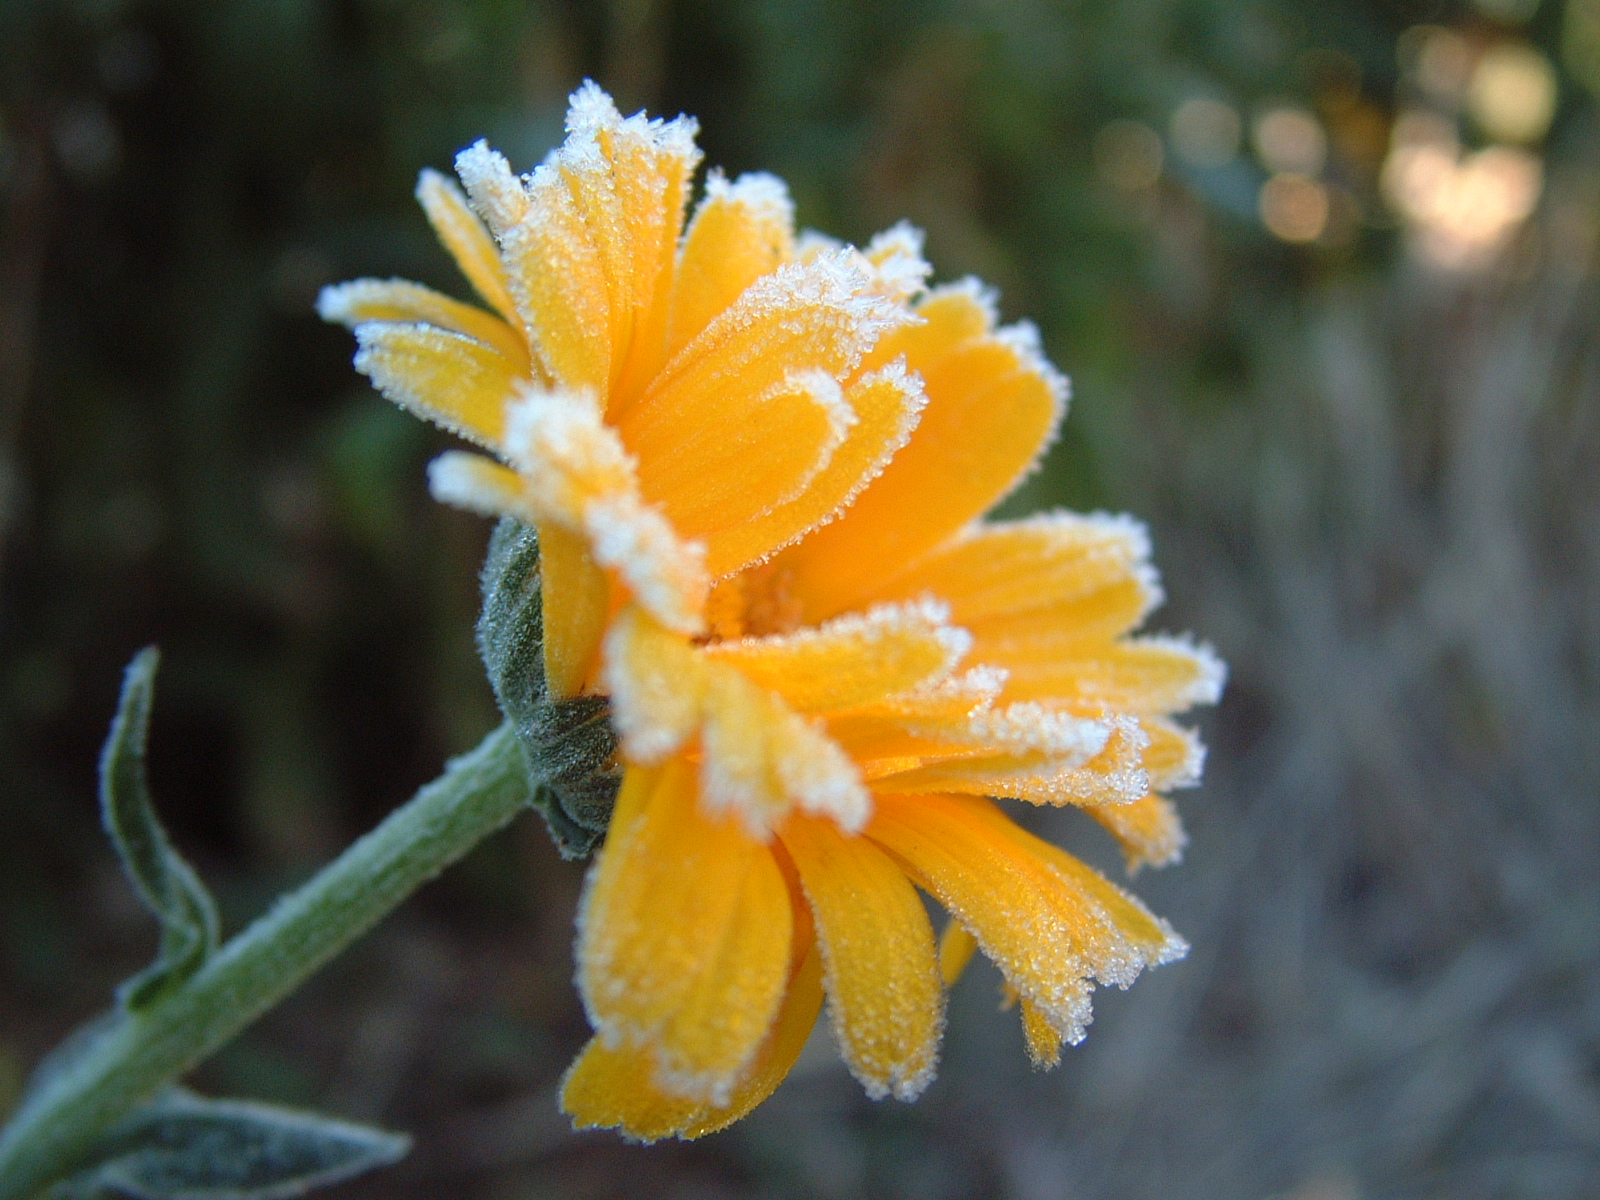
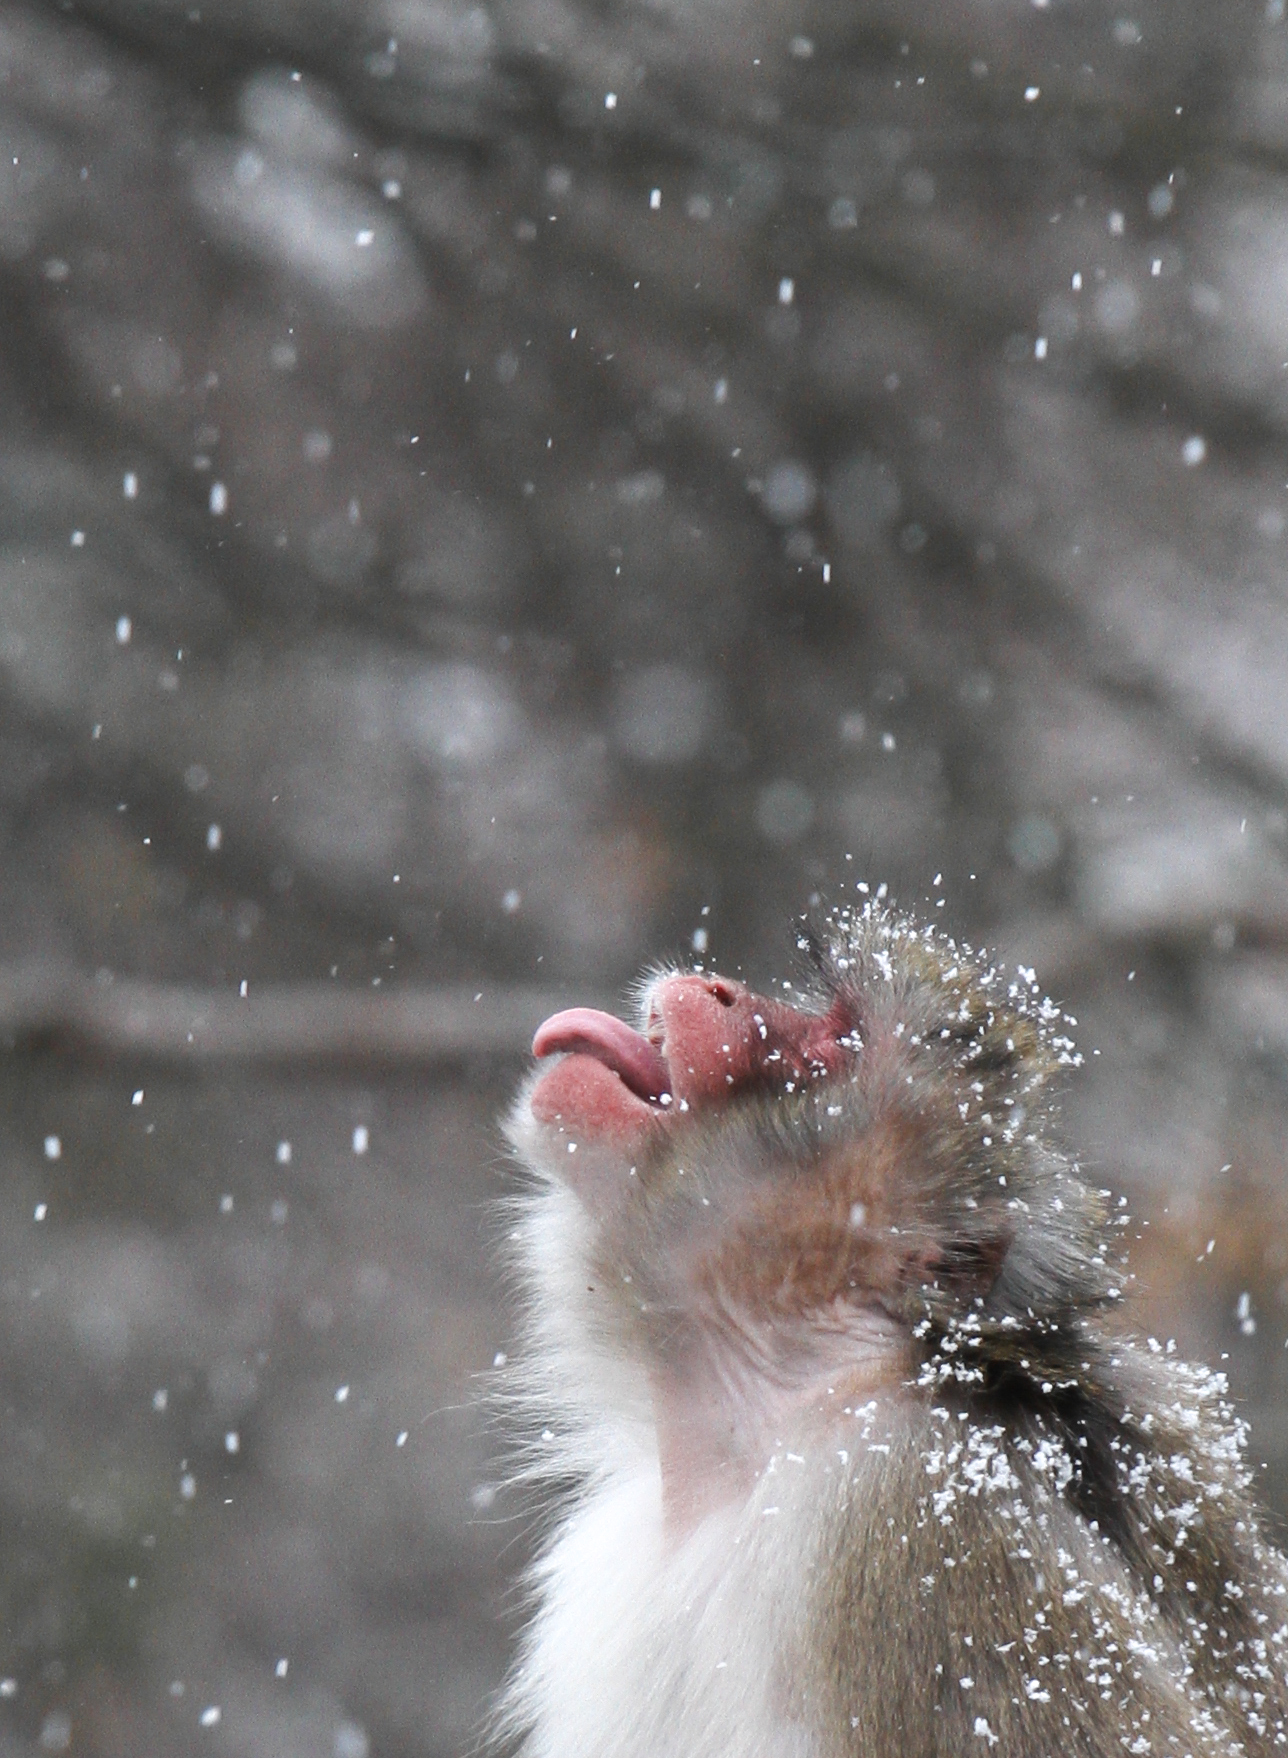
  • 30 Foul Weather Photos for Inspiration

    By John

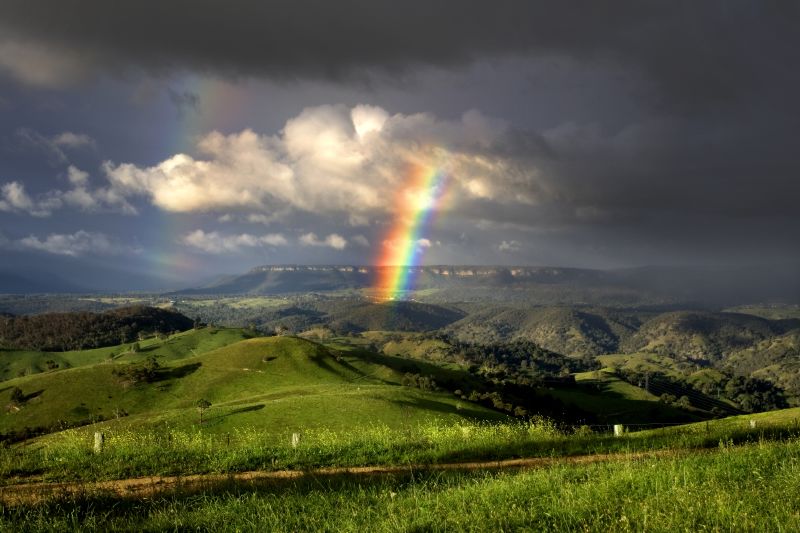
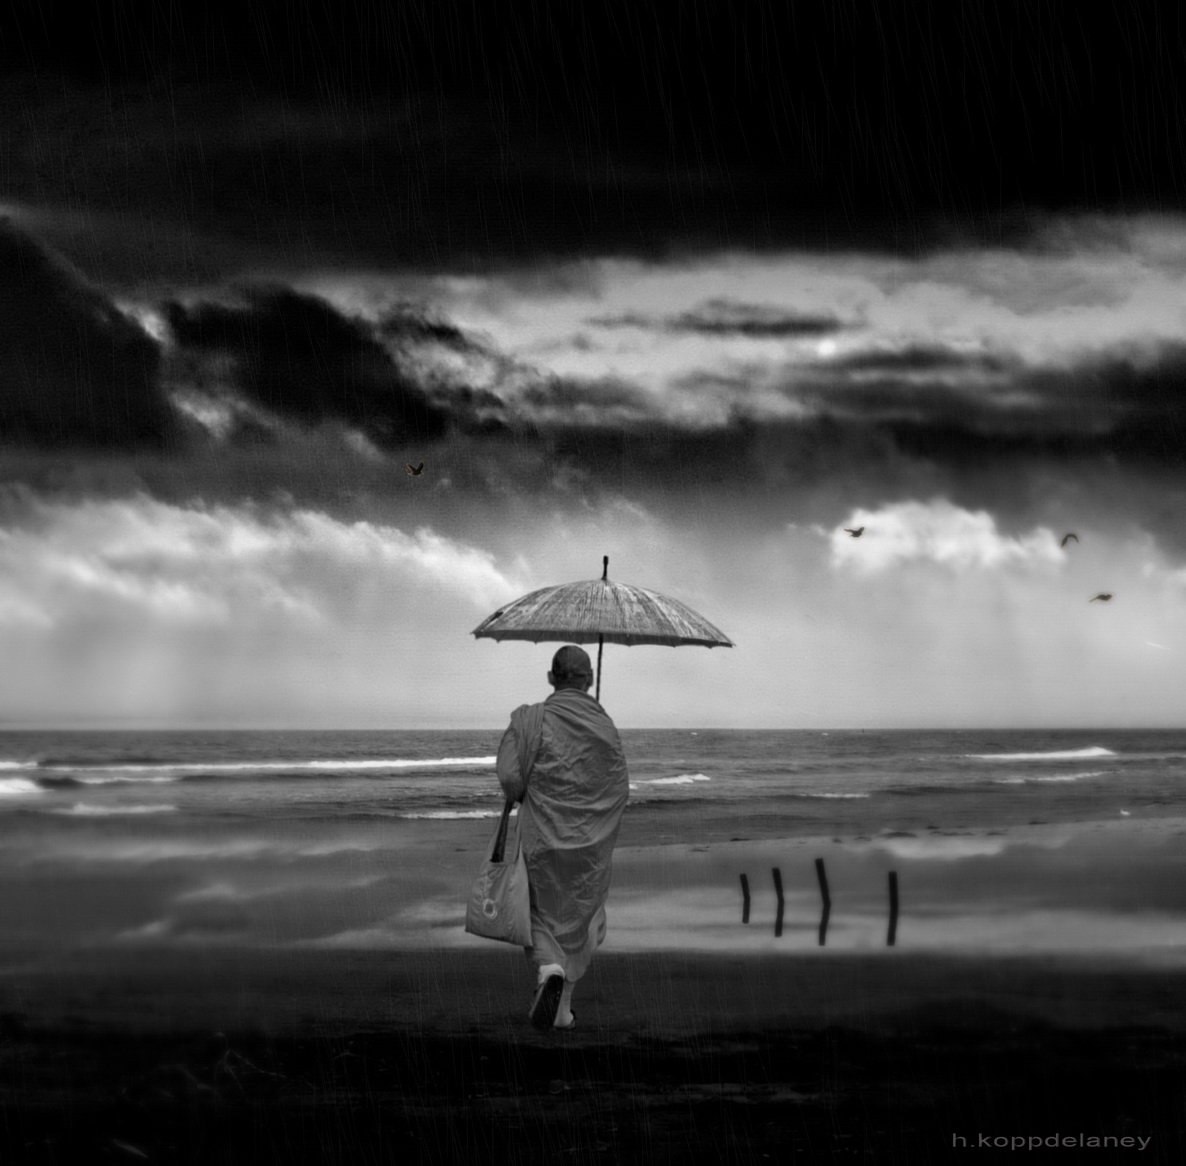
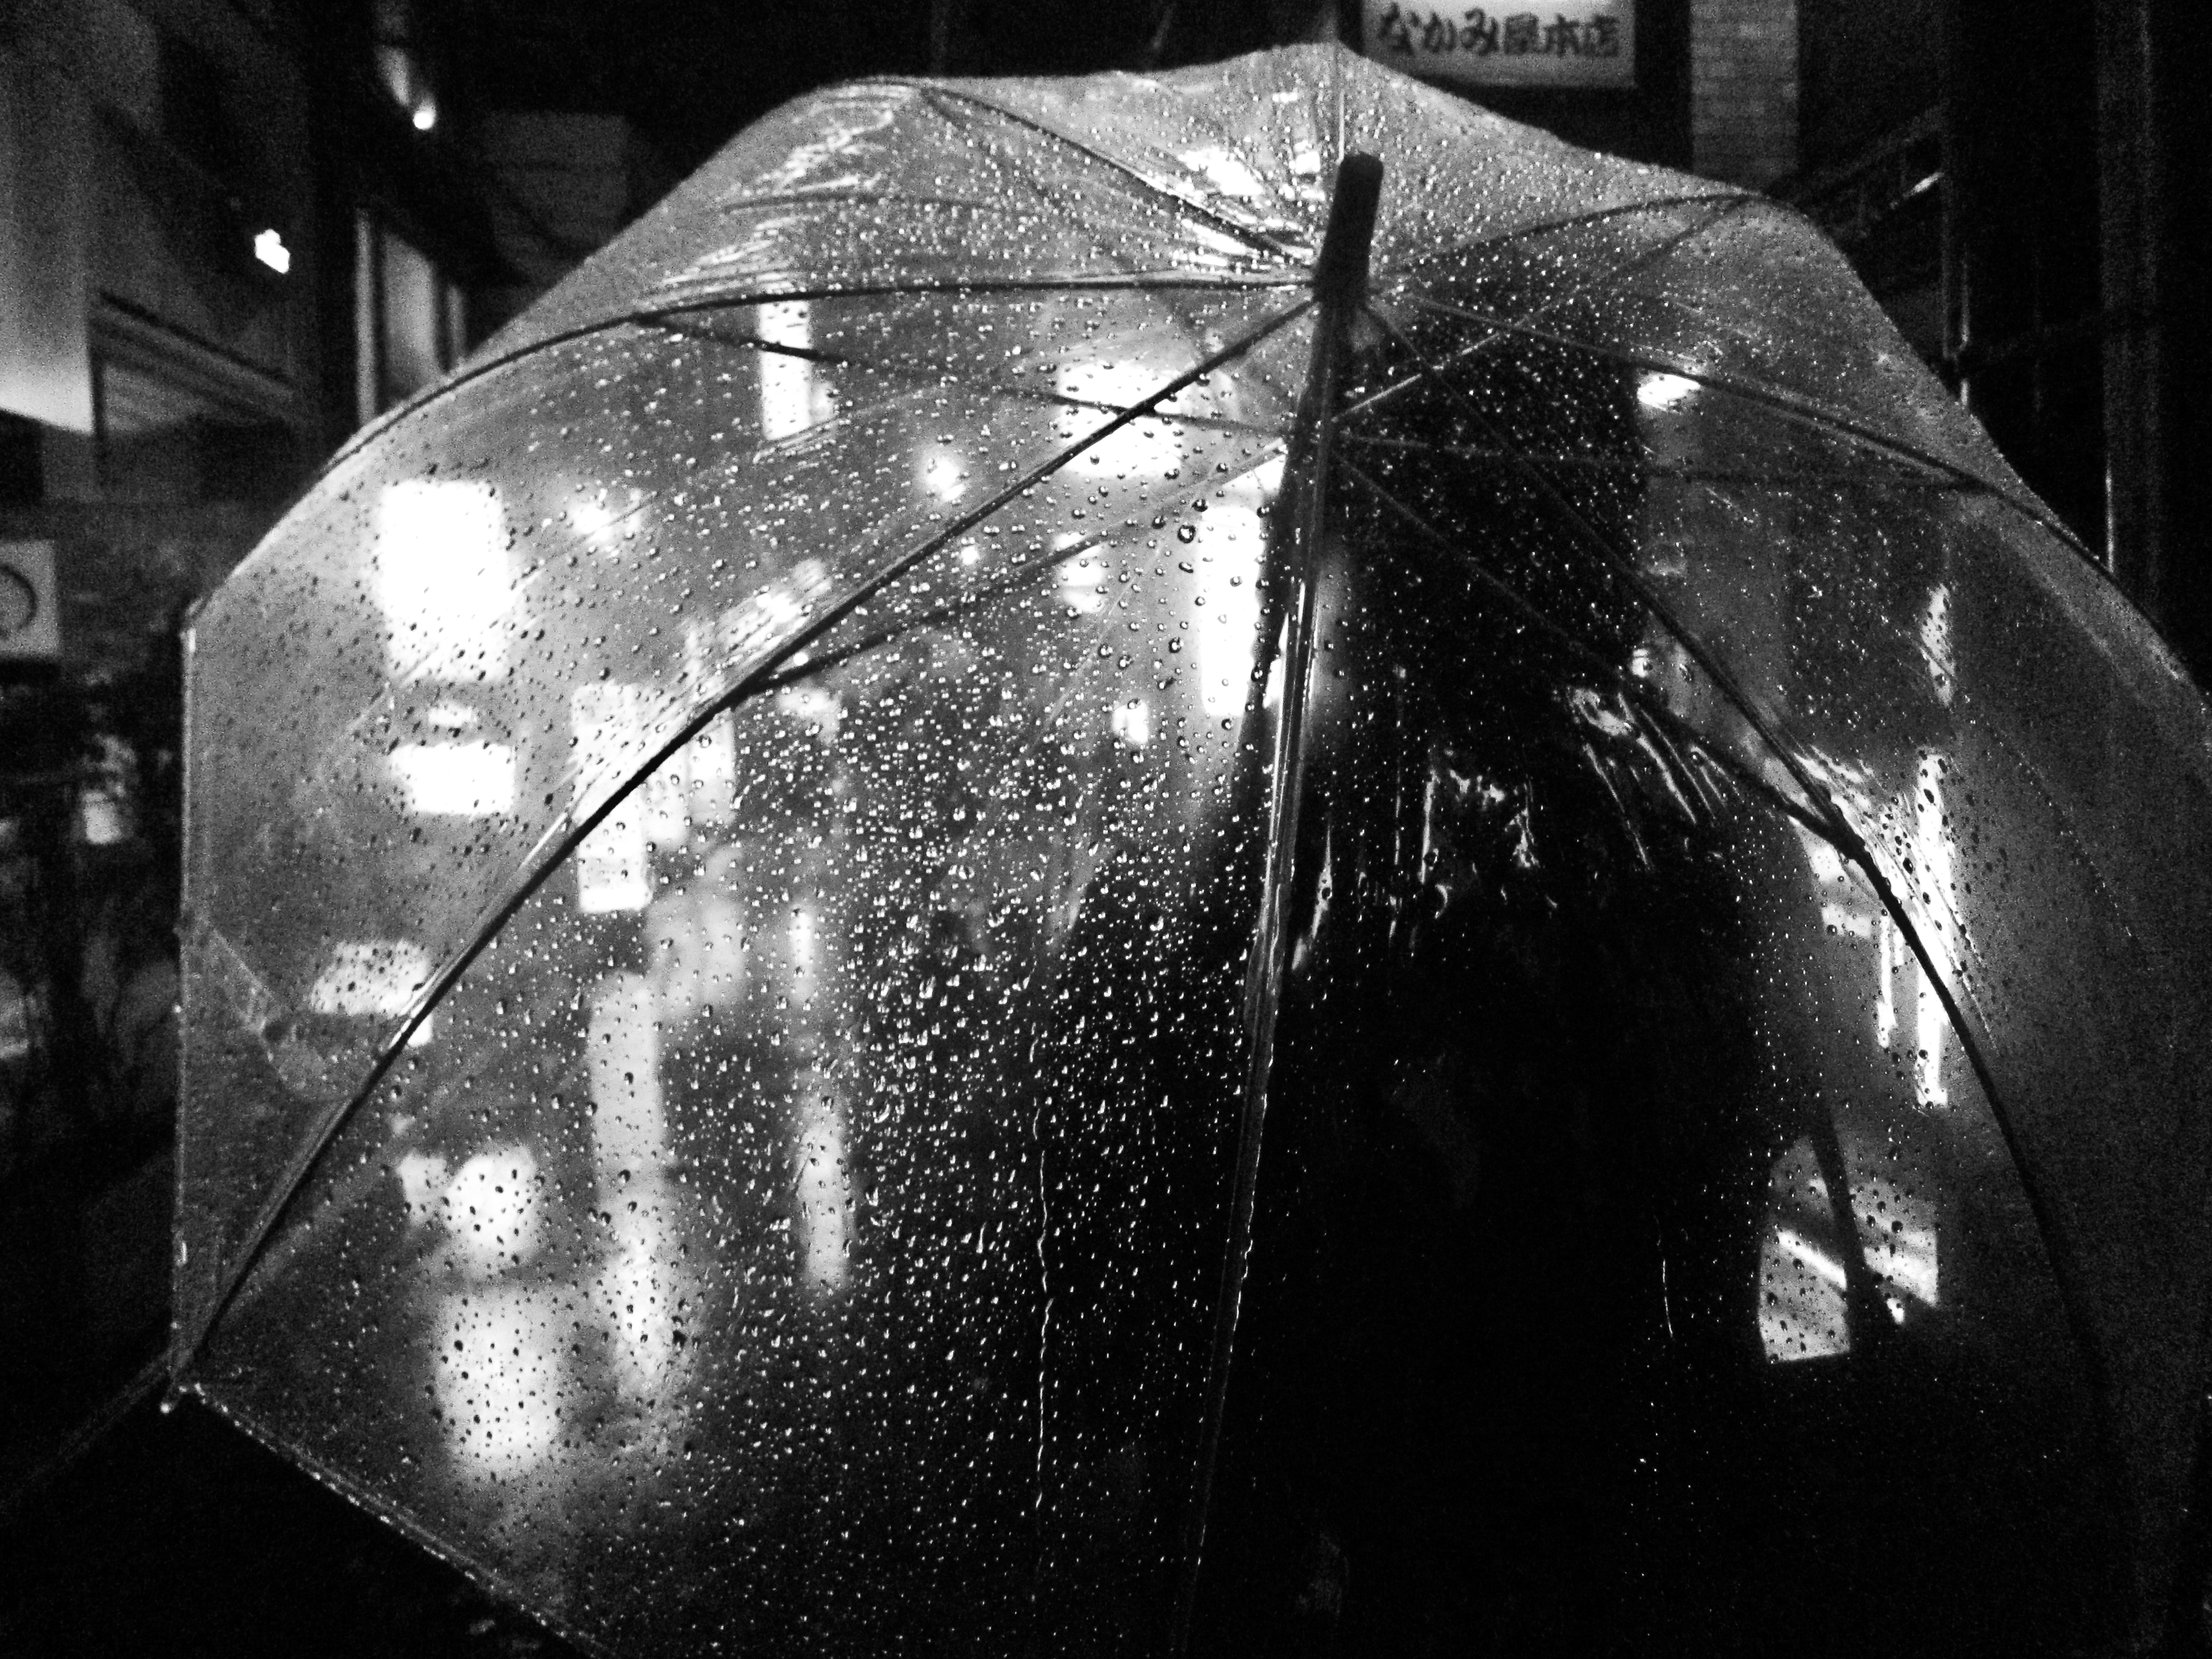
    This week I want to give you a little push to get out of your comfort zone. Turn of the television and get outside and shoot – no matter what the weather. As a matter a fact, in spite of the weather is even better!

    Take your photography up a level

    Many photographers pack up their gear and head home at the slightest sight of inclement weather. But some of the very best and most dramatic images are to be had if you are willing to brave the elements. Just make sure you are prepared and stay safe. Take the follow precautions:

    • a rain cover for your bag
    • a rain cover for your camera, it’s not water proof!
    • rain gear and boots for yourself, there’s nothing more uncomfortable than being wet or cold or both
    • stay a safe distance away of lighting – you are after all carrying with you a lighting rod (tripod)

    Having said that, I hope these images inspire you to do what most others do not as this will almost certainly take your photography up a notch. Being willing to do what’s hard or unpopular is the key to standing apart and making some “wow” images to amaze your friends.

    Here are 30 foul weather photos by photographers who did just that, enjoy!

    By QtrFlash

    By Evan Bornholtz

    By Marcus T Ward

    By arbyreed

    By Marcus Böckmann

    By Masashi Mochida

    By Gabriel Anast

    By Mark Dumont

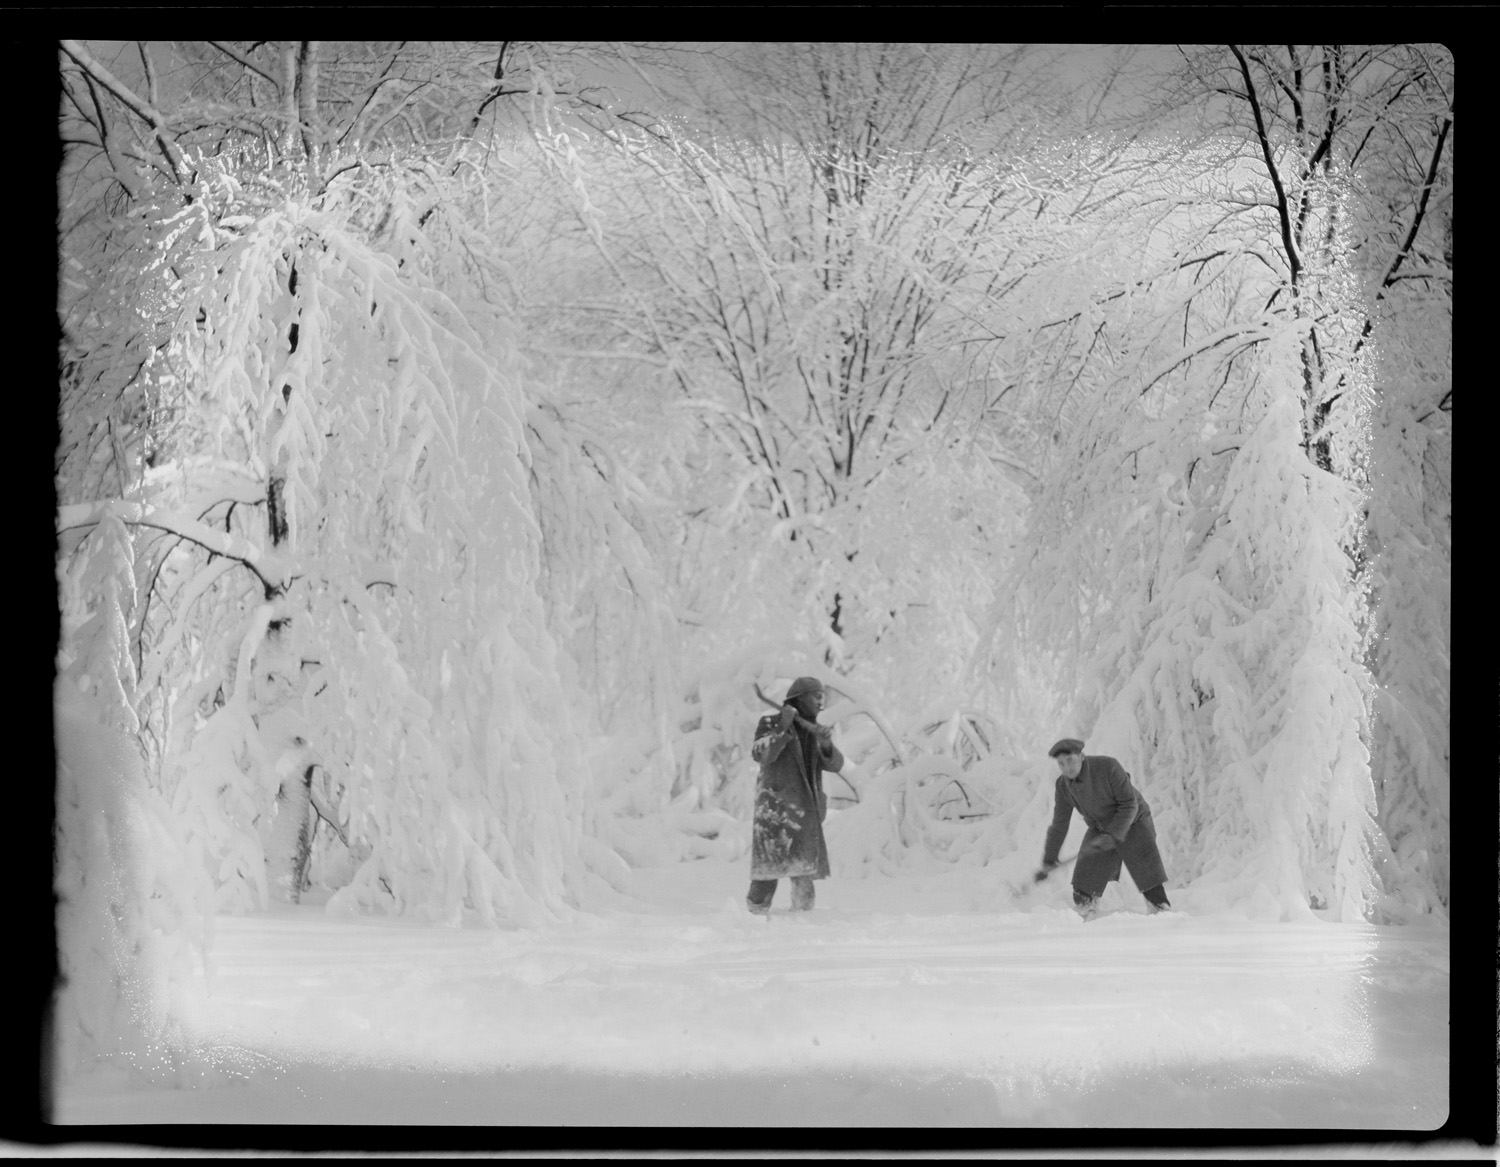
    By Boston Public Library

    By Robyn Jay

    By Mark A Coleman

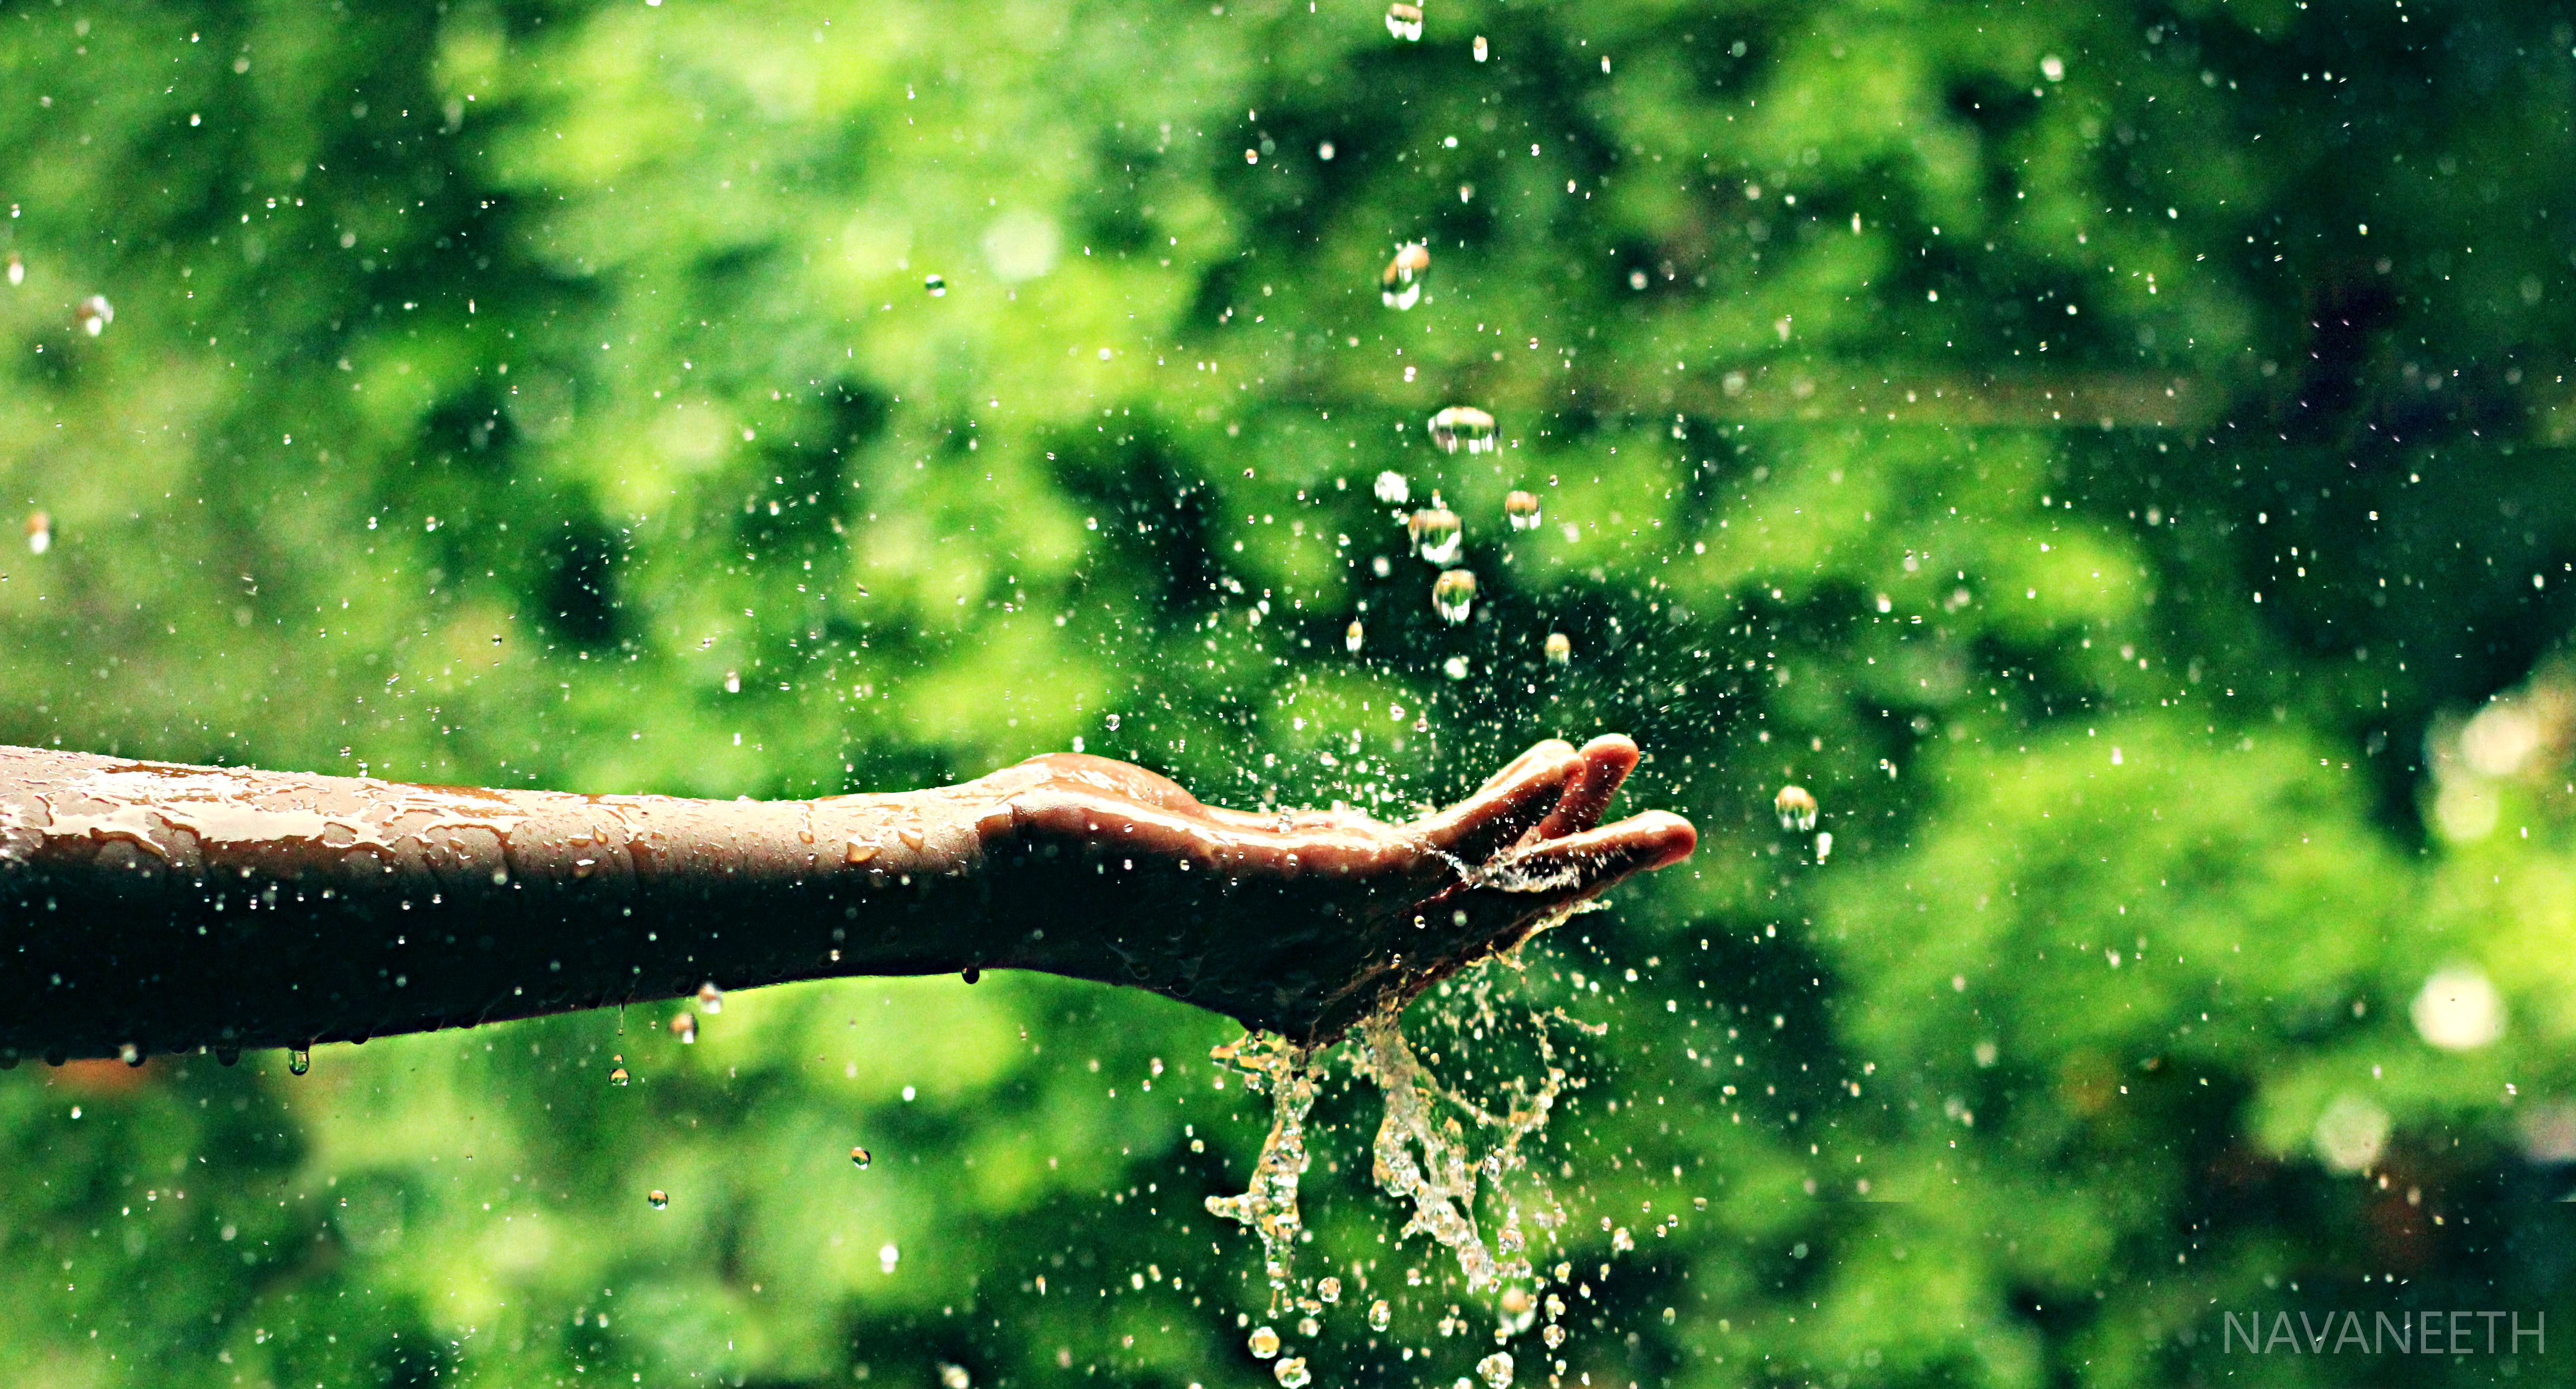
    By Navaneeth Ashok

    By Jean Piere Candelier

    By DaveTBear

    By hinderik

    By Marilylle Soveran

    By ap.

    By M Gleason

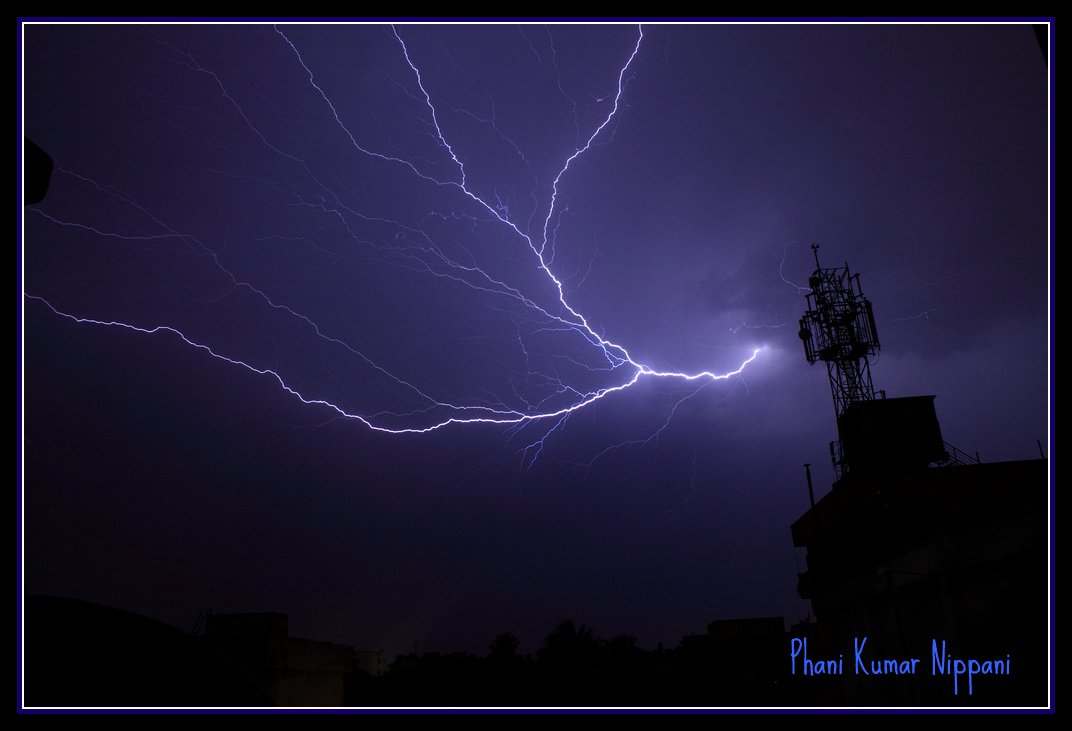
    By phani_astronomy®

    By Viola & Cats =^..^=

    By jimmedia

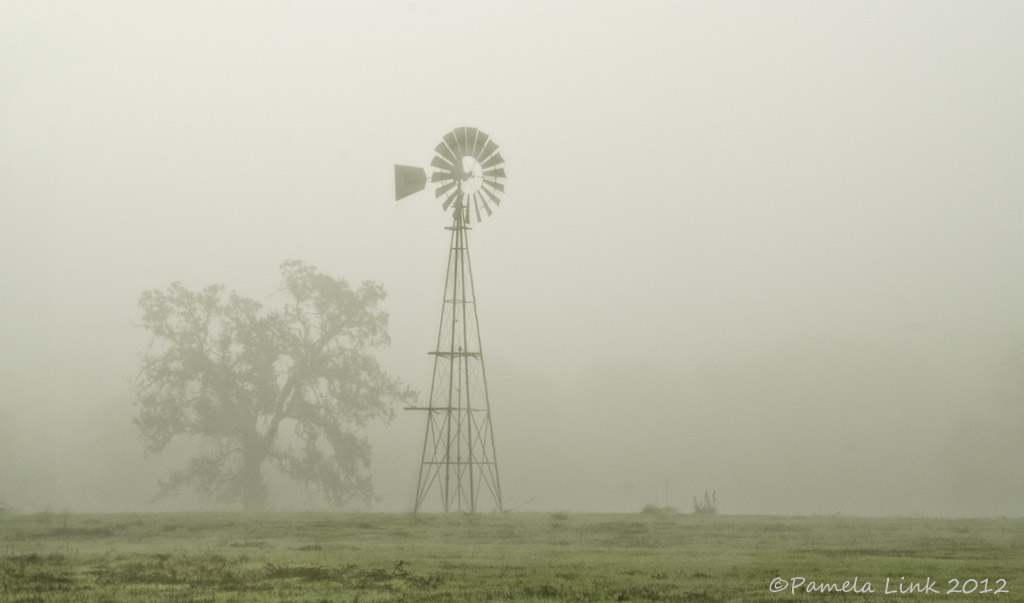
    By Pam Link

    By Joe Vahling

    By Simon

    By Rehman Chughtai

    By Roy

    By Hartwig HKD

    By Héctor García

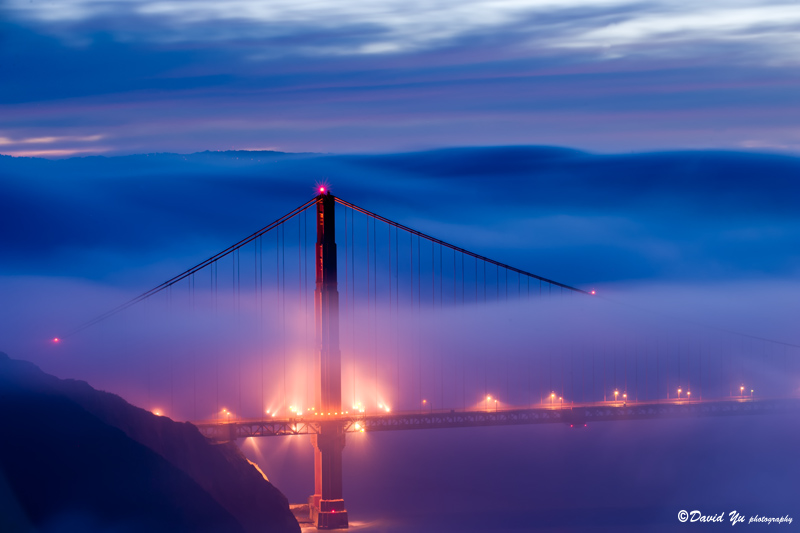
    By David Yu

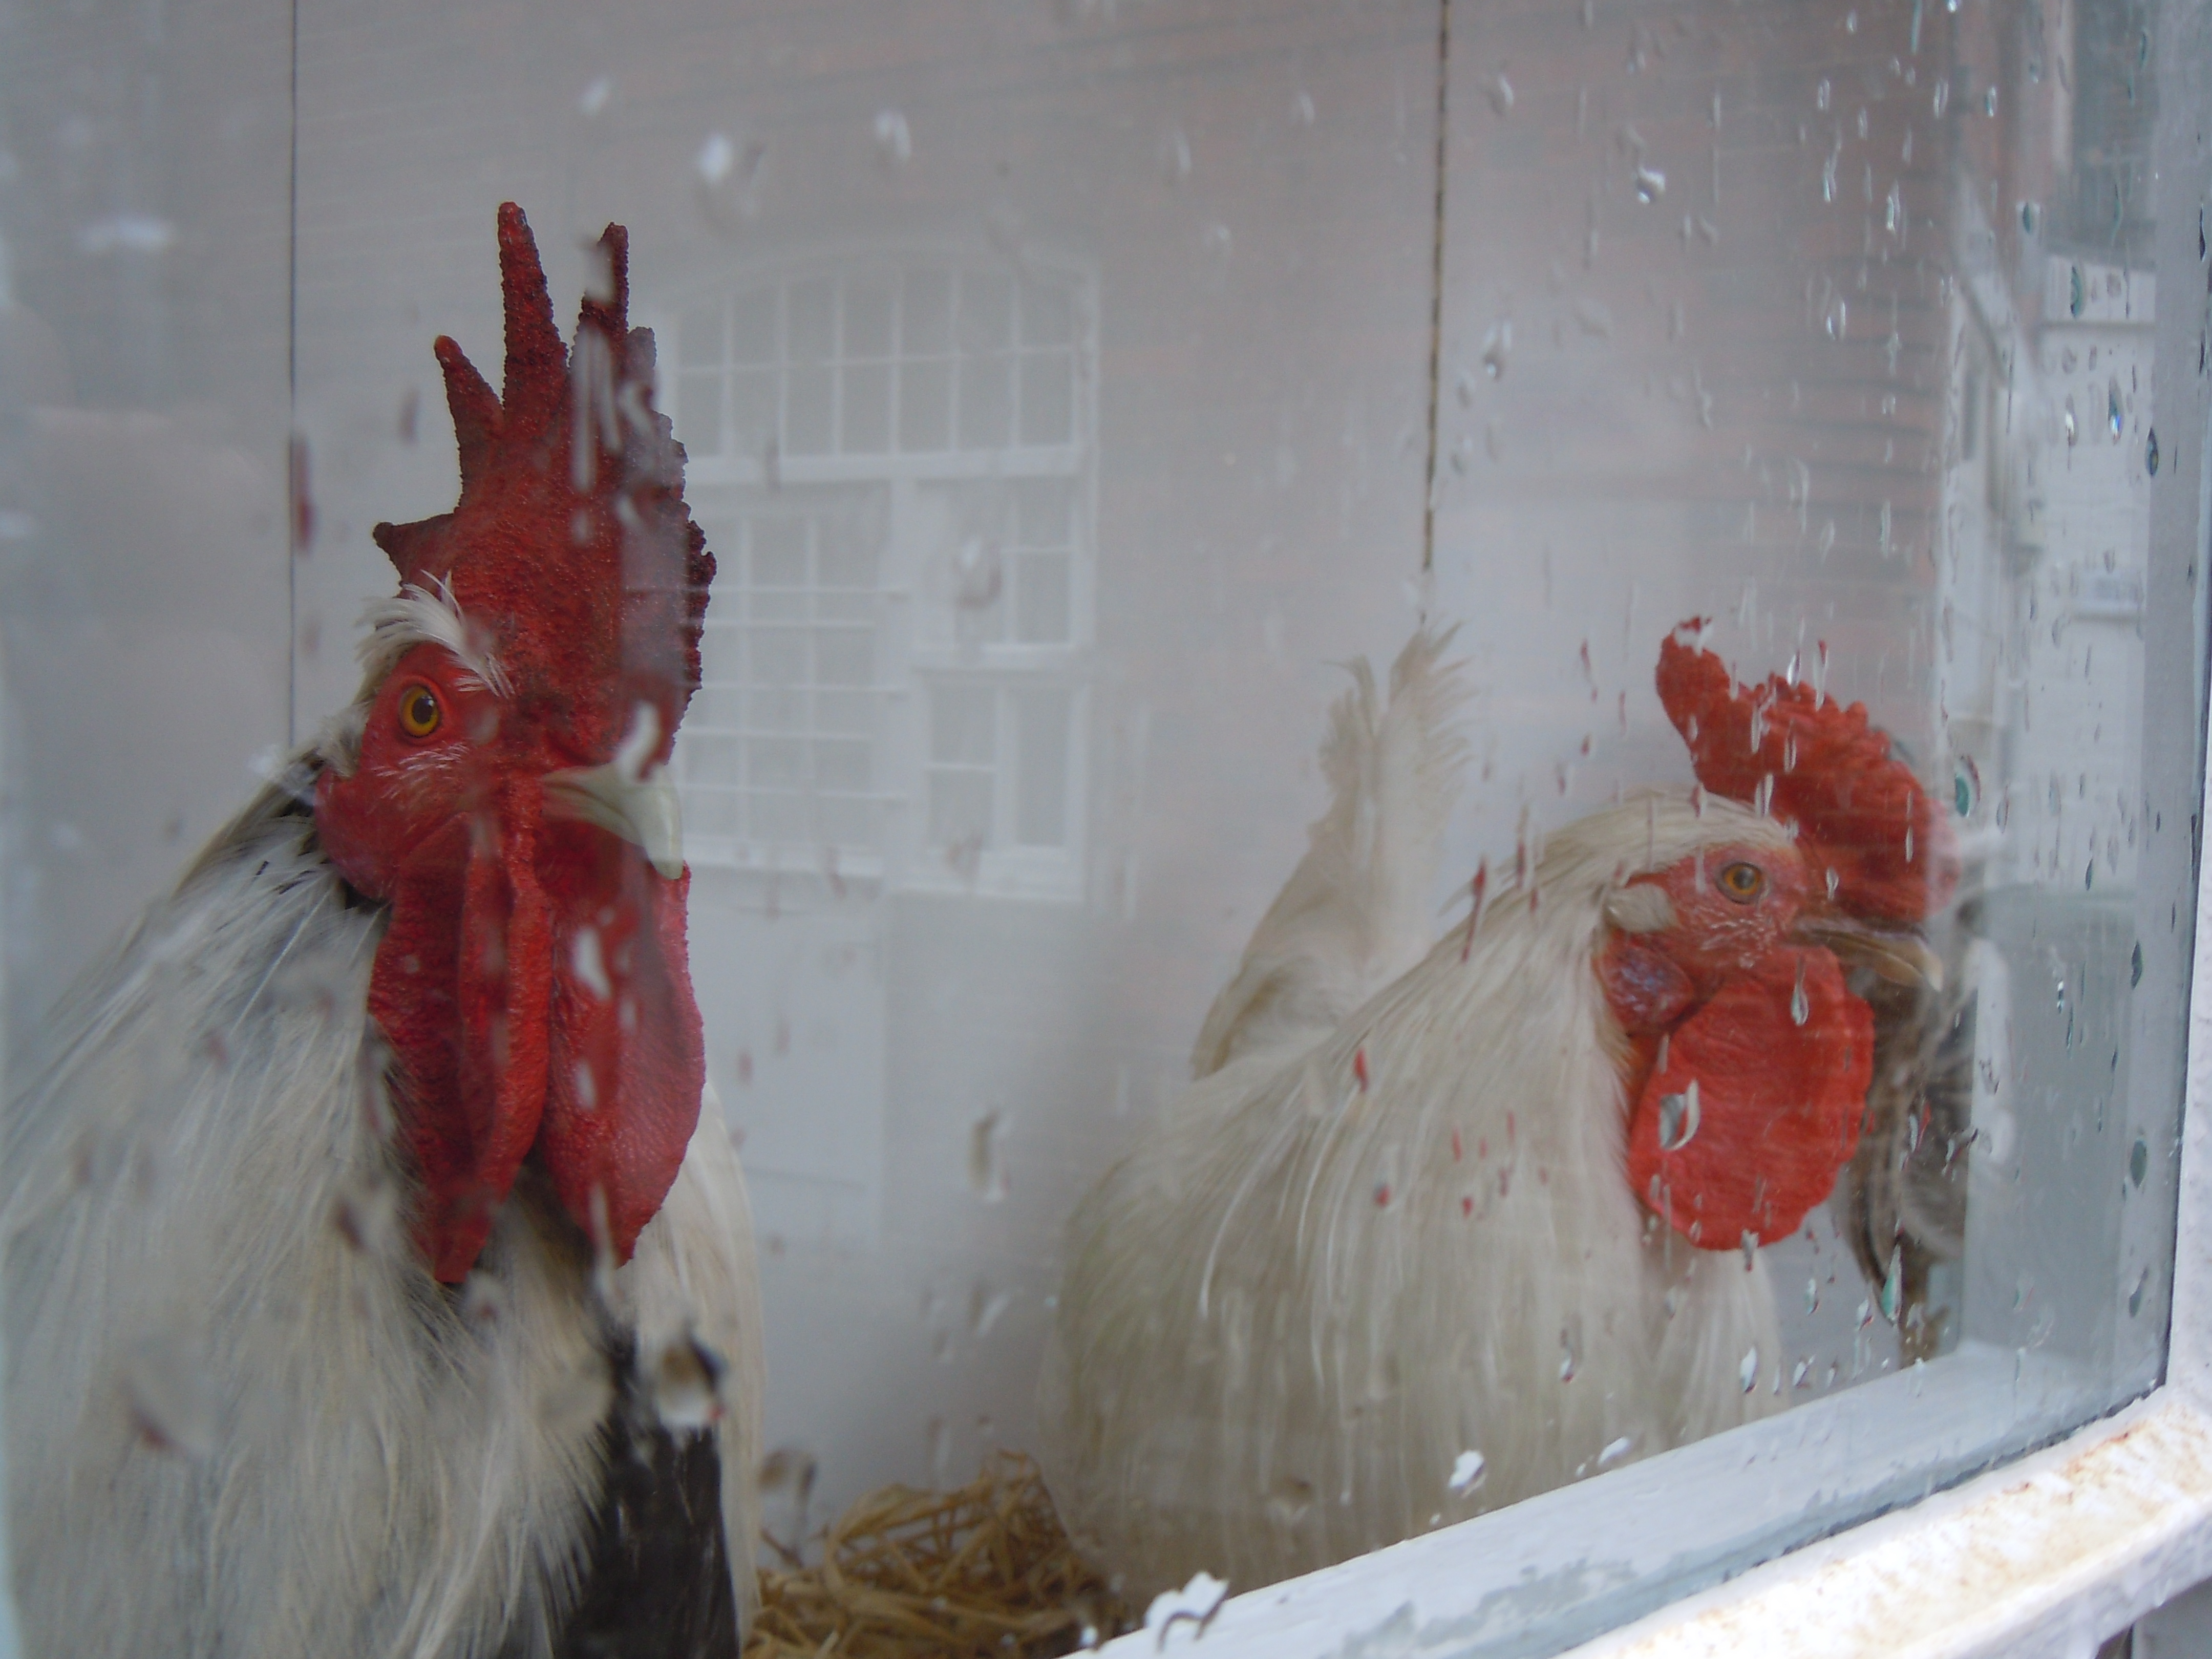
    Added – extra photo just for our commenters that wanted “fowl weather”

    By Kevan Davis

    Post originally from: Digital Photography Tips.

    Check out our more Photography Tips at Photography Tips for Beginners, Portrait Photography Tips and Wedding Photography Tips.

    30 Foul Weather Photos for Inspiration

    The post 30 Foul Weather Photos for Inspiration by Darlene Hildebrandt appeared first on Digital Photography School.


    Digital Photography School