Category: Photography

  • The Master Henri Cartier-Bresson – the Decisive Moment

    Henri Cartier-Bresson (1908-2004) was a French photographer who is widely considered the father of photojournalism. He phrase the “Decisive Moment” is one that many photographers know well. If you are not familiar with his name or this phrase – it’s time to learn!

    Father of photojournalism

    bressonSomething I recommend in my classes is to learn about the history of photography. Who are the greats that came before us? How did this craft we know today come to be? There is much to be learned from the masters of yesterday. I want to start introducing them to you and couldn’t think of a better place to start (especially seeing this week’s challenge is street photography) than with Henri Cartier-Bresson.

    Well known for his candid street photography, Cartier-Bresson was, in many ways, progressive before his time. One of the first to use a 35mm camera, a war prisoner and escapee, his first published book was title “The Decisive Moment ( Images à la Sauvette  in his native French – if you can find a copy in print grab it!)

    I’m going to let you do your own resource into the man, his life and his images but I’ll start you off with this video interview with him, from 1973.

    Some books by Cartier-Bresson

    Post originally from: Digital Photography Tips.

    Check out our more Photography Tips at Photography Tips for Beginners, Portrait Photography Tips and Wedding Photography Tips.

    The Master Henri Cartier-Bresson – the Decisive Moment

    The post The Master Henri Cartier-Bresson – the Decisive Moment by Darlene Hildebrandt appeared first on Digital Photography School.


    Digital Photography School

  • 30 Street Photography Images to Inspire You

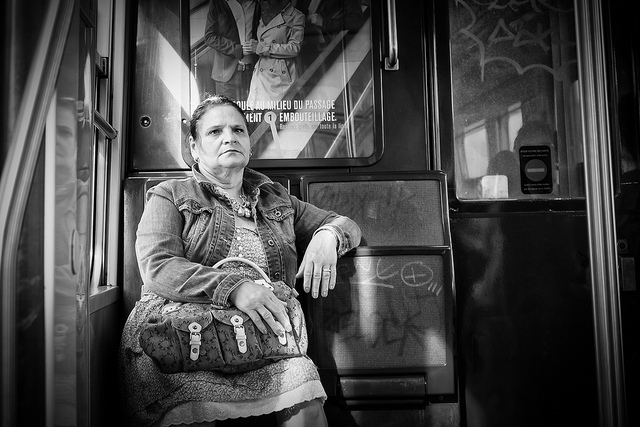
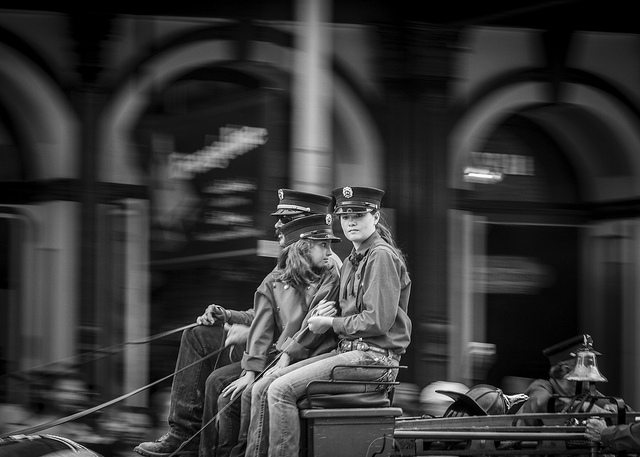
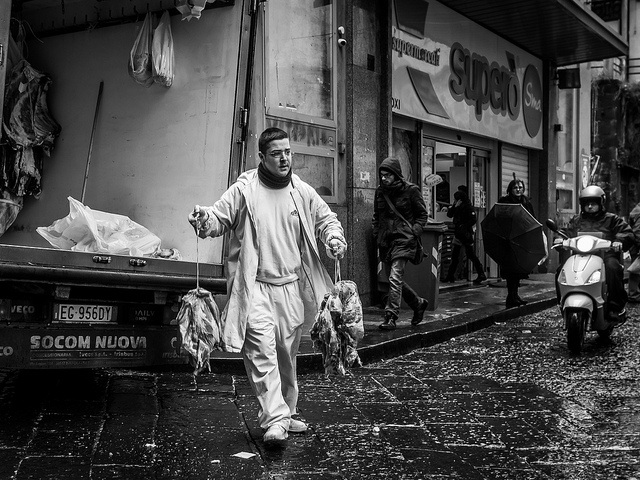
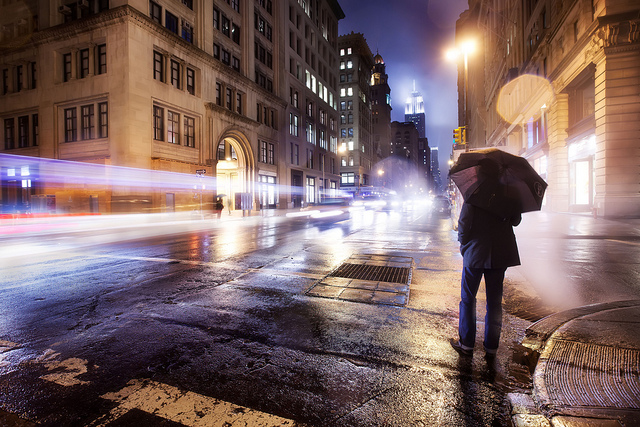
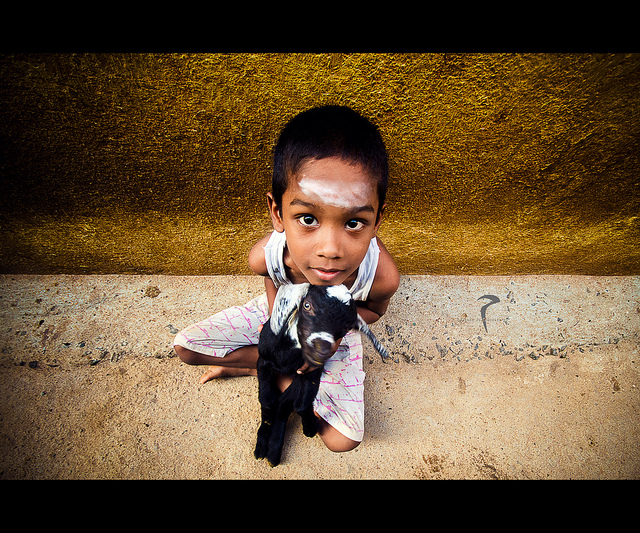
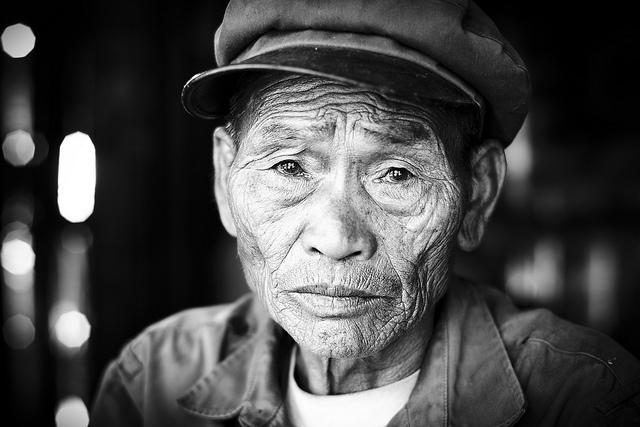
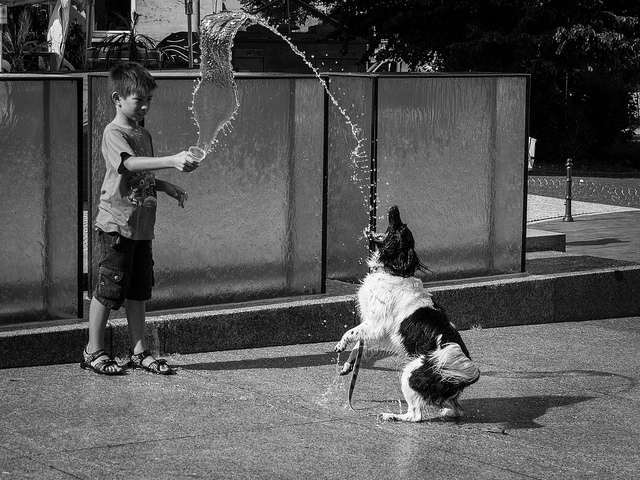
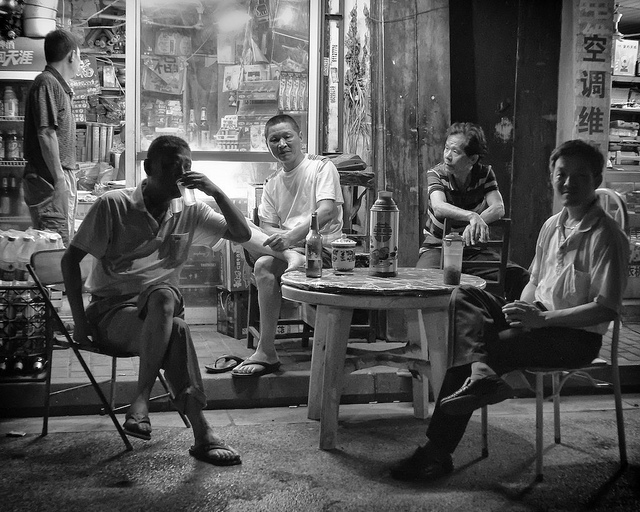
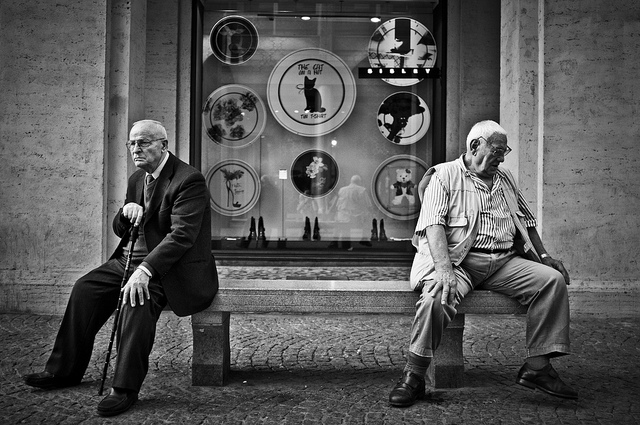
    Street Photography – that subject that makes many an experienced photographer run and hide. Done well, it documents daily life, society as we know it today.

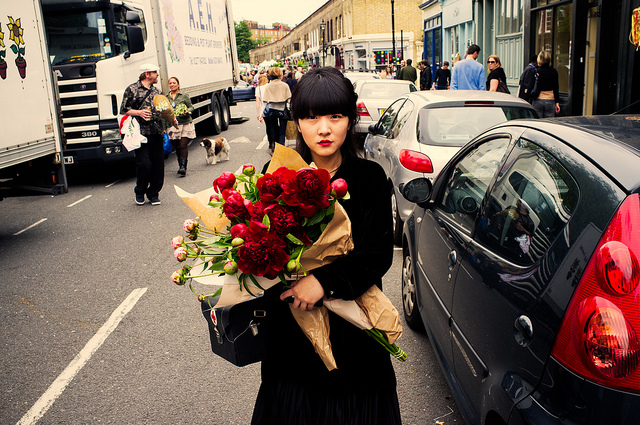
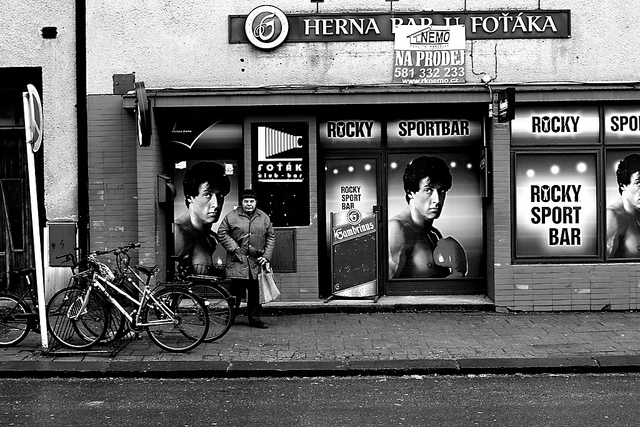
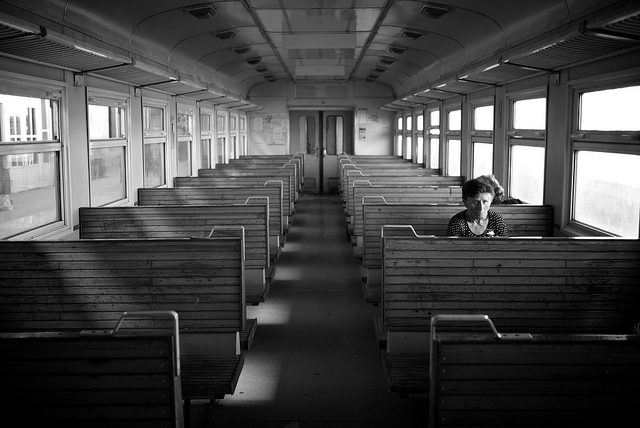
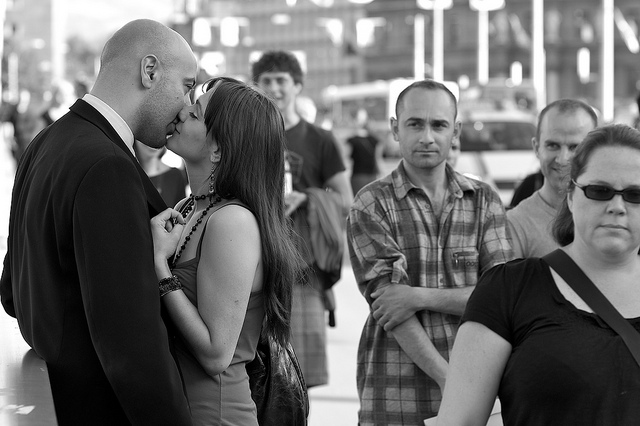
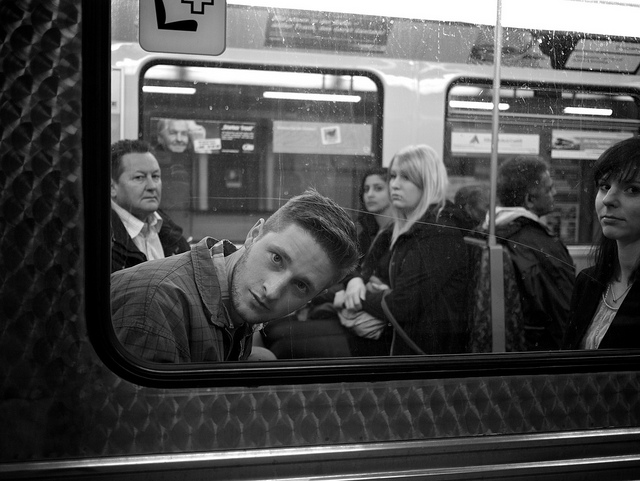
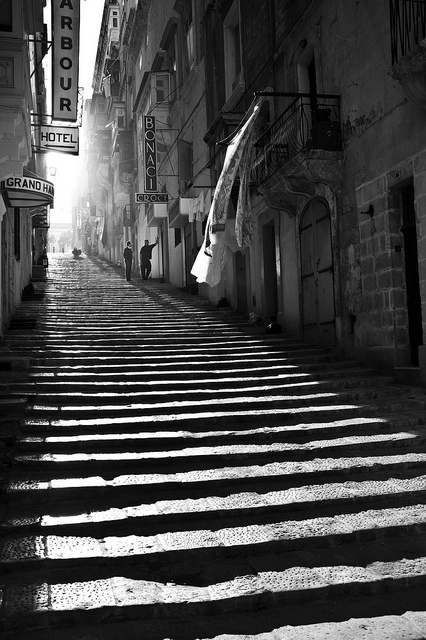
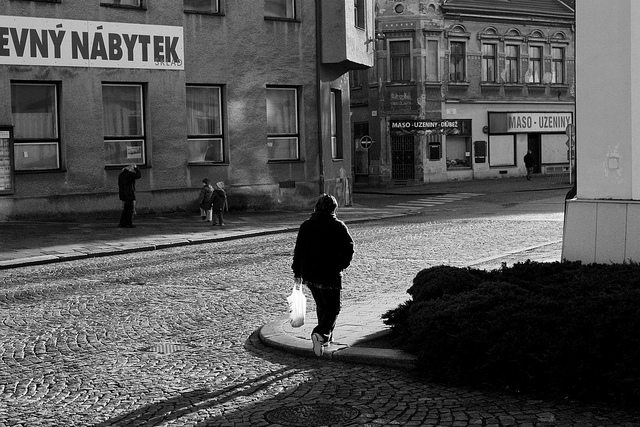
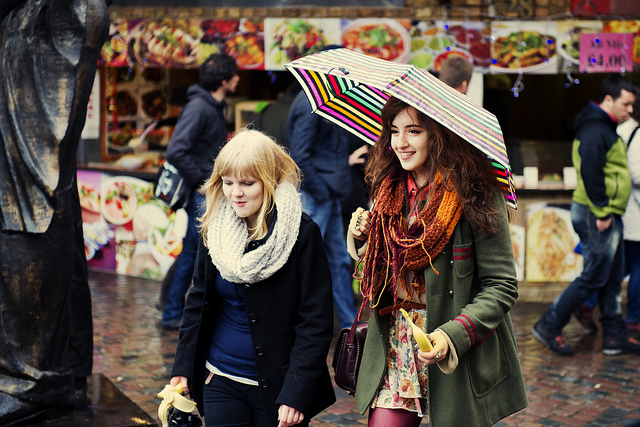
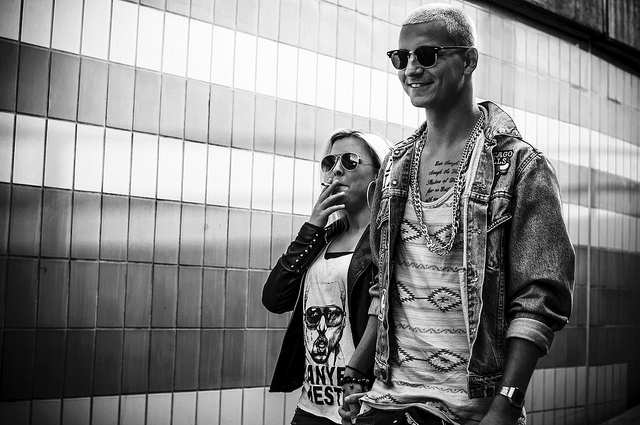
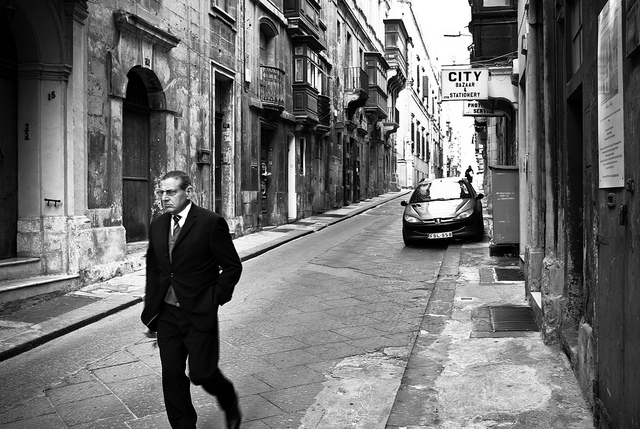
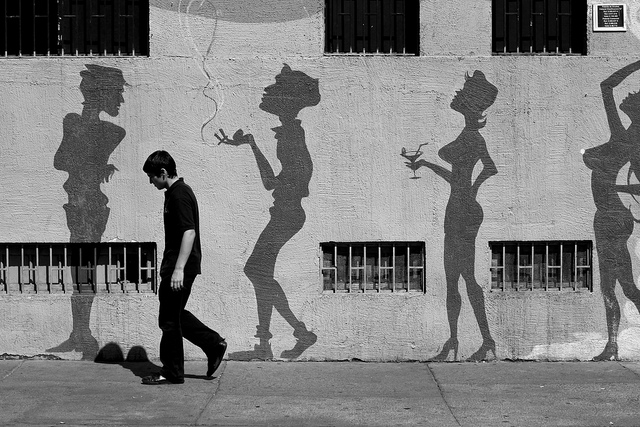
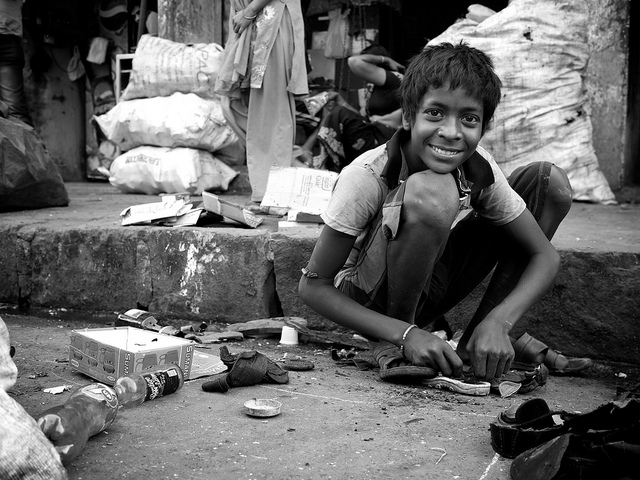
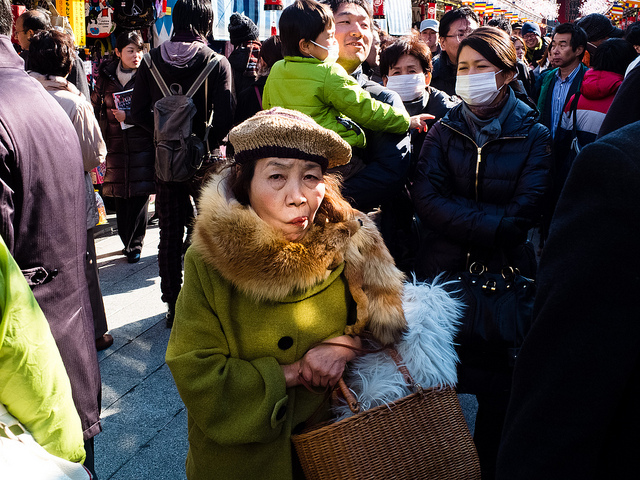
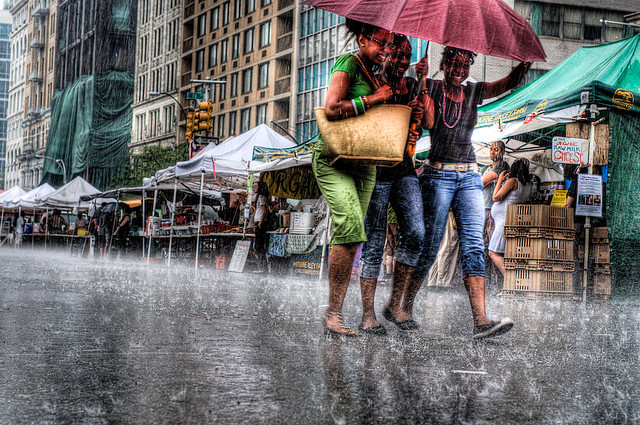
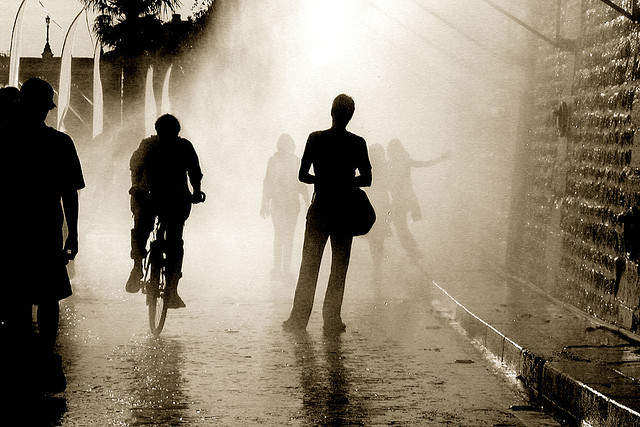
    Today I want to share some street photography images I found particularly good for different reasons. Whether you do this type of photography or not, appreciate the art and skill and enjoy these images. Notice there are a lot of black and white images. It’s pretty common for street photography as it really narrows down to the subject, light and shape.

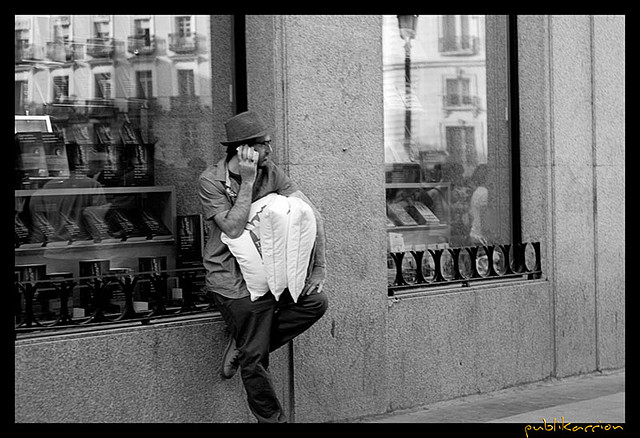
    By publikaccion

    By Stepan Mazurov

    By praline3001

    By Chris JL

    By Pavel P.

    By Thomas Leuthard

    By Thomas Leuthard

    By Thomas Leuthard


    By gato-gato-gato

    By Pavel P.

    By Chris JL

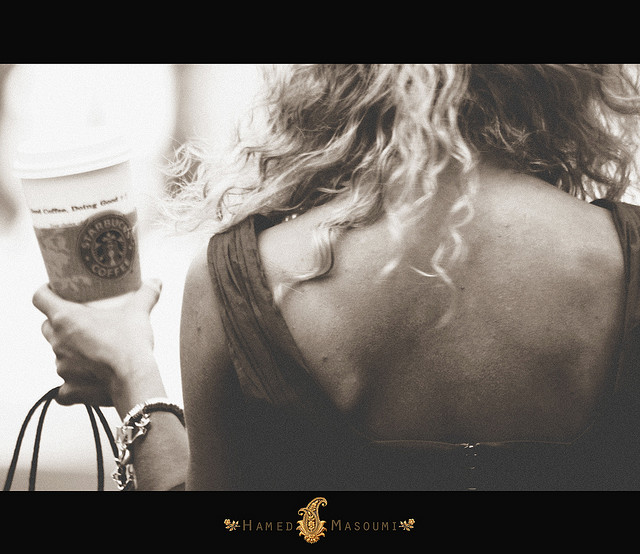
    By Hamed Masoumi

    By Ines Njers

    By gato-gato-gato

    By Geraint Rowland

    By Thomas Leuthard

    By Thomas Leuthard

    By Takeshi Garcia

    By Eric

    By Phil Hilfiker

    By Charly ‘n Paris

    By micadew

    By Mario Mancuso

    By Chris Ford

    By Rakesh JV

    By Björn Bechstein

    By helmuthess

    By DaiLuo

    By Emanuele Toscano

    By Thomas Geiregger


    Post originally from: Digital Photography Tips.

    Check out our more Photography Tips at Photography Tips for Beginners, Portrait Photography Tips and Wedding Photography Tips.

    30 Street Photography Images to Inspire You

    The post 30 Street Photography Images to Inspire You by Darlene Hildebrandt appeared first on Digital Photography School.


    Digital Photography School

  • Street Photography – Weekly Photography Challenge

    Something that tends to strike fear into the heart of many new photographers is street photography. So today I’m going to urge you to get out of your comfort zone and go try it. I teach a travel photography class and when I share my photos of different exotic places, it’s always the street photography, and in particular the people photos, that get my students most excited.

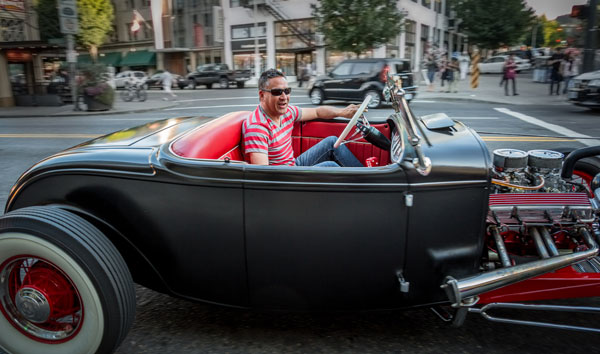
    Taken during a photowalk in Portland, OR. This guy was stopped at a light and I took about 20 photos of him in 30 seconds. Made him laugh! If he had minded he would have said something, or gestured - if you get my drift.

    Taken during a photowalk in Portland, OR. This guy was stopped at a light and I took about 20 photos of him in 30 seconds. Made him laugh! If he had minded he would have said something, or gestured – if you get my drift.

    To me, it’s the people that make a place what it is; they are the essence, the culture. But that fear of photographing a stranger, in a public place, and actually having them see you take their photo is a biggie. Am I right?

    Getting outside your comfort zone, doing something you don’t normally do, stretching your limits – that’s where real growth will occur. If you want to take your photography to the next level, give it a try and push yourself a little. You don’t need to travel to do this kind of photography. The two images below are done in my own city.

    I was basically running behind these guys with a wide lens. Good timing is everything in street photography.

    I was basically running behind these guys with a wide lens. Good timing is everything in street photography.

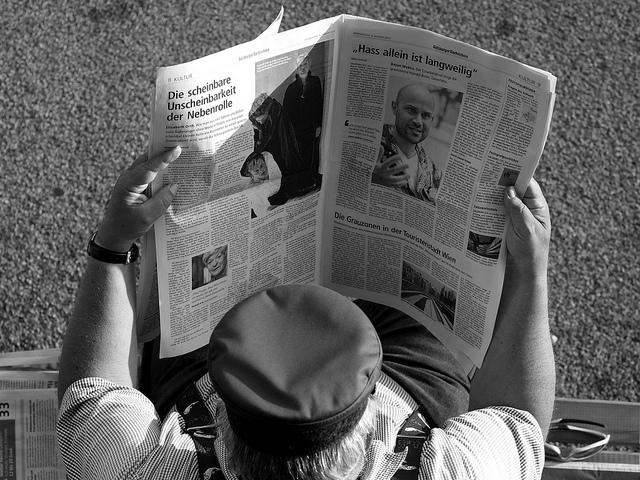
    The other approach is talking to people. I chatted with this guy for 10 minutes. Then gave him $  2 for his newspaper (how he makes a living) and took his photo.

    The other approach is talking to people. I chatted with this guy for 10 minutes. Then gave him $ 2 for his newspaper (how he makes a living) and took his photo.

    Yesterday I posted 30 inspiring images of street photography, go have a look to get you fired up. Then find some a friend to go with you (even if they aren’t taking photos) and hit the pavement.

    Your challenge this week – street photography

    Get out there and walk around. Photograph what grabs your eye including architecture, traffic, people along the way – everything! Be fearless, you can do this!

    To help you out – here are some other great articles with more tips to get started and overcome the fear.

    Further reading to help you gather courage for street photography

    • Using Street Photography to see Beyond the Ordinary
    • 103 Things I’ve Learned about Street Photography 
    • My 30 Day Adventure with the Fuji x100s
    • Seeing and Street Photography 
    • How to Approach Street Photography in 12 Easy Steps
    • Terrified of Street Photography? So am I – here’s how I do it!

    Post originally from: Digital Photography Tips.

    Check out our more Photography Tips at Photography Tips for Beginners, Portrait Photography Tips and Wedding Photography Tips.

    Street Photography – Weekly Photography Challenge

    The post Street Photography – Weekly Photography Challenge by Darlene Hildebrandt appeared first on Digital Photography School.


    Digital Photography School

  • 100 Luxurious Celebrity Instagram Accounts to Follow

    Celebrities live at the mercy of the camera of the paparazzi and always try to look perfect in accordance with the canons of Hollywood liberal elitism. They know that millions of curious eyes are watching them all the time, whenever they go and whatever they do. We follow celebrity lives throughout the years and always wonder what they eat, where Continue Reading

    The post 100 Luxurious Celebrity Instagram Accounts to Follow appeared first on Photodoto.


    Photodoto

  • Fuji Follow-Up

    It's been two years since I fell down the Fuji rabbit hole. It's been a wonderful (and public) experience, and I probably get asked more questions about Fuji than anything else.

    So today we're taking a small side trip from lighting and heading into mirrorless. Apologies to the uninterested. I'l be back soon. But for those considering a foray into Fuji, I hope you'll find this helpful.

    Read more »
    Strobist

  • Review: The ONA Bowery Bag for Everyday Photography

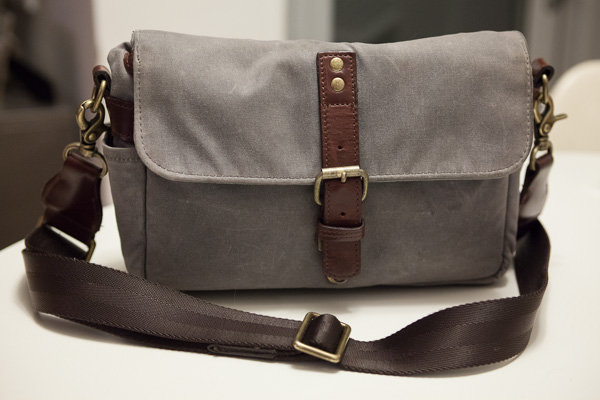
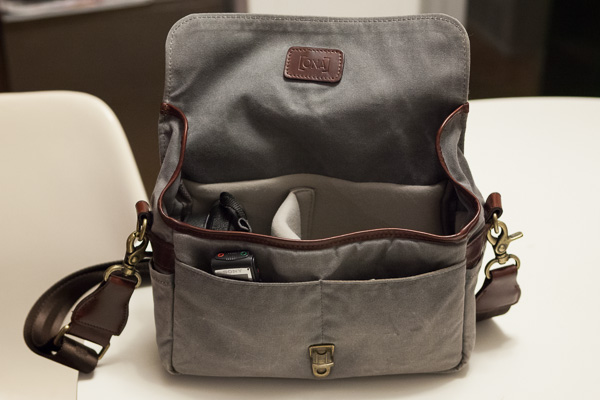
    Ona Bowery Camera Bag Review

    The Bowery by ONA Bags

    These days, no piece of photography equipment excites me more than a good camera bag.

    Or even better, a practical, light, good-looking camera bag.

    I’ve been a fan of ONA bags for over a year now and the Bowery is one of my favourites.  It’s small and made for traveling light.  I carry it around almost daily.

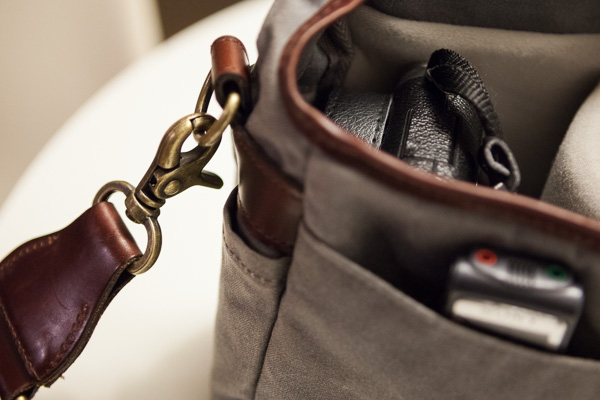
    Well padded and well made, the bag has water resistant, waxed canvas (and believe me, I’ve tested the water-resistant part out), leather details, and beautiful brass hardware.

    Ona Bowery Camera Bag Review

    Perfect for sightseeing, everyday use, and street photography

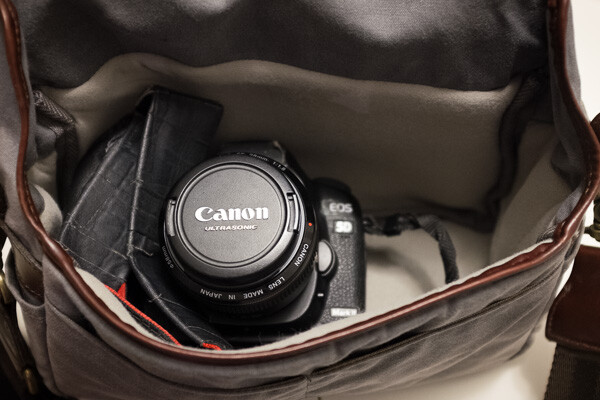
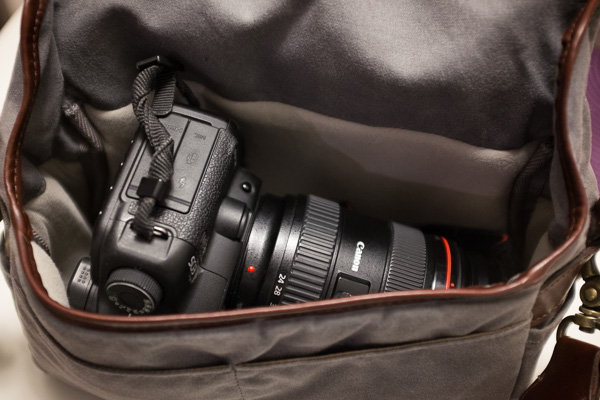
    The bag is made for the smaller sized camera, such as a rangefinder, mirror-less, micro four thirds, or a point-and-shoot.  I use it primarily with my Fuji X100s, however, it fits my Canon 5D Mark II and monster 24-70mm lens, and I use it somewhat frequently with the 5D Mark II and light 28mm prime lens.  Remove the small divider and it can fit an iPad Mini.

    ONA also describes the ONA Bowery Bag as an insert, which makes a lot of sense.  I recently took a trip where I flattened the bag into my luggage and used a larger camera bag to carry my equipment from place to place.  When I arrived, I popped the X100s and some batteries into the Bowery each day and it was a freeing experience for photography.

    A freeing experience for travel.

    A freeing experience for travel

    At $ 119, the bag is not necessarily cheap, but it is more than a good deal for the quality and functionality.  And when you factor in the wear and tear saved on your joints, it could save you a lot down the road.

    If your significant other lugs around too much equipment, then the ONA Bowery Bag is the perfect holiday gift to convince them to lighten the load.

    Ona Bowery Camera Bag Review, Interior Shot

    Fuji X100s, Digital Recorder, and three extra batteries. Insert can be removed to fit an iPad Mini

    Padded, waxed canvas, leather details, and brass clasps.

    Padded, waxed canvas, leather details, and brass clasps

    Fits a Canon 5D Mark II with 28mm lens.

    Fits a Canon 5D Mark II with 28mm lens

    If you are ambitious - 5D Mark II and 24-70mm EF lens.

    If you’re ambitious – Canon 5D Mark II and 24-70mm EF lens

    Post originally from: Digital Photography Tips.

    Check out our more Photography Tips at Photography Tips for Beginners, Portrait Photography Tips and Wedding Photography Tips.

    Review: The ONA Bowery Bag for Everyday Photography

    The post Review: The ONA Bowery Bag for Everyday Photography by James Maher appeared first on Digital Photography School.


    Digital Photography School

  • 5 Tips for Successful HDR Photos

    How do you create successful HDR photos? It’s a question that I’ve gotten from time to time, and before we get started with this post I do want to make clear that there’s no question that HDR photography is one of those never ending battle grounds in the photography world. Much like the Windows vs Apple battle of the PC world, HDR vs non-HDR is a battle that continues to stir the pot.

    Five tips for successful HDR photos – for those that wish to do it!

    While it’s always fun to add fuel to the fire from time to time, let’s put the argument of whether or not it’s a valid form of photography aside for a minute, and simply focus on trying to get those who wish to learn a new technique on the right track from the start.

    Tip #1 – use a tripod

    HDR Photography Tip - Use a Tripod

    Using a tripod to photograph HDR brackets helps keep the frames from shifting between shots. (This image was taken with my iPhone using an Olloclip fisheye lens and processed using Snapseed)

    This should be a no brainer and I really didn’t even want to put it into this article, but alas, here it is.

    A tripod will not only allow you to stabilize each individual image (some of which may be fairly long shutter speeds), but in order to capture the full dynamic range of the scene you will need to take multiple exposures with your camera and it’s vital that these frames line up perfectly. A tripod will ensure that each frame you capture is identical to the previous one, with the only exception being the exposure times.

    Tip #2 – don’t tone map a single exposure and call it HDR

    I see this all the time, and while I understand it’s a great way to get more out of a single exposure, it’s not really an HDR image. Yes you can create an underexposed, neutral, and over exposed image in Lightroom from the same RAW file, and then merge those three images into one HDR photo, but it’s really not the same as capturing individual images.

    Why you ask? Simple. When you capture one exposure at a given set of settings (Exposure Values) on the exposure triangle you are recording data within that given range. No matter what you do to that file in post production the data captured by the camera doesn’t change – you’re only changing the way in which that data is output into an image.

    When you capture three or more images at different exposures (EV), then those three images are all going to have different levels of data from which you can pull; allowing for a truly high dynamic range photograph. The more images you capture the more data you’ll have at your disposal. That being said there’s the law of diminishing returns, which basically means that there comes a point when adding more data to the pile doesn’t help improve the photograph.

    Tip #3 – know when you need it and when you don’t

    hdr-photography-tips-01

    Use HDR only when you need it (IE: when the light range of your scene is too large to capture in a single exposure)

    Some people use HDR for every photograph they take. In fact it’s step two on this list of 10 Steps Every HDR Photographer Goes Through. You do not have to do this.

    HDR stands for ‘high dynamic range’ so if you’re photographing a scene where the lighting is fairly even from shadows to highlights (the scene fits nicely on the histogram, with nothing clipped at either end of the scale) you don’t need to do HDR. Your camera is capable of pulling out enough detail from the highlights and shadows to cover the scene in its entirety with one exposure. It’s also probably not worth it to try capturing moving objects or people in HDR as they typically don’t look right when they get tonemapped.

    So when should you use HDR?

    Use it during sunrise or sunset, especially when you are photographing into the sun. Use it to photograph during the middle of the day. Use it to photograph architecture or man-made objects, as HDR has a way of really bringing out the detail of craftsmanship.

    Tip #4 – invest in a good tone mapping program

    Once you capture your bracketed set of photos you’re going to want to put them together in the best way possible. There are a ton of great programs out there to do this, but I recommend using either HDR Soft’s Photomatix Pro or Nik Software’s HDR Efex Pro. There are free alternatives out there, but I find that they don’t do as good of a job at tone mapping. Remember the tone mapping process is done algorithmically so the more powerful the software’s algorithms, the better the end results.

    Tip #5 – control the urge to go big

    HDR Tip - Avoid Going Too Big

    Avoid the urge to create surrealistic photos (unless this is truly the style you wish to go in).

    This is where HDR really becomes a touchy subject. Some people say that it’s their style to create over the top, surrealistic style, HDR photography and other’s say that they are destroying the world of photography by creating these highly saturated and oddly lit photographs.

    It’s easy to get carried away with tone mapping your images, but if your goal is to recreate what you saw, the best way to do this is to remember to tone it down a bit before you press that process button. It’s also a good idea to watch out for haloing which takes place typically along tree lines (as you see in the photo above above the dark trees on the left side of the image).

    hdr-photography-tips-02

    Final word

    While this is not an exhaustive list of HDR tips, it is a good start to get you on the right track to capture your first high dynamic range photos. That said, if you’re a bit more experienced with HDR and are looking to take your HDR photography to the next level, check out this post Creating HDR Panoramic Photographs written by one of my buddies on his HDR workflow process for creating massive HDR Panoramic images.

    Do you have some tips to add to the list? Leave one in the comments below!

    Post originally from: Digital Photography Tips.

    Check out our more Photography Tips at Photography Tips for Beginners, Portrait Photography Tips and Wedding Photography Tips.

    5 Tips for Successful HDR Photos

    The post 5 Tips for Successful HDR Photos by John Davenport appeared first on Digital Photography School.


    Digital Photography School

  • Five Photography Bad Habits to Quit Today

    We can find ourselves pretty wrapped up in photography bad habits or behaviours long before we realize that maybe we should be trying to find another way. Sometimes, you don’t even see them and, if you’re lucky, you’ll have a friend who can kindly point them out. So let’s take a look today and see if I can be the friend who says, “ahem…you’ve got toilet paper on your shoe.”

    Five Photography Bad Habits to Quit Today

    1. Hesitation

    A habit you may find yourself in is hesitation. Hesitating too long in a situation can prevent you from getting that perfect shot. You may be hesitating for a couple different reasons:

    Hesitating can mean the difference between catching or missing moments of emotion.

    Hesitating can mean the difference between catching or missing moments of emotion.

    Fear of what people think

    You may be concerned about what people think. Are you feeling the urge to take a shot of your crying child? Those are completely valid moments that need to be captured from time to time. Or perhaps it’s a street shot of a perfect stranger and you hesitate just a split-second too long because you’re feeling vulnerable and on-stage.

    One of the best street photography series I’ve ever seen is the Zack Arias #de_VICE series. Even just now looking for that link and scanning over the shots again…they give me goosebumps. Zack made the images with a Fuji x100 camera which has a 23mm fixed lens (this is equivalent to 35mm on a cropped sensor camera). So you know he had to get really super, uncomfortably close, to those strangers to get those shots. He didn’t hesitate. Uncomfortable moments are over in a split second, but these images last forever, have the potential to change lives and get conversations going which would never otherwise have happened. It’s because of Zack’s series that I think twice about pulling out my device at inappropriate times (like eating out with my family). Further reading: 7 steps to get over the fear of street photography and Photographers: Embrace the Awkward Moment

    Not being ready

    Not having your camera ready can make you hesitate. You may not have it up and ready in shooting position (Jasmine Star talks about that in this video) or you may not have your settings right. Set your camera for the situation so you’re ready to shoot, but if your surroundings are constantly changing, then you have a couple options.

    1. You can shoot in auto or a semi-manual mode. I personally love aperture mode. This means you set the aperture and the camera meters the light for your shutter speed. While shooting in full manual is always preferable, doing what you need in order to get your shot is paramount, so do what it takes in terms of your settings to prevent hesitation.
    2. Shooting in RAW also helps you have a wider range of options in post-production so you can recover poorly exposed shots.

    Further reading: The Introvert Photographer (in this post I talk about my use of semi manual shooting modes).

    2. ISO too low

    A pretty nasty habit to kick can be using too low of an ISO setting. Many photographers say they did such-and-such because they “couldn’t take their ISO above 800″. The fear of using a high enough ISO can be pretty strong and lead you to get blurry shots from a shutter speed that is too slow, or even prevent you from trying to get a shot altogether. A few reasons you want to kick this habit today:

    • You may be surprised at how high you can actually push your camera. If you have a good ‘fast’ lens (one that handles a wide aperture), make every use you can of its capabilities. Then take your ISO as high as you need to get the shot.
    • Post editing software these days can minimize the noise resulting from extremely high ISO amazingly well.
    • Grain/noise isn’t totally bad. For some photographers, it’s actually desirable. Many of us actually add more grain. So if you have a high ISO shot that would look beautiful edited in B&W, try that out and visualize all that noise as beautiful grain.

    Now, there’s this thing out there about how sensors in full frame cameras produce less noise. It was this idea that stopped me from taking my cropped sensor camera to the high ISO I often needed, because it wasn’t a full frame camera. But when I did get a full frame camera, I did some cropped sensor vs full frame ISO comparisons and was really surprised to find that there wasn’t a difference substantial enough to have warranted all my worries.

    ISO 3200 and still nice and smooth

    ISO 3200 and still nice and smooth

    3. Pixel peeping

    A great subject to talk about next is the bad habit of pixel peeping, because it may be one of the reasons you’re afraid of shooting at high ISO numbers. If you blow your shots up to 100% in your computer and cry, “Oh, the noise! THE NOISE!” then you may be a bonafide pixel peeper. Unless you’re printing those shots to fit on the side of a bus, there’s no need to analyze every single pixel. This is what I suggest for recovering pixel peepers:

    • Stop zooming to 100% (1:1 in Lightroom). Fill your screen when editing, but resist the urge to inspect at 100%. Keep your finished product in mind and stick to that as your frame of reference.
    • Find an image that makes you have a pixel peeping meltdown and do a test print. Print it quite large (like 16×24) and when it comes in, you may be pleasantly surprised at how great it looks.
    • If you’re taking shots for the web, then you have even more of a reason to chill out. Many unprintable shots can still look great online.

    One of the reasons you may be blowing up your images in the first place is that this is what camera manufacturers do to show you how great their next model is and why you should buy it. Before embarking on heavy duty shooting of my own, I was shopping for gear and every time I looked at camera specs or reviews, they were filled with zoomed in portions of images. These images are used to say “look how awesome your next camera could be!” so naturally, we may feel that this is also the right way to be judging our photography. But please…quit this habit, because those images have nothing to do with photography and everything to do with cameras.

    4. Luck shooting

    Yes, I’m looking at you, Mr. and Mrs. Spray-and-Pray. We’ve all been guilty of switching off our brains and shooting like crazy, just hoping for something ‘good’ to be in there when we get home to our computers. Yes, you can physically create images this way. The same way you can plop a paint covered baby on a canvas and allow them to create ‘art’. The baby doesn’t know how he’s doing it and won’t be able to do it again. But hey, he did and that’s all that matters, right? Not exactly.

    There are a few problems with this habit and so here’s why you want quit it today:

    • You won’t know how you got those shots
    • …so you won’t be able to recreate them. This isn’t as large a problem in personal shooting as it will be if you’re trying to charge for your services or start a business. Your clients will be depending on your ability to give them what you gave everyone else.
    • Part of your journey as an artist is harnessing something from within and bringing this out into the world. Photography can be one of the ways this happens, but unless what you have inside of you is to let out chaos, shooting like this isn’t a way to create.
    • When you spray and pray you can’t recreate the process. I’ve said this already (it’s that important) but another reason this isn’t good is that it isn’t honest. Harnessing your camera as a tool (as a painter does a paint brush) give you a powerful edge as an artist. You should be controlling your camera, not the other way around.

    This habit isn’t too hard to kick once you acknowledge that you have it. Further reading: 5 ways to stop being a luck photographer and start taking pictures on purpose.

    5. Editing everything

    We can all be guilty of taking too many shots. That will change as you get further along in your journey. But one thing you can change today is the compulsion to actually edit every single shot. Here’s what you can do to kick that habit:

    • Cull your images. I do this in Lightroom. I keep my left finger on the ‘x’ key and my right on the ‘>’ key. I go along and hit ‘x’ for any shot that isn’t a keeper, then ‘>’ to move to the next image. I have far more of these rejects than I do keepers. After you’ve chosen them all, sort to show the rejects only, do a select all (control/command+A) and hit “delete”. This will give you the option to just remove your images from LR or delete them completely. I delete completely to save space.
    • After you cull, go through and do it again.
    • And then do it one more time. Now, you’ll have a good set of keepers to edit.
    • Trust me. Once you’ve gotten rid of those shots, they will no longer exist in your mind. When you focus on your keepers, the other ones no longer have a hold on you. I can say that there isn’t one single image I’ve culled away that I can remember. There are no regrets. I’m not mourning any lost images.

    Of all the habits listed here, this one may be the hardest to quit. Deleting images always hurts a little. I get a twinge in my chest when I do it, but I know from experience that it’s completely necessary to give you a concentrated body of amazing work. You can do it!

    Summary and comments

    Think you can lick these five photography bad habits?  What other bad habits have you hooked? Surely, there are more than just five!

    How do you banish them forever? Share your tips in the comments below.

    Watch for a follow up article next week, with some GOOD habits that you will want to start doing right away.

    Post originally from: Digital Photography Tips.

    Check out our more Photography Tips at Photography Tips for Beginners, Portrait Photography Tips and Wedding Photography Tips.

    Five Photography Bad Habits to Quit Today

    The post Five Photography Bad Habits to Quit Today by Elizabeth Halford appeared first on Digital Photography School.


    Digital Photography School

  • Creative Ways to use Keywords in Lightroom 5

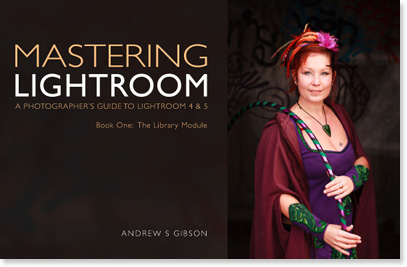
    Andrew S. Gibson is the author of Mastering Lightroom Book One: The Library Module, on offer now at Snapndeals for a limited time.
    Keywords in Lightroom 5

    One of the things about any software, such as Lightroom 5 that does a lot of things, is that many photographers tend to use only a small number of the available features. For example, I’ve never bothered to use the keywords feature much in Lightroom. I’ve always seen it as a waste of time. It takes time to add keywords to images and I don’t really need keywords to search for images – I know where to find them already.

    But since I started writing about Lightroom, and reading what other photographers have written about it, I’ve realised that there are a lot of good reasons to use keywords, and that used wisely they can actually save time.

    Like many things, it’s a matter of balance. The more keywords you use the harder it is to keep track of them all and the reasons that you added them, and to maintain a consistent approach (exception: if you shoot stock you will want to use lots of keywords as they are an essential part of your work).

    If you use just a few keywords, it’s easy to remember which ones you use and why.

    Let’s look at a couple of examples of creative ways to use keywords in Lightroom 5. Of course, if you have any suggestions, please leave them in the comments. I’m curious to see how you use keywords.

    Keep track of the kids

    I really like this one (thanks to Robert Taylor for the suggestion, he left in the comments on Using Lightroom Collections to Improve your Workflow). If you have children, add their name as a keyword when you import the images that you take of them. Then you can create a series of Smart Collections that searches for images with that keyword and organises them by year.

    Create a yearbook
    Keywords in Lightroom 5

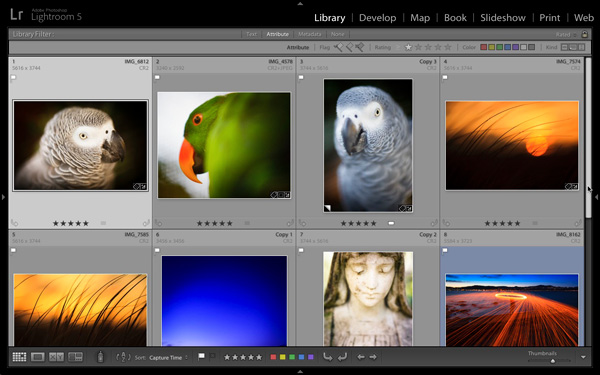
    Back before digital photography became the norm, a photographer’s best work ended up as prints or as slides. Today, the finished article is often a digital image stored on a hard drive or uploaded to a website. One of my current projects is organising my best images from every year since I’ve owned a digital camera, and picking the best to create a yearbook. The ultimate aim is to use Blurb to create a book creating my favourite photos taken each year, over the last eight years, and to carry this forward throughout my life. Not just for me, but for posterity. These books will hopefully make great gifts for younger family members.

    Method: add the keyword “yearbook” to suitable images, then create Collections to house those images.

    Taking it further: This could be applied to all sorts of ideas. For example, I could use it to create a book (or simply a collection) of my favourite images taken here in New Zealand. All I need to do is add the keywords “New Zealand” and “book” to candidate images, then perform a search.

    Using keywords

    Excited? I hope so, because the more you delve into Lightroom’s Library module ,the more you’ll find ways to simplify how you organise your images. Keywords are no exception. Now let’s look at the different ways you can actually apply keywords to your images in Lightroom. There are several options:
    Keywords in Lightroom 5

    Adding keywords when you import images

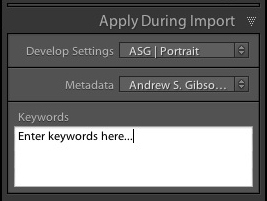
    This method works well if you tend to import images in groups, according to subject matter. For example, if you take some portraits one day, some landscapes the next, and import them all in one go you can’t really add subject specific keywords. But if you import the images from both shoots separately you can add keywords at the import stage (for example, the name of the model to the portraits, and the name of the location to the landscapes). You can do this in the Apply During Import panel on the right-hand side of the Import window.

    Use the painter tool

    Keywords in Lightroom 5

    The Painter tool is an easy way to add keywords to images while you are in Grid View. Click on the Painter icon in the Toolbar (it looks like a spray paint can – press the ‘T’ key to reveal the Toolbar if you don’t see it) and select ‘Keywords’ from the drop-down menu. Type in the keywords you want to add (in the box just to the right). Now all you have to do is click on a photo thumbnail to add those keywords to that image. It’s a very fast way of working in Grid View.

    Use the Keywording panel
    Keywords in Lightroom 5

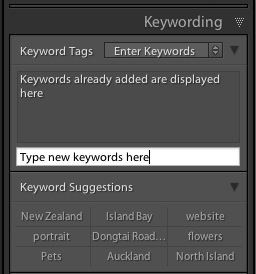
    The Keywording panel is located in the right-hand panel in the Library module. To add keywords, select the image (or a group of images) and type the new keywords into where it says ‘Click here to add keywords’. Any keywords already given to the image are displayed above. You can also add keywords by clicking on any that appear under Keyword Suggestions (populated by keywords you have used in the past).

    Use Keyword Sets

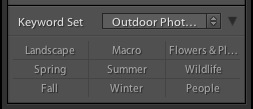
    Keyword Sets are found at the bottom of the Keywording panel. They are there to help you organise your keywords, and overcome the problem caused by the fact that it becomes more difficult to maintain consistency the more you use keywords.
    Keywords in Lightroom 5

    For example, I live in a suburb of Wellington called Island Bay. If I take photos here then I should keyword them with “Island Bay”. But what if one day I use the keyword “Wellington” instead? Or even forget to keyword them completely? Then the power of keywording is diminished, because those photos won’t be picked up in any search based on the keywords “Island Bay”.

    The solution is to use a Keyword Set. For instance, I could create a Keyword Set called Island Bay, and add Keywords such as Island Bay, Wellington, New Zealand, landscape, portrait. Then, when it comes to adding keywords, I can select the Island Bay keyword set first, then click on the appropriate additional keywords. This ensures consistency by ensuring that I select my keywords from a pre-determined pool.

    There are several Keyword Sets included with Lightroom, with titles such as Outdoor Photography, Portrait Photography and Wedding Photography. You can access them via the drop-down menu at the top of the Keyword Set section of the Keywording panel. This menu also gives you the options to create your own Keyword Sets.
    Keywords in Lightroom 5

    Keyword List

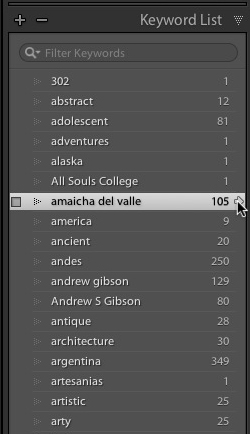
    The Keyword List panel lists all the keywords that you have applied to images in your Lightroom Catalog. If you want to see all the photos tagged with a specific keyword together, hover over the keyword and click on the white arrow that appears on the right-hand side. Lightroom brings them together in Grid View. This is one way of searching images by keyword.

    Finding keyworded images

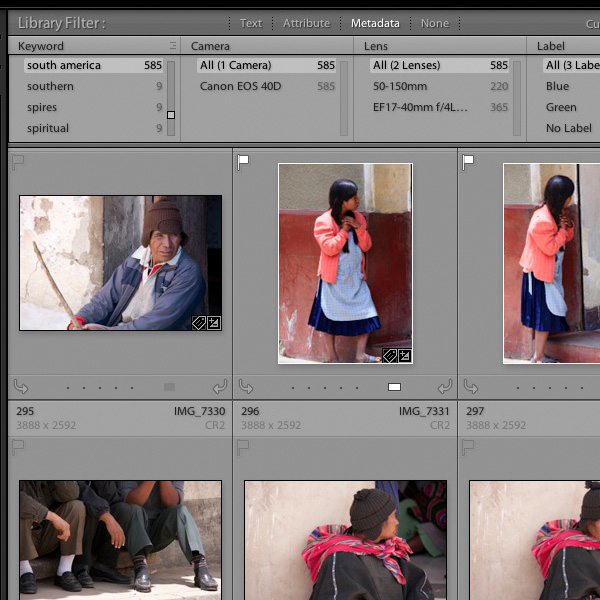
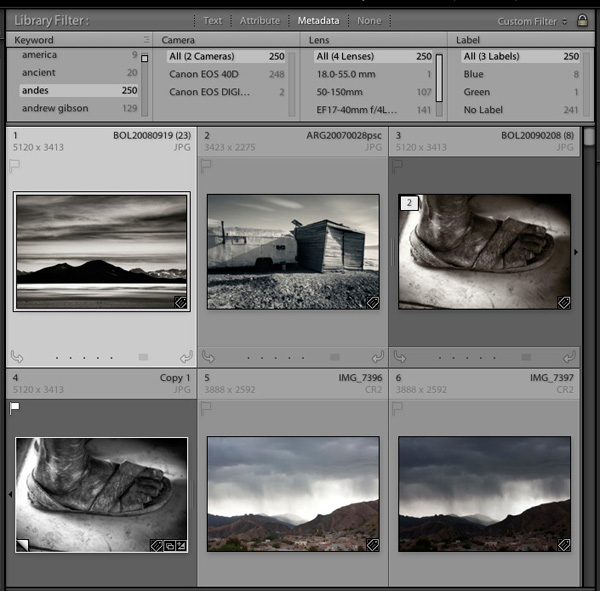
    The easiest way to find keyworded images is to go the Filter Bar (press the ‘\’ key if you don’t see it) in Grid View and click on the Metadata label. Select “Keyword” from the drop-down menu in the first column. Lightroom displays a list of keywords underneath. Click on a keyword – Lightroom gathers all images tagged with that keyword together. You can limit the search to specific Folders or Collections by selecting them in the left-hand panels (or select “All Photographs” to search your entire catalog).
    Keywords in Lightroom 5

    Using Smart Collections

    Keywords in Lightroom 5

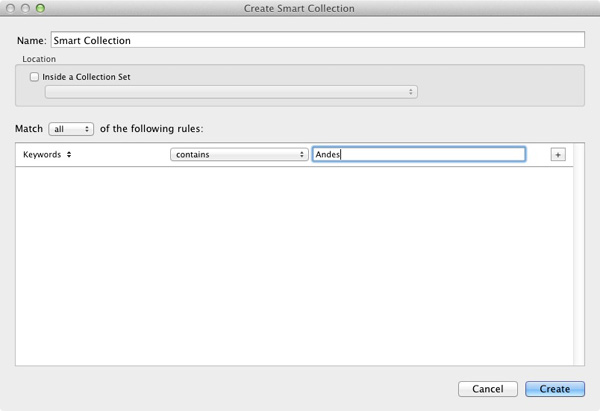
    Finally, you can use Smart Collections to gather together images tagged with specific keywords automatically. Go to the Collections panel, click on the ‘+’ icon in the top-right corner and select the Create Smart Collection option. Set Match to All, select ‘Other Metadata > Keywords’ from the drop-down menu in the first column and then type the required keyword in the blank space provided. The example shows a very simple Smart Collection, you can make it as complex as you like by adding extra rules (remember to give your Smart Collection a name, in the example above “Andes” would be applicable).

    Additional learning – Mastering Lightroom eBook
    Keywords in Lightroom 5

    My latest ebook Mastering Lightroom Book One: The Library Module is a complete guide to using Lightroom’s Library module to import, organise and search your photo files. You’ll learn how to tame your growing photo collection using Collections and Collection Sets, and how to save time so you can spend more time in the Develop module processing your photos. It’s available now for a special price at Snapndeals for a limited period.

    Post originally from: Digital Photography Tips.

    Check out our more Photography Tips at Photography Tips for Beginners, Portrait Photography Tips and Wedding Photography Tips.

    Creative Ways to use Keywords in Lightroom 5

    The post Creative Ways to use Keywords in Lightroom 5 by Andrew Gibson appeared first on Digital Photography School.


    Digital Photography School
  • Mastering the 6 Absolute Basics of Digital Photography

    They say that you should walk before you run, and before that, you should crawl before you can even walk. So, too, with digital photography: You have to understand the very bare essentials of the craft before you can even hope to become anything close to a seasoned pro. The biggest mistake that most photographers commit is they think they’re Continue Reading

    The post Mastering the 6 Absolute Basics of Digital Photography appeared first on Photodoto.


    Photodoto