Category: Photography

  • In the Dark: 10 Tips for Street Night Photography

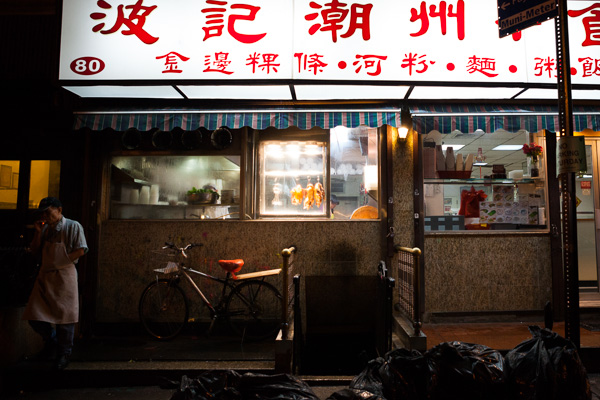
    1/80th at F2.8, ISO 1600.

    1/80th at f/2.8, ISO 1600

    Much is spoken about photographing during the twilight hour, but what about after that?

    Night is my favorite time for street photography. Cityscapes are lit with a myriad of interesting and colorful light sources, such as lampposts, neon signs, store windows, car lights, and bare bulbs. People dress in their favorite outfits to go out. Bland scenes by day can suddenly turn ominous and fascinating at night.

    Here are 10 tips for night photography to get you thinking about starting your next street photography session at twilight, rather than ending it.

    1. Ideal camera settings for sharpness at night

    To freeze motion during the day, I prefer to use a shutter speed of 1/320th, with 1/160th as my lower threshold.

    At night, this changes. In the brightest areas, you will be able to photograph at 1/250th, but most of the time it will be best to use a shutter speed somewhere between 1/160th and 1/60th. You need to have: steady hands; a wide-angle focal length; and to stop your own motion completely to be able to photograph handheld at speeds around 1/60th, but with some practice it can be done.
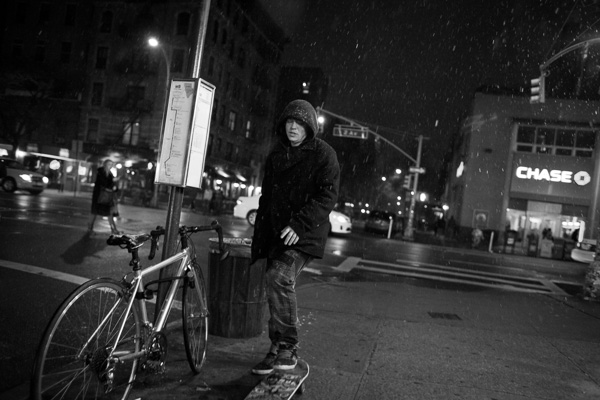
    1/125th at F2.5, ISO 6400.

    1/125th at f/2.5, ISO 6400

    A wide-angle lens is necessary for this type of photography because the longer the focal length, the faster the shutter speed needed to keep an image sharp. With a 28mm or 35mm lens (up to 50mm) it becomes much easier to handhold the camera at slower shutter speeds.

    It will also help to use a fast, prime lens, such as a 35mm f/2. It is possible to shoot at f/4 in brighter areas, but being able to shoot at f/2.8, f/2, or even 1.8 will greatly expand your opportunities.

    Finally, you will need to raise your ISO significantly. With modern digital cameras you can photograph anywhere from ISO 1600 to 6400 with decent or good quality. It’s just not possible to photograph handheld at night otherwise. I prefer to shoot at ISO 3200 and sometimes at ISO 6400 if needed.

    To learn more about photographing with a high ISO, you can read about it here: Reasons to Shoot High ISO Images.

    2. Seek out the light sources first
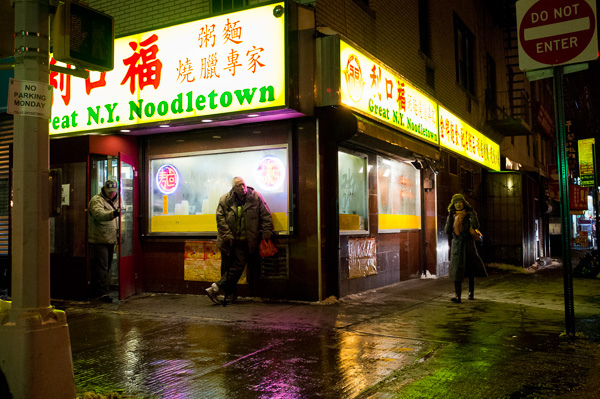
    1/60th at F2.8, ISO 3200.

    You should always pay attention to the main light sources in a scene, no matter where or when you are photographing, but at night this becomes even more important. Start by finding a beautiful light source, or an area with good lighting, and wait around for something to happen.

    Focus on how these light sources hit your subjects. If you are leaning against a shop with a lit sign behind you, like the man in the photograph above, then as subjects pass you they will be lit with a strong light that has a gorgeous color to it. If your lens aperture doesn’t go wider than f/4, this is a fantastic way to get around that limitation.

    On the other hand, if you stand in the street and aim the camera at the light source, as I did in the above photo, then the light will be less pronounced on the subjects, however, you will get the beautiful sign in the scene.  Notice the difference between the light on the left and right side of the man’s face in the photo.

    3. Photograph nightlife
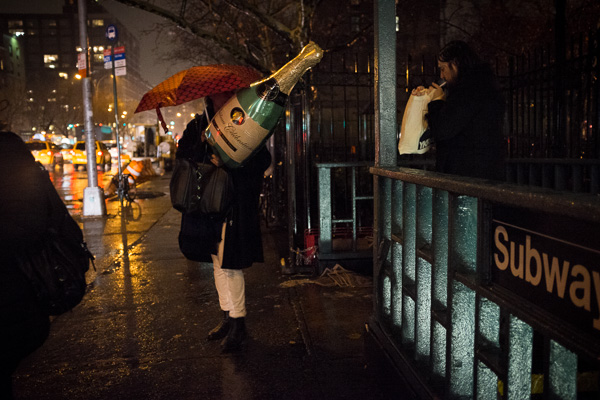
    1/125th at F2, ISO 6400.

    1/125th at f/2, ISO 6400

    Some of the most interesting night street photographs occur where the most people are, and that is often where the nightlife is. A fantastic project to look at for inspiration is Maciej Dakowicz’s Cardiff After Dark.

    4. Alternate between getting close and stepping back

    I’m a proponent of the Robert Capa advice that, “if your photos aren’t good enough, you’re not close enough.” However, at night I often alter this strategy.

    I try to get close to many of my subjects, but I will also try to create scenes where the subjects are small aspects of the overall scene. At night, backgrounds can be much more beautiful than during the day, so it often works to have people become the secondary element to the scene, rather than the primary focus.

    The technical advantage to this is that you do not need to use as fast a shutter speed to capture the motion of subjects when you are further away. You can freeze a moving subject at 1/60th of a second from further away, whereas you will need to use at least 1/125th when close.

    5. Tripod and crowd blur
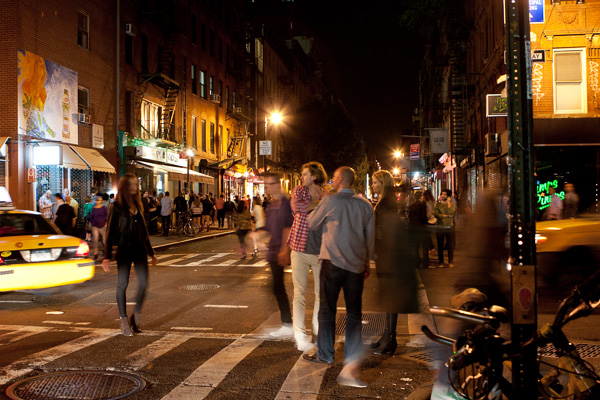
    1/8th at F4, ISO 800 (Tripod).

    1/8th at f/4, ISO 800 (with tripod)

    For street photography, it’s usually best to go handheld since you never know what interesting thing is going to happen, and where it’s going to happen. However, one of the times to use a tripod is when you want to capture a busy scene, with lots of people and motion.

    Experiment with slower shutter speeds, such as 1/8th of a second and take a lot of images.  It took me a long time to capture the image above because I wanted the people spread out evenly throughout the entire scene and I also wanted something interesting within the foreground, which is the pose of the woman in the street and the man looking at her. It took some time, and a lot of captures for this to happen.

    6. Use a flash

    Whether you want to try flash on the street is up to you, but keep in mind that it can easily lead to some confrontations.  I prefer to work with the constraints of the natural light on the street and I also get uncomfortable flashing strangers in the face in dark settings, but many prefer to photograph this way. It creates a fantastic look when done well.

    Using a flash means that you are freed from a lot of the constraints of photographing at night. You can use a faster shutter speed and include more depth of field in the photo and less grain (noise).

    You can either have the flash do all of the work lighting the scene, where the foreground area within reach of the flash is lit and everything else is dark, or you can set the camera to expose for the scene, similar to what you would do without the flash, and then use the flash to add some fill light to your main subjects in the foreground.

    7. Noise and the dreaded underexposed image
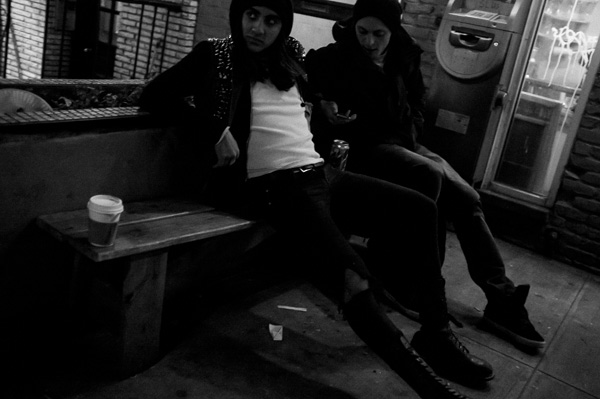
    1/250th at F2, ISO 3200.

    1/250th at f/2, ISO 3200

    Always expose correctly when photographing with a high ISO.

    That being said, even with the best settings, some of your images will be taken in areas that are too dark to be exposed correctly. It’s impossible to photograph this way and expose every image perfectly within the camera. For the occasional shots with excellent content that you want to save, you will have no choice but to raise the exposure when editing.

    For these photos, I will first ignore the noise and get the exposure and look correct in Lightroom. After I do this, if I’ve had to raise the exposure setting a significant amount, the grain will look terrible. Luckily, there are some keys to saving an image like this as long as you are photographing in RAW.

    What I do is to first remove the grain and then I add it back. I want the image to look grainy, but I want the grain to look pleasing.  There are many noise reduction programs, such as PhotoNinja, Topaz DeNoise, and DxO. I like Lightroom’s built in Noise Reduction. If the noise is still bad after noise reduction I will sometimes bring it into Photoshop and add a very slight Gaussian blur.

    Then I will use Lightroom’s grain settings to add grain back into the photo. This grain looks much more pleasing to the eye than brightened, extreme digital noise and it can further hide some of the technical deficiencies in underexposed images. The result will not be a perfectly sharp image, but it will still be pleasing and beautiful.

    8. Blur and imperfection

    On this note, aim to get your photos as sharp as possible when you want sharpness, but know that a photo can still look fantastic even if it’s not tack sharp.

    You don’t need to freeze motion perfectly when photographing at night for the image to still look great. I hold my day images to a higher standard than my night images when it comes to sharpness.  They need to be interesting and look good and that’s what counts.

    Also, at shutter speeds around 1/60th to 1/30th, you can experiment handheld with slight blur, where your subjects are somewhat sharp but have a little motion to them. It’s a great way to add an energetic feeling of movement into an image.

    9. Night images should be dark
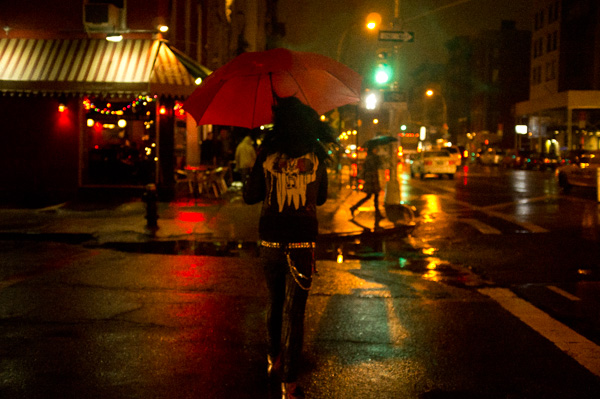
    1/250th at F2, ISO 3200.

    1/250th at f/2, ISO 3200

    This is an overly general statement, so feel free to disagree, but I want to make a point here.

    I believe that night shots should look like they were taken at night.  They should be dark, with deep shadows and areas that are hard to see and make out.  When you look at the histogram of a night image it should be further towards the dark end (left) than a day image.

    When you expose a night shot, especially on automatic settings, the camera will often misread the scene and overexpose the image.  It will be bright and you will be able to see everything as you would during the day, but it will not feel like a realistic night scene.  In these cases, you will want to lower the exposure compensation on your camera slightly (-).

    There are many situations where bright night images are a good thing, but don’t be afraid to make your night images dark and realistic.

    10. Be careful

    Depending on where you live, going out at night with a camera is not always the safest idea. Travel light with equipment and be careful about where you go. Use your best judgment on who to photograph and think about bringing a friend along. You don’t want to suddenly find yourself in a bad situation.

    Do you have any addition tips you’d like to add? Please do so in the comments below.

    For more reading on night photography in general check out these:

    • Tips for Photographing Star Trails
    • Nightscapes: Photographing the City at Night
    • How it was Done – Zooming the Exposure
    • Painting with Light in the Landscape
    • 5 Tips for Creating fun Campfire Photos

    The post In the Dark: 10 Tips for Street Night Photography by James Maher appeared first on Digital Photography School.

    Digital Photography School

  • 30 Creative Cinemagraphs to Drive You Wild With Inspiration

    Cinemagraphs are still images that contain within themselves moving elements allowing a glimpse of time to be preserved and experienced. Just like the magical newspaper from the Harry Potter movies, these animated GIF images leave the impression that you’re watching a short video. According to Wikipedia, the cinemagraph technique was created by photographers Jamie Beck and Kevin Burg, who used Continue Reading

    The post 30 Creative Cinemagraphs to Drive You Wild With Inspiration appeared first on Photodoto.


    Photodoto

  • Metering Modes and How Your Camera Meter Works

    Proper Exposure vs. How the Camera Exposes

    Proper Exposure vs. How the Camera Exposes

    Exposure is a complex beast. Mastering it is of the utmost importance. Exposure and composition are the two most critical components towards making a great image. Exposure is based on three components:

    1. The ISO or sensitivity to light
    2. Aperture or the size of the opening that will let in light, and
    3. Shutter Speed which defines the duration the light will have to pass through the aperture

    Whether you shoot in Manual, Aperture Priority or Shutter Priority; there is no difference in how the meter evaluates the scene.

    Measuring the light, or brightness of the scene you are trying to capture, is a critical component in determining the perfect exposure. To establish this you need a meter that can read the levels of brightness.

    Exposure is measured using light meters.  There are two types: one measures the light falling on the subject or scene, called an incident light meter; the other measures the light reflected off the scene or your subject, and is called a reflected light meter. All meters that are built into digital cameras are reflected light meters, and we will be addressing that type in this article. The more you understand these meters and how they work, the better you will be at understanding and interpreting what they are telling you. Keep in mind that incident light meters are far more accurate than reflected light meters.

    How does your camera determine exposure?

    Reflected light meters attempt to read the amount of light in the scene you are trying to capture. Unfortunately, those readings are guesses. You may have had the misfortune of photographing a very dark or black subject and have it come out looking over exposed, or a snow scene where the snow looks grey or under exposed. The reason for this behavior is that the camera’s light meter believes that most scenes should average to a mid-grey, also referred to as 18% grey. This middle grey is a mid-point between the darkest shadows and the brightest highlight. Since the camera meter has no idea about white or black, you need to help it using some form of exposure compensation based on the tonality of your subject or scene.

    Metering Modes

    To help with exposure, and determining how much to compensate, cameras have various metering modes. Typically, the three basic modes are Matrix (also called Evaluative), Center-weighted and Spot metering. Each of these is applicable in particular situations, but do not rely on just one of these modes to do it all for you.

    Evaluative Metering

    Evaluative Metering

    Evaluative Metering

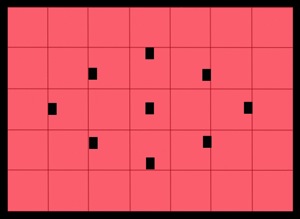
    In this metering mode, the meter divides the scene up into a grid and analyzes each segment for highlight and shadow (bright and dark) information. Once that data is collected, it calculates the average value and bases the exposure on that average. Keep in mind that all cameras do not have the same number of areas within the frame. Also, they don’t all calculate the average value for exposure the same way. Manufacturers use complex formulas to arrive at exposure values.  Therefore, it is important that you understand how your camera behaves in various situations and learn when to trust it, and when not to trust it.

    Many of the newer DSLR’s not only average the grid, but place additional emphasis on the focusing points that are in use during that particular image capture.

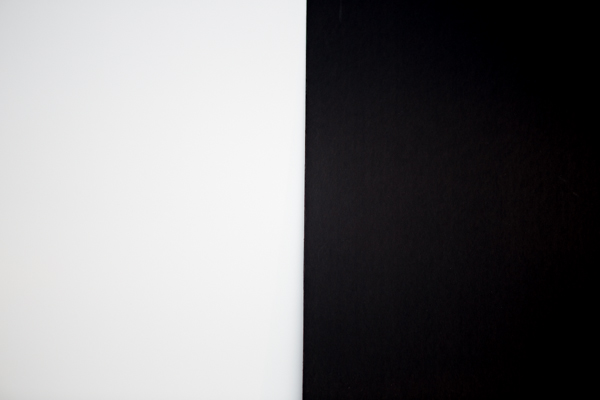
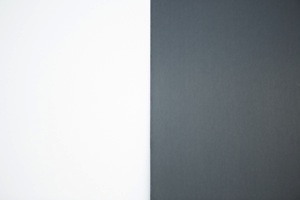
    In the next series of images, matrix metering was used to set the exposure. Two foam-core boards, one white and the other black, were placed side by side in the same light.

    For the first image, the camera read the exposure while it was pointed in the middle of the white and black boards.  The camera read all the white and the black and came to a reasonable conclusion by averaging the exposure.

    S5A9661.jpg

    Evaluative Metering – centered between the white and black boards

    S5A9658.jpg

    Metered off of the white board


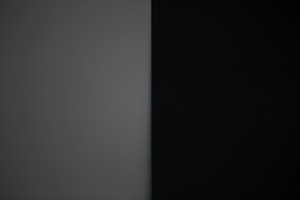
    The next image was shot with the camera meter reading taken from the white board.  The white was captured as grey and the black a darker grey.  This is because the camera tries to make everything neutral grey or 18%.


    Metered on the Black Board

    Metered off of the black board


    In the third image, the camera read the exposure from the black board.  The resulting image is overexposed making the whites too bright, and a dark grey where it should have been black.


    Center-Weighted Metering

    center-weighted.jpg

    Center-Weighted metering

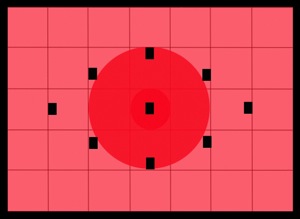
    This method of metering lays the most importance on the central portion of the frame, which can be as much as 75% or more, while little or no importance is given to the corners of the frame. Many pro DSLR’s will allow you to adjust the diameter of the center weight area.

    This mode of metering is preferred by many photographers and has a reasonable level of accuracy. Also keep in mind that most subjects tend to be centrally placed when framing. You then obtain the exposure and recompose before capturing the image.

    Spot Metering

    spot.jpg

    Spot metering

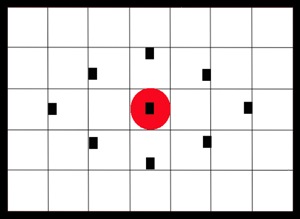
    This mode measures the light from a very small part of the scene only.  The area measured is typically the center of the image, using approximately a 3 to 7 degree range of measurement.  It is usually less than 5% of the area of the frame. With most of the mid to upper end DSLR’s, you can arrange the placement of the spot within the frame so as to identify where you want the reading captured (usually it follows where you focus).

    This is a very accurate metering mode. It will provide precise readings from small areas of your scene and is most effective in high contrast situations.

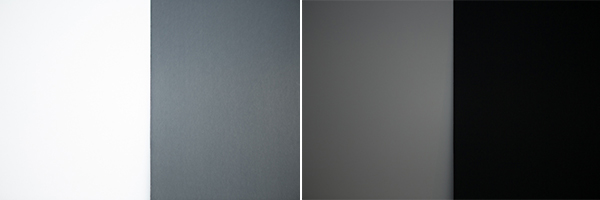
    The same white and blackboards were photographed once again using spot metering. As you can see in the images below, the same problem exists. Even the spot meter was fooled.

    _S5A9659A

    Spot metered on the black (left image) and then Spot metered on the white board (right image)

    To obtain a correct exposure so the camera is not fooled, a spot meter reading was taken using a grey card placed in the same light as the black and white boards.  This exposure setting based on the grey card was used to photograph the two boards.  The image below shows good exposure.

    S5A9661.jpg

    Exposure reading using a grey card

    How do you switch metering modes?

    The Metering icon is represented by an eye-shaped graphic within a rectangle. Your camera’s metering system may have three or more metering modes and the display will change based on which mode is selected.

    Which Metering Mode should you use and when?

    Matrix metering

    Matrix metering works well for scenes that are evenly lit.  It can be used as a go-to method for grab shots. Even though the camera meter may fail you, these meters are highly sophisticated, computer controlled devices and can be relied upon for general photography. You can leave your camera on this mode and use it as a means of exposure education.

    Center-Weighted metering

    Use this for any scene where you want the primary subject to be correctly exposed while the rest of the image can be generally ignored for proper exposure. This is ideal for people and pet portrait photography, Still life and some product photography.

    Center-Weighted is much more consistent and predictable compared to matrix metering. Use it wisely to control where the camera will be measuring the scene and those areas where the lighting does not play a key role in your composition.

    Use this mode for outdoor portraits, high contrast scenes, product and food photography to name a few.

    Spot metering

    Spot metering gives the maximum accuracy and exposure control. This is ideal for back-lit subjects, close-up and macro photography. It can be used to read the brightest and darkest zones for landscapes. You could not do lunar photography without this mode.  Remember to use this mode any time it is important to correctly expose for a subject that does not fill the frame.

    Spot metering mode works exceptionally well in situations where your primary subject is much lighter or much darker than its surroundings.

    Exposure compensation

    In a number of situations, you will need exposure compensation to get the right exposure, irrespective of the metering mode you select. Scenics with a lot of snow cover will be under exposed and will require an increment of +1 or more stops of exposure to make the snow look white.

    Conversely, a black furry bear or a person wearing very dark clothing will be overexposed and will require negative exposure compensation of -1 or more stops.

    So which mode should you use?

    The answer is – it depends on the subject, the light direction, etc. Choose matrix or evaluative metering for evenly lit scenes. Use Center-weighted for scenes that have high contrast and where you want the primary subject to be properly exposed. Use Spot metering for back-lit subjects until you get very familiar with metering, use the spot meter for back lit subjects.

    In conclusion, for exposure accuracy an incident light meter can be helpful as your camera’s light meter is easily fooled. But learning how your camera meter works will help you get better, more accurate exposures as well.

    The post Metering Modes and How Your Camera Meter Works by Shiv Verma appeared first on Digital Photography School.

    Digital Photography School

  • Masters of Photography – Ansel Adams

    A few weeks ago I started off a series I’m going to be doing on some of the Masters of Photography, the best in history, with a video about Henri Cartier-Brisson.

    This week we’re going to look at probably the most well known landscape photographer of all time, Ansel Adams (Feb. 20 1902 — Apr. 22, 1984). He started his career as a musician but transitioned into being a photographer where he could use his skills to portray his love of nature and the natural world. He was a master of technical skills, co-developed the Zone System and was a founding member of the Group f/64.

    You may not know his face, but you should certainly know his images!

    This is part one of 3 in the video series. Watch part two and three here.

    “ You don’t take a photograph, you make it.” – Ansel Adams

    More great photography quotes here!


    The post Masters of Photography – Ansel Adams by Darlene Hildebrandt appeared first on Digital Photography School.

    Digital Photography School

  • Lightroom 5 Tips – Hidden Gems

    Lightroom_iconAdobe Photoshop Lightroom instructor Julieanne Kost goes over some of the lesser known, yet less exciting features and some Lightroom 5 tips. If you haven’t upgraded from Lightroom 4 yet this will be a little preview. I would personally highly recommend that you do upgrade to LR5 if you haven’t yet.

    Some of my favourite LR5 new features are:

    • the Radial Filter
    • that the heal/clone tool is paintable now and not just a dot
    • the auto correct for perspective to correct buildings and tilted images
    • the BOOK module is greatly improved for ordering Blurb books
    • Smart Previews which I didn’t think I’d have a use for but have used a few times now

    What are your favourite new features?

    Do you have any other hidden gems that aren’t covered in this video? If so please share with us in the comments!

    For more Lightroom 5 tips and learning check out these articles:

    • Lightroom Tips for the Develop Module – the Magic Alt Key
    • 3 Lightroom History Tips
    • 4 Quick Tips For Getting The Most Out of Lightroom Presets
    • How to use the new Radial Filter Tool in Lightroom 5

    The post Lightroom 5 Tips – Hidden Gems by Darlene Hildebrandt appeared first on Digital Photography School.

    Digital Photography School

  • Think Tank Modular Components and Pro Speed Belt Review

    I’ve said it before and I’ll say it again. There are two kinds of reviews. There are first impressions, “fresh-out-of-the-box” reviews, and there are those (usually more useful) that come later, after the reviewer has had a chance to really put the product through its paces. Considering that I’ve been using the Think Tank Pro Speed Belt and Modular Components for almost ten years, I’d say that this review falls squarely within the second category.

    think-tank-modular-components-review-001

    The Think Tank Pro Speed Belt, combined with elements of the Modular Component System makes carrying and accessing your gear while on location easier and more convenient.

    If you’ve been doing this long enough, you know that the right bag for getting you TO the gig is not always the right bag for getting you THROUGH the gig. You event photographers know what I mean. Whether it’s sports, concerts, weddings, or general location shooting, chances are good that at some point your bag has frustrated the hell out of you. Big and bulky may be great for safe transit, but you need lean and convenient once you’re inside the stadium, arena, or church.

    My favorite solution to the problem is the Think Tank Pro Speed Belt with the Modular Component System. If you’ve ever wanted to feel like Batman and have a utility belt of your very own, now’s your chance. Think Tank offers a wide selection of components for the belt, ranging from lens pouches and accessory bags, to a holder for your water bottle. The modular components have more padding and removable inserts than the skin set, but both have their pros and cons (e.g., heavier and more protection vs. lighter and less protection).

    Note: I should note that in the almost ten years since I started using this system, Think Tank has introduced Version 2, slightly updating each of the components. The pieces you see in the photos are from Version 1, but all are available in the newer models.

    This review covers only the six modular components I actually own. I’ve never used all six at once. Just like I have different camera bags for different types of assignments, I can tailor the belt and its components in the same way. All have the high-quality construction I’ve come to expect from Think Tank, from the water-resistant materials and stitching, to the durable zippers and padded inserts. All components have their own removable rain covers, and are designed to either rotate freely around the bag (perfect for redistributing the weight when necessary), or be “locked” in place via the loops on the belt.

    The Belt

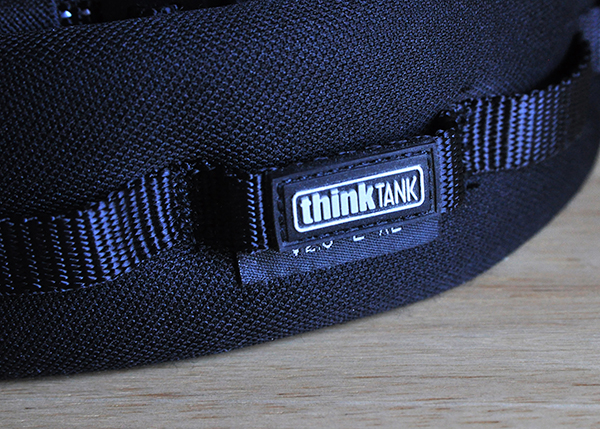
    Made of nylon webbing, three-ply bonded nylon thread, and high-density closed cell foam, the belt is comfortable, durable, and comes in four sizes.

    think-tank-modular-components-review-002

    Modular components can either rotate freely around the belt, or be “locked” in place using the loops around the padded section.

    Speed Changer

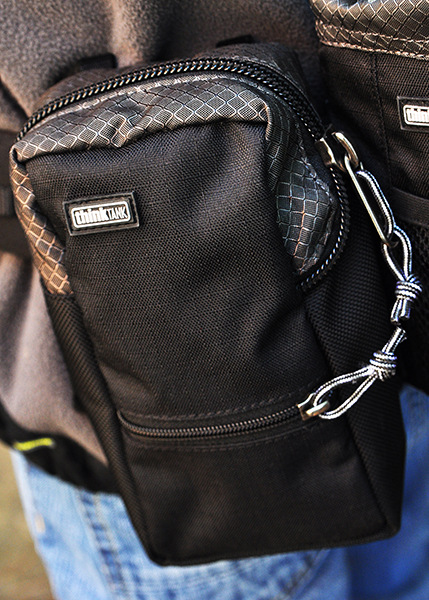
    The Speed Changer is an incredibly versatile bag, and is my favorite belt component. It’s a bit deceptive-looking, actually capable of holding quite a bit more than it would seem from a quick glance at the outside. This is where I usually pack extra memory cards and batteries, as well as my cell phone, business cards, notebook, pens, lens cloth, energy bar, and more. Removing the padded insert allows enough space for a pro-sized DSLR body without a lens attached and a few small accessories. This is also a great belt pouch for assistants, who are often in charge of keeping spare batteries and accessories close at hand.

    think-tank-modular-components-review-005

    The Speed Changer is a multi-use pouch that can hold a wide array of necessary accessories.

    Lightning Fast (Strobe Stuff in V2)

    The Lightning Fast is a pouch designed to hold a standard speedlight (Nikon SB900, Canon 600EX) with the included diffuser attached.

    think-tank-modular-components-review-004

    The Lightning Fast (Strobe Stuff) holds a professional speedlight with diffuser attached, and has a pocket for extra batteries.

    Lens Changer 50

    The Lens Changer 50 is designed around wide-angle lenses like the 16-35mm f/2.8 or 17-40mm f/2.8. It’s a great pouch for carrying the lens with either caps and hood in their closed and reversed positions, or with the lens hood in its shoot-ready position.  As shown in the photo, I also occasionally use the LC50 for my 70-200mm f/2.8. It doesn’t fit completely–especially not with the hood in a shoot-ready position–but it still works well when I’m trying to travel light.

    think-tank-modular-components-review-010

    The LC50 is designed for wide-angle lenses, but can securely hold a 70-200mm as well.

    Lens Changer 35

    The LC35 is almost identical to the LC50, and holds my 24-70mm f/2.8 with the lens hood in its shoot-ready position.

    Lens Changer 75 Pop Down

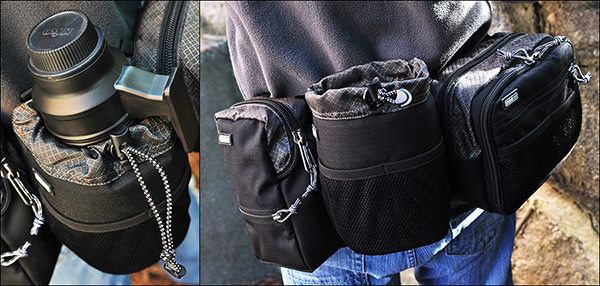
    The LC75 is the one lens pouch in the line that is expandable. In its shorter size, it holds the 70-200mm f/2.8 with the hood reversed. By unzipping the bottom, the pouch expands to accommodate the lens with the hood in its shoot-ready position.

    think-tank-modular-components-review-007

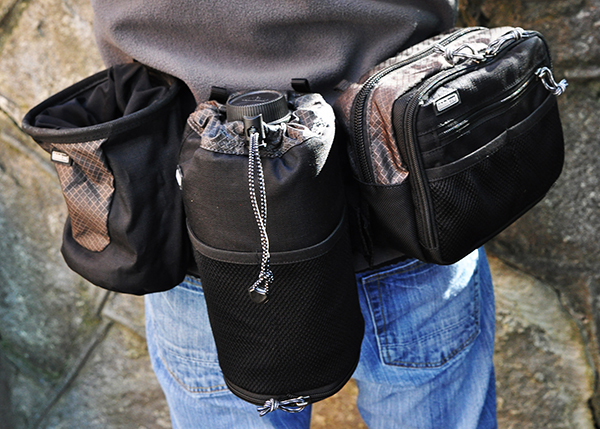
    The LC75 Pop Down (worn in the middle in this photo), is expandable, able to hold the 70-200mm lens with the hood in the shoot-ready position. The Lens Drop (to the left of the LC75) is a versatile pouch with many uses.

    Lens Drop

    Don’t let the name worry you. The Lens Drop is a very secure and versatile pouch. Designed primarily for standard zooms and small primes, I’ve used it for every thing from lenses to small water bottles. Most of the time, though, I keep it empty. It gives me a place to put the lens that just came off the camera until I get the new lens on the camera. Without an empty pouch on the belt, I’d have to stop and find someplace to put the lens down until I had a free pouch for it. Keeping an empty pouch available lets me change lenses while I’m on the move. The Lens Drop is pictured above, directly to the left of the LC75 Pop Down.

    Also Available But Not Pictured

    • Lens Changer 15 – Great for small primes, teleconverters, and most kit lenses with hood in shooting position.
    • Lens Changer 25 – Holds a regular zoom like the 24-70mm with hood reversed.
    • R U Hot? – Holds a large water bottle (Not included).
    • Stuff It & Little Stuff It – Perfect for small accessories and personal items.
    • Digital Holsters – Available in five sizes, the holsters carry bodies with lenses attached.

    My favorite configuration of the bag is the Speed Changer for accessories and the Lightning Fast (Strobe Stuff in V2.0) for my speedlight. I’ll also add on the appropriate lens pouch for whatever back-up I’m carrying. If a traditional shoulder bag or backpack is giving you fits once you get to the shoot, consider the Think Tank Modular Components and Pro Speed Belt for a more convenient and even distribution of the weight around your waist, and for keeping everything at your fingertips.

    Just like Batman.

    The post Think Tank Modular Components and Pro Speed Belt Review by Jeff Guyer appeared first on Digital Photography School.

    Digital Photography School

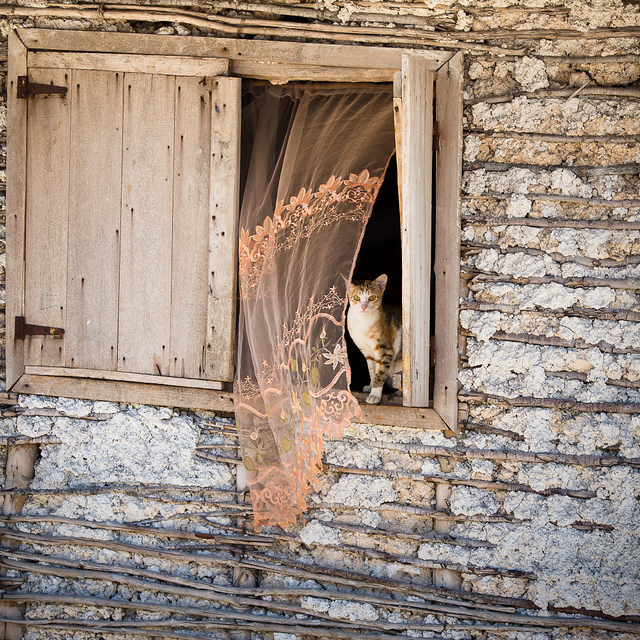
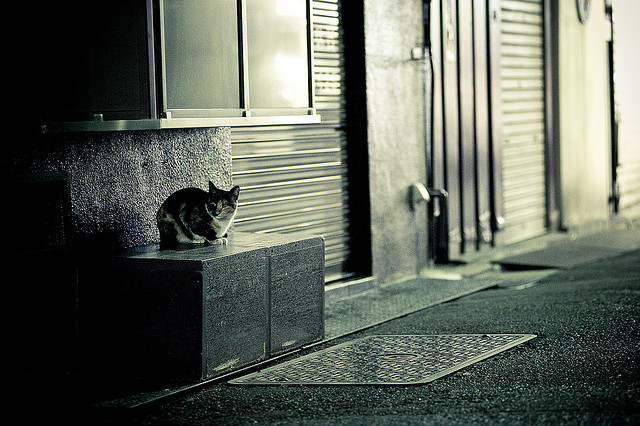
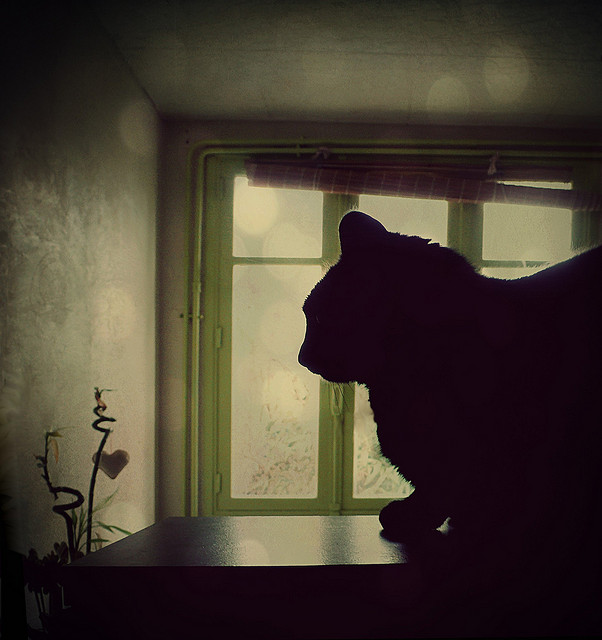
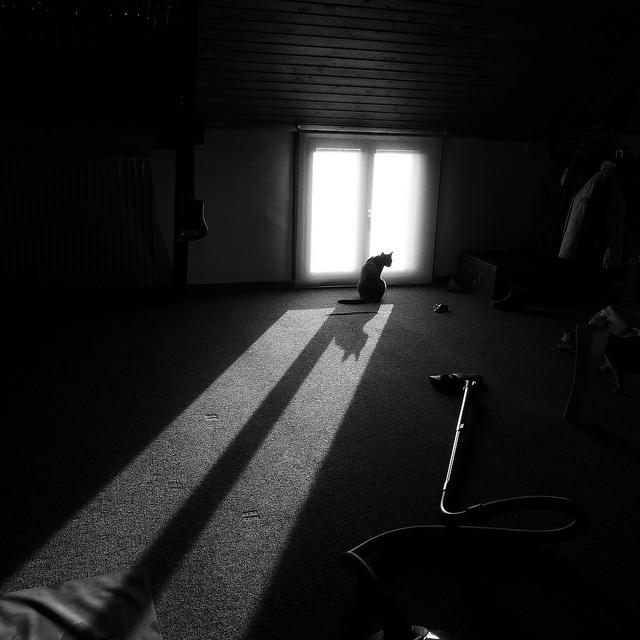
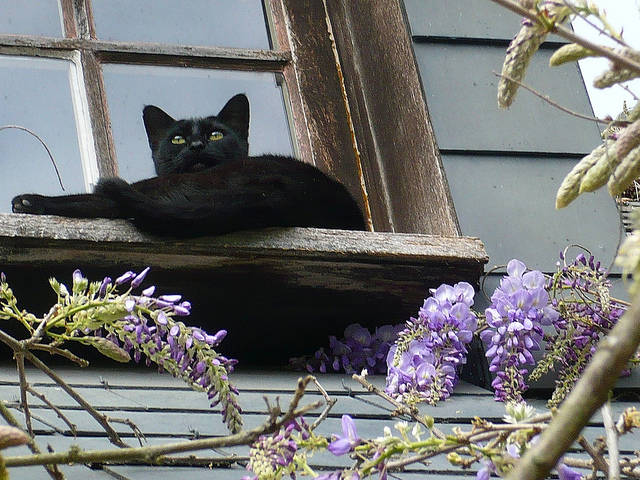
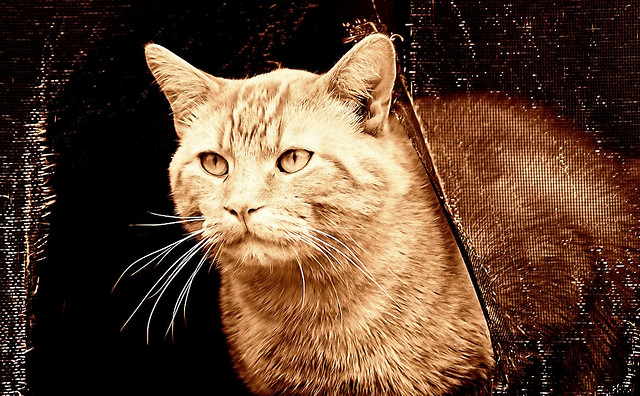
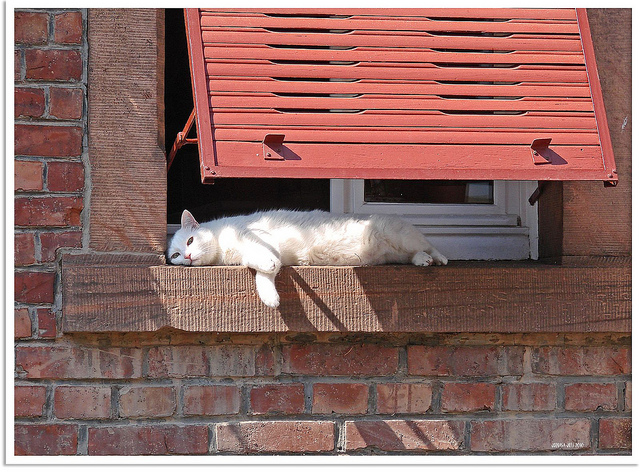
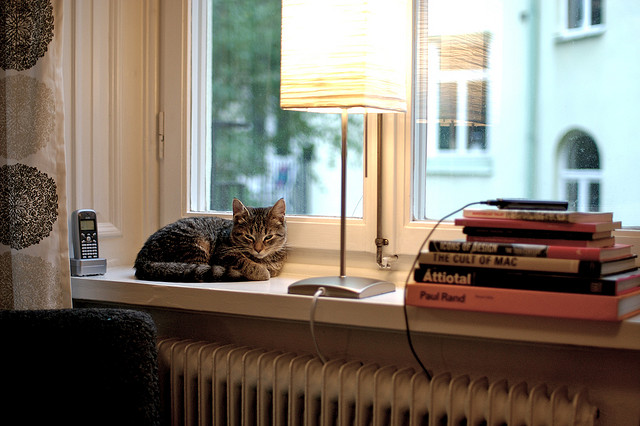
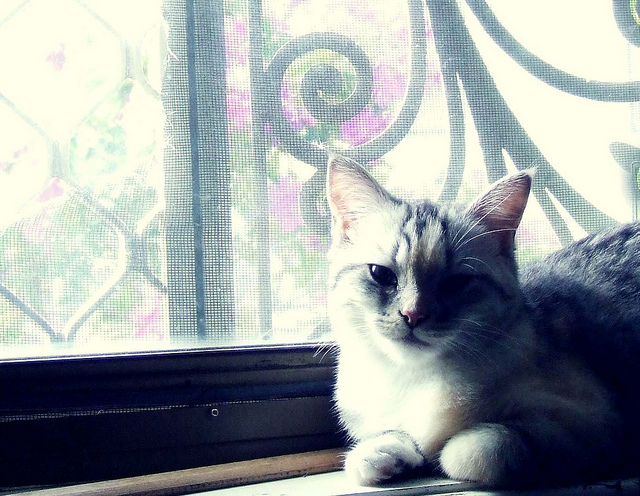
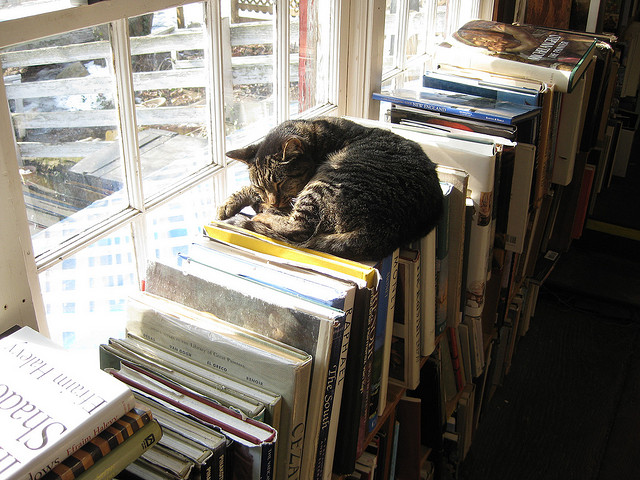
  • Weekly Photography Challenge – Cats in Windows

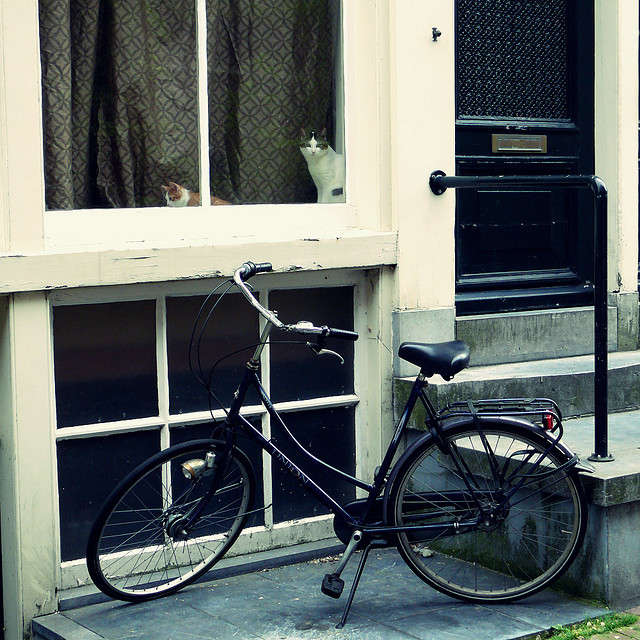
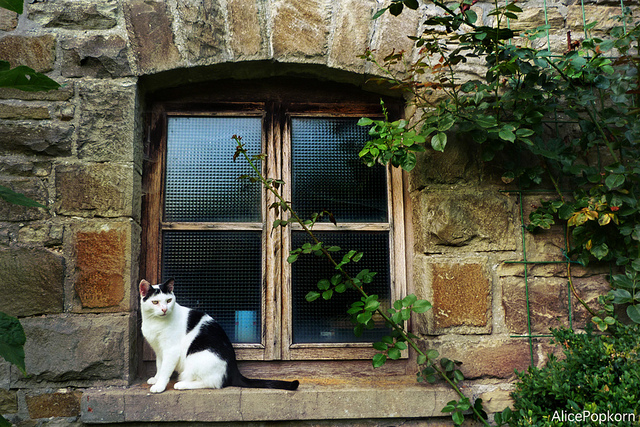
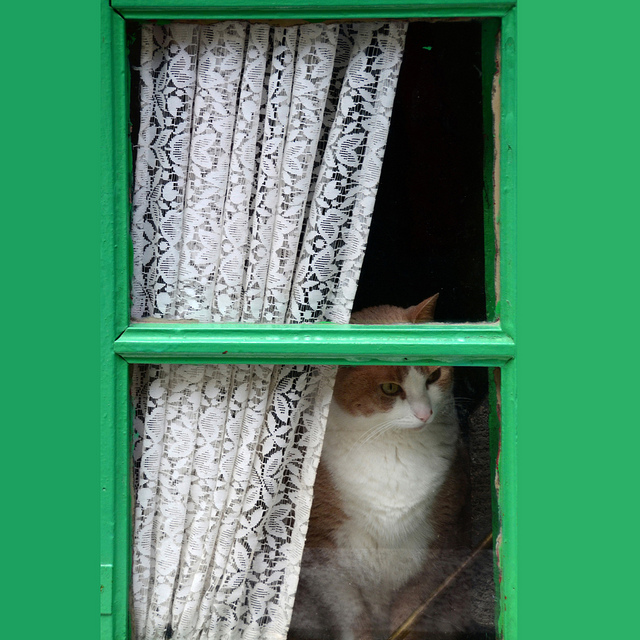
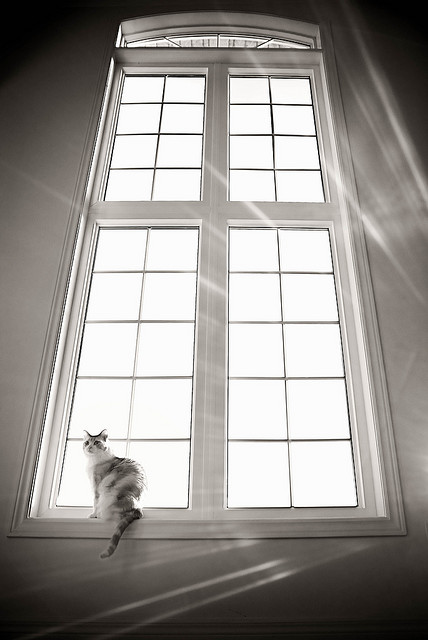
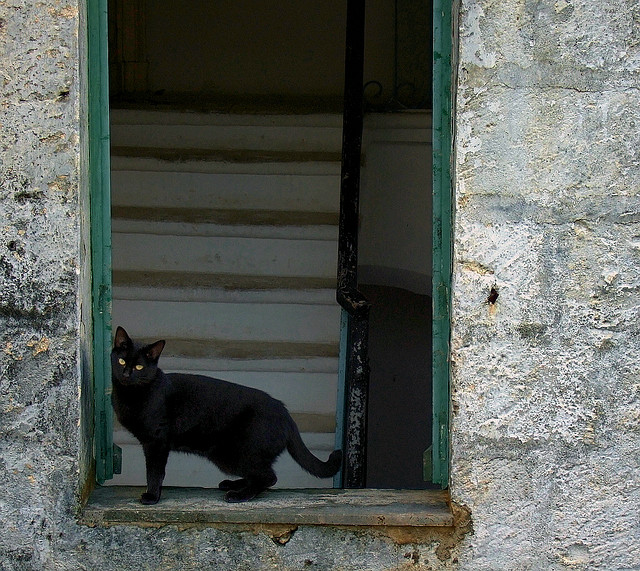
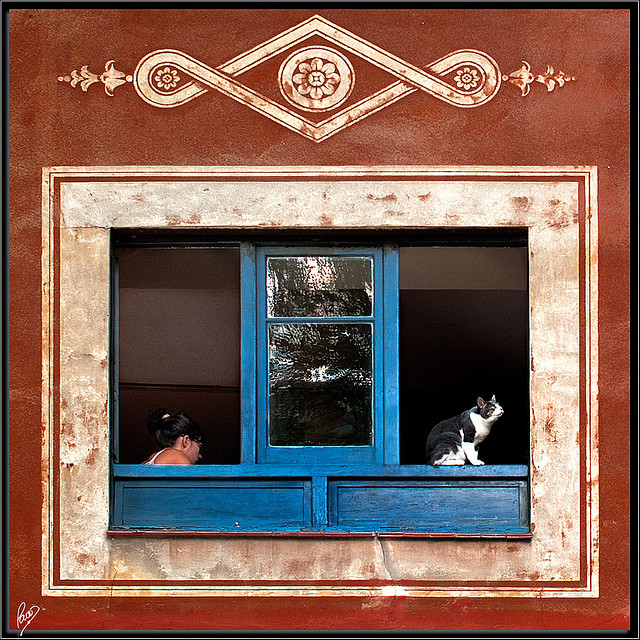
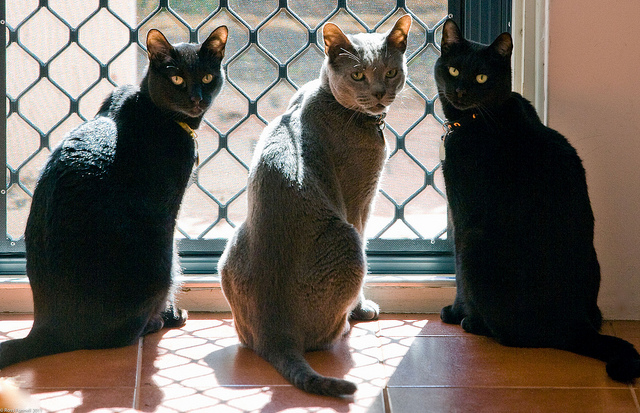
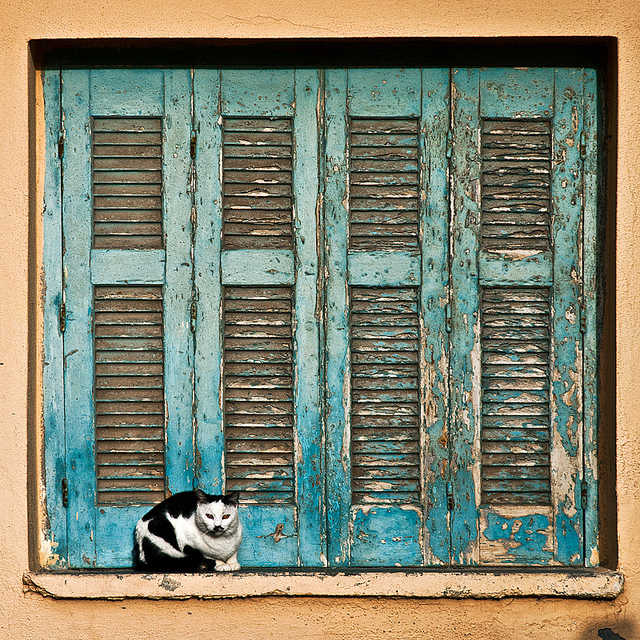
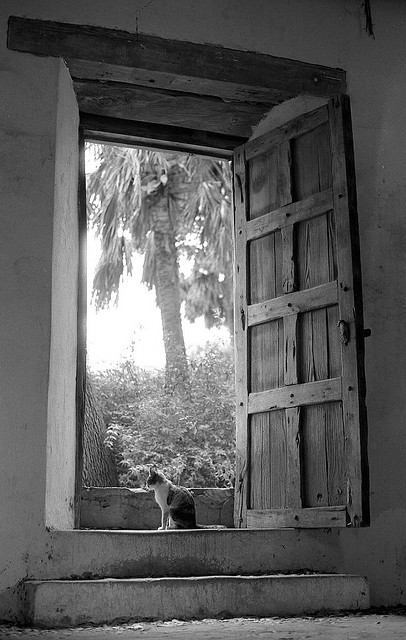
    Earlier today I shared a collection of images of cats. Cats in windows, cats in doors, cats doing what they do best – mostly lounging around!

    By Kazutaka Sawa

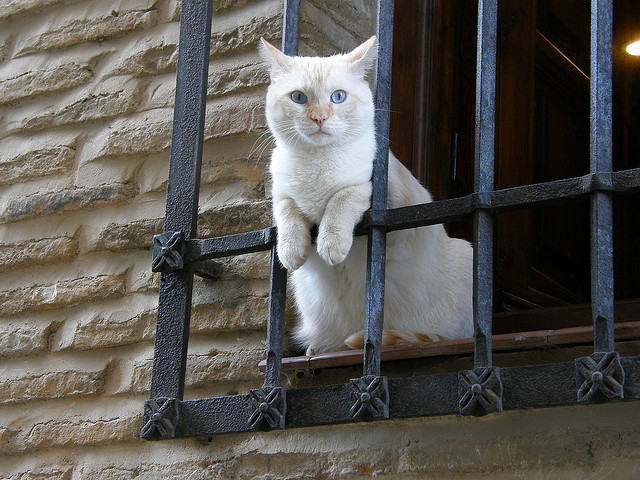
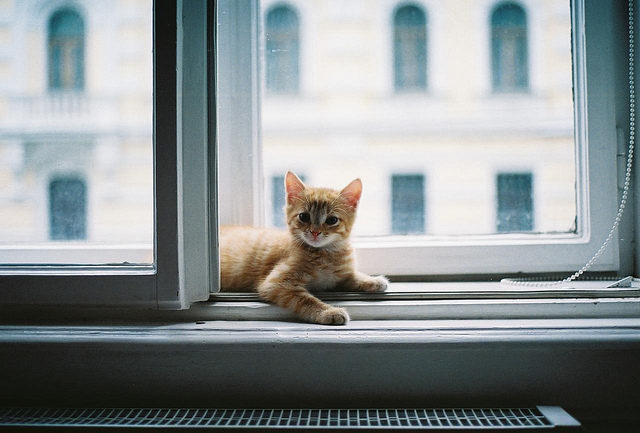
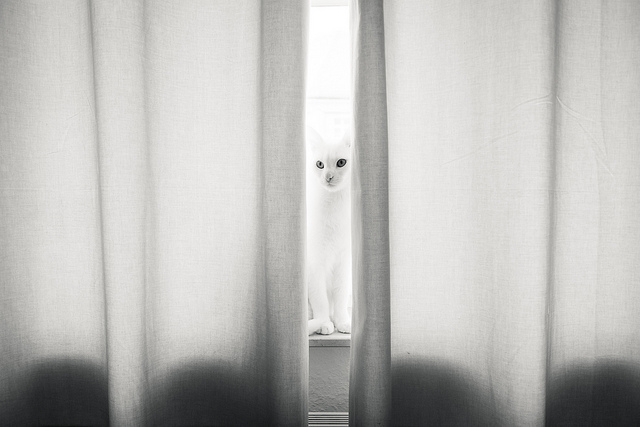
    Even if you aren’t a “cat” person this week I challenge you to get past that and go find some cats to photograph. An empty windowsill is just that – empty – without a cat sitting on the ledge. A doorway and stoop, missing something without a feline resident taking sentinel position.

    I find that many times when I am photographing doors and windows (two of my favourites, check the collection from last week to see my other one) I am most attracted to the ones with a small fur-ball in the scene.

    By Ste Pagna

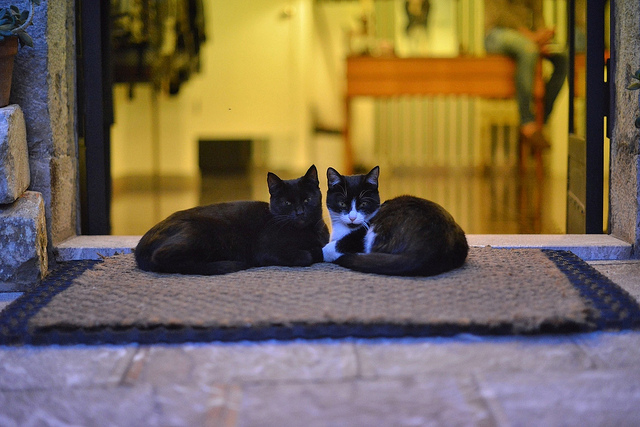
    I just love the pair in the image above! You can’t help but wonder what trouble they’ve done. Great camera angle, use of humor, lighting – it all works and is simple.

    Now it’s your turn. Show me your cat photos. Bonus points if they are NOT your cats.

    Share your cats in windows photos!

    Once you’ve taken your ‘cat’ photos we’d love to see them in comments below. Simply upload your shot into the comment field (look for the little camera icon in the Disqus comments section as pictured below) and they’ll get embedded for us all to see or if you’d prefer upload them to your favourite photo sharing site and leave the link to them.

    The post Weekly Photography Challenge – Cats in Windows by Darlene Hildebrandt appeared first on Digital Photography School.

    Digital Photography School

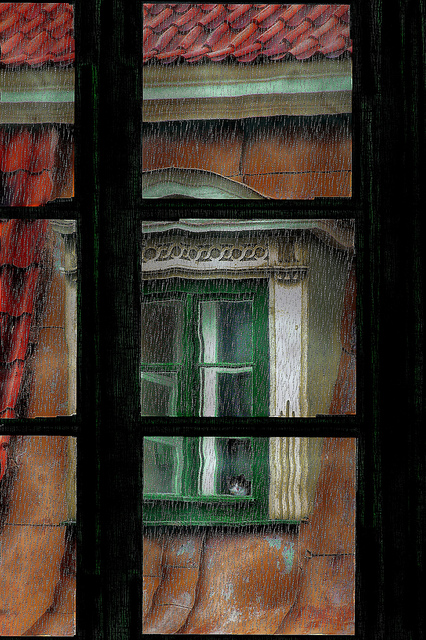
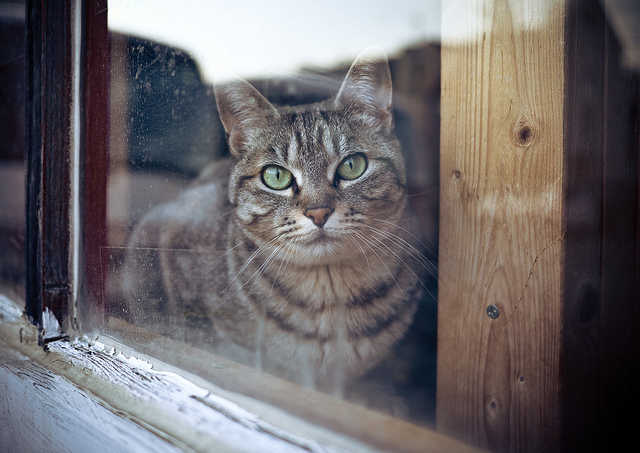
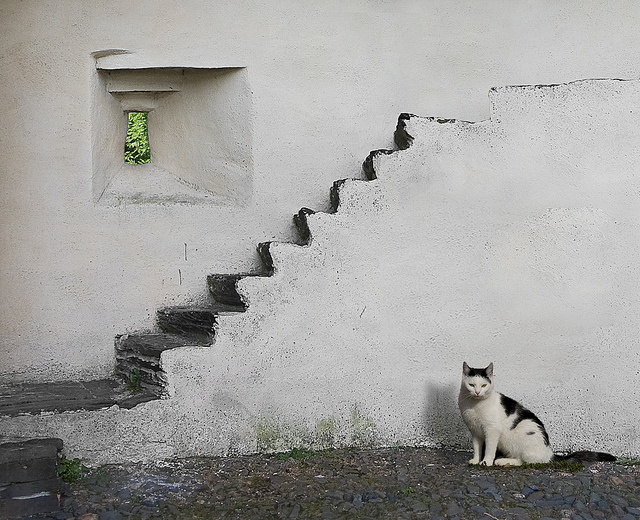
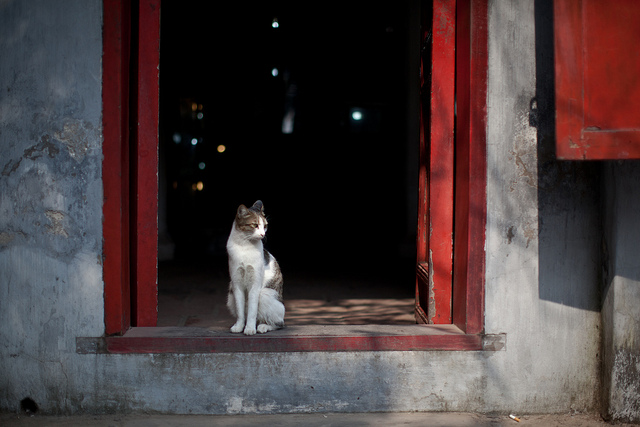
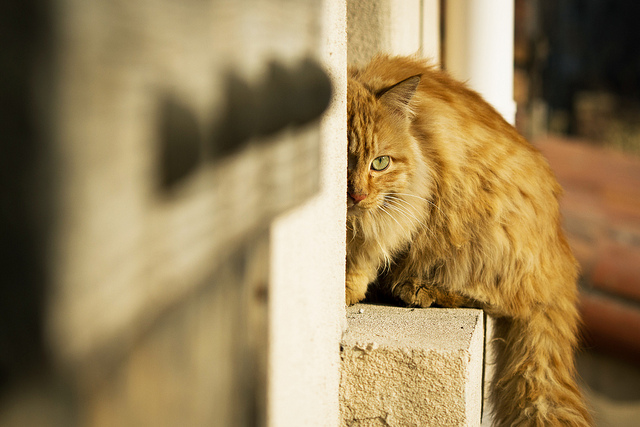
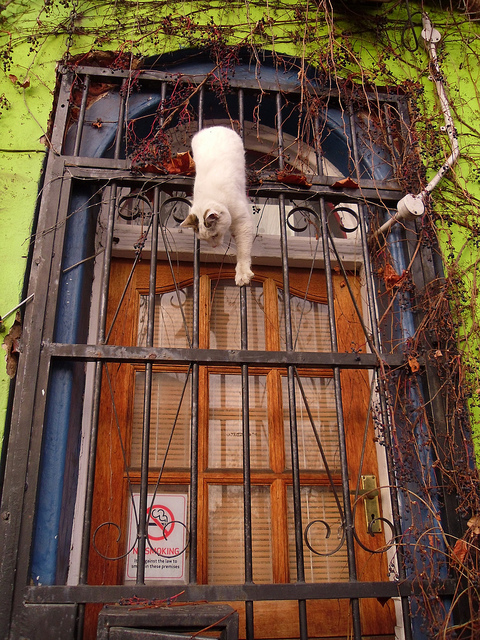
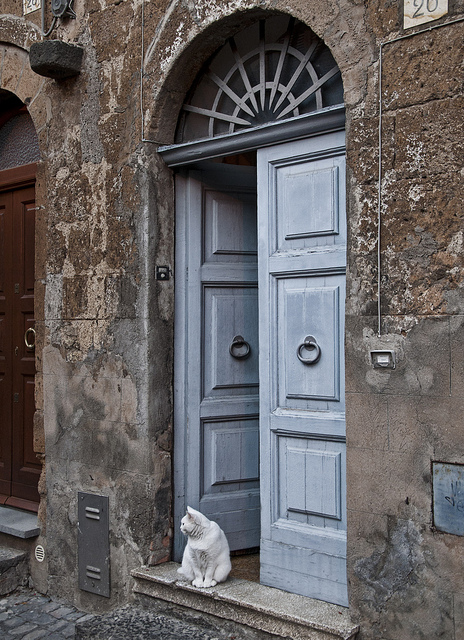
  • Today’s Dose of Cuteness – a Collection of Cats in Windows and Doors

    By Franck Vervial

    Last week I came clean on my obsession with bicycles. My other two favourite things to photograph are doors and windows. What better than if they have a cat in them!?

    The French Cat

    I have two crazy cats that make me laugh every day. If you’re a cat or pet owner you’ll understand. Even if you don’t have a cat you have to admit, putting one in a window or on the windowsill sort of completes the image, right? Cats can be annoying, cute, or elegant. They have personality. Not everyone is a “cat person” but approach it from a photographic perspective. They can add to the composition!

    A student in one of my photography classes showed me this book and I had to get a copy for myself! It resides by my bedside table.

    So this week I went in search of cat images. Here’s what I found.

    Photos of cats in windows and doors:

    By Raffaele Camardella

    By Kazutaka Sawa

    By helmuthess

    By Kat… – quadruple whammy! Door, window, bike and cats! WOW!


    By Cornelia Kopp

    By Jerzy Durczak

    By John Ryan

    By jamesjustin

    By Louise LeGresley

    By marc cornelis

    By Serena

    By Grant MacDonald

    By Barbara

    By Rasmus Andersson

    By Parée

    By Francesco

    By Paco CT

    By Ref54

    By Christos Tsoumplekas

    By jerry dohnal

    By Jorge Sáez

    By ++ lichtempfindlich

    By *m22

    By Jens Schott Knudsen

    By Bowen Chin

    By ClaireDrouet

    By Eric Parker

    By Matthew C. Wright

    By Ben+Sam

    The post Today’s Dose of Cuteness – a Collection of Cats in Windows and Doors by Darlene Hildebrandt appeared first on Digital Photography School.


    Digital Photography School

  • 8 Types of Pictures so Amazing That All Photographers Should Master Them

    What is your next step in photography? If you feel you are retaking the same picture over and over, a good idea is to take a break and look the other way. In photography, this is easy: We can change memory cards, try a different lens and shoot something new! Most importantly, cover your basics. Go over all the controls Continue Reading

    The post 8 Types of Pictures so Amazing That All Photographers Should Master Them appeared first on Photodoto.


    Photodoto

  • Lenstag: a World Without Camera Theft

    Lenstag is a recently-launched, free online service for iOS, Android, and the web that records the serial numbers of your lenses, cameras, flashes, laptops and anything else in a secure, private registry before they are stolen.

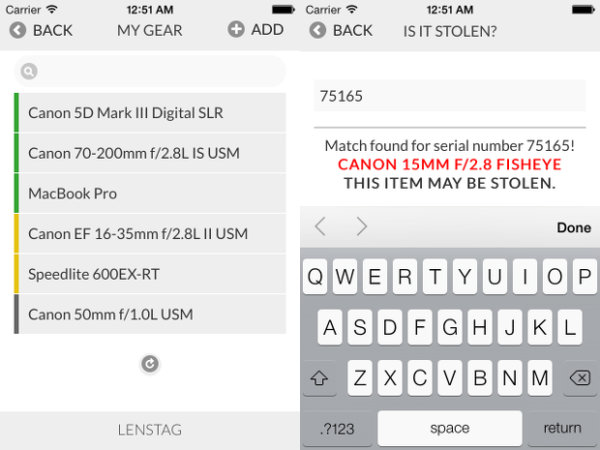
    If one or more of your items disappear, you can immediately flag the missing items as stolen which creates a public web page, quickly indexed by search engines. The serial number is then discoverable by a single Google search (example: ’75165 lenstag’) or by checking the Lenstag apps. Thanks to Lenstag’s growing relationships with the pawn shop industry and law enforcement, the exchange of money for that stolen item becomes much more difficult akin to trying to sell a stolen vehicle. The idea behind this service is that if everyone gets into the habit of checking serials numbers online before purchasing used equipment, it will become harder and harder over time to peddle hot items and thieves will get arrested when they try to pawn them. Think of it like a DMV for camera equipment.  The more people who register their gear, the more effective the registry system becomes.
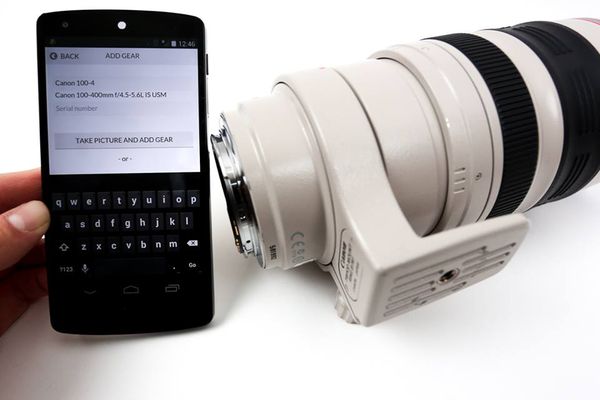
    By locking down a particular serial as belonging to you, the reselling and pawning of that stolen item becomes discouraged. Serials on Lenstag marked as stolen are indexed online.

    By locking down a particular serial number as belonging to you, the reselling and pawning of that stolen item becomes discouraged. Serial #s on Lenstag, marked as stolen, are indexed online.

    There is currently no foolproof way to prevent potentially having all of your gear stolen, even if your equipment never leaves your home. Insurance can protect you financially, but you permanently lose your original items and any images or video stored on them. There is no guarantee Lenstag can get your original items back either, but with Lenstag there is a chance that only increases with time.

    The more serials that get checked prior to purchase on the used market, the safer everyone’s gear becomes.

    The more serial numbers that get checked prior to purchase on the used market, the safer everyone’s gear becomes.

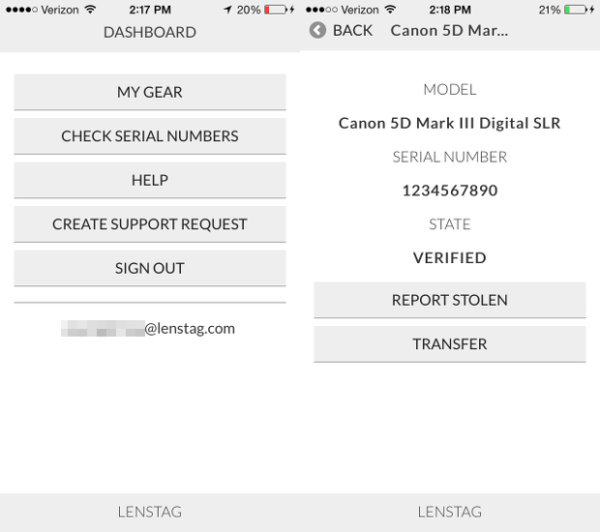
    With Lenstag, you have a centrally-located place to store all of your serial numbers. They can be easily transferred to another Lenstag user if you decide to sell your gear. Your serial logs are date marked. This is handy if you ever need, for whatever reason, to prove that you have owned a certain piece of gear for at least as long as it has been registered. You can make your gear lists public as well. This is handy for showing clients what you own or for resource planning with collaborators.

    Transfer serials, share gear lists with others, or prove what you own via an clear-cut dashboard.

    Transfer serials, share gear lists with others, or prove what you own via an clear-cut dashboard.

    You should use Lenstag if?

    • You don’t have any insurance. This service is free and is better than having absolutely no protection at all.
    • You already have insurance but want just a little extra peace of mind.
    • You collaborate with other photographers a lot or work with clients who need to know what equipment you are using.
    • You, for whatever reason, need to prove you own something without having to carry around a bunch of receipts or registration cards.
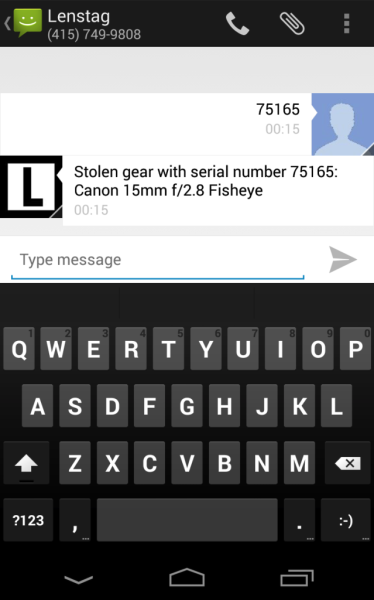
    • You buy a lot of used gear. You don’t have to be a Lenstag user to check a serial # but having the app on-hand for checking makes the process very easy. You can also use Lenstag’s text-to-check feature by texting the serial number in question to +1-415-749-9808. This works regardless of whether or not you’re registered on Lenstag.
    Text to check a serial in question, regardless of whether or not you are registered on Lenstag.

    Text to check a serial in question, regardless of whether or not you are registered on Lenstag.

    Lenstag is used by all three of the major rental houses in the United States: BorrowLenses.com, LensRentals.com, and LensProToGo.com. It is currently being used in over 150 countries worldwide. Uploading an image of your item is quick and helps discourage theft one indexed serial at a time. Be sure your serial # is visible on your item when taking its picture for inclusion in your personal registry.

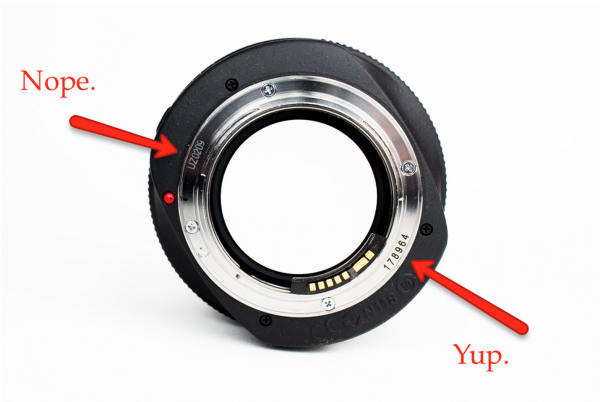
    Not every number on your lens is a serial. Be sure you are reading the right thing.

    Not every number on your lens is a serial. Be sure you are reading the right thing.

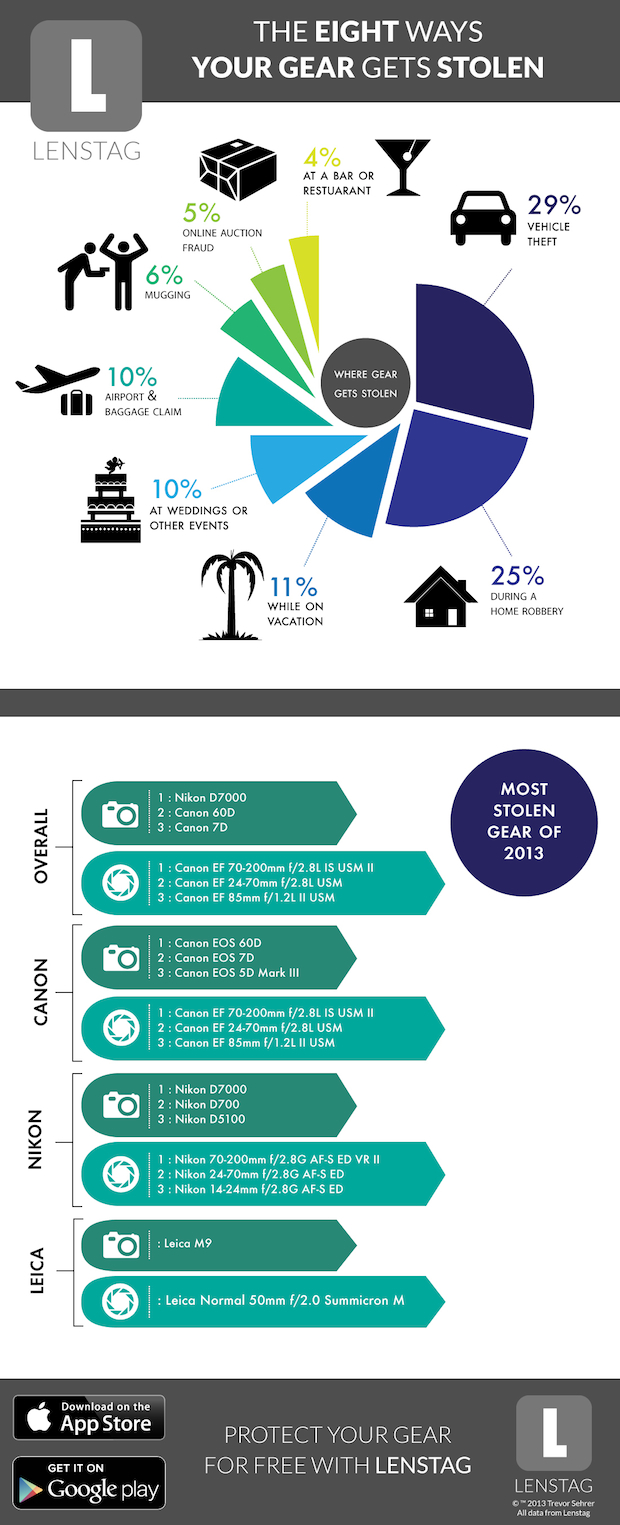
    Want to know how gear gets stolen the most? The results may surprise you. Lenstag took the stats of its reported serials to learn the most common ways gear got stolen in 2013, along with the most commonly stolen models.

    Don’t leave it behind! You’re most likely to have items taken from your car.

    Don’t leave it behind! You’re most likely to have items taken from your car.

    How to use & find Lenstag
    Lenstag can be download for iOS and Android. You can also use their service via their desktop site.

    The post Lenstag: a World Without Camera Theft by Jim Goldstein appeared first on Digital Photography School.


    Digital Photography School