
UFO showed up over my backyard yesterday afternoon …

it landed …

abducted my GoPro camera …

…and, flew away,

disappearing in clouds. Well, almost …

Will it return back?
UFO showed up over my backyard yesterday afternoon …
it landed …
abducted my GoPro camera …
…and, flew away,
disappearing in clouds. Well, almost …
Will it return back?
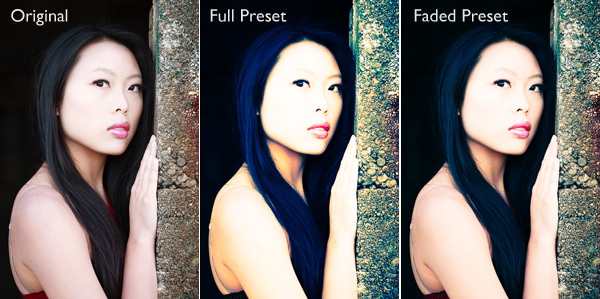
For me, one of the biggest advantages of Lightroom over Photoshop is the ability to use Develop Presets on your images. Here are some of the benefits:
Lightroom comes with some built-in presets, and there are plenty of websites that either give Develop Presets away for free or sell them. One of my favourites are the Signature Collections from OnOne Software. They are free (click the link for details) and give you a range of creative effects you can add to your images.
The only thing with downloaded Develop Presets is that most of them are not subtle. Here’s an example:
If only there was a way of fading the effect – a kind of opacity slider in Lightroom. Maybe it will come in a future version. But at the moment there isn’t, so we have to find a way around that.
One method is to export two versions of your image, one with the preset applied and the other without. You place one on top of the other in Photoshop and use the Opacity slider to fade the effect. Easy enough – but it does take you out of Lightroom, something that’s good to avoid where possible. Those exported files take up valuable hard drive space. Plus, you may want to do something else to the image afterwards back in Lightroom.
As a smart Lightroom user you probably want to save time as well as hard drive space. That’s where a Lightroom plug-in called The Fader comes in.
The Fader does exactly what its name suggests. Once installed, you can activate it, select the Develop preset you want to apply from the drop down menu, and use an Opacity slider to fade the effect. This clever plug-in calculates the changes the Develop preset made to the image, and fades them all at the same time.
It’s simple, and it works wonderfully well. It isn’t free, but it’s relatively inexpensive at $ 10 (plus 24% VAT if you live in the European Union). You can download it, and test it out, with Lightroom’s built-in Develop presets at no cost. Paying the registration fee lets you use it with all your Develop presets.
You can download The Fader plug-in from the Capture Monkey website.
1. Go to this page on the Capture Monkey website and download The Fader plug-in. Select a folder to store it in (creating a folder called “Lightroom Plug-ins” in your Documents folder seems logical). Double-click the zipped folder to extract the files.
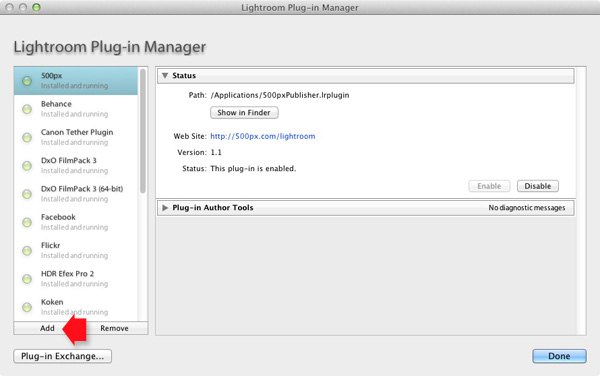
2. Open Lightroom and go to the Plug-In Manager (File > Plug-in Manager). Click the Add button in the bottom left-hand corner and navigate to the folder where you saved The Fader folder. Open the folder and double-click on the file called TheFader.lrplugin to complete the installation:
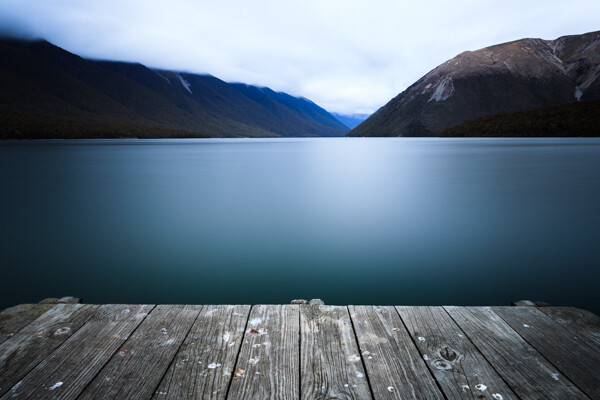
1. Open the photo you want to process in the Develop module. If you are using Develop Presets like the ones in OnOne Software’s Signature Collection, then you should process your file first in Lightroom and then apply the Develop Preset afterwards. Don’t expect the preset to do all the developing for you, it doesn’t work that way:
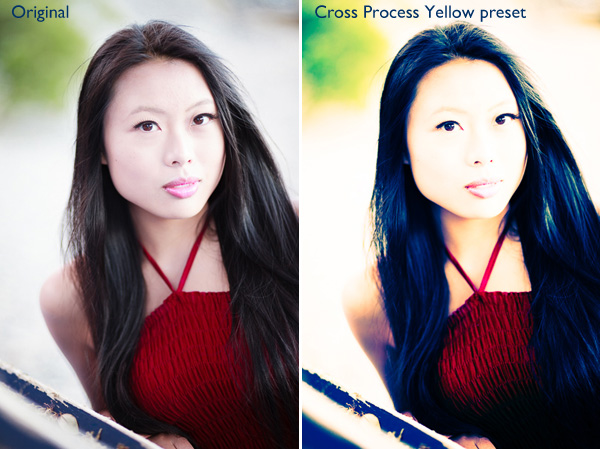
Original images before preset
Then go to File > Plug-in Extras > The Fader and select the Develop Preset you want to apply. In this case I’ve chosen the Cross Process Yellow preset from OnOne Software. The effect is dramatic:

Preset applied
2. Now use the Opacity slider to reduce the intensity of the Develop Preset:
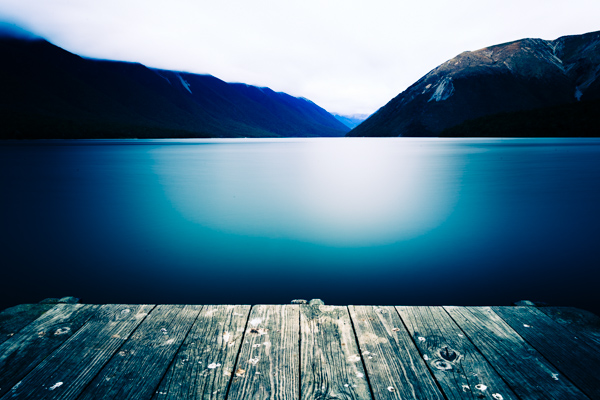
Fader applied at 40%
Here, I set Opacity to 40% for a more subtle effect:
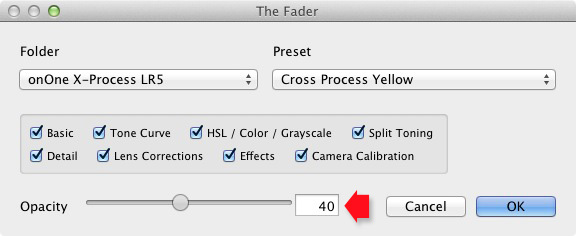
The Opacity slider has a range of -50 to 150. Values above 100 increase the intensity of the Develop Preset. The effect of minus values varies according to the preset used, but it is unlikely you will ever use them.
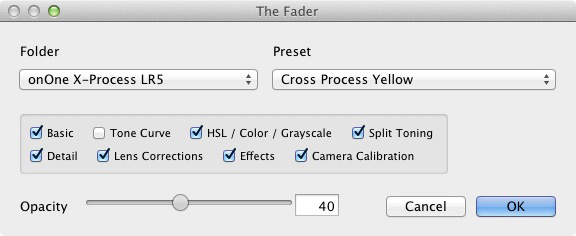
3. Finally, you can fine-tune the fade even further by selecting which parameters to apply to your photo. For example, if the Develop Preset you selected applies a Tone Curve to the photo, you can disable that part of the preset by unticking the Tone Curve box. Then you can use the Opacity slider to fade out the rest of the Develop Preset.
Mastering Lightroom Book One: The Library Module
 My latest ebook Mastering Lightroom Book One: The Library Module is a complete guide to using Lightroom’s Library module to import, organize and search your photo files. You’ll learn how to tame your growing photo collection using Collections and Collection Sets, and how to save time so you can spend more time in the Develop module processing your photos.
The post How to Add an Opacity Slider to Lightroom Develop Presets with The Fader Plug-In by Andrew Gibson appeared first on Digital Photography School.
A few weeks ago I posed the question:
Over 7000 people voted and the survey results are in.
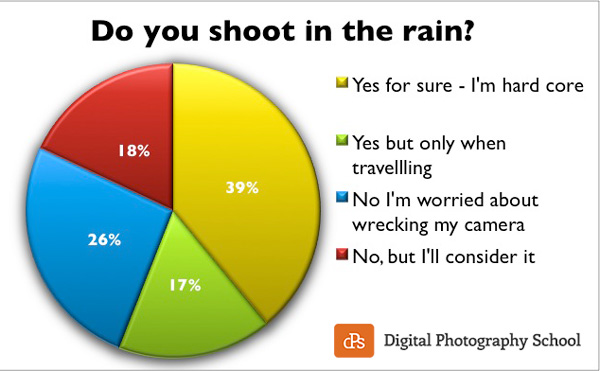
Looks like close to half of us (39%) are crazy enough to just go for it come hell, or in this case high water, while about a third are worried about their gear. If you have a non-sealed camera body and kit lenses you should take due care in protecting your gear in inclement weather for sure.
For those 18% of you what want to give it a go, here are a few articles on how to protect your gear:
Remember to take the current poll and tell us what software you use the MOST here.
The post Do you Shoot in the Rain? – Poll Results by Darlene Hildebrandt appeared first on Digital Photography School.

The 3Pod P5CFH tripod folds flat– providing an innovative and reliable option for photographers looking for an affordable and compact carbon fiber tripod system
In a recent review of another tripod, I pointed out that writing a tripod review is actually more difficult than it sounds. The primary reason is that not much seems to change. The concept is simple, right? Legs. Head. Plate. On the surface, there’s not much new to write about. Companies like Manfrotto, Induro, 3 Legged Thing, and others are constantly coming up with new ideas for materials, colors, and other cosmetic features, but to the casual observer, innovations to the actual setup are seemingly few and far between. That’s why I got excited about test-driving this new 3Pod fold-flat travel tripod from Flashpoint. A recent newcomer to the Tripod Thunderdome, Flashpoint has a new line of six different tripods, designed around the needs of professional and hobbyist photographers and videographers. For this review, we’ll be getting up close and personal with the P5CFH Flat-folding Tripod with the K2 BallHead.

A new flat design makes the P5CFH easier to pack.
This tripod offers full-featured camera support, balancing an innovative new design with carbon fiber construction, to provide a great combination of strength and stability. Being able to fold a tripod flat makes it easier to pack, and therefore increases its portability– as well as your chances of actually taking it out on location when you need it. The high cost of light-weight, carbon fiber construction is usually the factor that keeps many photographers from purchasing carbon fiber legs. A comparable tripod from one of the big-name companies could set you back up to $ 400, dropping it down a notch or two on your list of priorities. The P5CFH from 3Pod, however, cashes out at only $ 150, including the K2 BallHead.
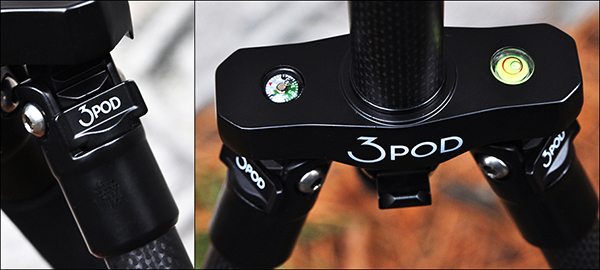
On the left, legs that adjust to three different angle positions. On the right, an integrated bubble level and compass for nature photographers, as well as a ballast hook for adding weight and extra stability.
As I pointed out in the earlier review, the low cost had me a bit skeptical. Something had to be wrong with it. What kind of carbon fiber rejects were they using, anyway? Thankfully, I didn’t let my skepticism get in the way of giving these tripods a fair shot. Let’s take a look at some of the specs and what comes in the box:
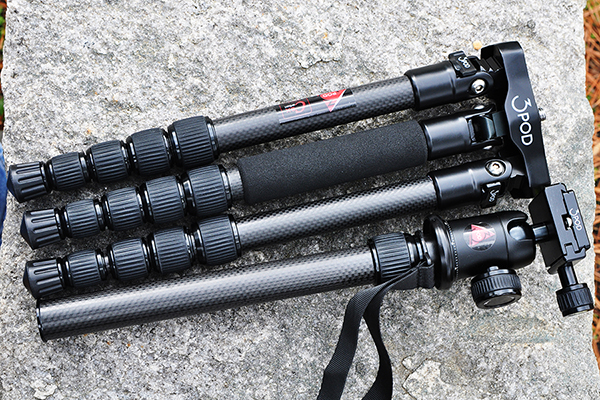
The fold-flat design means the center column has to be removed to get it down to its compact and packable 13.5″.
Because of the fold-flat design, the center column cannot slide down through the hub between the legs. In order for it to break down to its 13.5″ packable size, the two-section center column actually detaches by unscrewing it from the rest of the assembly. This could be a negative, since it means keeping track of two pieces, rather than one. The trade-off, however, comes in the form of a tripod that takes up significantly less room than its traditional counterparts. I put it through its paces with several different Think Tank camera bags, and I was able to pack it comfortably inside a wide variety of backpacks and shoulder bags.
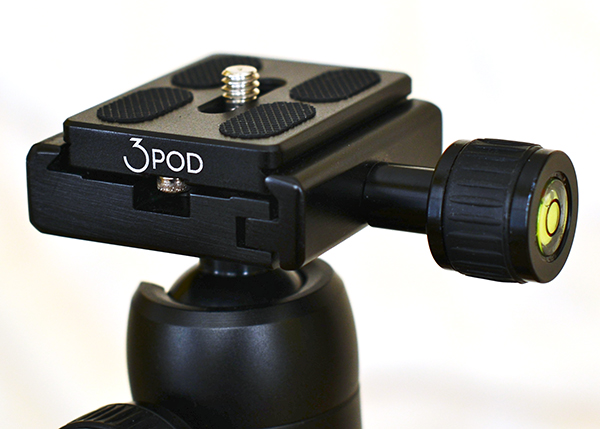
The K2 ball head provides a secure, sturdy platform for mounting your camera.
The K2 ball head is an Arca-Swiss compatible tripod head with a sliding quick release plate and universal 1/4″ mounting screw. It’s got a solid design, and handled weight distribution very well with various camera configurations (i.e., with and without battery grip). It’s made of scratch-resistant carbon, with a hard, protective finish for a (hopefully) wear-free appearance. Landscape and panoramic photographers will find the smooth, 360-degree rotation helpful, as well as two separate bubble levels.
I’ve only been using this tripod for a couple of weeks, but so far it’s been sturdy, secure, light-weight, and convenient. With built-to-last, high-quality construction, it’s tough to find much in the way of fault. What we ask of our tripods is both very basic and incredibly important. While you may be hesitant to trust a $ 150 tripod with your $ 2,000 camera, if you’ve been looking for a reliable, affordable, and compact, carbon fiber tripod, the 3Pod P5CFH is a great place to start.

On the left: Think Tank Airport Commuter backpack. On the right: Think Tank City Walker 30 shoulder bag.
The post The 3Pod P5CFH Fold-Flat Tripod – A Review by Jeff Guyer appeared first on Digital Photography School.
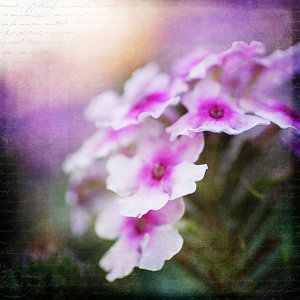 Where do you begin when you are considering using textures in your photography? I suggest you begin with the absolute best photo possible. Adding a texture to a bad photo does not make it a good photo. You want to make sure you have it exposed correctly, composed well, have a clear subject and not too much in the competing in the background competing. Textures work best with photos that are not too busy to start. Once I have chosen the photo I am going to work with, I do all of my edits before I add the texture, including adjusting the colors and sharpening.
In this article I’ll share some of my techniques for working textures into your photography.
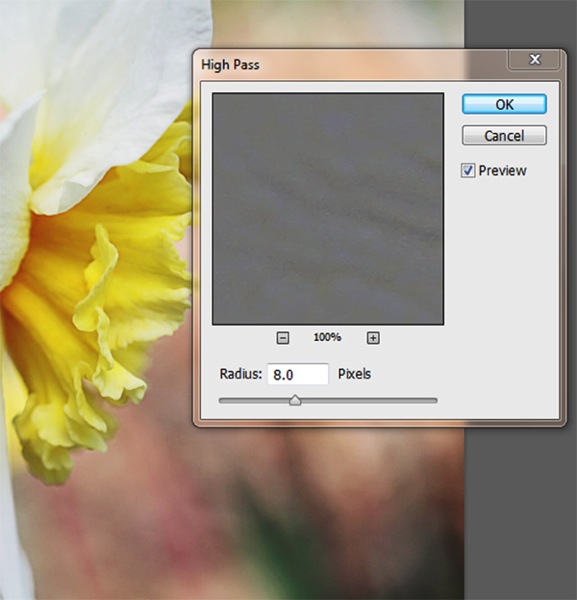
You want to sharpen your photo before you add the texture. This is so that your subject is sharp and the texture isn’t over sharpened compared to the subject. You want the texture to enhance your photo, not compete with it. When I sharpen the photo I use the high pass filter as opposed to the unsharp mask. I like this method best because it defines and clears up all the edges of your subject without over-sharpening all the fill areas. Below is how I do this and the settings:
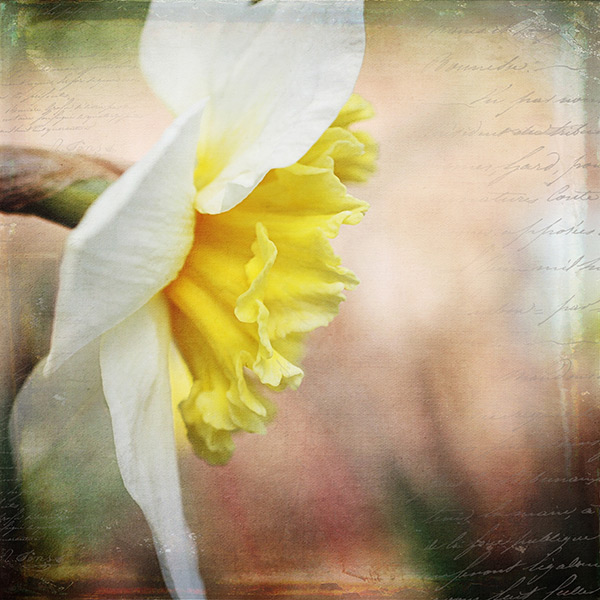
Finished image with texture and vintage paper applied
Once I am finished adding my textures to the photo I might do a final sharpen at the end if needed.
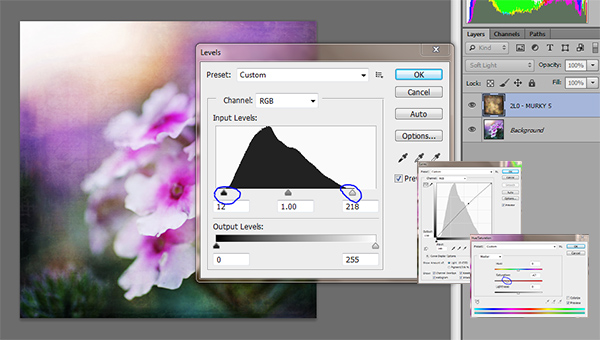
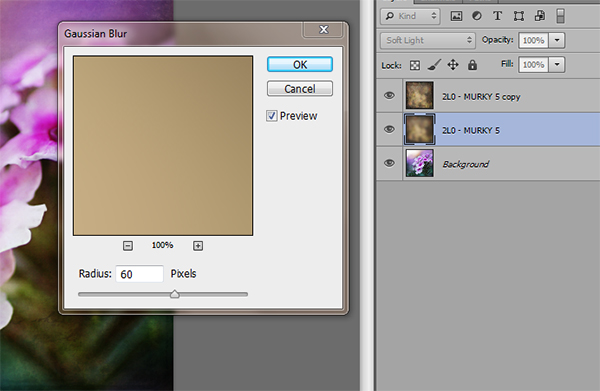
Once you are finished with your edits and sharpening, you are ready to add the texture. One concern people have in adding texture is how to erase the texture from the subject without it being obvious. You wouldn’t want to have the face of a baby be texturized, for instance, but you would want the face to match the rest of the photo in color and tone.
5 Steps:
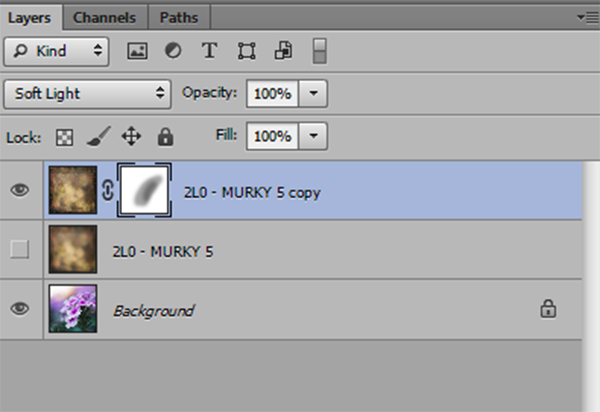
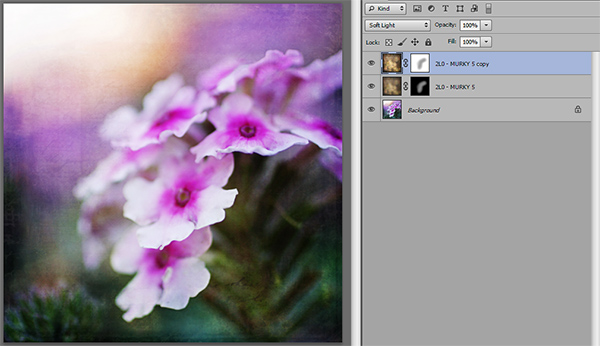
Working with vintage papers is another fun aspect of textures that you can use in your photography. I get vintage papers from several great sources including my own family documents from the mid 1800’s, flea markets, online searches, Etsy, etc. I have curated several collections on my website for sale if you don’t want to go through the trouble of searching for them yourself. I especially love vintage French papers because of their wonderful scripts, markings, and fancy headers.
Working with the vintage papers is the same as working with textures. Place the paper on your photo in the approximate location that you want to use it. You will notice in the sample that I have placed it on the top of the many textures I have used in this photo, but you can place it on any layer that you want, to get the look you are trying to achieve.
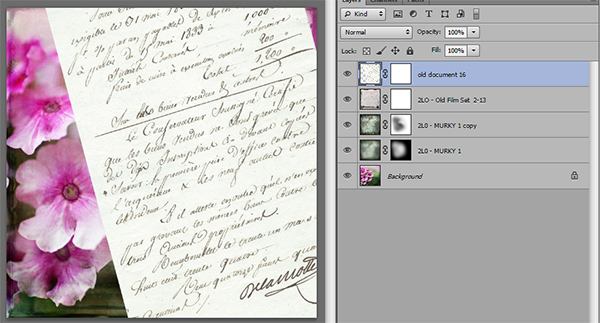
Next, adjust the layer using the darkening blending modes: darken, darker color, color burn, linear burn, and multiply. Experiment with them all to see which one works best on the photo. The goal is to make the paper part of the document disappear, and have just the writing remain. Then just adjust the opacity to suit your taste. You can add a mask to this layer if you want to strategically erase some of the text which I do quite often.
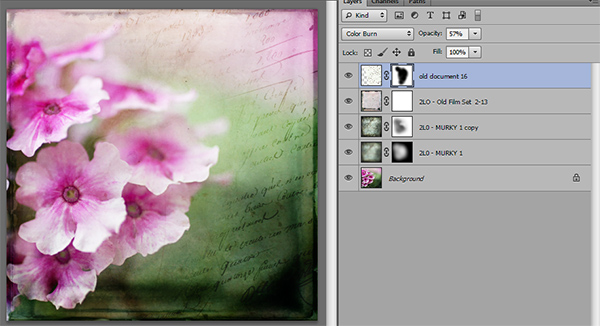
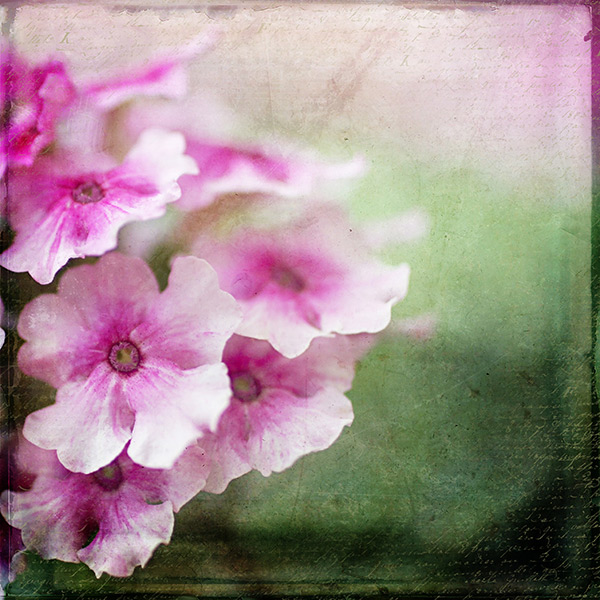
Finished image
I hope you will give some of these techniques a try whether you are new to textures or have been doing them for years. If you do, please share in the comments below!
Further reading on using textures in your photography:
The post Techniques for Working Textures Into Your Photography by Denise Love appeared first on Digital Photography School.
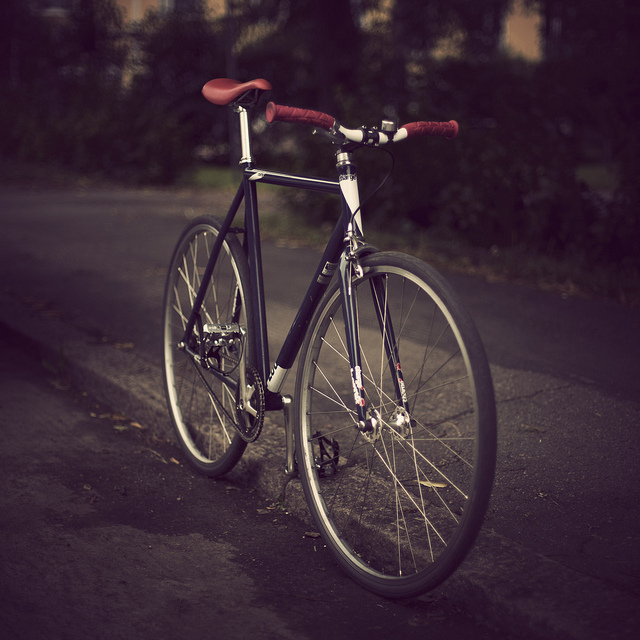
By Jonas Tana
Okay I admit it. I have an unnatural obsession with photographing three things:
But really, what photographer doesn’t? They make great subject matter and you can usually find something interesting about them. Waiting for just the right person to pass by that doorway, or a bird to land on the bike handlebars to complete the scene. Bikes make great shadows. People riding bikes make great panning subjects. The possibilities go on and on!
So today I found you some great images of bicycles, not only to prove that I’m not completely nuts, but to get you motivated. If it’s a winter wonderland of snow in your part of the world, and you long for spring as I do, maybe this will give you a taste of what’s to come.
25 Amazing Images of Bicycles
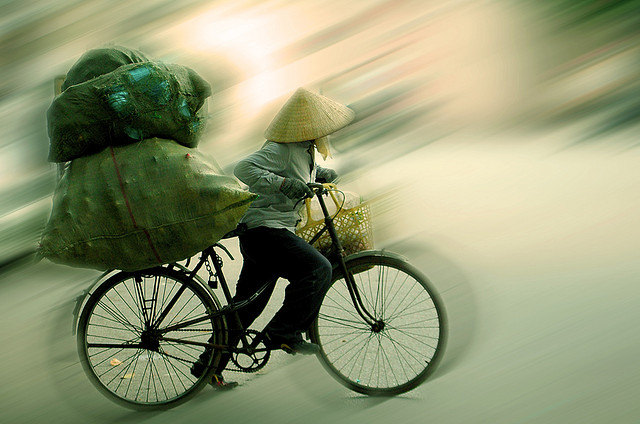
By Thanh Mai Bui Duy

By Pedro Szekely
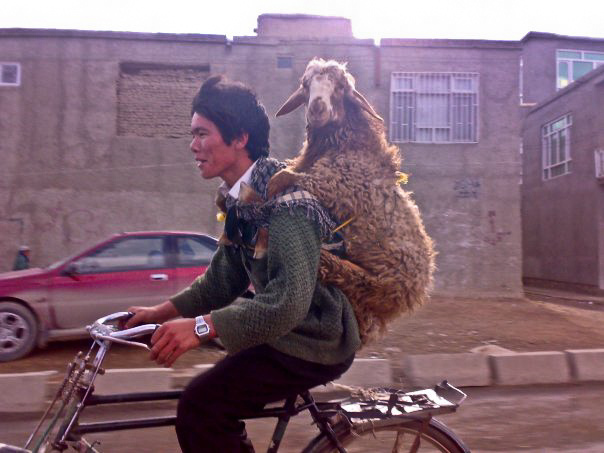
By Peretz Partensky – sorry “what?!” I had to share this one, too funny!
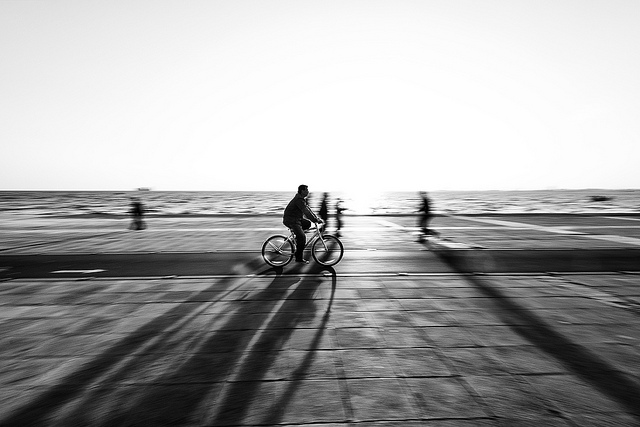
By Nikos Koutoulas
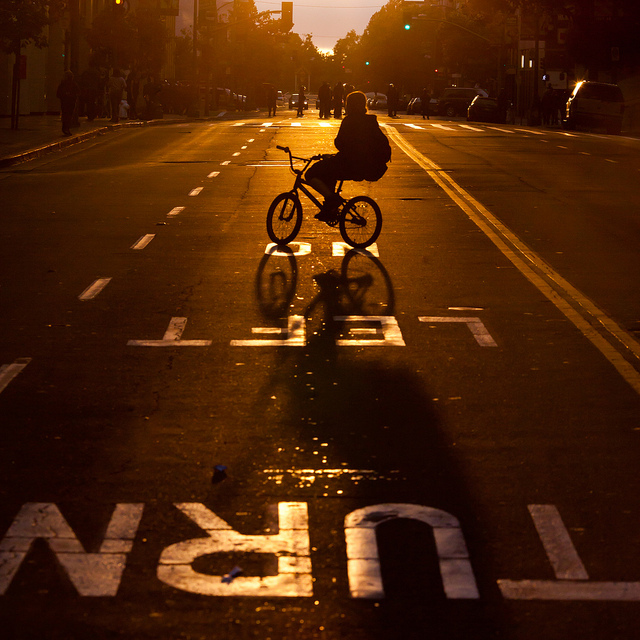
By Thomas Hawk

By Vince Alongi
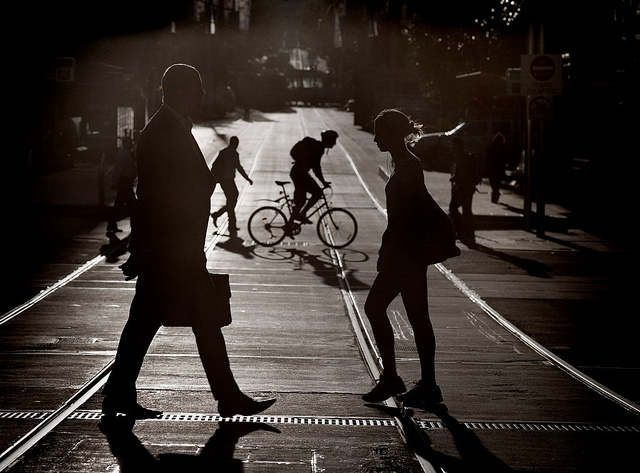
By Jes
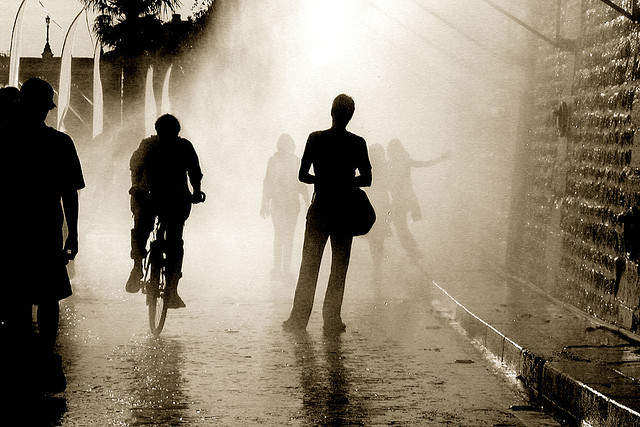
By Phil Hilfiker
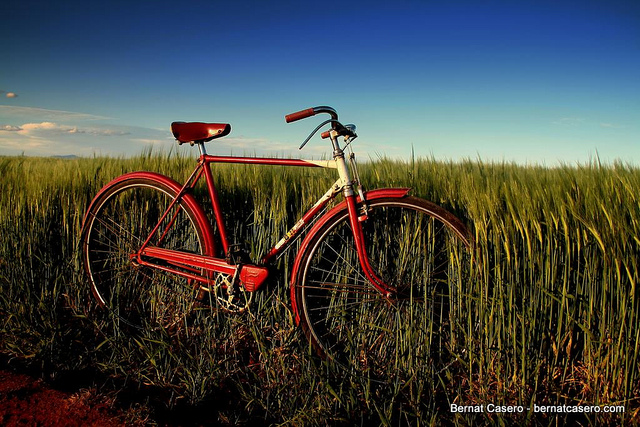
By Bernat Casero
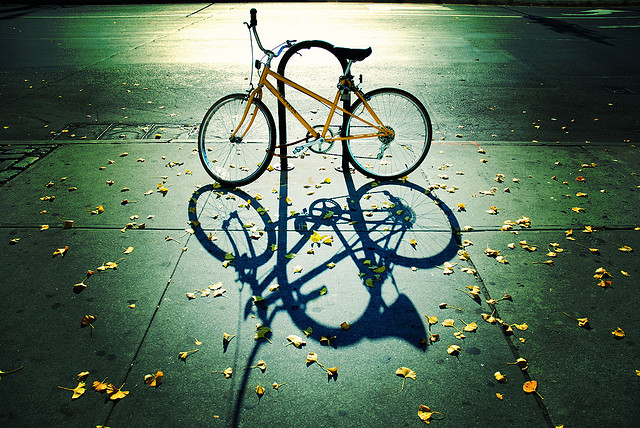
By Mo Riza
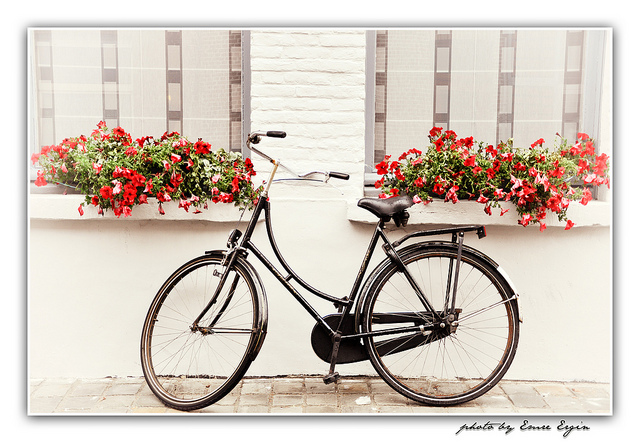
By Emre Ergin
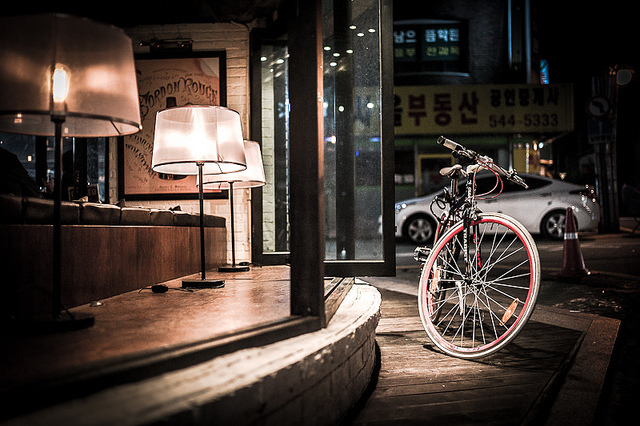
By mydaysphoto
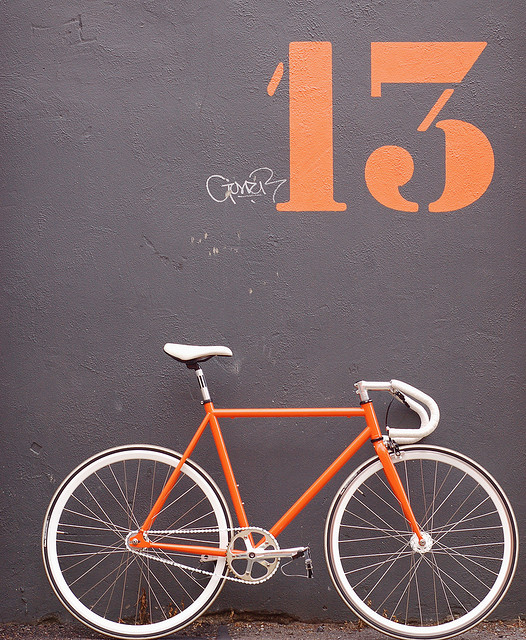
By Francois de Halleux
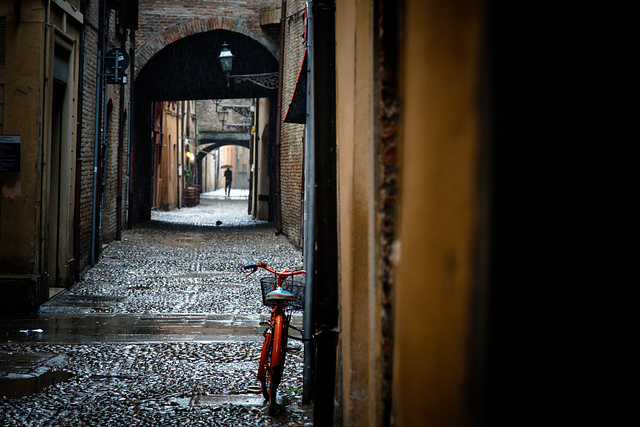
By Stefano Corso
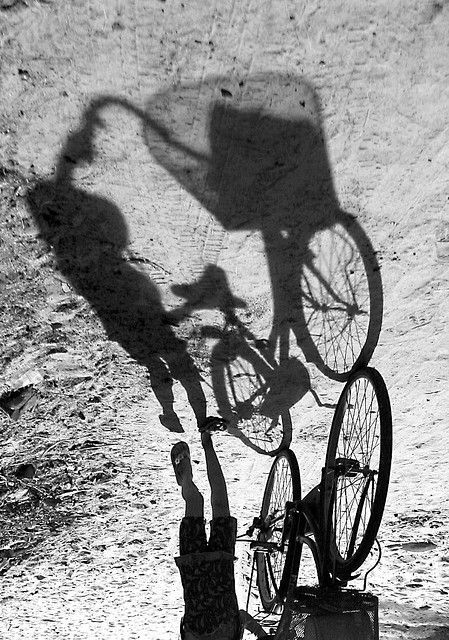
By Bùi Linh Ngân
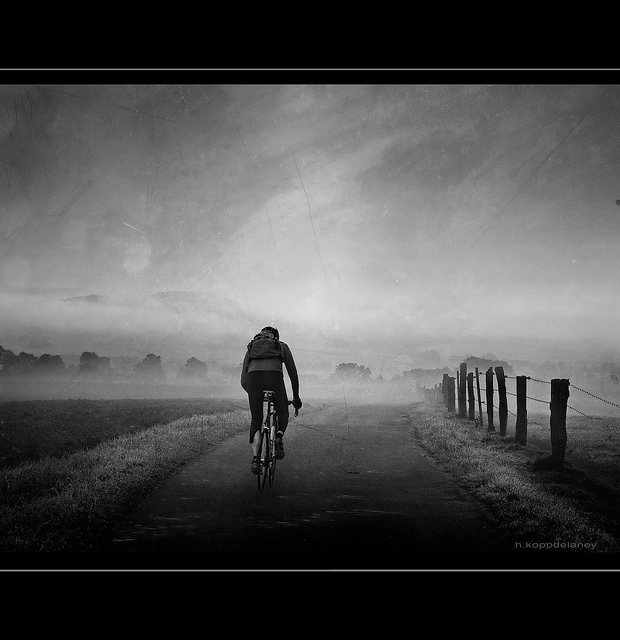
By Hartwig HKD
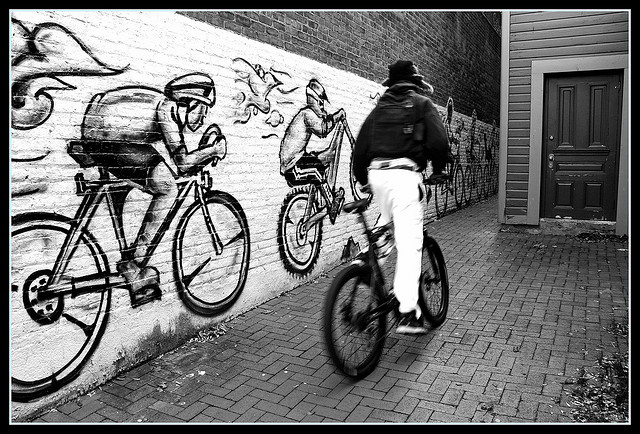
By Tony Fischer

By Sam Javanrouh
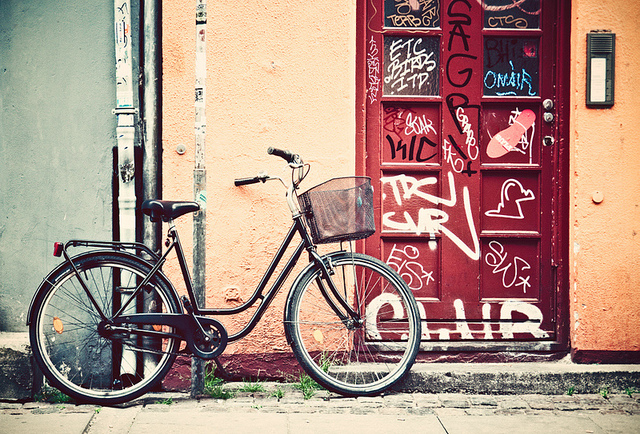
By Jack Fussell

By shinobu sugiyama
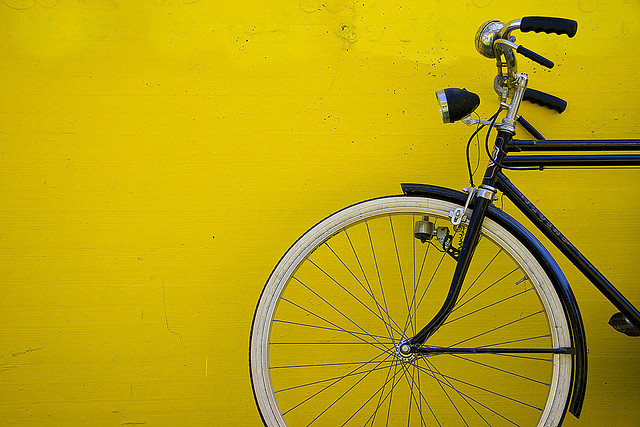
By Fabrizio Furno’
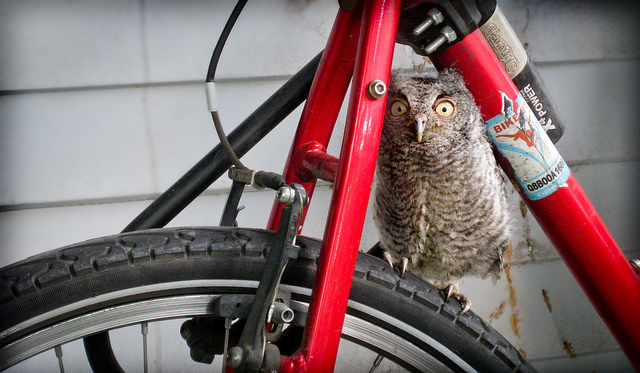
By Adam Norwood
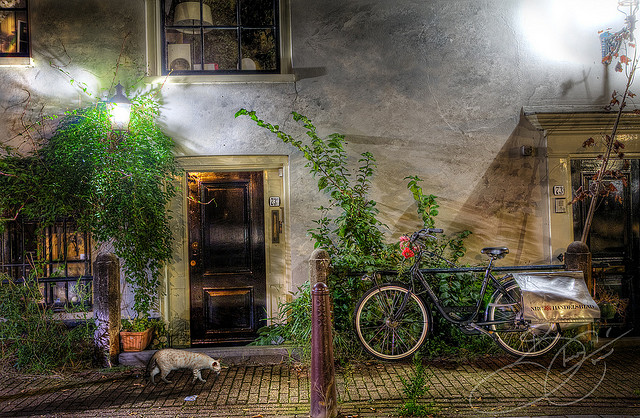
By Shane Gorski
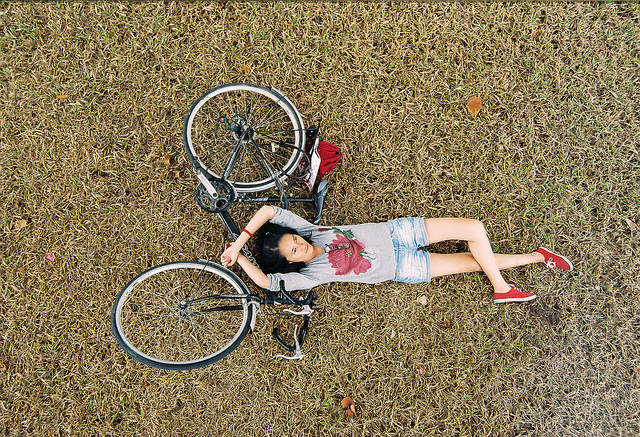
By shoot film, not bullets
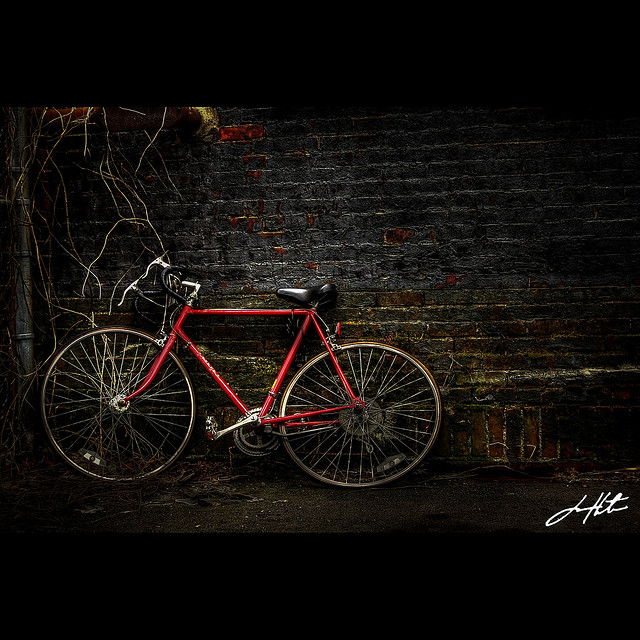
By HuTDoG83
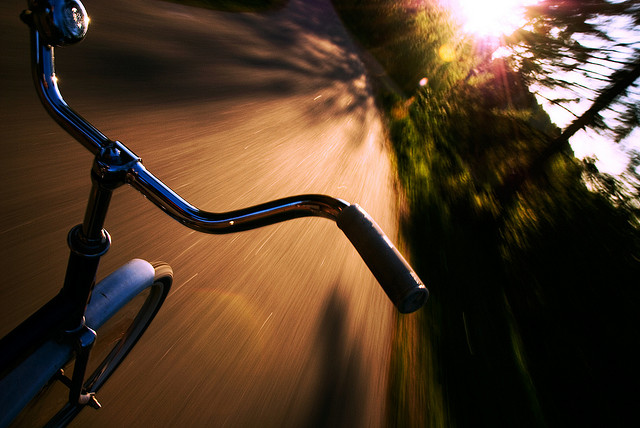
By Pörrö
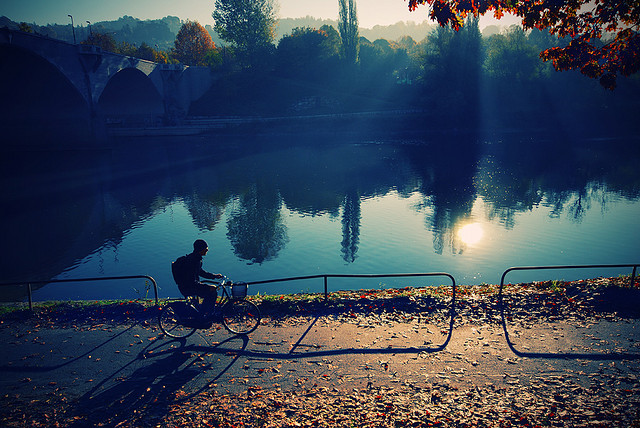
By Alessandro Pautasso
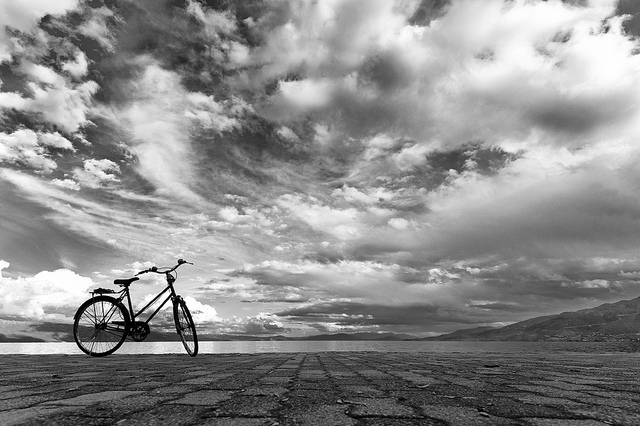
By Nikos Koutoulas
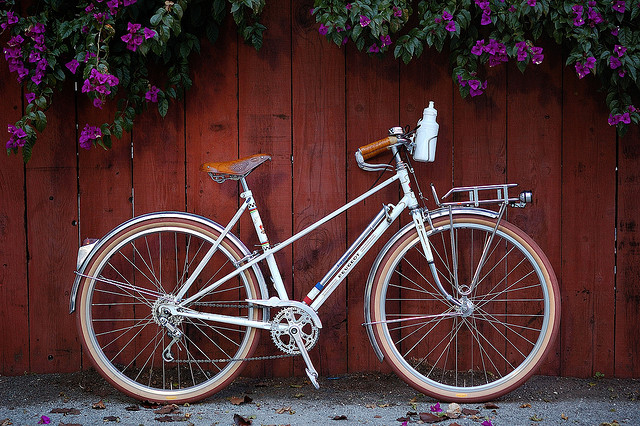
By Vélocia
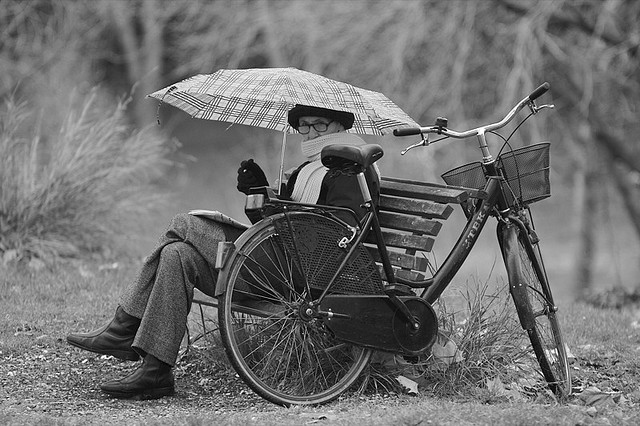
By Gianni Dominici
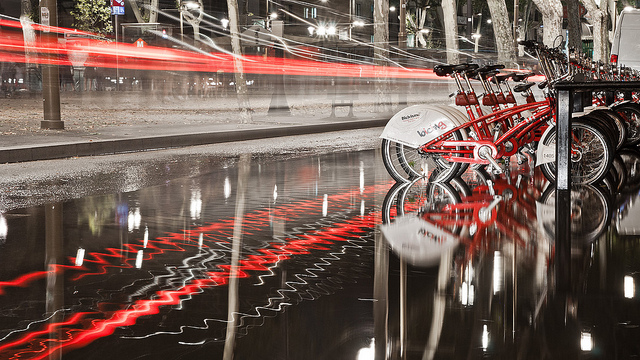
By Vaidotas Mišeikis
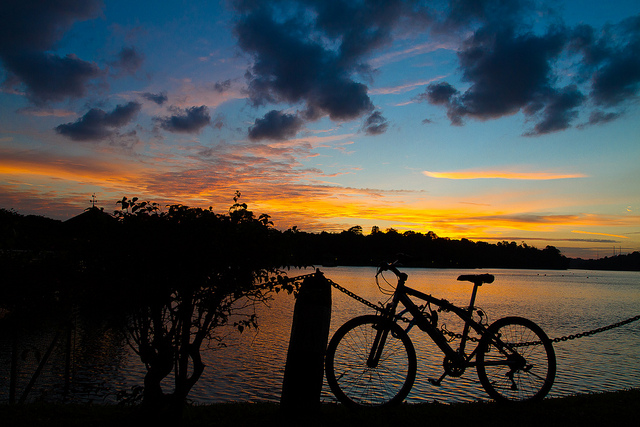
By Shutter wide shut
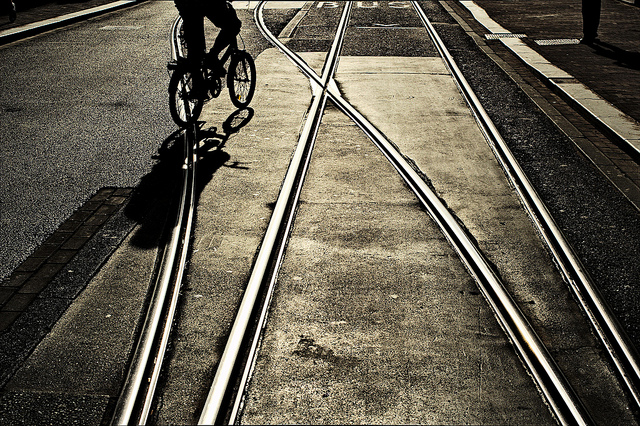
By Giuseppe Martino™

By Joe Penniston

By Vaidotas Mišeikis
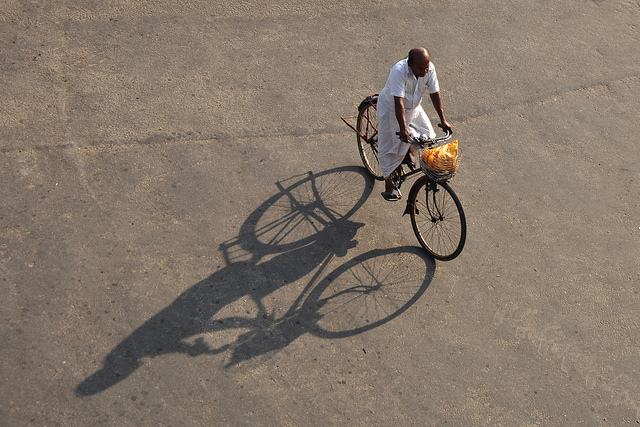
By Brett Davies
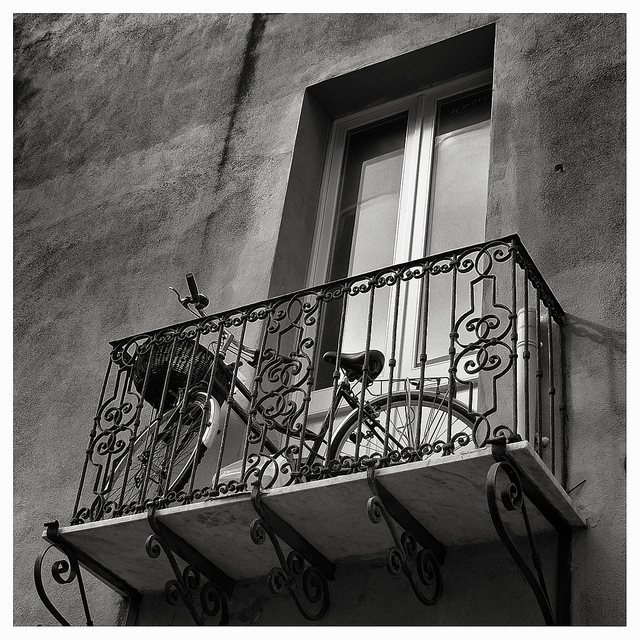
By Sergio Pani
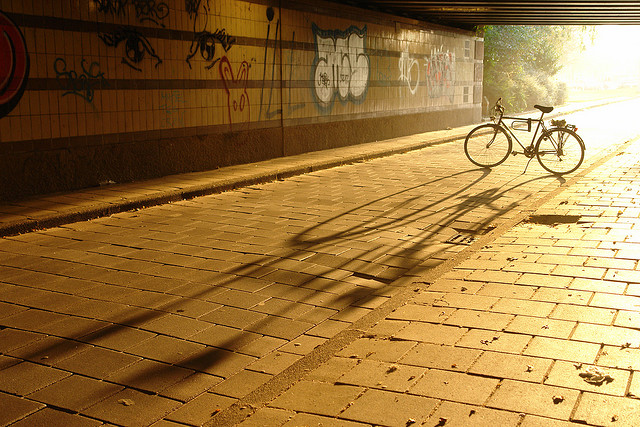
By Charles Roffey
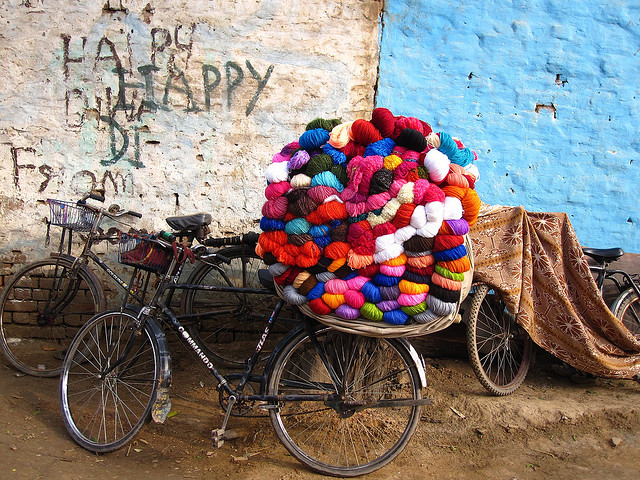
By Arti Sandhu

By Alex
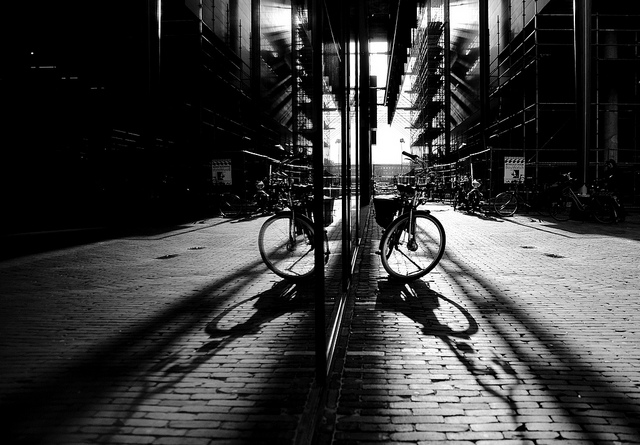
By Hindrik Sijens

By Eric Parker
Okay, so that was more like 40! I told you I was obsessed!
So what’s your photography obsession? Do you like to photograph bikes as well?
More amazing image collections here!
The post 25 Amazing Images of Bicycles by Darlene Hildebrandt appeared first on Digital Photography School.
Earlier today I admitted my dirty little secret. I am addicted to photographing bicycles. Yes, it is true!

By Kat…
I also shared some amazing bike images – check them out!
So you can probably guess what this week’s photography challenge will be, right? You guessed it – bicycles!
You get the idea. Bikes are great subjects because you can usually find them anywhere, at any time of the year. Even where I live, in two feet of snow, someone is crazy enough to ride their bike, or you can find one buried under the snow.
So no excuses accepted!

By Bernat Casero

By matt

By Pörrö
Once you’ve taken your ‘bicycle’ shots we’d love to see them in comments below. Simply upload your shot into the comment field (look for the little camera icon in the Disqus comments section as pictured below) and they’ll get embedded for us all to see or if you’d prefer upload them to your favourite photo sharing site and leave the link to them.
The post Weekly Photography Challenge – Bicycles by Darlene Hildebrandt appeared first on Digital Photography School.
When you own a digital camera, you’ve got to treat it right, almost as if it were your very own baby. Wait…just a second there! It IS your very own baby, so you had better hold it gently and carefully. If that’s not convincing enough for you, then maybe a practical reason will affect you better: To avoid buying a Continue Reading
The post Holding Your Digital Camera Properly Like It’s Your Baby appeared first on Photodoto.
“But how will I zoom in and out?”, I blinked my eyes in disbelief.
“You’ve got feet, don’t you?”
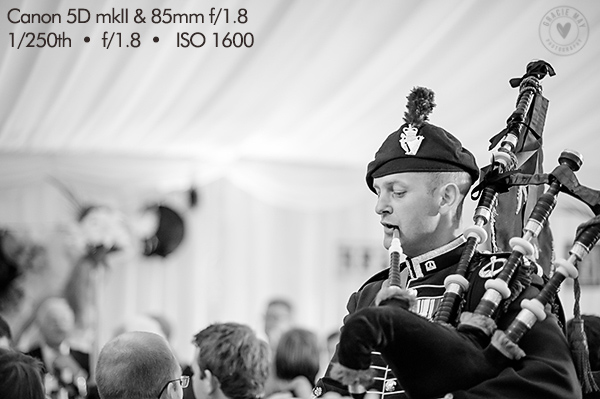
My first encounter with the concept of fixed or prime camera lenses was when they were explained to me (a baby photographer) when I met with a local wedding photographer whose work I was (and still am) crushing on. I was so surprised to hear that there were lenses that (gulp) didn’t zoom. ‘What’s the point of that?’ I wondered. Why pay more for less?
Clearly, I had lots of catching up to do!
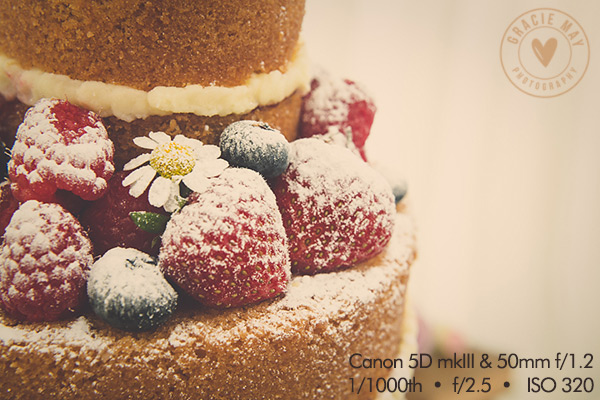
There are many merits to utilizing prime lenses in your photography. One is that you may find you can achieve mind blowing sharpness and quality with a lens that isn’t 10 lenses in one. I like to say that the 50mm prime lens doesn’t have to try to be anything other than 50mm. It only needs to focus on (pun intended) being the best 50mm it can be. Of course, there are many fantastically sharp and capable zoom lenses out there, but you will find that you’re not only paying for quality, but versatility. Prime lenses aren’t very versatile, but what they lack in versatility, they can make up for in quality which may leave you asking, “what zoom?”
So with so many to choose from, how do you choose the perfect prime lens for you? You can be like me and buy-to-try a whopping 14 lenses in 5 years, to the tune of $ 10,250, (true story) or you can try these great 5 steps:
If you use multiple lenses (or even just a few), there’s a super cool way to use Lightroom to see all the images taken with a particular lens. First, make sure you’re in the library module. On the left (under the smaller preview image) click ‘all photos’. Then on the top bar, click ‘metadata’. You’ll then see many sorting options depending on what photos you want to see. In the middle is the box which shows every lens you’ve used for all the images in your catalog (if you don’t see that use the pull down menu to select “lens”. How cool is that?! Then you can sort by focal length and see which one(s) you use most often.
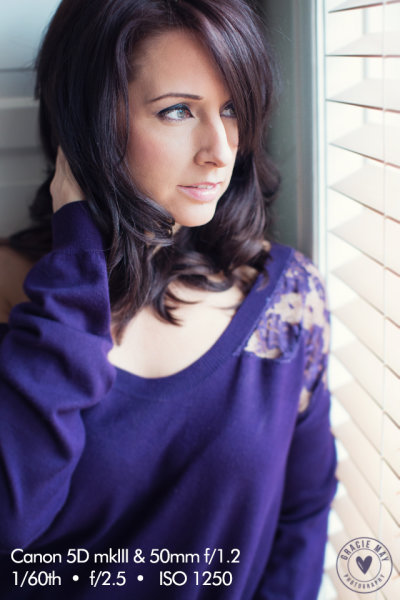
As I mentioned before, I’ve experimented with many different zoom and prime lenses. As for primes, I’ve owned the following Canon lenses: 50mm f/1.8, 50mm f/1.4, 50mm f/1.2, 85mm f/1.8, and 24mm f/2.8. After all that, the only one that remains in my collection is the 50mm f/1.2. I personally love quite tight portrait shots so although I think the quality was fantastic, the 24mm was too wide. The 85mm had phenominal sharpness and quality, but I sold it to help pay for the 50mm. I find the 50mm great on my full frame camera for wideish family shots but also tight-enough portraits. The f/1.2 means it’s my best lens for ultra low light and the sharpness is a little mind blowing. For me, it’s the perfect prime lens.
Now, there are many lenses from which to choose and that’s where you fine people come in! If you’re a prime lens aficionado or even just a fan of a particular lens, get involved below and tell us what prime lenses you have experience with, and which are your favourites!
The post 5 Easy Steps to Choose the Perfect Prime Lens for You by Elizabeth Halford appeared first on Digital Photography School.
If you’re anything like me, you made the investment in a DSLR camera to take beautiful professional quality photos of your kids. You want to document their childhood so the moments they may not remember on their own, they’ll have at their fingertips down the road.

Your camera has opened up a world of possibility in how to go about documenting your days as a family. But, if you’re new to photography, you may have quickly realized that your camera has a lot of buttons, settings, and dials that you have no clue how to use. On top of it all, the advice you’ve been given or articles you read have had conflicting information as well.
When I began my learning journey with the wonderful world of technical photography I was bombarded with information overload. There was no shortage of advice, opinions, and tutorials for what I needed to do to take beautiful pictures. I was told I needed to learn flash, and that I needed special filers, or software, or more lenses, or even a different camera.
During my years of ‘going pro‘ I’ve learned it’s that photography is all about intention and purpose. The rules a nature photographer follows, are going to be much different than the rules that apply to a mom trying to take better photos of her kids.

These days, I’m breaking some of the most common photography rules that were shared with me on my own photography learning journey. Why not become a ‘rule breaker‘ with me? If there’s one thing I’ve learned from my kid, it’s that rules are always meant to be broken. Life (and your photography) will be so much more fun that way.
Once you get your camera other DSLR owners will be lining up to tell you all the other gadgets and gizmos you should have to go along with it. If you’re a mom who is just starting out, you don’t need to run out and invest in big bulky external flashes, studio light set ups, lots of lenses and filters, etc. The few affordable accessories I DO think a mom can benefit from are: a 1.8 prime lens (a 35mm works well on an APS-C or cropped sensor) for low light indoor photos, a 70-300mm zoom lens for sports photos, a sturdy tripod, and a wireless remote so you can trigger the shutter away from the camera and actually be in photos with your kids every now and then.

The next piece of advice that I constantly read over and over again was that I needed to learn how to put my camera in ‘M’ (Manual mode) to take good photos. Although there is definitely a better level of control and confidence that comes from mastering Manual mode and knowing how Shutter Speed, ISO, and Aperture all work together to expose photos, it’s not the be-all, end-all, to shooting amazing images. I’d argue that finding decent light is definitely a better starting place for moms. There are still times when I’m running after my preschooler taking snapshots in tricky, constantly changing light, and I won’t shoot in full Manual mode. In these moments I typically opt to use A/Av mode instead and get a bit of help from my camera in choosing shutter speed for me.

I will admit, as I learned more and more about my photography, I got a bit of camera envy. I knew that the pros shot with some really fancy top of the line cameras, and I thought that I needed the same gear, in order to achieve the same results. The truth is, entry level SLRs are improving by leaps and bounds and are rivalling the bigger cameras in their low light, high ISO capabilities. If your camera is over four or five years old you might want to consider a slight upgrade. Because as it is with technology, newer models will have additional power to them (especially in the area of ISO limits), but you don’t need to immediately jump to a top of line model that costs thousands of dollars in order to take beautiful shots.
This was another rule that was stated to me over and over and over again, especially as I made the transition to professional photography. Even though the light tends to be awesome during these times (sunset isn’t called the ‘golden hour‘ for no reason), a shoot during these times can go south rather quickly when your child hasn’t had a nap and it’s nearing their dinner time. I want to challenge you to take photos of your kids when they are in the best mood. Good photography is all about finding the right light. The middle of a bright sunny day might be more tricky to seek out even lighting, but if that’s when your kids are the most awake, and alert and willing to play for the lens, then that’s when you should shoot. At the end of the day, it’s all about their beautiful smile and not the beautiful sunset behind them.


One misconception I had when I bought my first DSLR camera was that my photos would come straight out of the camera looking professionally retouched. I learned very quickly that wasn’t always the case, and that editing software would allow me to transform my drab photos into fabulous works of art. Photoshop and Lightroom are two of the most frequently talked about and discussed programs out there for professional photographers, but they are complicated and in some cases expensive, pieces of software that can take a great deal of time and effort to learn. For a mom who is on the go and wants something a bit more user friendly and lower cost, I absolutely love the website PicMonkey. From basic editing features, to filters, collages, and more this website makes it super easy for the mom on the go to still make her DSLR photos look incredible.

Are there any other photography ‘rules’ you’ve heard before that you have a difficult time following? I’d love to hear about them in the comments. Happy snapping!
If you want some inspiration, or more reading and tips for photographing kids, check out these articles:
The post 5 Photography Rules Moms Can Ignore by Beryl Young appeared first on Digital Photography School.