Category: Photography

  • 10 Most Common Mistakes in Landscape Photography – and How to Overcome Them

    If you’re serious about landscape photography, it won’t take you very long to realize the fundamental problem of the craft: not every landscape that catches your eye will easily translate into a compelling photograph.

    When we experience a place, the smells, sounds, the warmth or chill in the air, and our own emotions combine to give us an overall impression. Our job as photographers is translate that overall impression into a photograph.

    Every landscape photo needs to be carefully crafted with the final image in mind.
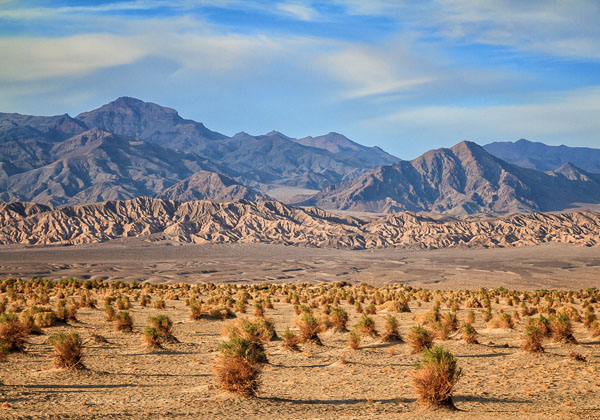
    Devil's Cornfield, Death Valley National Park, California, by Anne McKinnell

    There are many problems we run into along the way that can prevent our overall impression of a scene from shining through in the final image. The following are the most common traps to expect, and how you can avoid them.

    1. Crooked Horizons

    Most landscape photos will feature the horizon – a dead giveaway to the picture’s overall perspective. That means that if the line dividing land and sky is not perfectly straight across, the whole picture looks totally out of whack. There are a few ways to make sure your horizon squares up right:

    • Grid Overlay
      On most DSLRs (and some compact cameras), you can overlay a grid on either your viewfinder, your live view screen, or both. Align your horizon with one of these lines.
    • Electronic Horizon
      Newer, higher-end cameras often have a built-in electronic level. When turned on, it will gauge the camera’s position in space and tell you when it is evenly aligned.
    • Bubble Levels
      Some cameras have a bubble level attached and some tripods will have one as well. If you don’t have one built into your gear, you can purchase one that affixes onto the camera’s hot shoe. Just like a spirit level in construction, this will help you straighten your camera out.
    • Post-Processing
      If all else fails, every major photo editing software will feature a “straighten” tool which allows you to draw a line tracing the horizon. Using this, the program will automatically crop the image on an angle to make sure that the line is perfectly horizontal.

    2. Eye-level Perspective

    Most people photograph from an eye-level standing position producing photos that look as you would expect to see things if you were there. For a more interesting composition, try climbing on top of something, or getting close to the ground to achieve a different point of view.

    3. Empty Skies

    Without clouds, birds, or some other interesting feature, empty skies can turn out pretty flat and boring in a photo. Try to compose your picture with something interesting in the sky. If there is nothing interesting to show, raise your horizon line to the top third of the image to minimize how much space the sky occupies in the frame.
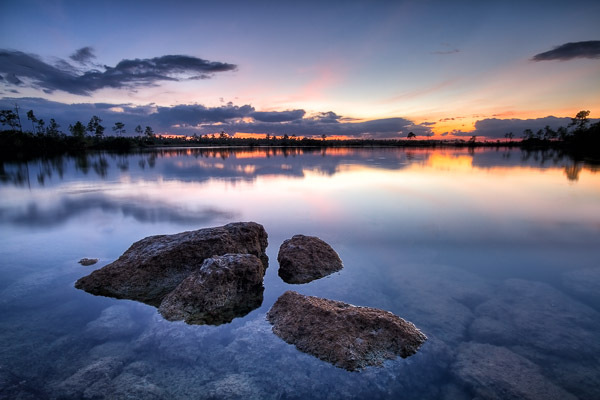
    Pine Glades Lake, Everglades National Park, Florida, by Anne McKinnell

    4. Hand Shake Blur

    A blurry photograph loses almost all of its impact. Either use a tripod or use a fast shutter speed combined with image stabilization.

    When it comes to landscapes, securing your camera onto a sturdy tripod will always yield better results. Even if you’re using short exposures, a tripod will allow you to compose your shot more precisely and lock its position into place while you shoot.

    5. No Focal Point

    Skies and mountains are lovely, but a picture can’t be all background. Your photo needs a focal point to hold the viewer’s interest. This can be anything – an interesting tree, a boat, a pier, a log – but no landscape photo is complete without a main subject.
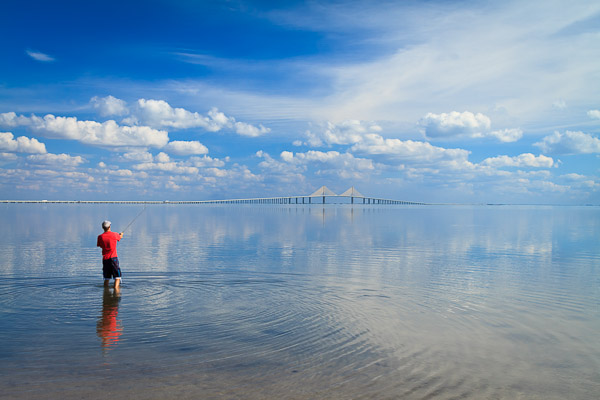
    Fisherman at Fort DeSoto, Florida, by Anne McKinnell

    6. Cluttered Backgrounds

    The opposite also applies – be careful not to focus too much on the subject and forget about how the background comes together. Pay attention to what is behind your main subject. If the background elements don’t add to the composition remove them if possible. Be careful that you have separation between each element, and don’t let them visually blend together (ie. two or more trees merging into a greenish blob). This is especially problematic when the objects are backlit or silhouetted.

    7. Poor Lighting

    When you rely on the sun to light your shots, you’ll find that some days the weather just doesn’t cooperate. Grey, cloudy days will give you muted, washed-out colours and not much in the way of shadows or contrast. Extremely sunny days might do just the opposite. Carefully consider the lighting conditions on your scene before you decide how to approach it.

    • If the sun is out, position it to one side of the camera to take advantage of the shadows and textures created by sidelight.
    • If the sun is in front of the lens, your scene will be backlit and you can make some dramatic silhouettes.
    • If the sun is behind you photographing the scene will be more difficult because the direct light will make the scene appear flat. Consider changing direction.
    • If there is no sun and the sky is white, use the soft lighting conditions to make close-ups.
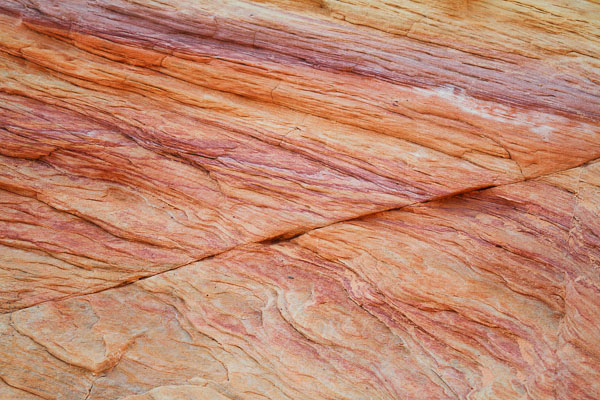
    Rainbow Rock, Valley of Fire, Nevada, by Anne McKinnell

    8. Underexposing

    If the sky is overly bright (say, in the middle of the day), it can confuse the camera’s light meter, which will try to compensate by underexposing the rest of the image, resulting in a dark foreground. If this happens, use the exposure compensation to turn up the brightness, but not so much that the sky becomes blown out (turns white).

    If you’re having this problem, try re-composing your image to include a darker area of the sky. This type of scene is a good time to use a graduated neutral density filter. These filters are dark on the top and clear on the bottom. You place it in front of your lens to darken the top half of the image and even out the exposure.

    9. Hot Spots and Blown Out Highlights

    It’s not just the sky that can blow out, though – a hot sun can cause glare on many surfaces. Watch your scene for bright spots caused by reflections or excess sunlight. Most cameras have a “highlight warning” viewing mode on the image preview which will show any pixels that have turned pure white. If you have blown out highlights, use the exposure compensation to reduce the exposure slightly until they are gone.

    10. Lack of Dimension

    Even though a photo is a two-dimensional image, a strong landscape composition gives the illusion of depth. When you’re setting up your shot, make sure to populate the frame in the foreground, mid-ground, and background.
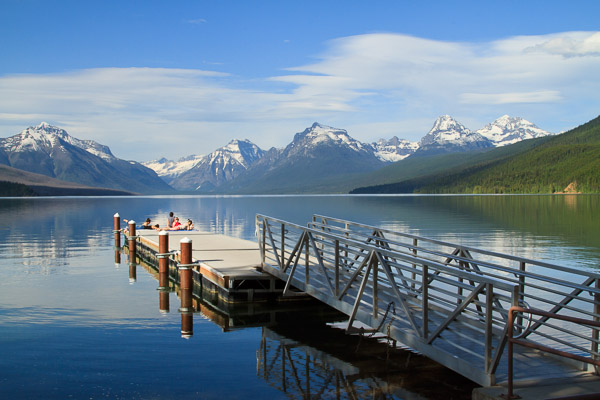
    Lake McDonald, Glacier National Park, Montana, by Anne McKinnell

    When you are learning photography it can be hard to critique your own work and understand how to improve. After your next photo shoot, examine your images for these problems so you can avoid them next time. Looking at each of your images with a critical eye and considering how they could be improved will quickly improve your artistic eye and make you a better photographer.

    The post 10 Most Common Mistakes in Landscape Photography – and How to Overcome Them by Anne McKinnell appeared first on Digital Photography School.
    Digital Photography School

  • The Most Important Do’s and Don’ts of Portrait Posing You’ll Ever Read

    Have you ever seen those photographers whose portfolios have so so many amazing portraits? You look at all of their pictures, wondering how they do their magic. They must have “great subjects” or work with people that aren’t camera-shy like your friend. The truth is that great portraits aren’t about the models or how photogenic or “picture-perfect” they are, but Continue Reading

    The post The Most Important Do’s and Don’ts of Portrait Posing You’ll Ever Read appeared first on Photodoto.


    Photodoto

  • Essential Gear for the Landscape Photographer

    Essential gear landscape photographer 06

    A great landscape photo can capture the imagination and inspire the soul. It brings a static scene to life and reminds us why we’re drawn to nature’s cathedrals. And while you can clearly envision the kind of picture you’d like to make of your favorite vista, what may not be as clear is the gear that is essential to taking a great landscape photograph. So, let’s talk about that.

    My list of essential gear for the landscape photographer . . .

    What is the must-have equipment for capturing awesome landscape photos?

    Camera body

    We’ll begin with your camera body. Any camera will do for making a shot to share on Facebook. But to elevate your landscape game to the next level, it is essential to use a camera body that allows you to get off Auto and start shooting in Aperture Priority.

    One of the keys to a great landscape photo is having tack sharp focus throughout your depth of field. In other words, everything from the leaf in the foreground to the distant mountain range should be in clear focus. To achieve this, you need to shoot at a focal ratio offering great depth of field. Shooting in aperture priority allows you to choose the right focal ratio for the scene. Something in the range of f/8 to f/16 should produce images with good depth of field and crisp focus throughout.

    Another setting you’ll be able to select in Aperture Priority is ISO. This is the sensitivity of your camera’s sensor to light. Shooting with a low ISO delivers cleaner images having less noise or graininess. For better landscapes, try to shoot as close to your camera’s base ISO (100 or 200) as possible.

    The combination of a large focal ratio (f/8 or higher) and a low ISO (100 or 200) means longer exposures will be needed to make a good image. If you shoot landscapes at midday when the sun is high in the sky, there is more than enough ambient light to make a good image with very short exposures. But truly dramatic landscapes, the kind you’re after, are typically captured in very different lighting conditions.

    Essential gear landscape photographer 02

    Many great landscape photos are taken during the golden hour; that all-too-brief window of time at sunrise or sunset when dramatic lighting paints the scene. Cloudy skies also add an element of drama which can transform a so-so view into a stunning image. Under such conditions, the available light is much lower and this creates the need for our next piece of essential kit: a photographic tripod.

    Tripod

    A tripod provides a stable platform for your digital camera. It allows you to take the time to carefully compose a shot and then lock down your camera in that position. Since you’ll be shooting in low light conditions, using a large focal ratio and low ISO, the length of the exposure needed to capture the scene will be fairly long. Too long to steadily handhold the camera. Mounting your camera on a tripod will keep it steady during very long exposures that record amazing detail.

    Essential gear landscape photographer 05

    Lenses

    Of course, one of the most important pieces of equipment for a photographer is the lens through which a scene is captured. For landscape photography, your most versatile lens will be a wide angle. These are short focal length lenses that deliver wide, true fields of view. That wide field of view allows greater flexibility in composing a shot encompassing the full grandeur of a landscape. I recommend a minimum focal length of 12mm for APS-C bodies (cropped sensor) and 18mm for full-frame cameras.

    Fortunately for your wallet, this does not need to be a fast lens which are designed to have focal ratios of f/2.8 or faster. They are consider fast because their large apertures collect enough light to keep exposures brief, even in low light conditions. Large apertures demand a large front lens element, which comes at a steep price. And while the performance can be well worth the investment, many photographers simply don’t have room in their budgets for such a purchase. Since you’ll be shooting at f/8 or greater, a lens with a maximum focal ratio of f/4 should more than meet your needs.

    Essential gear landscape photographer 04

    Filters

    Let’s talk briefly about filters. They can be a great tool for the landscape photographer. Among the most useful are graduated neutral density (GND) filters and variable polarizing filters. However, as useful as filters can be, I don’t consider them essential gear. In the right lighting, filters are unnecessary. In situations where a GND filter would be of use, it’s often possible to compensate for significant differences in brightness in your photo editing software of choice. In short, filters are useful but not absolutely necessary.

    Essential gear landscape photographer 01

    Yourself

    The last piece of essential gear we’ll discuss is, you. Your eye for composition is the most important asset in your photographer’s tool kit. Your ability to recognize good light is essential. If you look at a scene and your inner voice is saying, “Ooh, that’s cool,” that’s a good sign the lighting is outstanding. Listen to that inner voice, stop and compose a shot.

    Walk around the scene. Look for a foreground element to include in the composition. One of the biggest challenges of landscape photography is conveying a sense of scale. Including a foreground element helps immensely. A bush, leaf, rock or person provides a sense of scale for the rest of the image. It also helps simplify the scene, making the resulting image more approachable to the viewer.

    Essential gear landscape photographer 03

    Summary

    With a keen eye for composition, a camera body allowing you to shoot in Aperture Priority, a solid tripod and a sharp wide angle lens, you can take your landscape photography to the next level. Your images will convey the magic you felt while standing amidst a grand scene. The resulting “oohs” and “aahs” will be the reward feeding your satisfaction as a landscape photographer.
    Now, get out there and shoot some great landscapes!

    The post Essential Gear for the Landscape Photographer by Bill Ferris appeared first on Digital Photography School.


    Digital Photography School

  • One Light Portraits – Advanced Set Ups

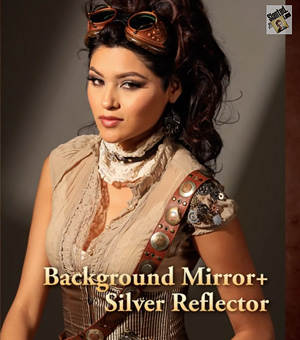
    Ione-light-portraits-reflectorsn keeping with our portrait theme this week is a video that goes over some great ideas for making one light portraits, using some advanced set ups. Keep in mind this is great if you only have on light and don’t want to invest in a more. The reflectors he’s using can be purchased relatively inexpensively, as can the mirrors. Probably the thing you’ll need to do this type of technique is more light stands and some clamps.

    Just ignore the plug for the light crane or light boom at the end of the video. That is more applicable if you are doing video with your DSLR.

    I think there’s some really great tips in there. Watch it a couple times to catch them all. When I used to do commercial tabletop product photography many moons ago, I used a lot of small reflectors, silver cards and mirrors. You’d be amazed at what you can use to manipulate light and create some great images. You don’t have to spend a lot of money on three and four light set ups if you get a little creative with your DIY techniques.

    For more reading on portrait lighting and DIY try these:

    • 6 Portrait lighting patterns every photographer should know
    • The Basics of a One Light Setup: A Lighting Tutorial
    • 4 Tips for a Perfect White Background in High Key Photography
    • Portrait Tutorial Feast – Best of dPS 2013

    Links to check out some of the gear mentioned in the video:

    • Alzo Easy Frame Diffuser & Reflector Kit- 40 Inch Metal Frame with Handle Incl. 1 Diffuser, 1 Silver – 1 Gold Reflector (not exactly the one he used but you get the idea)
    • Photoflex Silverdome NXT, Medium Softbox, 24″ x 32″ x 17″.
    • Spider Pro SCS -Single camera System Camera Holster

    The post One Light Portraits – Advanced Set Ups by Darlene Hildebrandt appeared first on Digital Photography School.


    Digital Photography School

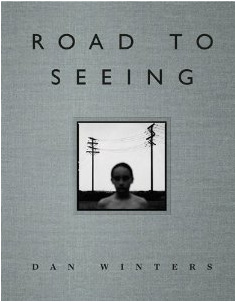
  • Winters’ Road to Seeing Finally Shipping

    The seemingly mythical Dan Winters: The Road to Seeing is finally, actually in stock and shipping from Amazon. But even now, over a month after release, they are saying it might take an extra 1-2 days to process.

    Because Curse of New Dan Winters Book, I guess.

    Seriously, this thing disappeared pretty much as soon as it arrived (pre-orders?) and was never planned to be a big press run. So if you want it, you best make hay while the sun shines.


    Strobist

  • 3 Minutes with Portrait Photographer Alex Huff

    The beauty of portrait photography is that it is as diverse as its subjects and often takes its cues from traditional paintings. One photographer who has found such inspiration is Alex Huff who is today’s guest on “3 Minutes with…” .

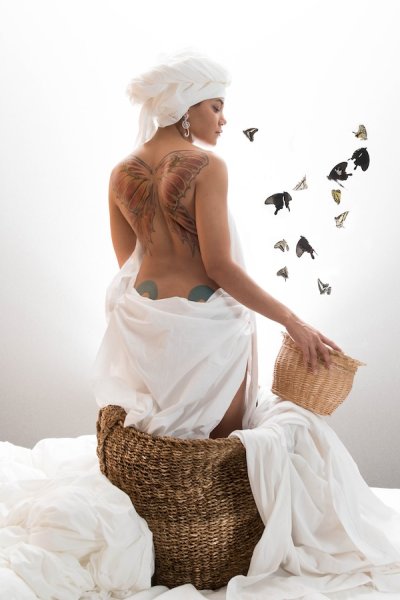
    Butterfly Tattoo

    Describe your photography in 100 words or less

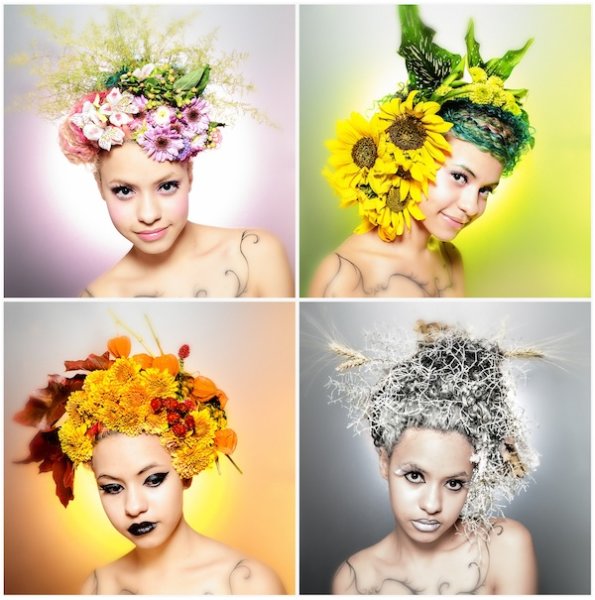
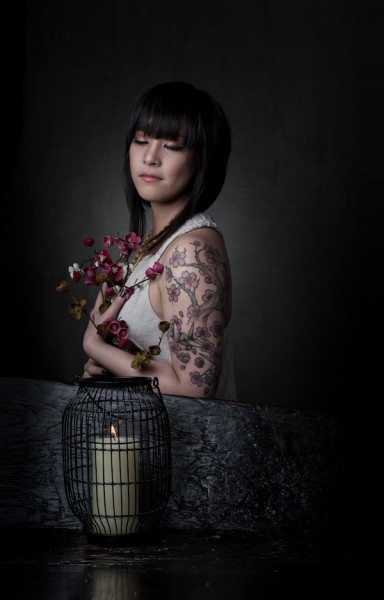
    My photography style strives to depict simple beauty with some influence from Dutch Golden Age paintings. The purpose of this particular collection is to showcase individual tattoos in the same frame as the objects and subjects they are designed after. This has allowed my models to revisit symbols that influenced them to get their ink in the first place. My goal is to photograph tattoos in a way that is true to their natural colors and gives them the same life and depth as the items they represent. I describe this process as my “tattoography”.

    What gear/software do you use?

    I use the Nikon D800 DSLR, 24-70mm f/2.8 & 85mm f/1.4 lenses, Elinchrom D-Lite monoheads, and SB-910 flashguns. My favorite modifiers are the Elinchrom 39″ Deep OctaBox, the Photoflex Extra Small OctoDome with eggcrate, and the Westcott 7′ parabolic umbrella. I edit almost entirely in Adobe Lightroom.

    AlexHuff_Tattoography-6

    What’s one quick tip that you’d give people interested portraiture photography?

    My quick tip to portrait photographers would be to constantly reassure your model, especially while “chimping” or checking your monitor. As an occasional model myself, I understand how discouraging it is to witness a quiet, grimacing photographer behind the lens. Keep it lively, even if you are panicking inside. I also highly recommend letting models see their images halfway through a shoot and don’t be afraid to take their suggestions.

    CherryBlossomMea

    What three photography sites or photo blogs do you recommend?

    Strobist – this blog always reminds me that lighting is creative and doesn’t have to be complicated.
    Juxtapoz – they tend to feature a lot of tattoo photography which helps me keep up with how other people approach that subject.
    The Unprofessional Photographer – This is my unconventional go-to. Sometimes you just gotta laugh. (Editor’s note: warning may contain crude or x-rated content, visit at your own risk!)

    To view more of Alex Huff’s photography visit her web site: alexandriahuff.com

    The post 3 Minutes with Portrait Photographer Alex Huff by Jim Goldstein appeared first on Digital Photography School.


    Digital Photography School

  • 3 Uses for the Radial Filter Tool in Lightroom 5

    One of the most powerful new tools in Lightroom 5 is the Radial Filter tool. Here are a few examples of how you can use this tool creatively inside your workflow to help draw attention to your subjects. If you don’t have Lightroom5, you can use multiple graduated filters to draw attention, but it’s not as easy, and the results can be hit or miss.

    #1 – Off-center vignetting (beginner tip)

    Let’s face it, Lightroom’s post-crop vignette leaves a lot to be desired, especially if you want your vignetting effect to be applied a bit off-center, allowing you to draw focus towards your subject.

    Let’s look at an example and see how the radial filter tool compares to the post crop vignetting effect of old.

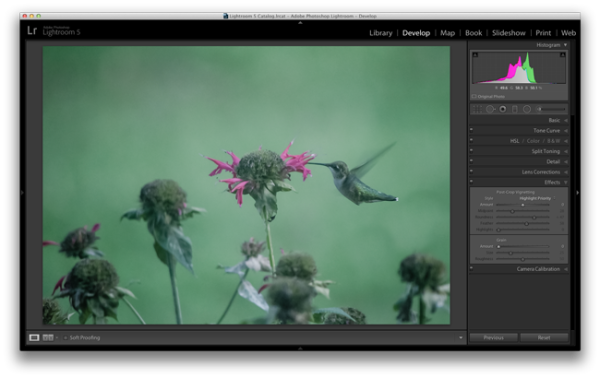
    Hummingbird-before

    Original photo with no effect

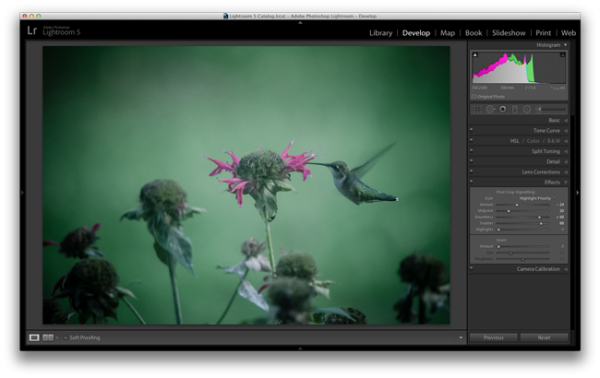
    PostCropVignette

    Post-crop vignette applied

    With the post-crop vignetting tool what you’ll immediately notice is that the effect occurs out from the midpoint of the frame ,and there is no way to off-set this midpoint so that you would be able to have a more customized effect.

    Enter the Radial Filter Tool…

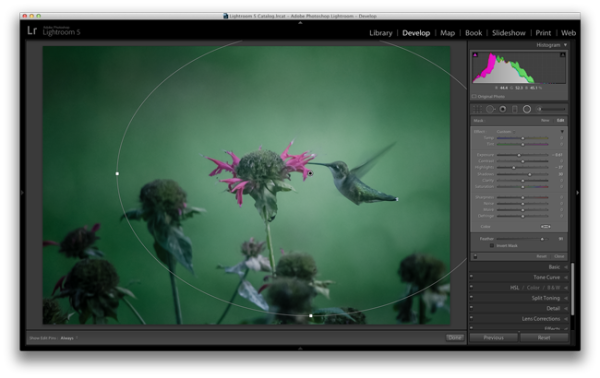
    Radial-Filter-Vignetting

    To apply a Radial Filter press Shift+M on your keyboard or select the circular icon below the histogram. This will open up a drop down filled with a handful of sliders. If you’re familiar with Lightroom’s other filters this won’t seem all that foreign to you. To add a filter to your image click and drag it into your image. You don’t have to worry about sizing it properly right away as you can always resize, move, and rotate it later within the image.

    Applying the vignetting effect is going to depend a lot on your own style and the image you are processing, but the three sliders that you will want to typically play around with are: exposure, highlights and shadows. In the photograph above, a strong vignette was applied by dropping both the exposure and highlight sliders down, but the shadows slider was raised slightly to compensate for the drop in the other two just a bit. With that said, this is something that you’ll want to play around with on your own images and find out what works for them and your own personal taste.

    #2 – Adding highlights and brightness to draw attention (mid-level tip)

    While adding your standard vignette is all fun and great, there’s more power to this tool than that, so let’s step it up a notch and take a look at another way you can draw attention to your subject with a Radial Filter.

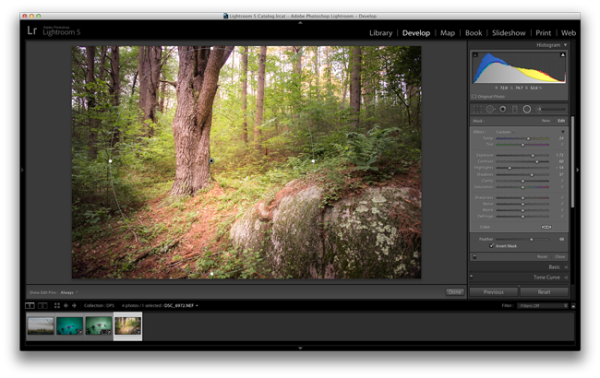
    Take this rather boring photograph that I snapped while on a hike through the forest for example.

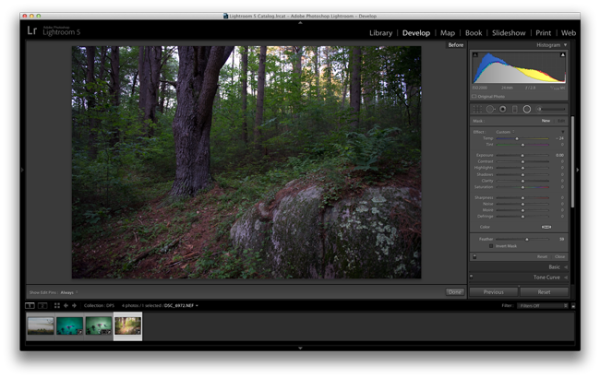
    Invert-Radial-Filter-Before

    By applying a Radial Filter and some other Basic Tab modifications I was able to liven the shot up quite a bit and draw attention to the large tree that had caught my eye while on the hike.

    invert-radial-filter

    To achieve this result you’ll want to once again add a Radial Filter to your image, but this time make sure you check the “Invert Mask” checkbox. This checkbox allows the effect of the filter to be applied from the middle of the filter instead of from the edges of the image.

    Again, this is another area where artistic choice is left wide open, but you can see how the tool is more powerful than simply a vignette effect creator. You have the power to control more than just the brightness of the edges of your frame, as seen above, where there are contrast and temperature adjustments happening inside this filter allowing for a more dramatic look.

    #3 – Stacking multiple radial filters for more dynamic results (advanced tip)

    Finally, once you’ve mastered one radial filter, you might try stacking more than one filter to create even more dynamic results. To add a second filter to an image simply click “New” and then click and drag within your image as you’ve done before. Each filter can be controlled and selected individually by clicking on its respective dot (gray for unselected, black for selected). By having individual control over each radial filter you can really start to draw your viewer’s eye where you want it to go.

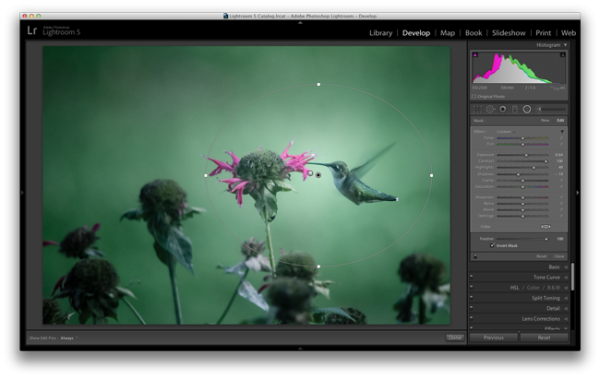
    As an example, let’s look at where I left off on the hummingbird photograph from earlier.

    Radial-Filter-Vignetting

    The original radial filter does a nice job of darkening the sides of the photograph and applying a fairly generic vignetting effect to the photo, but what else can be done?

    radial-filter-tool-stacking

    By applying a second radial filter to the image and using the invert feature that I talked about above, I’m able to add a small bright point right at the meeting of the bird’s beak and the flower.

    What creative ways have you used the Radial Filter Tool?

    Have you had time to play around with the new Radial Filter tool yet? What other creative ways can you think of using it? Share below in the comments section.

    The post 3 Uses for the Radial Filter Tool in Lightroom 5 by John Davenport appeared first on Digital Photography School.

    Digital Photography School

  • Weekly Photography Challenge Portrait of a Lady

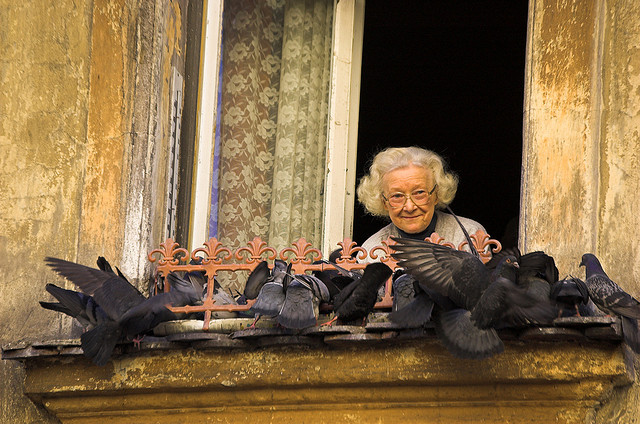
    This week and next we are featuring a series of articles on portraits. Earlier today I shared some portraits of women for you to enjoy and get inspired by. So you can probably guess what the weekly photography challenge is, right?

    You got it – portrait of a lady!

    By Ryan Seyeau

    Surely there’s a lovely lady in your life that deserves a great portrait of herself. Now’s the time to create one of her, maybe as a gift. Or perhaps if you are a lady, a self portrait is in order.

    Use natural light or flash, whatever you prefer and are most comfortable using. Practice your lighting skills. Try shooting or processing in B&W. Experiment with some LR Presets or try out some new processing tips like adding a texture overlay.

    Here are a few images to get you thinking, spark the ideas.

    By Chris Bailey

    By Wen Chen

    By Zuhair A. Al-Traifi

    By Dan Finnen

    By Michael Yan

    By Priscilla Santana

    By Alex Dram

    By Mysi(new stream: www.flickr.com/photos/mysianne)

    By Kris Kesiak

    By Elizabeth Anne

    By dawolf-

    By acearchie

    By Ji?í D?cký

    When you’ve created your masterpiece please share!

    Once you’ve taken your “portrait of a lady” we’d love to see them in comments below. Simply upload your shot into the comment field (look for the little camera icon in the Disqus comments section as pictured below) and they’ll get embedded for us all to see or if you’d prefer upload them to your favourite photo sharing site and leave the link to them.

    The post Weekly Photography Challenge Portrait of a Lady by Darlene Hildebrandt appeared first on Digital Photography School.


    Digital Photography School

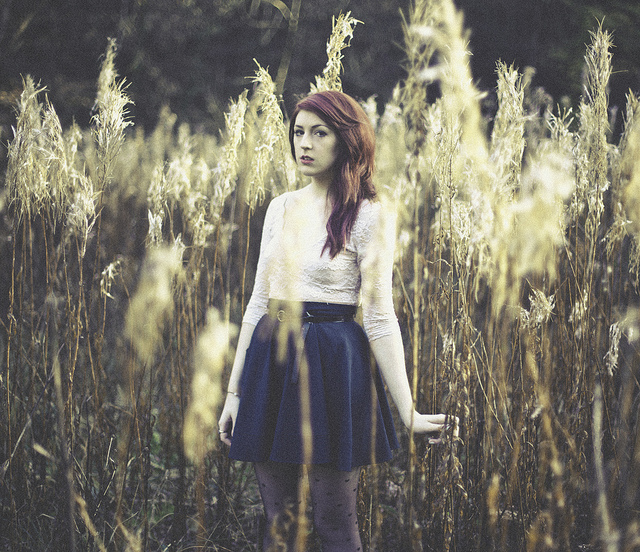
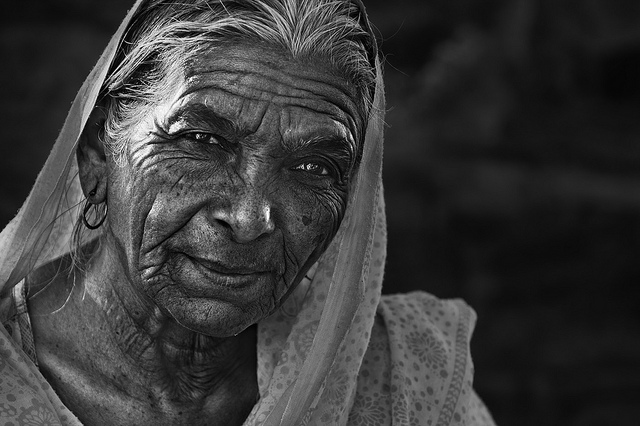
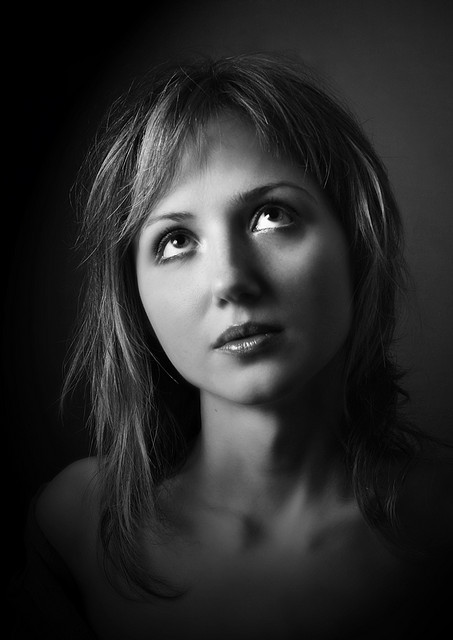
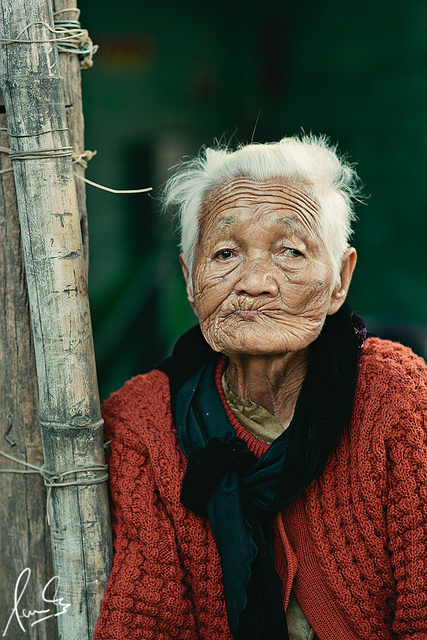
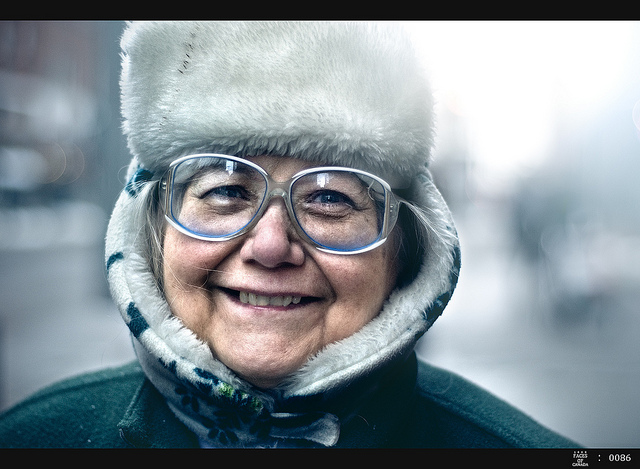
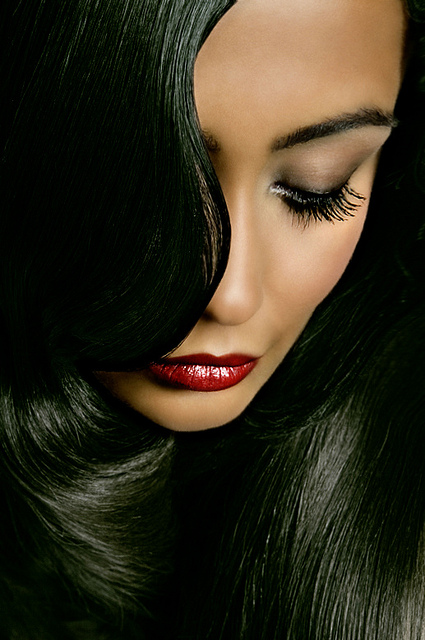
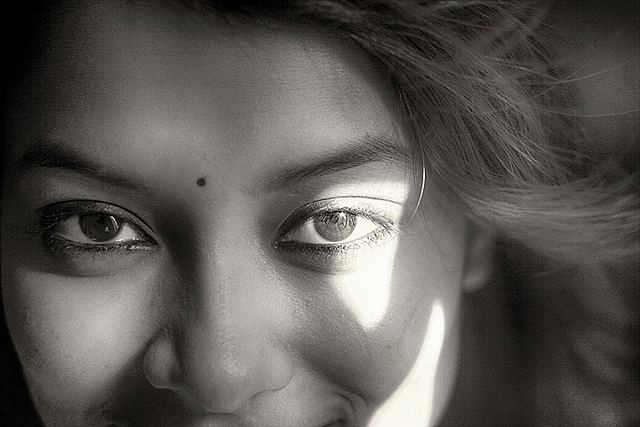
  • Inspiring Portraits of Women – a Collection of Images

    mona-lisa.jpgThis week as part of our Portrait Deep Dive we’re going to look at portraits of ladies. So let’s start with one of the most famous, the Mona Lisa.
    Darren wrote – What the Mona Lisa can teach us about taking great portraits

    Painted almost 600 years ago she’s still as lovely today as she was then. Why does this painting work so well? What about it is so intriguing? Is it the lighting, or her sly smile? I like to think it’s because she’s an elegant woman of her time.

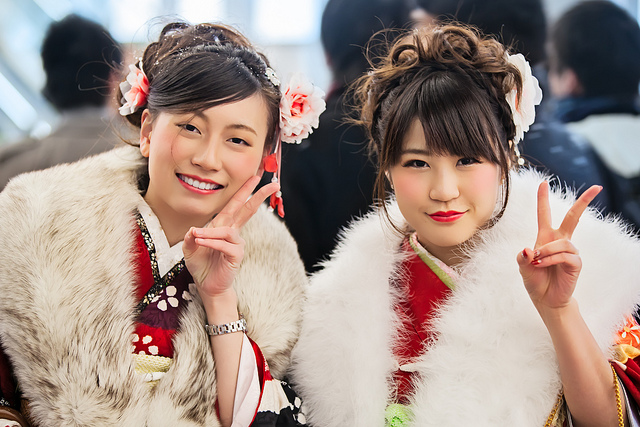
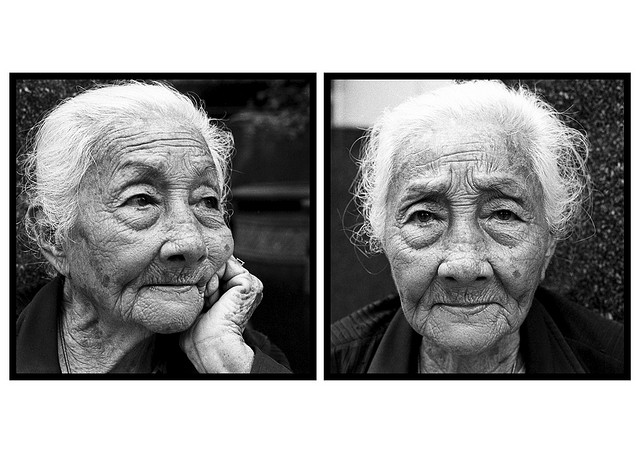
    Old, young, trendy, casual, sporty, elegant, contemptuous, spirited, or shy; today we celebrate the ladies.

    Let’s look at some inspiring portraits of women in this collection today:

    By Zuhair A. Al-Traifi

    By Trey Ratcliff

    By Sukanto Debnath

    By Christopher Walker

    By www.karlocamero.com

    By joshuaporter.co.uk

    By Zuhair A. Al-Traifi

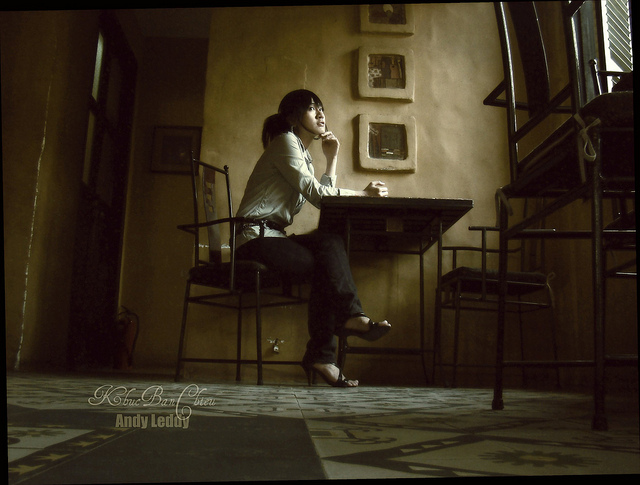
    By Andy Leddy

    By Petras Gagilas

    By Andy Leddy

    By Sukanto Debnath

    By Chloe Wright

    By Ronn aka “Blue” Aldaman

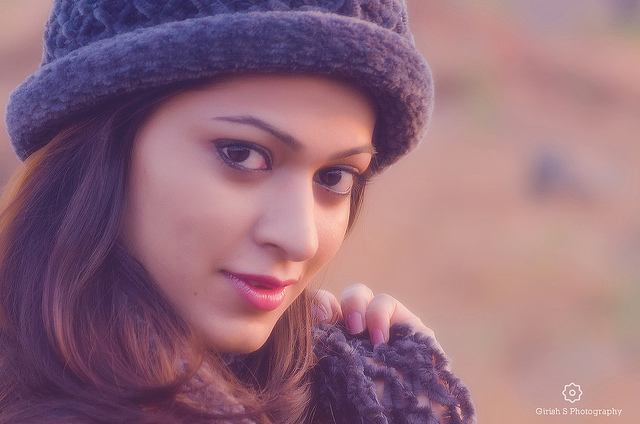
    By Girish Suryawanshi

    By Prachanart Viriyaraks

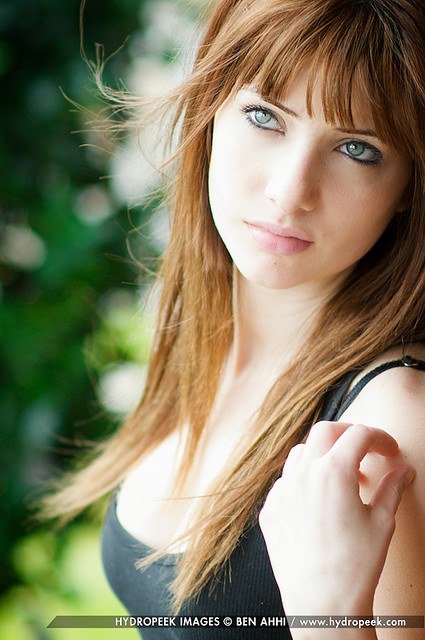
    By hydropeek

    By nicksushkevich

    By Sacha Fernandez

    By Ryan Seyeau

    By Julie Kertesz

    By Vineet Radhakrishnan

    By MD. Hasibul Haque Sakib

    By LynchianDreams

    By kris krüg

    By ????????? ????????

    By Dorret

    By andrea floris

    By Steve Jurvetson

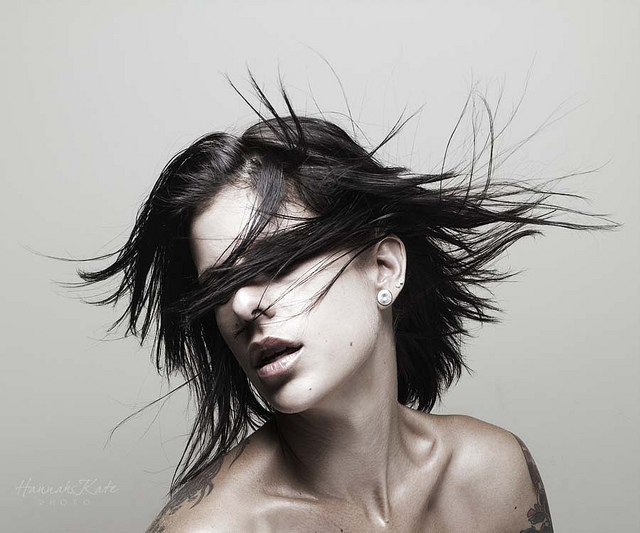
    By Hannah Kate

    By Simón Pais-Thomas

    By Joe Gunawan | fotosiamo.com

    By Simón Pais-Thomas

    By LBY

    By Simón Pais-Thomas

    By Lotus Carroll

    By Micha? Huniewicz

    By Sean Molin

    By reway2007

    Missed some of the articles earlier this week? Check out:

    • The rewards of photographing people when you travel
    • How to create portraits with depth
    • How to choose the perfect portrait lens

    Do you have a favorite portrait of a special lady in your life? Or perhaps yourself? Please, do share!

    The post Inspiring Portraits of Women – a Collection of Images by Darlene Hildebrandt appeared first on Digital Photography School.


    Digital Photography School

  • 20 Adorable Valentine’s Day Gift Ideas for Photographers

    People’s attitudes to Valentine’s day are different. Some argue that it has become too commercialized while others think that it should not be celebrated at all. But those who are lucky in love tend to celebrate the 14th of February in all its pride and glory. Valentine’s Day is one more chance to say and show your special one how Continue Reading

    The post 20 Adorable Valentine’s Day Gift Ideas for Photographers appeared first on Photodoto.


    Photodoto