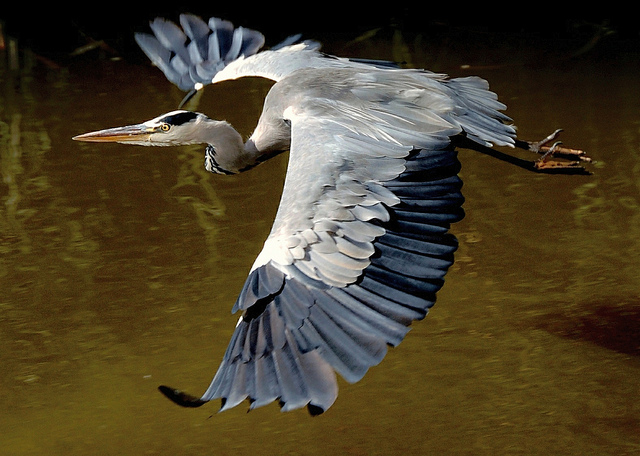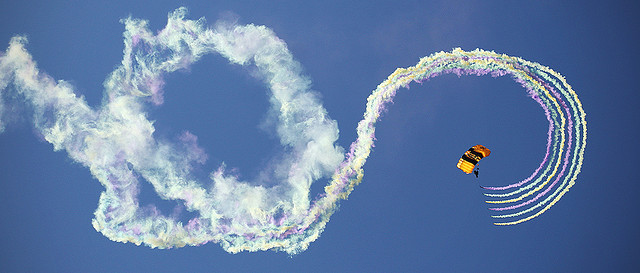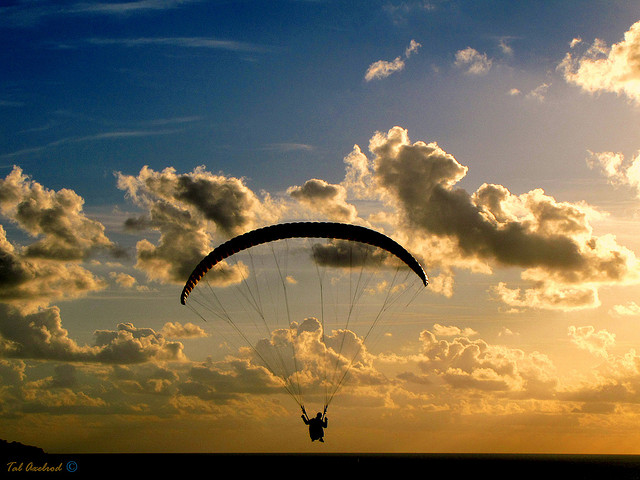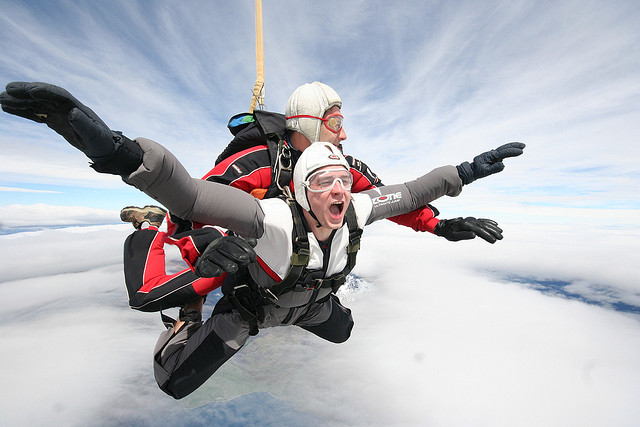
Category: Photography

  • Awesome Photodoto-ViewBug.com Contest Going on Right Now

    I wanna take a minute just sittin right here to tell all of you about the super-fine contest that we have going on at the moment in partnership with ViewBug.com. It’s called the “Puddle Reflections Photo Contest,” and anyone can enter. This means YOU. That’s right…you sitting there…reading this right now. You. It’s unbelievably easy and highly enjoyable. It takes Continue Reading

    The post Awesome Photodoto-ViewBug.com Contest Going on Right Now appeared first on Photodoto.


    Photodoto

  • Are you Jumping on the Mirrorless Camera Bandwagon?

    Olympus-OM-D-EM-5-Review.jpgWith the increase in popularity of the smaller, more portable Mirrorless Four Thirds cameras I’m curious to see where you stand on this discussion. Personally I’m ready to jump on and get myself an Olympus OM-D EM-5, only thing holding me back as of now is justifying the cost of having a second camera.

    I’m in the “I’m not ditching my full sized DSLR just yet” camp as I still use it for teaching and doing portraits. However the more travelling and photography tours I do, the more appealing the Olympus becomes. One of the guys on my Cuba tour had one and it took great images, and video as well! I was really impressed.

    We could have this debate all day but some of the pros and cons generally tossed about include:

    PROS of Mirrorless cameras:

    • Sony-NEX-Full-Frame-A7R-Zeisssmall and lightweight (that’s a given)
    • you can pack more lenses in a small bag for travel
    • less intimidating to people you photograph, especially when doing street photography
    • ability to accept and use adaptors to fit just about any lens, including those from your DSLR
    • the sensors in many of them rival DSLR APS-C sensors, and in the case of the Sony A7R they might even have the edge

    CONS of Mirrorless cameras:

    • they aren’t really any less expensive than the full sized DSLRs, in fact, in some cases they are more expensive. You pay for compactness
    • they can be slower to focus, so shooting moving subjects is more challenging
    • the electronic viewfinder – this is a bane of many DSLR owners who are used to seeing through an optical one
    • because of the point above, they can be battery hogs

    So – you tell me, where do you sit on this issue?

    Are your feet firmly planted one side of the fence or the other? Or are you still on the fence, as yet undecided like our little friends here?

    By KENNETH BARKER

    By hehaden

    By MALC

    Note: There is a poll embedded within this post, please visit the site to participate in this post’s poll.

    Are there greener pastures on the other side?

    Is this where the future is taking us? Are full frame cameras obsolete? Who knows – but maybe I’ll see you over there!

    By Stefan Tan

    By Caroline

    The post Are you Jumping on the Mirrorless Camera Bandwagon? by Darlene Hildebrandt appeared first on Digital Photography School.


    Digital Photography School

  • How to Straighten a Crooked Image in Photoshop

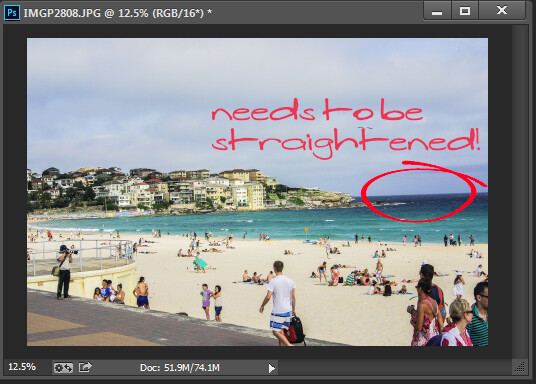
    Straighten an image in Photoshop

    Straighten an image in Photoshop

    While most photo editing programs have a dedicated and easily discoverable Straighten tool, Photoshop does not and never has had. Instead, prior to Photoshop version CS6, it was notoriously difficult to straighten a photo.

    This all changed with the new Crop tool in Photoshop CS6 and CC, and it is now much easier to straighten an image – even if it isn’t easy to determine that the Crop tool is how you do it.

    I’ll show you how to straighten a crooked image in Photoshop, but before we look at Photoshop CS6 & CC let’s take a trip back in time to see how to straighten an image in Photoshop CS5 and earlier. Of course this process still works in later versions of Photoshop as well.

    Straighten an image prior to Photoshop CS6 & CC

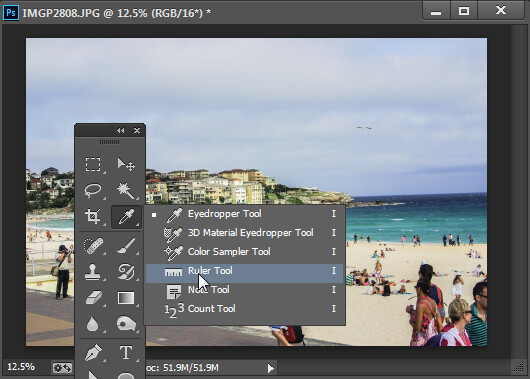
    With an image open in Photoshop locate the Ruler tool which shares a toolbar position with the Eyedropper tool.

    The Ruler tool shares a toolbar position with the Eyedropper tool.

    The Ruler tool shares a toolbar position with the Eyedropper tool.

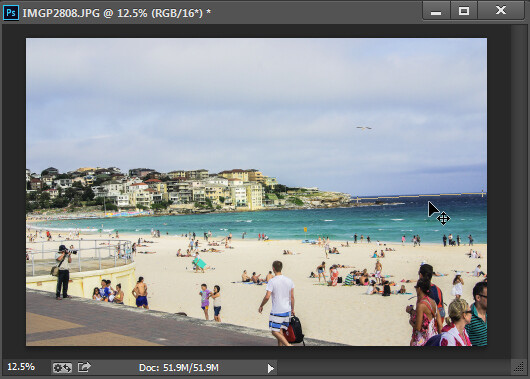
    Click and drag along some element in the photo that should be either truly horizontal or vertical. The longer the line you make, the more accurate the adjustment will be.

    Drag along an element in the image which should be horizontal or vertical using the Ruler tool.

    Drag along an element in the image which should be horizontal or vertical using the Ruler tool

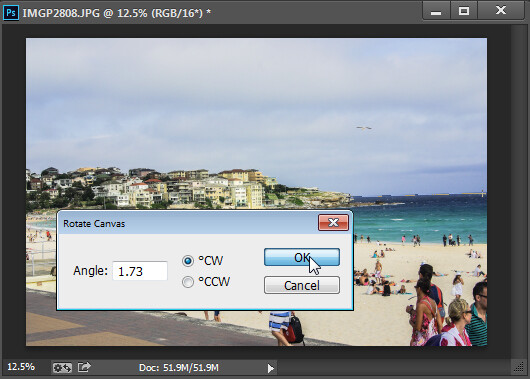
    Once you have the ruler line positioned along the line you wish to straighten, choose Image > Image Rotation > Arbitrary and the dialog will show the angle of that ruler line – in other words the angle to rotate the image to straighten it. Press Ok to rotate the photo and straighten it.

    Choose Rotate Canvas to rotate the canvas to the selected angle.

    Choose Rotate Canvas to rotate the canvas to the selected angle.

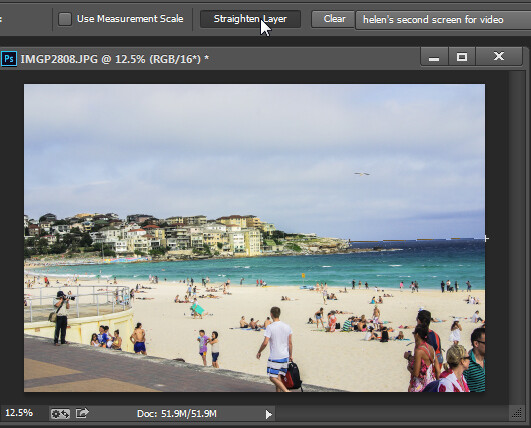
    In Photoshop CS5, the process was streamlined slightly by the addition of a Straighten Layer option which appears when you select the Ruler tool. Once you mark out the line to straighten to you can then click this icon to straighten the image (see image below).

    Click Straighten Layer in Photoshop CS5 and later to straighten using the Ruler tool.

    Click Straighten Layer in Photoshop CS5 and later to straighten using the Ruler tool.

    Straighten using the Crop tool

    In Photoshop CS6 and CC the Crop tool now has a Straighten tool built into it. So, to straighten a photo, click the Crop Tool (or press C) and click the Straighten icon on the toolbar.

    Click Crop and then click the Straighten icon on the Tool Options bar

    Click Crop and then click the Straighten icon on the Tool Options bar

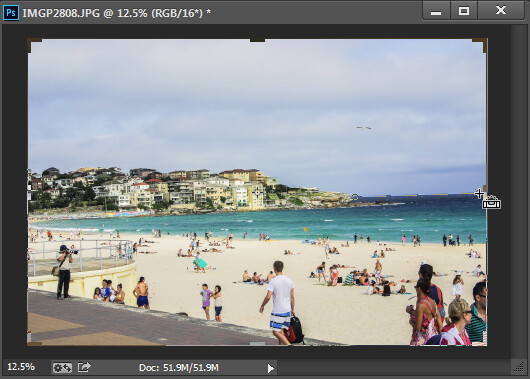
    Now drag a line across the photo, along an element which should be horizontal or vertical.

    Drag along an element which should be horizontal or vertical

    Drag along an element which should be horizontal or vertical

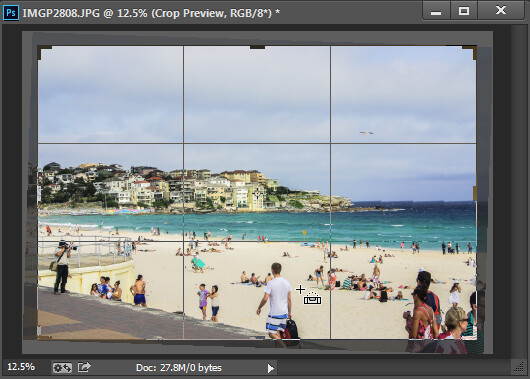
    When you let go the mouse the image will be rotated automatically using the line as a guide and the resulting uneven edges of the image will be cropped away.

    Press Enter to confirm the crop

    Press Enter to confirm the crop

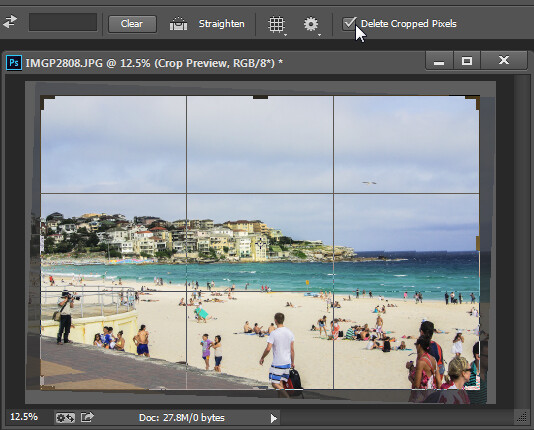
    Press Enter to confirm the crop. If you have the Delete Cropped Pixels checkbox enabled then the excess image will be permanently removed.

    The Delete Cropped Pixels setting lets you choose whether cropped pixels are deleted or not

    The Delete Cropped Pixels setting lets you choose whether cropped pixels are deleted or not

    If the Delete Cropped Pixels option is unchecked, the canvas will be reduced in size to match the crop rectangle and the extra image pixels will disappear from sight but will still be accessible.

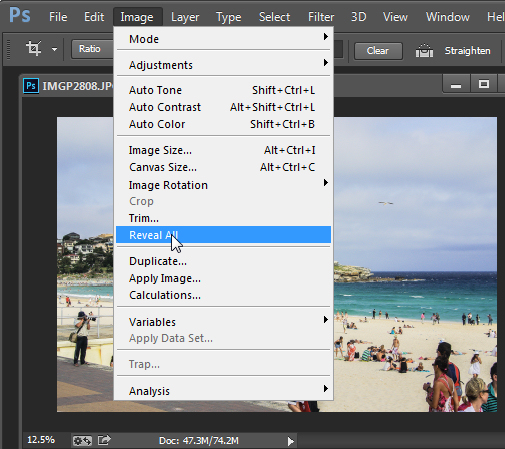
    At any time you can reinstate these hidden areas of the image which lie outside the canvas by choosing Image > Reveal All.

    Use Reveal All to display contend hidden when  you crop

    Use Reveal All to display contend hidden when you crop

    For more Photoshop tips try these:

    • 5 Easy Photoshop Tips for Beginners
    • Photoshop Tips – Using the Blend If Feature
    • Adobe Camera Raw (ACR) as a Photoshop Filter
    • What’s new in Photoshop CC for Photographers

    The post How to Straighten a Crooked Image in Photoshop by Helen Bradley appeared first on Digital Photography School.


    Digital Photography School

  • Tips for Photographing Snow

    Some of may still be in the throws of some nasty weather that Mother Nature can surprise us with like an early spring snow storm. Assuming of course it’s not completely freezing, why not get out there and do some winter photography!

    In this short video you will get 8 tips for photographing snow; things like proper exposure, capturing falling flakes, what lens to use, and white balance.

    Need more help with winter or snow photography?

    • Winter Photography Tips | Bendy straws and Ziploc bags?
    • Tips to Protect your Gear in Harsh Weather Conditions
    • 5 Uncommon Snow Photography Tips That Can Transform Your Winter Scenes.

    The post Tips for Photographing Snow by Darlene Hildebrandt appeared first on Digital Photography School.


    Digital Photography School

  • How to Use a Light Tent for Small Product Photography

    Many crafters, cooks, and artists want to take high quality photographs of their own creations, whether to feature them in a blog post, offer them for sale online, or just share them with friends. The trick to getting these kinds of product shots easily and reliably is to use a light tent. This article will cover the fundamentals of shooting with a light tent to help you capture bright, high quality product photographs every time.

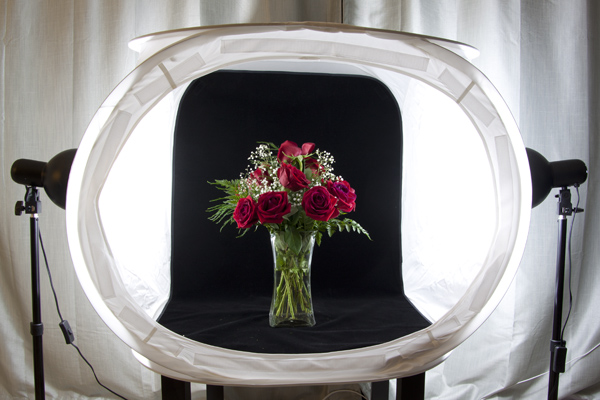
    McEnaney-light-tent-roses-new-vase

    What is a Light Tent?

    A light tent or light box is a contraption with translucent sides that diffuses light coming from multiple sources. This allows for even, nearly shadow-less lighting against a simple, solid background.

    light tent, photography, DIY, product photography

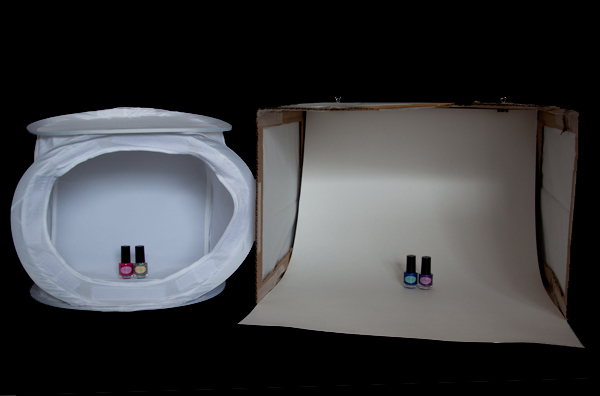
    You can purchase a light tent as part of a kit or you can build your own DIY light tent. If you choose to purchase a light tent kit, it will usually come with one or more light tents, two light bulbs, two light stands, a tripod, and fabric backdrops in various colors. If you build your own light tent, you will also need to purchase two posable light sources, light bulbs, and poster board or fabric for the backdrops. Unsure of which to choose? In a future article I will offer a head-to-head comparison of a popular light tent kit and a DIY tent.

    Shooting with a Light Tent

    The standard set-up for light tent photography is to place the tent on some kind of table or end table, with the light sources directly opposite each other on each side and the tripod centered in front. Placing the tent up on a table makes it easier to see and maneuver, as well as easier to use your tripod for shooting.

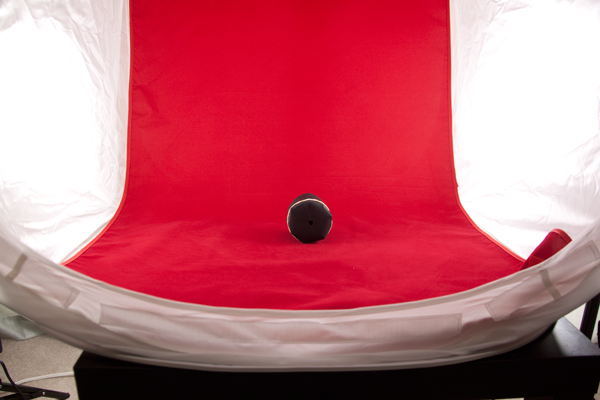
    The backdrop is attached at the top inside the tent and should fall freely down into a gentle curve at the back and then across the bottom of the tent. You want to be sure that you backdrop is clean and free of debris and wrinkles. If using a fabric backdrop, be sure to iron it for a completely smooth look. (If you roll your backdrops up on a cardboard tube after shooting, you should be able to keep them wrinkle-free for next time.) Consider keeping a lint roller or small blower handy for dealing with the inevitable dust and debris.

    light tent, photography, how to, product photography

    Now you are ready to start photographing! Place your subject carefully inside the tent, and start with it in the exact center. Moving your subject forward or backwards relative to the light can change the lighting and shadows. Experiment to get the look you want. You can also experiment with pointing the lights slightly at an angle, rather than straight on at the tent. Be sure to leave space between your subject and the walls, so that you can zoom in or position your camera to see only the backdrop and not any edges.

    Consider the ambient lighting and adjust as needed. I have found very little difference between shooting midday in diffused indoor light and shooting at night with only the lights themselves for light. You do want to avoid direct sunlight shining in or at your tent, as it will be difficult to balance such a powerful light source.

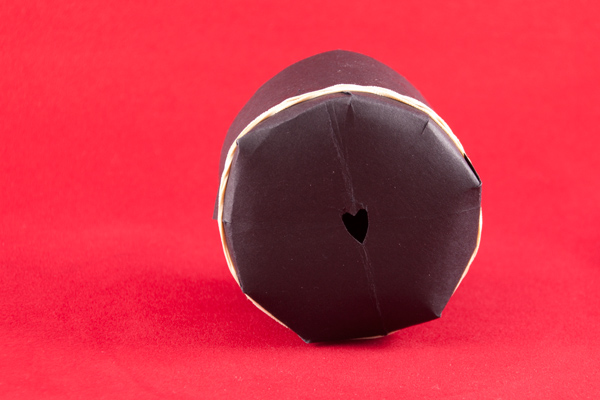
    light tent photography, how to, bokeh heart

    Camera Set-up

    Set your camera securely on the tripod and use either the 2-second timer or a remote shutter release to ensure that you tripod remains steady. (If you are using a lens with image stabilization, vibration reduction, or vibration control, turn the switch to off.) The tripod will allow you to use longer shutter speeds with crisp results.

    Begin by shooting in aperture priority mode with an ISO of 100 (or the lowest value for your camera). Choose your aperture based on the look that you want to achieve in the image (a wide aperture like f/1.8 for a narrow depth of field and a lot of blur or a narrow aperture like f/22 for a wide depth of field and crisp focus across the entire subject). Food photographs often utilize wide apertures and selective blur to make food look more appealing, while product shots of crafts and handmade goods look best with a narrow aperture to keep the entire item into focus. IF you want to avoid blur in the foreground (the bit directly in front of your object) – set your focus using the part of your subject that is closest to the camera.

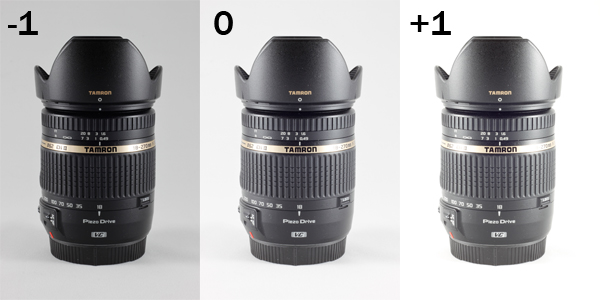
    Consider also using exposure compensation to shoot a series of three shots, bracketed at -1, 0, and +1 exposure, so you can see which gives you the best results. (For white backgrounds, you may get better results around +1; while for black backgrounds, you will get better results around -1. If a full stop is too dark or too light, try a half or a third of a stop.)

    light tent photography, exposure compensation, camera lens, Tamron, Tamron 18-270mm, light tent, product photography

    Post-Processing Considerations

    It can be difficult to get the background of your shots perfectly white or perfectly black while also keeping your subject properly exposed. In those situations, you may want to do some additional post-processing to ensure that your whites stay white and your blacks stay black. The following description relies on tools available in Adobe Photoshop, but you should be able to do many of these same procedures using other software products.

    If you are shooting in RAW, adjust the white balance of your image first so that your whites look white and not yellow. Most light bulbs will list the color temperature of the light they produce, which you can use as a guide for setting the white balance. You can also set the white balance manually by shooting a white card and calibrating from that image (or if you know your background is pure white or black use the color picker in the RAW processor to neutalize any tint).

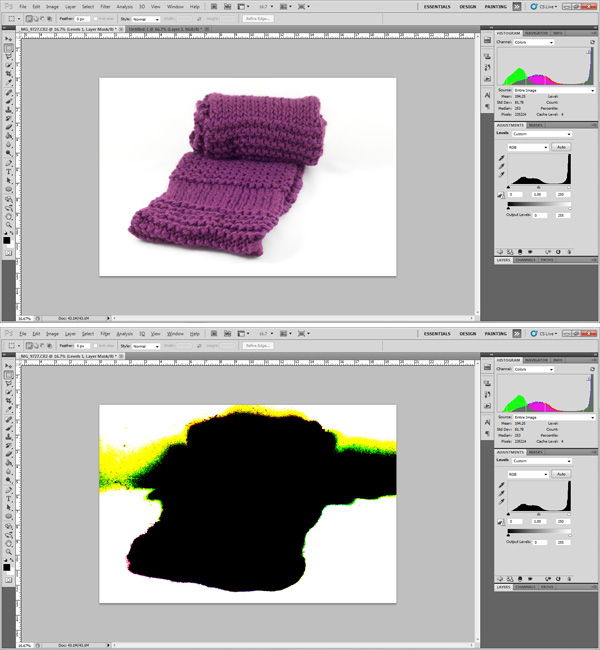
    Use your histogram as a guide when processing. While standard photography advice recommends against having your histogram touch the edges of the scale (clipping), this is what you want to achieve in product shots. Clipping your background (whether on the left for black, or on the right for white) will create an entirely homogenous look to your background and focus all attention on your subject.

    scarf, photography, Photoshop, post-processing, highlight clipping,

    In Photoshop you can use the Levels tool to adjust either end of the histogram. Holding down the Alt (Option for Mac) key while adjusting the sliders allows you to see which areas of the photograph are being clipped, as shown in the image above. Move the slider in towards the center until the background is uniformly clipped but the subject is not. If your subject is too affected by this action, then you may need to scale back your adjustment.

    If you are having trouble achieving a uniformly white background on your product shots, consider adding a thin border to your final image. While a not-quite-white background, on a shot displayed against a pure white background on a web page runs the risk of looking dingy. However, a slightly grey background with a black border can make the background shade appear intentional.

    photography, bourbon, product photography, light tent, how to

    Cheers! Do you use a light tent in your photography? Have a helpful tip for shooting with one? Share your thoughts and photographs in the comments below.

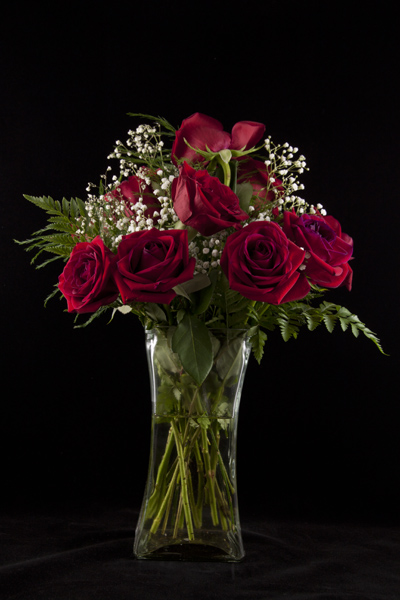
    McEnaney-roses-closeup

    Here’s a final image from the vase of flowers in the first image at the top of the article.

    For more on product photography check these out:

    • DIY Seamless White Background for Product Shots
    • Tabletop Photography Walkthrough or How to Create an Eye-Catching Product Shot
    • How To Photograph Your Product to Enhance Your Online Sales in 4 Easy Steps
    • How to Create Simple Seamless Background Product Shots

    The post How to Use a Light Tent for Small Product Photography by Katie McEnaney appeared first on Digital Photography School.


    Digital Photography School

  • Weekly Photography Challenge – Up in the Air

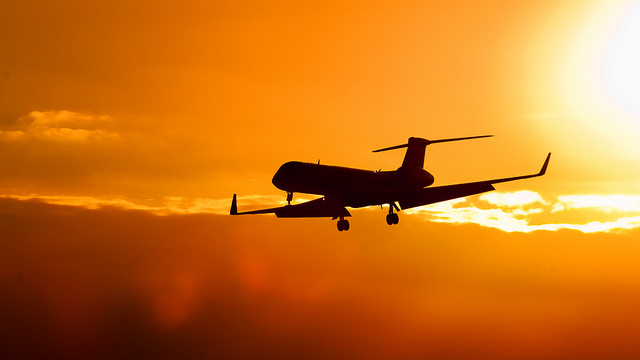
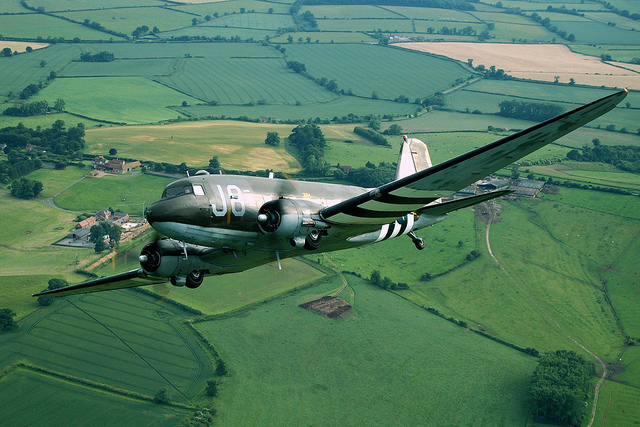
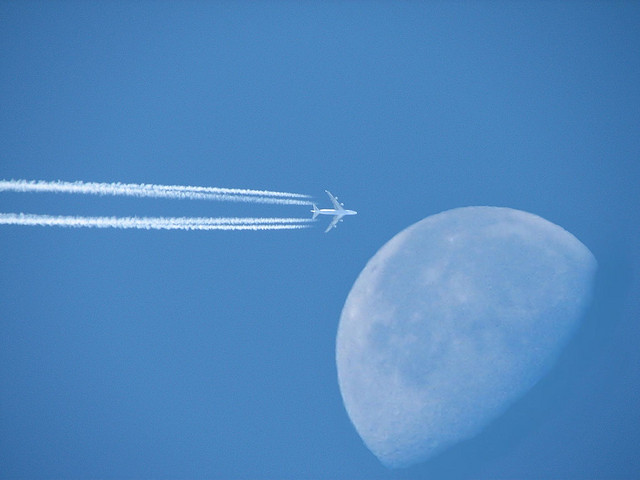
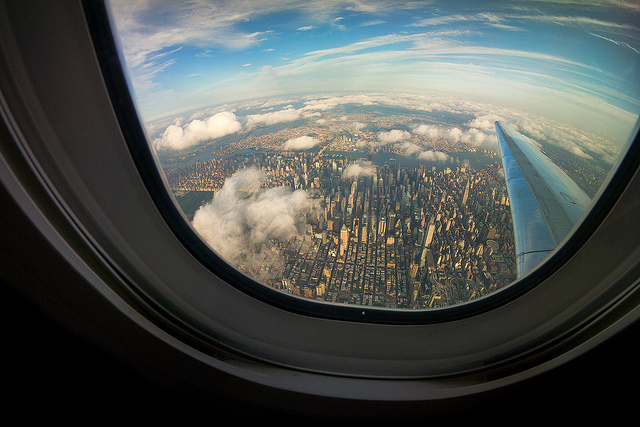
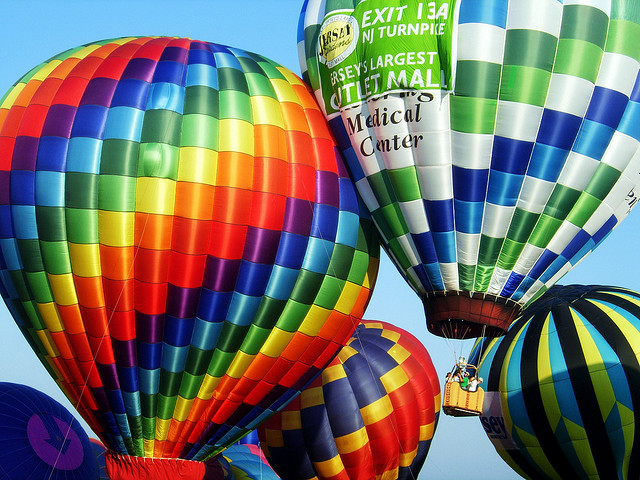
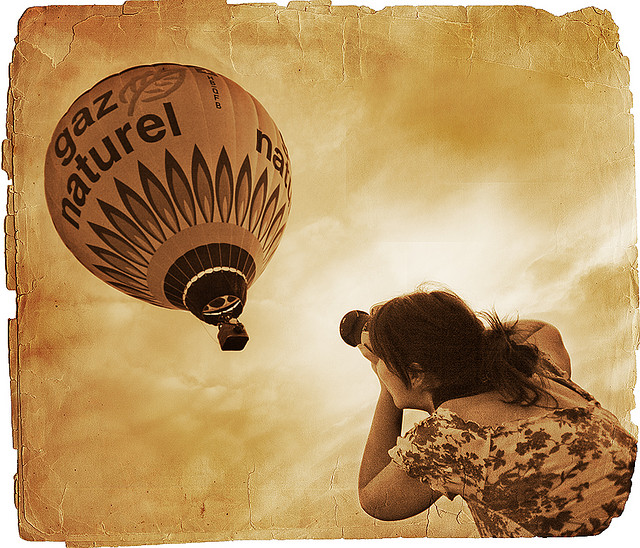
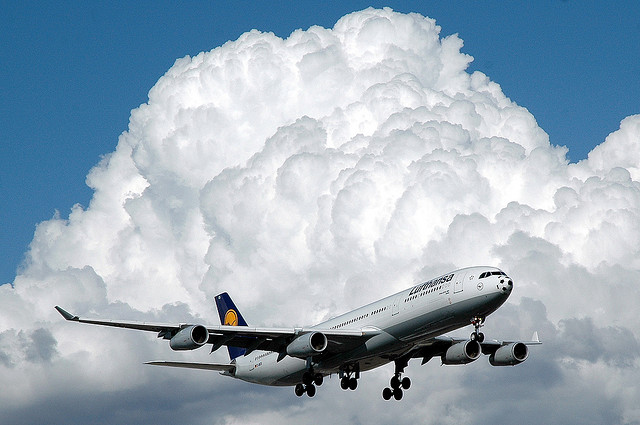
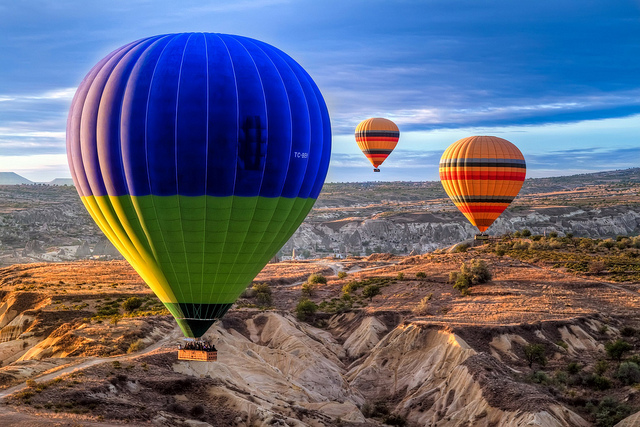
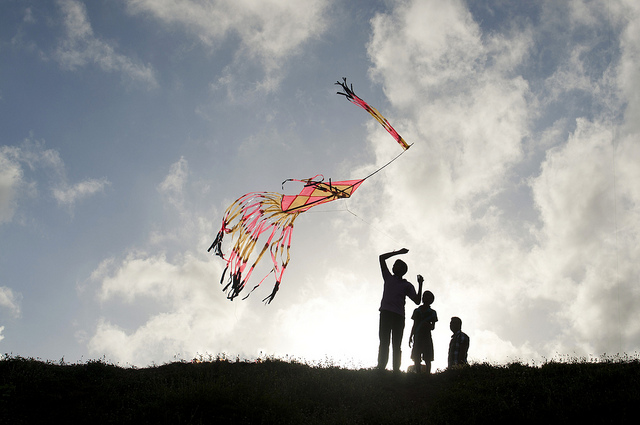
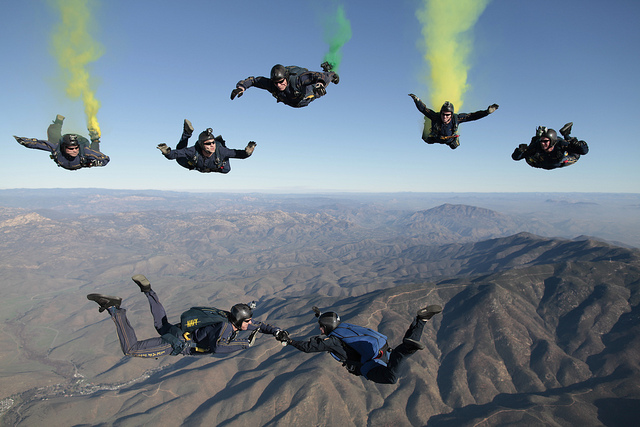
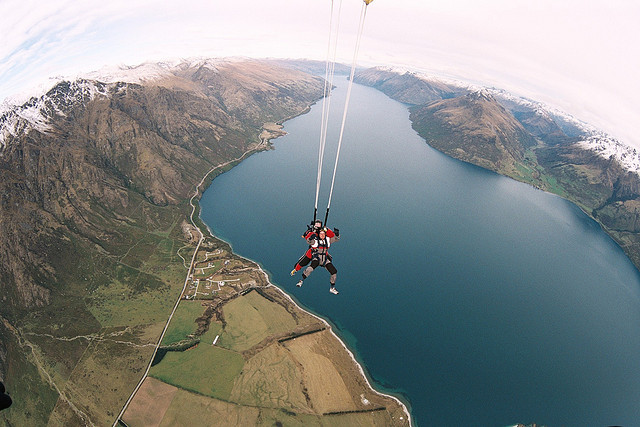
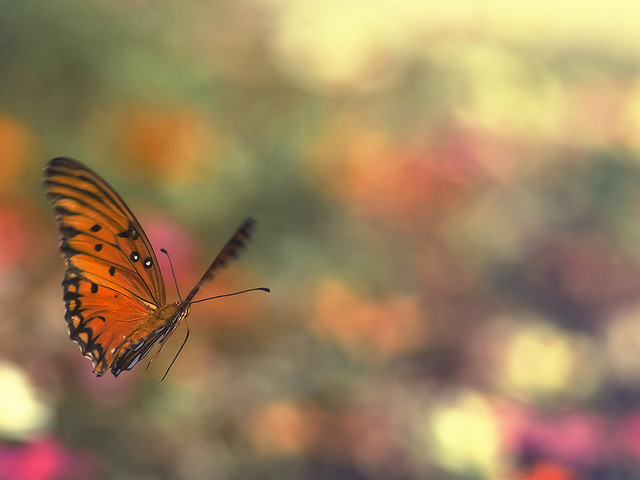
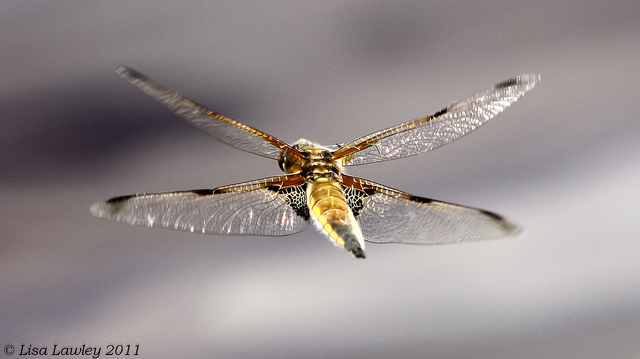
    Earlier I shared some images of Identified Flying Objects. People or things that have become airborne is our theme this week for the weekly photography challenge as well.

    Weekly Photography Challenge – Up in the Air

    Surely you can find something in your area that gets some height, that you can go photograph. Be it:

    • airplanes (real jumbo jets, remote control, or paper ones)
    • balloons (hot air or helium)
    • people (skydivers, skateboarders, parasailers, etc.)
    • dogs, cats, or horses jumping
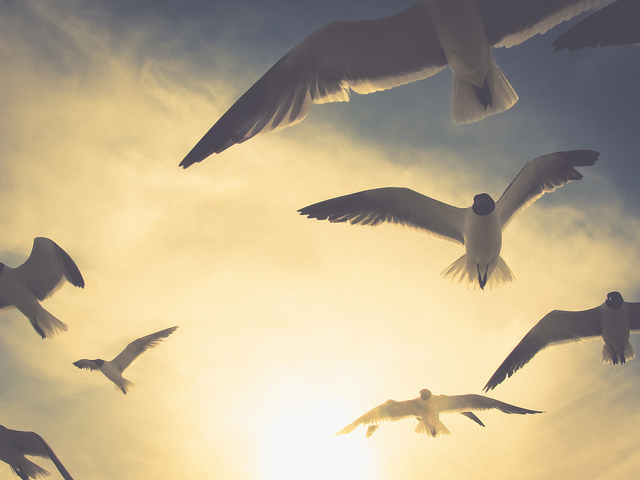
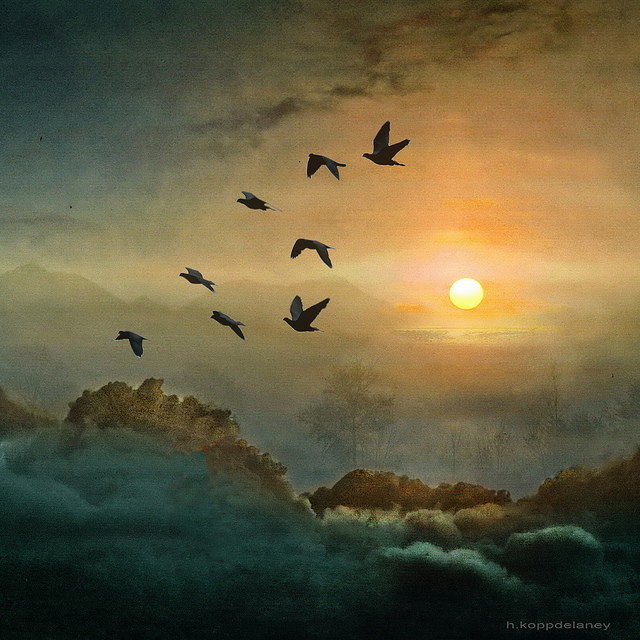
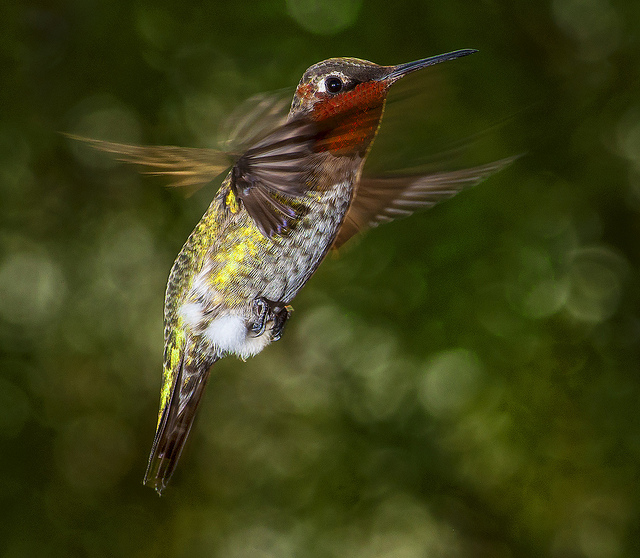
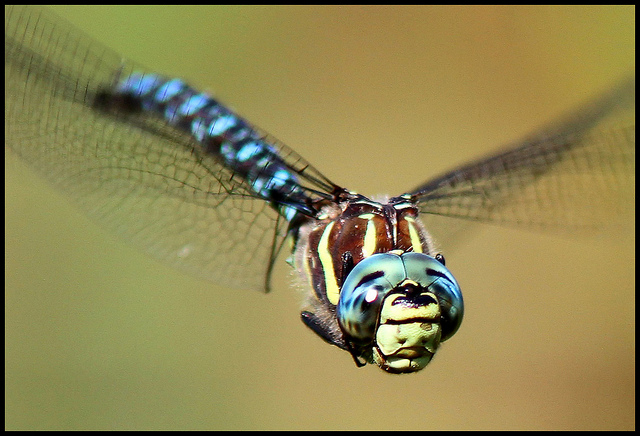
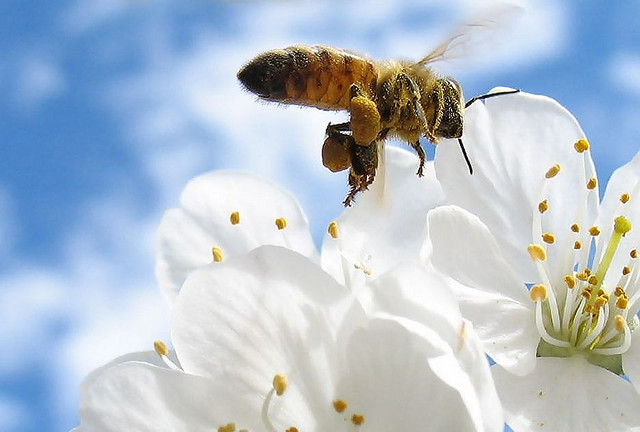
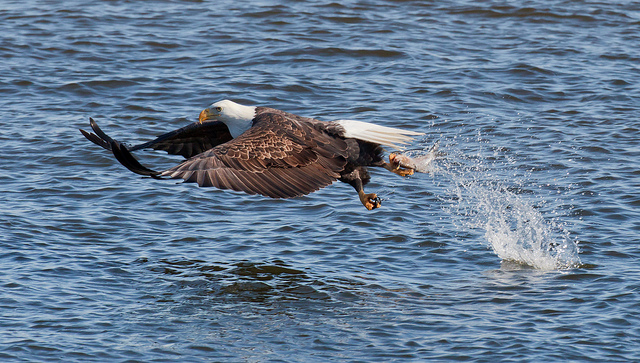
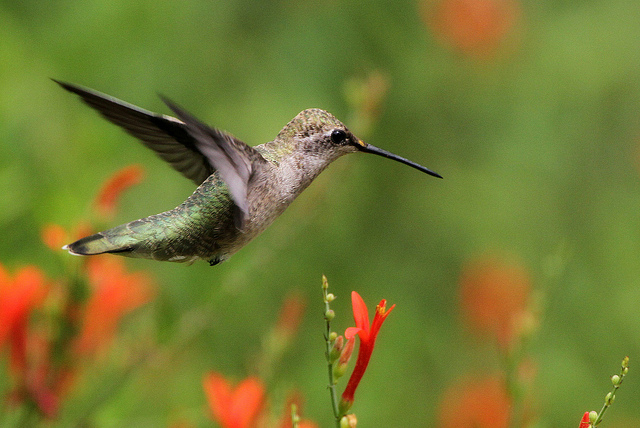
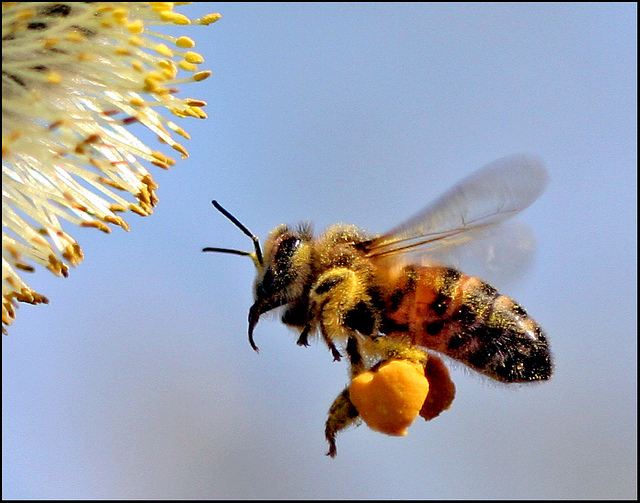
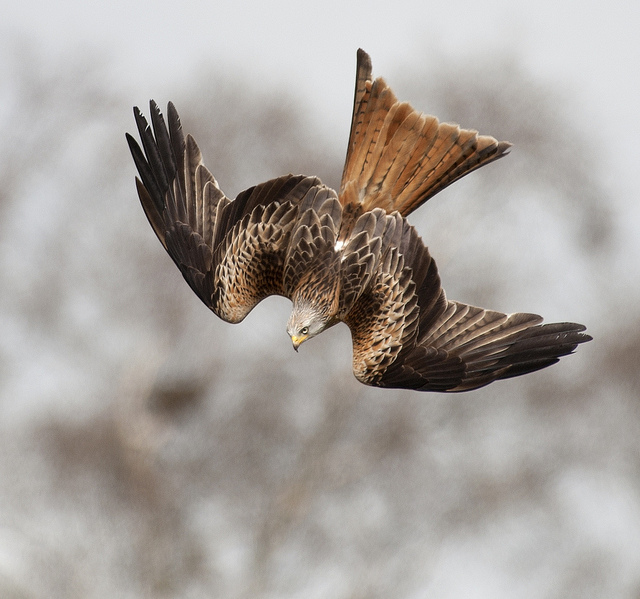
    • birds, bats or insects flying

    Get out and photograph something in the air. How you go about it is up to you. Photograph from the ground looking up? Get up there with them (be safe). Or climb a mountain or get on a rooftop and look down. Get creative with it.

    Here are a few ideas:

    By Difusa

    By carterse

    By JD Hancock

    By Ford in Europe

    By Zach Stern

    For some articles that might help with this challenge, see these:

    • An Introduction to Bird photography
    • 10 Bird Photography Tips for Beginners
    • 8 Tips For Photographing Birds
    • Mastering Panning – Photographing Moving Subjects

    Share your Up in the Air images!

    Simply upload your shot into the comment field (look for the little camera icon in the Disqus comments section as pictured below) and they’ll get embedded for us all to see or if you’d prefer upload them to your favourite photo sharing site and leave the link to them.

    The post Weekly Photography Challenge – Up in the Air by Darlene Hildebrandt appeared first on Digital Photography School.


    Digital Photography School

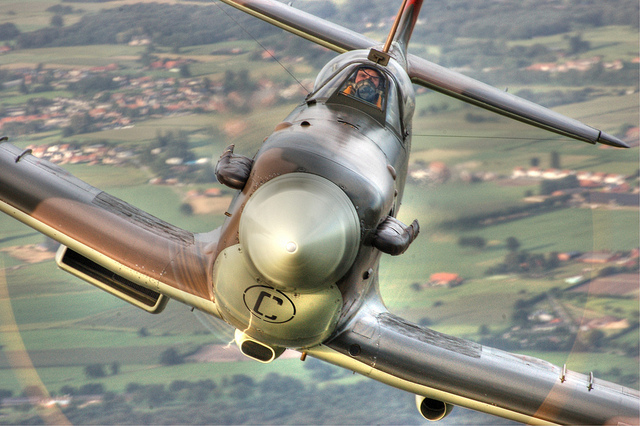
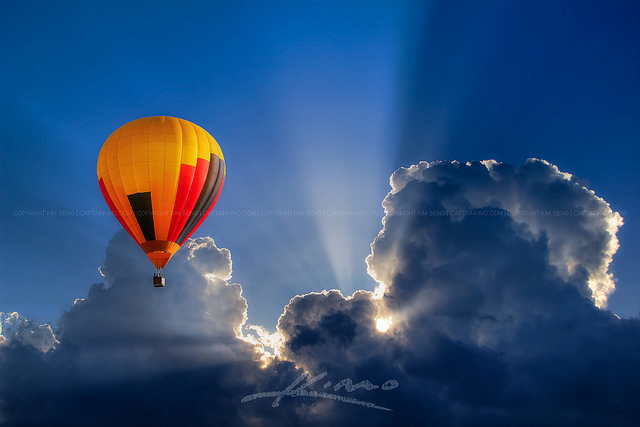
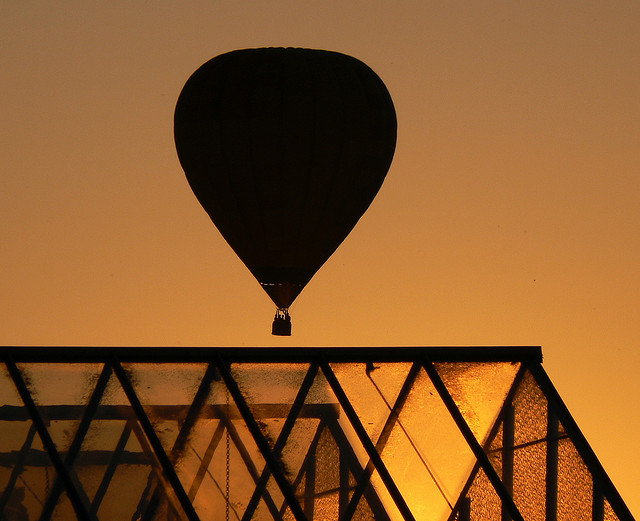
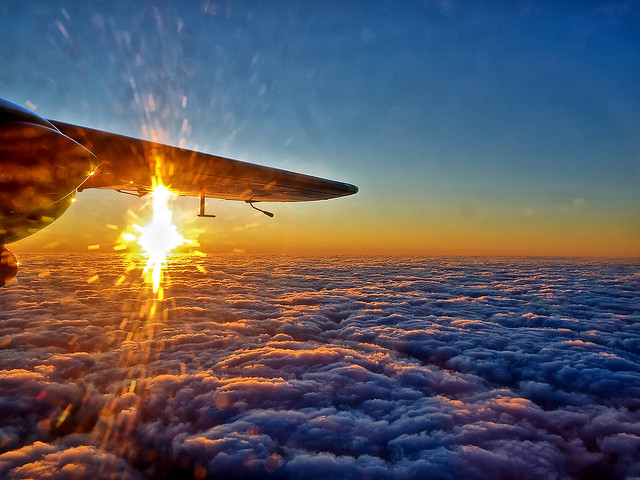
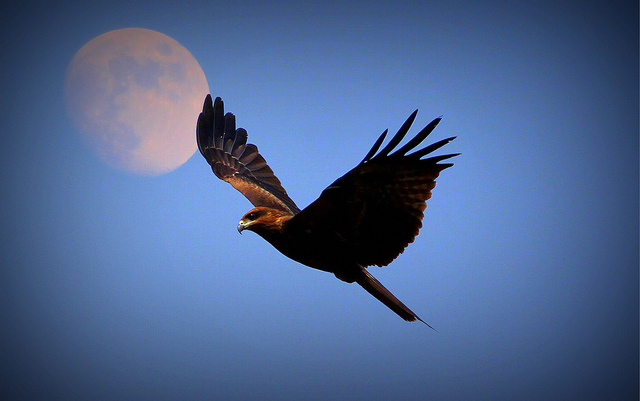
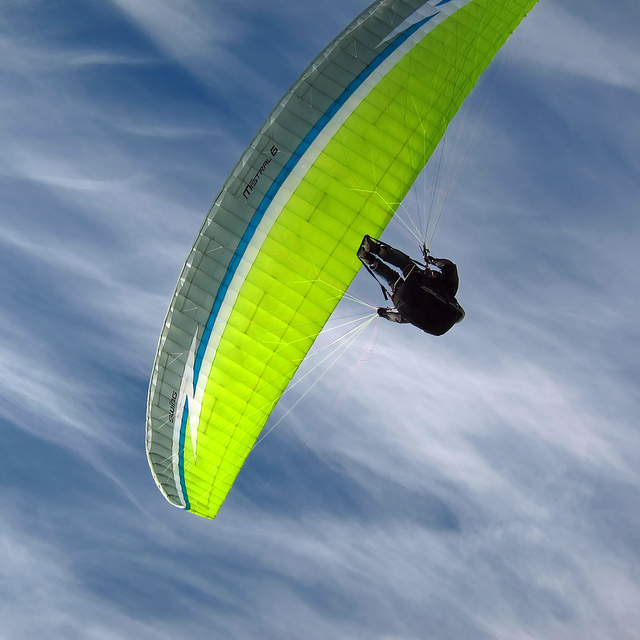
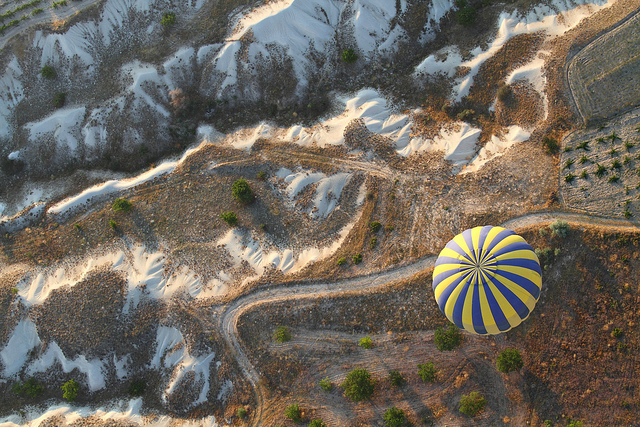
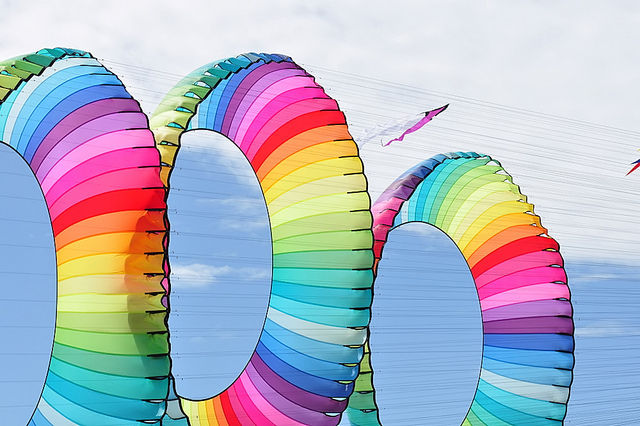
  • In Flight – 36 Images of Identified Flying Objects

    Last week was cars, the previous week – boats. So this week I’ve found 36 fabulous images of all sorts of objects in flight: airplanes, kits, birds, people?

    Look up – look way up. It’s a bird. It’s a plane. It’s a kite, or person?

    By Kuster & Wildhaber Photography

    By Geoff Collins

    By Andreas.

    By Linh Nguyen

    By Geoff Collins

    By Kim Seng

    By Eddy Van 3000

    By Neil Howard

    By Peter Roome

    By ecatoncheires

    By Doug

    By Cornelia Kopp

    By Clark & Kim Kays

    By Ali Arsh

    By Nick Kenrick

    By Datmater

    By Niels Linneberg

    By Brett Davies

    By Lotus Carroll

    By Hartwig HKD

    By Andreas Levers

    By Bill Gracey

    By blinking idiot

    By Brian Wilson

    By Tal777

    By Dave Scriven

    By Official U.S. Navy Page

    By Michael Napoleon

    By nigel

    By mommamia

    By Chris Smith

    By TexasEagle

    By Phil

    By RayMorris1

    By Joel Olives

    By Lisa


    The post In Flight – 36 Images of Identified Flying Objects by Darlene Hildebrandt appeared first on Digital Photography School.


    Digital Photography School

  • 50(ish) Examples Of Breathtaking Fisheye Photography

    Fisheye photos are tricky to do well. Sure, the super wide angle and curved distortion makes a lot of these pictures look cool. You don’t even need to know much about photography to impress your friends and get a boatload of “likes” on Facebook. But if you want to capture a unique perspective, you’ll need to do your homework. Then, you’ll have Continue Reading

    The post 50(ish) Examples Of Breathtaking Fisheye Photography appeared first on Photodoto.


    Photodoto

  • Different Tripods for Different Subjects – Which to Choose?

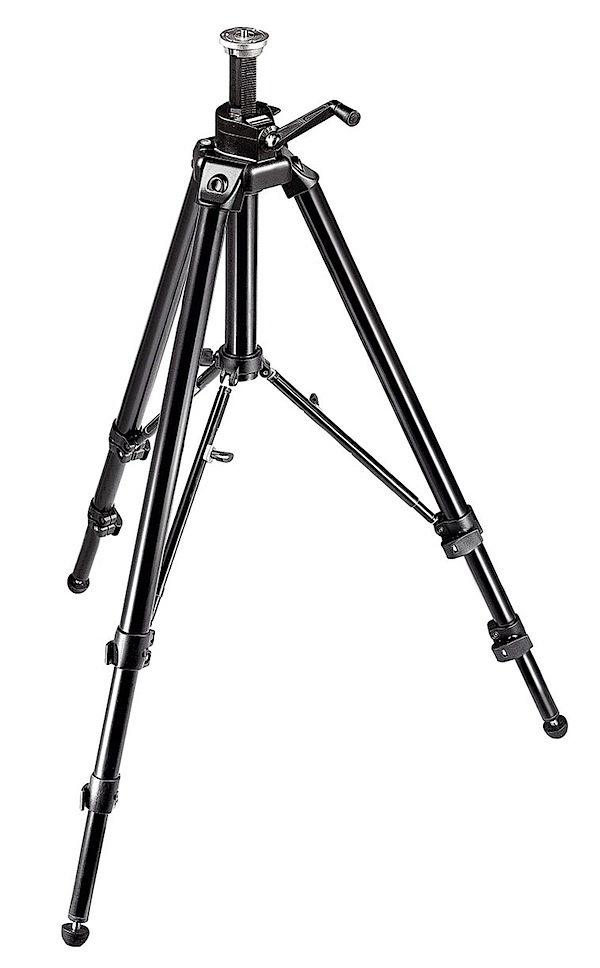
    manfrotto-tripod.jpg

    Tripods are always a fun topic of conversation but you might not think so because of their simplicity. In more circumstances than others, the tripod that you use really doesn’t make a big difference. The reason is because your tripod is designed to hold your camera and that’s it. But at the same time, different tripods include certain features that are beneficial for special situations.

    In this article I will identify six different situations in which different tripod features come in extremely handy and can improve your photographs. These situations will go beyond the basic tripod usage of mounting the camera, adjusting height and angle. Let’s dive in, shall we?

    Tripods for long exposure photography

    When it comes to photographing long exposures a sturdy tripod is key. However, the most common tripods purchased these days are made of carbon fiber. The reason is due to the strength and light-weight properties of the material. Those two factors make carbon fiber desirable for any type of photography. However, with long exposures you need the tripod to stay still, and having a light tripod is not always the best.
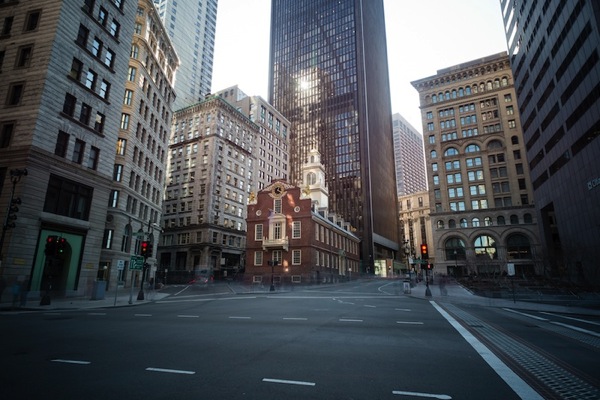
    Tripod long exposure photography

    Having a tripod that includes a hook under the head or at the bottom of the center column, allows you to hang a weight or bag, helping to steady the tripod even more. Higher quality tripods also include vibration dampening technology which can help reduce shake. Lastly, a tripod that has the ability to attach spikes to the bottom of the feet can be very useful when photographing in dirt, sand or in the ocean.
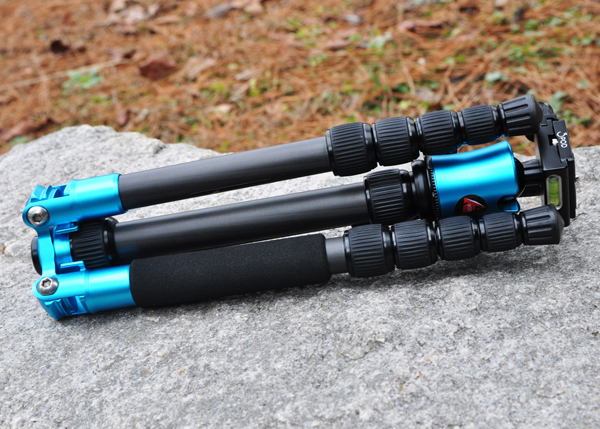
    The P5CRH folds up to approximately 12 inches.

    The P5CRH – folding tripod

    Tripods for panoramic photography

    The weight of your tripod does not matter so much with panoramic photography, unless of course you are photographing long exposure panos. There are two tripod components that can really help improve panoramic photographs. The first feature is a leveling plate or base. With it, you can have your tripod in any angle and level the camera separately from the rest of the tripod. That will ensure the smoothest transition between frames. The other feature is a nodal slide, which will help bring the lens closer to the pivoting point of the tripod instead of the camera body. Having the lens nodal point in the correct spot will ensure minimal distortion between frames.

    For advanced panoramic photographers, a gimbal head might be the ideal choice for a mounting system.
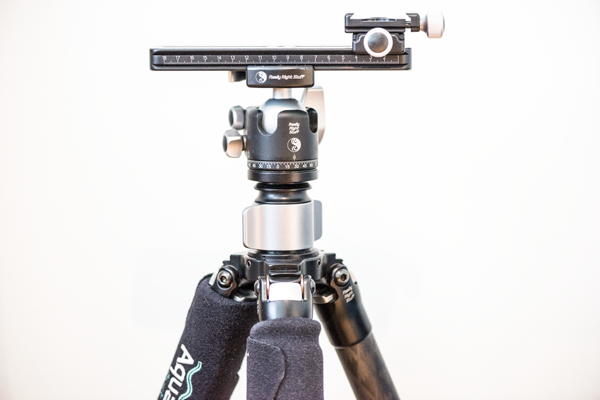
    Tripod panorama

    Tripods for headshot photography

    Headshot photography is very different than other portrait photography. That might sound strange, but it’s true. With your typical portrait photographs you are likely moving around too much to use a tripod. However, with headshot photography the client is typically standing or sitting in one spot and moving only slightly. You, the photographer, are not moving so much.

    At the same time, you are moving enough that you need fluid movements with your tripod, and the ability to let go without the camera changing positions on you. So when it comes to photography headshots be sure to use a ball head on your tripod rather than any other. It will make the process so much better for you. I highly recommend viewing one of Peter Hurley’s headshot videos and how he uses his tripod with a Hasselblad, which is a fairly heavy camera.

    Tripods for product photography

    Product photography is studio photography where the subject doesn’t move. When you are in the studio photographing product stills your camera is typically in one spot the entire time, with only minor adjustments. Quite often you will be tethered to a laptop, and there are plenty of tripod accessories to attach a camera and laptop at the same time. But oddly enough many product photographers utilize camera stands rather than tripods. They’re the same principal as a tripod except their extremely heavy, and have fine tuning adjustments for height, angle and length of reach. They are also on wheels for portability around the studio. Due to the heavy-duty structure of camera stands, attaching a laptop is very easy and safe.
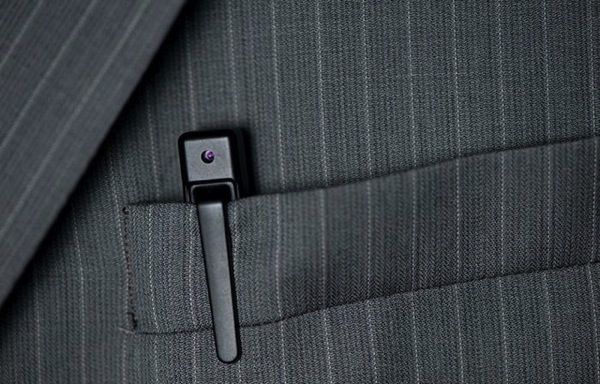
    Tripod product photography

    Camera stands are expensive though, typically over $ 1,000, so they are not for everyone. If you’re not willing to dish out that much money in one shot, then my recommendation is a heavier steel tripod. Because you’re not moving them great distances, they are perfect for staying in one place. The weight of these heavy-duty tripods means they can hold heavier cameras, and if you want to attach a laptop mount as well you can feel comfortable it will hold both products safely. Also, for product photography a ball head is not the best choice. Instead, a positioning head like the Induro PHQ-3 would be ideal.

    Tripods for wildlife photography

    Paul Burwell talked about tripods for wildlife photography previously, so definitely give it a read. Typically a sturdy carbon fiber tripod will do perfectly fine for this type of photography. Gimbal heads can be a wildlife photographer’s best friend in addition to LensCoats (yes, the camo covers). If you cannot afford a Gimbal head, stick with a ball head so you can stay sturdy and adjust your view in smooth motions.

    For some wildlife photographers, safari clamps (like the ones from Really Right Stuff) can be extremely useful, especially if you are taking a tour through Africa and have to shoot from a truck.

    Tripods for photowalks and travel photography

    I combined these two into one, because they’re extremely similar. Even if you are not traveling far for a photowalk, the principal is the same. Basically with any type of travel or photowalk you want to carry a tripod that is light and convenient. I personally have a Really Right Stuff tripod that’s made of carbon fiber. It’s extremely tall, but also light. In fact, it is as light as my compact 3 Legged Thing tripod.

    So although the 3LT tripod is perfect for fitting into small places, like a camera bag, the Really Right Stuff doesn’t add weight, is much sturdier and extends much higher.
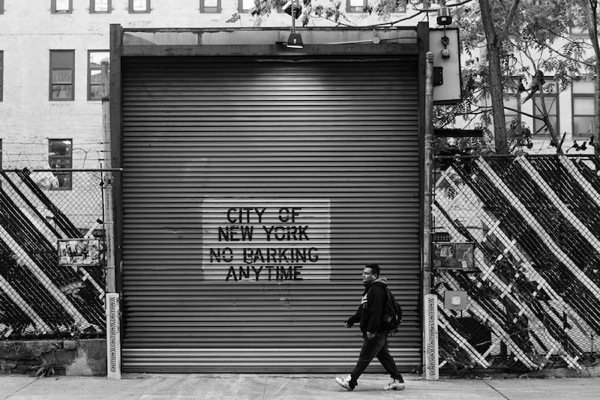
    Tripod street photography

    In Conclusion

    In this article I shared six reasons why the tripod you use matters, and the differences between them. Although there are specific things to look for in a tripod depending on what you are photographing, it also doesn’t matter.

    As long as you know your gear, understand how to use it to the best of its ability and your ability, then you’re fine. Use what you are comfortable with because having a tripod for many situations is better than not having a tripod.

    Before wrapping up this article I want to share some other useful articles here on dPS. Be sure to read How to Buy a Tripod, How to use Your Tripod and Steady On.

    If you have any additional comments to add please do so on the comments.

    The post Different Tripods for Different Subjects – Which to Choose? by Scott Wyden Kivowitz appeared first on Digital Photography School.


    Digital Photography School

  • Understand Exposure in Under 10 Minutes

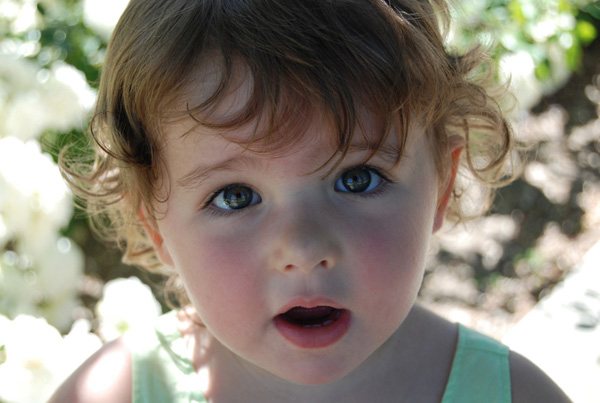
    DPS-Annie-Tao-Exposure-article-perfect-exposure-exampleThere are countless Photography books and classes that explain exposure, yet after reading or attending them, your photos may not have improved because…well, let’s be honest… some of us Right-Brainers aren’t super technical!

    I recently taught a small photography class to newbies. I thought hard about how I could explain exposure in the simplest way possible. I found that a parallel example of something relatable was the best way to convey the different aspects that impact exposure.

    I tested this theory by explaining exposure to my 8-year old daughter and then quizzed her. She proved the theory was a success by grasping the concepts within 10 minutes. So I’d like to share my lesson with you so you can understand exposure in under 10 minutes!

    A 10-minute lesson that will change your Photography

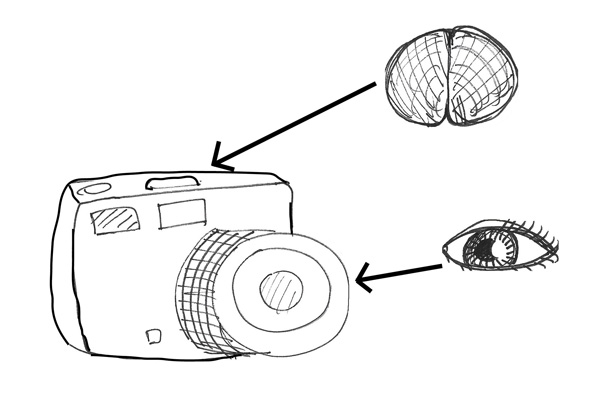
    Your DSLR camera is like your head with the LENS being your vision and the camera BODY is your brain. Your vision sees things and your brain records the details.

    DPS-Annie-Tao-Exposure-article-camera-metaphor

    Just like when you look at something – let’s say, a flower – your eyes see it and send information to your brain that the flower has long petals and that it is yellow. If you looked at it too quickly or it was too dark, for example, the information your brain records is compromised.

    The “exposure triangle” is about how 3 things — aperture, shutter speed and ISO — work together to provide enough light for your brain (the camera) to record what you see. You need the right combination of these 3 components to have perfect exposure.
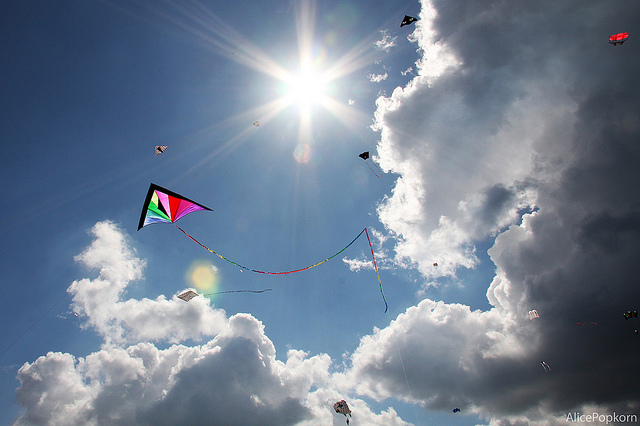
    DPS-Annie-Tao-Exposure-article-perfect-exposure-example

    Good exposure

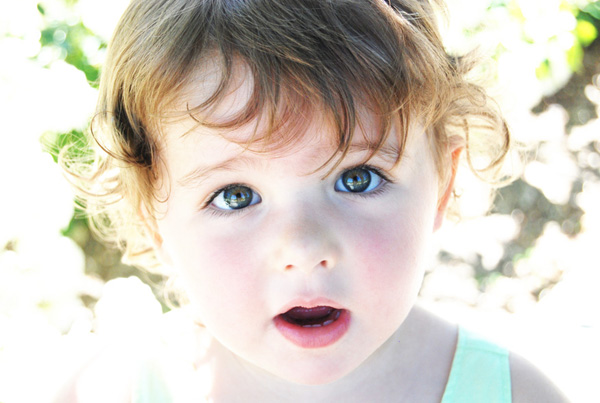
    For example, if you don’t let in enough light, you won’t see things very well because it’ll be too dark (underexposure).

    DPS-Annie-Tao-Exposure-article-underexposure-example

    Too dark, or underexposed

    If you let in too much light, then it’ll be too bright and you can’t see a lot of the details (overexposure).

    DPS-Annie-Tao-Exposure-article-overexposure-example

    Too bright, or underexposed

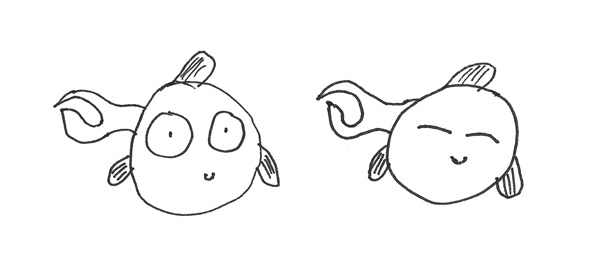
    APERTURE = how WIDE you open your eyes

    A small aperture (a large f-stop or f-number, like f/22) is like squinting. A large aperture (a small f-stop or f-number, like f/1.4) is like having “bug eyes”.

    Quiz:  If you are shooting in low light, how wide do you open your eyes? Will you see well at night if you are squinting (small aperture)?

    Quiz:  What happens on a super bright day if your eyes are wide open and they’re open for a long time (slow shutter and large aperture)? Can you see well then?

    DPS-Annie-Tao-Exposure-article-fish-with-eyes-open-wide-and-squinting

    Aperture is how big you open your eyes – bug eyes, or squinting

    SHUTTER SPEED = how LONG you open your eyes

    A fast shutter, like 1/1000th of a second, is blinking super fast. A slow shutter speed, like 2 seconds, is keeping your eyes open and then blinking. The thing to remember is:  your brain is recording everything when your eyes are open. So if you or something you’re looking at is moving, and your eyes are open a long time (slow shutter), then your brain will record a blurry image.

    Quiz:  If you want a crisp shot of someone jumping, how long do you need your eyes open? What will freeze the shot:  a quick blink (fast shutter) or a slow one (slow shutter)?

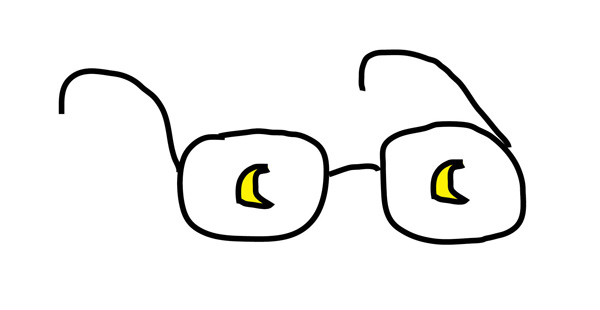
    DPS-Annie-Tao-Exposure-article-moonglasses

    ISO special glasses

    ISO = special glasses that help you see in the dark

    ISO is like the opposite of sunglasses. Let’s call them MOONglasses!  ;)

    The higher the ISO, the thicker your moonglasses, so the more you are able to see in low light. You need thick moonglasses (high ISO) when shooting indoors or at dusk. You need very thin moonglasses (low ISO) when it’s a sunny day.

    Quiz:  do I need thick, thin or medium moonglasses if I’m shooting at the beach on my lunch break?

    All 3 of these things work together

    Here is an example:  You are photographing your sleeping cat who is snuggled on the couch. There is not much light coming through the windows or additional ambient light. To see well, you have medium-to-thick moonglasses on (such as ISO 600). You need to have your eyes open pretty wide (large aperture, such as f/1.4). However, you don’t have great vision (you have a kit lens that only goes up to f/4.5), so you need more light to see. Thus, you leave your eyes open longer (slow shutter speed, such as 1/30th sec).

    Final Quiz:

    1. In the same scenario, your cat notices you are snapping photos, so she starts walking away and leaps off the couch. You still want to photograph her. Which would you change:  how open your eyes are (aperture), how long you leave your eyes open (shutter speed), or thickness of your moonglasses (ISO)?
    2. If you increase your shutter speed because you want to freeze the image, what else would you need to change? (If you changed nothing else, the image would be too dark because you let in less light.)

    Once you get the basic concept of exposure and how the three components of the exposure triangle (aperture, shutter speed and ISO) work together, turn your DSLR camera to “manual” and practice the specific settings based on different circumstances.

    Want more on exposure?  Try these:

    • Your First DSLR – now what?!
    • Getting off Auto – Manual, Aperture and Shutter Priority modes explained
    • Introducing the Creative Triangle
    • Using Manual Mode: Exposure Lesson #4
    • Photo Nuts and Bolts – a dPS ebook

    The post Understand Exposure in Under 10 Minutes by Annie Tao appeared first on Digital Photography School.


    Digital Photography School