Category: Photography

  • Getting Creative With Topaz Impression

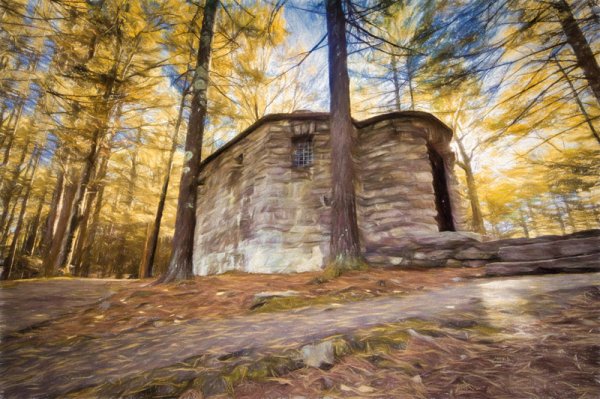
    Topaz Labs recently released a new standalone image processor called Topaz Impression and I wanted to show you how it works and the kinds of things you can create with it.

    However, I should make it very clear up front, that this is not a standard keep it real kind of image processor, so if you cringe at the thought of image manipulation you may want to turn away now.
    getting-creative-with-topaz-impression

    What is Topaz Impression?

    On the surface Topaz Impression is a digital image processor which allows you to take any photograph and convert it into something that resembles painted or drawn art. If this sounds familiar you might be thinking of their other product, which is a plugin called Topaz Simplify (which I covered in a past article here on DPS Create Art with your Photos Using Topaz Simplify), and it does provide some similar functionality, but works in a different manner.

    The basic difference is that Simplify works by removing or softening the details and edges within a photograph that you present to it, while Impression works by creating different brush strokes based on the customizations that you choose.
    basicUI

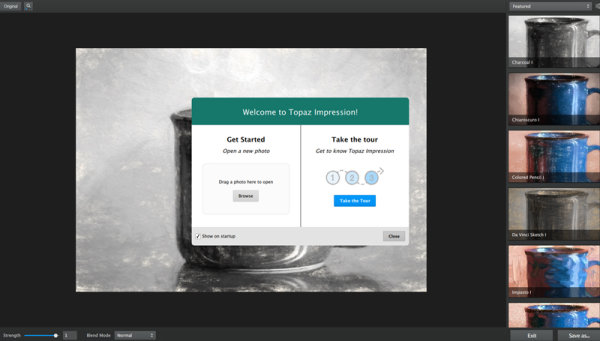
    The other great benefit of Topaz Impression is the user interface, which is fairly intuitive and easy to navigate, while still being fairly powerful in terms of the customization options you have available to you – in comparison Simplify’s interface can be kind of cumbersome to use.

    Finding Your Way Around Topaz Impression

    As I mentioned, one of the great things about Impression is that it’s fairly simple to use. Impression’s user experience is built on the idea of starting with a preset and then customizing that further to suit the needs and vision of the artist. A basic workflow would look something like this:

    Pop in an image
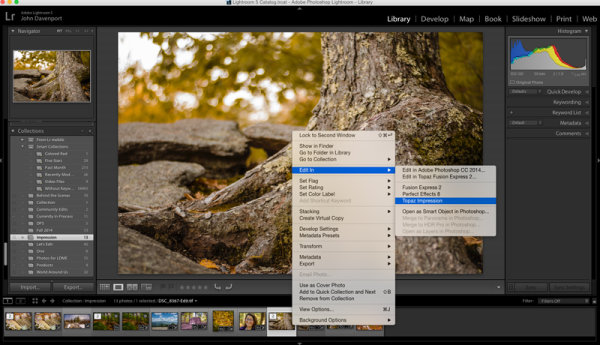
    import-image

    You can do this either by choosing “Edit In Topaz Impression” from your Lightroom library or, as seen further above, you can simply uploading a photograph directly into Impression from your computer’s hard drive.

    Select a preset you like
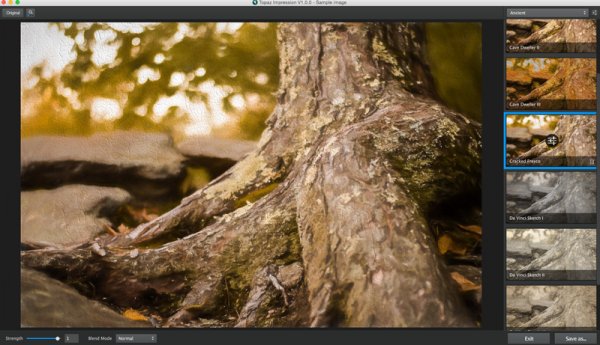
    select-preset

    There are a handful of presets to choose from in a variety of categories: Ancient, Impressionistic, Modern, Painting, Pencil, Charcoal & Pastel, and of course you can create your own as you work with the platform and find that you prefer certain tweaks over other ones.

    Modify to your liking
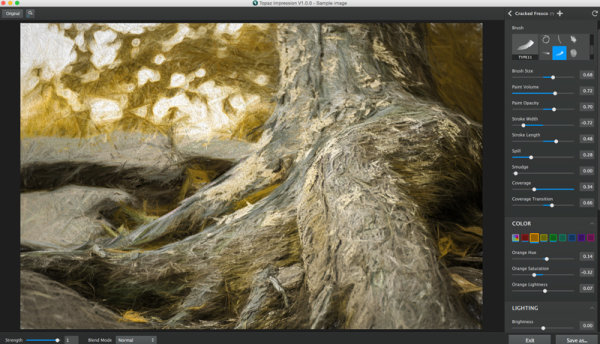
    customize

    Like any good digital photo editor you have the ability to modify the chosen preset to suite the image you’ve uploaded. This is where Impression really can come to life. As you can see in the screen capture above, the preset has been changed in a number of ways to create an image that is drastically different than the preset I’d selected.

    More on Customization Inside Topaz Impression

    The customizer in Topaz Impression is where the magic happens. Inside the customizer you have a number of controls available to you, from 14 different types of brush strokes to multiple preloaded textures.

    You have the ability to control things like the size of the brush, the amount and opacity of the ‘paint’ that’s making up your image, the width and length of your stroke, and spill, smudge and coverage give you even more creative control over the look of the image.
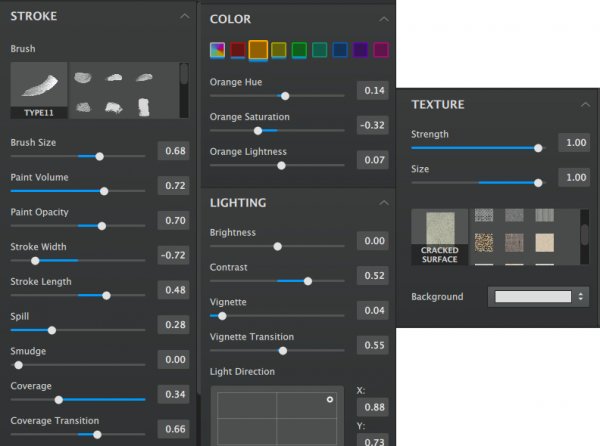
    customization-tools

    However, you don’t just control the way the brush strokes are presented, but Impression also lets you control how the various colors of your image are displayed. From a basic global setting, to selectively adjusting the various tones that make up your image you have the ability to get fairly specific with your modifications here.

    One other interesting aspect of Impression is that it gives you the ability to control the direction of your lighting. Of course this can’t control what’s happening inside your photograph, but rather, it controls the way the lighting effects the textures that you’ve applied to the painting allowing you to match this up with the lighting inside your photograph.

    A Few Feature Requests and Suggestions

    This is version 1.0.0 and I’m sure the people at Topaz have plans to build out Impression in the future, but there are a few things missing that I’d personally like to see included in future versions.

    1. Local Adjustments – At the moment there’s no way to go about modifying on a local level. This does keep the interface and customization options easy to learn and use, but limits what you can do in a way.
    2. Custom Brushes/Textures – At the moment you’re stuck using the ones that Topaz has provided with the platform. I’d like the ability to create and/or upload our own brush strokes.
    3. Undo/History – At the moment all that is available to you is a one button reset button which will take you back to square one. I’d like the option to be able to undo iterative changes, or better yet, a history option similar to Lightroom.

    Topaz Impression in Action

    Here’s a quick look at Topaz Impression in action. If you want to skip the Lightroom part just jump to the 5:30 mark in the video:

    Overall Thoughts

    As I said at the start of this article – Topaz Impression is a program for those willing to put their photography through a digital manipulation workout – but it is quite fun. I think it’s a great start and could become an interesting niche style for some photographers out there, however with it’s present iteration being a bit lacking in terms of local adjustment capabilities or the freedom to at least apply our own textures within the program, it leaves a little to be desired.
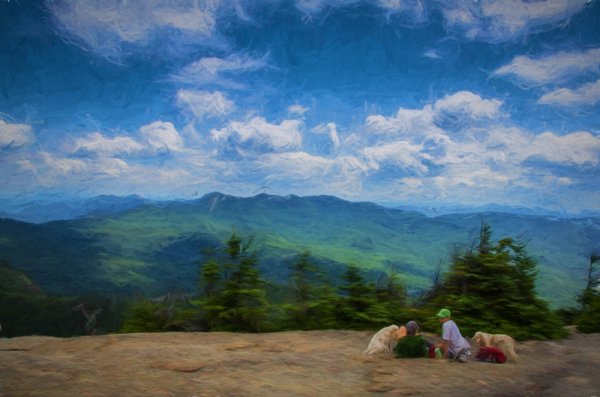
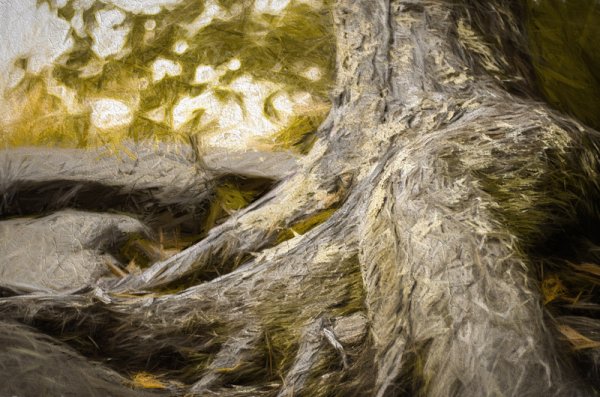
    getting-creative-with-topaz-impression-2

    after-topaz-impression

    Have you used Topaz Impression? What have you thought about it? Maybe share some of your before and after images below.

    And if you’re interested in trying it out for yourself Topaz does offer a 30 day trial so you can see how it works before you buy.

    The post Getting Creative With Topaz Impression by John Davenport appeared first on Digital Photography School.

    Digital Photography School

  • 5 Tips for Underwater Photography Without Spending a Fortune

    Underwater photography is so much fun that it will take you to the farthest reaches of the world, inspire you to buy thousands of dollars of dive gear, and thousands of dollars more worth of underwater photography gear. It can also make you want to throw your underwater camera rig against the side of the dive boat, then into the water, then dive down and get it just so you can throw it to the bottom again. Spending six hours of planning and preparation just to find out the water is murky or that the fish aren’t there, or that the manta rays aren’t at their feeding station is incredibly frustrating.

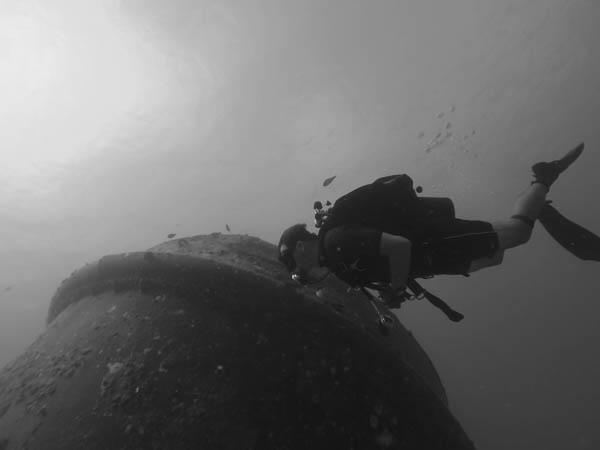
    Diver Swimming

    On the other hand, you can see such beautiful things, experience such euphoria when everything stays in place long enough to compose your shot properly, and discover the joy of finding out that it was all wonderfully in focus when you review your images on the computer. You can capture some of nature’s finest and most majestic moments in a way that most people will never see. You can open your audience’s eyes to the beauty of nature from a perspective that those who don’t SCUBA dive may never be able to experience.

    There are many hurdles to being an underwater photographer. The first is the diving skill. There is no substitute for being a proficient and safe diver. You must be able to maintain neutral buoyancy and safely complete all dives.

    The next challenge is the gear. As if photography wasn’t a gear intensive enough activity, to do it underwater you need special housings, dome ports, and even strobes.

    Bridge 2

    Don’t let these hurdles stop you. Underwater photography is worth every bit of pain and sacrifice when you become proficient.

    The problem most beginners face is that there’s really no good ambient light because the colors are filtered by the water. In my
    experience, around 10 feet, you’ve lost any good color of light and you get the characteristic baby blue, boring pictures. So, you’re left with a conundrum – buy expensive strobes or have your pictures stink … or are you?

    What if there was a better way to get underwater images without a strobe; one that didn’t require an expensive setup and the risky
    business of bringing your DSLR into the water? What if you could learn a few simple but powerful techniques to let your underwater
    images sing without a strobe?

    Here’s what I recommend, go big or go black and white. Go big means dive into the deep end (pun intended) and buy the housings and strobes (you’re not planning on using just one are you?). This is an expensive but professional option. The second option is to go black and white.

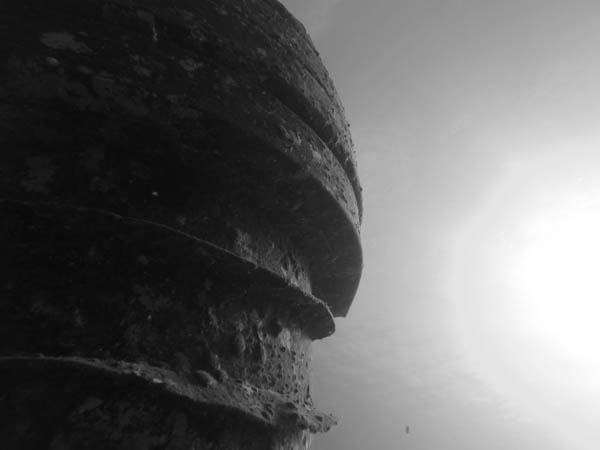
    Bow Looking Down

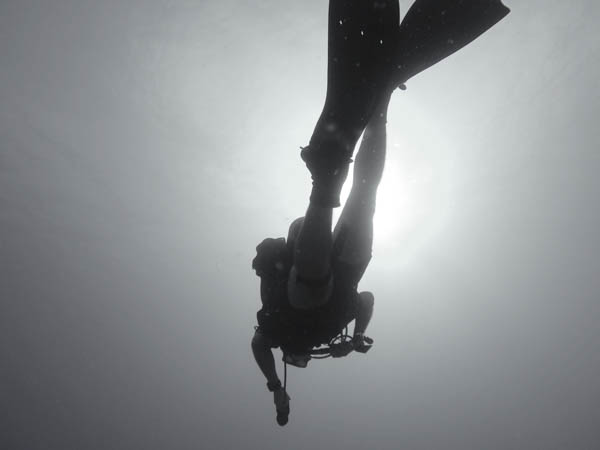
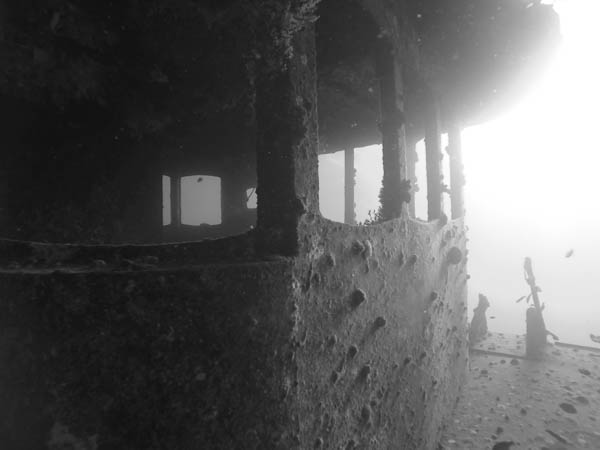
    If you compose and think about getting good black and white images your underwater results will be very compelling, easy to post-process, and simple to take. Some rules to live by include:

    1. Safety first (enough said)
    2. Don’t try for little fast moving, colorful fish – these won’t turn out without a strobe
    3. Look for compelling images of your dive buddies or large objects (like wrecks, turtles, and sharks – but no touching please)
    4. Get close
    5. Look for long lines (like a descent line) and compose them across the screen (not vertical please) with a good subject (like other divers)

    Bow Crowss View

    If you start with these five simple rules you’ll be able to shoot hang-it-on-the-wall quality images without an expensive strobe or underwater-housing. Who knows, you may even like shooting underwater so much you get a full setup one day. If you do, remember, throwing your gear never solves anything – expect exposure problems with your strobes, rig floods, focus problems, corroded buttons, cracked seals, or backscatter from murky water.

    Now you’re ready to take your camera and start shooting underwater. Using a fisheye lens will make your life much easier when you start out. It makes issues like focus and composition much easier to get right. It also lends itself very well to black and white images.

    Bow and diver

    The post 5 Tips for Underwater Photography Without Spending a Fortune by Jon Haase appeared first on Digital Photography School.

    Digital Photography School

  • 20 Fantastic Packaging & Presentation Ideas for Photographers

    I’m pretty sure that every photographer gives the rights to the pictures he took to their clients. We live in digital era where people mainly share and look at pictures on Facebook, Instagram, Pinterest and other social media sites. People want to share their pictures and to be proud of them, so why not to let them have their photos? Continue Reading

    The post 20 Fantastic Packaging & Presentation Ideas for Photographers appeared first on Photodoto.


    Photodoto

  • Shooting In Manual Mode: The Starter Kit [Infographic]

    I was hanging out in one of my blogging groups the other day, and people were discussing things they wanted to do to improve their photography. One thing that popped up a few times was switching to manual mode, and how daunting that seemed. I am here to tell you that I thought the same thing until I actually went Continue Reading

    The post Shooting In Manual Mode: The Starter Kit [Infographic] appeared first on Photodoto.


    Photodoto

  • Elevate Your Landscape Photography Skills To The Next Level With These Easy Tips

    My experience has taught me that landscape photography is great for everyone who’s just starting out with photography because landscapes give you the chance to improve your photography skills without annoying a model or someone else. This is how I started with photography after all. Ladscapes are also great for learning the basics of photography, since you have all the Continue Reading

    The post Elevate Your Landscape Photography Skills To The Next Level With These Easy Tips appeared first on Photodoto.


    Photodoto

  • Time to Go Macro With the Canon EF 100mm f/2.8L Macro IS USM Lens

    Just Wait Until Midnight

    While the EF 135mm f/2L USM is my favorite Canon L Series lens, one thing it does not do is macro photography.

    With a minimum focus distance of 3 feet, the EF 135mm lens can do a great job with a lot of flowers or other traditional macro subjects, but it really cannot do traditional macro work.

    If you want a very high quality portrait lens that can also do macro work, the EF 100mm f/2.8L Macro IS USM is the lens for you. Like the EF 135mm lens, this lens is an Image Stabilization lens which is helpful to minimize camera shake when you take those super close very precise macro shots. This is my favorite lens to make abstract macros of flowers with. If you are into shooting insects or flowers or a close up of the human eyeball or really anything macro you can imagine you will love this lens.

    What I like most about this lens though is that it is not *just* a macro lens. It takes such nice portraits and is great to use for all other sorts of photography. This makes this lens suitable for use as a primary prime lens for just about every type of photography that can also produce stunning macro work.

    Just Wait Until Midnight

    Shooting food is one of my favorite subjects these days. I shot the photo of caviar in this post with this lens at Michael Minna’s excellent spot in the Bellagio hotel. Be sure to try the tasting menu there on your next visit to Vegas, it’s worth it!

    I also own the earlier non-L series generation of this lens and I’ll say that I’m so much more impressed with the results I get out of the newer L series version.

    As a reminder, my analysis of my Canon gear is being done in partnership with Canon and I am receiving compensation for this work with them. More on Canon macro lenses here.

    Just Wait Until Midnight

    Just Wait Until Midnight

    Just Wait Until Midnight

    Just Wait Until Midnight


    Thomas Hawk Digital Connection

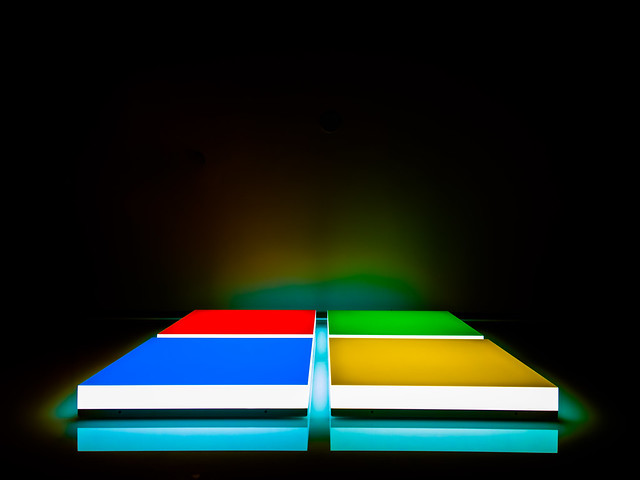
  • Had a Great Time Photowalking Last Week at the Microsoft Store #MSStoreWalkSF

    Microsoft

    I had a great time out photowalking last Thursday night with a great SF crew around downtown SF. The walk was hosted by the always awesome Microsoft store in San Francisco (go check them out in the Westfield Centre in SF).

    Thank you to everyone who came out for the walk. It was great to see old friends and also make some new ones. :)

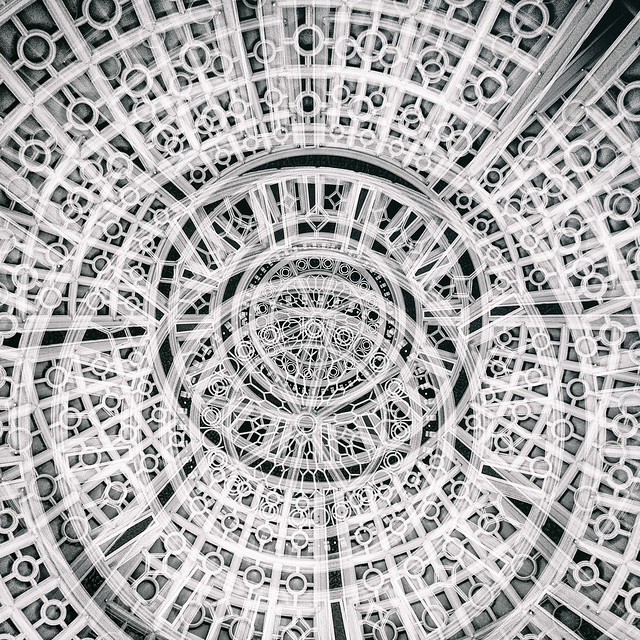
    We started out the walk in the center itself and got some nice photos of the great dome. From there we made our way up Powell Street, shooting some of the local color around Union Square and eventually made our way to the very top of Nob Hill. Originally we planned for the walk to take a turn down California Street and head towards downtown, but we were sort of distracted by the always imposing and always grand Fairmont Hotel atop Nob Hill.

    I've Got a Room at the Top of the World

    I've Got a Room at the Top of the World

    We explored the lobby of the Fairmont and an elevator of us also somehow found our way to the top of the hotel with some of the most amazing views of San Francisco that exist.

    After our fun at the Fairmont we headed back down California and cut through Chinatown to shoot this distinctive SF neighborhood.

    Finally we finished up our way back up Market Street back to the Microsoft store where our ever so gracious host treated us to a spread of food and drinks to finish up an eventful walk.

    During the walk folks uploaded their photos from their mobile phones directly to a OneDrive account and we got to watch them in full high res glory on the Microsoft store’s 110 inch LCD display while we refueled on artichoke hearts and chicken skewers.

    I was super impressed with so many of the great shots that people got on the walk. If you want to see some of what was shot check out these photos on Flickr here.

    I shot with two cameras on the walk. I shot with my trusty Canon 5D Mark III and on mobile I shot with one of the Nokia Lumia 1020 mobile phones.

    There Has to Be an Invisible Sun

    All of the photos that are in this blog post were shot with the Lumia 1020. The camera on this phone is the best camera on any phone at present. The phone has a 41 megapixel(!) camera that actually shoots in RAW! It’s got a Zeiss lens and I was super impressed with what it was able to do. I liked that the camera could be used in 100% manual mode. Having more granular control over what I was trying to do with it was really helpful. You can pick this phone up for $ 49 with a contract here.

    *Disclosure: this walk and post were sponsored by Microsoft and I received compensation for working with them on it.

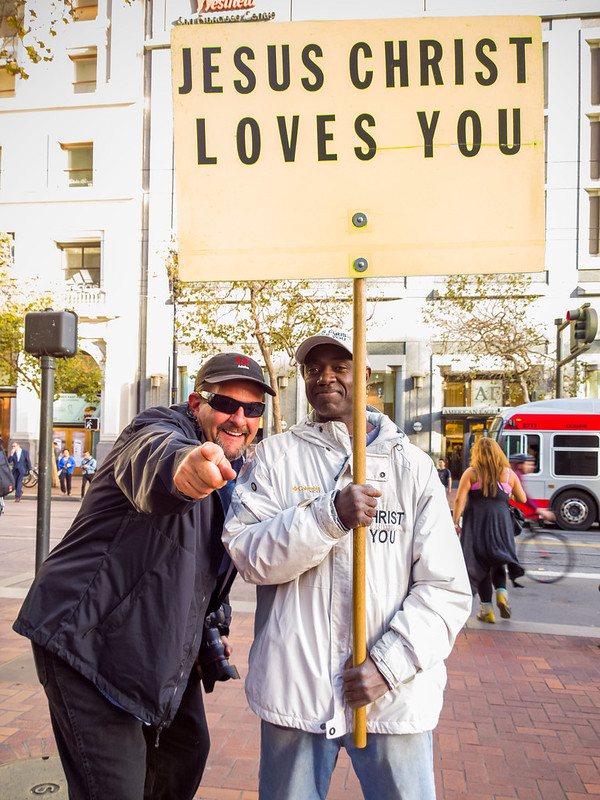
    Jesus Christ Loves Barry Blanchard

    His New View

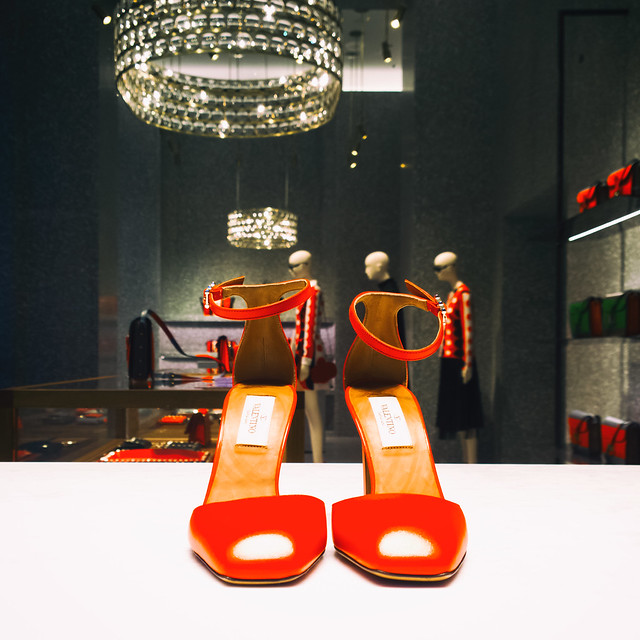
    Buy Me Some Red Shoes Baby

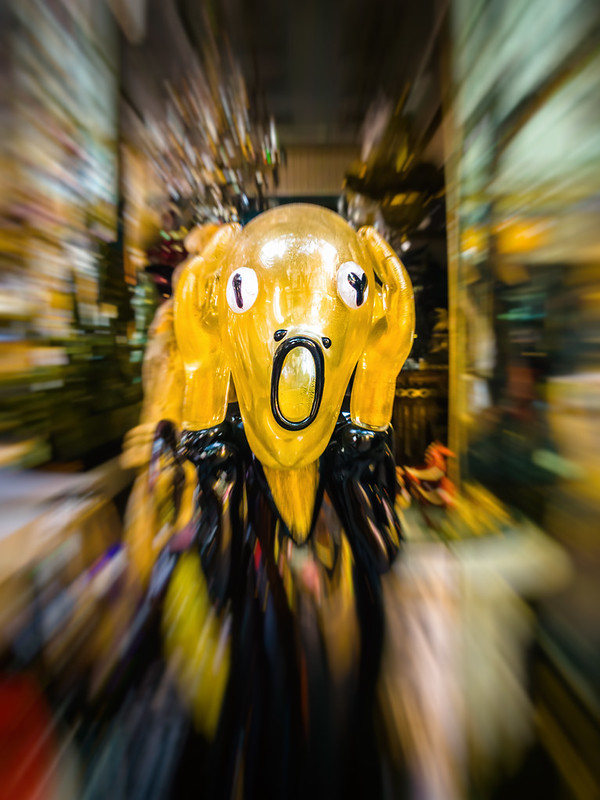
    Scream

    Escape

    Crown

    Sky Light

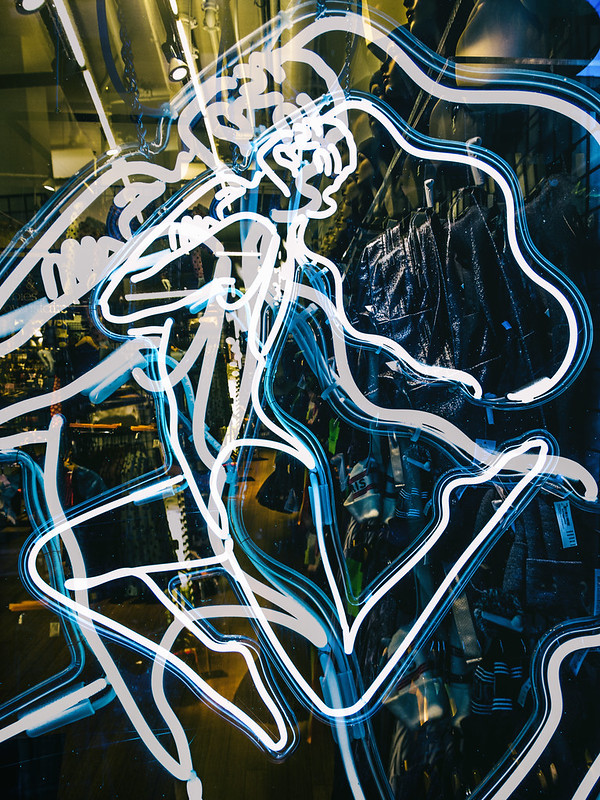
    Neon Dancers

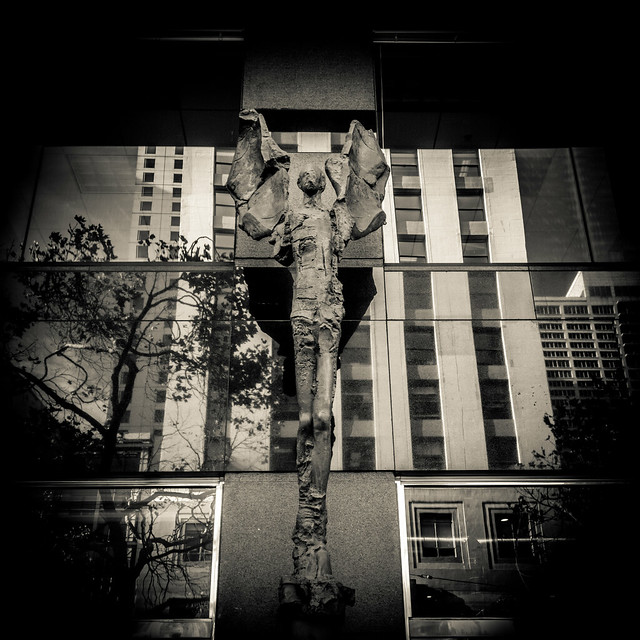
    The Angels of Market Street

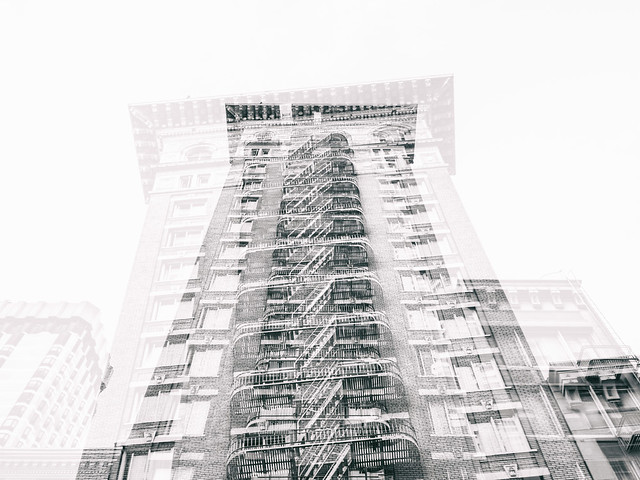
    More Time for Architechts

    Betty

    Baby

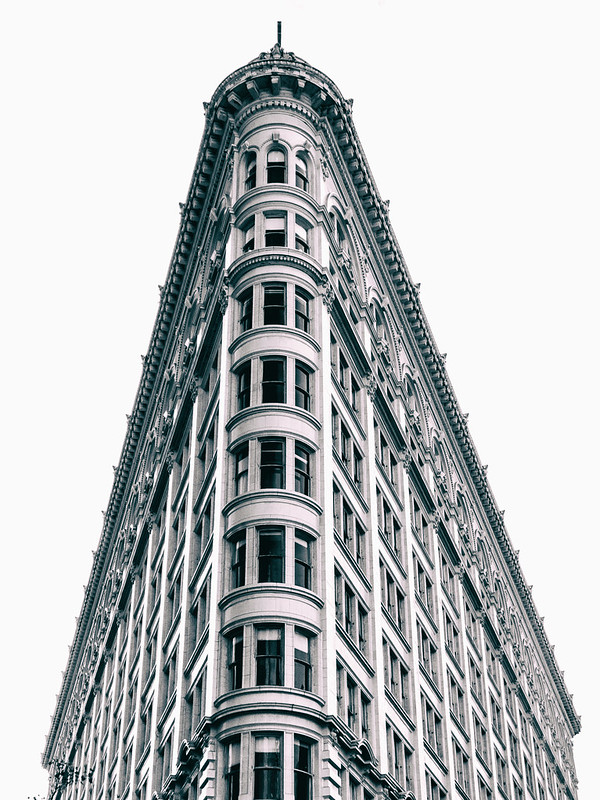
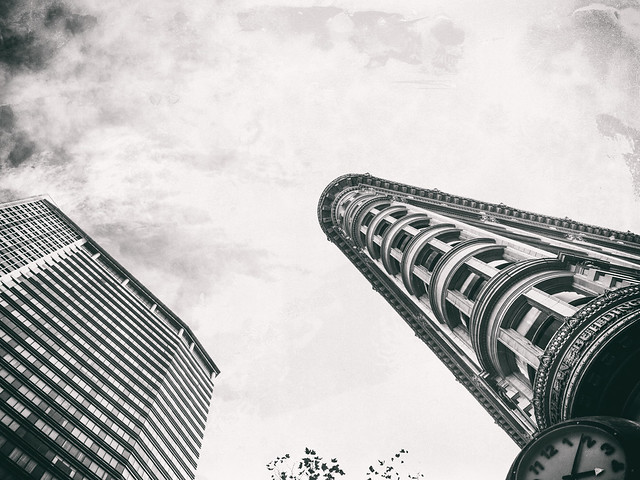
    Sharp Lines


    Thomas Hawk Digital Connection

  • Guide to Winning Guest Blogging for Photographers

    Guest blogging is one of the marketing techniques that many bloggers and site owners make use of and serves at least two purposes. Firstly, it’s great exposure for the guest blogger, and secondly, it’s a new post for the site owner that they haven’t had to spend any time creating. You may be a brilliant blogger with huge experience and Continue Reading

    The post Guide to Winning Guest Blogging for Photographers appeared first on Photodoto.


    Photodoto

  • Weekly Photography Challenge – Spooky Images for Halloween

    If you want to see some scary images head over to my earlier collection of spooky images here.

    This is the week of all the spooks and goblins so I though it would be fitting to see some scary images too. What do you consider spooky or creepy? It might be a big hairy spider, or maybe a ghostly double image, or perhaps some deep shadows in a hidden alleyway. Whatever it is, it’s your turn to photograph it and show me something that will make me have the chills.

    Let’s see some examples:

    Delta

    By Delta

    Hartwig HKD

    By Hartwig HKD

    Kevin Dooley

    By Kevin Dooley

    Alice Popkorn

    By Alice Popkorn

    Jesse Draper

    By Jesse Draper

    Liz West

    By liz west

    You get the idea. Now it’s your turn.

    Weekly Photography Challenge – Spooky Images

    Try and think about this one not so literally. I’ve done some photo competition judging and something similar was the theme for one category. I saw a lot of images trying too hard to be scary. Think subtle. We don’t need to see blood and guts to be scared. Less is more. A simple, dark, moody image of a creepy looking alley or lane-way could be all that’s needed. How about doing some double exposures at night using flash to create some ghosts, or just long exposures on a busy street to catch all the moving people at night. If you have some ideas share them here, then go shoot it and share the images too.

    Share your spooky photos

    Simply upload your shot into the comment field (look for the little camera icon in the Disqus comments section as pictured below) and they’ll get embedded for us all to see or if you’d prefer upload them to your favourite photo sharing site and leave the link to them. Show me your best images in this week’s challenge.

    Here are a few more images to scare you!

    Yamabxl

    By Yamabxl

    JayRaz

    By jayRaz

    Howard Ignatius

    By Howard Ignatius

    Tommy Clark

    By Tommy Clark

    Jorge Mexicano

    By Jorge Mexicano

    Slworking2

    By slworking2

    The post Weekly Photography Challenge – Spooky Images for Halloween by Darlene Hildebrandt appeared first on Digital Photography School.

    Digital Photography School

  • 30 Outstanding Examples of Full-Screen Image Background Sites for Your Inspiration

    If you’re looking for a way to make a strong impression and a bold statement with your portfolio, a full-screen background image can do the job for sure. Focusing solely on images while providing easy navigation, this web design technique and photography websites just belong together. This approach can fit any kind of photography portfolio, but dramatic, bold photos are Continue Reading

    The post 30 Outstanding Examples of Full-Screen Image Background Sites for Your Inspiration appeared first on Photodoto.


    Photodoto