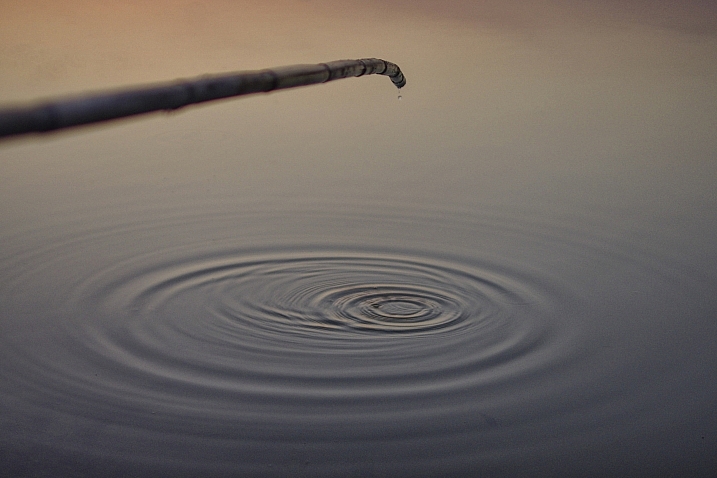
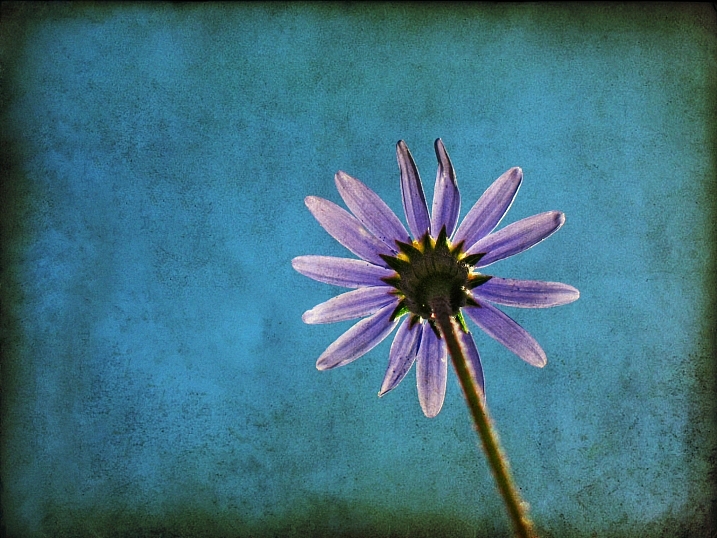
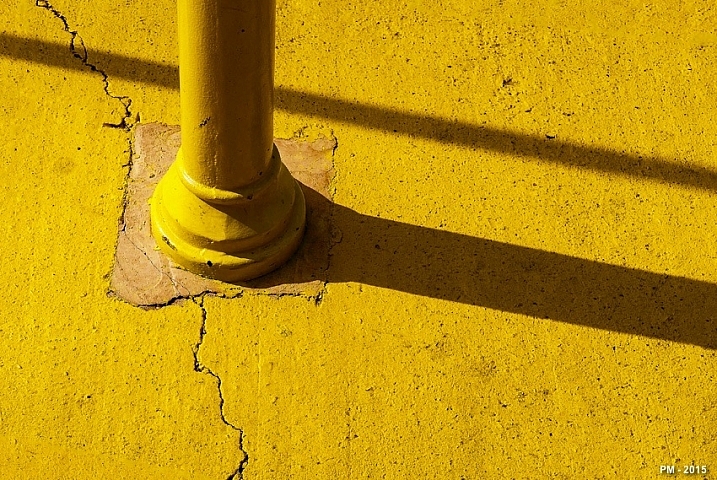
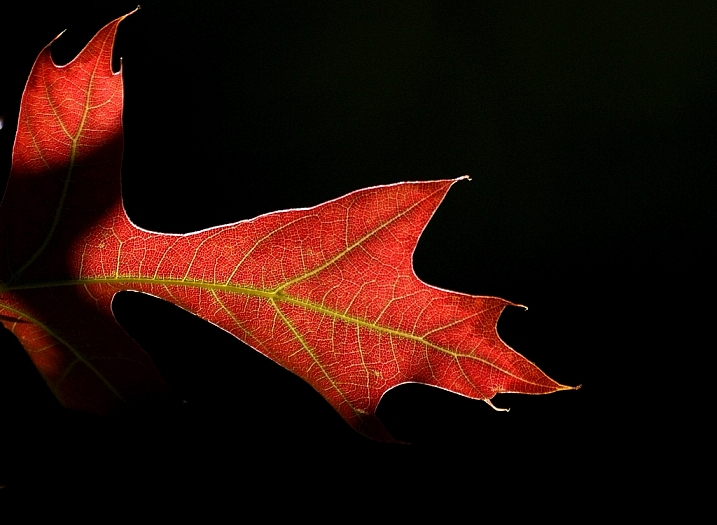
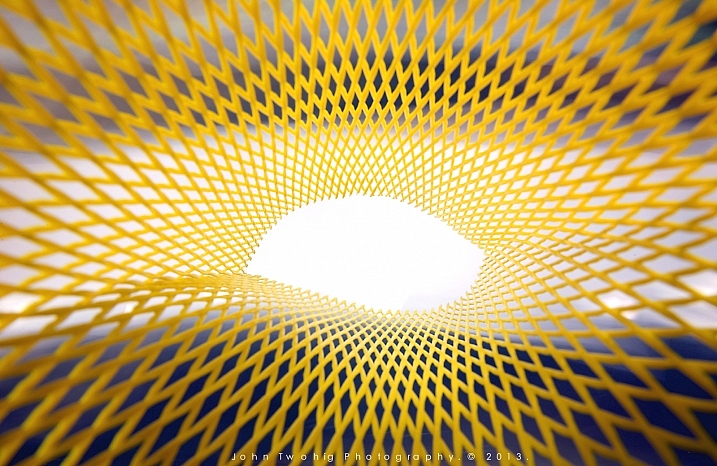
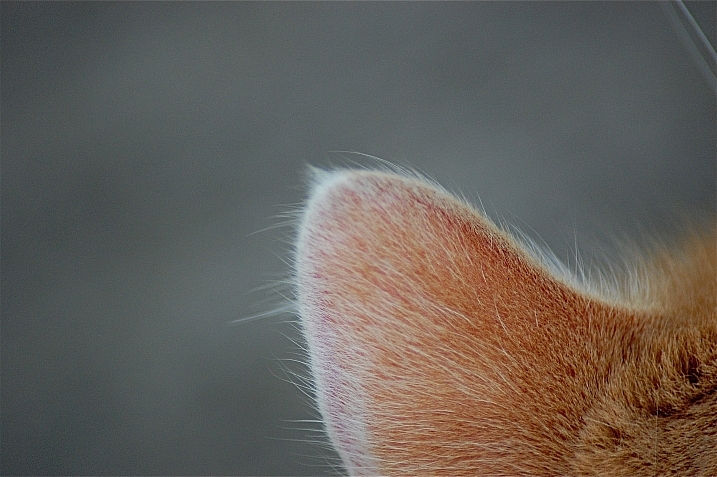
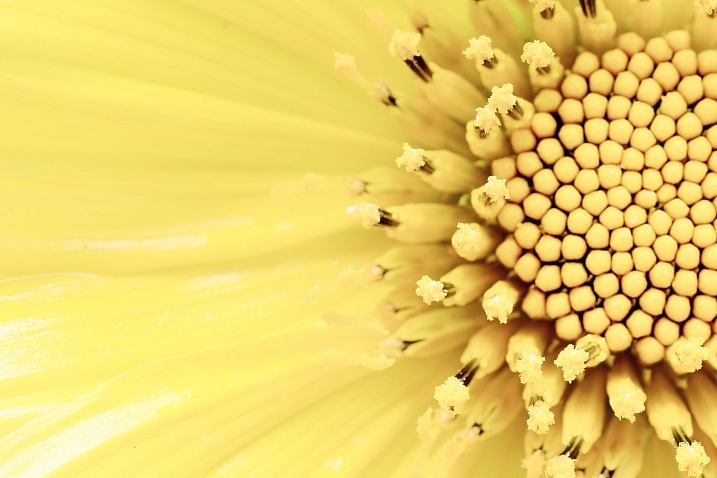
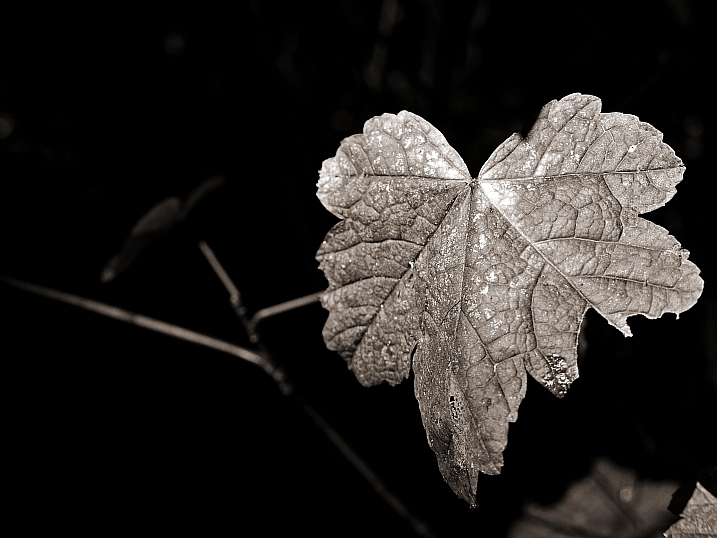
Category: Photography

  • Act Fast: Free Lighting in Layers DVD Promo at Midwest

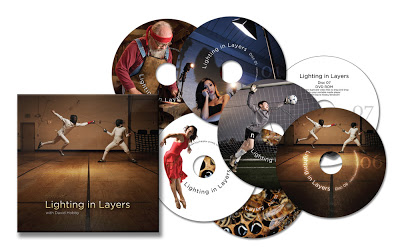
    Quick heads-up on a great deal: Midwest Photo is giving away a free 7-DVD set of Lighting in Layers (more info on the DVDs, here) with every single Jumpstarter kit purchased, while supplies last.

    The Jumpstarter kits are already a great value. The no-flash kit actually costs less than the DVDs themselves, at $ 142.99. But no matter which kit you might be considering—the no light, single-light, add-a-light, or two-light version—the DVD set addition makes it an even better value.

    Two things to know:

    1. You have to enter the code HOBBYSHIP at checkout.
    2. The deal also includes free UPS ground shipping within continential US. You have to calculate shipping before you enter the code. But it should take it off after the code is entered, if you choose Ground UPS and live in the lower 48.

    You can learn more about the core components of the kits here, in Lighting 101.

    Links to the various versions of the Jumpstarter kits follow below:

    Lighting Kit WITHOUT Flash ($ 142.99)

    Lighting Kit WITH LumoPro LP180 Flash ($ 271.99)

    Add-A-Light Kit ($ 198.00) (Includes LP180 flash, but no Ares remote)

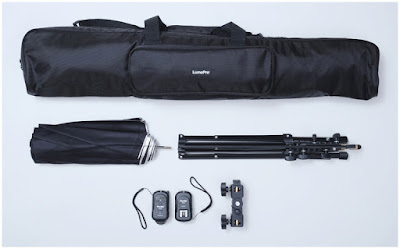
    2-Light Kit ($ 469.99) (Includes 2 LP180 flashes, remote, stands, umbrellas, case, etc.)
    Strobist

  • Tips from the Sports Photography Pros to Help You Get the Money Shots

    The pros know that sports photography is a fast paced and intense profession. You have to be quick. Really quick! Catching the moment is one-third intuition, a third skill, and the rest is pure luck. Accept it now! Sometimes the most amazing shot you capture will just be pure luck.

    sports photography action

    Capture the emotion and the intensity of the players. These shots sell.

    There are things you can do to increase the odds of success. If you’re like me and you want to earn part of your income from sports photography then there are some tips and tricks you need to learn. Sports photography is a lot more than just pointing the camera at an athlete and holding down the shutter button.

    Camera grip is key

    The sheer speed of sports photography requires a specialized grip. You have to be able to zoom in and out quickly as well as switch from landscape to portrait (horizontal to vertical) orientation. If you are strong enough to handhold your lens then this technique is for you.

    sports photography black and white

    For a magazine a shot in black and white can create a lot of drama.

    Loosen up the tripod collar on the lens so it slides easily. Hold the lens by placing the base of the collar in the palm of your hand and grip the zoom ring with your fingers. As you rotate your camera from portrait to landscape your camera will automatically change focal lengths. It’s quick and convenient and it’s also pretty easy to maneuver. You can then adjust the orientation of your camera back to portrait or landscape by releasing your grip on the zoom ring. It takes practice to perfect this method but once you’ve got it the process becomes very quick.

    The same basic premise can be used if you shoot with a monopod. Instead of using your hand as the base for monopod ring you’re going to handhold the zoom ring and turn from portrait to landscape in the same way.

    sports photography

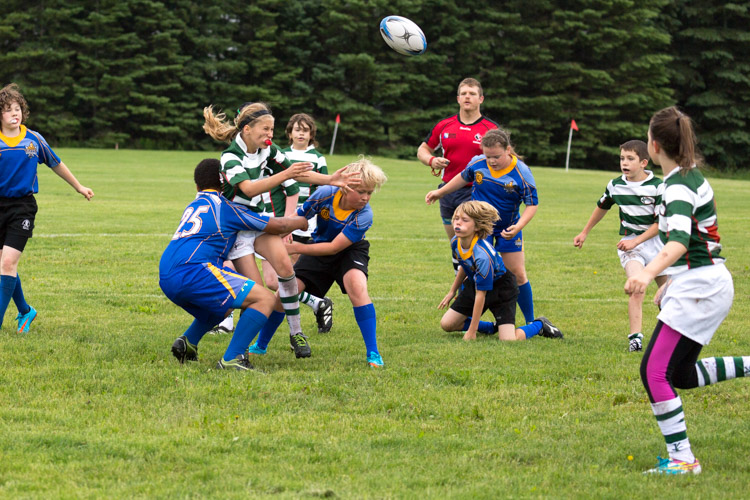
    In this case, the image is about the struggle and expressions on the kid’s faces. The scene tells a story about struggle.

    Money shots

    I quickly learned that certain types of shot sell while other shots are nice but they don’t sell. The images that generally fall into one of the following three categories:

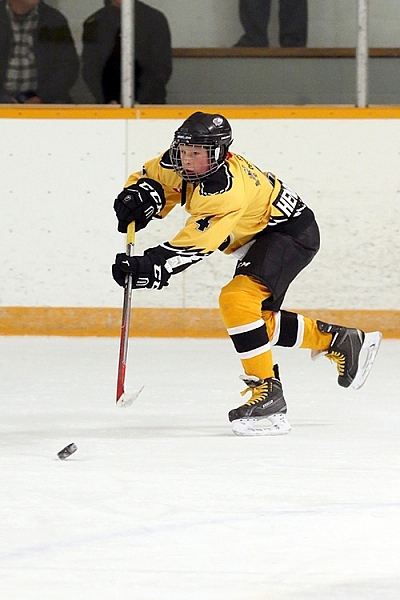
    sports photography action hockey

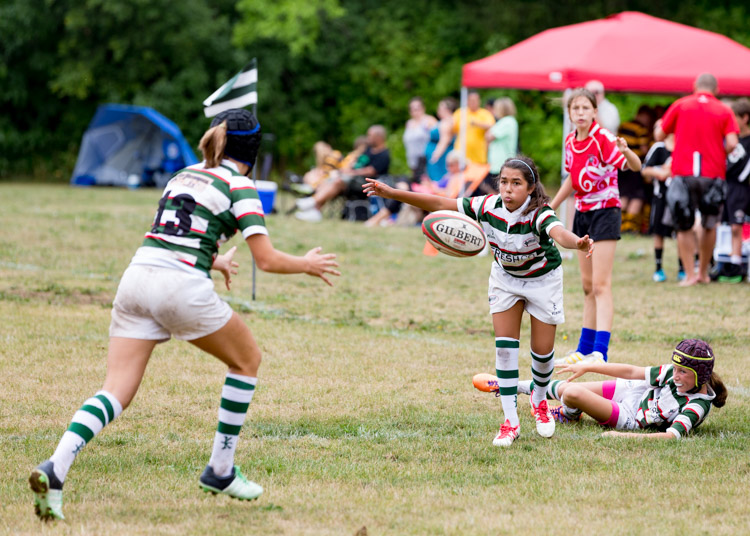
    At tournaments, these types of shots sell to parents.

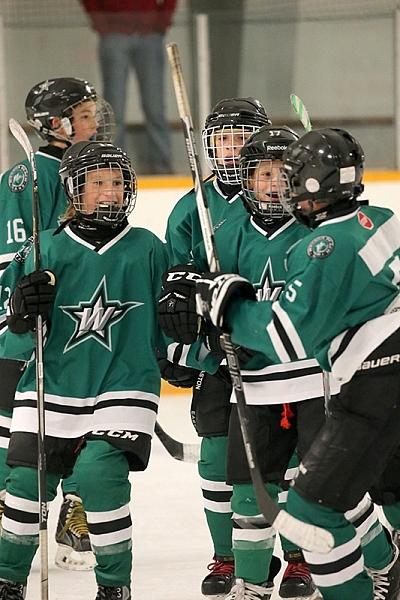
    1) The Celebration

    Images of athletes celebrating are so popular because they show the height of emotion and sacrifice. The recent shot of the World Series winning Chicago Cubs is a fantastic example.

    While this isn't an epic celebration parents love this type of shot.

    While this isn’t an epic celebration parents love this type of shot.

    2) The profile shot

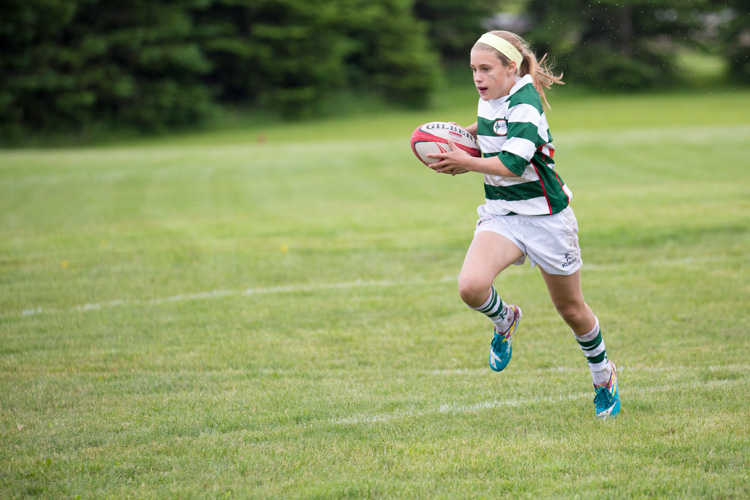
    In this instance, you capture an image of an athlete in action. The shot shows the shape of their body as they compete and there is little to distract from the perfection of their form.

    sports photography girl running

    The water droplets are my favorite part of this shot even though most people won’t notice them.

    3) The unusual occurrence shot

    These are the unique moments in sports that only happen once. You won’t catch these types of shots very often but when you do it’s a fantastic adrenaline rush.

    sports photography expressions

    In this case, the facial expression and position of the girl’s arms and the ball make for a unique shot.

    I’m not saying that other shots won’t sell but the likely hood is far less. Sometimes the image falls into a category of its own. If you try to capture the majority of your images from these three categories then you are well on your way to earning an income from sports photography.

    Don’t give up

    Sports photography is an incredibly tough world to try and break into. You have to work so hard to get noticed. It’s also incredibly challenging and very physical. Be prepared for the ride of your life. You will have to push your camera and your body to their limits to keep up with these talented and very physical athletes.

    So use every trick or tip you can find to rise above the rest and take those memorable shots. Leave any of your tips below and also share your favorite images.

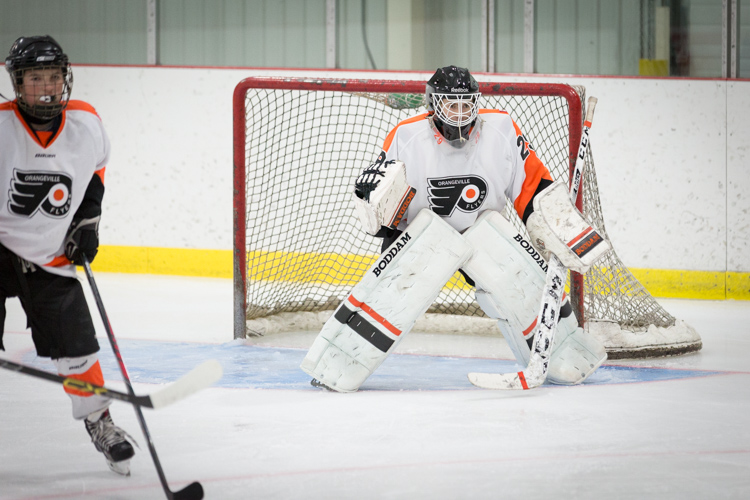
    Capturing goalies is a real challenge. Usually, there's a lot of traffic in front of them.

    Capturing goalies is a real challenge. Usually, there’s a lot of traffic in front of them.

    googletag.cmd.push(function() {
    tablet_slots.push( googletag.defineSlot( “/1005424/_dPSv4_tab-all-article-bottom_(300×250)”, [300, 250], “pb-ad-78623” ).addService( googletag.pubads() ) ); } );

    googletag.cmd.push(function() {
    mobile_slots.push( googletag.defineSlot( “/1005424/_dPSv4_mob-all-article-bottom_(300×250)”, [300, 250], “pb-ad-78158” ).addService( googletag.pubads() ) ); } );

    The post Tips from the Sports Photography Pros to Help You Get the Money Shots by Erin Fitzgibbon appeared first on Digital Photography School.


    Digital Photography School

  • How to do Lifestyle Newborn Photography

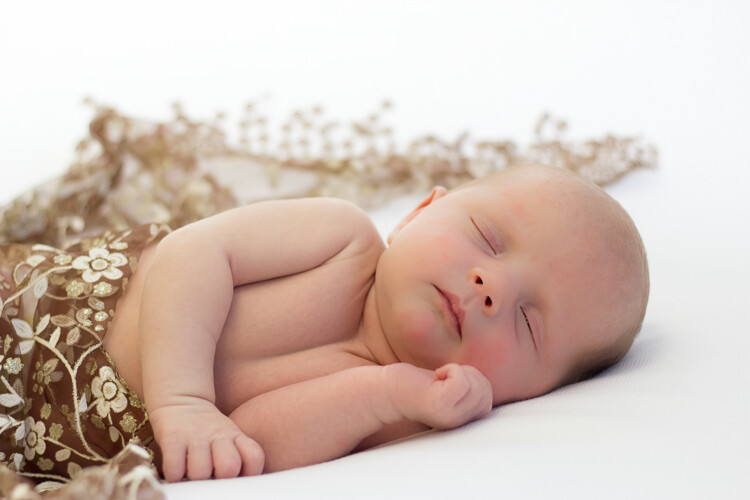
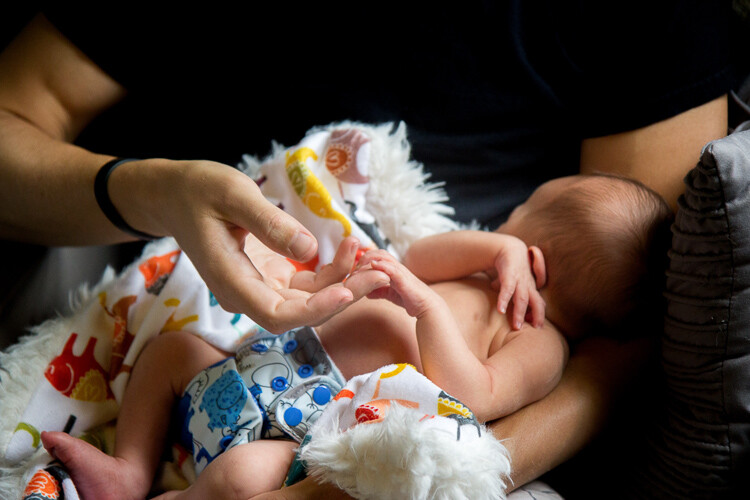
    Very little is as precious to photograph as a newborn baby. Those tiny toes, the fluttering eyelashes, the way they grasp their parents’ fingers. These are the moments that parents want to record and keep forever. There are two schools of newborn photography – I think it is fair to say that they exist on one spectrum.
    Lifestyle Newborn Photography

    On one far end of the spectrum is what we’ll call traditional newborn photography. This is an incredibly popular style with so many beautiful applications. It is usually posed photographs on a natural background, oftentimes with props or staging, i.e., baby in a basket photography. It’s gorgeous and gives a client’s baby a chance to be a model for the day.

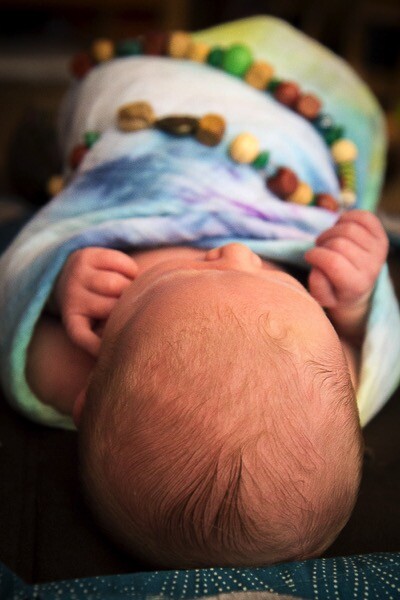
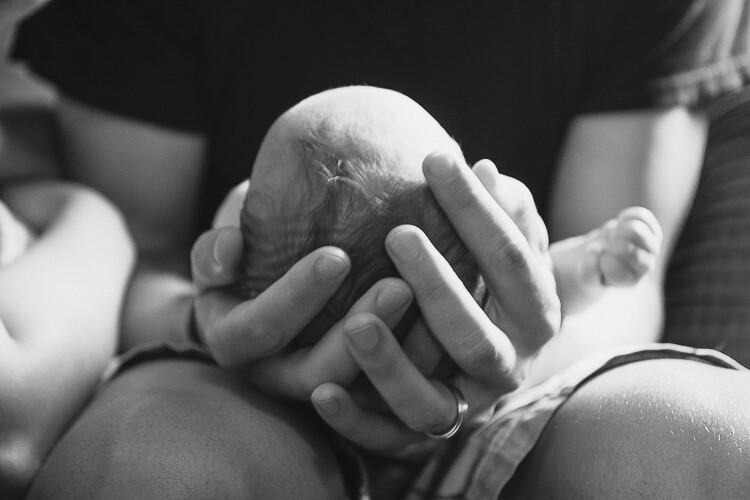
    On the other end of the spectrum is newborn lifestyle photography. This is more like photojournalism in that it is designed to tell a story, to document the baby and his or her interactions with the family, pets, environment, etc. These tend to be shots that are more real and less staged, designed to capture the essence of having a newborn.
    Lifestyle Newborn Photography

    Since these exist on one spectrum, you can do a combination of elements from each. But in this article I’m going to focus on newborn lifestyle photography and its advantages.

    What setup is required for lifestyle newborn photography?

    In order to set up a home studio for traditional newborn photography, you will likely need quite a bit of gear. At the bare minimum, you will need a beanbag or posing device, some backgrounds, lighting, and dedicated space. Most traditional newborn photographers also have an array of props, also – wraps, hats, tiaras, etc. This can cost thousands in setup costs alone, in addition to your other obvious expenses, like camera, lenses, gallery delivery system, etc.

    With newborn lifestyle photography, the entire setup is much simpler. If you are entirely on the lifestyle end of the spectrum (which would take place entirely in a client’s house or destination), you would really just need your camera and maybe a flash. Natural light is highly recommended, however, as flash startles a baby and can look harsh in a home. A better solution for reflecting natural light where you want it to go would be to use a reflector.
    Lifestyle Newborn Photography 9

    Before the session

    You’ve got a client! So, what’s next? Here are a few things to do prior to the appointment.

    Communicate with the client

    Call or email and find out what type of shoot they envision, how they want the end product to look. First of all, this will tell you if you have the appropriate gear or props, and if it is practical for you to procure them if you don’t. It will also tell you on what end of the traditional versus lifestyle spectrum they reside so that you can plan the shoot and what you might want to bring. You can research poses and photo ideas based off of this information for inspiration, too – Google Images can be your friend.
    Lifestyle Newborn Photography

    Setting the stage

    I find it’s helpful to give the clients some recommendations for setting the atmosphere of their home for newborn photos. Babies like it warm (especially if you’re going to have them stripped down to minimal or no clothing), so I recommend either an overall temp of 78 to 82 degrees F (25.5 – 27.5C), or a space heater nearby. White noise is helpful if there are older siblings or other ambient noises around.

    If they want lots of sleepy shots, keeping the baby up for two hours or so prior to the shoot will help ensure that you can get some shots of the little one napping. Sleepy shots and traditional newborn photographs tend to work best when the baby is 10 days old or younger, also, just because they’re still in that cuddly newborn stage. However, if they are okay with true lifestyle photos or if the baby is awake, you can fudge that 10-days rule and the amount of awake time some.
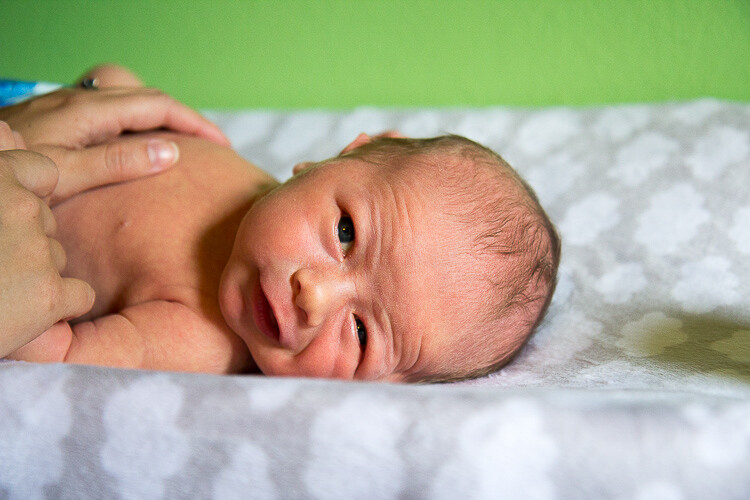
    Awake Lifestyle Newborn Photography

    Do your best boy scout impression

    Be prepared! Some good things to take (or ask if they have ahead of time) are a step-stool or ladder for shots from above, a reflector or (less ideally) a flash, and a spare charged battery for your camera. You may also want to take a change of clothes for yourself, just because babies are prone to all kinds of emissions!

    There are also extra optional things you can make that may fall more on the traditional end of the spectrum. A newborn beanbag can be great for getting those up-close posed shots. Here is a great article on how to create your own backdrop stand. You can also take blankets and other backdrops, wraps, props, etc., as much as you can fit in your vehicle.

    At the session

    Every photographer conducts their photo shoots differently, so you will have your own system and style that works. Here are just a few basic recommendations.

    Go where they go
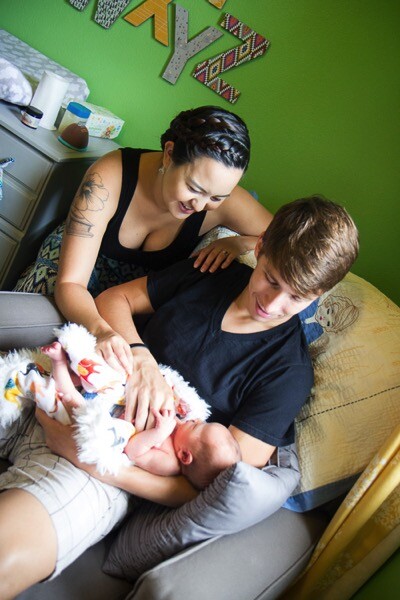
    Lifestyle Newborn Photography

    Newborn lifestyle photography is all about their life at the time the baby is a newborn (not to belabor the obvious). If the family is home from the hospital, take photos there. Get shots in the crib or bassinet (if they use one), in the master bed cuddled with mom, curled up on the couch, by the front door, etc. Outdoor shots (if seasonally appropriate) can also be fun keepsakes.

    However, different babies’ realities might look different. For example, sometimes complications happen and a baby has to be in the NICU for an extended period of time. Those babies still deserve to be captured in their beauty and innocence during the newborn period, so move the shoot there. Capture the reality of what the NICU life is like for the family, as those will be memories that they will have for a lifetime.

    Lifestyle Newborn Photography 4 5

    Find the light

    With on-location photography, you obviously want to capture picturesque and beautiful places of the home or place you are photographing. However, just as important as the composition of the photo is the lighting. Try to find areas that are particularly well-lit if you are using natural light. Have a parent hold the baby near a large window, especially if it’s indirect lighting. The time of day may greatly affect what works best in a given environment, too. If there is limited natural light and you don’t want to, or can’t use artificial lighting, you may need to shoot at a higher ISO, too. Just keep in mind that this can result in additional graininess in your photo.
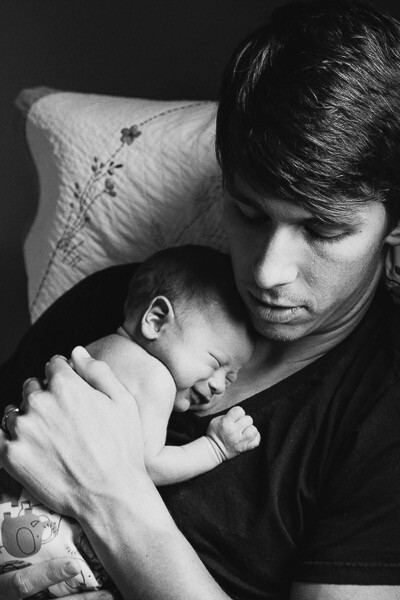
    Lifestyle Newborn Photography

    The tiny details

    One of the great thing about newborn lifestyle is that it’s like being a photojournalist, so you catch everything. The curl of a newborn’s eyelashes, the shedding skin on baby’s feet, the umbilical stump. These are things that are precious and fleeting, so you can capture them to remember. You also aren’t confined to just sleeping photos when you do newborn lifestyle photography, so you can get shots of the baby crying, or yawning. Use your imagination.

    Capturing the intimacy of the moment through angles

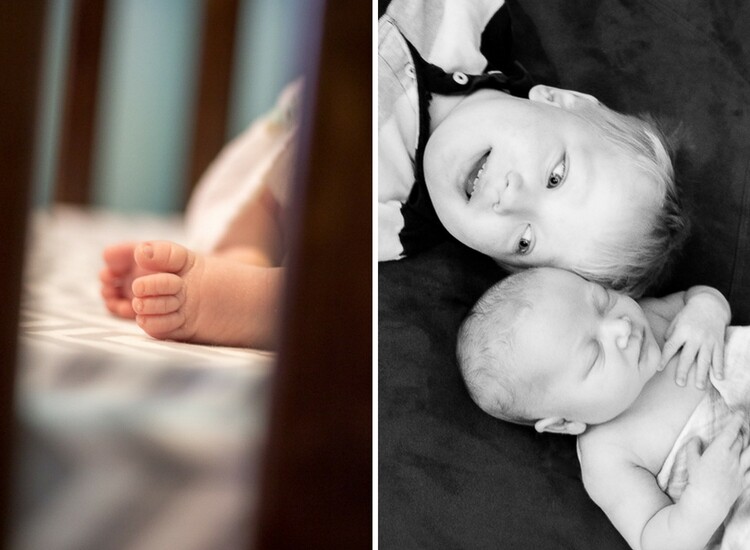
    Newborn lifestyle photography is very personal and intimate to the clients’ lives (unlike a studio, which is obviously a separate space). You then, in turn, can capture them having private moments. Cuddling on a bed, holding baby’s hand, feeding the baby – these are all special moments ripe for photo making. You can also use unique angles to preserve that privacy, but to give the appearance of peeking in on the moment. Catch some shots with their reflection in a mirror, through a cracked door, through the bars of a crib, etc. (see below left)
    Lifestyle Newborn Photography 10

    The human element

    Babies need relationships. They thrive on interpersonal connections, so catch some shots of each parent (if relevant) individually with the baby, and together with the child. Incorporate siblings (if applicable) into group shots, or alone with the baby. Don’t bother posing them. Let them love on their new sibling, and just have your camera ready. Even involve pets if it is safe to do so and desired. (see above right)

    Edit Patiently and Carefully

    You likely took many photos, so take the time to be choosy about what images to edit. Slightly overexpose shots to get a creamier, softer look. Black and white conversions lend themselves very well to newborn lifestyle photography. I usually offer both a color and black and white version of every photo I present to the clients so that they can choose their own favorites. Make sure to keep your white balance consistent, but one of the wonderful things about a newborn is that you don’t really need to do much to make them look gorgeous.

    Conclusion

    Do you do lifestyle newborn photography? Please share any addition tips and tricks you have and also your images in the comments section below.

    googletag.cmd.push(function() {
    tablet_slots.push( googletag.defineSlot( “/1005424/_dPSv4_tab-all-article-bottom_(300×250)”, [300, 250], “pb-ad-78623” ).addService( googletag.pubads() ) ); } );

    googletag.cmd.push(function() {
    mobile_slots.push( googletag.defineSlot( “/1005424/_dPSv4_mob-all-article-bottom_(300×250)”, [300, 250], “pb-ad-78158” ).addService( googletag.pubads() ) ); } );

    The post How to do Lifestyle Newborn Photography by Angie DeWaard appeared first on Digital Photography School.


    Digital Photography School
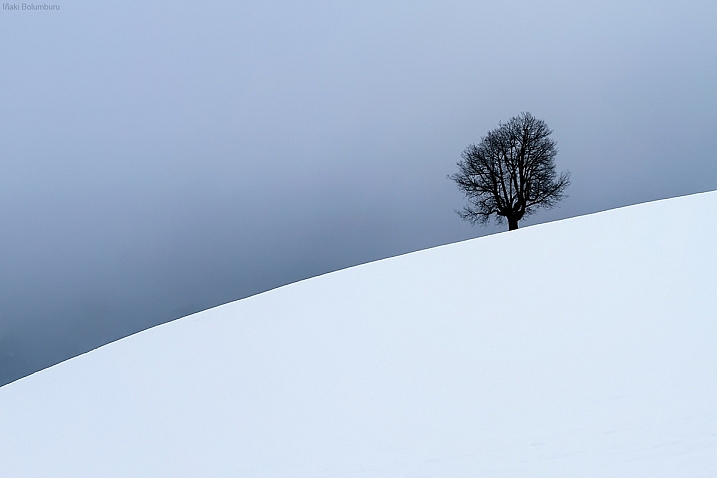
  • 21 Simple Images That Exemplify Minimalism

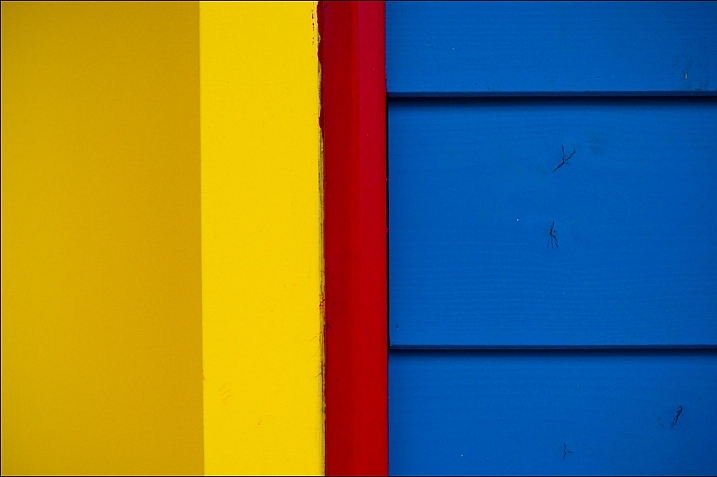
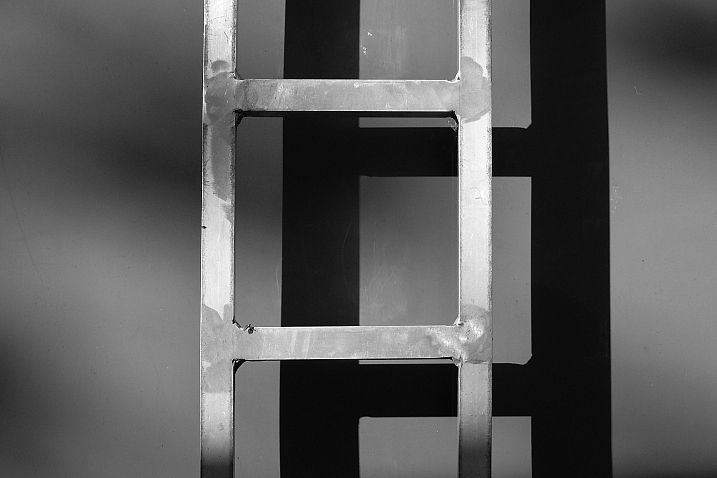
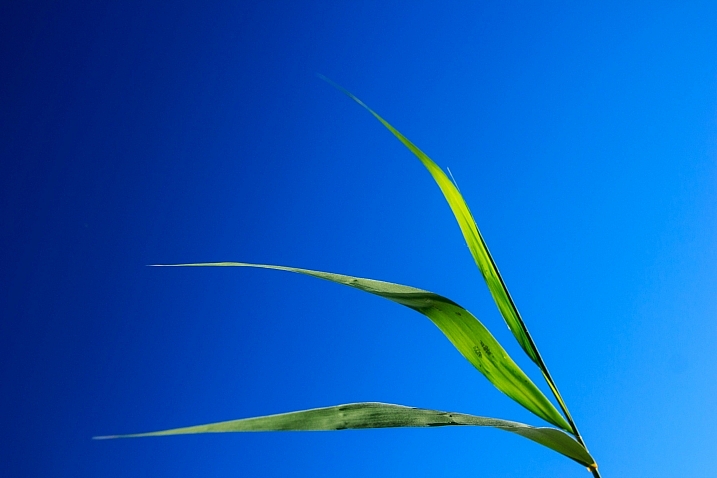
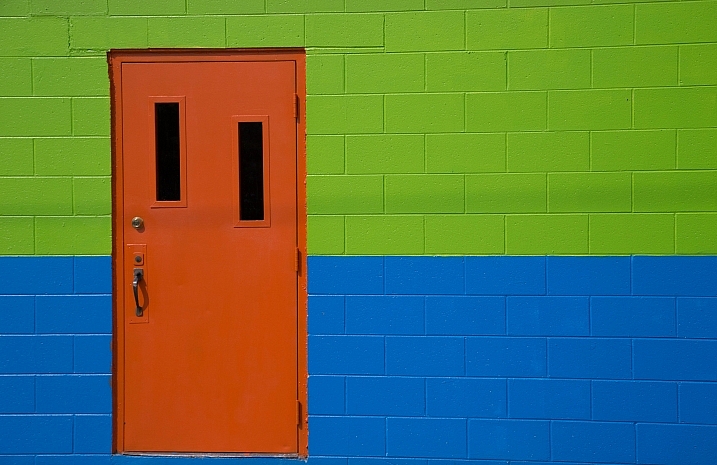
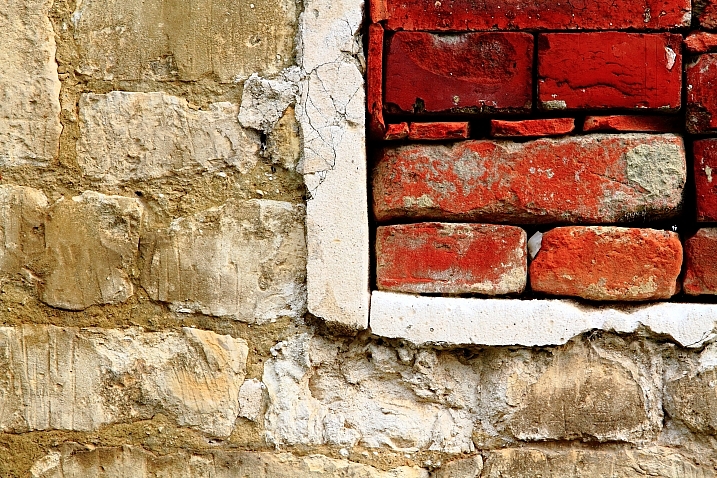
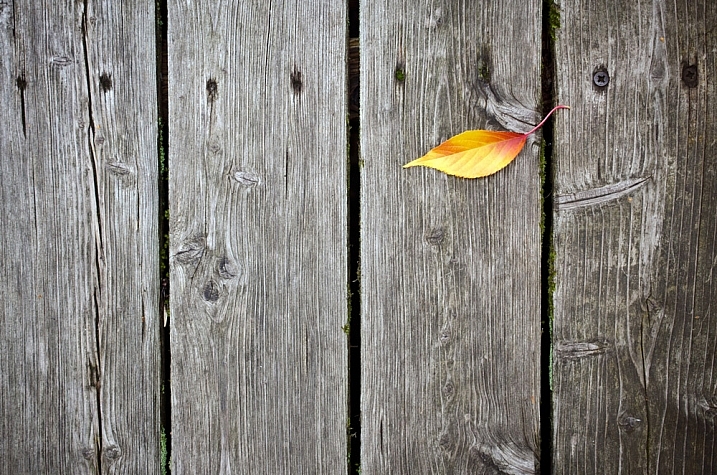
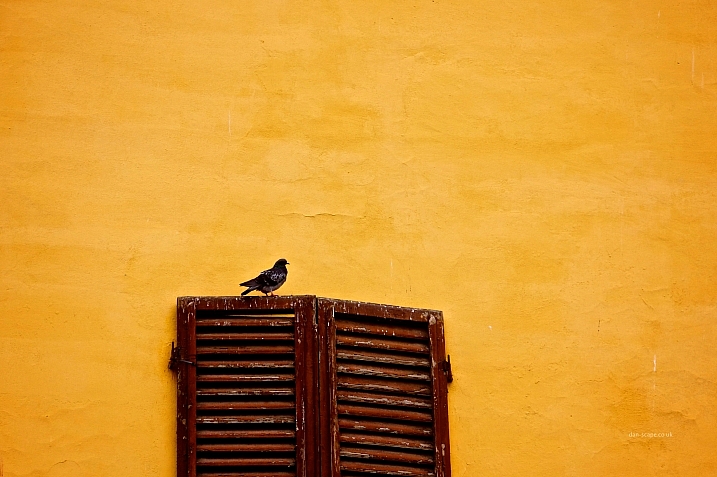
    Sometimes less is more. When that comes to photography that is often true. Beginner photographers frequently try to put too much into their photos. That causes the image to be cluttered and the subject to be less clear. Let’s see some examples.

    21 super simple compositions that show how you can use minimalism to create stunning and effective images.

    Namelas Frade

    By Namelas Frade

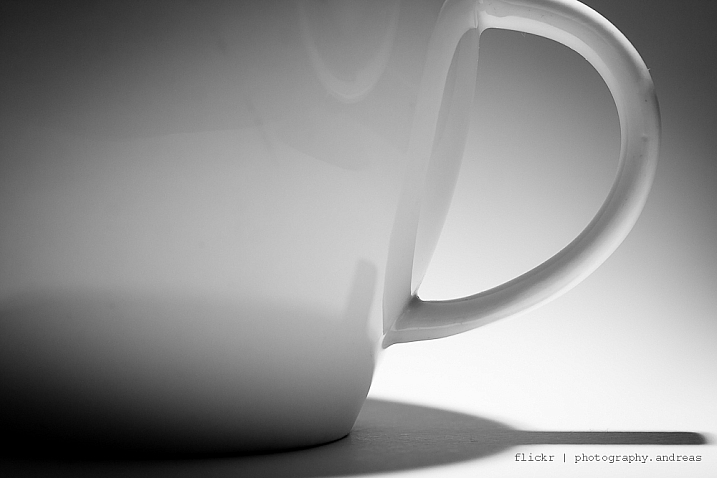
    Andreas

    By Andreas

    Iñaki Bolumburu

    By Iñaki Bolumburu

    Nebojsa Mladjenovic

    By nebojsa mladjenovic

    Daniel Sjöström

    By Daniel Sjöström

    Aarthi Narayanan

    By Aarthi Narayanan

    ELKayPics / Lutz Koch

    By eLKayPics / Lutz Koch

    Chetiya Sahabandu

    By Chetiya Sahabandu

    Etienne

    By Etienne

    Serzhile

    By serzhile

    THE ZEN DIARY — David Gabriel Fischer

    By THE ZEN DIARY — David Gabriel Fischer

    Danscape.co

    By danscape.co

    Alexcoitus

    By alexcoitus

    Toni Verdú Carbó

    By Toni Verdú Carbó

    Neil Tackaberry

    By Neil Tackaberry

    Patrick Marioné - Thanks For > 2M

    By Patrick Marioné – thanks for > 2M

    Bernard Spragg. NZ

    By Bernard Spragg. NZ

    John Twohig

    By John Twohig

    Katheirne Hitt

    By Katheirne Hitt

    Daoan

    By Daoan

    Martin Brigden

    By Martin Brigden

    googletag.cmd.push(function() {
    tablet_slots.push( googletag.defineSlot( “/1005424/_dPSv4_tab-all-article-bottom_(300×250)”, [300, 250], “pb-ad-78623” ).addService( googletag.pubads() ) ); } );

    googletag.cmd.push(function() {
    mobile_slots.push( googletag.defineSlot( “/1005424/_dPSv4_mob-all-article-bottom_(300×250)”, [300, 250], “pb-ad-78158” ).addService( googletag.pubads() ) ); } );

    The post 21 Simple Images That Exemplify Minimalism by Darlene Hildebrandt appeared first on Digital Photography School.


    Digital Photography School
  • Weekly Photography Challenge – Minimalism

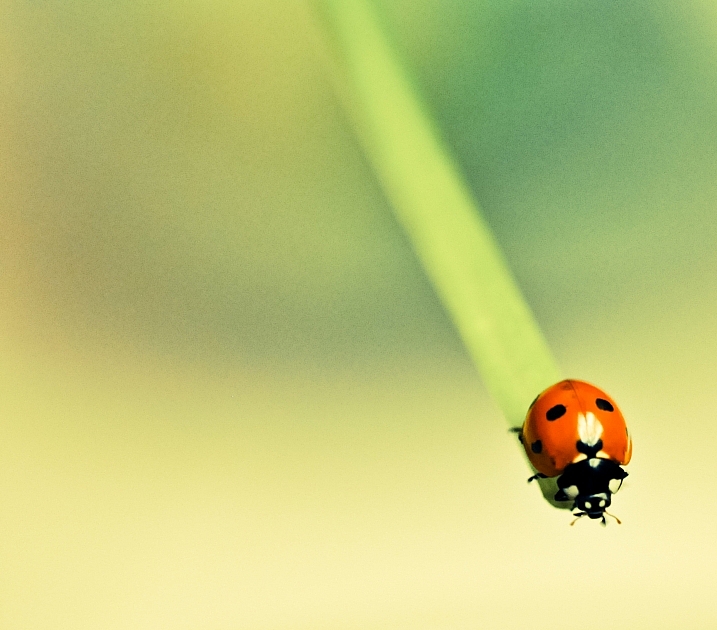
    Viewing some images that are good examples for minimalism is the first step. Then it’s your turn.

    Weekly Photography Challenge – Minimalism

    This one should be fairly simple (pun intended). Find something and shoot it in the most minimalistic way possible. Put less into your image. Get closer and crop tight. Another way to think about it is to simplify. Like these:

    Kim Seng

    By Kim Seng

    A_Peach

    By A_Peach

    Andy Smith

    By Andy Smith

    Put on a long lens, use a wide aperture, maybe even try a close-up or macro lens. Watch the edges of your image. Remove anything that doesn’t add to the photo. Keep it simple.

    Share your images below:

    Simply upload your shot into the comment field (look for the little camera icon in the Disqus comments section) and they’ll get embedded for us all to see or if you’d prefer, upload them to your favorite photo-sharing site and leave the link to them. Show me your best images in this week’s challenge. Sometimes it takes a while for an image to appear so be patient and try not to post the same image twice.

    Share in the dPS Facebook Group

    You can also share your images on the dPS Facebook group as the challenge is posted there each week as well.

    Gafa Kassim

    By gafa kassim

    Daniel Sallai

    By Daniel Sallai

    Bertram Nudelbach

    By Bertram Nudelbach

    googletag.cmd.push(function() {
    tablet_slots.push( googletag.defineSlot( “/1005424/_dPSv4_tab-all-article-bottom_(300×250)”, [300, 250], “pb-ad-78623” ).addService( googletag.pubads() ) ); } );

    googletag.cmd.push(function() {
    mobile_slots.push( googletag.defineSlot( “/1005424/_dPSv4_mob-all-article-bottom_(300×250)”, [300, 250], “pb-ad-78158” ).addService( googletag.pubads() ) ); } );

    The post Weekly Photography Challenge – Minimalism by Darlene Hildebrandt appeared first on Digital Photography School.


    Digital Photography School

  • Tips to Help You Find the Right Photography Studio Space to Rent

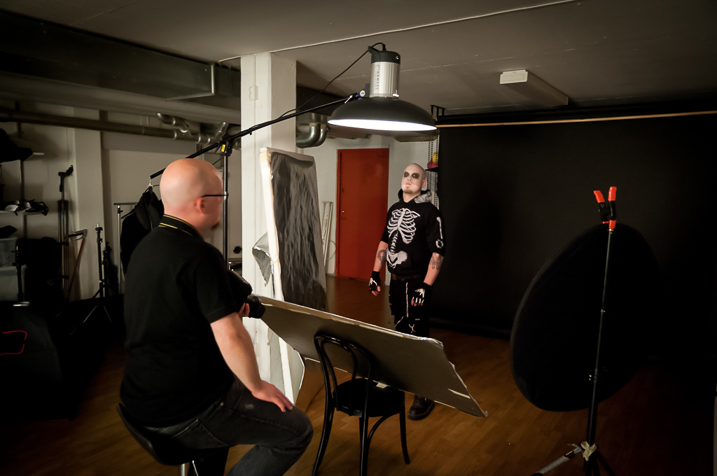
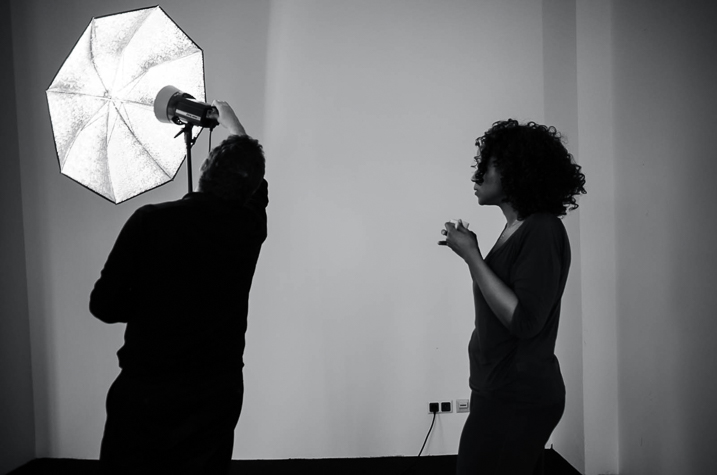
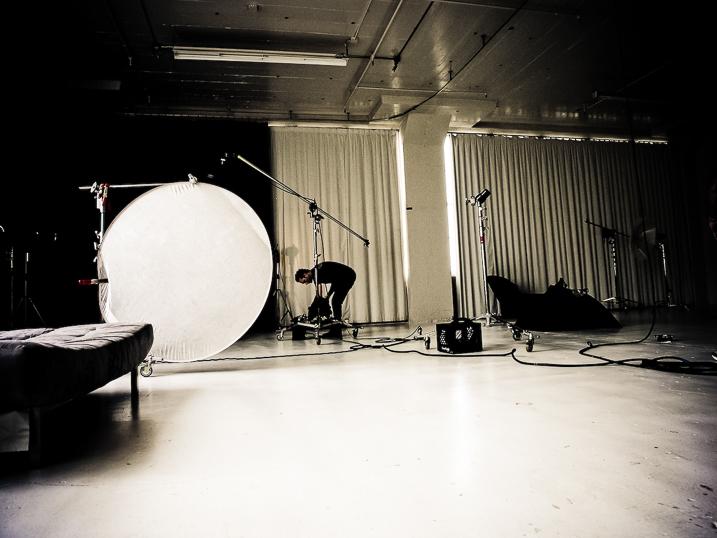
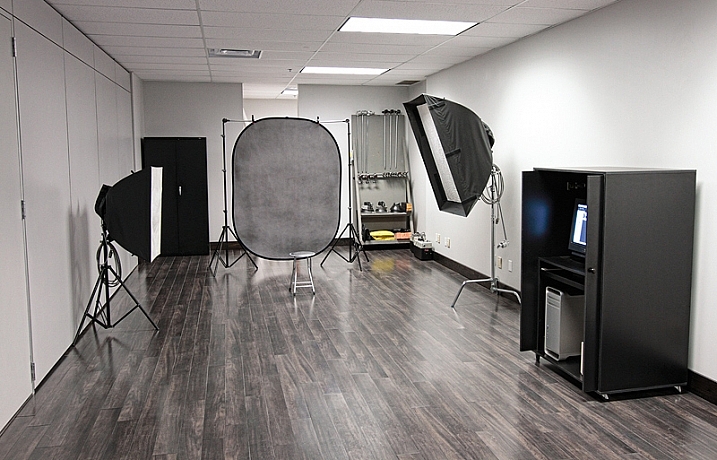
    Are you looking to up your portrait, fashion, or product game but are running out of space in your home? Maybe you are on the cusp of having a steady stream of clients but small droughts here and there have you worried about signing a lease for more space. Or perhaps you are curious about what you could do with some professional equipment and a dedicated space? Renting photography studio space is often a perfect solution for any of these situations and more.

    Ravenshoe Group

    By Ravenshoe Group

    Casual studio renting sounds ideal; no need to own extra gear, no monthly rent, no lighting/heating/insurance costs. But it can have some drawbacks if you’re not careful. Here are some tips to help you find the right photography studio space to rent.

    What do you need in a photography studio?

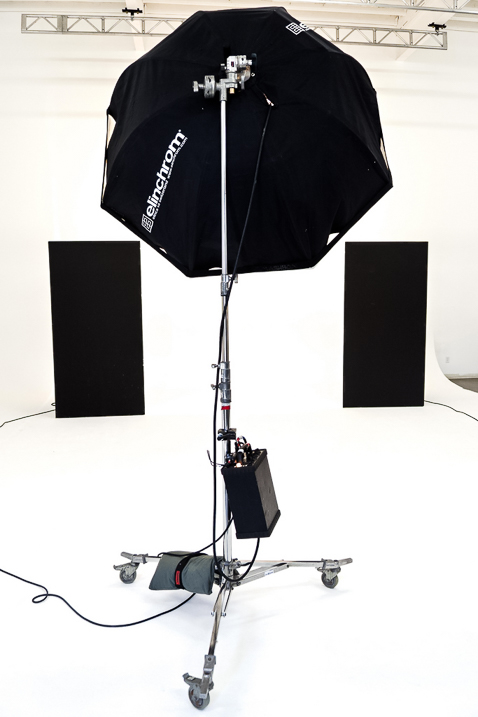
    Some studios have all the gear you would ever need; C-Stands, professional strobes and modifiers, and a gaggle of backdrops. Others will give you a heated space and an outlet, that’s all.

    The right photo studio equipment can make magical images

    Image by Erik Söderström/Flickr

    Your first step before renting a space is to figure out just what you need. Having a list of items you require will help you in the next phase (searching for your studio) as you file through website after website.

    For those totally new to studio shooting, I’d suggest finding a class to help you become familiar with handling the expensive gear in a studio space. I know I was intimidated the first time I was given an Alien Bee light and told to set it up.

    If you are only showing up with a camera, you’ll need to make sure the studio has it all. But if you like your strobes (yes, you can use a typical camera flash, with or without modifiers, in a studio) maybe you only need a dry space with a variety of backdrops.

    Resources for your search

    Google Maps works as a starting point but shouldn’t be your only stop. I use search terms like “Photo Studio”, but you have to be careful how you use the word “studio” otherwise you’ll start getting all kids of apartment listings.

    Getting setup for a photo studio shoot

    Image by Heisenberg Media/Flickr

    I’ve found Yelp to be useful for all the normal Yelpy reasons, but also because the photos help me get a sense of the space.

    Facebook groups are another excellent place to find space but make sure you do a little research first. Chances are someone has already asked your question, so search the results in your area. These groups are often run by local photography clubs, so a search for the likes of “Nashville Photography Club” will point you in the right direction. I find that photography club members are usually quite helpful finding most any photo resource when I am visiting a new location as well. They can also be a good source if you are looking for a mentor or assistant to help in the studio.

    Knowing what you’re getting

    Read the studio’s website very carefully if when in doubt, ask. Keep your emails that describe what you’re getting and what’s not included. Know when you can show up and if they will let you tour the space before your reservation date.

    Lots of space can be an advantage when renting photo studio space

    Image by jm3/Flickr

    This is just a business transaction; don’t be afraid to ask for what you need. If you want a fog machine, ask if one is included. Will a changing room be available? Will remote triggers for any flashes be included or should you bring your own? If you like a specific modifier for the lights, make sure they can provide it.

    These all seem like simple things but they will trip you up if you make an assumption that turns out not to be true. If the space has plenty of daylight but no good draperies to cover the windows, you should know this before you show up with clients.

    Be prepared

    Know which gear is available when renting a photo studio

    Image by a kindly stranger/Flickr

    Assume nothing. While the list of items may be complete and you received guarantees in email, be prepared to have vital items with you or a backup plan in place. What if the backdrop color you want got damaged just before your session by another patron? What if you really need music for your shoot (such as playback for a music video) and their system breaks?

    Have backups and backup plans. Carry extras of your own gear, as much is as practical, in case you are the cause of a breakage. Such as a lens cracks or your own wireless transmitter freaks out. You’ve spent time and money on the shoot; make sure it is not scrubbed because of something that can be backed up.

    Depending on the level and importance of the shoot, you may want to rent backup gear if there isn’t a shop close to your rental studio. Studio space can range from $ 30-$ 150 per hour or more, and if you are bringing in hair and makeup professionals or maybe a model or two the costs add up. It’s worth the slight extra cost to make sure that money isn’t wasted because you ran out of batteries or gaffers tape or can’t find your 50mm lens.

    Conclusion


    Renting studio space to expand your skills and resources is a great option as your photography grows. Getting in with a local group, via Facebook or an internet search, is a great way to find space and people who might be good mentors. Make sure you know what you are getting yourself into and what is and is not, included with the rental.

    Most of all, have fun shooting!

    googletag.cmd.push(function() {
    tablet_slots.push( googletag.defineSlot( “/1005424/_dPSv4_tab-all-article-bottom_(300×250)”, [300, 250], “pb-ad-78623” ).addService( googletag.pubads() ) ); } );

    googletag.cmd.push(function() {
    mobile_slots.push( googletag.defineSlot( “/1005424/_dPSv4_mob-all-article-bottom_(300×250)”, [300, 250], “pb-ad-78158” ).addService( googletag.pubads() ) ); } );

    The post Tips to Help You Find the Right Photography Studio Space to Rent by Peter West Carey appeared first on Digital Photography School.


    Digital Photography School
  • Lighting 103 Starts in January

    Are you busy in 2017? If not (or even if so!) we invite you to join Strobist's upcoming Lighting 103 course live, when it arrives in January.

    As with Lighting 101 and 102, L103 is completely free. There are some minimum gear requirements (sorry, I can't afford to give each of you gel packs.) But as with L101 and 102, there is nothing crazy expensive.

    The first section of the course will debut in mid-January, and new lessons will post bi-weekly after that. Expect the course to last for most (if not all) of the 2017, as there are already a couple dozen lessons planned.

    Are you in? Cool beans. Here's what you need to know. Read more »
    Strobist

  • Shooting in the Cold – Tips for Winter Photography

    Just because it’s cold doesn’t mean you should stop doing any photography. Winter photography can be magical, here are some tips for shooting in the cold to help you.

    The weather

    It’s easy to go out and shoot when the weather is nice and the weather God’s smile down with big fair sky grins. Summer, Spring, and especially Autumn are popular times for photography because there’s no shortage of photo opportunities – comfortable photo opportunities at that.

    Winter Photography 2

    Seasons change, though, but that doesn’t mean that you have to be discouraged, or worse, stop shooting just because winter comes around and the weather outside turns cold.

    Winter Photography 5

    That’s not to say that making photographs in winter doesn’t come with its own set of problems – well, not really problems. Let’s just say that making photos in the colder months is more challenging than it is when at warmer times of the year.

    Winter Photography 4

    There are still quite a few reasons to venture out into the cold with your camera. Here are a few tips that will help you stay productive (and safe) during those frosty months between Fall and Spring.

    Winter Photography 7

    Protect yourself

    All the know-how and skill in the world won’t do you much good if you’re too cold and miserable to actually make photographs. Always be aware that you and your well-being, above all else, is the most important thing to protect while shooting in frigid temperatures, doing winter photography.

    Winter Photography 6

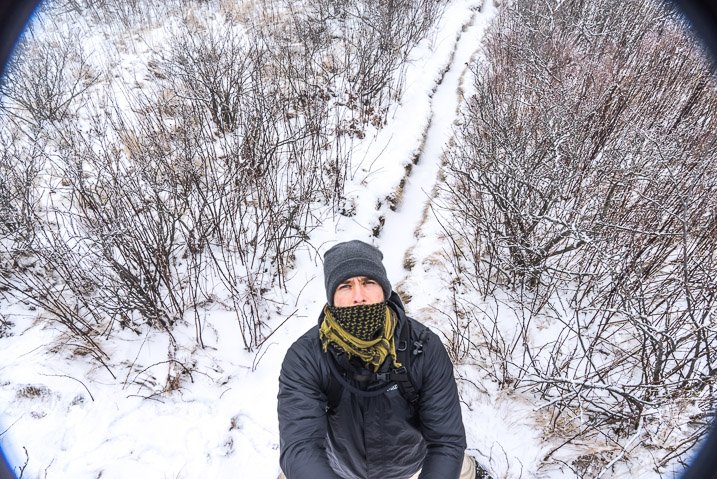
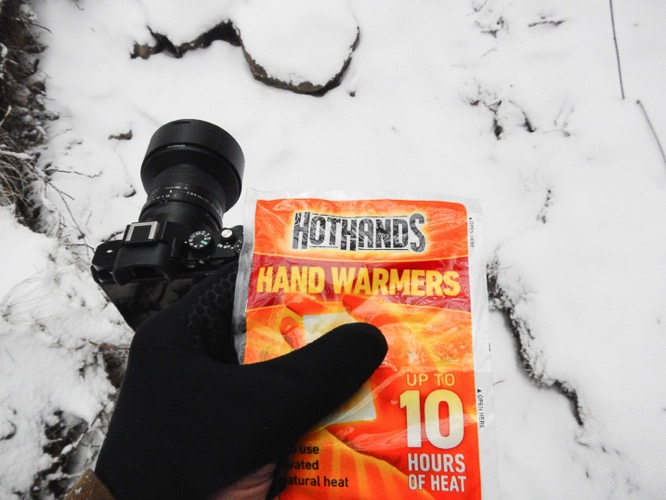
    Keep a well updated on current and future weather conditions and dress accordingly. Wearing layers of clothing will help you adjust your body temperature based on your level of activity while shooting, to prevent sweating which can lead to hypothermia. Protect your face, hands, and feet.

    Winter Cold Weather Protection

    This includes wearing warm gloves that allow good finger movement so you don’t have to constantly remove them before using your camera. Also, a face wrap or scarf goes a long way to shield your face from the wind but also to protect your camera from freezing condensation of your breath. More on that oh so wonderful phenomena a little later.

    Protect your batteries

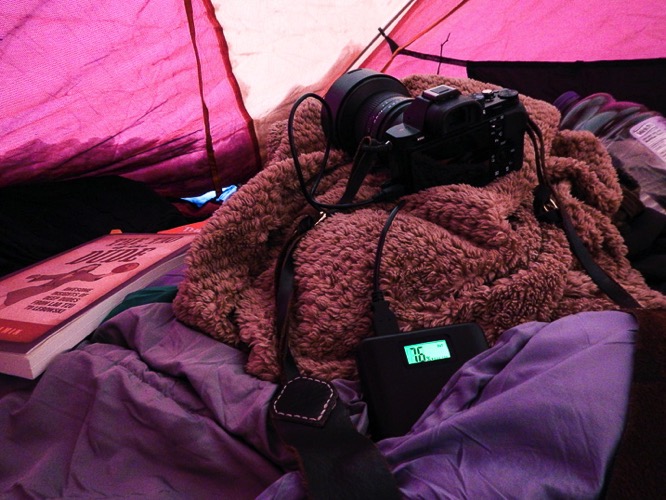
    Yes, we all know most of our cameras are electric and that means batteries. Batteries are essentially little chemical reactors that produce electricity. High or low temperatures affect batteries to varying degrees (temperature humor). Cold batteries discharge themselves faster than do warm ones. So basically, the cold temperatures faced when shooting winter photography can drain your batteries.

    Winter Batteries

    Take this into account and bring an extra battery or two when you venture out for some chilly winter shooting. If you can, carry your extra batteries in your pocket or closer to your body to keep them warmer and working more efficiently. There have been times when I was working in single digit temperatures when I put my battery in the camera only immediately before composing in order to maximize my shooting time.

    Don’t breathe

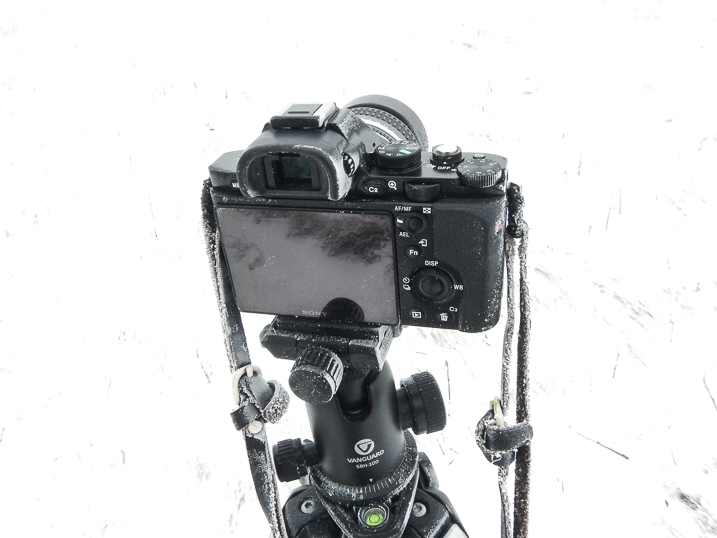
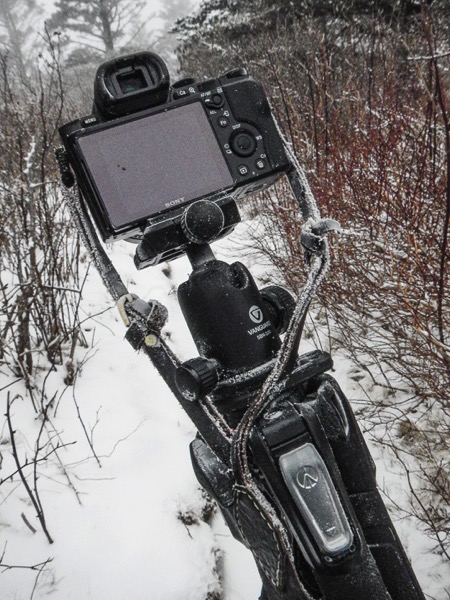
    Well, breathe of course, just not on your camera, or lens for that matter. Your breath contains a relatively high amount of moisture and heat. When the temperature outside drops, the very air you exhale can spell disaster for your winter photography. If you breathe directly onto your camera or lens condensation forms. Just like blowing your breath on a mirror. When it gets cold (below freezing), that condensation WILL FREEZE. This means that lens elements can glaze over with your own brand of self-made ice and viewfinders become unusable.

    Winter Frozen Camera 2

    To combat this frosting effect, remember to never carry your lenses close to your body and never blow your breath on them. For that matter don’t hold them in your hand for extended amounts of time because this too will warm them up which can lead to condensation. When composing your images, it’s a good idea to hold your breath.

    Winter Frozen Camera 1

    It only takes a few moments and will prevent a buildup of frost and ice on your camera.

    Understand your tripod

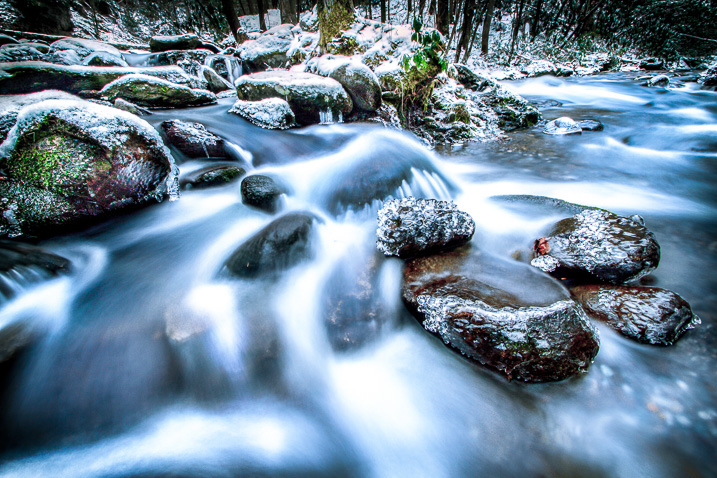
    I remember one late afternoon of shooting, a few winters back on a secluded stretch of a mountain stream. I was standing in the water with my tripod, making exposures until the light was gone and then packed everything up to drive back to the hotel. The temperatures were hovering somewhere in the lower twenties F (-4 to -6c). I carried my gear inside but left the folded tripod in the car.

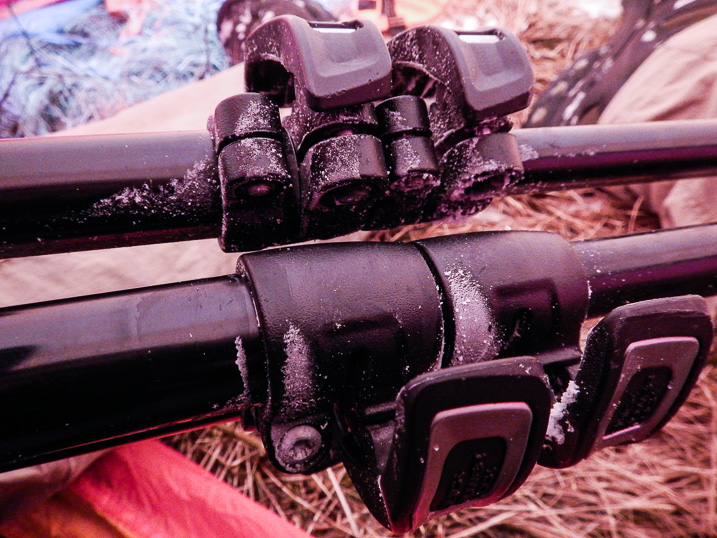
    The next morning found me beating on my now frozen tripod with a boot in order to break it free of the ice caused by leaving a wet tripod in a car overnight.

    Winter Photography 1

    I learned my lesson that day and there are a few things you can do to prevent my mistake from happening to you.

    Winter Frozen Tripod

    If your tripod gets wet, do what you can to remove as much water as possible. This will reduce the ice buildup. If you find yourself unable to store your tripod in a warmer place after shooting, leave the legs fully extended and be sure not to lock the legs. By leaving the legs unlocked you will have a much easier time making the tripod usable if it does freeze.

    Leaving the legs fully extended may be cumbersome but it will keep water from being introduced further into legs. The key factor to remember when using your tripod in winter is that water and moisture are your enemies. Anything you can do to reduce the moisture will help ensure your tripod functions more easily when things get really cold.

    Summary

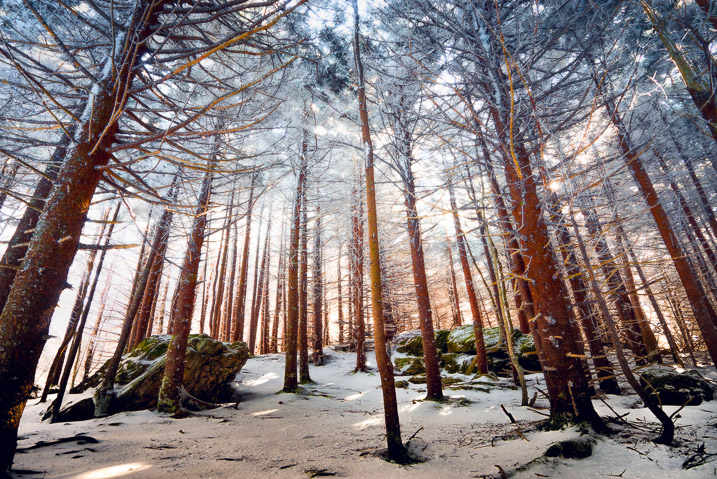
    Cold weather shooting and winter photography can be an extremely rewarding experience. Winter time transforms landscapes and locations into dream-like scenes different from any other time of year.

    Winter Photography 3

    Be sure you understand how to cope with the winter temperatures so you can protect yourself and your gear. Here’s a quick recap of the things you can do to make your sure your winter shooting is a great experience.

    1. Dress yourself according to the conditions. If you feel you’re not adequately prepared don’t risk it.
    2. Bring extra batteries and keep them warm. Carry your batteries close to you in order to extend their life.
    3. Don’t breathe on your gear. The condensation from your warm breath will freeze on your camera and lens. Hold your breath when composing.
    4. Be mindful of your tripod. If it gets wet the water may freeze making it difficult to use. Keep it as dry as possible.

    Please share any other winter photography preparedness tips in the comments below. Of course, share your winter images as well!

    googletag.cmd.push(function() {
    tablet_slots.push( googletag.defineSlot( “/1005424/_dPSv4_tab-all-article-bottom_(300×250)”, [300, 250], “pb-ad-78623” ).addService( googletag.pubads() ) ); } );

    googletag.cmd.push(function() {
    mobile_slots.push( googletag.defineSlot( “/1005424/_dPSv4_mob-all-article-bottom_(300×250)”, [300, 250], “pb-ad-78158” ).addService( googletag.pubads() ) ); } );

    The post Shooting in the Cold – Tips for Winter Photography by Adam Welch appeared first on Digital Photography School.


    Digital Photography School
  • Strobist Location Workshops in 2017

    Are you more the "learn by doing" type? As in, "Don't tell me, show me?"
    Then you may be interested in one of the 2017 Strobist location workshops that are already planned. Or perhaps you would like to know how to schedule an in-person workshop of your own—for your photo exposition, camera club, or right in your damn living room.

    Keep reading to learn how to make the monkey dance… Read more »
    Strobist

  • 3 Video Tutorials – Portrait Retouching Tips Using Lightroom

    Many of our readers use Photoshop to edits portraits, but what if all you have is Lightroom? Or you don’t know Photoshop as well? You can certainly do most of your portrait retouching using Lightroom.

    Here are some video tutorials that walk you through a complete edit of one portrait from start to finish, using only Lightroom. I have also included one that I myself did too.  Every photographer has their own style, so take what works for you from each and apply that to your own editing style.

    #1 Extended Lightroom Portrait Edit by Adam Lerner

    Photographer Adam Lerner walks you through his portrait editing process from start to finish. He will give you some tips and tricks and great hidden gems inside Lightroom that you can use.

    #2 Full Lightroom Portrait Editing by Photos in Color

    Ed Gregory from Photos in Color processes a portrait using Lightroom from end to end. He makes a very different looking end result so if you’re looking for some style ideas and tips this might be a good one for you. See what he does the same and differently than Adam above, and myself below.

    #3 Portrait retouching in 10 minutes using Lightroom

    This is my version. Having taught Lightroom in the classroom and done portraits for over 20 years, I may have some good tips for you that you didn’t already know. I’ve been using Lightroom since the beta version 0.9 or so, and it’s my go-to image editor.

    I almost never pull an image over to Photoshop unless I need to do layers for something. For portraits, that may be a head swap or something where I have to blend images. But otherwise, I pretty much use Lightroom for everything, even skin, eye and lip retouching.

    Your turn

    How do you use Lightroom to process and do your portrait retouching? Do you have any other tips the three of us missed? Please share in the comments below.

    googletag.cmd.push(function() {
    tablet_slots.push( googletag.defineSlot( “/1005424/_dPSv4_tab-all-article-bottom_(300×250)”, [300, 250], “pb-ad-78623” ).addService( googletag.pubads() ) ); } );

    googletag.cmd.push(function() {
    mobile_slots.push( googletag.defineSlot( “/1005424/_dPSv4_mob-all-article-bottom_(300×250)”, [300, 250], “pb-ad-78158” ).addService( googletag.pubads() ) ); } );

    The post 3 Video Tutorials – Portrait Retouching Tips Using Lightroom by Darlene Hildebrandt appeared first on Digital Photography School.


    Digital Photography School