RSS
 

Posts Tagged ‘Video’

Video: First-ever look at crystals forming in real-time at atomic resolution

11 Oct

Researchers at the University of Tokyo have combined novel techniques to record the first-ever atomic resolution video of salt crystals as they form in real-time. The team used the novel technique of atomic-resolution real-time video recording and the similarly novel technique of conical carbon nanotube confinement to achieve this impressive feat.

Before diving in, it’s important to give context. Salt crystals, like other crystals such as snowflakes and diamonds, comprise repetitive arrangements of molecules. While crystals can take many different forms, something they all have in common is a highly ordered microscopic structure. The process of disorganized molecules arranging into an ordered crystalline structure is called nucleation. The time it takes for the first crystal to appear in this process is called primary nucleation time. Secondary nucleation is a new crystal structure being produced by a preexisting crystal.

Nucleation has been the subject of scientific study for centuries. Scientists have been able to observe molecules at an atomic level and see what a crystal looks like. Still, until now, nobody has observed the dynamic process of crystal formation. Observing the nucleation process should shed light on the process and help expand our understanding of molecular structure and crystallization.

Credit: American Chemical Society / University of Tokyo

‘One of our master’s students, Masaya Sakakibara, used SMART-EM to study the behavior of sodium chloride (NaCl) – salt,’ said Project Assistant Professor Takayuki Nakamuro. ‘To hold samples in place, we use atom-thick carbon nanohorns, one of our previous inventions. With the stunning videos Sakakibara captured, we immediately noticed the opportunity to study the structural and statistical aspects of crystal nucleation in unprecedented detail.’

SMART-EM is a single-molecule atomic-resolution real-time electronic microscopy technique developed by students at the Department of Chemistry at the University of Tokyo. The technique captures images at 25 frames per second.

Nakamuro and his team looked at Sakakibara’s videos and, per Phys.org, ‘were the first people ever to see tiny cuboid crystals made of tens of molecules of NaCl emerging from the chaotic mixture of separate sodium and chloride ions.’ They observed a statistical pattern in the frequency of crystal emergence that followed a normal distribution. A normal distribution of crystal emergence had long been a held theory but had yet to be verified through experiment.

Credit: American Chemical Society / University of Tokyo

University Professor Eiichi Nakamura added, ‘Salt is just our first model substance to probe the fundamentals of nucleation events. Salt only crystallizes one way. But other molecules, such as carbon, can crystallize in multiple ways, leading to graphite or diamond. This is called polymorphism, and no one has seen the early stages of the nucleation that leads to it. I hope our study provides the first step in understanding the mechanism of polymorphism.’

The team hopes to better understand polymorphism, which is an important process to produce various pharmaceutical and electronic components. To read more about the ongoing study, refer to ‘Capturing the Moment of Emergence of Crystal Nucleus from Disorder,’ by Takayuki Nakamuro, Masaya Sakakibara, Hiroki Nada, Koji Harano and Eiichii Nakamura.

Articles: Digital Photography Review (dpreview.com)

 
Comments Off on Video: First-ever look at crystals forming in real-time at atomic resolution

Posted in Uncategorized


Rule of Thirds in Video: The Essential Guide

05 Oct

The post Rule of Thirds in Video: The Essential Guide appeared first on Digital Photography School. It was authored by Jaymes Dempsey.

rule of thirds in video: the essential guide

The rule of thirds is a simple composition technique that can instantly enhance your videography, but how does it work? And how can you use it to improve your videos in post-production?

In this article, I’ll explain everything you need to know about the rule of thirds, from the basics – what it is and how to follow it – to more advanced techniques, such as how to apply the rule to real estate footage, landscape footage, wedding footage, and more. 

I’ll also explain how to adjust your compositions in VideoProc Vlogger, the just-launched, beginner-friendly video editing software from the company behind the popular VideoProc program. (Bonus: It’s completely free!)

So if you’d like to improve your videos in the field and in the editing room, then let’s dive right in, starting with the essentials:

What is the rule of thirds in videography?

The rule of thirds is a compositional guideline designed to make your visuals more balanced and dynamic.

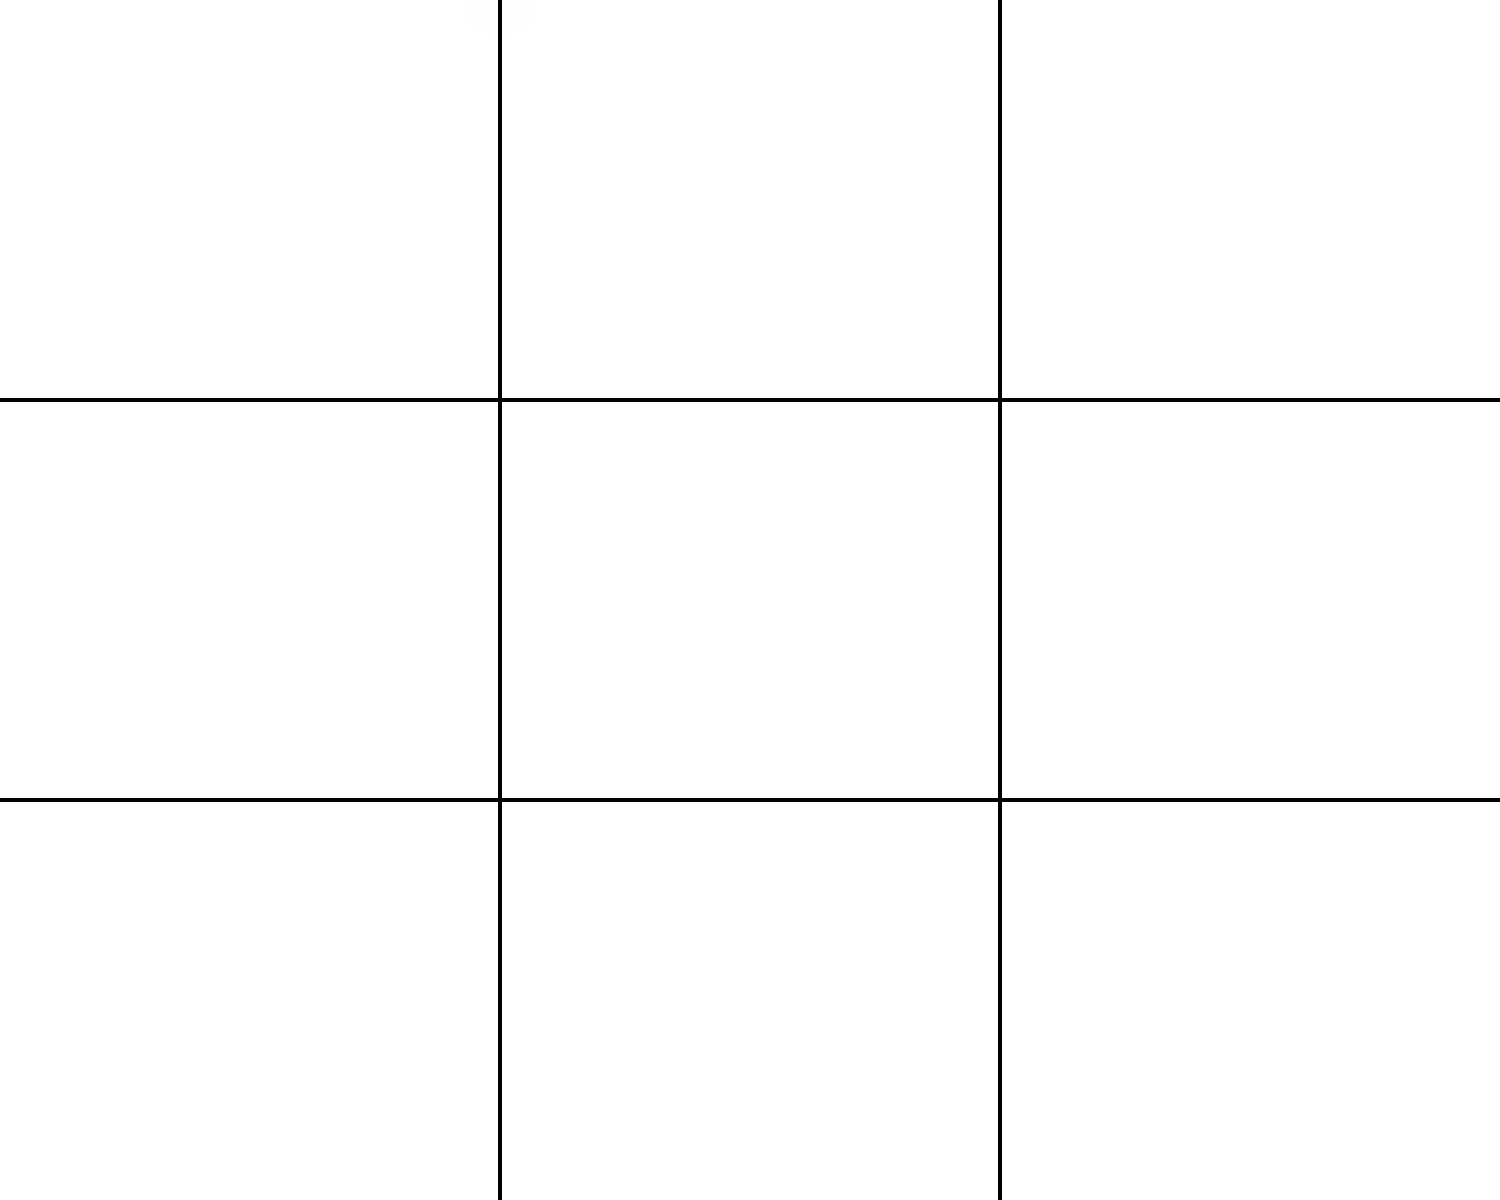
Specifically, the rule states that the best compositions position key elements a third of the way into the frame. It comes with helpful gridlines:

rule of thirds gridlines

The idea is simple, at least in theory. When faced with a scene, you – the videographer – should position key elements somewhere along the gridlines, and when possible, at the intersection of two gridlines.

(These intersections are known as power points, because they improve your compositions even further.)

So if you’re shooting a mountain at sunset, you might position the horizon line along the lower horizontal gridline, then make sure that the camera pans until the main mountain peak falls across a power point. Make sense?

The rule of thirds isn’t really a rule – just a guideline. But it is a great way to make your videos look professionally composed, and it’s a technique used all the time in movies, TV, commercials, and more.

In other words: You don’t need to follow the rule of thirds religiously. But if you can learn to incorporate it into your shooting – if you can learn to think in terms of the rule of thirds gridlines as needed – then your footage will improve dramatically.

Now, you can apply the rule in two basic ways:

  1. You can plan out your shots using the rule of thirds, then keep your subjects aligned with the gridlines while recording.
  2. You can record, then crop to satisfy the rule of thirds (when editing).

If possible, it’s best to nail the composition in camera; that way, you don’t lose resolution during post-production. However, if you’re shooting at high resolutions and exporting at low resolutions, or you aren’t too obsessed with pixel-perfect quality, you can always adjust your footage to use the rule of thirds after your shoot is over, as I discuss in the next section:

Applying the rule of thirds in VideoProc Vlogger: step by step

VideoProc Vlogger is a powerful new program designed to make video post-production quick, easy, and intuitive, plus it costs nothing. You can download the software here.

And in VideoProc Vlogger, literally anyone can use the rule of thirds to enhance their photos; all it takes is a few simple clicks. Here’s how it works:

Step 1: Prepare your footage for editing

Once you’ve launched VideoProc Vlogger and started a new project, you’ll need to bring your clips into the Media Library. 

Simply drag and drop the relevant files onto the Library panel:

uploading your videos for editing

Or tap Add Video and browse through your files for the relevant footage:

adding videos to VideoProc

Then drag the clips down to the Timeline:

the VideoProc timeline

And you’re ready to go.

Step 2: Add horizontal and vertical guides to approximate the rule of thirds

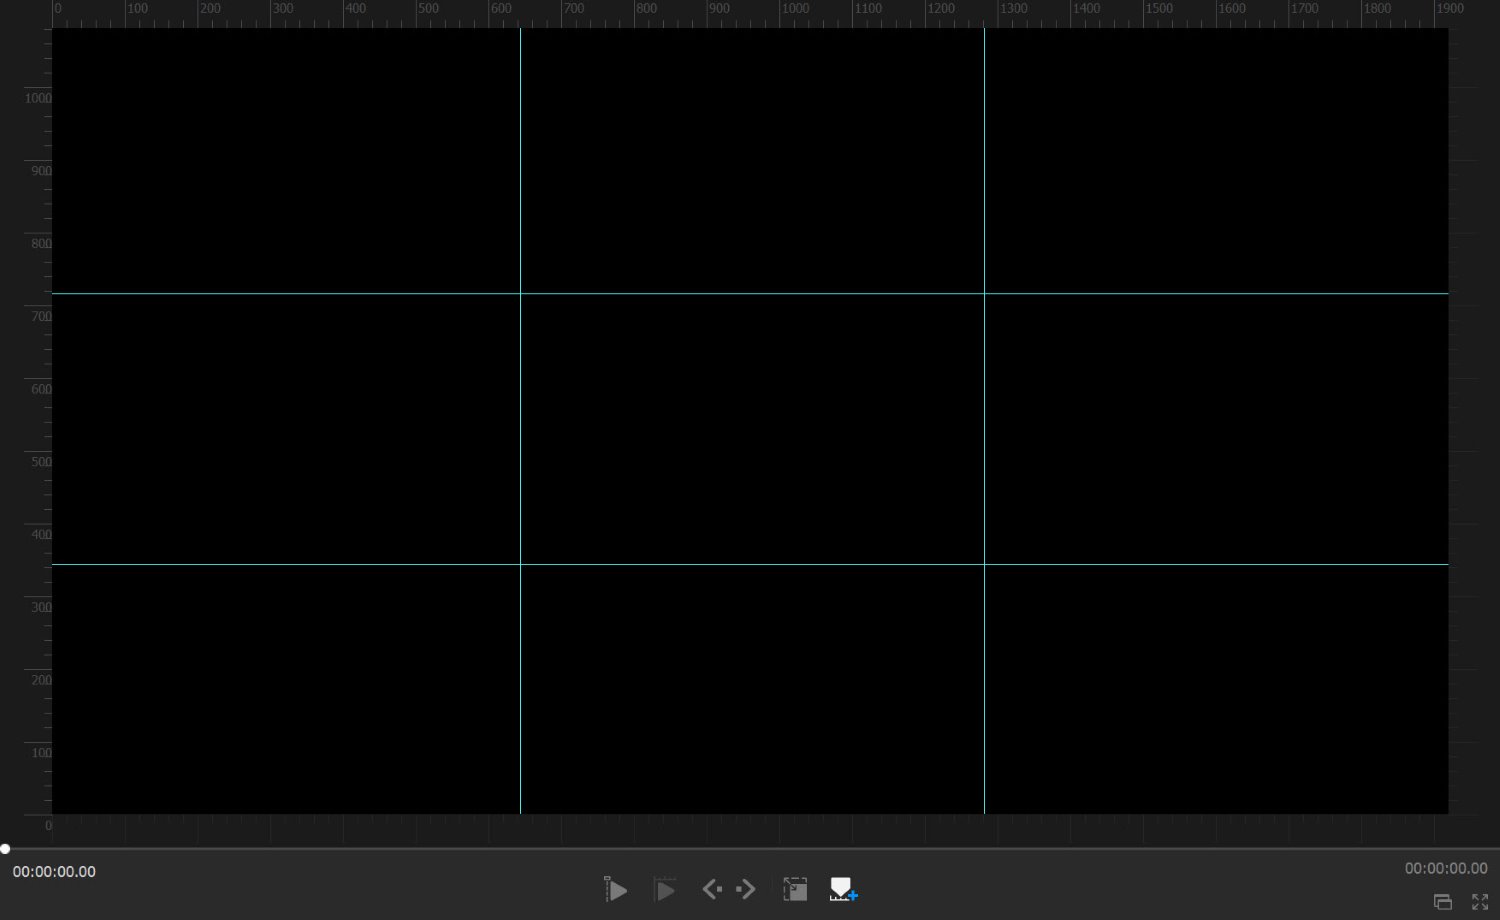
VideoProc Vlogger allows you to easily create guides on your preview screen. Our goal is to recreate the rule of thirds gridlines, like this:

rule of thirds gridlines

First, you’ll need to identify the dimensions of your frame. For this example, I’m working with a 1920 x 1080 (HD) video. (If you’re not sure, you can always check the desktop file, or you can click the little i Info button on the clip thumbnail in VideoProc.)

Second, take the width and divide it by 3. Do the same for the height.

To use my example, 1920 divided by 3 equals 640, and 1080 divided by 3 equals 360.

Next, make sure the Show Rulers button is selected:

activating the ruler

Tap the Horizontal Guide button:

horizontal guides

Then place two horizontal guides: one at around 640 pixels, and the other at around 640 x 2 (1280) pixels. 

Finally, tap the Vertical Guide button and place two vertical guides: one at around 360 pixels and the other at around 360 x 2 (720) pixels.

adding vertical guides

And there you have it: a rule of thirds grid, right in your Preview panel.

If you’re worried about accidentally adjusting your guides, you can always hit the Lock Guide button:

locking the guides

Step 3: Use the rule of thirds to evaluate (and crop) your footage

Once you have your rule of thirds gridlines in place, I recommend playing through your footage, paying careful attention to key elements, including:

  • Horizon lines
  • People
  • Bright, eye-catching objects
  • Any other main subjects

Ask yourself: Are these key elements frequently aligned with the rule of thirds gridlines? If the answer is “Yes,” then you’re doing great – but if you come across a clip where the answer is “No,” you can simply select the Crop tool:

cropping the video

Then adjust your footage until it’s rule-of-thirds compliant. 

Pro tip: If possible, ensure the aspect ratio of the crop matches the original aspect ratio of the footage; otherwise, you’ll need to scale the footage (and you’ll lose parts of the frame in the process).

When should you apply the rule of thirds in VideoProc Vlogger?

While you can technically use the rule of thirds at any stage in your editing process, I highly recommend you add the gridlines and evaluate your composition at the very beginning of your workflow. 

Compositional arrangement tends to affect everything about a recording, from its mood to its ideal color grade to its ideal speed, so it pays to determine exactly how your composition will look before proceeding with any other edits.

Case studies: how to apply the rule of thirds in real-life situations

Up until this point, I’ve explained how to use the rule of thirds, but I haven’t talked much about common situations you’ll run into when filming and how you can use the rule of thirds to enhance your footage.

Let’s take a look at a few likely scenarios:

Real estate videography

In real estate filming, you’ll want to pay careful attention to a few features, including major appliances, eye-catching furniture, wall lines (i.e., the point where one wall ends or intersects with another), and floor lines (i.e., the point where the floor intersects with the wall).

Aim to position wall lines along vertical gridlines and floor lines along horizontal gridlines:

real estate videography with rule of thirds

You can also position appliance and furniture edges along the gridlines and (ideally) at power points, like the kitchen island in the example above.

By the way, it’s generally better to pan than to capture static shots, but make sure you move into the final composition. In other words, pan until the scene meets the rule of thirds, then cut.

Night videography

Shooting at night can go many different ways, but I do recommend you think about the horizon line; as I discuss in the next section, you’ll want to position it along the top or bottom horizontal gridline.

This clip could use a bit of rule-of-thirds adjusting:

city scene at night video

For instance, I might crop at the top to emphasize the foreground (and get rid of the boring sky).

cropped city scene at night

I can also align interesting subjects with the horizontal gridlines, like the busy road on the left-hand side.

city scene at night second crop

Landscape videography

When filming landscapes, always check the horizon line. In rare cases, it can work to place this dead-center – but in general, I recommend positioning it along the top or bottom horizontal gridline. 

Which option is better? That depends on the scene. If your footage includes a lot of foreground interest, such as a river, rocks, or even a rustic cabin, then you’ll want to minimize focus on the sky by positioning the horizon along the top gridline:

mountain landscape scene with rule of thirds

But if your footage contains very little foreground interest and/or a beautiful sky, the reverse is the way to go.

Food videography

In general, your food compositions should feature a main dish or main food item, often surrounded by other supporting dishes, food items, or utensils.

You’ll want to position your main subject along a gridline or at an intersection point. You’ll also want to pay attention to the table edge; if it’s present in your composition, it may sit most naturally along a horizontal gridline.

Here, you can see the pitcher of syrup, which sits along the top gridline, positioned above the dessert, which sits along the bottom gridline:

rule of thirds food scene

Wedding videography

While wedding scenes include a lot of variation and can be somewhat unpredictable, you might aim to put the happy couple along the two vertical gridlines. Check out this clip, where the bride and groom start in the center of the screen…

wedding scene

…but eventually align perfectly with the rule of thirds gridlines:

rule of thirds cropped wedding scene

Starry sky videography

As with landscape videography, you’ll need to check your horizon lines. You’ll likely want to position the horizon along the lower horizontal gridline; that way, you can emphasize the beautiful sky:

starry sky scene

However, in situations with especially interesting foreground elements, you might position the horizon along the upper horizontal gridline instead.

Rule of thirds in video: final words

Now that you’ve finished this article, you are well equipped to use the rule of thirds in your own videography. 

Just remember my tips on composition, and be sure to download VideoProc Vlogger so you can evaluate (and adjust) your compositions after shooting!

Digiarty, the creator of VideoProc, is a paid partner of dPS.

The post Rule of Thirds in Video: The Essential Guide appeared first on Digital Photography School. It was authored by Jaymes Dempsey.


Digital Photography School

 
Comments Off on Rule of Thirds in Video: The Essential Guide

Posted in Photography


Video: a Retro Review of Sony’s 24-year-old Mavica FD5 camera, which used floppy discs for storage

04 Oct

Gordon Laing has shared another episode of Retro Reviews, this time reviewing the 24-year-old Sony Mavica FD5, one of Sony’s earliest digital cameras that recorded cameras directly to 3.5” floppy discs.

The Mavica FD5 was released in 1997 and retailed for around $ 600. While not the first Mavica camera, it was the first digital Mavica camera. As Gordon explains in the 13-minute video, the selling point of the FD5 was its use of the ubiquitous 3.5” floppy disc as a storage medium. Whereas most other digital cameras in the mid-to-late 1990s either used built-in storage or more expensive (and sometimes proprietary) storage solutions, Sony opted to go for a solution that didn’t require most consumers to go out and purchase additional hardware.

Naturally, this solution made for a rather large, square-shaped camera. But, aside from its brick-like ergonomics [insert Sony ergonomics joke here], Gordon suggests the camera is fairly intuitive and straightforward due to its almost entirely auto nature (the only adjustable setting was exposure compensation +/- 1.5EV in .5EV increments). However, there are a few user experience quirks, such as the camera displaying only the numbers of images captured, not how many remain until your 1.4MB of storage is used up.

Below is a collection of sample photographs captured by Gordon with the Mavica FD5, used with his permission:

$ (document).ready(function() { SampleGalleryV2({“containerId”:”embeddedSampleGallery_5307541400″,”galleryId”:”5307541400″,”isEmbeddedWidget”:true,”selectedImageIndex”:0,”isMobile”:false}) });

At the heart of the FD5 was a CCD sensor that was carried over from Sony’s line of digital video cameras and offered a whopping .3MP (640 x 480 pixels) of resolution. Gordon notes the camera applies rather aggressive JPEG compression to the images in order to fit 20–40 60KB photographs onto a single 3.5” 1.4MP floppy disc. The fixed focal length lens on the FD5 is a 47mm equivalent with a slider on the front of the camera for activating a macro lens that popped in front of the main lens.

The FD5 uses Sony’s FP-530 batteries, which were rated for up to 500 shots per charge. However, reviewing images and keeping the rear LCD display on for extended periods of time dramatically cuts into that shot count.

As always, Gordon’s video coincides with a written Retro Review of the camera, which you can read over on CameraLabs. You can find more of his Retro Reviews on Gordon’s DinoBytes YouTube channel and find his other photography work on his camera review website, CameraLabs.

Articles: Digital Photography Review (dpreview.com)

 
Comments Off on Video: a Retro Review of Sony’s 24-year-old Mavica FD5 camera, which used floppy discs for storage

Posted in Uncategorized


Canon Announces the EOS R3: Dual Card Slots, 30 FPS, and 6K Video

25 Sep

The post Canon Announces the EOS R3: Dual Card Slots, 30 FPS, and 6K Video appeared first on Digital Photography School. It was authored by Jaymes Dempsey.

Canon announces the EOS R3 mirrorless camera

Last week, Canon launched its EOS R3, a sports-centric mirrorless model billed as “the company’s most technologically advanced full-frame mirrorless camera.”

The EOS R3 has generated plenty of hubbub, and rightfully so; on spec sheets, it outclasses the (already formidable) action capabilities of the EOS R5 and the EOS R6. The EOS R3 should even give Canon’s flagship DSLR, the 1D X Mark III, a run for its money, though Canon has deliberately refrained from naming the EOS R3 as the 1D X Mark III’s mirrorless twin. Instead, the company claims that the EOS R3 “bridges the gap between the immensely popular EOS R5 and the world-renowned Canon flagship EOS-1D X line,” which leaves open a spot for Canon’s true mirrorless flagship, the (presumed) EOS R1. 

Of course, the EOS R1 won’t debut until 2022 at the earliest, and in many ways, the capabilities of the EOS R3 make you wonder why an action-ready EOS R1 is even necessary; if the EOS R1 sits above the EOS R3, what could it possibly offer beyond the R3’s standout features?

And indeed, the EOS R3 is a standout. You get the expected professional features: top-notch weather sealing (“equivalent to EOS-1D camera models,” according to Canon), an in-built body grip, and dual card slots, perfect for sports and other action shoots. Thanks to Canon’s new 24 MP backside illuminated sensor, you’ll see improved high-ISO performance, perhaps even a stop or two better than the EOS R6, Canon’s most impressive low-light performer to date.

But you also get additional class-leading features. Autofocus is outstanding, bolstered by a whopping 1053 AF points plus a newly developed automobile and motorcycle AF. Then there’s the much-talked-about Eye Control AF, which is simply cool, no matter its final performance; look toward the rightmost subject and your camera will focus right, look toward the leftmost subject and your camera will focus left. There’s even a fully articulating screen, which allows for the low-angle compositions and smooth video monitoring appreciated by professionals.

Canon EOS R3 with a fully articulating screen

Action photographers will love the 30 frames-per-second continuous shooting (via the electronic shutter), and the 5.5 stops of in-body image stabilization will improve handheld photography (Canon promises “the world’s most effective image stabilization”).

While the Canon EOS R3 has been teased as a powerful stills camera, its video capabilities are certainly impressive. You get 6K/60p and 4K/120p shooting, along with all the standard video features (e.g., Canon Log, focus peaking, etc.). 

Is the Canon EOS R3 the best mirrorless camera currently available? That’s tough to say, especially when faced with more detail-focused cameras such as the Sony a7R IV, the Sony a1, and the Nikon Z7/Z7 II. But it’s certainly impressive, and if you can afford the $ 6000 USD cost, the EOS R3 is currently available for preorder. 

The cameras will begin shipping in November, so if you’re after one of the best action models on the market, then take a look!

Now over to you:

What do you think about the Canon EOS R3? Is it everything you hoped for? Is it missing any features you would’ve appreciated? Share your thoughts in the comments below!

The post Canon Announces the EOS R3: Dual Card Slots, 30 FPS, and 6K Video appeared first on Digital Photography School. It was authored by Jaymes Dempsey.


Digital Photography School

 
Comments Off on Canon Announces the EOS R3: Dual Card Slots, 30 FPS, and 6K Video

Posted in Photography


Samsung shares new promotional video for its pixel-packed 200MP HP1 mobile image sensor

21 Sep

Samsung has published a new promotional video detailing the features of its new ISOCELL HP1 mobile image sensor.

In the three-minute video, Samsung Sensor Design Team member Minho Kwon shares the various technologies the HP1 sensor brings to mobile image. Specifically, he addresses the 0.64?m pixel size of the sensor, as well as its various pixel-binning modes, including the 4–1 pixel binning (to give an equivalent pixel size of 1.28?m) used when recording 8K video, as well as 16-to-1 pixel binning (to give an equivalent pixel size of 2.56?m) used in low-light environment for still images.

Minho Kwon also details Samsung’s Smart ISO technology, a dual-gain mode that intelligently switches between gain levels to achieve the maximum detail in both light and dark environments.

No new information is presented in the video, but it’s a great look into a pixel-packed sensor we’ll likely see inside next year’s flagship smartphones.

Articles: Digital Photography Review (dpreview.com)

 
Comments Off on Samsung shares new promotional video for its pixel-packed 200MP HP1 mobile image sensor

Posted in Uncategorized


Video: Curiosity rover captures 360-degree panorama of Mount Sharp on Mars, showing changing landscape

24 Aug

NASA’s Curiosity Mars rover recently explored Mount Sharp. The mountain is 8km (5 mi) tall and is within the 154km-wide (96 mi) basin of Mars’s Gale Crater. Curiosity captured a new 360-degree panorama at Mount Sharp, revealing its diverse terrain and shedding light on the area’s ancient environment.

NASA writes, ‘Images of knobbly rocks and rounded hills are delighting scientists as NASA’s Curiosity rover climbs Mount Sharp, a 5-mile-tall (8-kilometer-tall) mountain within the 96-mile-wide (154-kilometer-wide) basin of Mars’ Gale Crater. The rover’s Mast Camera, or Mastcam, highlights those features in a panorama captured on July 3, 2021 (the 3,167th Martian day, or sol, of the mission).’

Studying the region has been a long-term goal for the Curiosity mission, which is now in its ninth year on Mars. By studying the layers of Mount Sharp, scientists hope to understand how the environment of Gale Crater dried over time. Similar changes in mineral composition are seen across the planet, so understanding Gale Crater should pay dividends in understanding other parts of Mars.

‘The rocks here will begin to tell us how this once-wet planet changed into the dry Mars of today, and how long habitable environments persisted even after that happened,’ said Abigail Fraeman, Curiosity’s deputy project scientist, at NASA’s Jet Propulsion Laboratory in Southern California.

‘NASA’s Curiosity Mars rover used its Mast Camera, or Mastcam, to capture this 360-degree view near “Rafael Navarro Mountain” on July 3, 2021, the 3,167th Martian day, or sol, of the mission. Stitched together from 129 individual images, the panorama has been white-balanced so that the colors of the rock materials resemble how they would appear under daytime lighting conditions on Earth. A craggy hump that stretches 450 feet (137 meters) tall, the geologic feature is located on Mount Sharp in northwest Gale Crater.’ Credit: NASA/JPL-Caltech/MSSS. Click to enlarge.

When Curiosity landed on Mars on August 5, 2012, its primary mission was to study whether different Martian environments could have supported microbial life in Mars’s ancient past. Lakes and groundwater once existed within Gale Crater, and scientists want to use Curiosity to understand better what happened and how Mars changed over time.

Looking forward, Curiosity is currently working its way up a path between Rafael Navarro Mountain and a towering butte. In the coming year, Curiosity will drive past these features and enter a canyon. It will then revisit Greenheugh Pediment.

You can learn more about the Curiosity mission by visiting NASA’s dedicated Mars website. You can also check out some of our prior coverage, including Curiosity photographing rare shimmering clouds in June and a neat selfie Curiosity sent to Earth in March.

Articles: Digital Photography Review (dpreview.com)

 
Comments Off on Video: Curiosity rover captures 360-degree panorama of Mount Sharp on Mars, showing changing landscape

Posted in Uncategorized


Video: Drone operator helps rescue fisherman he saw being attacked by a shark

22 Jul

Matt Woods was relaxing on his balcony in Bondi Beach, Australia, when he decided to launch his DJI Mavic 2 Zoom drone and capture some footage. To his horror, he discovered a lone spear fisherman in the water using a speargun to ward off an aggressive mako shark. The ordeal lasted 30 minutes, until help arrived.

Woods, 36, took off from his beachside balcony around 4:00 pm. He expected to capture some scenic footage of the swimmers and surfers that frequent the beach on a daily basis. Occasionally he would spot whales but up until that moment, he hadn’t witnessed a shark.

‘I spotted the shark straight away as there was a big bait ball of fish and as I got closer I could see it was also circling the diver in the water,’ Woods revealed to the UK’s Daily Mail. ‘The diver was fending the shark off and poking it with his spear gun. The shark then went after his float that is attached to the diver. He was charging it and trying to bite it, thrashing it about.’

Instead of being a helpless bystander, Woods took action. He grabbed his girlfriend’s cell phone and alerted nearby lifeguards to the conundrum before he resumed filming the battle. After clearing swimmers close to the shore from the water, lifeguards arrived to the scene on jet skis to rescue the beleaguered swimmer – roughly 30 minutes after Woods’ initial phone call.

This grainy image reveals the fisherman using his spear to fend off the aggressive, predatory shark.

‘I felt as if we helped as best we could,’ he revealed. ‘We got on the phone to the lifeguards straight away… while I stayed over the shark on my drone the whole time so we could guide them in. I was pretty happy once the lifeguard came out and I could see the diver had managed to scramble onto the rocks and reef.’

Woods went out to the scene after the ordeal and attempted to locate the diver and show him the footage. He wasn’t able to find him. While there have only been nine recorded attacks from mako sharks on humans, since 1580, experts say the sharks are sometimes attracted to fishermen, in particular, if they’re carrying dead fish.

Articles: Digital Photography Review (dpreview.com)

 
Comments Off on Video: Drone operator helps rescue fisherman he saw being attacked by a shark

Posted in Uncategorized


Video: Hasselblad shows how it produces, tests its X System medium format cameras

21 Jul

Hasselblad has released the third video in its ongoing ‘Hasselblad Home’ series, showcasing how the Swedish company produces and tests its X System medium format cameras inside its Gothenburg headquarters.

Throguhout the four-minute video, Hasselblad shows the five-step production and testing process it uses to ensure all X System cameras are properly constructed and programmed to get the best image quality possible. The first step in the process is a cosmetic check to ensure the camera body itself is undamaged from the manufacturing process. If it clears the cosmetic check, that camera is assigned a serial number, which will follow it until it reaches the hands of the customer.

With the serial number assigned, it’s onto installing the software of the camera and completing more assembly of the main camera unit. Hasselblad says it tests each sensor independently — by capturing over 700 test shots — and uses that data to create a calibration profile that is then installed on the camera that specific sensor unit is installed in. The camera will apply that specific calibration profile to each image before data is saved to the recording media.

From there, it’s onto the digital unit test, wherein Hasselblad workers adjust focus, remove dust and apply other quality control measures before moving onto the final photo quality test. Using both studio scenes and color charts, Hasselblad tests the image quality of each camera using both automated and manual verification to ensure no anomalies are seen in the resulting photographs.

The video is yet another unique look into a process usually hidden within the factory walls. Regardless of whether or not you own — or have even shot with — a Hasselblad, it’s hard not to respect the level of precision and attention to detail that goes into each camera unit before it’s packaged up and shipped off.

Articles: Digital Photography Review (dpreview.com)

 
Comments Off on Video: Hasselblad shows how it produces, tests its X System medium format cameras

Posted in Uncategorized


7 Composition and Lighting Tips to Improve Your Landscape Photos (Video)

13 Jun

The post 7 Composition and Lighting Tips to Improve Your Landscape Photos (Video) appeared first on Digital Photography School. It was authored by Jaymes Dempsey.

Looking to take your landscape photography to the next level?

In this video, professional landscape photographer Nigel Danson takes you through his shooting process and shares 7 simple tips and tricks to elevate your photos. While Danson mostly focuses on composition, he throws in a couple of lighting tips for good measure – and each piece of advice is carefully illustrated with breathtaking video footage and stellar example photos.

So give it a watch! And then leave a comment below, letting us know your favorite tip from the video.

The post 7 Composition and Lighting Tips to Improve Your Landscape Photos (Video) appeared first on Digital Photography School. It was authored by Jaymes Dempsey.


Digital Photography School

 
Comments Off on 7 Composition and Lighting Tips to Improve Your Landscape Photos (Video)

Posted in Photography


Video: A ‘Retro Review’ of the 20-year-old Canon Pro90 IS, Canon’s first digital camera with optical image stabilization

12 Jun

Gordon Laing, Editor of Camera Labs, is back again with another episode of ‘Retro Review.’ In this video, he puts the Canon Pro90 to the test to see how well it holds up two decades after it was released.

At the time of its release, the Canon Pro90 IS was Canon’s flagship PowerShot camera. It retailed for $ 1,300, used a 3.3MP sensor and had a design similar to its Pro70 predecessor, but featured a 10x zoom lens compared to the 2.5x zoom lens on the Pro70. It was also Canon’s first camera with optical image stabilization.

As impressive as the optics were though, the camera had an interesting design quirk—the image circle of the lens didn’t fully cover the 1/1.8″ sensor, so the resulting images were digitally cropped down to just 2.6MP. Incredibly, the camera featured a Raw capture mode though, in addition to JPEG support (with various compression ratios) as well as QVGA (329 x 240 pixel) video recording.

To find out more, set some time aside to watch the entire 12 minute video. To see more Retro Review content and other interesting insights on vintage tech, head over and subscribe to Laing’s Dino Bytes YouTube Channel.

Articles: Digital Photography Review (dpreview.com)

 
Comments Off on Video: A ‘Retro Review’ of the 20-year-old Canon Pro90 IS, Canon’s first digital camera with optical image stabilization

Posted in Uncategorized