Category: Uncategorized

  • Q&A: Speedlight Color Shifts

    In one of the geekier questions I have gotten in a while, reader Kevin House asked via Twitter how color temperature varies with power levels on speedlights.

    The short answer is, it doesn't really vary significantly due to power level differences. But it does vary for other reasons. Read more »


    Strobist

  • Q&A: Avoiding Cross Shadows When Rim-Lighting

    Strobist reader Ed Roper asks:

    I've been using a three-light setup, but running into a pesky shadow problem. Below is an example setup shot with the shadows highlighted. As you can see, I'm already using grids to try to cut down on the spill.

    Are these cross shadows just a fact of life when trying to wrap full body like this?


    The good news, Ed, is that you have exactly the light mods you need to do this well. And the fix is easy… Read more »


    Strobist

  • Maki Kawakita’s Theatrical Light

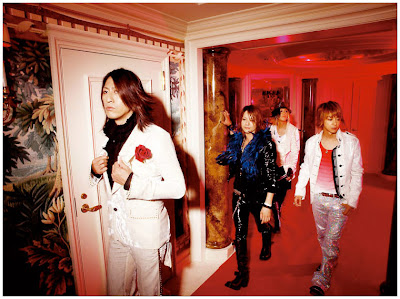
    Photos ©Maki Kawakita

    By Irwin Wong — A largely self-taught photographer, Tokyo and New York-based commercial photographer Maki Kawakita now shoots ad campaigns for major Japanese and US brands as well as working on her own series of self-portraits.

    Shown here are Kawakita's photos of Japanese rock icons Glay, which were done in 2009. As with many of her shoots, the location is as much the subject of her photos as are the people.

    How to commandeer a glitzy hotel lobby so she can fill it with her heavily gelled flashes? Turns out that part is pretty easy. It is the lighting itself that's a bit more complex… Read more »


    Strobist

  • Flickr Announces Android App and Flickr Photo Session

    Flickr Announces Android App and Flickr Photo Session

    Flickr announced two new features today, an Android app and something called “Flickr Photo Session” where users can share photos and chat with each other. I’ve not had time yet to extensively play with either of these two new products, but here are my off the cuff initial reactions.

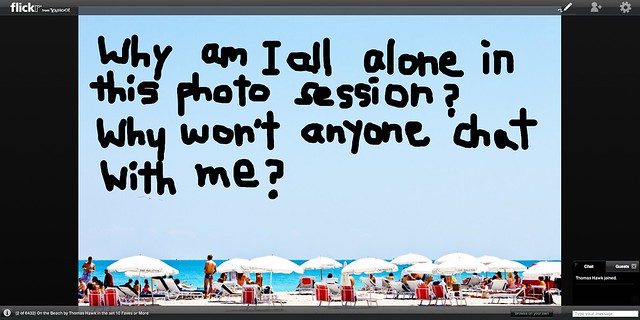
    1. Flickr Photo Session. With Flickr Photo Session, basically you can invite up to 10 friends to look at a set or some sort of shared content together on flickr. You can use text chat to chat with each other and even make doodles on the photos as you chat about them.

    WTF? Who would ever use this? Are you kidding me? So you mean I can take a slide set of my vacation photos and invite 10 cool friends to *text* chat about them with me? And we can draw a mustache on the statue that I took a photo of and lol wtf roflmao about them? What is this, AOL? Who would ever even accept an invitation to such a horrid experience? Photo Sessions are going to be terribly lonely places. Text chat was so last decade.

    Why not just join a google hangout instead where we can all see each other face to face on video/audio (and text chat too if we want) and share our screens and go through a slide show that way instead? Also with a Google hangout I’m not limited to just flickr. I can share any photos anywhere on the web. Also I’m not bored to tears just looking at 1,000 photos of someone’s new puppies or grand canyon photos.

    It seems like Flickr tried to model this a little after photophlow. The difference though is that with photophlow people with spare time joined an empty group and could chat about any photo on flickr. By restricting Flickr Photo Session to invitees, nobody is ever going to accept the invitations — who wants to be bored to death? — and the doodling on photos thing may be the dumbest feature I’ve ever seen launched on flickr.

    They do allow you to use a url to invite people (so maybe you could tweet that out or something) but really I can’t imagine anyone that actually wants to do this — except possibly and just maybe around some of the mammoth archive of underground porn that’s on flickr.

    2. The Android App. The number one thing that flickr should have focused on with building an app is giving people an opportunity to easily interact with each other in group threads.

    Groups are where the social on flickr happens. People are addicted to groups. I quit all the groups I was active in after too many bad experiences (trolls, personal harassment, anonymous venomous haters, etc.) but many people *are* still involved in flickr groups. It’s crazy to me that they didn’t put together a basic reader to easily read group threads in the app. Like their other app before (you know that crappy one that Yahoo Mobile made) groups are ignored in the new one as well.

    On the other hand, they did do search *very* well in the new app. Specifically I can search for one of my photos and then find it and easily go to the set of photos it’s in. This is great.

    Once I’m in the set I can swipe the screen to move across from photo to photo in a nice large oversized lightbox with an elegant title. This is slick. This is a great way for me to show photos to people in real life, at a party, over at my house, at the baseball game, etc. (where they are captive and have to put up with it, rather than respond to a text chat sharing invitation).

    The new app has a section for recent activity. This is the most addictive page of all on flickr. Unfortunately they don’t tell you the number of faves your photos have received. This is important. They should add this in.

    The new app lets you see your contact’s photos (and you can fave and comment on them). I can’t seem to figure out a way to toggle between contacts and friends though. In my case (I’m an edge case) I’ve got over 20,000 contacts. I’m much more interested in the 400+ people on flickr that I call friends.

    Final thoughts. I think Flickr Photo Sessions is the dumbest thing to come to Flickr ever — even dumber than flickr galleries (limiting people to 15 photos that are completely ignored that nobody uses) or limiting videos on flickr to 90 seconds (which also hasn’t taken off ). I’m pretty sure Photo Sessions is going to bomb big time.

    The Android app missed the boat by not including groups. It’s better than the miserable previous app that the Yahoo Mobile team built though.

    More then either of these two points though, both of these “innovations” come too little too late. On a personal level I’m spending 95% of my photo sharing time on Google+ now and the photo sharing community is rapidly leaving flickr and setting up base there.

    I’m pretty much done with flickr other than a repository to just dump photos to, so I doubt I’ll use these new features much at all.

    Also Interesting, as part of today’s announcement Flickr Chief Steve Douty also outlined Flickr’s new corporate strategy “Deeply Personal Digital Experiences” going forward which is built around a periodic table of elements. It has all kinds of buzzworthy type things in there like – En: To engage and delight users. – Be: To be where the customer goes. – Si: To deliver personal meaning through science and data. – So: To own real social relationships on the web. – Ec: To build an ecosystem.

    Unfortunately as admirable as these buzzwords are coming from Douty, they ring hollow to me and sound just like more goobly gook empty Yahoo corporate speak that they’ve been shoveling at us for the past few years (remember that “the internet is under new management — yours” $ 100 million marketing campaign?) I responded to Douty’s new campaign here. If Douty really cared about these ideas, he’d address the deeper problems inside of Flickr.

    Update: I take it back what I said about there possibly being an application for Photo Session with Flickr’s underground porn archive. Apparently you cannot do a photo session with content unless it is coded as “safe” by flickr. So porn sharing is likely off limits with this new feature.


    Thomas Hawk Digital Connection

  • How to Photograph Silhouettes in 8 Easy Steps

    Silhouoette-Image by Peter de Krom

    I normally talk about the importance of using a flash when taking shots into the sun to give sufficient light to add features to your subject but there are also times when making your subject featureless apart from their outline against a bright background can be most effective – or when in other words silhouette is a worth exploring.

    Silhouettes are a wonderful way to convey drama, mystery, emotion and mood to the viewers of your photos and often stand out in an album because of the combination of their simplicity but also the story that they convey. I love them because they don’t give the viewer of a clear picture of everything but leave part of the image up to their imagination to wonder about.

    The basic strategy you’ll need to employ in taking silhouette shots is to place your subject (the shape you want to be blacked out) in front of some source of light and to force your camera to set its exposure based upon the brightest part of your picture (the background) and not the subject of your image.

    In doing this your subject will be under exposed (and very dark, if not black).

    There are a lot of very technical descriptions going around on how to take great silhouette shots that you might want to look up but let me attempt to run through some basic steps that should get you the results you’re after. In essence what we’re trying to do is make your camera think that it’s the bright parts of the picture you are most interested in.

    Here’s how to do it:

    Get more tips for free by subscribing to our newsletter or RSS feed

    SilhouettesImage by No Pip No!

    1. Choose a Strong Subject

    Almost any object can be made into a silhouette, however some are better than others. Choose something with a strong and recognizable shape that will be interesting enough in its two dimensional form to hold the interest of those viewing your image. Silhouettes can’t draw on the colors, textures and tones of subjects to make them appealing – so the shape needs to be distinct.

    2. Turn off your Flash

    If you have your camera in automatic mode your camera will probably want to use its flash which will ruin the silhouette. Basically you want as little light on the front of your subject as possible – so the flash has to go (basic – but I’ve seen a few attempted silhouette shots with the flash firing).

    3. Get Your Light Right

    When it comes to lighting your subject you’ll need to throw out a lot of what you’ve learnt about normal photography and think a little backwards. Instead of lighting the front of your subject, in silhouettes you need to ensure that there is more light shining from the background than the foreground of your shot – or to put it another way – you want to light the back of your subject rather than the front. The perfect light for this is placing your subject in front of a sunset or sunrise – but really any bright light will be able to do the trick.

    4. Frame your image

    Frame your shot so you are shooting with your subject in front of a nice plain, but bright background. Usually the best backgrounds will be a bright cloudless sky with the sun setting. You want to position the brightest light source behind your subject (either so that they hide it or so that its in the background somewhere).

    5. Make silhouetted shapes distinct and uncluttered

    If there is more than one shape or object in the image that you’re attempting to silhouette, try to keep them separated. ie if you are silhouetting a tree and a person don’t have the person stand in front of the tree or even leaning on it as it will merge them into one shape and as a result your viewers could be confused about what the shape is.

    Also when framing you’ll probably want to photograph silhouetted people as profiles rather than looking straight on. This means that more of their features (nose, mouth, eyes) are outlined and they are more likely to be recognized.

    6. In Auto Mode

    Most modern digital cameras have automatic metering which are pretty good at sensing how to expose a photograph so that everything is well lit. The problem with this is that most cameras are so smart that they will light up your subject instead of underexposing it to get a silhouette so you need to trick it. Most cameras work out the exposure levels in auto mode when you push your shutter half way down (at the same time that they focus). So point your camera at the brightest part of your picture and then press the shutter halfway down (don’t let go). Then move your camera back to frame your shot with the subject where you want it and then finish taking the shot. With most digital cameras this will result in a silhouetted subject. In effect what you’re doing is tricking your camera into thinking that the bright part of the image is the mid tone of it so that anything darker than it will be exposed as a nice dark shadow.

    Some digital cameras also have ‘spot’ or ‘centered’ metering modes that you can switch on which helps with the above technique as they will set the metering on the central spot of your frame rather than multiple spots. This means you can accurately tell your camera exactly which bit of the bright background you want it to set the exposure on.

    Silhouette-TipsImage by muha

    7. Manual Mode

    If this technique doesn’t work and your camera has controls to allow manual exposure or exposure compensation you might like to try some of your own settings. The beauty of digital is that you can experiment to your hearts content until you get the result you’re after.

    A simple way to start using manual mode is to look at the shutter speed and aperture that it suggests in automatic mode and to start from there. If in auto mode your subject is too light (ie you need to make it darker) stop down the shutter speed a stop or two and see what impact that has. Use the ‘bracketing’ technique that I described in my previous tip on sunrises and sunsets to get a variety of shots at slightly different exposures.

    8. Focusing

    In most cases you’ll want the subject which is silhouetted to be the thing that is in focus most crisply. This can mean that the process described in point 4 can be a little tricky as pushing your shutter half way down to get the metering right also means that you’ll focus on that spot in the background. To get around this you can use two strategies. Firstly if your camera has manual focusing you might want to try that. Pre focus your shot before you meter your shot.

    The other strategy is to use Aperture to maximize your depth of field (the amount of your image that is in focus). Set a small aperture (ie a larger number) to increase the depth of field – this means you’re more likely to have a sharper foreground and background in your shots.

    One last tip on Silhouettes – while a total silhouette with a nice crisp and black subject can be a powerful shot, also consider the partial silhouette where some detail of your subject is left. Sometimes a touch of light on them makes them slightly more three dimensional and ‘real’. This is the beauty of bracketing your shots as it will leave you with total and partial silhouettes to choose form.

    UPDATE: Check out these 12 Amazing Silhouette Example Shots.

    Post originally from: Digital Photography Tips.

    Check out our more Photography Tips at Photography Tips for Beginners, Portrait Photography Tips and Wedding Photography Tips.

    How to Photograph Silhouettes in 8 Easy Steps


    Digital Photography School

  • 9 Pictures from September Paddling in Northern Colorado

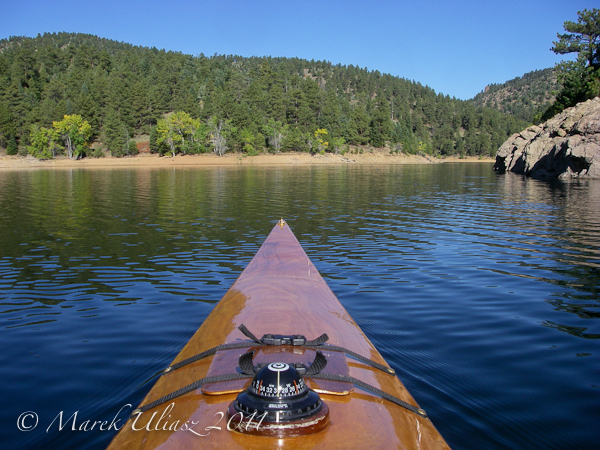
    My September paddling near Fort Collins in northern Colorado: three lakes and three different boats. All pictures were shot with paddling camera on duty – Pentax Optio W30.

    I am a couple version behind the newest Optio models, but my W30 is still working perfectly. It’s always tethered to my life jacket, so I cannot lose it. I wonder if somebody has experience with the newer waterproof cameras from Pentax Optio W90 and Optio WG-1 Adventure Series, and, especially, with the waterproof infrared remote control. It looks interesting and is quit cheap (~$ 20).

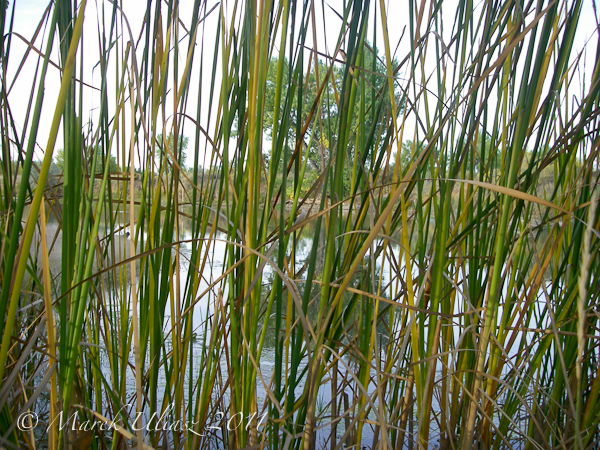
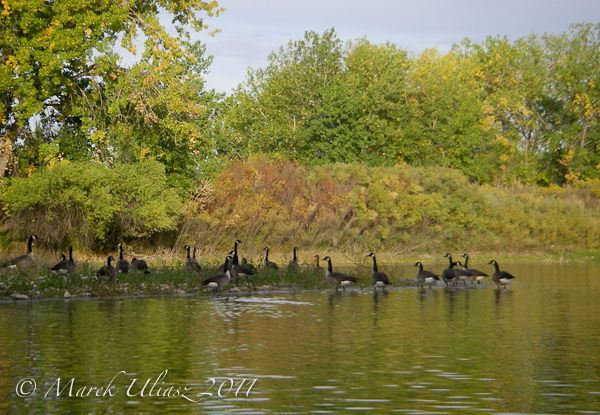
    Beaver Pond - Arapaho Bend Natural Area
    Beaver Pond in Arapaho Bend Natural Area in Fort Collins. The pond is pretty low right now.

    Beaver Pond - Arapaho Bend Natural Area
    I paddled my WSBS Thunderbolt kayak there recently.

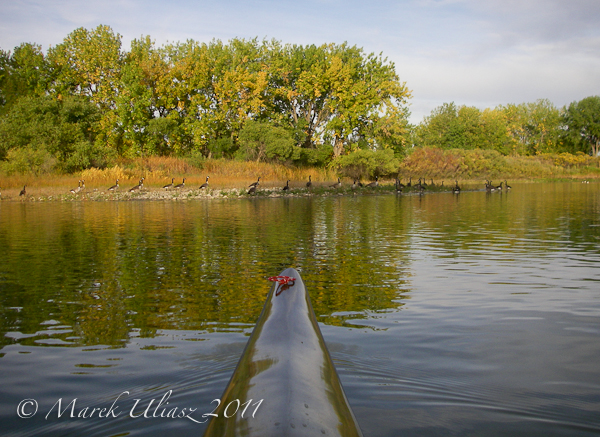
    Beaver Pond - Arapaho Bend Natural Area
    There are a lot of geese and other birds.

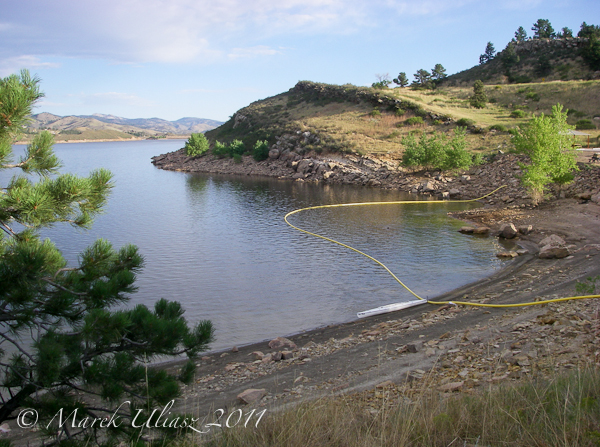
    Horsetooth Reservoir Fort Collins
    Horsetooth Reservoir Sunrise Area with access from the Centennial Road just south of the Soldier Dam.

    Horsetooth Reservoir Fort Collins
    This swimming beach is my recent launching spot. It’s pretty rocky at the current low water level and I wouldn’t recommend it for launching at strong wind conditions,

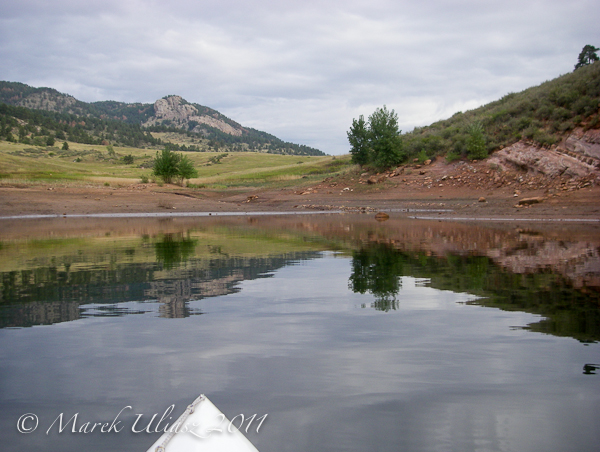
    Horsetooth Reservoir Fort Collins
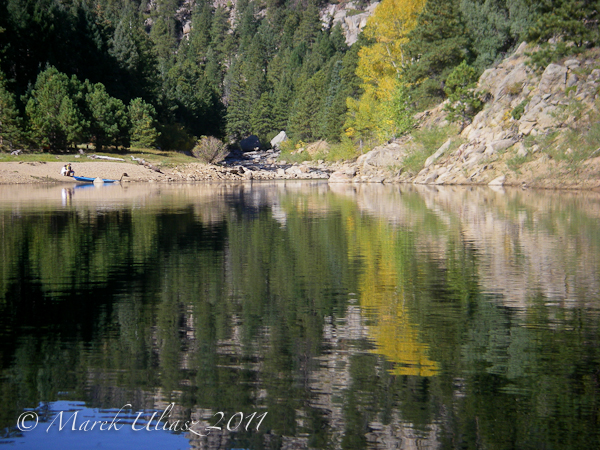
    Arthurs Rock at Lory State Park as seen from the board of my Sea Wind canoe at Quarry Cove.

    Gross Reservoir paddling
    My Patuxent 19.5 kayak at the Gross Reservoir west of Boulder. Patuxent built from CLC kit 12 years ago deserves a new layer of paint and varnish.

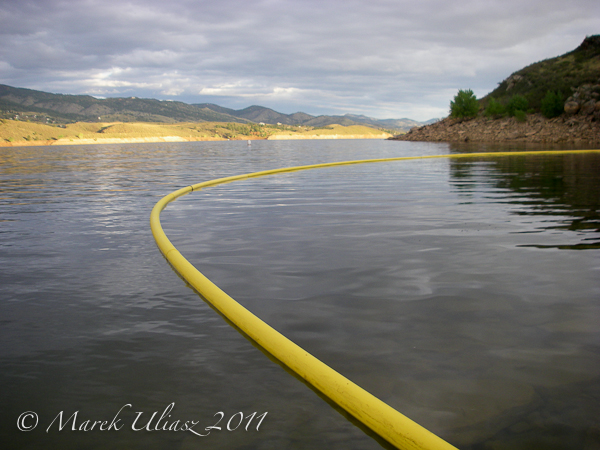
    Gross Reservoir paddling
    Inlet of the South Fort of Boulder Creek into the Gross Reservoir. The last weekend of boating season there.

    Gross Reservoir paddling
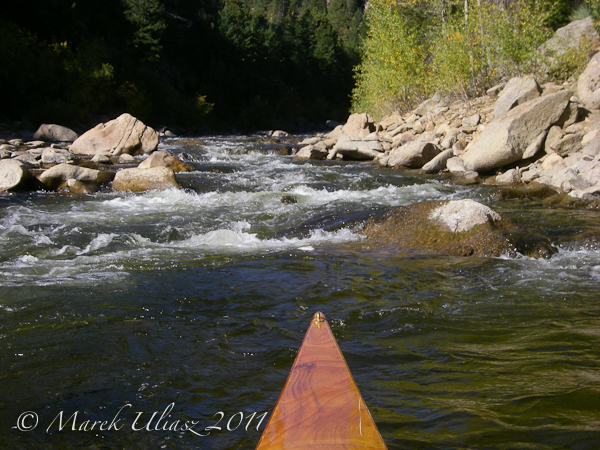
    Getting a little closer – almost whitewater paddling. The reservoir is pretty high for this time of the year.


    ch_client = “mmuliasz”;
    ch_type = “mpu”;
    ch_width = 550;
    ch_height = 120;
    ch_color_title = “3c78a7”;
    ch_color_site_link = “3c78a7″;
    ch_non_contextual = 4;
    ch_vertical =”premium”;
    ch_sid = “Chitika Premium”;
    var ch_queries = new Array( );
    var ch_selected=Math.floor((Math.random()*ch_queries.length));
    if ( ch_selected < ch_queries.length ) { ch_query = ch_queries[ch_selected]; }

    Related posts:
    Paddling Gross Reservoir near Boulder, Colorado
    9 Pictures from Paddling Gross Reservoir in Colorado’s Rocky Mountains
    Early Morning Paddling on the Horsetooth Reservoir
    Pentax Optio, Sisson Nucleus Kayak and 3 Pictures from My Paddling Pond


    paddling with a camera

  • edzstudios is iPad compatible

    Yes, that is edzstudios.com on an iPad.  No flash here.  The whole site works beautifully, from galleries to blog to contact form.

    (grins smugly at LiveBooks users)

    :-)

    Tweet This Post Stumble This Post


    F/1.0

  • Dude! I’m Coming to Austin (Thank You Dell)

    Dude I'm Coming to Austin!

    I’m super excited to be heading out to Austin on Thursday to shoot Austin City Limits’ Music Festival going on this coming weekend.

    In addition to ACL we are going to do a fun photowalk on Saturday. There are already 91 people signed up for Saturday morning’s walk! Wow! If you live in the Austin area or will be in town for ACL definitely come on out and join us for a morning walk. We’re going to shoot some of the great Austin bridges over the Colorado River and some of the great scenes along Zilker Park.

    Check out this photo of the Stevie Ray Vaughn sculpture in Zilker Park taken by Peter Tsai. Peter did a coffee table photo book on Austin and is one of the photographers helping us lead this walk.

    This photowalk will be an official Dell / Google+ Photowalk and joining me in leading it will be my pal Robert Scoble; Richard Binhammer (aka RichardatDell) from Dell; Chris Chabot, Natalie Villalobos, Vincent Mo, and Dave Cohen (all from Google); local Austin photographers Lotus Carroll and Jack Hollingsworth; Alvin Toro is also flying in from L.A. to help run the walk.

    What a great group of photographers! If you are on Google+ already I’d recommend circling all of the folks linked above. If you’re not on Google+ yet you are missing one of the best parties on the web right now — what are you waiting for? GET ON THERE! — oh and you can find me on Google+ here :)

    By way of disclosure, Dell (the power to do more!!!) is flying both myself and Robert Scoble out to the Festival for the weekend — they’re paying for our airfare, hotel and have arranged the weekend media passes for us to shoot ACL. Thank much to Dell and their generosity.

    Part of the reason why Dell wants us out there is that they are showing us a lot of the cutting edge tech that they are using to run a lot of the behind the scenes at ACL. I’ll get lots of photos of this cool tech stuff too. Dell is responsible for live streaming the two biggest stages at the festival this year on YouTube using their Dell workstations and AMD FirePro Graphics.

    Dell also did all the streaming for Lollapalooza earlier this year as well as U2′s most recent tour.

    Previously the video production for ACL used Macs and Final Cut Pro but this solution didn’t work so well for actually streaming it live to the web. ACL’s new setup is using this Dell workstation, editing with Adobe Premiere Pro and After Effects, and then streaming it back out live to YouTube with another of the same model workstations. It will be interesting to watch them do this in real time.

    Dell also will have a “video village” where roaming videographers out in the field doing interviews with bands and musicians and capturing other video will return with their memory cards to have the edited video clips quickly converted into more YouTube content.

    I’m also going to be working with the Google+ and Google Photos team over at the Google+ stage at the festival. They are going to be signing up people for Google+ right there at the Festival and taking portraits of people who sign up for a live photo feed / slide show there at the Festival.

    I’ll post more about what I’m doing in Austin once I fly into town, but I’m super excited to be hanging out with the cool folks from Dell and Google and getting to spend a weekend shooting some AWESOME musical acts at Austin City Limits’ Festival.


    Thomas Hawk Digital Connection

  • Behind the Scenes at the Austin City Limits Music Festival With Dell

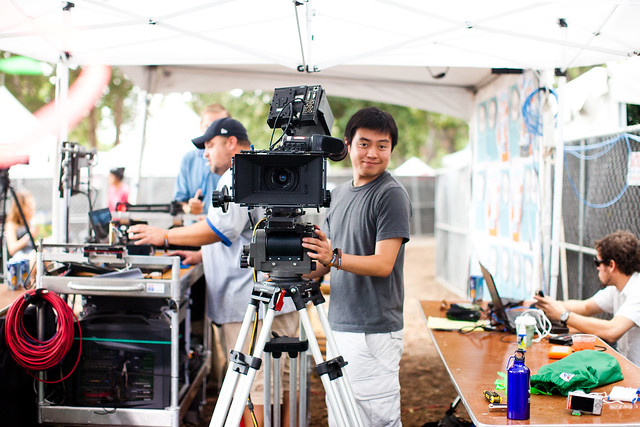
    I just love this video of Lotus Carroll and I above. It’s four seconds stretched out into one minute and was from one of the backstage stations managed by Dell at this year’s Austin City Limits Music Festival. Watch here also as my pal Robert Scoble takes a water balloon to the face and the band Delta Spirit does a band video here. These were made with a Phantom Camera that shoots 1,200-2,500 frames per second which can stretch 2 seconds of real time video into as much as 2.5 to 3 minutes of footage.

    Dell sponsored this station to record interesting content to be broadcasted by C3 at this year’s festival. C3 is the company that produces the Austin City Limits Music Festival as well as Lollapalooza. Dell was very involved behind the scenes at this year’s festival and all of the the live streaming of the festival (and Lollapalooza) was done with Dell hardware for the first time this year.

    Dell had invited Scoble and I along with other members of the media/blogosphere to take a look at their behind the scenes work. [Disclosure: Dell covered my travel/festival expenses associated with this visit].

    As part of our behind the scenes tour we were taken to the live mobile studio where the live streaming of the festival was being done. Here, a team of creative professionals, managed by Arts + Labor Creative Director Erik Horn, in real time pushed out live feeds of the performances to ACL’s YouTube channel. They also produced clips and video content to be shown onstage live at ACL between acts.

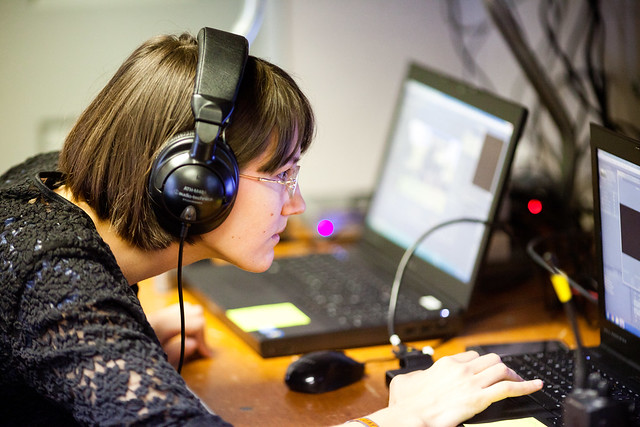
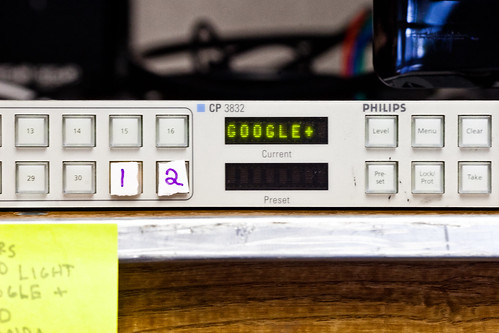
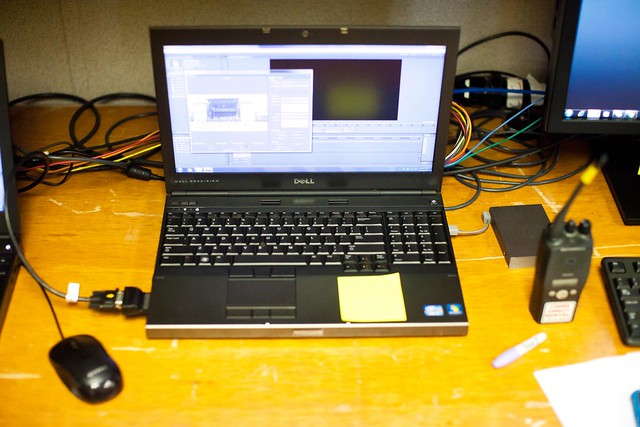
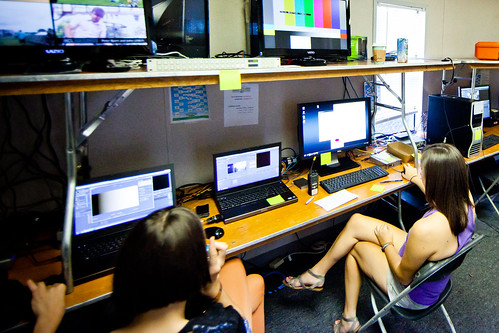
    Editing Video Behind the Scenes at ACL This YearThe Video Switcher to the Various Stages at This Years Austin City Limits FestivalACL Live Streaming WorkstationOne of the Dell Towers Used to Livestream the ACL Festival This Year on YouTubeBehind the Scenes Mobile Video Production for This year's Austin City Limits Music Festival
    Photos clockwise starting top: one of Arts + Labor video editors edits video live during ACL, one of the workstations used to produce event video, video editors working on editing live ACL video streams, one of the Dell workstations used to produce the live video., one of the switchers used to switch stages for live video.

    Last year the production team used Macs and Final Cut Pro to do their video work, but that didn’t work as well as it could have and so they went searching for better alternatives. With live streaming and live video editing, things have to be done very, very fast. Last year’s set up was also very hard drive intensive with laptops and drives daisy chained in the production studio.

    Horn described last year’s Mac set up as “laptop firewired dangerous daisy chain nonsense.” Horn did an audio interview on their production set up this year that Scoble recorded here.

    This year Dell and the Festival worked together to collaboratively come up with a Dell centralized file system setup using Adobe Premiere that would work for Arts + Labor.

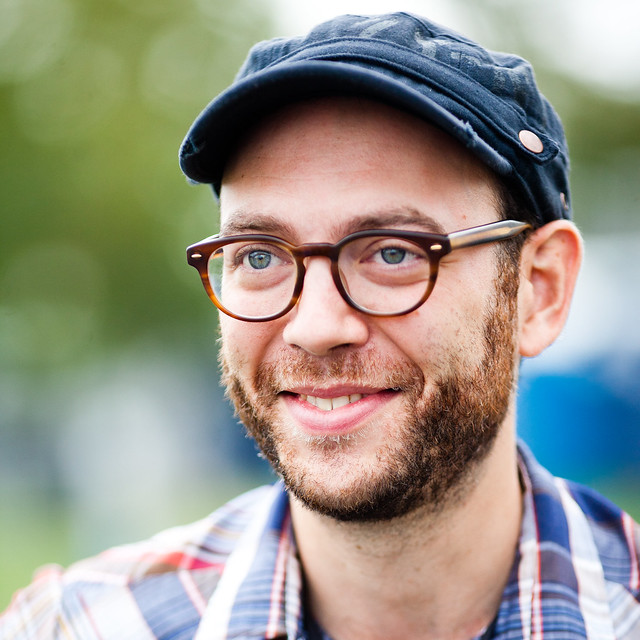
    Arts + Labor Creative Director, Erik Horn
    Arts + Labor Creative Director Erik Horn

    In addition to simplifying the production hardware (no more daisy chained hard drives), according to Dell they were able to work with Arts + Labor to put together a studio that was 40% faster at producing video as well. Dell also said that customizing this set up for Arts + Labor was part of a renewed focus by Dell to really begin targeting high end professional workstation use and helping customers come up with more custom solutions that could be tailored specifically to their needs rather than simply leaving them to out of the box type hardware setups that might not be as customized for them.

    With the new setup, Arts + Labor used two Dell Precision 4600 workstations to stream live stage video feeds into. These work stations relied on onstage video cameras which sent fiber optic feeds into these workstations. These feeds then each went to a Dell Precision 7500 workstation which acted as a central server. Dell Precision 5500 workstations were then used to do the actual video editing and production.

    I thought it was interesting to see a very powerful creative team make a switch from Macs to Dells. Having highly visible teams like Arts + Labor switch makes me wonder if Apple isn’t so focused on iPhones and iPads that they aren’t asleep at the switch with regards to higher end production like what Arts + Labor did at ACL this year.

    In addition to putting this together for C3 Dell is now out marketing their desire to do more of these sorts of custom set ups for higher-end businesses in the media and other businesses.

    While I was at ACL I was able to take photos of a number of great bands there in addition to these behind the scenes photos. You can see a set I’ve started of my photos from ACL here.

    Coldplay -- Austin, TX
    Coldplay Performing Live at this year’s Austin City Limits Festival

    Slow Motion Video Station Behind the Scenes at ACL
    The Phantom camera used to make slow motion video clips (and the video of Lotus and I above) backstage at ACL.

    Thanks again to Dell for having us out to show us the work that they were doing and thanks especially to Richard Binhammer who is Dell’s main social media tour de force for showing us such great hospitality while we were out there. I’ve known Richard for years online, but it was great to finally meet him and hang out in person in real life. If anyone ever embodies Dell’s slogan “The Power to Do More,” it’s Richard. :)

    Update: Check out Lotus Carroll’s post on the Austin City Limits Music Festival this year here.


    Thomas Hawk Digital Connection