I really enjoyed participating in this video hangout with Trey. 
Category: Uncategorized
-
Trey Ratcliff Photography Hangout #9
-
On Assignment: Theresa Daytner, Pt. 2

Having shot the section front photo of Daytner out in the lobby, we quick-walked the lights into her office area. Working from the back and by swapping just one light mod, we were able to get something pretty different for the inside pages. Read more » -
On Assignment: Theresa Daytner, Pt. 1

For a long time, business portraits have been my bread and butter. Specifically, run-and-gun, no-assistant, modest-amount-of-gear biz portraits.The editorial clients I have do not have a ton of budget. Thus, my goal is to work efficiently and still produce something that works well for the publication.
A good recent example was an assignment to photograph Theresa Daytner, a local entrepreneur who is a national rising star in the field of construction. It's a typical enough job to where I thought it would make a good example for a 360-degree look at the process. Read more »
-
Rediscovering Backlit Subjects
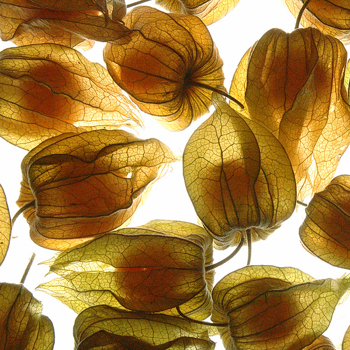 Photo by naughton321
“Look where the sun is coming from – then position yourself with your back towards it so that it light up your subject’s face.”
This was the very first piece of photographic advice that I was ever given as a child entrusted with the family’s camera for a school excursion.
The intention behind it was good and in many photographic situations over the years it has actually served me well.
However…. sometimes in photography it can be easy to get trapped in a mindset that actually limits the potential of your shots.
My suspicion is that many people are being limited by the above piece of advice – lighting your subject from the front and avoiding back lighting at all costs.
The problem with ignoring back lighting images is that:
- backlight can add drama to an image
- backlit images can show the delicacy of a subject (think transparent or translucent things like flowers or insects)
- backlight can help create real mood in a shot
- backlit images can highlight details on the edges of subjects
- backlight can reveal textures that might previously have been hidden
- backlit images can show off the shape and form of a subject
- backlight can create shadows that add points of interest to an image
I’m not arguing that backlit subjects are the way you should approach every shot – but ignoring it as an option ca leave you potentially missing out on a very powerful technique.
Check out some of the following images that show the beauty of power of ignoring the age old advice of always lighting a subject from the front.
PS: just because your subject is backlit doesn’t mean you need to forget about how they are lit from the front. Using a Fill Flash and/or some sort of reflector is often a great way to get the balance right for a well exposed shot.
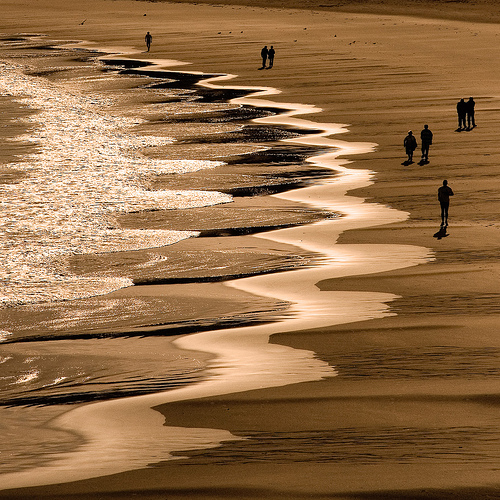 Photo by Ty-Dan
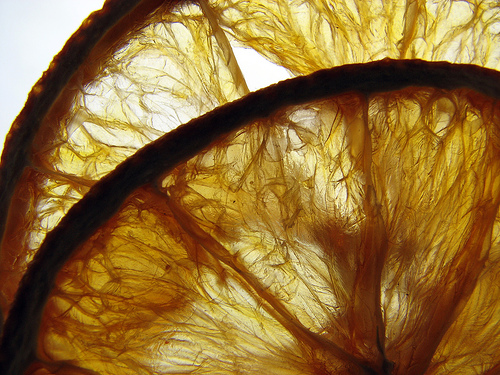 Photo by benefit of hindsight
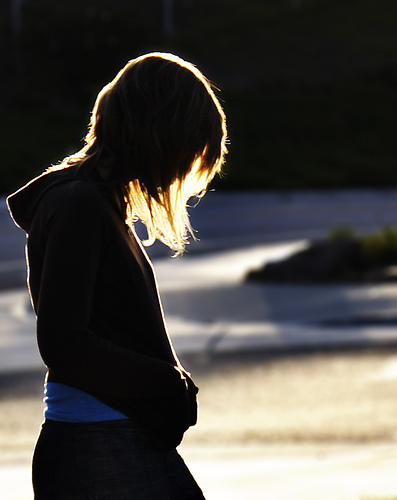 Photo by ‘SeraphimC
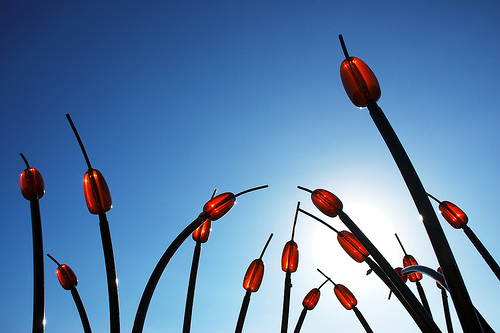 Photo by limonada
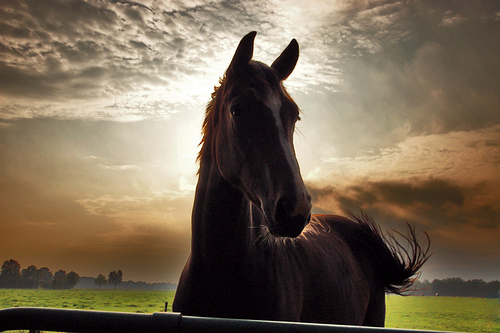 Photo by serni
Post originally from: Digital Photography Tips.
Check out our more Photography Tips at Photography Tips for Beginners, Portrait Photography Tips and Wedding Photography Tips.
Rediscovering Backlit Subjects
-
Rediscovering Backlit Subjects
Photo by naughton321“Look where the sun is coming from – then position yourself with your back towards it so that it light up your subject’s face.”
This was the very first piece of photographic advice that I was ever given as a child entrusted with the family’s camera for a school excursion.
The intention behind it was good and in many photographic situations over the years it has actually served me well.
However…. sometimes in photography it can be easy to get trapped in a mindset that actually limits the potential of your shots.
My suspicion is that many people are being limited by the above piece of advice – lighting your subject from the front and avoiding back lighting at all costs.
The problem with ignoring back lighting images is that:
- backlight can add drama to an image
- backlit images can show the delicacy of a subject (think transparent or translucent things like flowers or insects)
- backlight can help create real mood in a shot
- backlit images can highlight details on the edges of subjects
- backlight can reveal textures that might previously have been hidden
- backlit images can show off the shape and form of a subject
- backlight can create shadows that add points of interest to an image
I’m not arguing that backlit subjects are the way you should approach every shot – but ignoring it as an option ca leave you potentially missing out on a very powerful technique.
Check out some of the following images that show the beauty of power of ignoring the age old advice of always lighting a subject from the front.
PS: just because your subject is backlit doesn’t mean you need to forget about how they are lit from the front. Using a Fill Flash and/or some sort of reflector is often a great way to get the balance right for a well exposed shot.
Photo by Ty-DanPhoto by benefit of hindsightPhoto by ‘SeraphimCPhoto by limonadaPhoto by serniPost originally from: Digital Photography Tips.
Check out our more Photography Tips at Photography Tips for Beginners, Portrait Photography Tips and Wedding Photography Tips.
Rediscovering Backlit Subjects
-
edzstudios is iPad compatible
Yes, that is edzstudios.com on an iPad. No flash here. The whole site works beautifully, from galleries to blog to contact form.
(grins smugly at LiveBooks users)

Tweet This Post Stumble This Post
-
Andrew Pinkham’s Renaissance Pet Portraits
 Photos © Andrew Pinkham
It's not often one comes across someone doing interesting photography via the Lolcats website. But that is exactly where I found out about Andrew Pinkham.
Based in Philadelphia, his work occupies a space somewhere between digital portrait photographer and Old Master painter. He is just as comfortable with a Nikon speedlight as he is with turning a photograph into a painterly illustration in post.
An interesting destination, to be sure. But how does someone go about arriving at a style like this? Read more »
-
5 Gotchas in the Lightroom Print Module
When you’re setting up single or multiple image printing in the Lightroom Print module here are some things to be aware of:
1. Nonexistent Drag and Drop
You can drag and drop pictures onto a print template in Lightroom in some circumstances but not in others. This can be confusing but there is some logic behind it.
When you select a Lightroom template from the Template Browser, make sure to open the Layout Style panel on the right at the same time. Templates can be one of three layout styles and each operates differently. Knowing what style a template is will help you understand its behavior.
If it is a Single Image/Contact Sheet template then you must select images on the filmstrip to add them to the contact sheet and they appear in the layout in the order they appear in the filmstrip. You can’t drag and drop images from the filmstrip into a Single Image/Contact Sheet layout.
If the template is a Custom Package then you can drag and drop an image into any of the containers on the screen. You can also drag and drop an image into any position in the layout and it will sit on the screen even overlapping other images.
If a template is a Picture Package, then you can fill it by clicking an image in the filmstrip. A picture package prints multiple images on a single sheet of paper. If you select two images in the filmstrip, you’ll then have two pages in your picture package – one for each of the selected images. You can drag and drop an image into a Picture Package but when you do, you’ll create all sorts of issues. Not only will you add a new image to the layout page you are seeing on the screen but you’ll do the same for all the pages in the current layout. It’s generally best not to drag and drop images into an already tightly designed picture package layout.


2. Understand Border Behavior
If you have a Photo Border enabled for a either a Custom Package or a Picture Package then the width of the border will make the image smaller. The color of the border is the color of the page background if you have a page background selected. If not, it will be white. If you set an Inner Stroke then it too will reduce the size of the image but it can be set to your choice of color.
So, for example, if you want a black page background but a white border around your images, set the page background color to black and use the Inner Stroke rather than the Photo Border to apply the white border to the image.


3. Identity Plate Behavior
When you add an Identity Plate to a Custom Package it appears once on the page and you resize it to suit and place it where you want it to go. However, it only appears once in the layout so, if you add a second page to the print layout, the identity plate will appear only on the first page.
Alternatively you can add the identity plate to every image by selecting Render On Every Image. Now the identity plate will appear on each image rather than on each page but it will appear in the very middle of the image and you can’t move it.
So, if what you want is your name on each printout as an Identity Plate, create a Custom Package design with an Identity Plate but not set to render on every image. Make sure the identity plate is in the correct position and fill the page with images and print or save it. Then fill it again with a new set of images and output the result and repeat as required.
On the other hand, an Identity Plate added to a Single Image/Contact Sheet prints on every page of the document in the place you position it in.


4. Any Size JPG Output
You can print your layout to a JPG file that you can then upload to the web or send out for printing. To do this, from the Print Job panel, click the Print To: dropdown list and choose JPEG File.
Set the File Resolution and then the Custom File Dimensions for the page. Then, when you’re done assembling the images, click Print to File to print the layout to an image file rather than to a printer.

5. Crop your images
When you’re working with a Single Image/Contact Sheet, if the image is set to Zoom To Fill it will be made large enough to fill the container on the page. If the image height and width does not match the size of the container then part of the image will be removed. You can adjust the positioning of the image within the container by dragging on it with the mouse.

If you have a Picture Package or Custom Package selected you can move an image within its container also, but to do so you must hold the Ctrl key (Command) on the Mac.
The different behaviors of images within what appear to be similar layouts in Lightroom can be confusing but once you understand that different layout styles bring with them different key combinations and behaviors you’ll be on your way to creating great looking prints in Lightroom.
Post originally from: Digital Photography Tips.
Check out our more Photography Tips at Photography Tips for Beginners, Portrait Photography Tips and Wedding Photography Tips.
5 Gotchas in the Lightroom Print Module
-
Choosing Extension Cords for Plug-In Strobes

Before considering an expensive battery pack or generator for your big lights, don't overlook the obvious. Extension cords are a cheap and reliable way to get power to your studio strobes.A couple hundred feet of power cable and a little advance scouting will solve the vast majority of your location needs. But be careful not to skimp. Here's how to choose a good extension cord for your strobes. Read more »


