Category: Photography

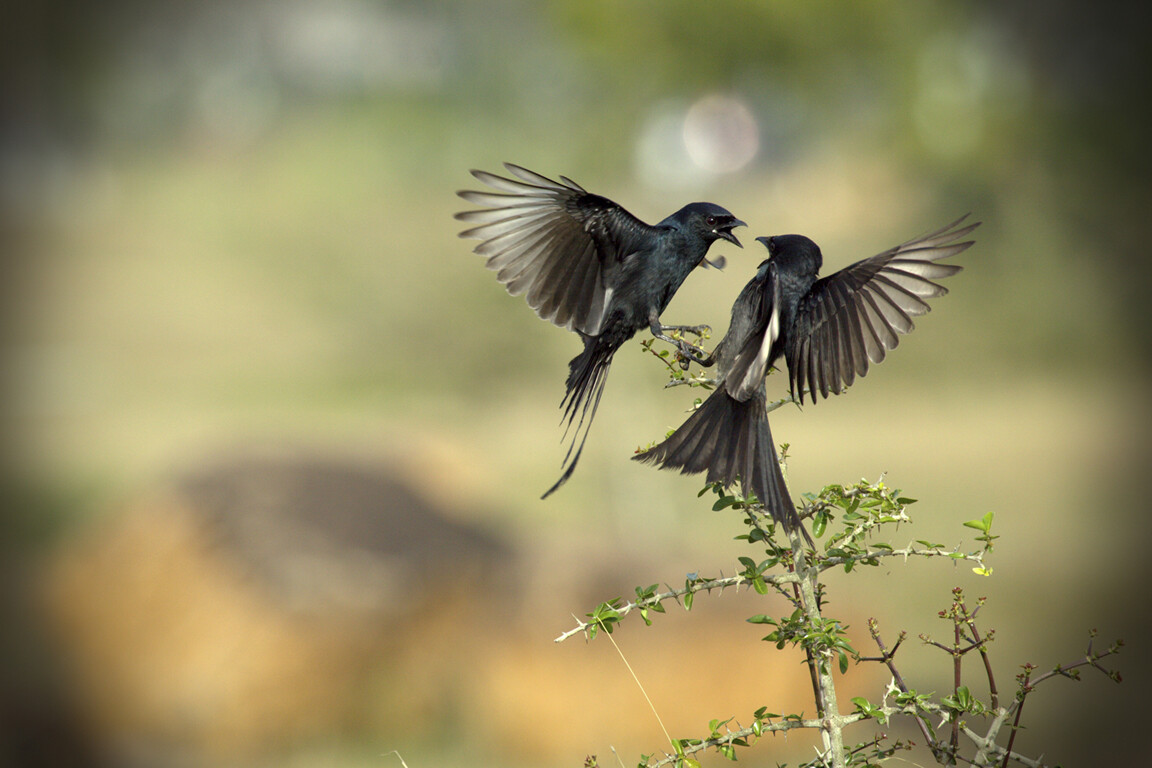
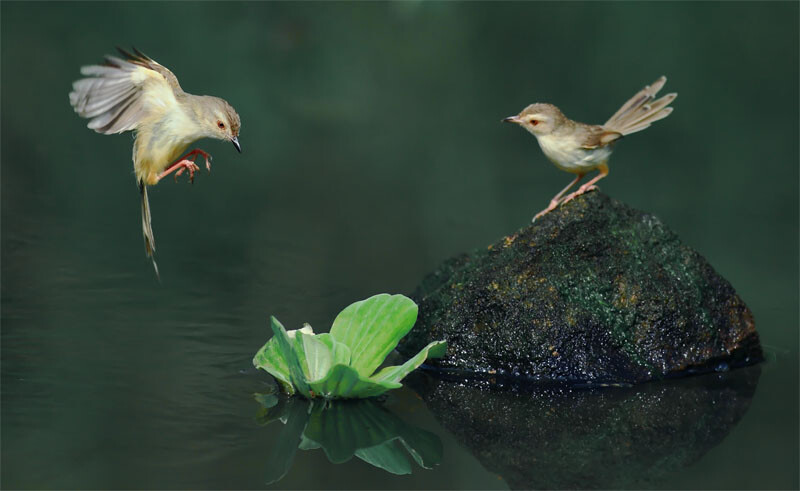
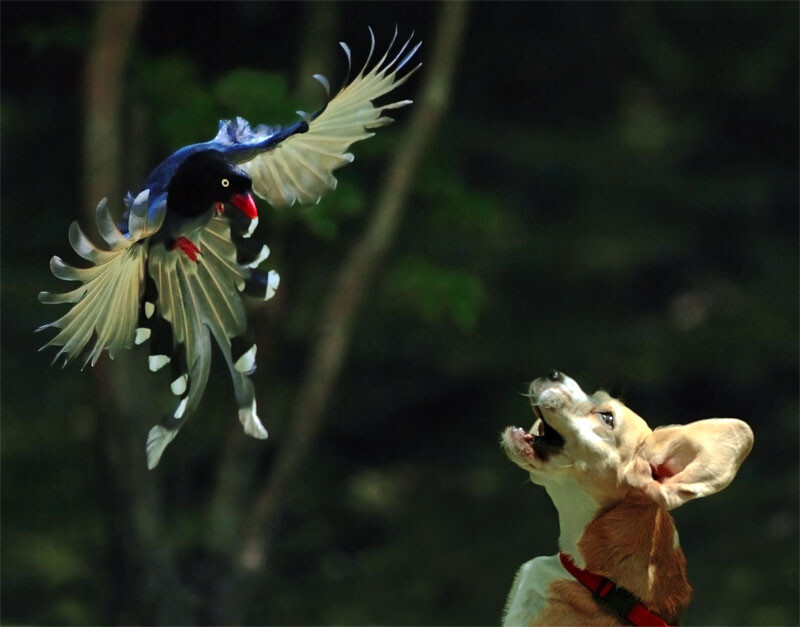
  • 57 Fabulous Bird Images

    By John&Fish

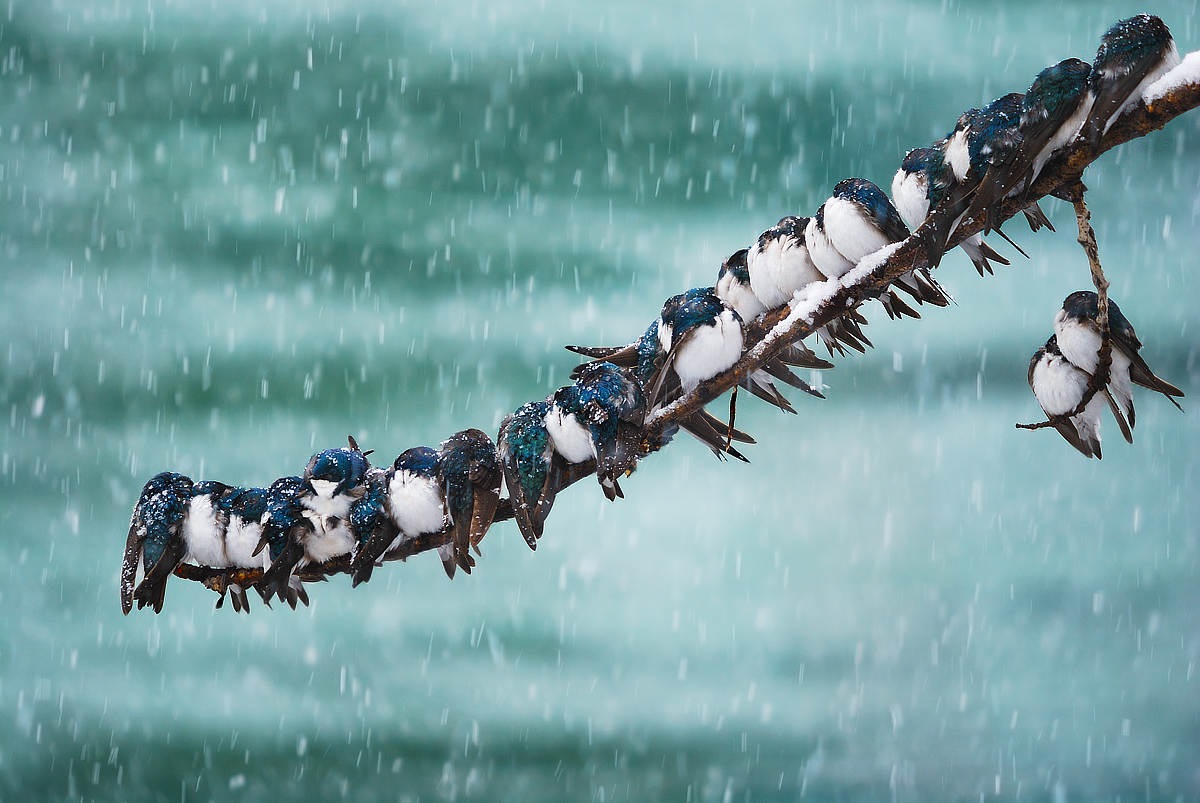
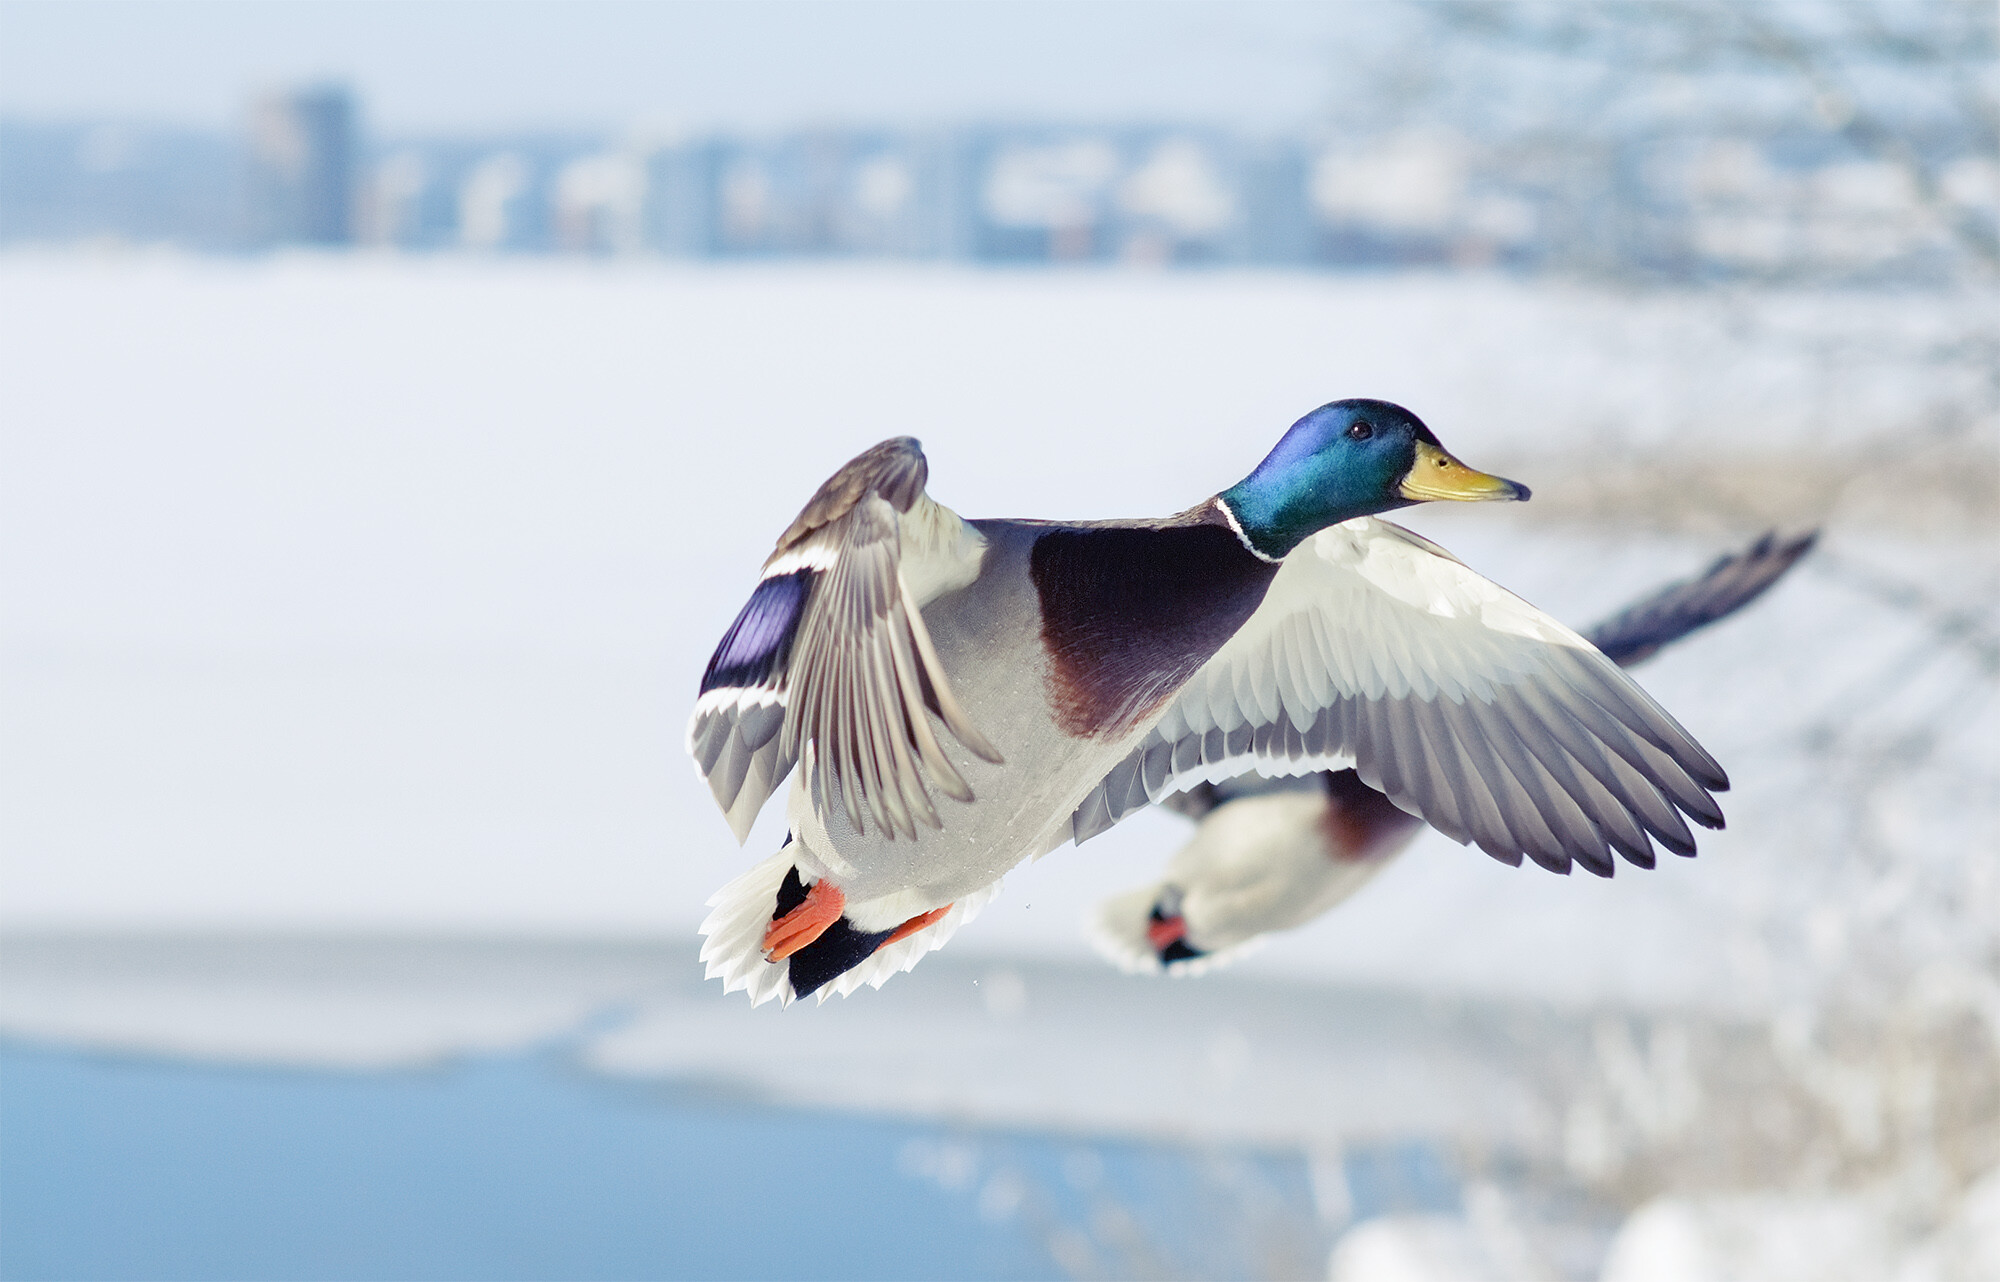
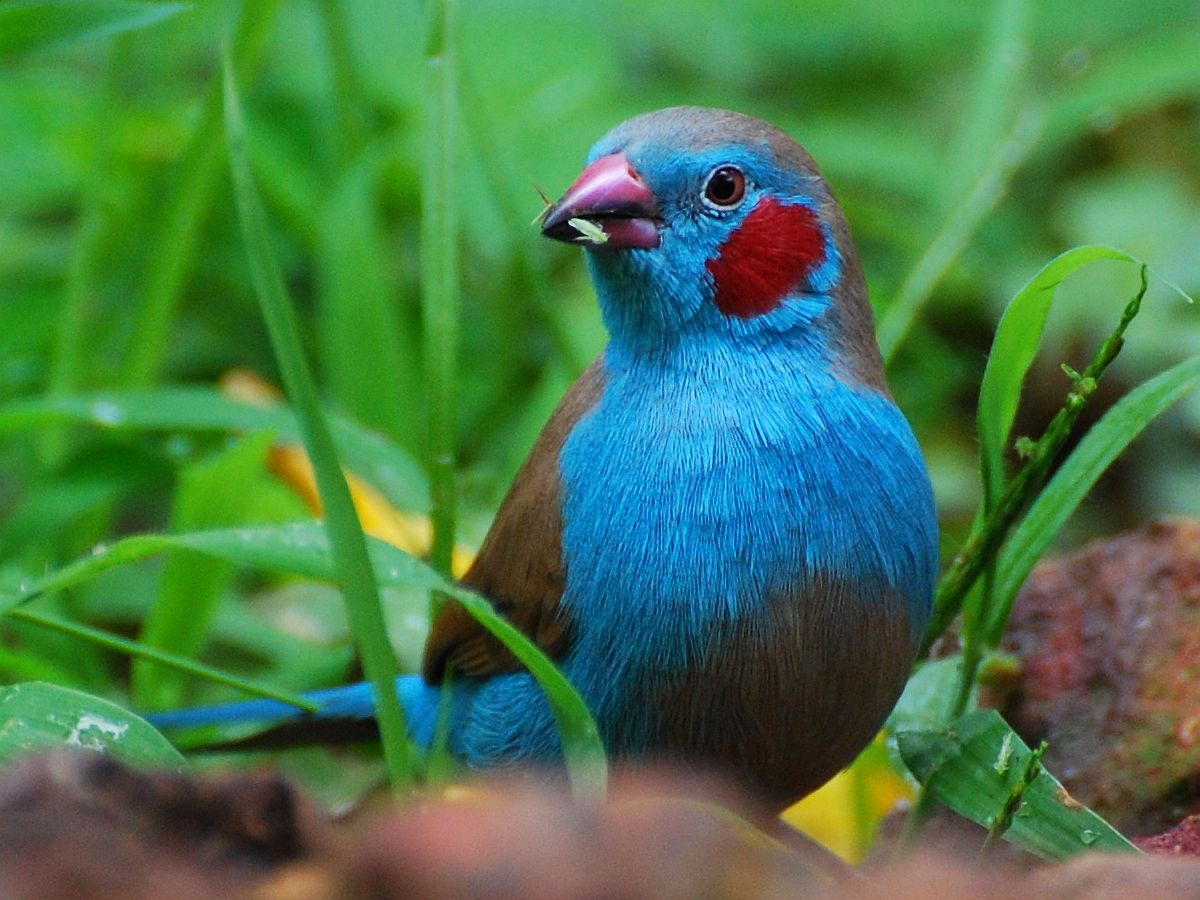
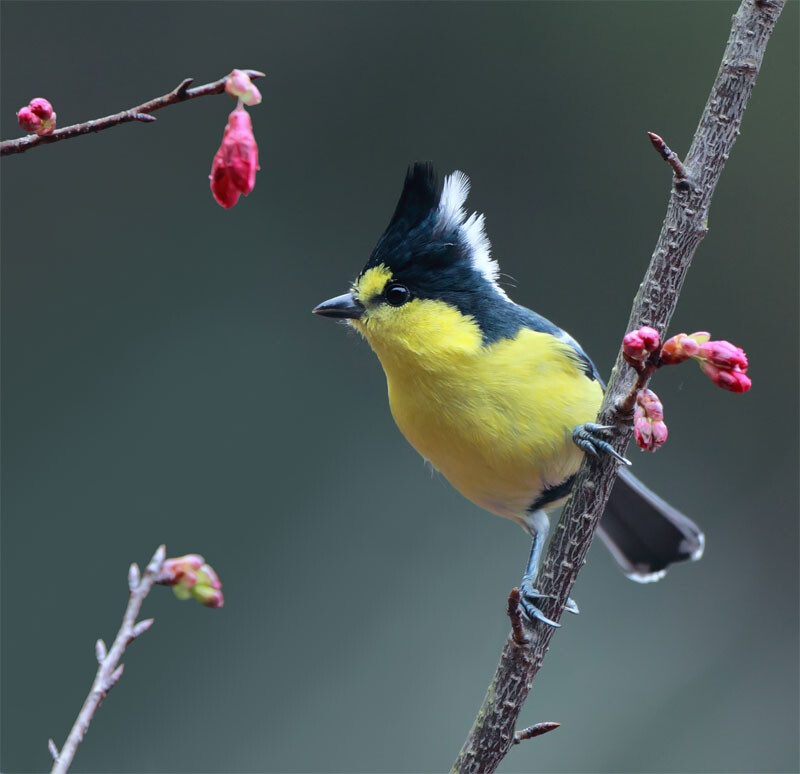
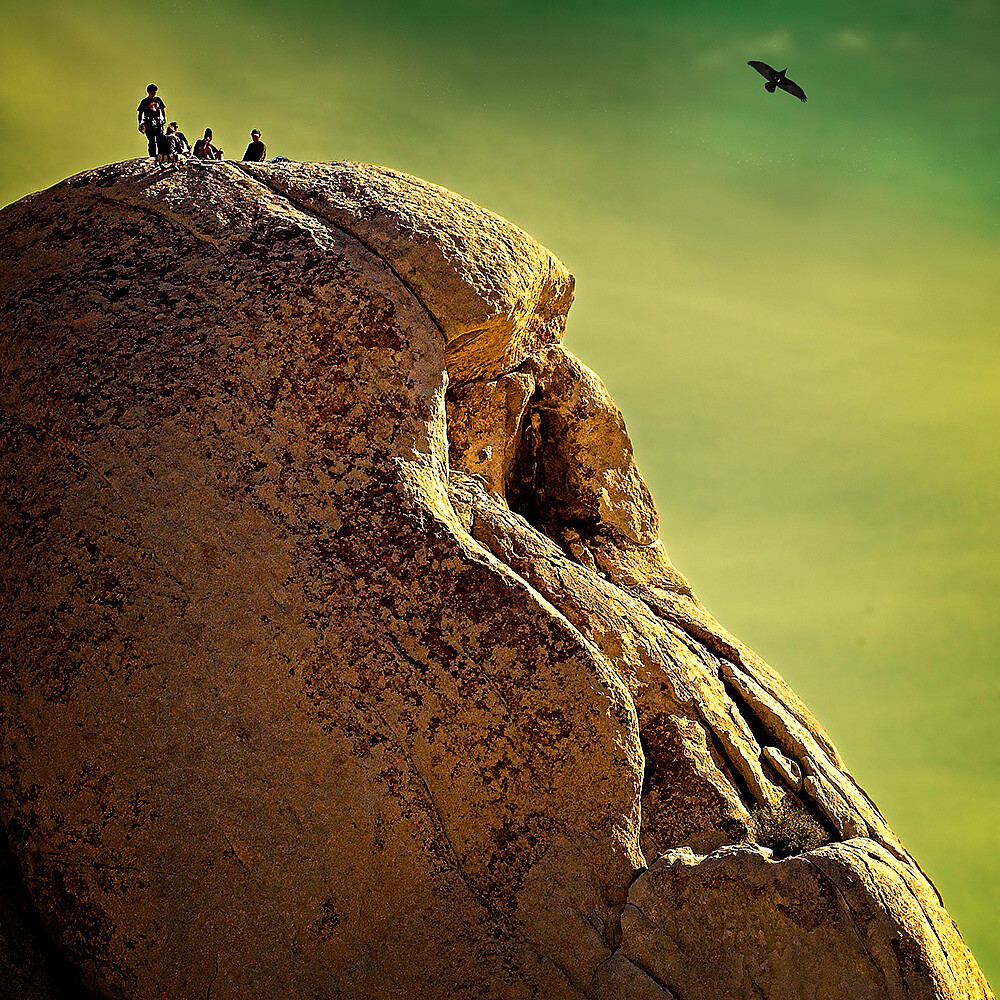
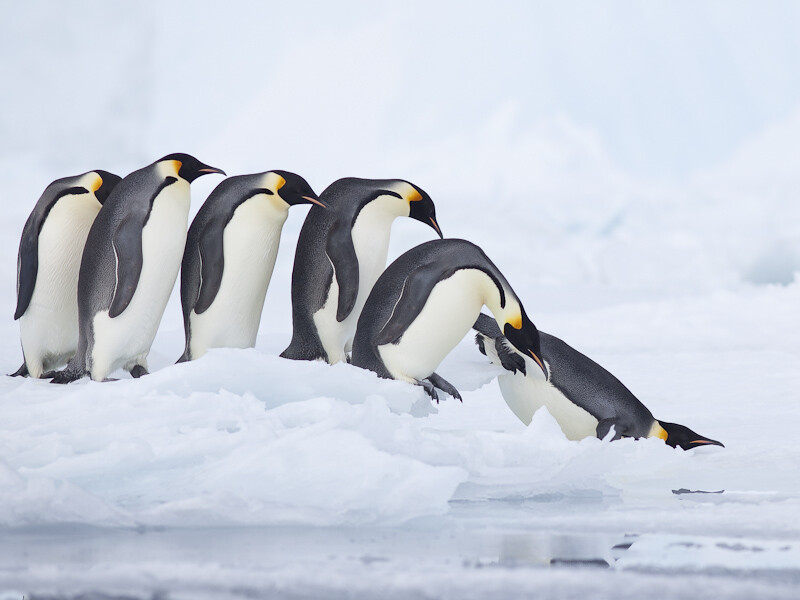
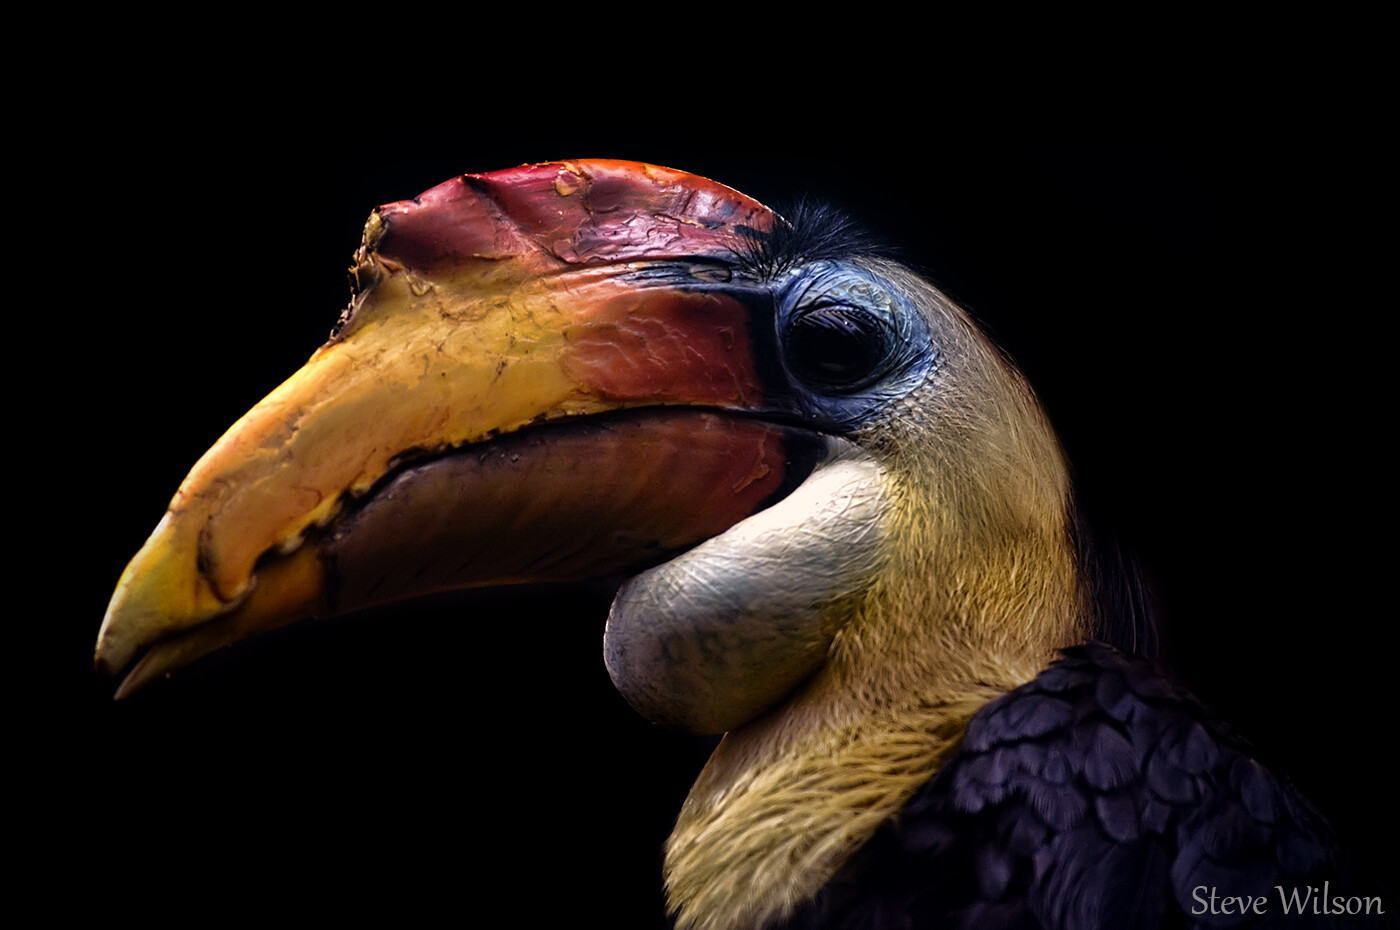
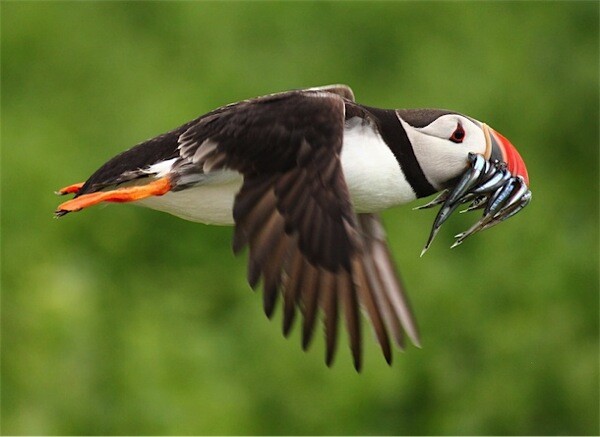
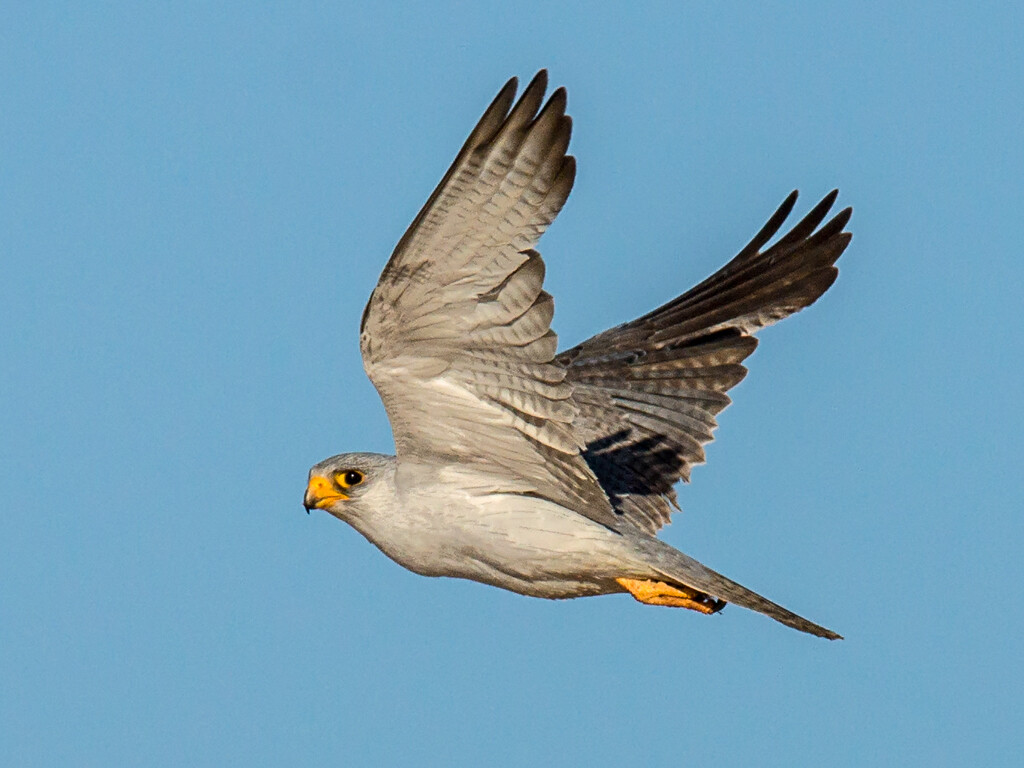
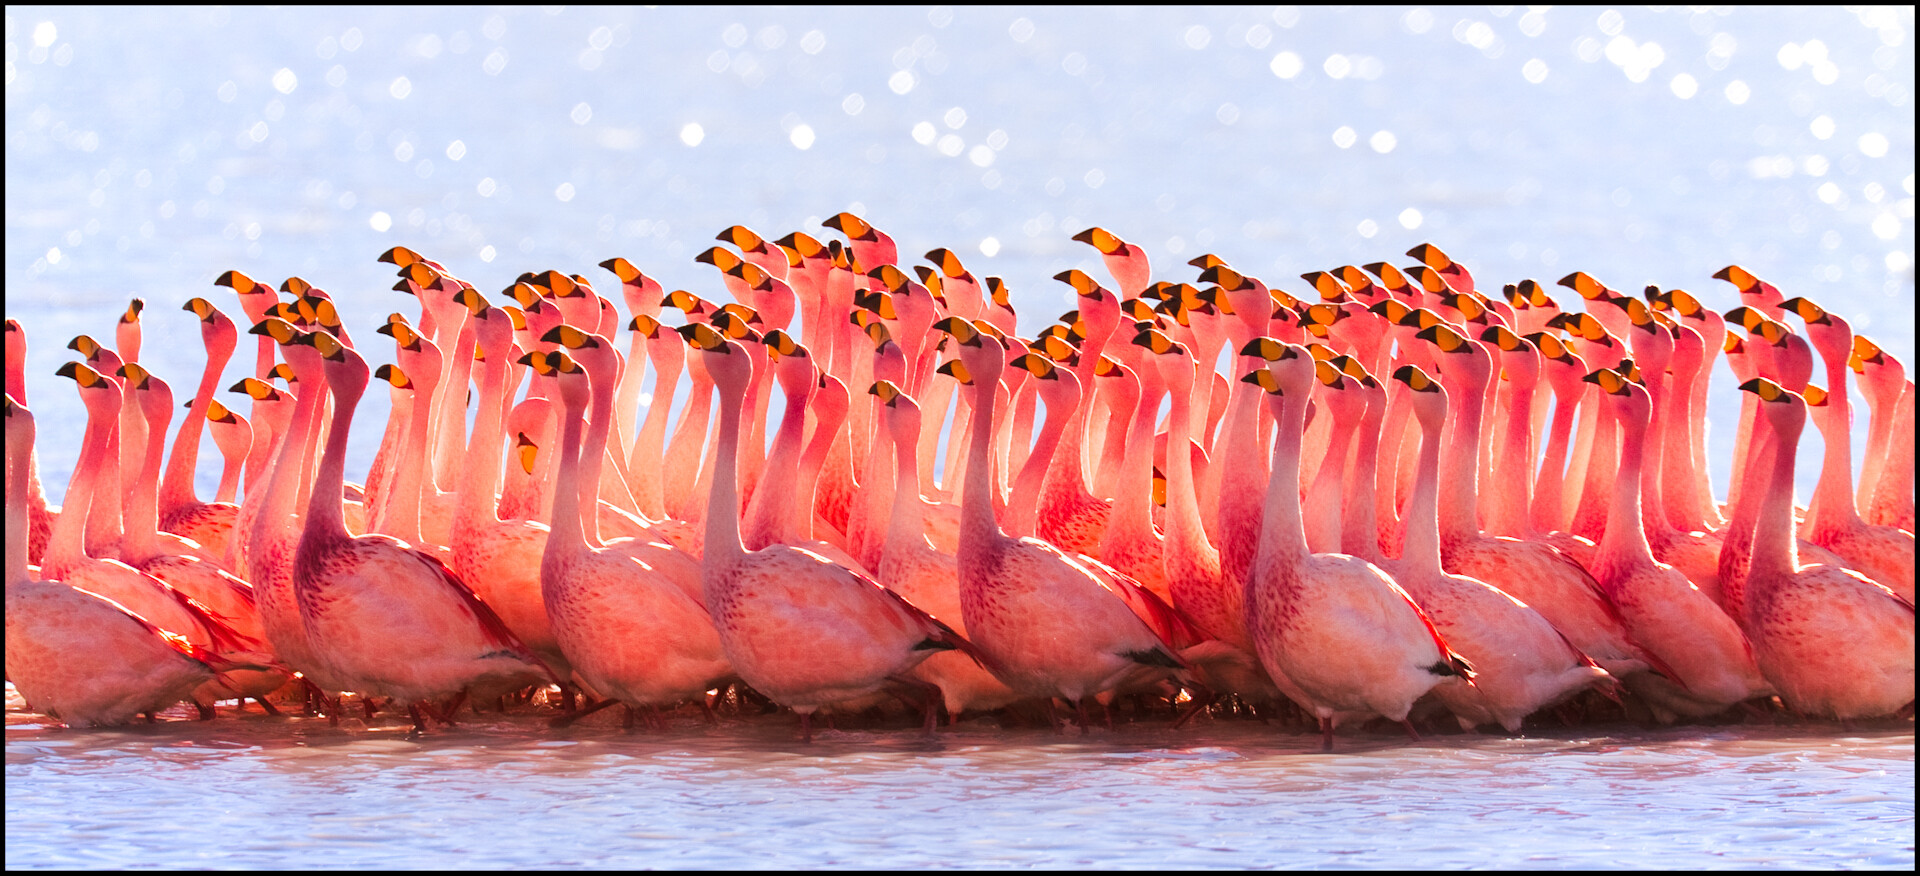
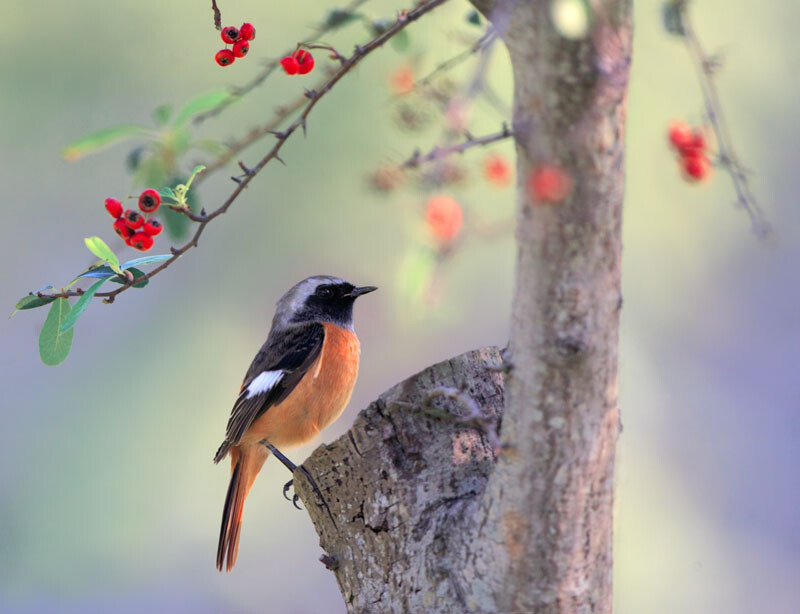
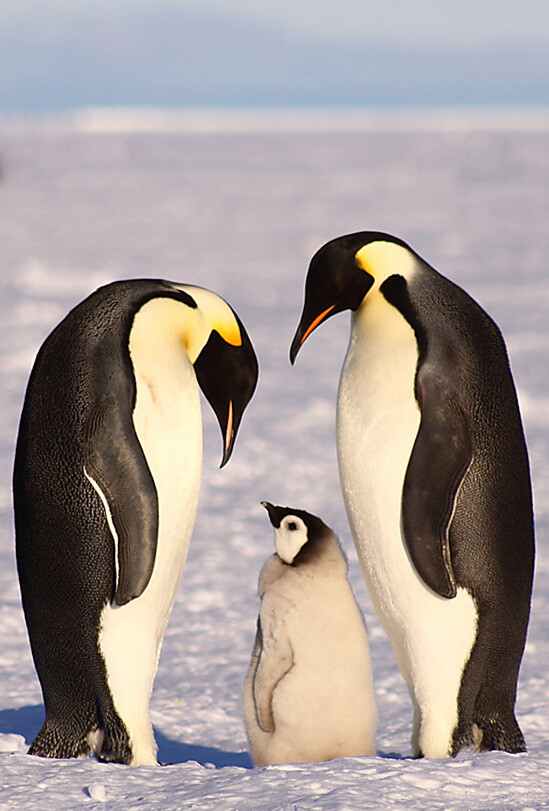
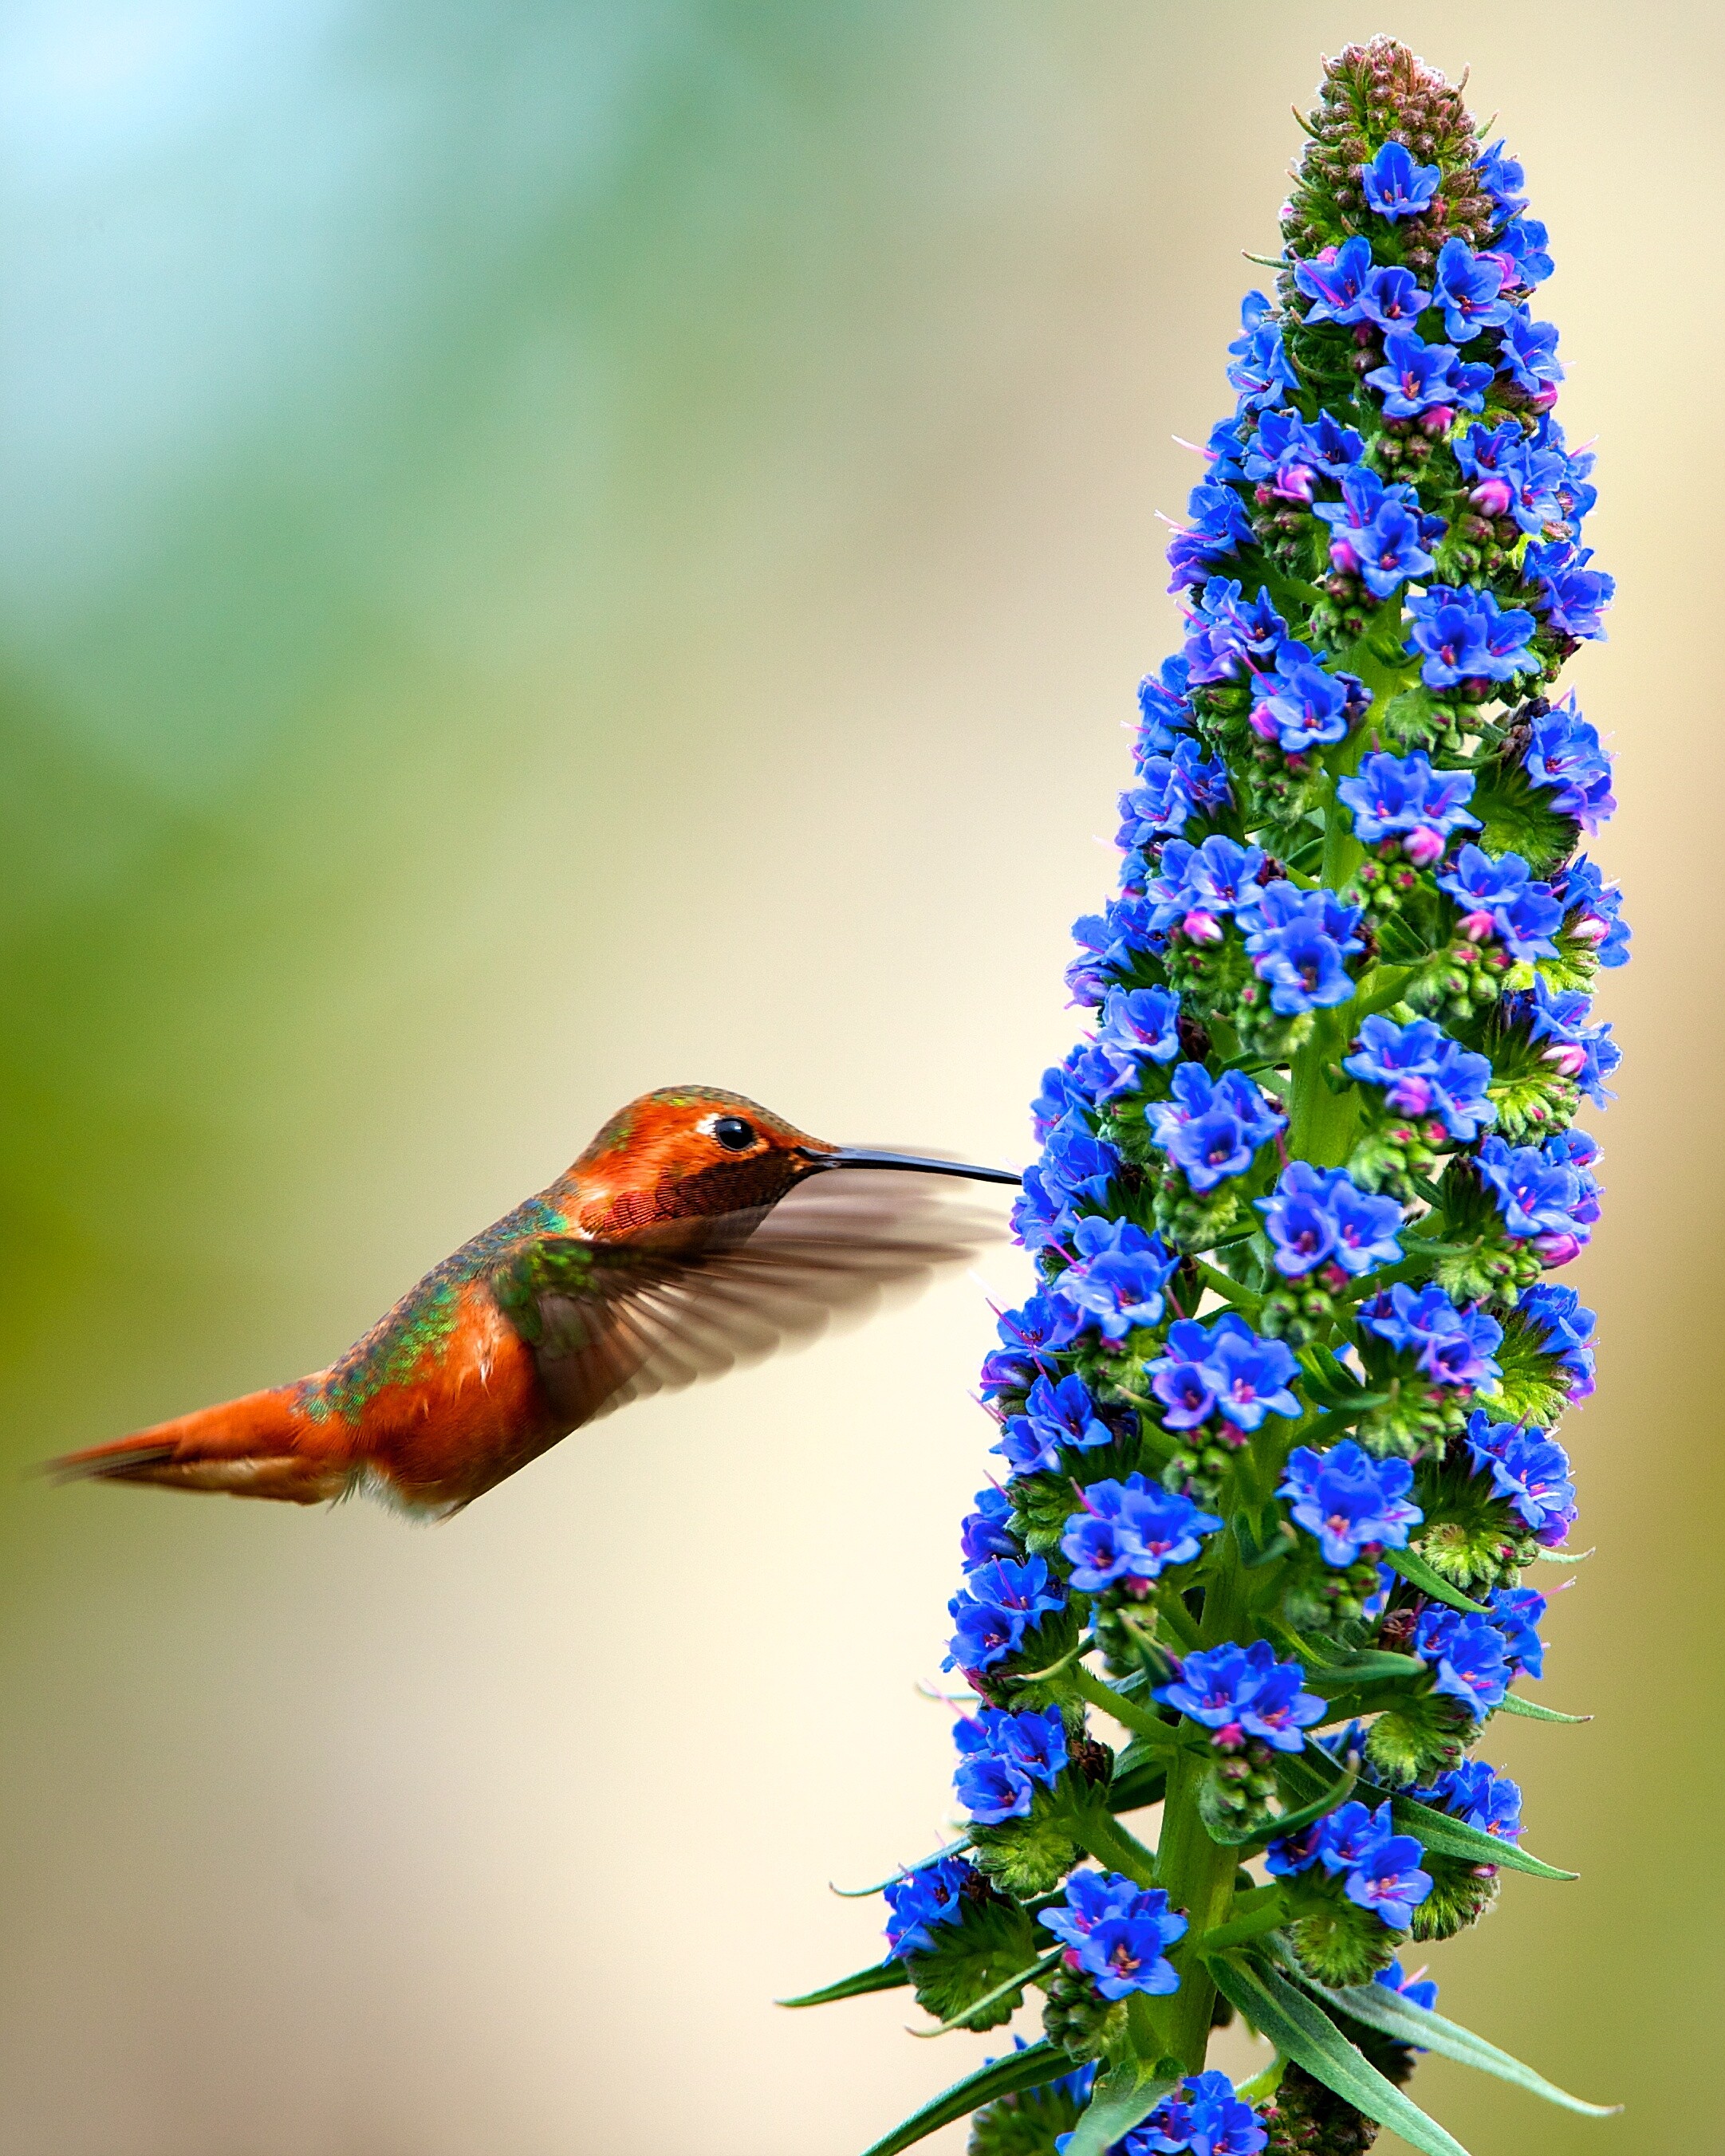
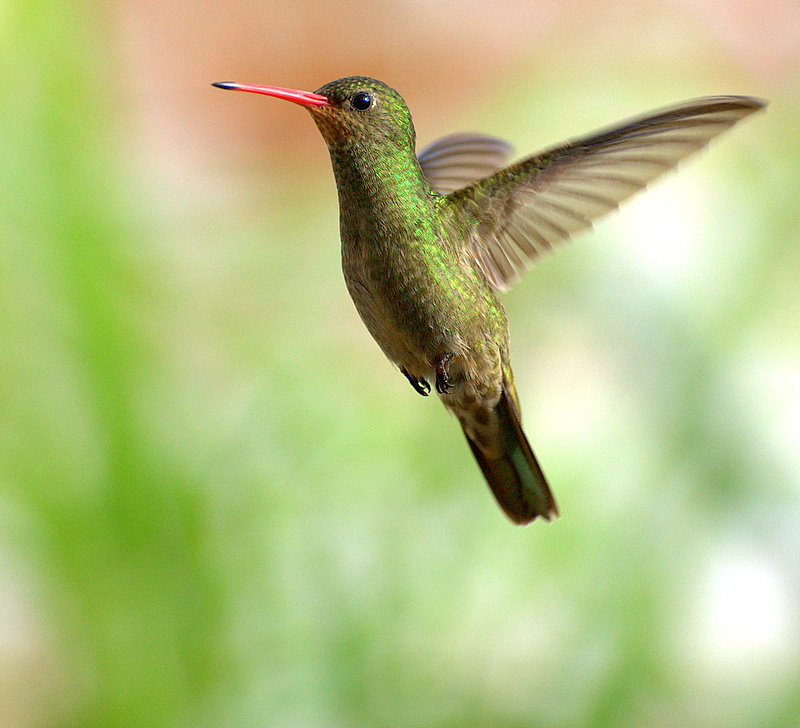
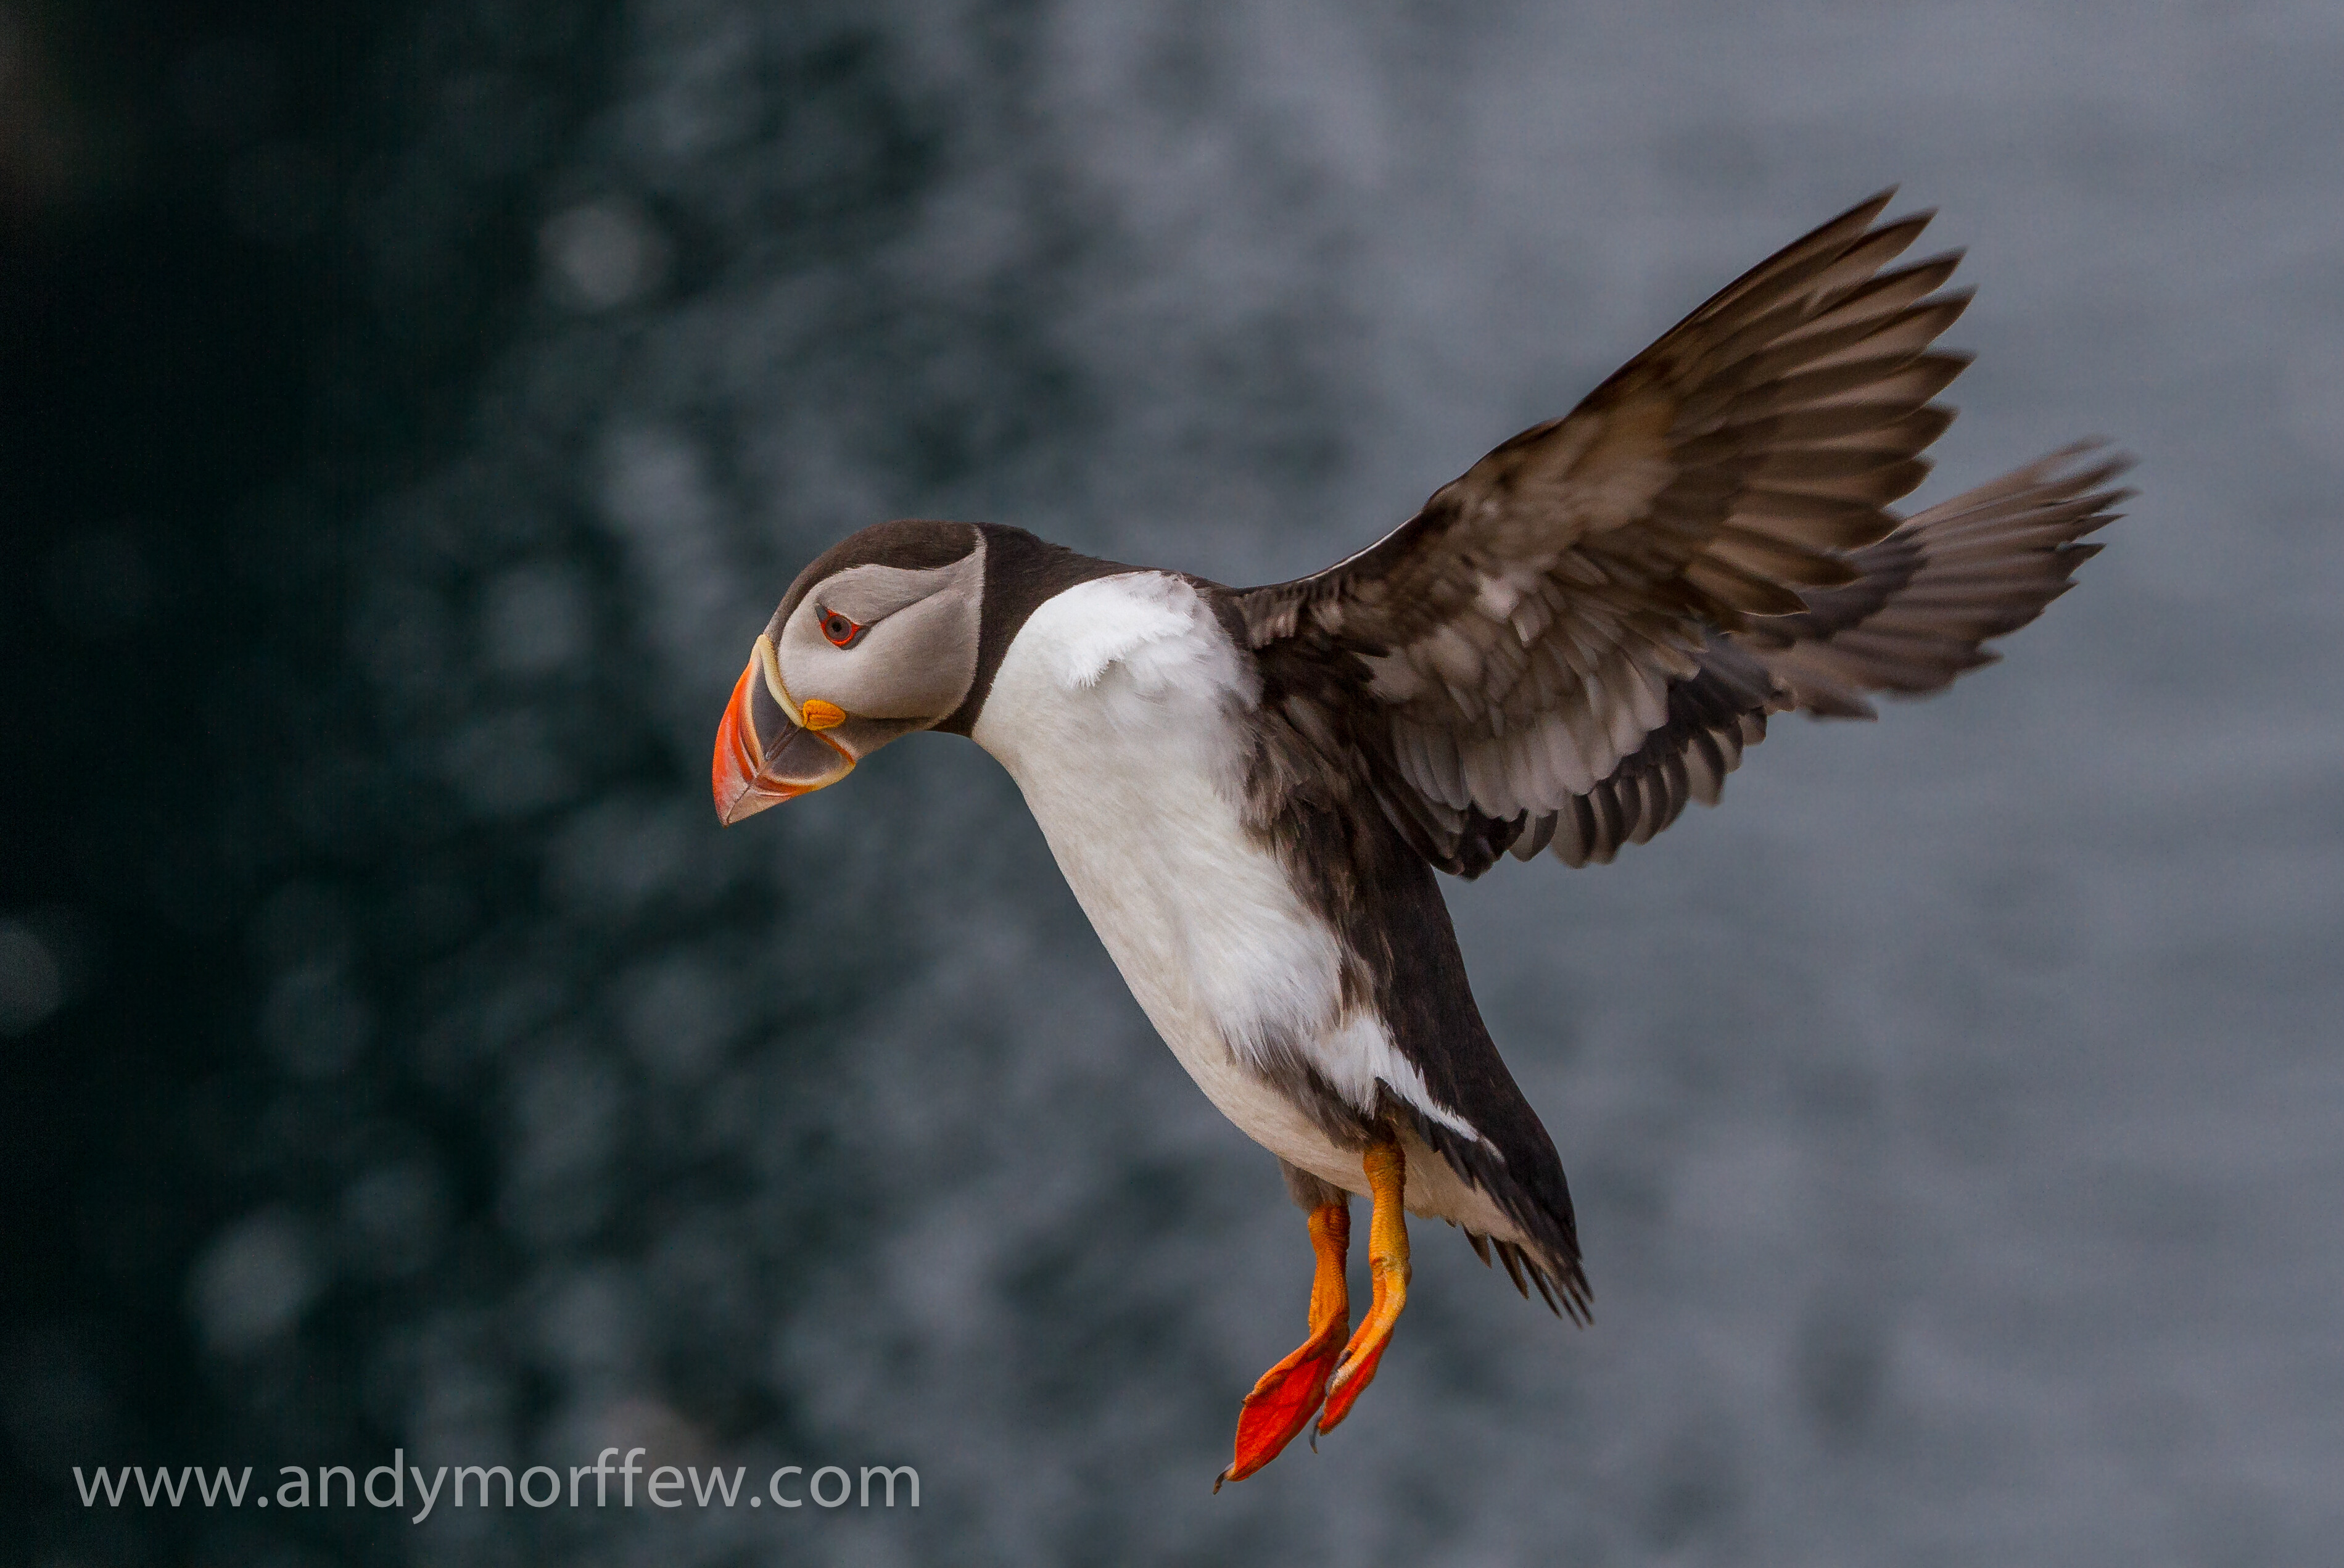
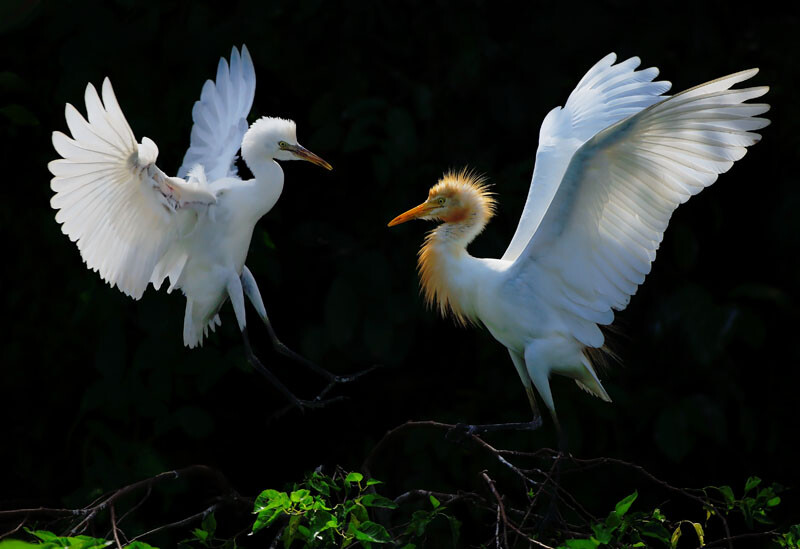
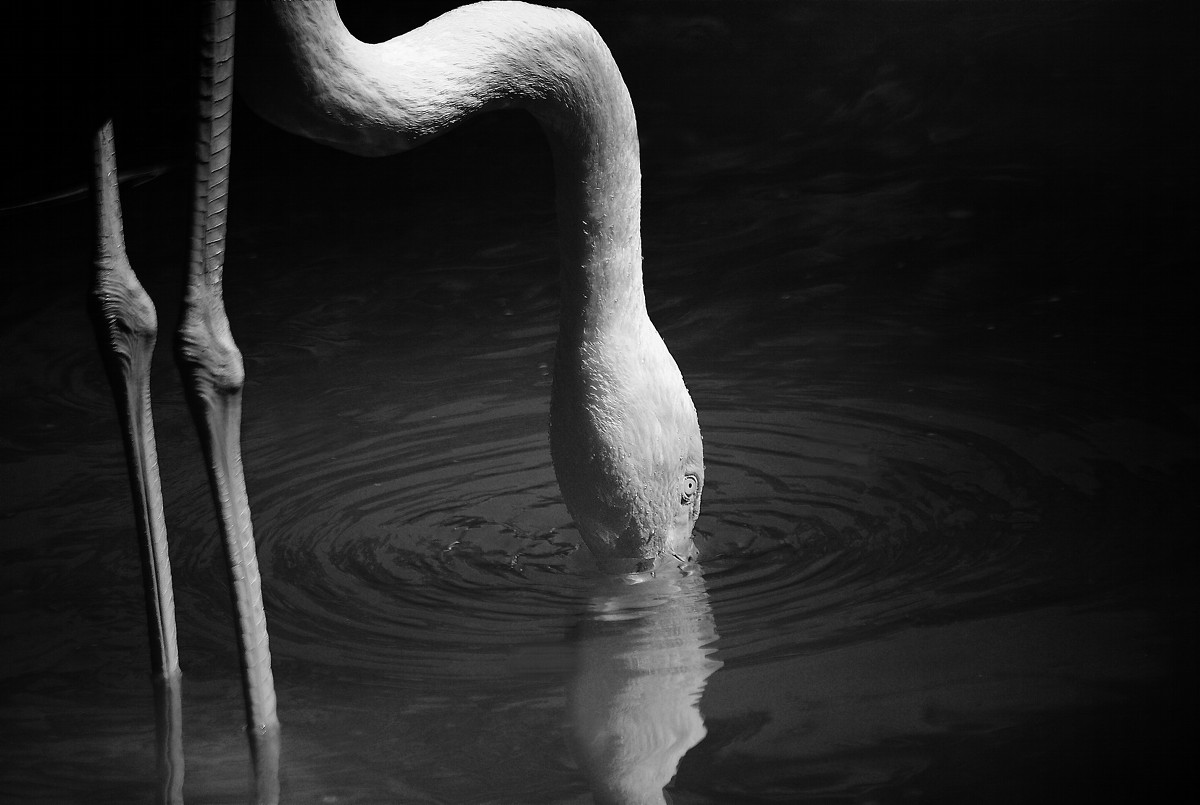
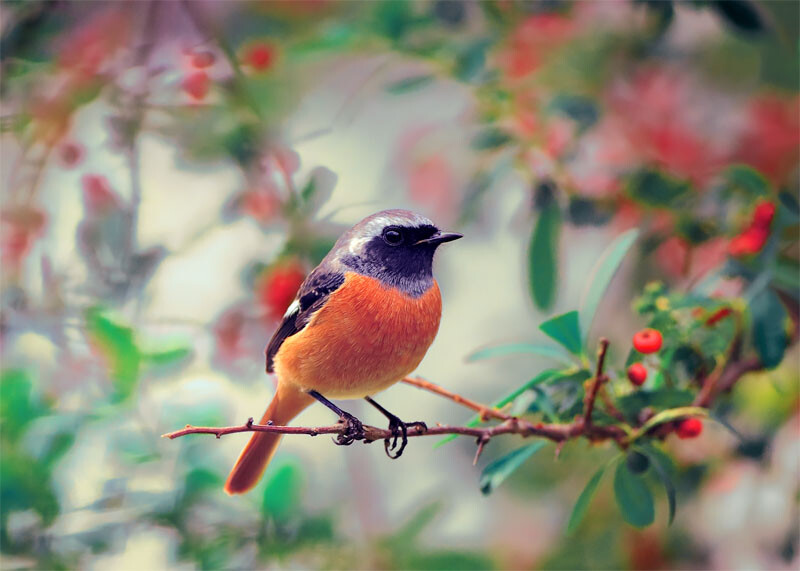
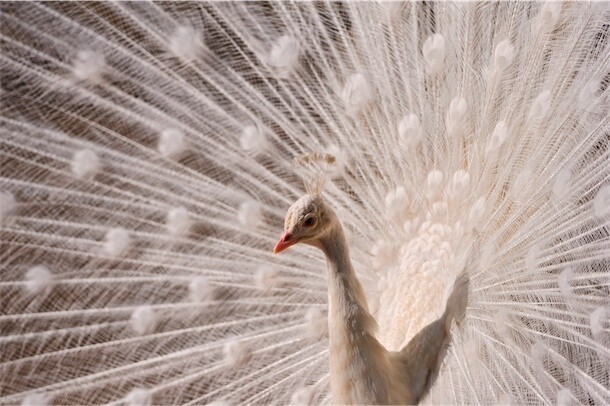
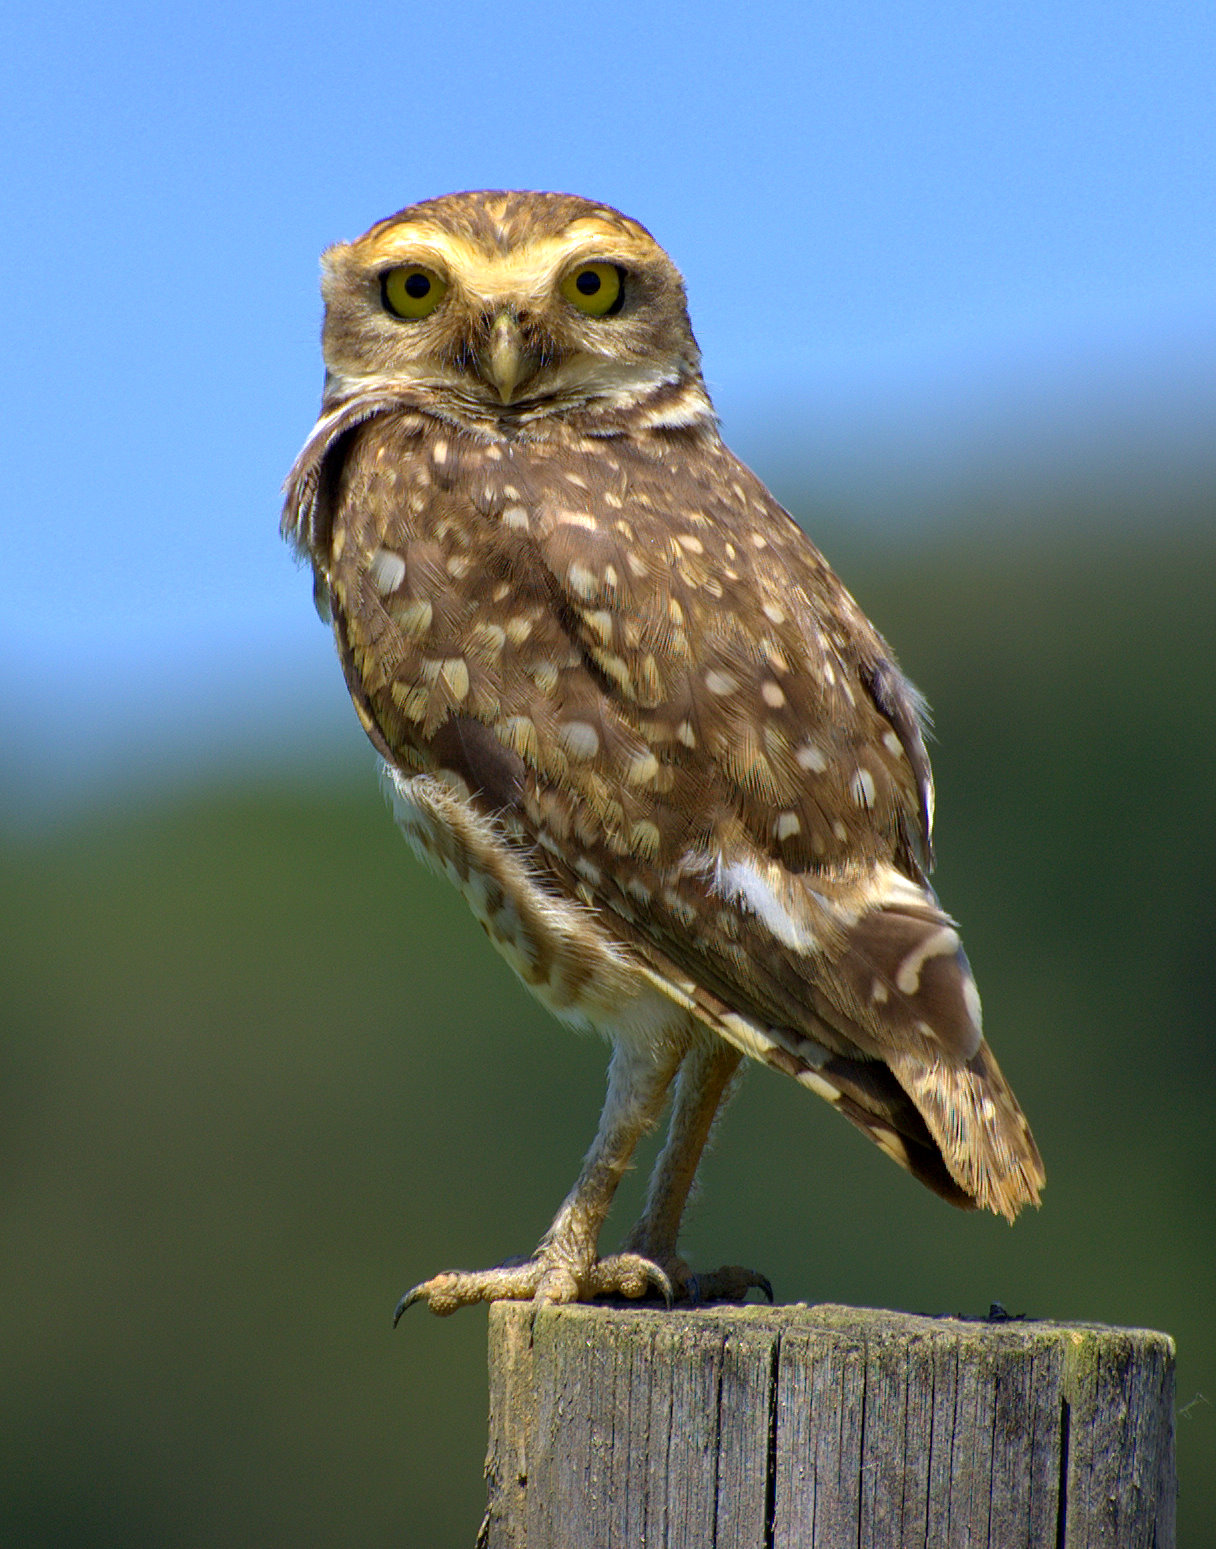
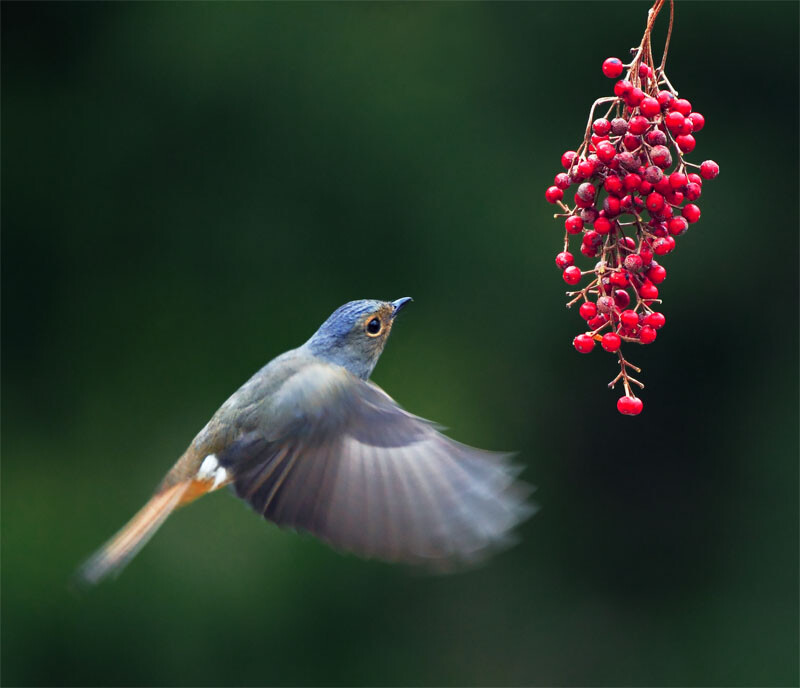
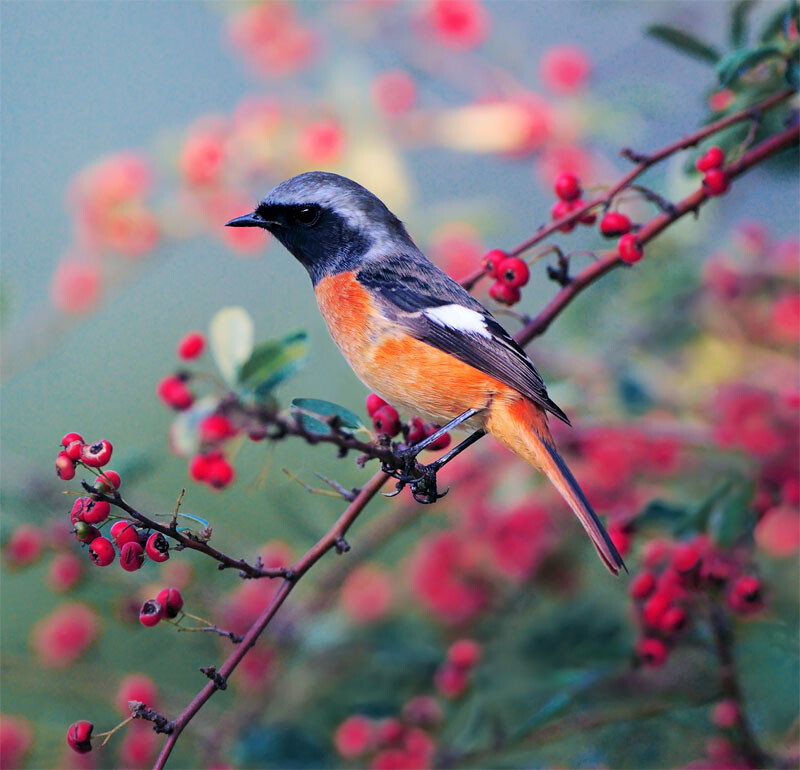
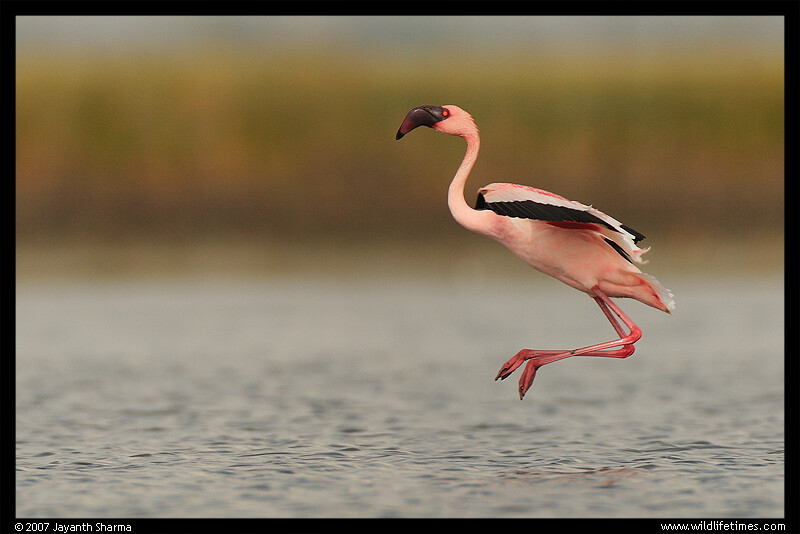
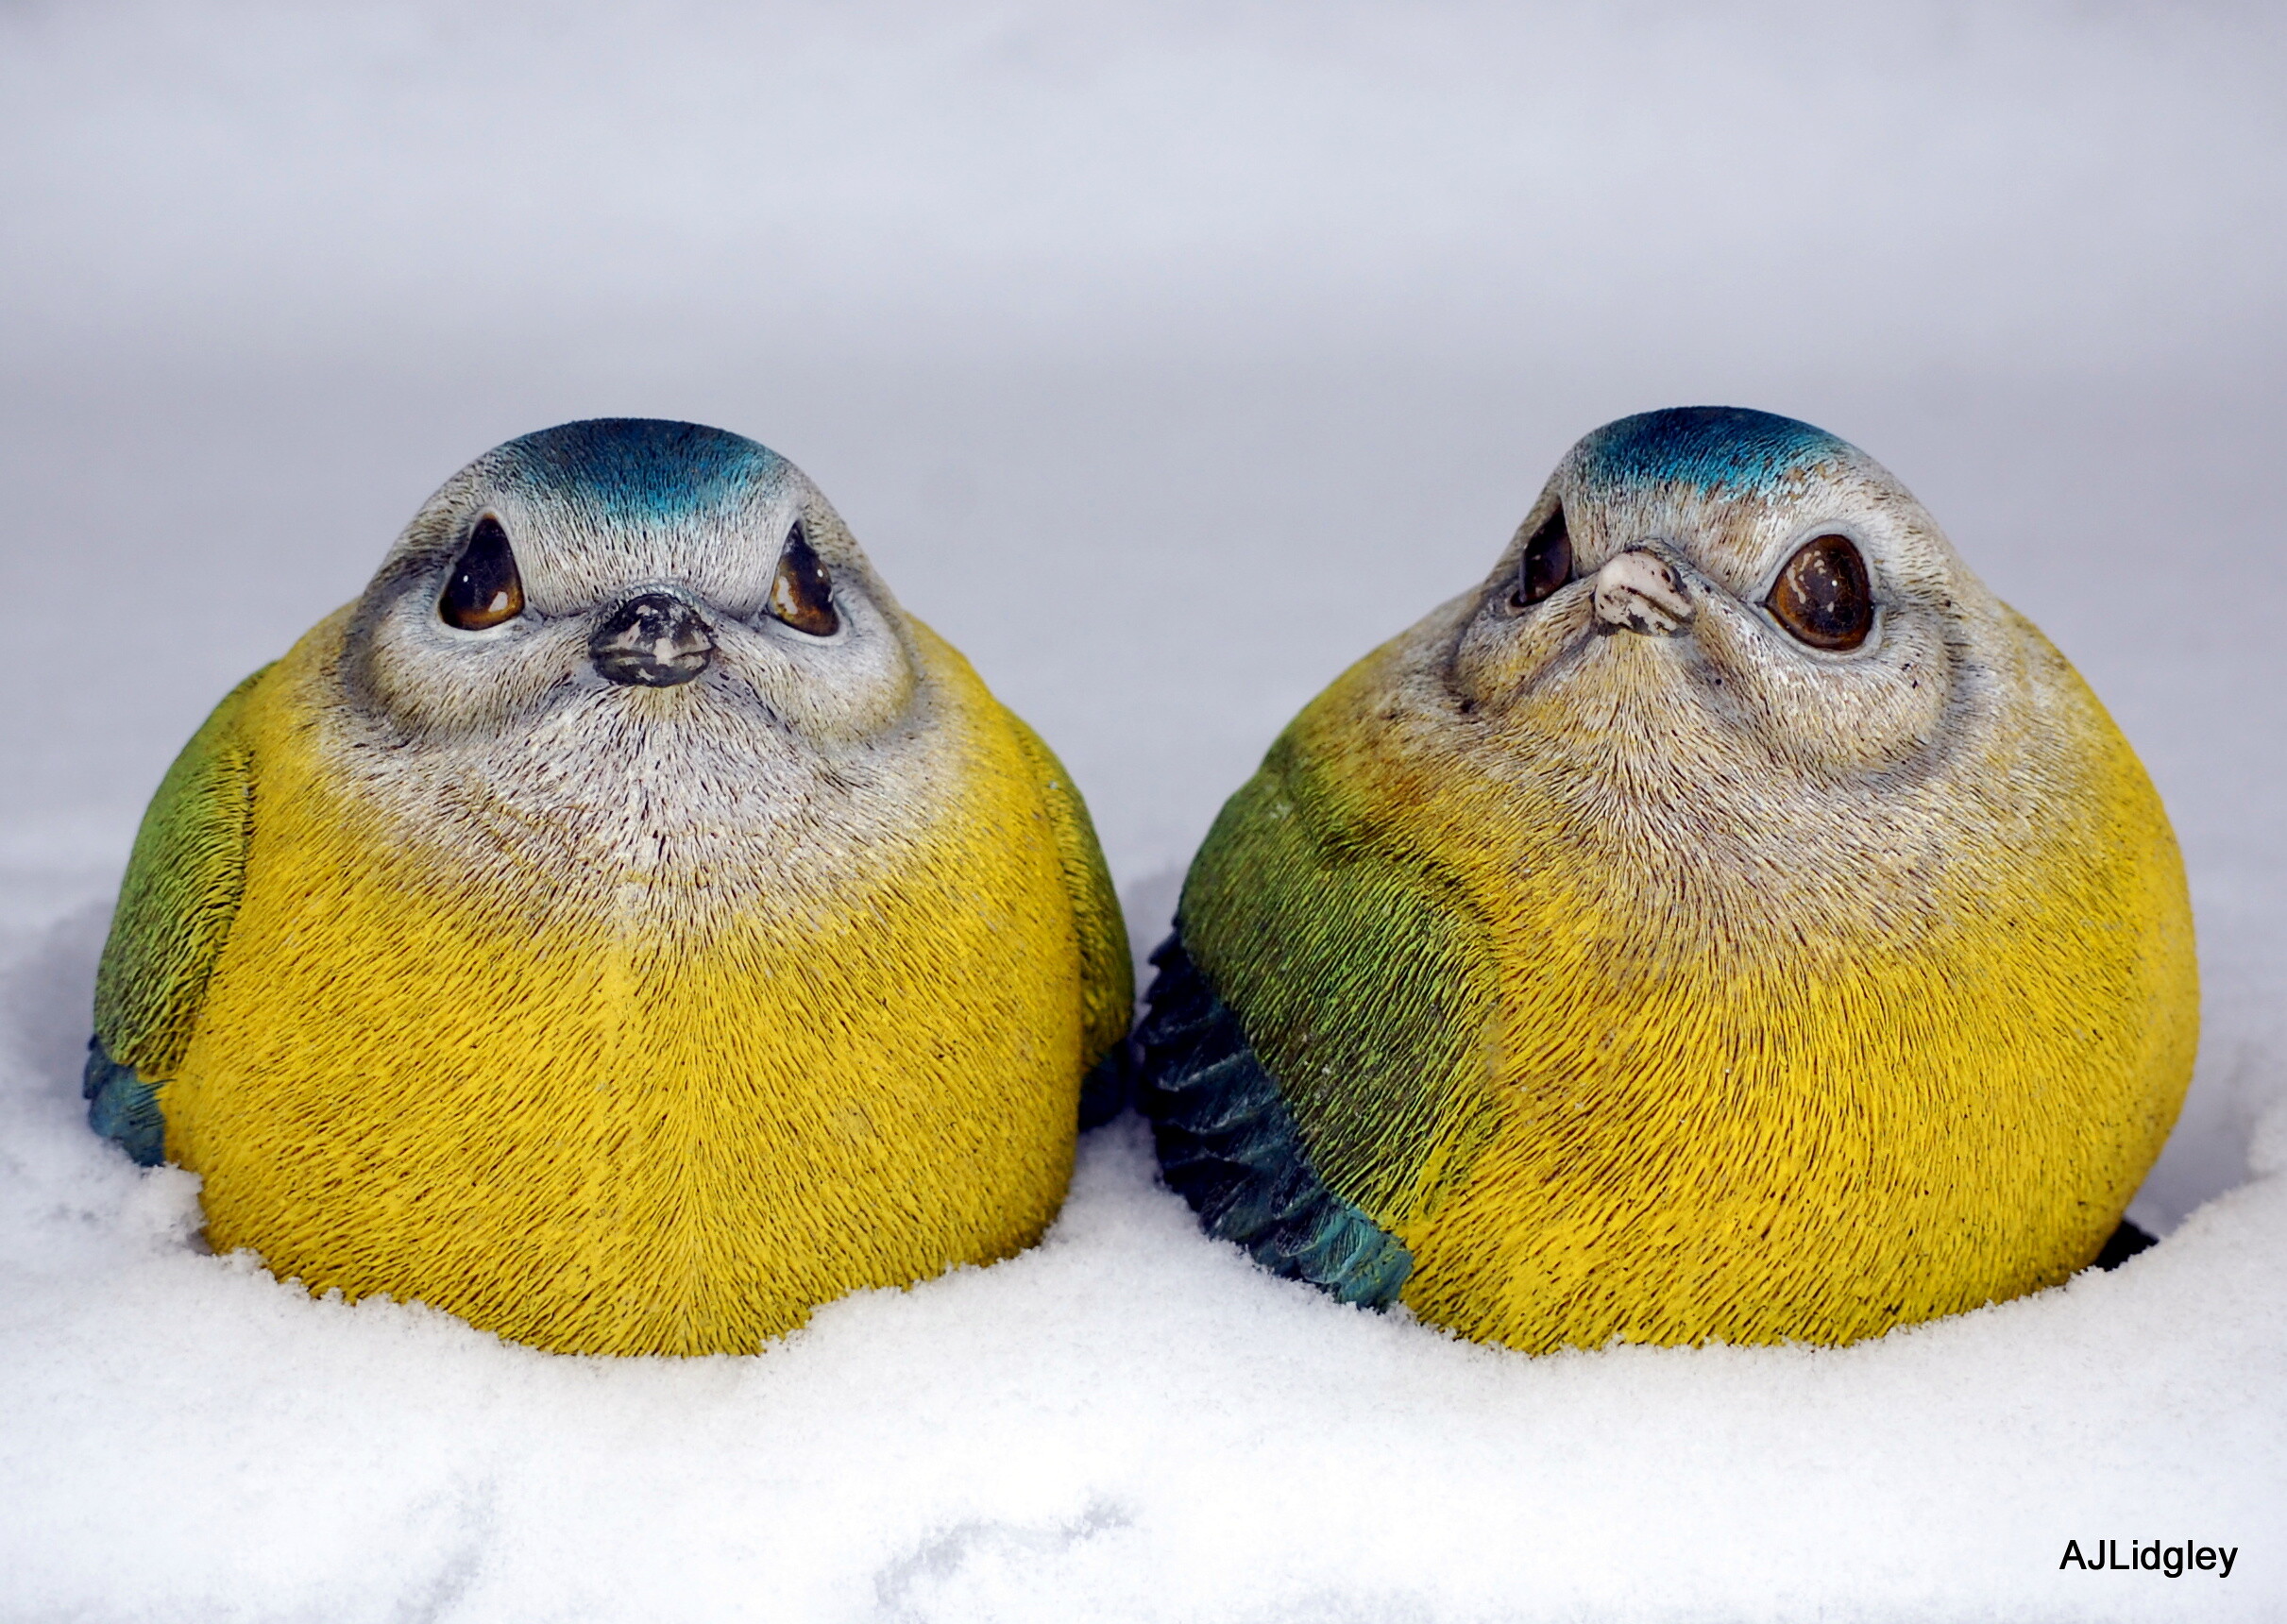
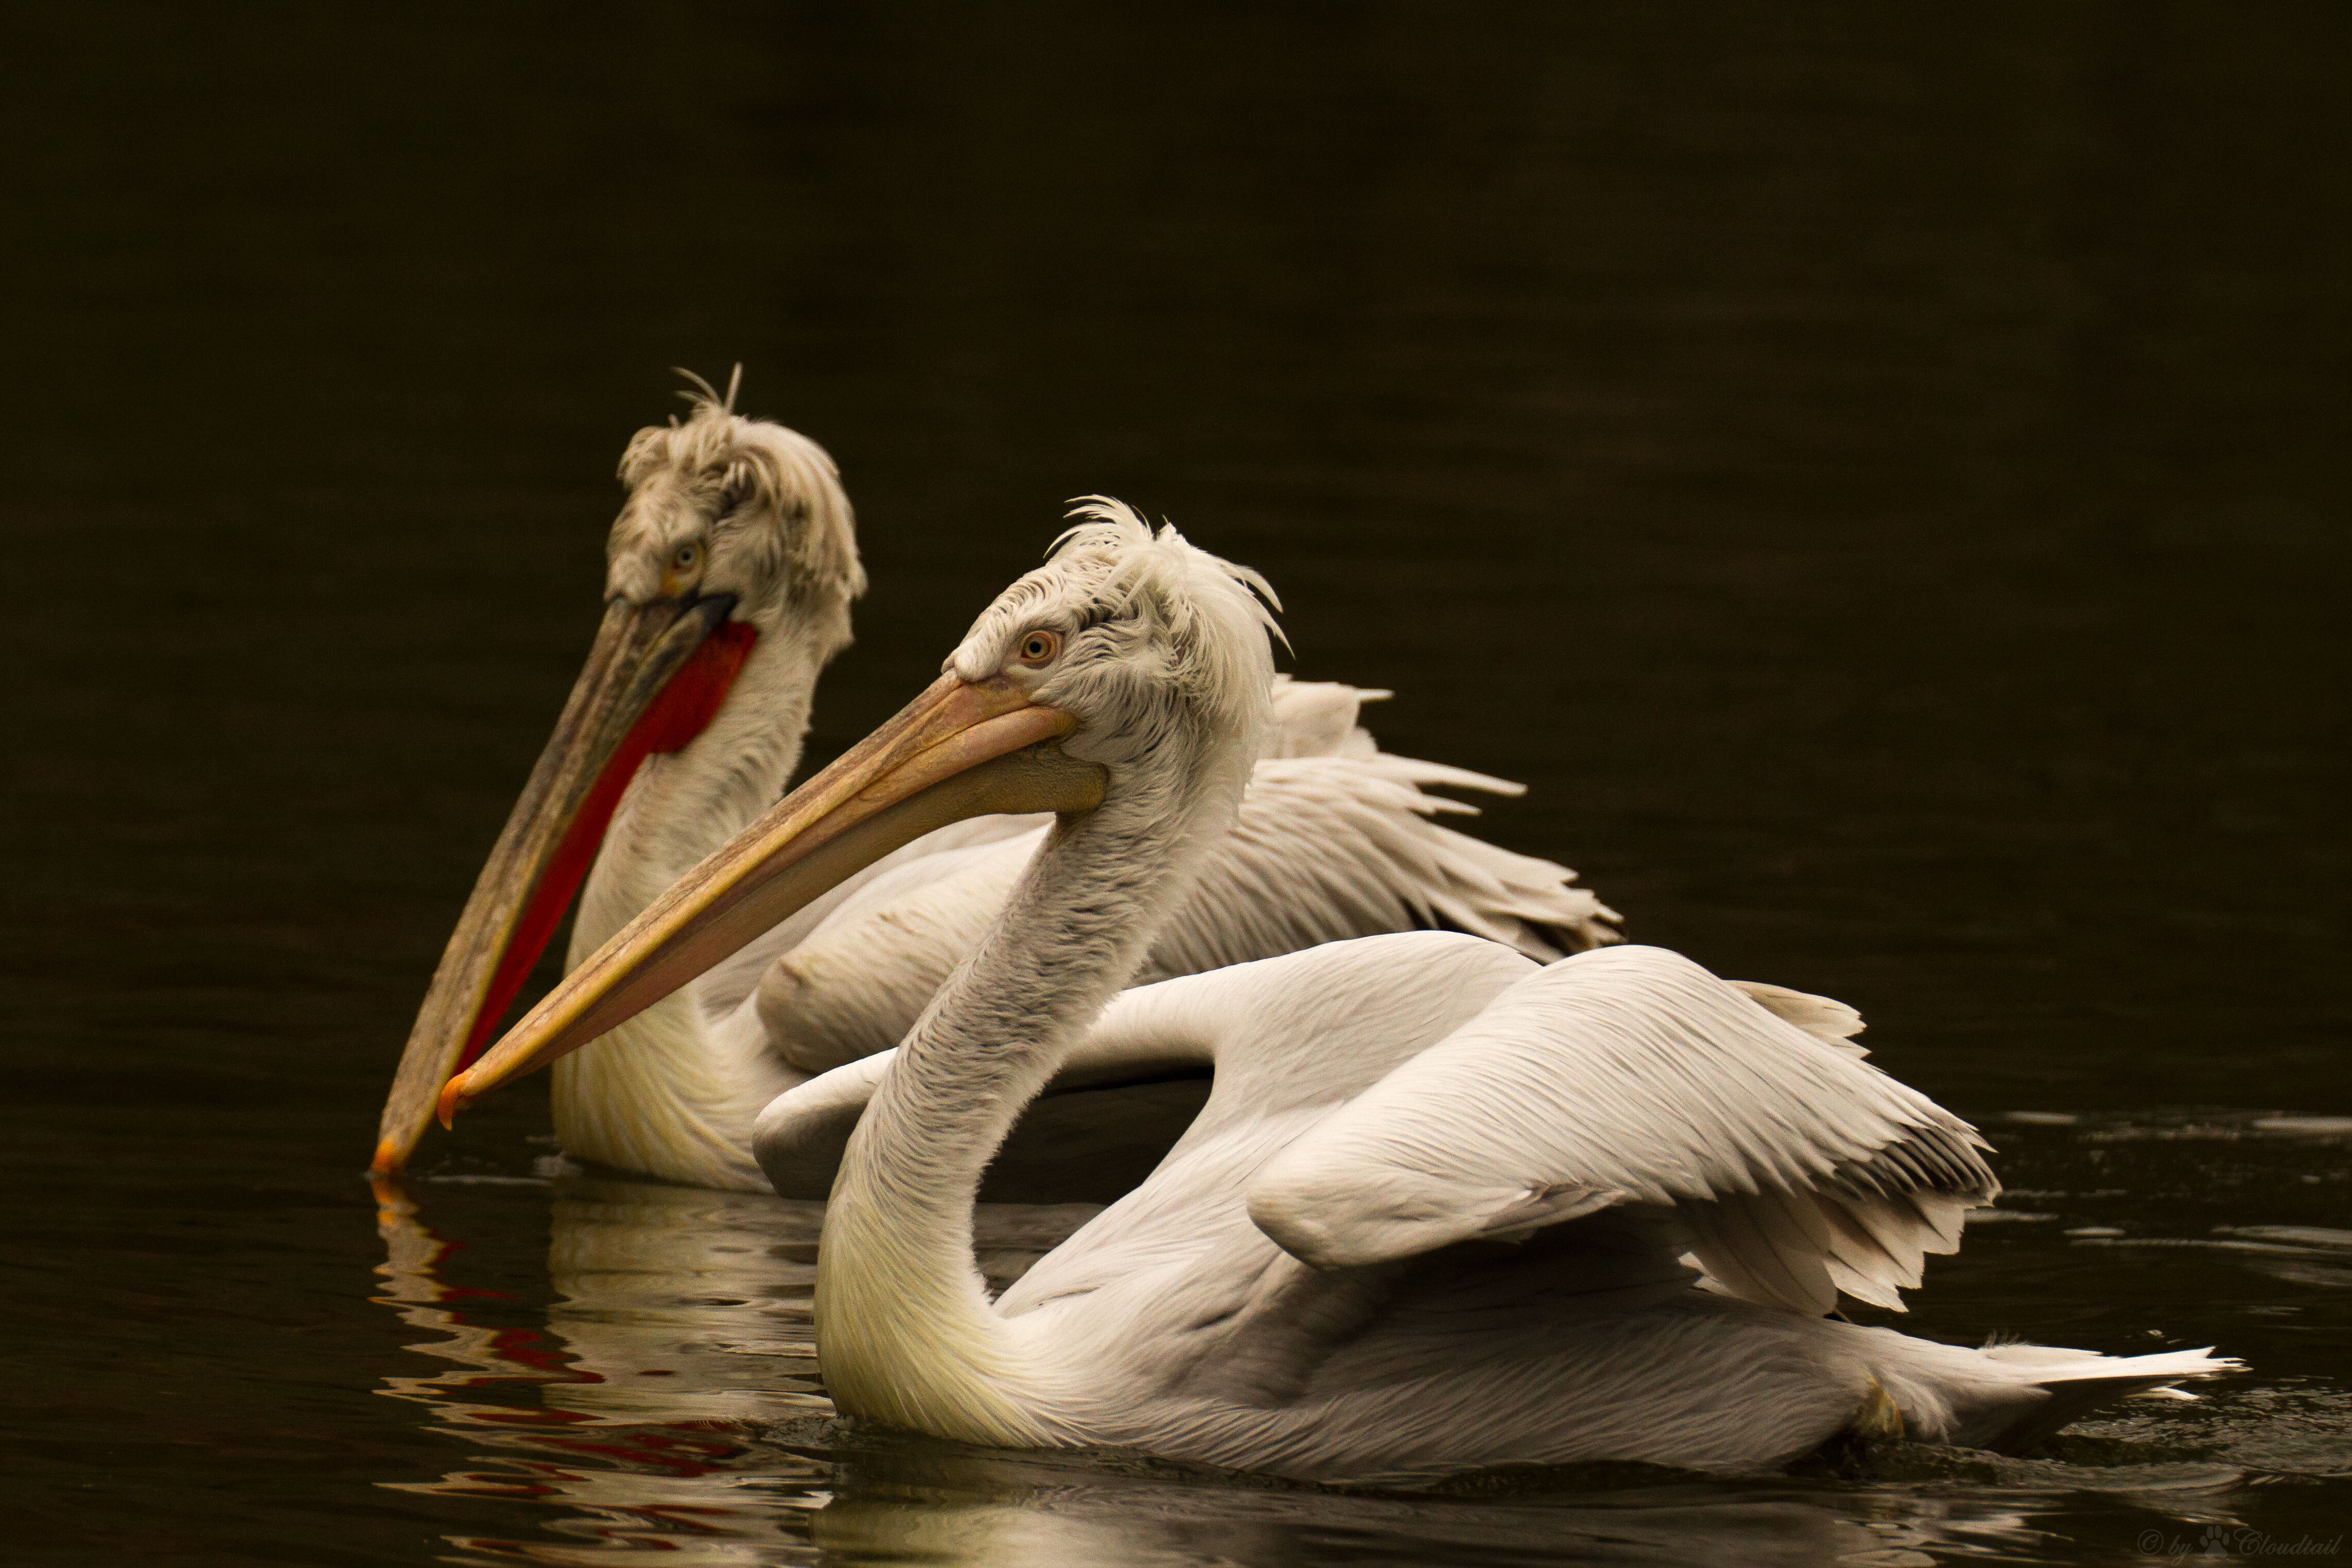
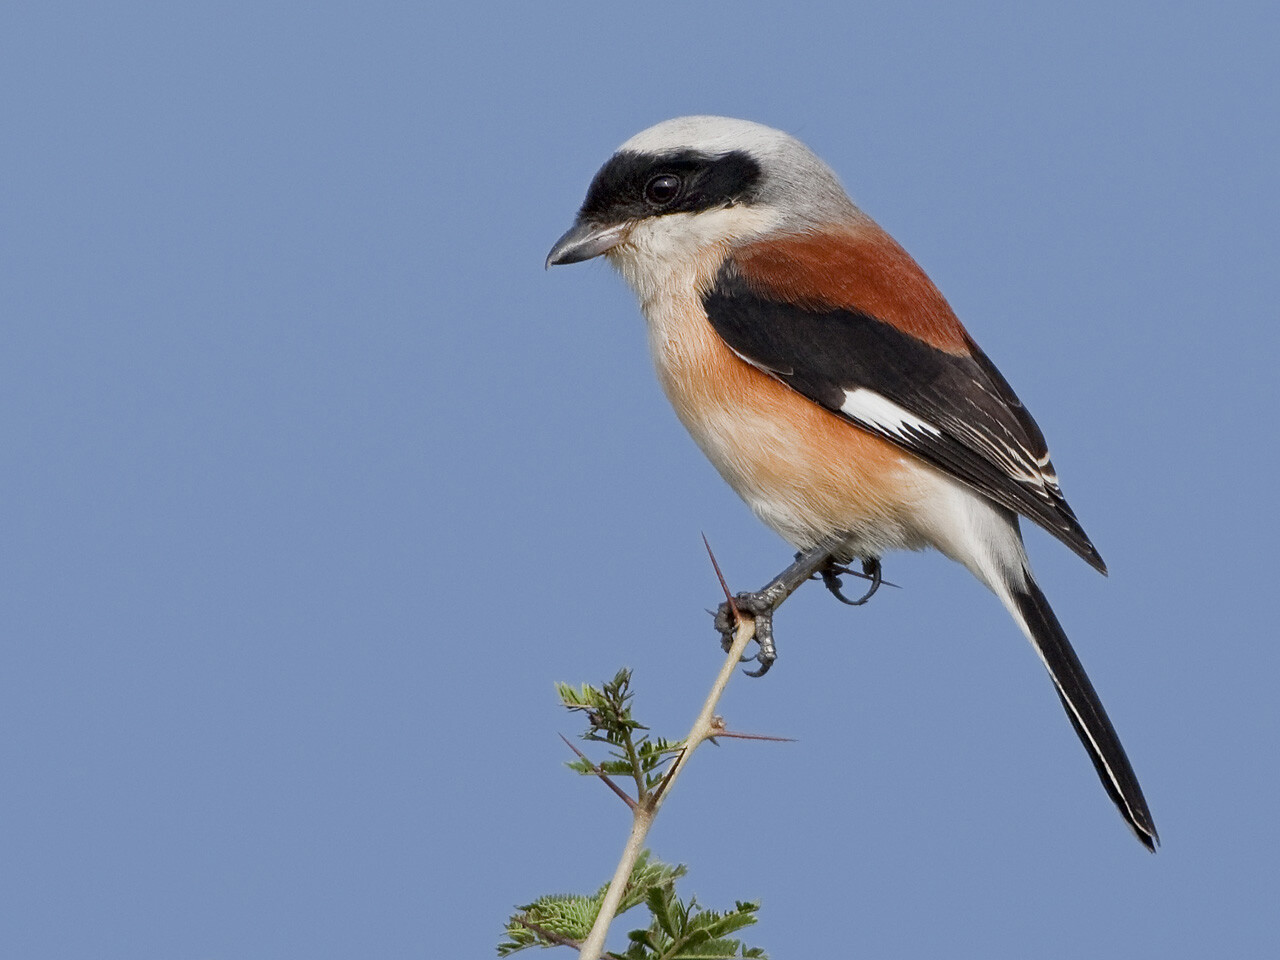
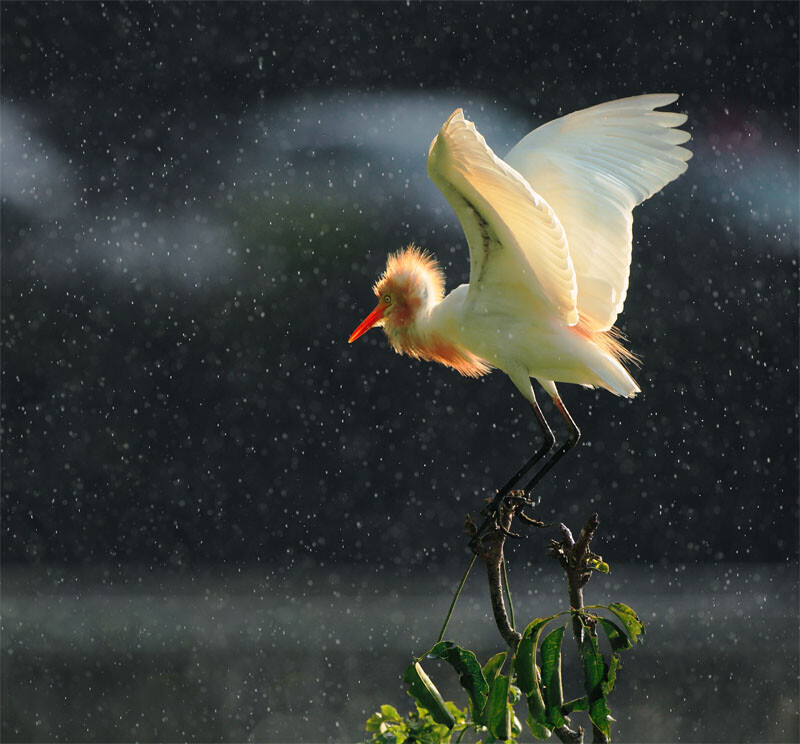
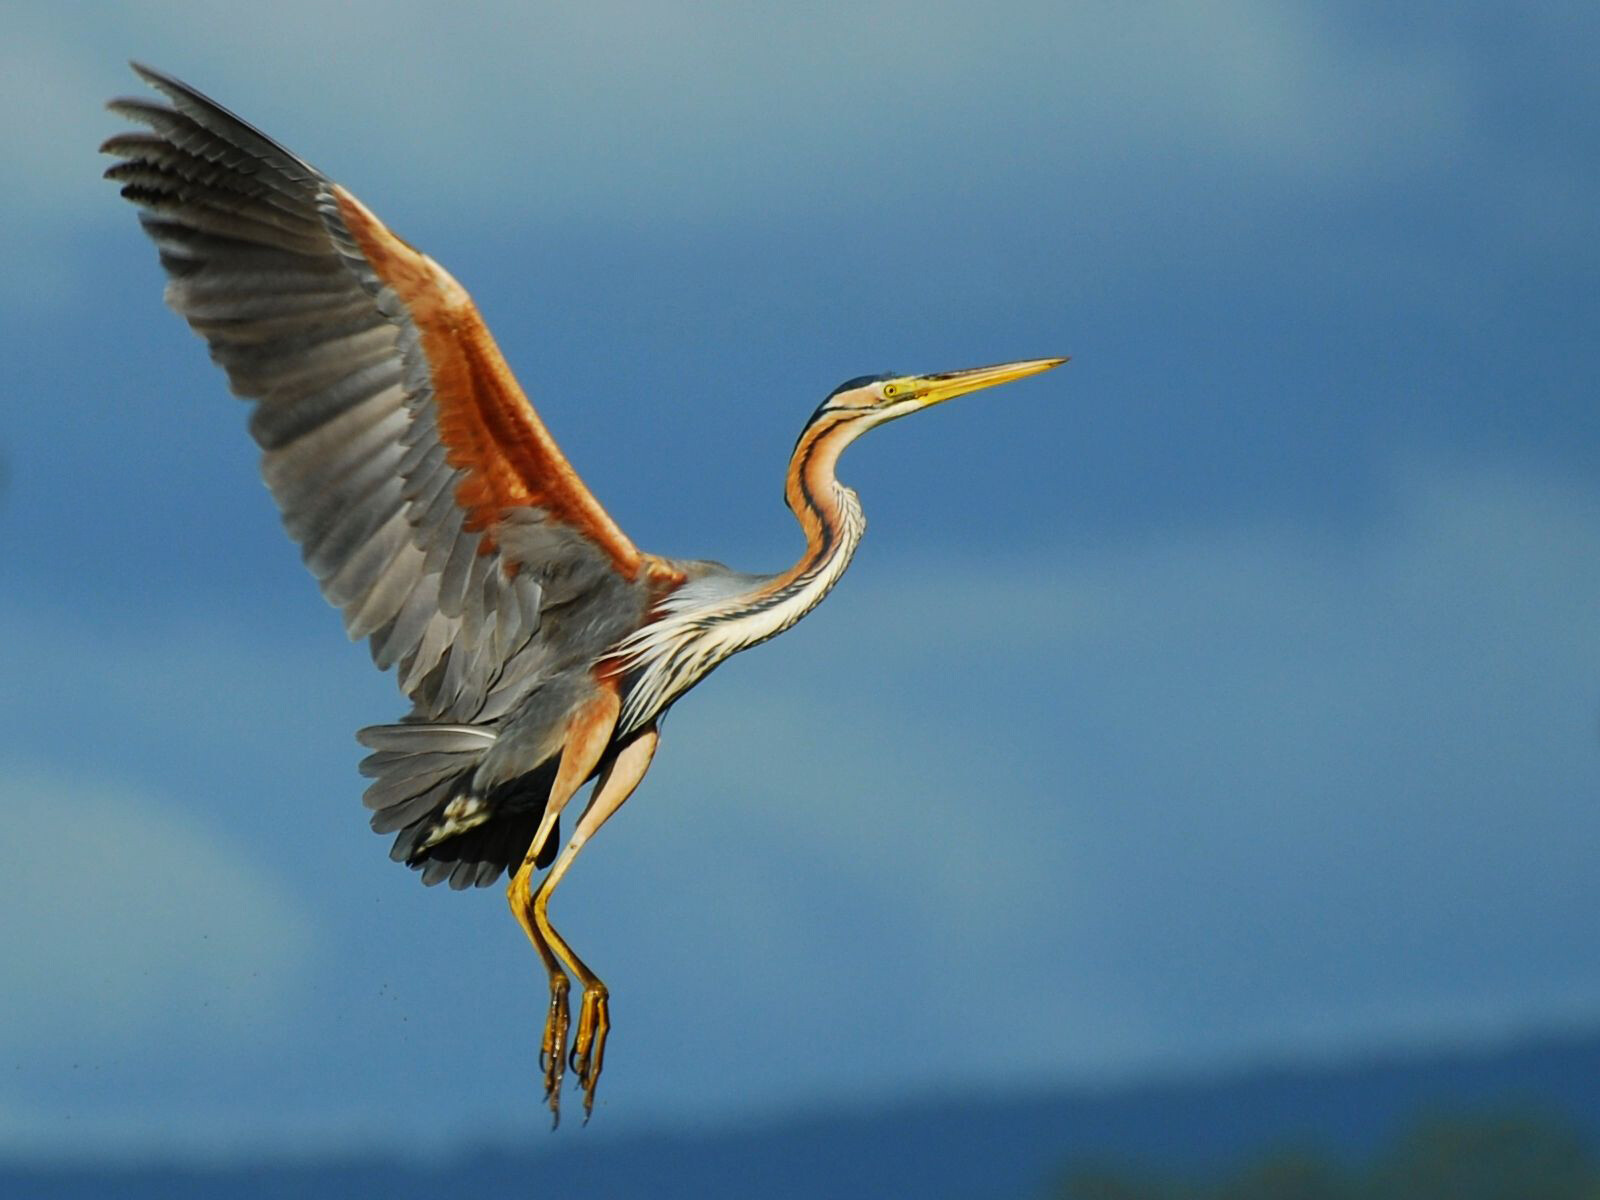
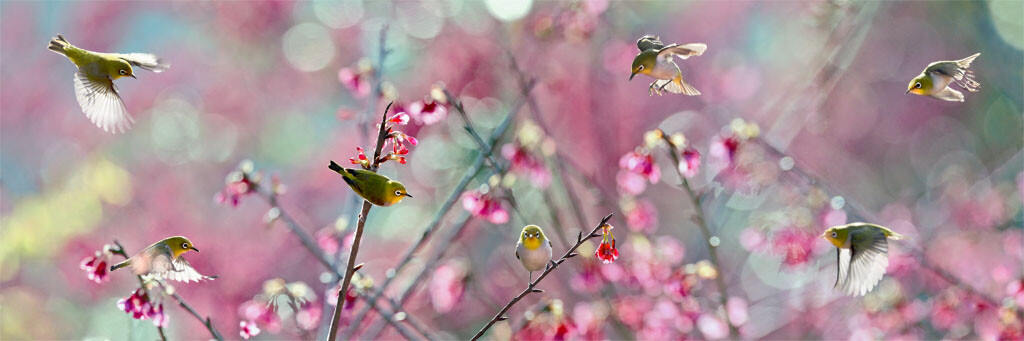
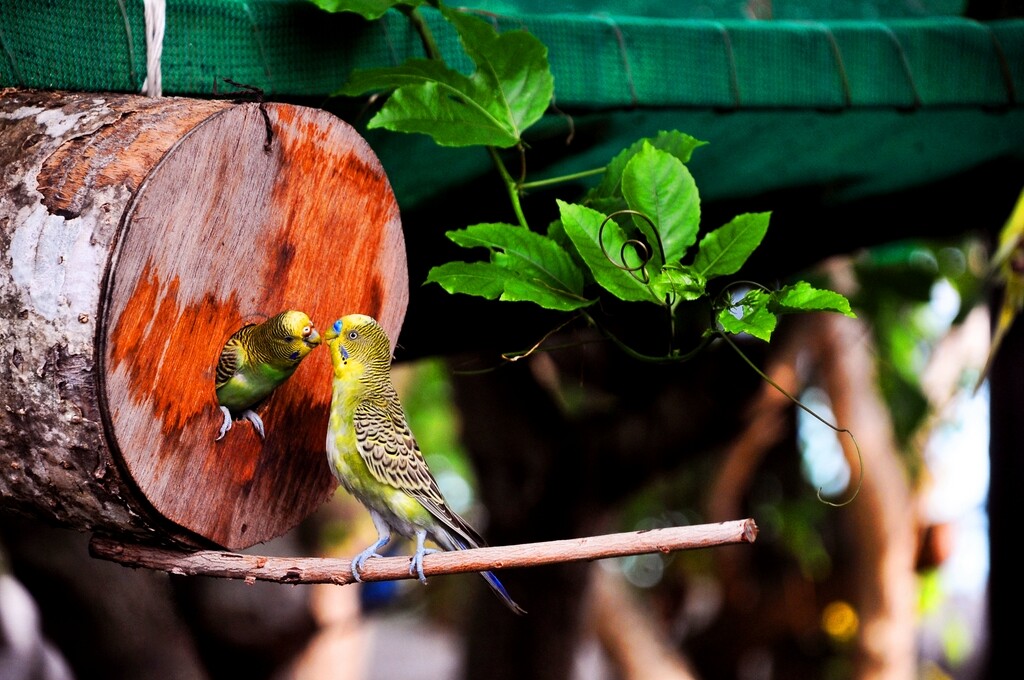
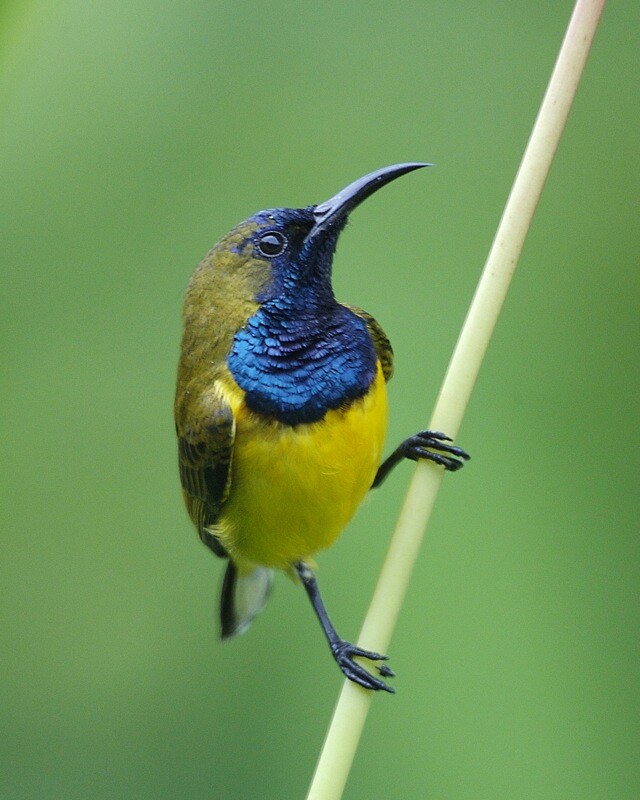
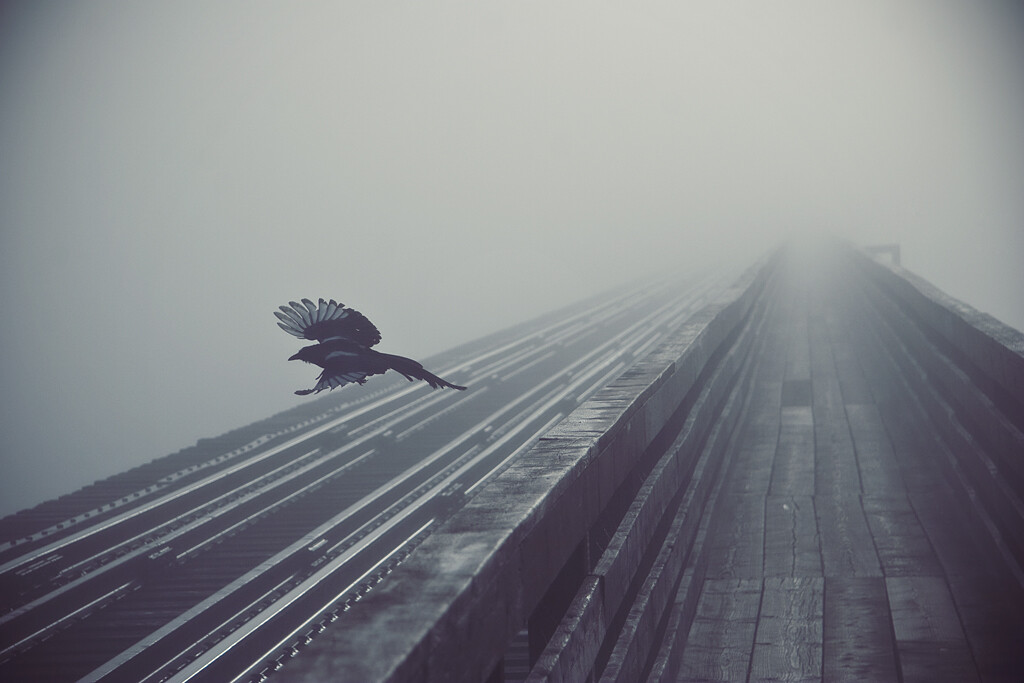
    Birds provide a wonderful opportunity for photographers to practice their skills. So today we thought we’d put together a bit of an image collection that feature them in the hope of inspiring some of you to get out and photograph some of our feathered friends (if you do take some great bird photos please share them in comments below). Click each image to find out more about the author and see it at full resolution.

    By John&Fish

    Looking for a little instruction in bird photography? Check out these tutorials in our archives:

    • 8 Tips for Photographing Birds
    • Backyard Bird Photography Tips
    • An Introduction to Bird Photography
    • How to Photograph Birds
    • Bird Photography Near Feeders
    • Introduction to Bird Photography

    By Vinoth Chandar

    By John&Fish

    By John&Fish

    By Keith Williams

    By Pörrö

    By Isidro Vila Verde

    By Valerie

    By John&Fish

    By John&Fish

    By John&Fish

    By David

    By Jes

    By Art G.

    By StormPetrel1

    By Steve Wilson – over 2 million views Thanks !!

    By Victor Alvarez

    By Tambako The Jaguar

    By Hamed Saber

    By Matthew Paulson

    By Ian Kirk

    By David Cook

    By Pedro Szekely

    By John&Fish

    By Anne Fröhlich

    By Danny Perez Photography

    By Dario Sanches

    By Gonzalo G. Useta

    By Steve Wilson – over 2 million views Thanks !!

    By Andy Morffew

    By John&Fish

    By John&Fish

    By dogwatcher

    By John&Fish

    By Takashi Hososhima

    By Christopher Michel

    By Tambako The Jaguar

    By Dawn Vornholt

    By Dario Sanches

    By Dario Sanches

    By John&Fish

    By John&Fish

    By Jayanth Sharma

    By Englishpointers (Hate Sleep Apneoa)

    By Eduardo Amorim

    By Cloudtail

    By Zanthia


    By Tarique Sani


    By John&Fish

    By Isidro Vila Verde

    By John&Fish

    By Ibrahim Iujaz

    By Lip Kee

    By Krystian Olszanski

    By Valerie

    By Stuart Williams

    Inspired? Check out these tutorials on photographing birds:

    • 8 Tips for Photographing Birds
    • Backyard Bird Photography Tips
    • An Introduction to Bird Photography
    • How to Photograph Birds
    • Bird Photography Near Feeders
    • Introduction to Bird Photography

    Post originally from: Digital Photography Tips.

    Check out our more Photography Tips at Photography Tips for Beginners, Portrait Photography Tips and Wedding Photography Tips.

    57 Fabulous Bird Images

    The post 57 Fabulous Bird Images by Darren Rowse appeared first on Digital Photography School.


    Digital Photography School

  • How it was Done – Zooming the Exposure

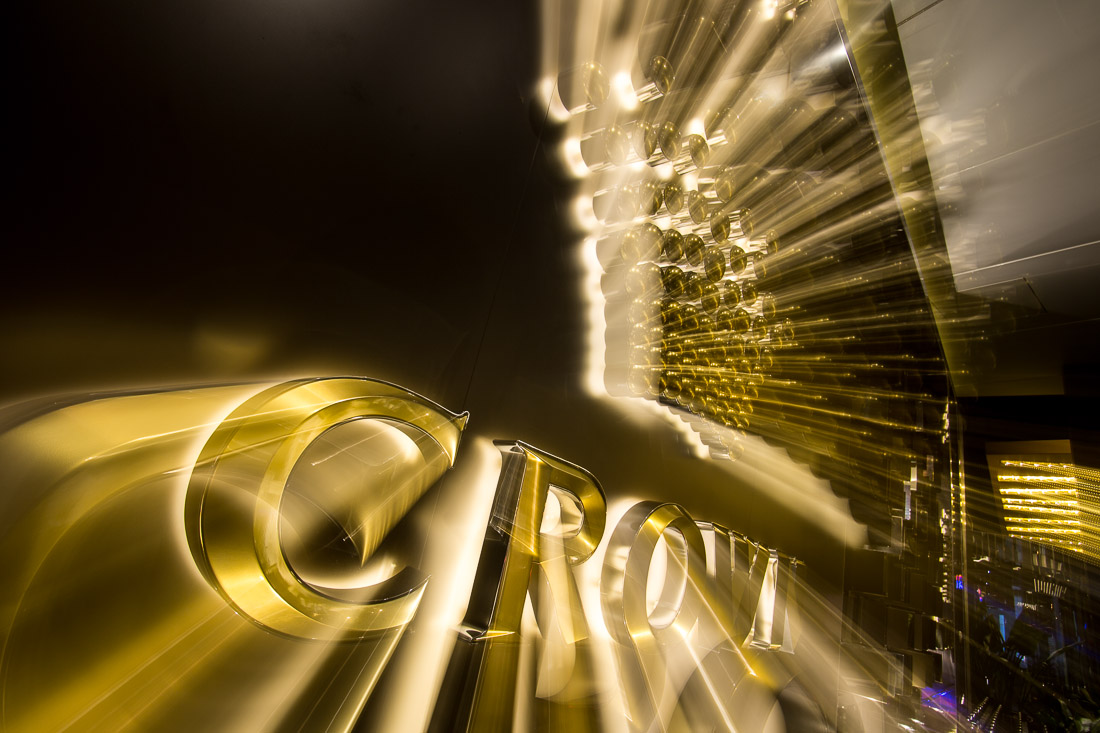
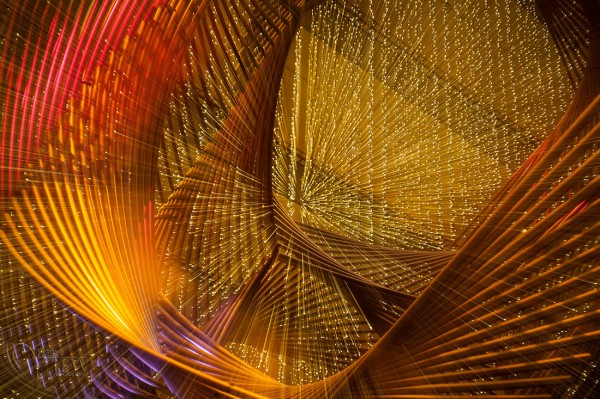
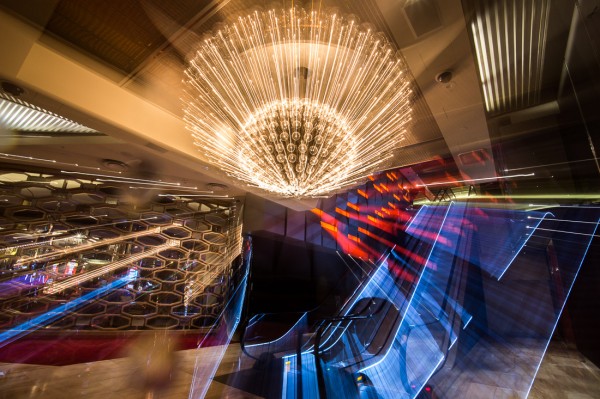
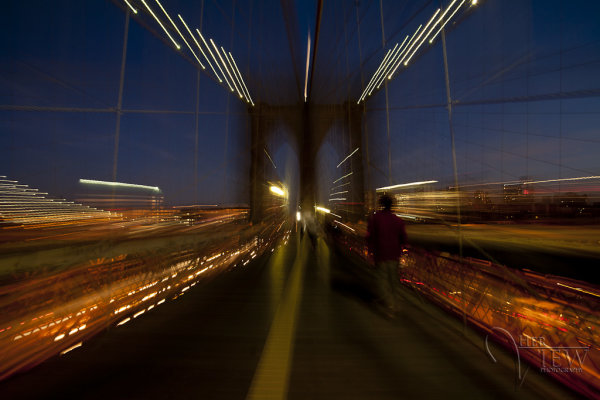
    This is a technique I learned years ago in photography school and have been having fun with lately. Hope you have as much fun playing with it as I do!

    zoom-exposure2

    Zooming during a long exposure tips

    • Works well on night scenes and ones with many light sources
    • Set up your camera on a tripod with a remote trigger or release
    • Set your camera to Manual mode
    • Set your focus by zooming in all the way, then lock the focus (using either back button focus or focus using Auto-focus and then switch it off to Manual focus)
    • Zoom out so you can see the whole image as you want it framed
    • Then start your exposure and zoom your lens out while the shutter is opened (you may need to practice a few times to make it go smoothly)
    • Experiment with different zooming speeds and timing, as example: if you exposure is 5 seconds do one with 3-4 seconds at the beginning, then zoom at the end; then do another when you zoom immediately and do most of the exposure at the end
    • Exposure must be 2 seconds or longer to make this work, otherwise it becomes really tricky to zoom
    • If it is too bright to get a 2 second exposure, make sure your ISO is as low as your camera goes and your aperture is set to your smallest setting (f/22 or f/32). If it is still too bright you may need to use a Neutral density filter to cut down the amount of light coming through the lens

    Here are a few examples done using this technique.

    SanFran-2012-1039-blog1100zoom-exposure1

    zooming-3

    ACTION PLAN

    I encourage you to experiment and play around with technique and other similar variations. Share your images in the comments below and if you have other tips please tell us!

    Post originally from: Digital Photography Tips.

    Check out our more Photography Tips at Photography Tips for Beginners, Portrait Photography Tips and Wedding Photography Tips.

    How it was Done – Zooming the Exposure

    The post How it was Done – Zooming the Exposure by Darlene Hildebrandt appeared first on Digital Photography School.


    Digital Photography School

  • Everything You Need to Know about Posing

    Looking to learn more about posing your portrait subjects?

    In this lecture video from B&H Photo and Video wedding photographer Jerry Ghionis shares some great posing techniques and gives live demonstrations with models.

    This video has a wealth of knowledge in it – Enjoy!

    Post originally from: Digital Photography Tips.

    Check out our more Photography Tips at Photography Tips for Beginners, Portrait Photography Tips and Wedding Photography Tips.

    Everything You Need to Know about Posing

    The post Everything You Need to Know about Posing by Darren Rowse appeared first on Digital Photography School.


    Digital Photography School

  • Model Releases: What You Need to Know (With Samples)

    When I quit practicing law ten years ago, I knew I was trading in my briefcase for a camera bag and the courtroom for a studio, but I had no idea that contracts were still going to dominate so much of my time. The importance of the contract between you and your client is pretty much a given, but just as important– if not more– is the model release. If you’ve been shooting professionally for any period of time, you already know (I hope) that securing a model release from the people you photograph is of utmost importance. What you may not be aware of, however, is why it is so important. It is an unfortunate reality that most people neither completely read nor understand the legal documents that they sign or have prepared for them. You may have an iron-clad model release in your bag of tricks, but you may not understand what exactly it’s releasing or the significance of the language. Having a fuller understanding of the basics will help you greatly in the long run, particularly when it comes to assessing whether you even need a model release, and convincing your subject to sign one if you do.
    001-model-release

    What It Is and Why It’s Important.

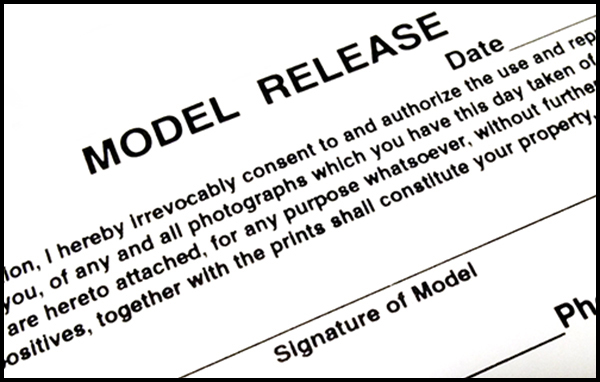
    At its most basic, a model release is a contract. It is a written and signed agreement between you and the person you are photographing, the purpose of which is to protect– release– you from liability in future lawsuits which that person might file against you for legal claims like invasion of privacy, defamation of character, etc. The document stipulates the terms under which one party may use photos taken of another party. They are usually brief– no more than a paragraph– but they can get quite long, especially if the subject of the photo tries imposing additional conditions (e.g., no Photoshop). We’ll get into the specific contents of the model release in a bit. For now, though, know that a model release is a crucial piece of paper for any commercially used photograph.

    How Do I Know if I Need It?

    HOW WILL THE IMAGE BE USED?   When you start with the premise that the need for a model release is dictated by the use and not the content, you are left with a pretty basic set of questions that need answering. The first is, “Will this photo be used commercially?” If the answer is “yes,” you need a model release. If the answer is “no,” you do not. Simple, right?  Not quite. Keep reading. The simple fact of publication does not, in and of itself, automatically mean that the use is commercial. For instance, work that is going to appear in newspapers, educational books, and consumer or trade publications does not need a model release because it is editorial use– sometimes referred to as “fair use.” Commercial usage, on the other hand, can include advertisements, brochures, web use, greeting cards, catalogs, newsletters, etc. For commercial, licensed use, you absolutely, positively MUST have a model release.

    What is and isn’t commercial use can sometimes be confusing. Assume that you have taken a photo of a popular local chef and not obtained a signed model release. Your friend is the publisher of a local newspaper and he pays you for the photograph for use in an article they are running about the restaurant. Because the photo is being used as part of a news story, this constitutes editorial use. The fact that money changed hands does not automatically render it a commercially used photograph. If, however, the restaurant’s PR agency wants to use the same photo as part of an ad campaign, you are going to need a model release. Same photo. Two uses. One needs the release and one does not. Ultimately, there is no way of knowing whether you need a model release until you can answer the question of how the photo will be used.

    The examples below all illustrate how important the intended use is when determining whether you are going to need a model release. The protest image was taken as part of a news story about cuts to the state budget for publicly funded art programs. It was editorial use, and therefore no model release was required. The chess game photo was for a commercial publication on local tourism. It’s interesting that it required a model release for its original use, but not for its editorial publication here at dPS. The crowd shot at the bottom appeared in a news article about public education, which, as we now know, requires no model release.

    The intended use determines whether you need a model release.

    The intended use determines whether you need a model release.

    IS THE SUBJECT IDENTIFIABLE?  If you have determined that the use will be commercial, the next question you have to answer is whether the person in the photo is uniquely recognizable and clearly the subject of the photo. If not, there is no need for a model release. But just like the shifting boundaries mentioned above, what does and does not constitute “uniquely identifiable” is not always cut and dry. Remember, there are ways to identify or recognize someone in a photo other than just their face. Sometimes a silhouette, a tattoo, a uniform, or even a location can still identify a person without necessarily showing their face. You will still need a model release in these situations.

    At first glance, the three photos below appear to have no recognizable subjects, which might lead to the conclusion that model releases would not be necessary, regardless of whether the use was commercial or editorial. Let’s assume that all three were classified as commercial use. As far as the Parkview High School students are concerned, let’s face it– their parents and friends can identify each of them easily, body paint, wigs, and sunglasses notwithstanding. Tattoos are also fairly distinctive, rendering it a moot point that you can’t see the tattoo artist’s face in the photograph. The ink on her arms could be enough for someone to recognize her. The artist in the park can theoretically be recognized, not because of anything distinctive about her from this angle, but because of the distinctive nature of her painting.

    Are your subjects identifiable? You may think not, but you might have to think again.

    Are your subjects identifiable? You may think not, but you might have to think again.

    HOW AND WHERE WAS THE PHOTO TAKEN?  At first glance, it doesn’t seem like this question should make a difference, but it does. This is where things like travel, candid, and street photography come into play. Photos that I take in public places– streets, fairs, parks, festivals, etc.– generally do not require model releases, especially if they are destined to reside only in my portfolio or on my walls. Again, however, if I think there’s even a chance that I might someday want to use that photo commercially, I have to get a model release. That’s why I always suggest that photographers play it safe and get a model release whenever someone is recognizable and clearly the subject of the photo. You just never know what money-making images might be lurking in your archives until someone comes looking for them. It’s always easier to get it first, rather than to retrace your steps later and hope for the best.

    In this final set of examples, we see how photos taken in public places may or may not require model releases. As noted, street photography– regardless of recognizable faces– will not require releases, unless they are intended for commercial use. From a legal standpoint, you can photograph anyone in a public setting, as long as you are not violating any other laws by doing so. That doesn’t mean it’s always a good idea, but that doesn’t make it illegal. When photographing children under the age of 18 for commercial purposes, however, a parent or legal guardian must sign the model release.

    004-model-release-examples3

    Be aware of special considerations for candids, children, and public places.

    Commercial Use: A Simple Definition

    Simply put, commercial use is that which is intended to enhance a business interest. I listed some of them earlier, but it all boils down to whether someone’s use of the photos in question is aimed at generating revenue. When I photograph an author for their book cover, it is clearly commercial. In addition to appearing on the back of the book, the photo may appear in advertisements for the book, as well as in bookstore windows promoting the book, or the author’s appearance at signings and other promotional events. All of this activity is clearly aimed at making money. It’s a pretty simple approach.

    What complicates the issue, however, is the photo you take for no reason other than to post it in one of the galleries on your professional website. Clearly, you’re not selling the actual image, so no money is changing hands. You are, however, using that person’s likeness as an example of the type of work you do in order to hopefully bring in more business. Your interest in using the photo is clearly commercial in nature. The lines are blurred, from the standpoint that there is no actual monetary gain from the image itself in this context, but you do have a commercial goal in featuring it on your website. The same reasoning applies to hanging client photos in your studio. There is a commercial benefit to the extent that displaying samples of your work will encourage other potential clients to hire you. It is much better to err on the side of caution and have your subject sign a model release, than to spend your time defending against lawsuits and cease & desist letters.

    What Should it Say?

    This is where a bit of a disclaimer is in order. Remember that a model release is a contract. Most of the applicable principles are widely accepted, but laws do vary state-to-state and country-to-country. There are many excellent resources out there, so I strongly caution against simply writing your own. Why reinvent the wheel if you don’t have to? If you have questions or are unsure about any aspect of this, play it smart and consult with an attorney.

    The most basic tenet of contract law is that there must be a “meeting of the minds.” In other words, a valid contract is a two-way street, obligating each party in some way. Hand-in-hand with this requirement is that of “consideration.” In a legal context, “consideration” simply means something of value. As the photographer, you are asking the person you are photographing to surrender any right or claim they may have to how, where, and when these photos are used. That can be kind of a big deal and you should be prepared to offer them something of value in return. It can be a nominal sum of money, or it can be prints, or anything else to which the two of you can agree. Contracts have been upheld for consideration as low as one dollar. The model release must acknowledge this consideration.

    It is also important to remember that the photographer is hardly ever the actual publisher of the photo. The model release must therefore indicate that the subject is not only consenting to your use of the photos, but also that of whomever you authorize to use the photos. Let’s go back to our photo of the chef by way of example. Assume that the chef’s agent or publicist hired you to photograph the chef for the cover of his upcoming cookbook. Obviously, you are not the publisher. You will, however, be licensing the photo for use by the publisher. The only way you can do so is to make sure that the model release authorizes you to grant usage right to a third party.

    As noted, a model release can– and should– be short, sweet, and to the point. I keep a stack of this model release printed on 3″x5″ card stock in my camera bag. It’s short enough to be effective and valid, without confusing the subject to the point that they refuse to sign it. I rely on this short release for more spur-of-the-moment photography, as opposed to this longer version for commissioned work.

    One additional note on the paperwork– keep it forever. This isn’t like certain records that you can throw out after a certain amount of time. You will need the release if you ever want to license the image, but– more importantly– you’ll need it to defend yourself if you are ever sued.

    Wrap-Up

    Some people may be hesitant– or even unwilling– to sign a model release, and you have to be prepared to respect that decision. It is certainly easier when you have been hired to take their photos, rather than when you are roaming the streets shooting what interests you. I always make sure that my clients sign the release before we start the shoot. Keep in mind that what can seem like a complicated process, though, can be pretty easily broken down into a fairly quick analysis. Ask yourself if the photo is going to be used commercially in any way. If the answer is “no,” the inquiry stops right there and you are free to hang that photo as big as you want on your living room wall. If you think, though, that there is any chance that you might one day want to license the photo for commercial use, obtaining a signed model release is an absolute necessity.


    Post originally from: Digital Photography Tips.

    Check out our more Photography Tips at Photography Tips for Beginners, Portrait Photography Tips and Wedding Photography Tips.

    Model Releases: What You Need to Know (With Samples)

    The post Model Releases: What You Need to Know (With Samples) by Jeff Guyer appeared first on Digital Photography School.


    Digital Photography School
  • How To Photograph The Night Sky Part 2: The Stars

    Well, I certainly hope you all enjoyed part 1 and have managed to take some stunning photographs of our Milky Way! Photographing stars offers the exact same concept as shooting the Milky Way, but with this, there are a lot of different principles that come into play. The Foreground Stars on their own are rather dull and don’t really make Continue Reading

    The post How To Photograph The Night Sky Part 2: The Stars appeared first on Photodoto.


    Photodoto

  • Digital Exposure Handbook: Book Review

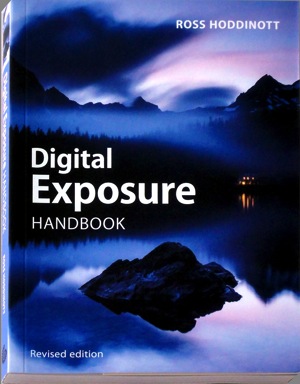
    Digital Exposure HandbookThis revised edition of ‘Digital Exposure Handbook’ could well be the only book you’ll ever need in your digital photography adventures.

    It begins as a guide to understanding camera settings and the basics of exposure, then moves on to putting this info into practice in a variety of situations. It teaches you how to cope with the quality, quantity and contrast of natural and artificial light, how to effectively use on-camera and external flash illumination, how to apply polarising and ND digital filters and concludes by teaching you how to enhance exposures in the digital darkroom.

    Many enthusiasts buy advanced digital cameras, such as DSLRs, with little more knowhow than they had with their earlier cameras, most likely of the compact point-and-shoot variety. And the first thing that brings them unstuck is the matter of how to set the appropriate and/or correct exposure. This book will put you on the straight and narrow.

    Author Hoddinott describes exposure as ‘the heartbeat of photography.’ He adds that ‘Understanding and being able to control exposure us critical to successful photography.’

    Basically, exposure to a digital camera’s sensor is a combination of the length of time and the level of illumination impinging on the camera’s sensor. This depends on three settings: shutter speed, lens aperture and ISO setting.

    While today’s digicams make the task of correctly exposing a shot a simple task, leaving the camera to do all the work removes you as the creator of the final image and result in your image making efforts becoming little more than ‘pleasing snapshots.’

    Subjects covered: the book begins by explaining exposure basics; metering reflected and incident light with the camera’s own TTL system or a separate handheld meter and the differences between centre-weighted, spot and partial metering; image sensor types — from CCD to CMOS to Foveon and sensor size; dynamic range and its control; understanding histograms and how to manipulate them. At this point the book offers the little known fact that images saved in RAW format tend to have a greater latitude than the histogram indicates …

    There are many tricks of the trade in the book’s pages: one is that by saving in RAW and exposing to the right of the histogram will lead to the image containing the majority of tonal values. The downloaded image will look too bright and washed out but final processing will leave the image looking correct.

    High and low key images are discussed and the advice given that these types of images are best served by adjustment of the original exposure and not leaving the final rendering to software tweaking.

    Also discussed: ISO sensitivity; understanding f stops; depth of field; hyperfocal distance; the use of shutter speeds when rendering motion; avoiding camera shake, how to blurr and how to freeze action; second guessing metering systems and how to adjust exposure compensation.

    Many will get help from advice on understanding exposure mode programs such as auto, shutter and aperture priority as well as manual settings. Hoddinott claims that using manual exposure is the most flexible exposure mode but also ‘the one that relies most heavily on the photographer’s knowledge and input.’

    I reached about a third of the book’s length and slowly became aware that it was far more than a basic guide to exposure and more a general primer to the ins and outs of digital photography, with chapters on viewfinders, file formats, composition, dealing with landscapes, architecture, wildlife, people, still life, abstracts and patterns, close ups,.

    Then there follows detailed help in shooting subjects in ambient light, silhouettes, white balance, using reflectors, flash, filters, calibrating monitors, printing and the overall role of the digital darkroom.

    While it is obvious from the latter two paragraphs that the book wanders off topic, it also results in it becoming more than just a primer on exposure.

    As I’ve said, it could also be the only book you’ll ever need for digital photography!

    Plenty of useful pictures. Perhaps some may find the 7 point type a little small!

    Author: R Hoddinott.
    Publisher: Ammonite Press.
    Size: 15x21x1cm.
    Length: 192 pages.
    ISBN 978 1 90770 895 4.
    Price: Get a price on the Digital Exposure Handbook at Amazon (currently 29% off).

    Post originally from: Digital Photography Tips.

    Check out our more Photography Tips at Photography Tips for Beginners, Portrait Photography Tips and Wedding Photography Tips.

    Digital Exposure Handbook: Book Review

    The post Digital Exposure Handbook: Book Review by Darren Rowse appeared first on Digital Photography School.


    Digital Photography School

  • How To Save An Underexposed Photo Using Lightroom

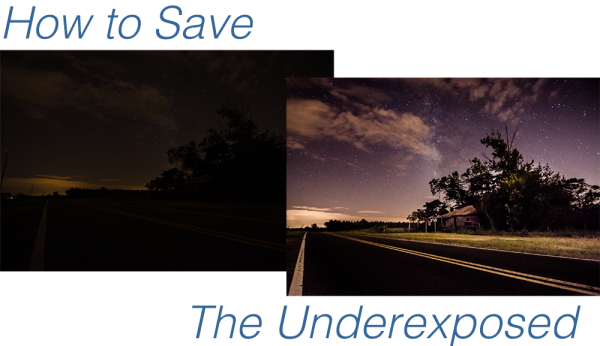
    Before we even get started I should make clear that this is to be used as a last resort effort to save a photograph that can’t possibly be retaken any time soon, not something we should make a habit out of. We all know that the best way to save an underexposed photograph is to simply pay attention to the histogram while taking photos and if it’s pushed all the way to the left adjust our settings and reshoot.

    Of course with that said, there are cases where it’s impossible to reshoot, or we just forgot to check our settings and get home to realize everything is underexposed and in that case we can do one of two things – toss the photo in the trash or try and save it.

    Today I’m going to show you…

    after underexposed

    I’d like to mention upfront that to be able to achieve these kinds of results you really must be photographing in the RAW format – no ifs, ands or buts about it! If you need a bit of clarification as to why RAW is important you can read all about the RAW format here.

    Let’s Save An Underexposed Photo

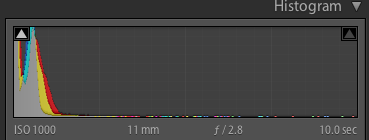
    Underexposed histogram

    If you do get home and your histogram looks the one to the right than you’ve got an underexposed photograph in serious need of some help. It probably looks very similar to the before image above with just peaks of light in the very brightest parts of the photograph.

    Before you give up hope and assume that your shoot is a complete failure there are a few things you can do to try and salvage the underexposed photographs that you’ve taken.

    I’m going to be presenting you with three techniques that you can use to get the most out of what you have. However it is important to note that every photograph is different and will present its own unique set of challenges. These three ideas will give you something to try in the event that you do get home and find your photographs have taken a turn for the dark side, but they might not be able to bring them back, sometimes they truly are too far gone.

    For this tutorial I’m using a fairly serious example, in most cases I would hope that you won’t have nearly as bad a situation as I have for you today, so let’s get started!

    #1 – Save what you can get rid of what you can’t

    This might not be the best way to go about things, but it certainly is the easiest way to get something out of nothing.

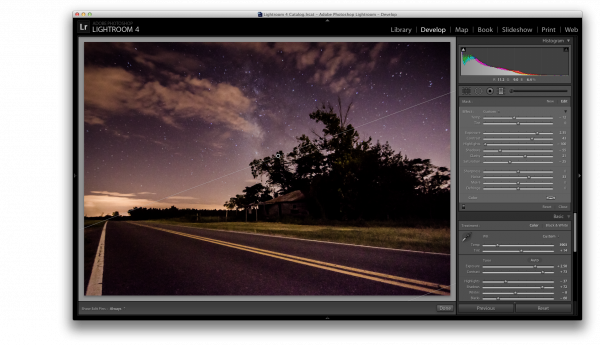
    By simply adjusting the basic settings a bit to expose for the sky in the photograph I create a simple silhouette of the trees and leave it at that. The final step was to clone out the little bits of the run down shack that were peaking out asking for attention, but not adding to the photograph.

    Definitely not the best option for this photo, but it is an option worth considering when you are processing your own photos – sometimes you really don’t have to save everything – it might not be what you had intended the shot to be, but that doesn’t mean it’s a complete loss.

    Clone Screenshot

    Expose for what you have clone out what you can’t save.

    #2 – Use Graduated Filters and Adjustment Brushes Until You Can’t Use Them Anymore

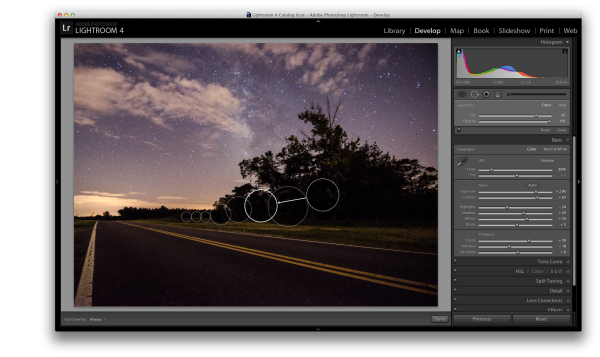
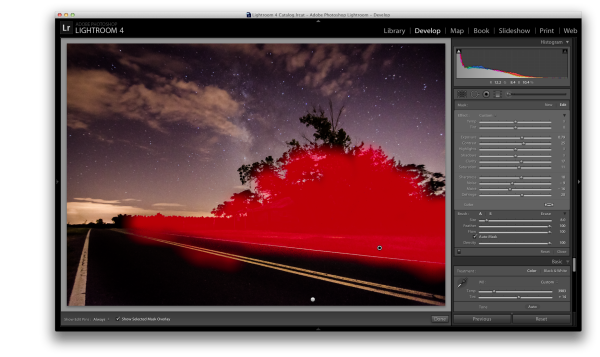
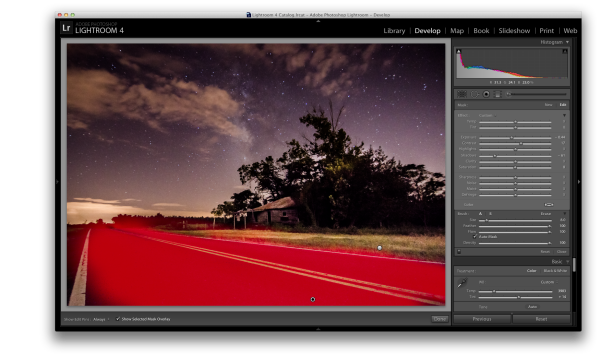
    For this second attempt at saving this image I did a lot of the same processing as I did on the first one to get the sky the way I wanted it. Once I got to that point instead of simply giving up and cloning out the run down shack I decided to add a graduated filter and some adjustment brushes to try and save the foreground.

    As you can see with just a few modifications I was able to really bring out the hut and add some light to the grass as well as some much needed contrast to the road. This became the after image scene above.

    Graduated filter screen shot

    Use a graduated filter to bring light back into the foreground.

    Adjustment Brush Overlay One

    Add light to the grass and hut with one adjustment brush

    Adjustment Brush Overlay Two

    Darken the road to add contrast and remove some noise with a second adjustment brush.

    #3 – Convert to Black and White

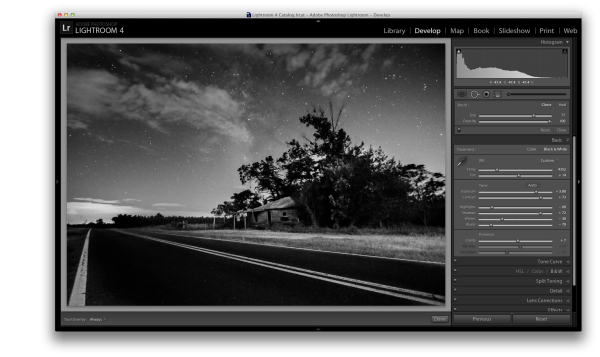
    If we have a really bad case of underexposure, as I do in this photograph, noise will become a problem. As you recover data from the darkest of the shadows you will find that there just isn’t any data there to recover and you’ll end up with pixelated noise in those regions. This is especially true if you were already shooting at a higher ISO.

    In cases like this sometimes the only solution left to do is convert to black and white. By converting the image to black and white you essentially are able to hide the color noise leaving only the luminance noise in the photograph. While it’s still not ideal, it can be a useable alternative if you have no other options.

    Reduce noise by converting to black and white

    Convert the image to black and white to minimize the effect of noise

    For those who enjoy videos this photograph’s edit was part of a weekly series I run on YouTube called Let’s Edit you can watch the video of that episode below.

    Post originally from: Digital Photography Tips.

    Check out our more Photography Tips at Photography Tips for Beginners, Portrait Photography Tips and Wedding Photography Tips.

    How To Save An Underexposed Photo Using Lightroom

    The post How To Save An Underexposed Photo Using Lightroom by John Davenport appeared first on Digital Photography School.


    Digital Photography School
  • Railroad Safety for Photographers

    by Lori Peterson

    If I walked into your yard and just started taking photos, would you call the police or would you just ignore it?

    If you have a studio and I waltzed in with my camera and models and started shooting my latest and greatest session, would you have me removed immediately?

    Chances are that after initial shock wore off you would be calling the police and asking them to get me out of your studio or off of your property.

    It might an extreme example, but realistically this is what happens when a photographer brings their client, props, and their camera onto railroad tracks to shoot.

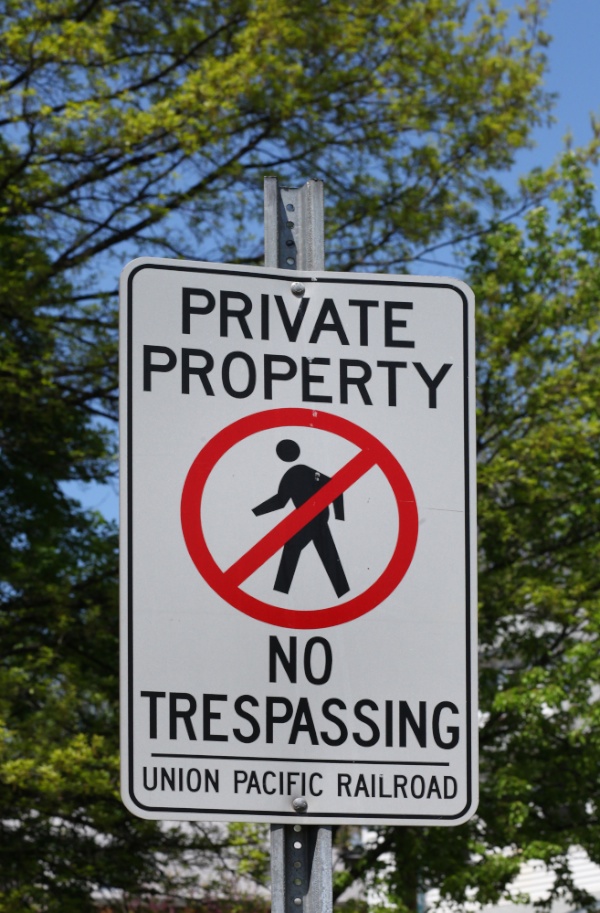
    Railroad tracks are private property. They are not public property. It is illegal to shoot on railroad tracks. You can see what your particular state says about even being on the tracks by going HERE.

    You might say “Well, these tracks are abandoned”. Unused tracks are not abandoned. They are still owned by the railroad company and you are still trespassing.

    Ignorance of the law will only get you so far when you are confronted by a police officer or a tragedy because you didn’t follow the law. It is virtually impossible for the railroad companies to cover every inch of track with signs that warn them that they are trespassing.

    railway photography safety

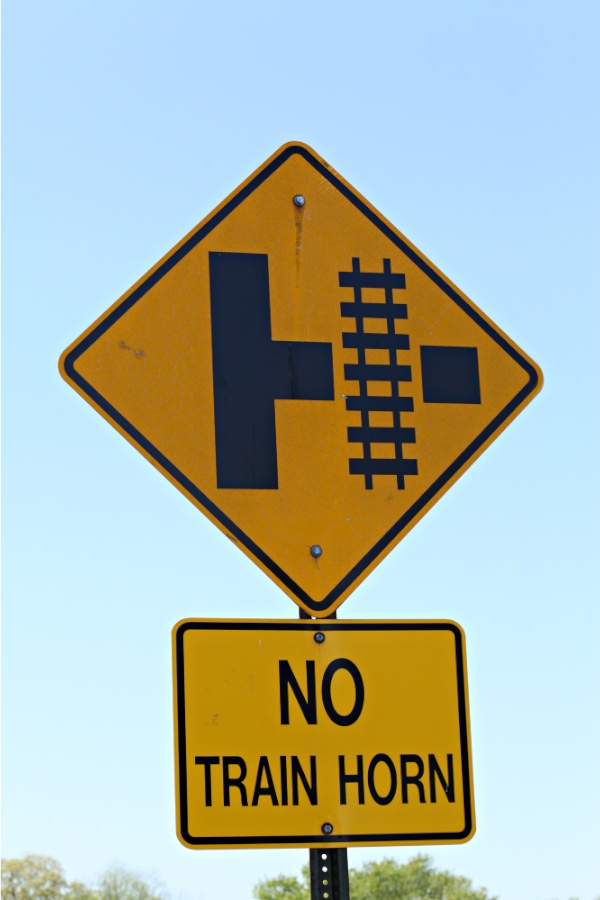
    You might say “We can hear the trains coming.” Not all trains will sound their horns. Trains cannot stop as quickly as a car. It takes approximately one mile for a train to come to a stop. Trains travel between 79-125 mph even though it may not look like they are going that fast.  If you are driving 125 mph and a child ran out in front of you, would you have time to react to stop in time to not hit the child? No, you wouldn’t. Now think about all the cars that are attached to that front of the train. The force of the trains coming to a quick stop in time to avoid a tragedy is unimaginable. Even moving at a slower speed it would be very hard for a train to come to a complete stop to avoid hitting people who are on the tracks.

    railway safety photography

    I recently had an exchange with a photographer and we talked about her shooting on active railroad tracks. Her response when she found out that it was not only illegal but dangerous was “There are about 6 other photographers that take pictures in this location that I know of. As far as accidents, the trains have came many times while we are out there & the lights and little gate things come down way in advance.”

    Where is the logic or the pure common sense in her defense of being on the tracks? There is none. She clearly stated that she was on active tracks and she clearly dismissed any danger. In her portfolio there are images of small children on suitcases and several props around them. There are images of pregnant women lying down on the tracks. Client safety clearly is not a priority.

    Trains can move in two directions. The railcars can be pushing the locomotive instead of the locomotive pulling the railcars. Someone in the locomotive might see you on the tracks, but by the time they communicate with the back of the train that is pushing those railcars it would be too late.

    When you bring clients onto railroad tracks you are putting them at risk and you are putting yourself at risk. You or your client could get hurt or killed. You are also putting the people who are operating that train at risk. The potential pile-up when they have to abruptly stop means you are putting more people at risk. A train derailment can mean chemical spills and property damage to any nearby homes. A photographer causing accidents on the tracks would be responsible for the any injuries or deaths, derailments, chemical spills, property damage, delays in shipping, etc.

    Photographers will imitate other photographers. Client education is a key component when it comes to railroad tracks and safety. If your client asks for a session on railroad tracks, explain to them about the laws and the fines for being on the tracks.. As the photographer, you are the one ultimately responsible for the photo shoot. If anything happens it is your business, your finances, and your name on the line. Photographers need to educate other photographers that shooting on tracks is NOT acceptable and then they need to work on educating their clients that shooting on tracks is dangerous on too many levels to get that clichéd image.

    For further reading about railroad safety and photography:

    Amtrak’s guidelines for photographers is outline on their website

    If you are found shooting in areas that are owned by Amtrak that are considered a part of their restricted area, and this includes the tracks, you can be subject to fines, arrest, and seizure of your camera and equipment.

    Union Pacific has very specific policies regarding their tracks, whether they are active or inactive. They not only fine photographers who trespass on their tracks, but if they find the images online, they will request that they be removed.

    Operation Lifesaver has published an article regarding railroad track safety and it can be found HERE.

    Download a pdf copy of Why Photographers Must Stay Away from Train Tracks HERE

    Lori Peterson is an award winning photographer based out of the St. Louis Metro Area. Her dynamic work ranges from creative portraits to very unique fine art photography. Lori’s work can be seen at www.loripetersonphotography.com and also on her blog at www.loripetersonphotographyblog.com. You can follow her on Facebook at https://www.facebook.com/LoriPetersonPhotography.

    Post originally from: Digital Photography Tips.

    Check out our more Photography Tips at Photography Tips for Beginners, Portrait Photography Tips and Wedding Photography Tips.

    Railroad Safety for Photographers

    The post Railroad Safety for Photographers by Guest Contributor appeared first on Digital Photography School.


    Digital Photography School
  • Do you Edit or Post Process your Photos?

    It is time for another reader poll – this time we’re going to talk ‘post production’.

    Every time we talk about processing images we get a diversity of responses from readers. Some process every image, others some and some never edit any of their images – either because they don’t have the tools, are nervous or don’t believe in it.

    So we thought we’d ask the question – do you edit or post process your photos?

    Note: There is a poll embedded within this post, please visit the site to participate in this post’s poll.

    Please tell us about your response in comments below – particularly if you’re in the ‘no’ camp.

    Post originally from: Digital Photography Tips.

    Check out our more Photography Tips at Photography Tips for Beginners, Portrait Photography Tips and Wedding Photography Tips.

    Do you Edit or Post Process your Photos?

    The post Do you Edit or Post Process your Photos? by Darren Rowse appeared first on Digital Photography School.


    Digital Photography School
  • Wonderful Photo Project Showcase: Kim Leuenberger’s “Traveling Cars Adventures”

    As I previously posted, we have launched a series of articles where amazing photo projects from around the globe will be featured. Today, I’m dying to share with you the photo project called “Traveling Cars Adventures” by Swiss photographer Kim Leuenberger. She is an avid traveler. While traveling the world, she takes her favorite toy cars to capture them in Continue Reading

    The post Wonderful Photo Project Showcase: Kim Leuenberger’s “Traveling Cars Adventures” appeared first on Photodoto.


    Photodoto