Blog

  • An oldie but a goodie – why the Tamron 28-200mm lens is my favorite

    photo taken with the tamron 28-200mm lens

    Probably the easiest question that I’m asked is, what is my favorite lens? Despite owning a sizeable collection of lenses for my Pentax K-7, the very first lens I ever bought, a Tamron 28-200mm was, and still is, my favorite lens.

    I’m basically a street photographer, but I dabble in landscapes and animals from time to time. When traveling, and shooting on the streets, I carry one camera mounted with one lens, and seldom anything else. I remove the lens cap at the beginning of the day, and put it back on at night when I’ve finished shooting. To me, continually putting a lens cap on and taking it off takes too much time, if I want to be able to react to situations and shoot quickly. As for my lens, because I hold my camera in my right hand for eight or more hours a day, I need a robust lens that is up to anything that I can throw at it. The 28-200mm has seldom let me down.
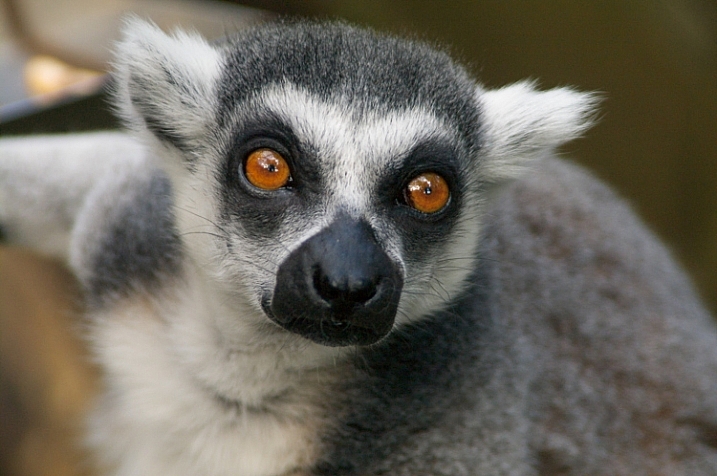
    lemur shot with a 28-200 tamron lens

    Why it doesn’t matter that this lens is not stabilized

    I’m not sure exactly when I bought this lens, but Tamron discontinued it in around 2001 – so let’s say it is probably a good 12-15 years old. At this age, it of course, predates the concept of affordable image stabilized cameras. (Cue plug for Pentax!). One benefit of shooting with Pentax cameras is that Pentax put image stabilization in the camera, and not the lenses. So this extends the longevity of older lenses – instead of trading up all your lenses – all you need to do is to change the camera body.

    This lens has been mounted to a Pentax K-1000 film camera, a Pentax *ist DS, the Pentax K-10D and, more recently, the Pentax K-7. Counting images in my Lightroom catalog shows that this lens has captured over 66,000 images of the 84,000 (78.6%) in my current catalog.

    From a (relatively) wide angle to telephoto in a single lens

    What I like about this lens is its range. At 28mm it will shoot fairly wide, so I can capture an entire scene with it. At 200mm I can get in nice, and close and it’s still easy enough to handhold, even at small apertures where the shutter speed is quite slow. I also own a 300mm zoom lens and I find that it works great where there is plenty of light, but as soon as I start using small apertures, or shooting in poor light, the extra focal length on the lens really doesn’t get used, or I get soft images because I just can’t hold the camera steady enough. Basically, carrying a 300mm zoom on my camera, means I am carrying extra weight in the lens that I simply don’t and can’t use.
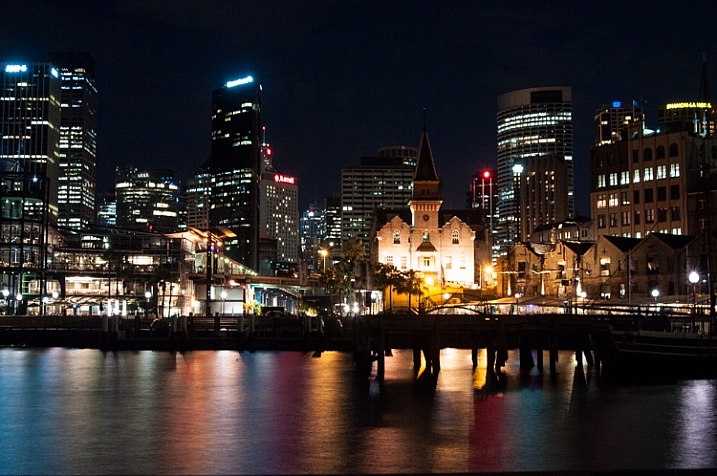
    Sydney city shot with a tamron 28-200 lens

    Why weight and size are important

    The Tamron 28-200mm is lightweight at 12.5oz (354g), small for a zoom lens, and is only three inches tall. This makes it a little more discrete than some other lenses for street photography. Although since I am tall and have bright red hair, discretion isn’t something I value particularly highly.

    I balance the weight of the lens with a battery grip, which carries a spare battery and a second set of controls. This grip helps me to hold the camera sideways to shot in portrait mode comfortably. It also balances the weight of the lens so the camera actually stands upright on a table, and despite the extra weight of the grip, it’s actually easier to carry for long periods of time.

    The 28-200mm can be locked down for travelling, and when unlocked, it requires only a small rotation to go from 28mm all the way to 200mm. When it’s in its fully zoomed position it holds the zoom firmly, freeing me to use both hands to steady the camera. The aperture range for the lens starts at 3.8-5.6 (depending on how far you are zoomed) so there’s plenty of opportunity to capture images with a shallow depth of field, even at full zoom of 200mm.
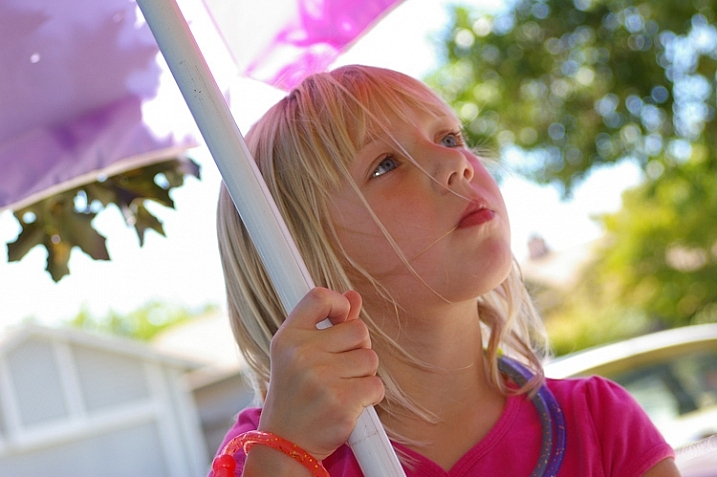
    young girl captured with a 28-200 tamron lens

    Alternative lenses

    If there are times when I look beyond the 28-200mm for another lens it’s generally one that matches a specific circumstance, such as shooting in very low light. In those situations my 50mm f/1.4 is a good second choice lens. I also love my 17 mm fisheye for those occasional times when the scene can benefit from more creative composition.

    However, the 28-200mm is my everyday lens. It is permanently affixed to my camera, and has been for 10 years or more. It’s a great all-round lens, and it’s also a sound and robust lens for use in situations that are not always particularly camera friendly. I’ve shot it in all sorts of weather including freezing cold, rain, and snow. The camera and lens have been jammed in backpacks and hand carried on buses, trams, trains and boats, both large and small. It’s been used in dusty conditions in central Australia, and has weathered the humidity of the tropics. It’s also been licked by a curious giraffe, and more than one lemur has mistaken it for a toy.
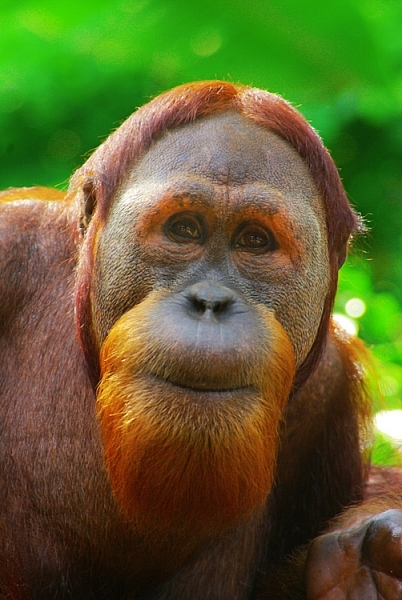
    orangutan captured with a tamron 28-200 lens

    Why this lens works for me

    This lens lets me do the two things I love – travel and shoot. I prefer to walk rather than drive, and I generally travel alone because, let’s face it, photographers make really bad travel companions. So, if I am in a foreign city, on foot by myself, I don’t want to be carrying a camera bag full of kit. I want to be comfortable, and that means not carrying a lot of bulky stuff. I want to be able to walk five or ten miles one day, and get up and do the same thing the next day, and feel good about what I am doing. This lens lets me do just that and, in my book, that’s a real plus.
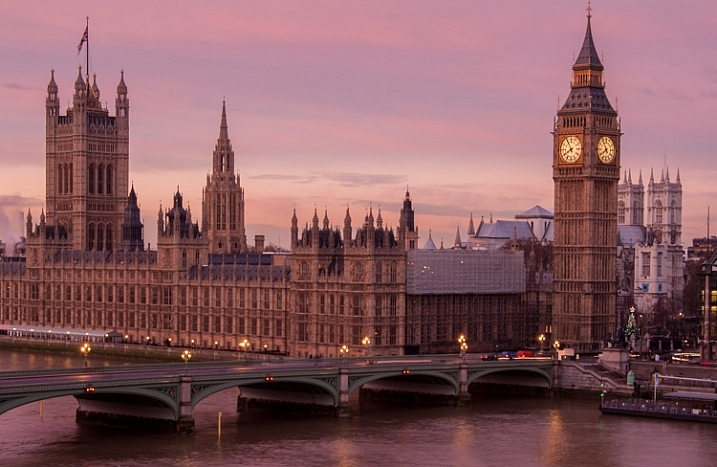
    london and big ben captured with a 28-200 tamron lens

    Familiarity breeds speed and comfort

    While I like to play with new lenses as much as the next photographer, there’s something to be said for a lens that you’ve used for so long. It’s easy to underestimate the relationship between a photographer and a lens they know so well. Because I’ve used this lens so consistently, for so long, when I pick it up I know instinctively the zoom I’ll need for the scene in front of me. It has become an extension of my body, and my familiarity with it allows me to shoot faster, with confidence, and that helps me to get the shot that I want. If I lost this particular lens I’d not only be very sad, but I’d also be out shopping for its replacement the very next day.
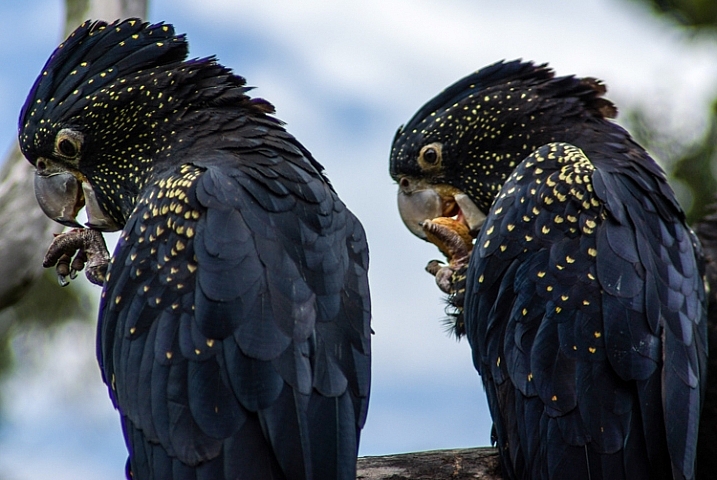
    red tailed black cockatoos captured with a tamron 28-200 lens

    Could I buy a better lens? Yes! Of course. I could easily buy a really good lens, with better optics, which would shoot faster and sharper. But when it comes to weighing the comparative value of a round the world plane ticket and a really good (for this read expensive) lens – I’ll take the ticket and opt for the cheaper lens.

    So, if you don’t have a large budget for lenses, and you want a good sound all-purpose lens, then spending a couple hundred dollars on a lens with a range like this one, to me, is a really smart investment.

    Tech Specs:

    • Tamron AF 28-200mm F3.8-5.6 XR Aspherical IF
    • Minimum focus distance: 19″/49cm
    • Weight: 12.5oz/354g
    • Length: 3″/76mm
    • Maximum aperture: 3.8 – 5.6
    • Minimum aperture: 22
    • Current Replacement Cost: around $ 199
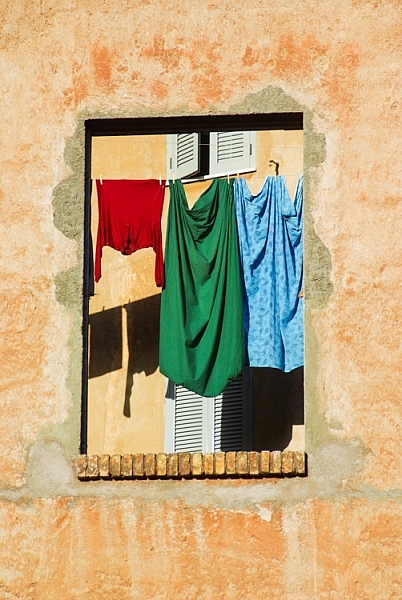
    Rome - laundry - captured with a 28-200 tamron lens

    Rome – laundry – captured with a 28-200 tamron lens
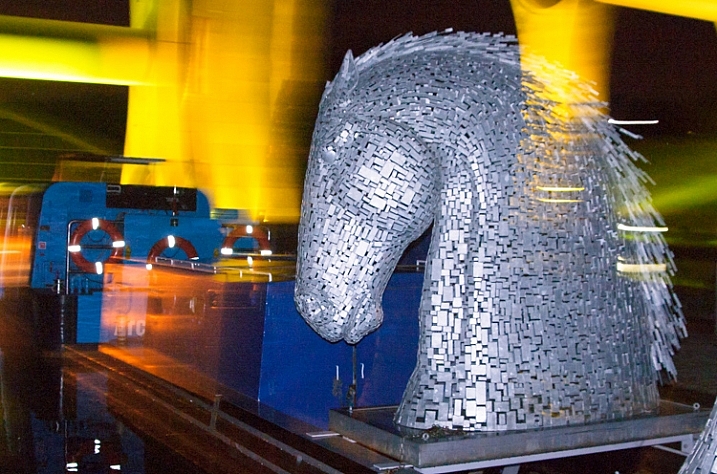
    kelpies, Falkirk Scotland shot with a Tamron 28-200 lens
    Kelpies, Falkirk Scotland shot with a Tamron 28-200 lens

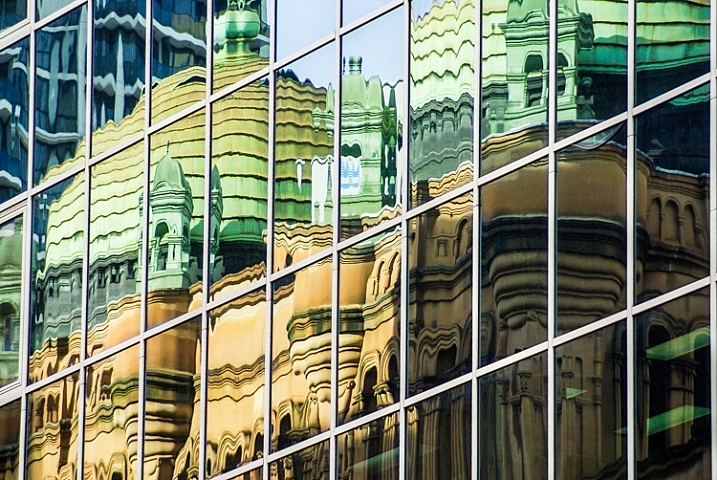
    Queen Vic Building Sydney reflection - shot with a Tamron 28-200

    Queen Vic Building Sydney reflection – shot with a Tamron 28-200
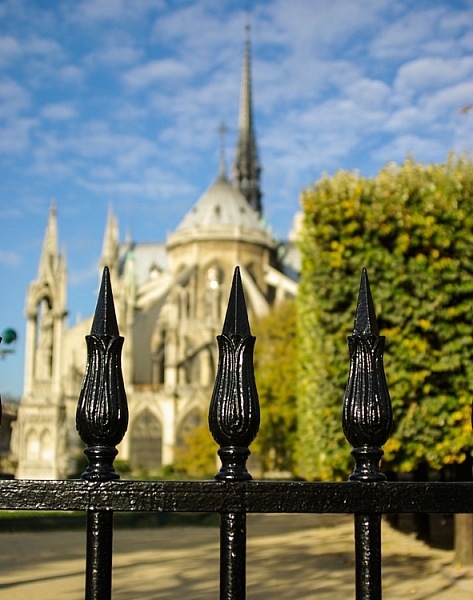
    Notre Dame Paris shot with a Tamron 28-200 lens
    Notre Dame Paris shot with a Tamron 28-200 lens

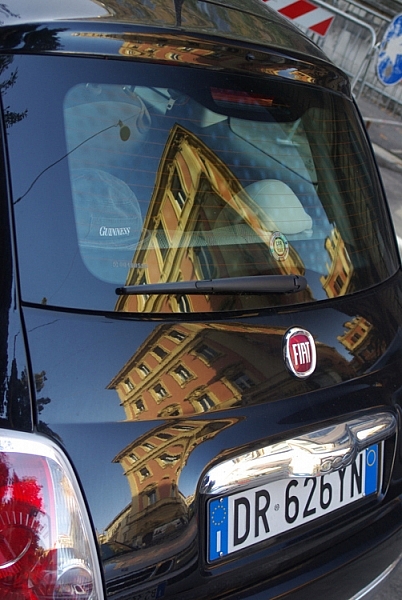
    Rome reflection shot with a Tamron 28-200 lens

    Rome reflection shot with a Tamron 28-200 lens

    googletag.cmd.push(function() {
    tablet_slots.push( googletag.defineSlot( “/1005424/_dPSv4_tab-all-article-bottom_(300×250)”, [300, 250], “pb-ad-78623” ).addService( googletag.pubads() ) ); } );

    googletag.cmd.push(function() {
    mobile_slots.push( googletag.defineSlot( “/1005424/_dPSv4_mob-all-article-bottom_(300×250)”, [300, 250], “pb-ad-78158” ).addService( googletag.pubads() ) ); } );

    The post An oldie but a goodie – why the Tamron 28-200mm lens is my favorite by Helen Bradley appeared first on Digital Photography School.

    Digital Photography School

  • Samsung launches enormous 18.4-inch Galaxy View tablet

    With smartphone screens growing larger and nearing what used to be tablet territory, it’s probably natural that the latter are increasing screen size as well. Apple launched the 12.9-inch iPad Pro in September and now Samsung, which already has the 12.2-inch Galaxy Tab Pro in its line-up, has gone one step further and launched the gigantic Galaxy View with an 18.4-inch display. Read more

    Articles: Digital Photography Review (dpreview.com)

  • 28. Oktober 2015

    Das Bild des Tages von: Basti Lu

    © Basti Lu

    Im Ausblick: Australien von oben, Straßenfotografie und Nacktheit.
    kwerfeldein – Fotografie Magazin | Fotocommunity

  • The Language of Death: 15 Gravestone Symbols Explained

    [ By Steph in Culture & History & Travel. ]

    grave symbolism main

    The symbols carved into stones commemorating the dead can reveal a lot about the deceased’s beliefs and philosophies, or at least those attributed to them by their families when they were buried. Grave symbolism ranges from well-known symbols of major religions to the arcane and complex, each one often containing layer after layer of hidden meaning known only to those initiated into certain organizations. These 15 common symbols seen in cemeteries around the world are often meant to relay messages to those who are still living.

    Winged Skull

    grave symbols winged skull 1

    grave symbolism winged skull 2

    (images via: jenn g, xlibber)

    The winged skull most often means a dead person’s journey is not over; after they’ve shed their physical form, they are flying away to another realm. In the United States, the ‘death’s head’ was initially a non-religious symbol simply used to denote a buried corpse, as the Puritans didn’t believe in using religious symbols on graves. The particular style of the death’s head motif on older graves acted as a calling card for the carver.

    Serpent

    grave symbolism snake 1

    grave symbolism snakes 2

    (images via: henning muhlinghaus, chynna67)

    The serpent represents everlasting life, especially when seen in ‘ouroboros’ form, when it creates the shape of a circle with its own tail in its mouth. The snake cheats death by shedding its skin. The Orphic Egg (a snake wrapped around an egg) is an occult symbol representing the personification of light, the hermaphroditic Greek deity Phanes/Protogonus, who created the other gods. Two snakes wrapped around a winged staff (aka the caduceus) similarly represents the hermaphroditic god Hermes and has been incorrectly used by the healthcare industry as a symbol for medicine – mistaken for the rod of asclepius, which has only one snake and isn’t winged. The latter is often seen on graves of doctors. A snake wrapped around a cross can symbolize the Masonic brazen serpent, a symbol of the 25th Degree Masons, or foreshadowing of Christ’s crucifixion.

    Clasping Hands

    grave symbolism clasped hands

    (image via: RPM)

    A loved one may be gone, but those they left behind often have hopes of seeing them again someday, as represented by clasping hands on a grave. Symbolizing unity even after death, it’s often depicted on the shared graves of spouses.

    Flying Hourglass

    grave symbolism winged hourglass

    grave symbolism winged hourglass 2

    (image via: sean, todd mecklem)

    ‘Time flies’ and death comes too soon for many, as symbolized by an hourglass with wings. In the early 18th century, it wasn’t unusual for the dead to be buried with an actual hourglass to represent the sands of time having run out. In Masonic symbolism, it’s often paired with the scythe, another emblem of how easy it is to sever the boundary between life and death.

    Inverted Torch

    grave symbolism: inverted torch

    grave symbolism inverted torch 2

    (images via: jpmatth, godutchbaby)

    Inverting a torch would typically extinguish the flame, so when it’s seen on graves with the flames still burning, it represents eternal life.

    Next Page – Click Below to Read More:
    The Language Of Death 15 Gravestone Symbols Explained

    Share on Facebook


    [ By Steph in Culture & History & Travel. ]

    [ WebUrbanist | Archives | Galleries | Privacy | TOS ]


    WebUrbanist

  • Studio tests: Leica SL

    It came out of nowhere, a brand-new full-frame professional level mirrorless camera and lens system: the Leica SL. It combines a bespoke lens system (using the existing mount from the T) with an extremely high resolution viewfinder and a sensor based on the one used by the coveted Leica Q. Take a look at some preliminary studio test results from the Leica SL. Read more

    Articles: Digital Photography Review (dpreview.com)

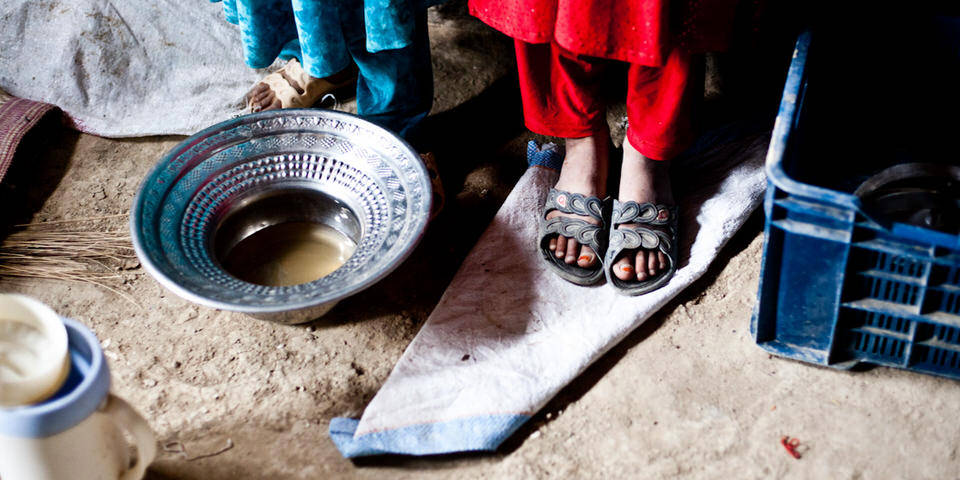
  • Flüchtlinge in Parwan, Afghanistan

    © Vaiva Katinaityte

    Ein Beitrag von: Vaiva Katinaityte

    Wie viele Dinge im Leben, treten die aufregendsten Ereignisse oft sehr plötzlich ein. So erhielt ich die Gelegenheit, mit einem Journalisten als Fotografin nach Afghanistan zu reisen – und ich ergriff sie bedenkenlos. Es war ein wenig beängstigend, aber auch sehr spannend. Wir reisten durch Afghanistan und besuchten vier verschiedene Provinzen. Das Ziel der Reise war es, mehrere Flüchtlingslager zu besuchen und das Leben dort zu dokumentieren.
    kwerfeldein – Fotografie Magazin | Fotocommunity

  • How to Light Creepy Halloween Masks for Added Drama

    It’s October again and that means Halloween is around the corner. This is good news for you as a photographer, Halloween is a visual holiday like no other. With all of the decorations, theme shaped food, Jack-o-lanterns and costumes you have more potential for photography than you can shake a selfie stick at.

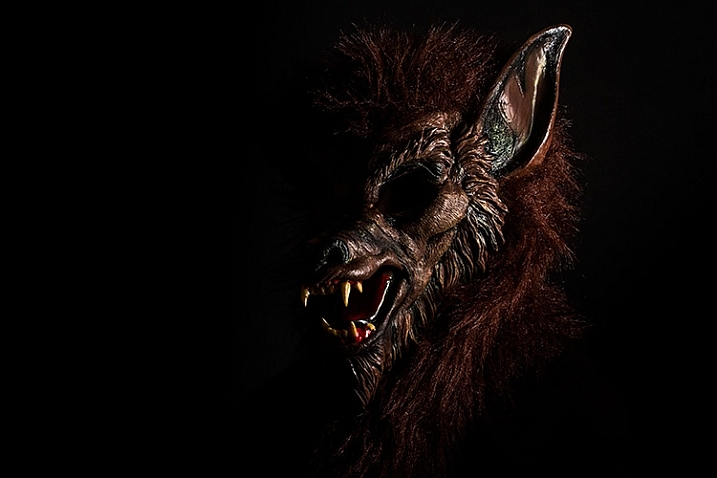
    One of my favorite parts of Halloween are the masks. Many of the better quality masks available are extremely detailed and creepy, lending themselves well to visceral imagery.

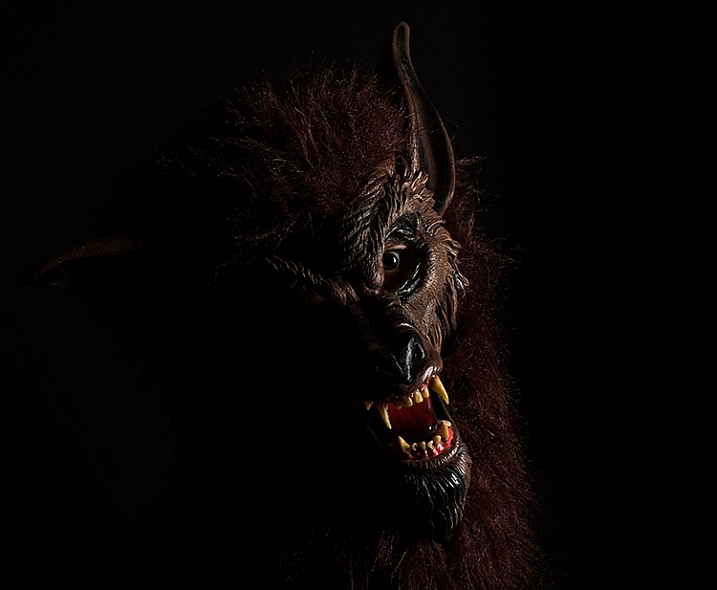
    halloween-lighting-tutorial-1923

    Because of the monsters they often portray, they also tend to be suited for a more cinematic approach to lighting, which will give you the opportunity to explore ways to create mood and drama in your images. This tutorial covers how to light using a basic side-lighting technique that will allow you to create heavy shadows, to shape and accentuate the creepiness in your masks.

    What you need:

    • Studio strobe or speedlight fitted with a softbox or a window
    • Black paper – enough to cover the edges of the softbox (heavy, non-transparent curtains will work with a window)

    Optional but useful extras:

    • Seamless paper, black background
    • Black reflector/ flag or a piece of black poster board

    Setting it up

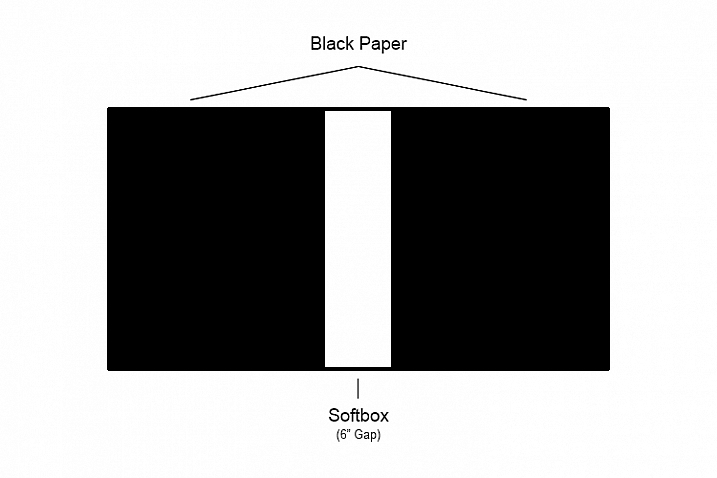
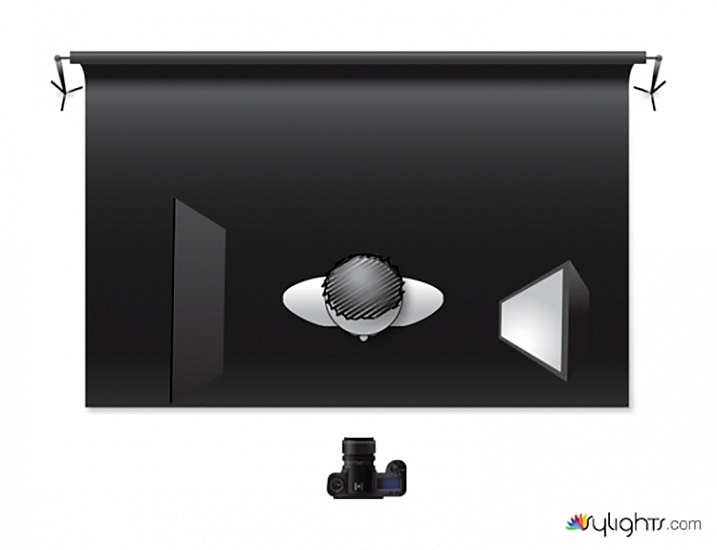
    The first thing you need to do is turn your light source into a strip light. This will create a very narrow shaft of light that will skim the front of your subject, creating a lot of contrast that will emphasize all of the fine details.

    To do this with a softbox, tape a few pieces of black paper over the sides leaving only about 6” (15cm) of white showing. You can make the gap smaller if you like, but for this technique you shouldn’t go for more than 6”.

    halloween-lighting-tutorial-softbox-setup

    Tip: If you use seamless paper backgrounds, save the scraps whenever you trim the ends. They always come in handy at times like these.

    If you’re using a window with curtains, simply draw them closed until you have a six inch gap.

    Execution

    Once your light source is modified, you’re ready to go. To side-light, place your light so that it is pointed directly at the side of subject. If you start with the light aimed at the front of the mask, you can then fine-tune as your images require, by moving it an inch or two forward or backwards. Because the light source is so narrow, moving it in tiny increments will result in drastic changes to the final images.

    halloween-lighting-tutorial-lighting-diagram

    Pay careful attention to any light falling on the background. The narrow beam of light shouldn’t allow much light to spill over, but if it does, try moving your subject and light source a few inches forward (away from the background).

    When working with detailed subjects like this, I like to use a smallish aperture like f/11. This ensures that all of the fine details are sharp in the final images. However, if you’re working with window light it may be a struggle to stop down that far without setting a high ISO (or using a tripod, which is a good idea for maximum sharpness anyway). Feel free to use whatever aperture provides you with the best quality results.

    halloween-lighting-tutorial-1940

    Flagging

    When you’re attempting to get really deep shadows with a technique like this, sometimes things like white walls reflect a lot of light back onto the shadow side of your subject. This is where having a black reflector, known as a flag, comes in handy. By holding your flag to the side of your subject, you are blocking the light from reflecting off of other objects that can affect your images.

    In the end

    Even though this an easy technique, hopefully you can see that with some simple, but careful manipulation, you can take control of even the most basic lighting equipment to create bold and evocative imagery.

    If you do decide to give this technique a go, I’d love to see the results you get with your masks. Happy Halloween!

    googletag.cmd.push(function() {
    tablet_slots.push( googletag.defineSlot( “/1005424/_dPSv4_tab-all-article-bottom_(300×250)”, [300, 250], “pb-ad-78623” ).addService( googletag.pubads() ) ); } );

    googletag.cmd.push(function() {
    mobile_slots.push( googletag.defineSlot( “/1005424/_dPSv4_mob-all-article-bottom_(300×250)”, [300, 250], “pb-ad-78158” ).addService( googletag.pubads() ) ); } );

    The post How to Light Creepy Halloween Masks for Added Drama by John McIntire appeared first on Digital Photography School.


    Digital Photography School

  • Super charged? Motorola Droid Turbo 2 preview and samples

    The Droid Turbo 2 is Motorola’s latest high-end model for US carrier Verizon, and in terms of specification ranks even above Motorola’s current flagship Moto X Style. With the Sony 1/2.4-inch 21MP IMX230 sensor and an F2.0 aperture, the camera specification is pretty much identical but the Droid Turbo 2 offers improved performance in a few key areas. We got our hands on the Turbo 2 before launch – check out our impressions sample images. Read more
    Articles: Digital Photography Review (dpreview.com)

  • Pro Portrait Tips

    When snapping portraits, it can be difficult to fulfill your vision with so many variables. The options of lighting, background, makeup, clothing and poses seem overwhelming at times.

    Thankfully, we found a few stellar portrait tips from celeb photographer, Greg Gorman. They work great for pros and enthusiasts alike.

    • Learn body language – For instance, if the head is angled in opposition to the body, it creates a look of insecurity.
    • Minimize the lighting situation – Try perfecting portraits with a single light source.
    • Get a bigger boat screen – Review your test shots on a screen larger than the back of your camera. Download them first onto a laptop, or even a tablet with good resolution. (Eye-fi much?)

    Read all the tips, and get an eyeful of pretty celebs (hey, Jared Leto) in Greg’s article here.

    Photo of Sofia Loren by Greg Gorman


    © Erin for Photojojo, 2015. |
    Permalink |
    No comment |
    Add to
    del.icio.us

    Post tags:


    Photojojo

  • Doom & Bloom: 36,000 Flowers Adorn Condemned Detroit Duplex

    [ By WebUrbanist in Art & Installation & Sound. ]

    florist abandoned house project

    Bought at auction by a florist last year, this dilapidated multifamily home was destined to be demolished but given a last chance to blossom thanks to a team of florists and array of volunteers packing the place inside and out with a flowers.

    floral arrangements exterior porch

    floral abandoned beauty

    floral room spiral design

    Deserted houses in Detroit are famously sold for as little as a dollar by the city, giving florist  Lisa Waud (photos by Heather Saunders) an idea.

    floral work in progress

    floral filled bathtub

    She purchased this place for just $ 250 at auction, then turned a trash-filled abandonment into a work of art as well as a fundraiser for a flower farm and design center on the site.

    floral interior space closet

    flor creative wall decor

    floral rich colorful arrangement

    The Flower House was given over to contributing florists, each encouraged to turn a space, wall or ceiling into a blank canvas for their creations. The results are remarkable.

    floral exterior packing planning

    floral decor creative

    floral home exterior

    Following the project, “the house that held the exhibition will be responsibly deconstructed and its materials repurposed. the land will be converted into a flower farm and design center on their formerly neglected properties.”

    Share on Facebook


    [ By WebUrbanist in Art & Installation & Sound. ]

    [ WebUrbanist | Archives | Galleries | Privacy | TOS ]


    WebUrbanist