Category: Photography

  • When is Altering Your Image Acceptable? A Debate on Post-processing

    Have you ever used Photoshop’s ‘Content Aware Fill’ tool to get rid of some unsightly object in your otherwise perfect image? Have you ever cropped your image in order to give it a more pleasing composition? I know I’ve done both on many an occasion and I feel no guilt or remorse whatsoever.

    The Plastic Bag You Didn’t Notice

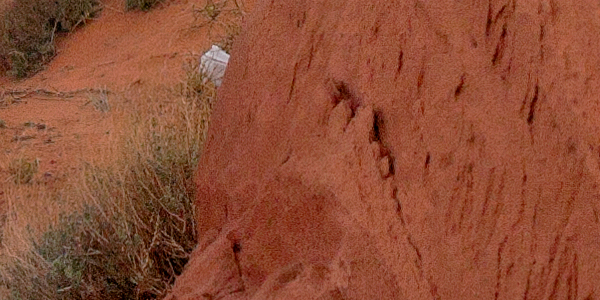
    Here’s an example of a shot I took at Monument Valley in Utah. The foreground was completely covered in litter, so while editing I decided to cut out the more obvious offenders like this plastic bag. Should I have left it in? What is an acceptable level of post-processing and alteration?
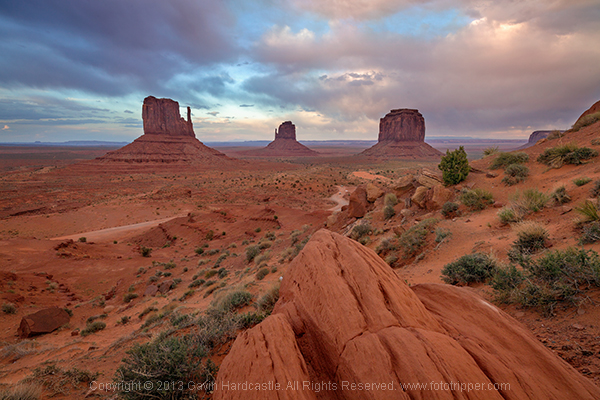
    Monument Valley Landscape Sunset

    Monument Valley trash

    I’m curious to know where you feel the line should be drawn? Would you judge me for cloning out that plastic shopping bag? Perhaps I should have walked over and picked it up, either way, it’s gone from my shot and I’m happy with the result.

    Truth or beauty, the age-old question?

    Landscape photographers like myself are always creating composites of multiple images just to get the tourists and other photographers out of our shots, it’s no big deal. Or is it? Are you one of those rigid purists that believes that the camera should not lie, not even a teensy little white lie? But if you are, doesn’t the camera lie the moment you frame your carefully placed shot and hit the shutter?

    I can see both sides of the argument. But, given the choice of performing a ruthless crop and getting a keeper, or leaving my image untouched and forever condemning it to a digital graveyard, I’ll go for the former thank you very much.

    Here’s one of the very first pictures I took with a DLSR from back in 2010. I cut all of the people out of the image because they weren’t adding to the composition in any way. The eagle eyed among you will spot where I got lazy with my ‘people removal’. See the unaltered version below it and tell me if I crossed the line.
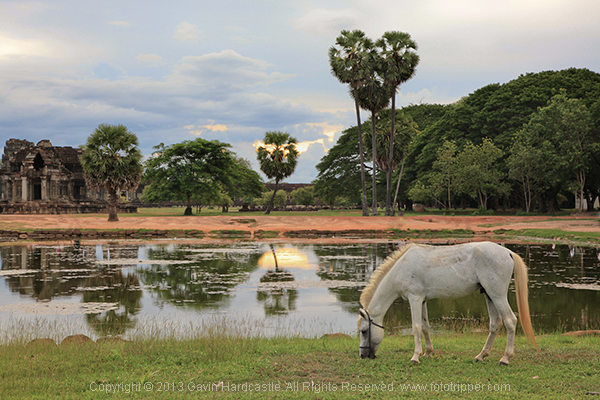
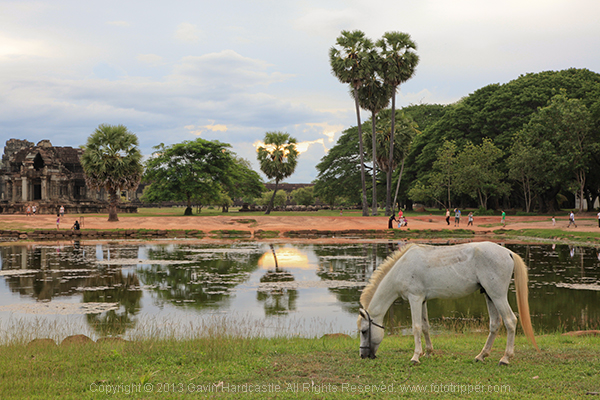
    Angkor Wat Cambodia Landscape Photography - Gavin Hardcastle

    Angkor Wat - Cambodia

    Where does it end?

    The problem is, where do you draw the line? When do you decide that enough is enough and the image should be left alone? Ultimately it’s down to you as the photographer and your creative vision, but there are instances where photography is used as an accurate historical document. In Photojournalism, we rely on a photographer to tell a story and capture a moment in history, albeit from their own unique perspective and how they choose to frame a shot.

    Couldn’t it be argued that a photographer who chooses to omit certain elements, is manipulating the viewer just as clearly as when they chop out an ugly plastic shopping bag in Photoshop?

    Consider the real estate photographer who carefully manages to exclude the crack shack next door to the million dollar home, no alteration but still a little white lie.

    It’s all so very subjective and the truth is that you’d never know the difference if the photographer didn’t confess.

    Oh what’s this below? My wife’s 24-105mm lens creeping in to the lower right of my shot, now there’s a surprise. What do you think are the chances that I’m going to be leaving that in my final edit?
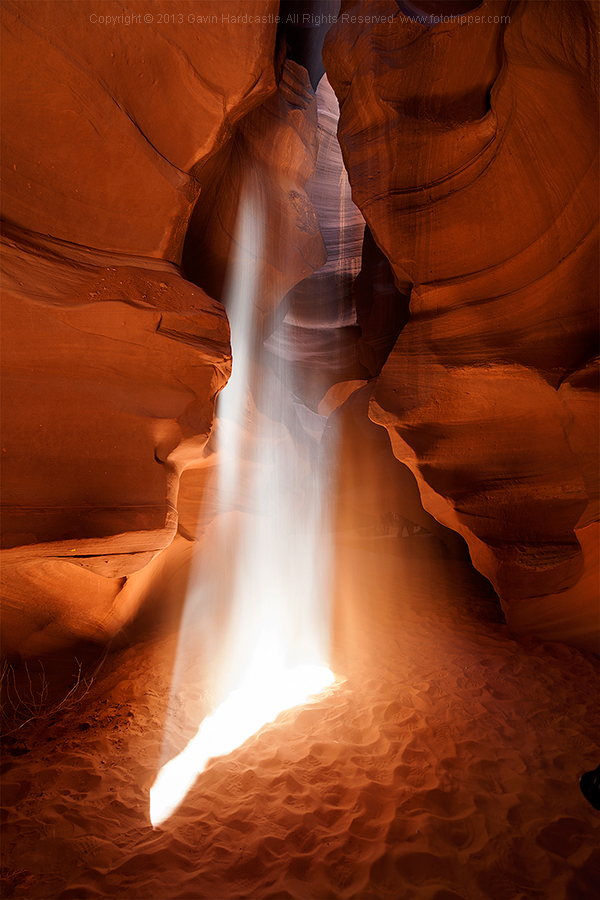
    Antelope Canyon Landscape Photography

    Where do I draw the line?

    As a landscape photographer I strive to keep all of the permanent or natural elements of my images intact. I won’t flinch at removing a discarded water bottle that I hadn’t noticed while shooting. I won’t bat an eyelid at cropping out my wife’s left foot as she reliably walks into the corner of my frame just a split second before I hit the shutter.

    I draw the line however, at removing or moving objects that are natural or permanent. If there’s a tree or even a lamp post in a less than ideal spot in my composition I will not alter it. I want the viewer of my image to be able to stand in the exact place I stood when taking the shot and know that everything is in its right place. That doesn’t include the used condoms and the KitKat wrapper.

    Tell me, where do you draw the line? Let the debate begin!

    Share in the comments below where you stand on this subject. Do you do any post-processing on your images, and if so how far do you take it? How far is too far? Let’s discuss it.

    The post When is Altering Your Image Acceptable? A Debate on Post-processing by Gavin Hardcastle appeared first on Digital Photography School.


    Digital Photography School

  • Ecosystems 101: Intro

    This site exists mostly for one reason: to help you to get comfortable with learning how to use your flashes. But what then? What next?

    Read more »
    Strobist

  • Ecosystems 101: Who Are You and What do You Want?


    Dan Swift, of Buffalo, NY sits in the Monteverde Cloud Forest in Costa Rica where he is studying biodiversity at the Monteverde Institute. (From an OA post, here.)
    __________

    I married photography at a very young age.

    That's a pretty loaded statement, and one that carries with it many connotations. That's because we all intuitively understand the risks in getting married too young. But the analogy holds true for photography, or at least my path in it.

    Read more »
    Strobist

  • Ecosystems 101: Photography as a Catalyst

    Let's revisit that hammer analogy. Say you spent some time time learning how to hammer nails. After a couple of smashed thumbs you got pretty good at it. You bought a decent hammer, then decided that was not good enough for your nail-hammering prowess and bought a better one.

    You even built a collection of all kinds of nails, to be ready to hammer nails into damn-near anything. Now you can proudly call yourself a nail hammerer. So you sit back and wait for the opportunities and experiences to roll in. Which they might, or might not. But worrying about all of that other stuff is not your problem. You're a nail hammerer, dammit.

    Read more »
    Strobist

  • 10 Portrait Tips to Take Your Photography to the Next Level

    You have all the makings of a beautiful photograph: the perfect client, an overcast day for soft natural lighting and a gorgeous landscape as the backdrop. You’re taking photos but noticing that something’s not quite right. The photos look underwhelming. Believe me, I’ve been there. Here are 10 tips to take your portraits to the next level.

    Cjust_tip1

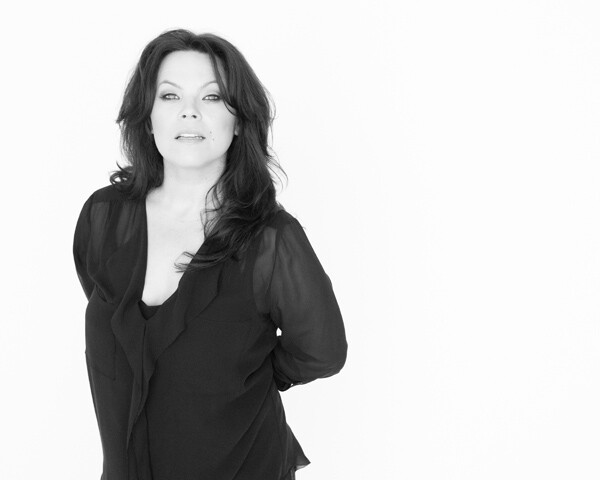
    Photographing Danielle LaPorte – author

    Portrait of Danielle LaPorte - author

    Portrait of Danielle LaPorte – author

    Tip #1 – have your subject look up at you

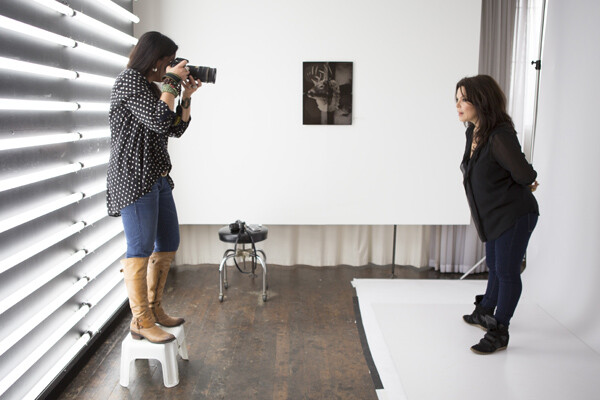
    It’s slimming and flattering (see images above). Bring a small step stool to stand on and photograph your subjects from slightly above their eye line. Watch double chins disappear. Keep a step stool in the trunk of your car so you don’t even have to think about adding it to the list of gear to bring when you prep the night before. It’s there, ready to go.

    Tip #2 – capture the moments in between poses

    Cjust_tip2

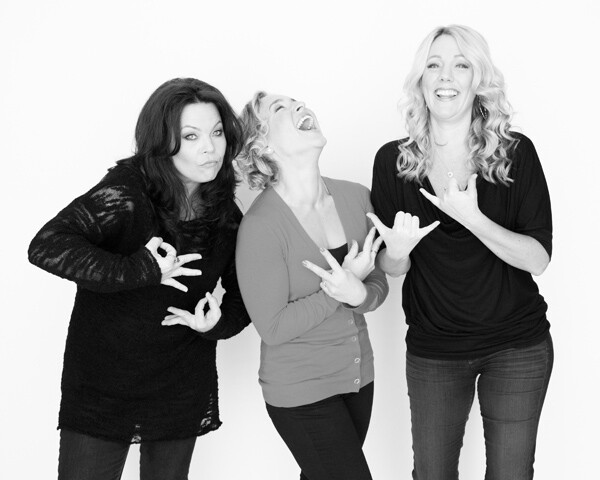
    Personally this is a favorite of mine. If you’re noticing the images look too posed, or your subject is uncomfortable in front of the camera, shake things up. Ask them to do the most ridiculous pose or ask them to pretend to laugh really hard. Take that photo, but keep the camera up and wait. The moment after that photo happens you’ll find their guard will come down, they will laugh authentically or give you a moment that feels much more real.

    Tip #3 – turn the subject’s body slightly

    Have them turn their body slightly away from the camera and their face still looking straight at you. This is not only slimming, it also gives the photograph more depth.

    Tip #4 – flattery

    Always tell them how beautiful they look. It’s unnerving to have someone pointing a camera at you and not know what the photos look like. Tell them. It will help calm their nerves and you will notice a difference in the photos because they will feel more confident and attractive.

    cj_tip9

    Tip #5 – connection

    This is the key to everything really. If there’s a connection between you and the person you are photographing, there’s a magic that happens that’s unexplainable. Sure, you can have the right lens, the right camera, and the right lighting, but an authentic connection between the two of you takes it up a notch. You can see it in their eyes. They connect with you, and it shows with a different authenticity that can’t be faked. Ask questions, become curious about who they are. Get to know them on a more personal level. Keep that conversation going throughout the photo session. Laugh with them.

    cjust_tip6

    Tip #6 – tell your subject to flirt with the camera

    Ok, that sounds weird but it can work. Ask them what celebrity crushes they have. That changes the look in their eyes and on their face. Have them pretend that the camera is that person. Seriously. It makes them laugh, which goes with tip #2, and helps them loosen up as well. If they are in a relationship, ask them when they met, how they met, or some other stories about their partner that lights them up. Watch the shift happen and take photos throughout the conversation. You’ll capture moments that are real and off guard.

    Cjust_tip7

    Tip #7 – have them bring a playlist of their favorite music

    I bring a portable wireless speaker and play their music, which creates a mood they are comfortable with. You can also play your own music. It helps give them something else to pay attention to and can lighten the mood. Get playful with it and dance around with them. Let them express themself and just pay attention with your camera ready. You can take photos of those moments as well. You can try a longer shutter speed while they dance for some variety and movement. A little blur can add more of a story to the series of images.

    Tip #8 – clothing selection is important

    Have them pick out clothing from their wardrobe that makes them feel like a rock star. It must be clothing that they feel comfortable in and which allows them to move easily. No crazy patterns or bright colors. The emphasis is on their eyes and their expression not the bold neon stripes on their top.

    cjust_tip10

    Tip #9 – lighting

    If you’re outside, open shade is extremely flattering. This is best early in the morning, late afternoon and close to sunset, when shadows are being created from trees and buildings. Have your subject stand in the shade. A great place to explore this is in doorways. Try just inside an open garage door. Stairways inside parking garages can also provide a shade that’s not too dark, with the brightness outside reflecting on them perfectly. If you’re inside, you can still use natural lighting by turning off all the overhead lights and lamps and having your subject move close to the window. When it’s overcast it’s best because again, it will be even soft light on their face without any shadows or harsh light making them squint.

    Tip #10 – break the rules

    cjust_tip10b

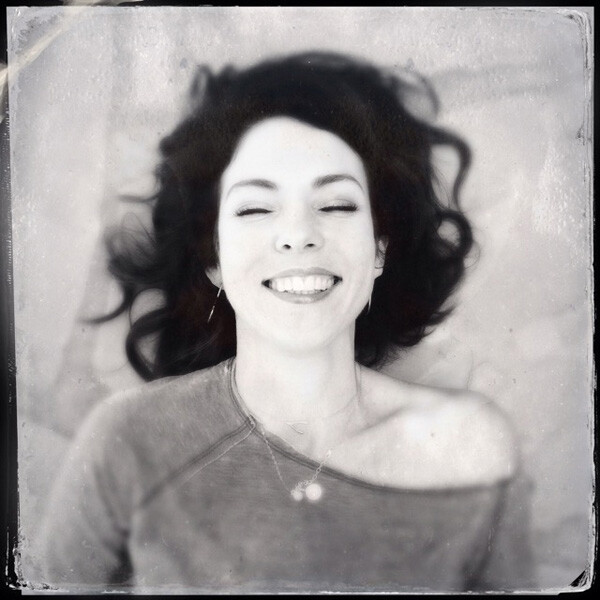
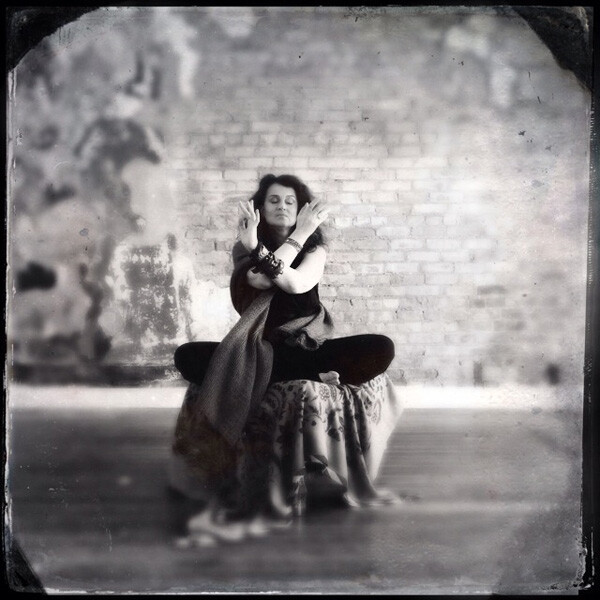
    Allow the flare from the sun to fill the lens. Use alternative cameras like a Polaroid SX-70 or your iPhone. Try out the iPhone apps. It helps you expand as a photographer when you stretch yourself in new unchartered ways. Only bring one lens to the photo shoot. Bring the one you know is the most flattering. My favorite portrait lens is the Nikon 85mm 1.4 lens. ( yep, I’m a Nikon girl ). Think of this as more than a portrait shoot but as a fine art project. Have your subject create a Pinterest board of their favorite portraits before the photo session and play with those ideas. Try unconventional poses. They can lead you to unexpected moments of greatness with your portraits.

    Next steps

    Allow yourself to go on a journey of exploration during the photo session. There are so many ways to go from ordinary to extraordinary. Paying attention to the basics of composition, lighting, posing can help. Incorporating your own authentic personality into the session will help your client be more relaxed and open to try new things. This will bring you better results in the end.

    So, what is one tip you’ve learned along the way that has helped you create better portraits? Share it with us in the comments below.

    The post 10 Portrait Tips to Take Your Photography to the Next Level by Catherine Just appeared first on Digital Photography School.


    Digital Photography School

  • Ecosystems 101: Mind the Gaps

    The large rock in the photo above is a very special rock. It is known as the Rosetta Stone, and it is the showcase exhibit in the British Museum in London. It's technically just a rock with some scratching on it, but it was responsible for our learning how to decode Ancient Egyptian hieroglyphs.

    How? Because it was a decree issued in Egypt in 196 BC. Specifically, it was issued in three different languages (Ancient Greek, Demotic script and Egyptian hieroglyphs) and thus was the key to our being able to figure out the previously indecipherable language of Ancient Egypt. It was like capturing the other side's code book in WWII.

    Which means this rock was literally a key to unlocking a heretofore opaque ancient language.

    Read more »
    Strobist

  • Ecosystems 101: Photography is a Currency

    Whether you are a pro or an amateur, it is important to know that photography is more than just a language. It is also a currency. Which is to say that it has value, and it is fungible.

    Read more »
    Strobist

  • Ecosystems 101: Forging a Sustainable Path

    You would think the formula for success as a photographer (or for anything, really) would be both varied and potentially complicated. But at this point in my life, I really don't think that is true.

    In fact, I think that a formula for long-term success in, let's say photography, can be boiled down to seven words:

    Read more »
    Strobist

  • Unique Flower Photography Using Multiple Exposures

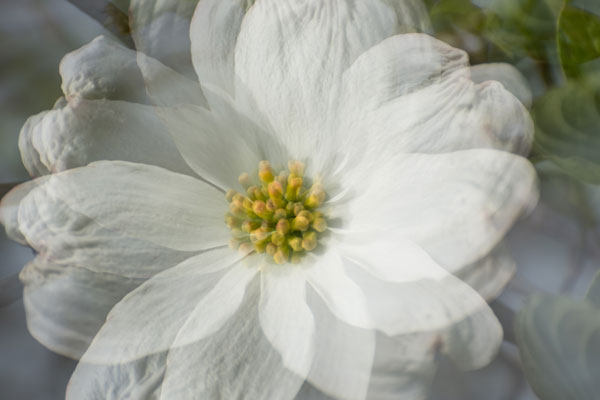
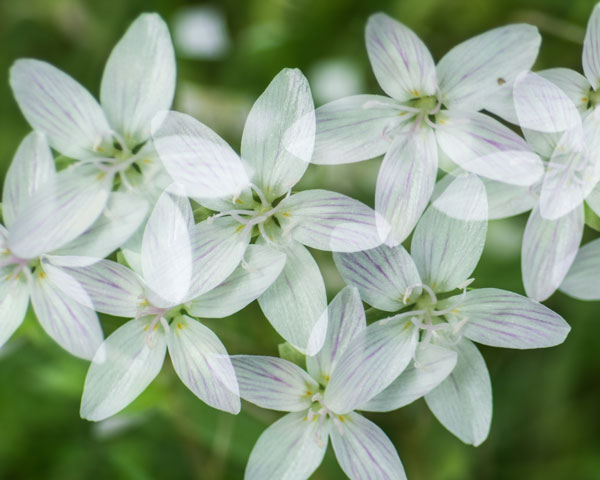
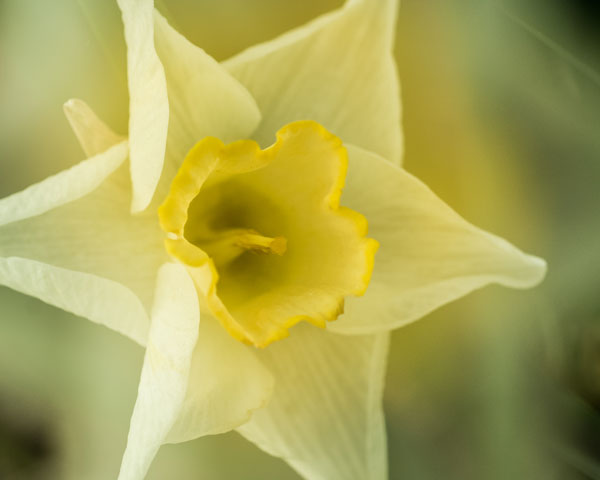
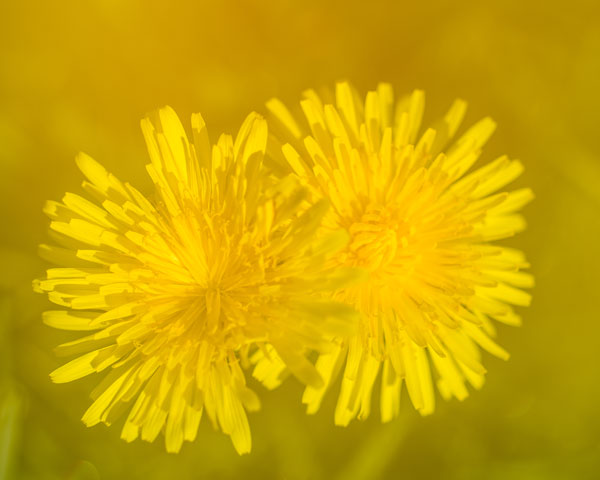
    Most of the new cameras from both Nikon and Canon now have the capability to create multiple exposures. The technique is rather simple to set up, but the results can be both unlimited and unpredictable. So try using this feature to create some unique floral images.

    DSC_3968

    Set-up

    1. Select Multiple Exposure from your camera’s menu. The default option on this setting is, of course, OFF. Select the ON option. Some cameras will give you the option here for ON (series) which will keep the option on until you turn it off or ON (single photo) which will capture only one multiple exposure image.
    2. Scroll down to select the number of shots you desire, select either two or three. (Some cameras will allow you to select up to 10).
    3. The third setting is Auto Gain. When set to ON, your camera will automatically adjust exposure gain for the addition of each image. In the OFF position you must manually adjust for the exposure of each layered image. (All the sample images here were created with the Auto Gain ON.)
    4. Confirm that you have Multiple Exposure set to ON and hit OK.
    5. You’re now ready to shoot, so set up your exposure and focus like you would do with any floral image.
      menu1 menu2 menu3

    Taking multiple exposure images does take some practice to perfect, and you will have a lot of throwaways. As you take each exposure, your camera will show you a preview of the image just exposed, and you have 30 seconds to shoot the next image or the camera will finish the process without any additional exposures. After the last exposure of the series, you will see the final image.

    Type of Multiple Exposure Images to Try

    The resulting photos you can accomplish with this technique are limited only by your own creativity. The following paragraphs describe how to shoot three types of images:

    • The Twist
    • The Fill
    • The Shoot Through

    The Twist

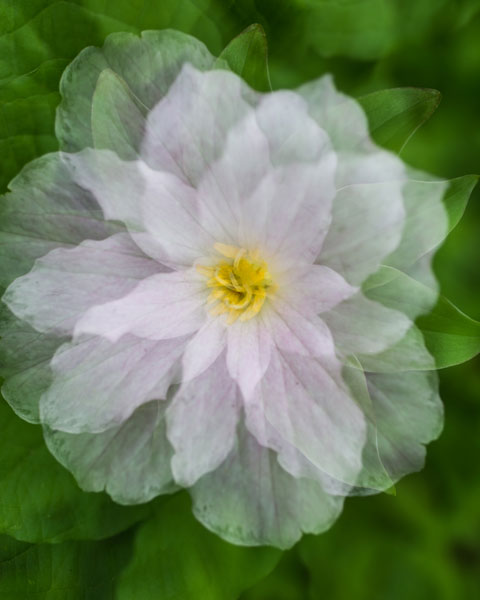
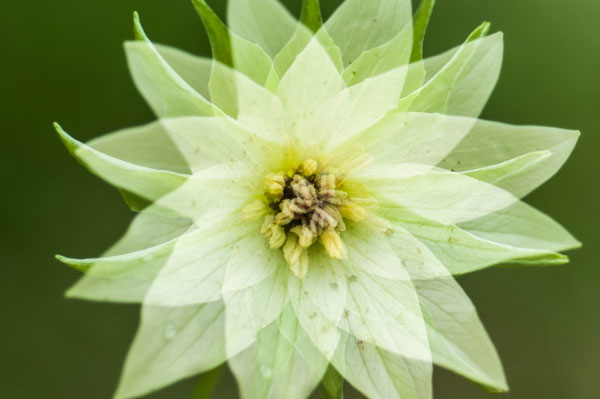
    In this method, set the number of shots to three. The key to this method is to keep the center of the flower in the same location on all three images. Using your spot focus point as a reference point to help keep the images aligned, take the first image. Keep the center of the flower in the same location of the view finder and turn the camera to the left or right and take a second exposure. Then, again keeping the center of the flower in the same location, turn the camera again and take the third image. The degree of your turn can vary depending on the size of the subject flower. Remember to refocus before each of the three exposures.

    DSC_0009


    DSC_0060

    DSC_4035

    The Fill

    In this method you will fill the frame with flowers by shooting however many multiple exposures you choose and placing flowers in different locations within the frame with each exposure.

    DSC_4059

    The Shoot Through

    Set your number of exposures to two. Your first exposure should be a normal exposure of the floral subject. Without changing the focus setting, move your camera closer to the flower to fill the frame with an out-of-focus image, which will give you a soft shoot-through effect.

    DSC_3958

    DSC_4045

    Other Tips

    • Some Nikon models will automatically turn off Multiple Exposure after each image, so you will need to go back into the menu and turn it back on after each image is completed.
    • Simple backgrounds work best.
    • Most successful images are shot handheld. Using a tripod to create these images makes it difficult to move freely.
    • LiveView will be disabled on your camera during multiple exposures.
    • Remember, after your first exposure is taken, if no operations are performed within the next 30 seconds, the camera will automatically end the Multiple Exposure mode.

    Creating Multiples in Photoshop

    If your camera doesn’t have the Multiple Exposure options, you can still create these same effects in Photoshop.

    1. Take all your images as describe above as single frames. Open the first image in Photoshop.
    2. Open the second image and copy and paste it onto the first image as a second layer. Change the layer blending modes to multiply. You can experiment with different blending modes to get some wild effects. You can also change the opacity of each layer to get the effect to your liking.
    3. Repeat Step 2 for every image in the series.

    photoshop

    Shooting multiples is a lot of experimenting, but when you get a good image, you will know it! This method can also be used for many other kinds of images. For example, try shooting a silhouette and filling it with another image. . . the possibilities are endless!

    The post Unique Flower Photography Using Multiple Exposures by Bruce Wunderlich appeared first on Digital Photography School.

    Digital Photography School