Blog

  • Tips for Shooting Through Objects to Create a Special Effect

    Photography is as much a study of the creative, as it is a study of the technical. Often, knowing all the technical ins and outs of your camera, still does not guarantee a stellar image – an image that evokes emotion, one that makes you stop in your tracks and take a second look. Such images are created by thinking outside the box, by experimenting with new techniques and ideas that may seem crazy, ridiculous, or even somewhat unbelievable! Lucky for us, we photographers are known to be a little bit crazy, so trying new and innovative techniques should not surprise us too much.

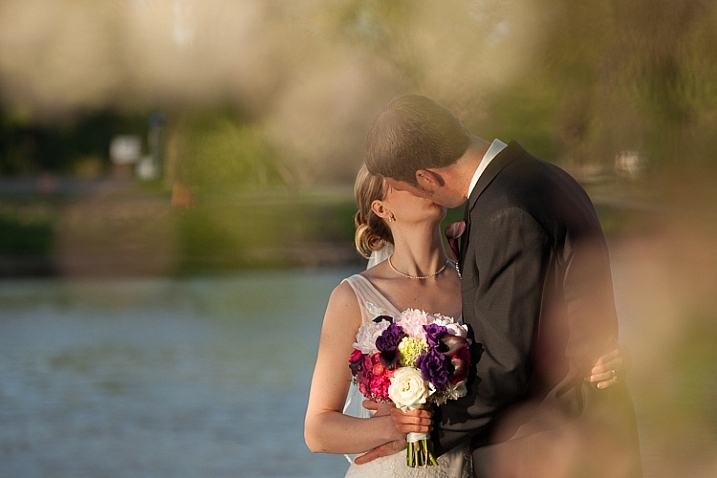
    One such really cool and innovative technique, to add a little bit of creativity and flare in our imagery, is shooting through objects. This technique is, quite literally, to have a small object between the front of the lens and your subject. This is often used to frame the subject, in order to draw attention to it/them, soften the edges of the image, or add a cool color special effect, to an otherwise ordinary image.
    Memorable Jaunts DPS Article Shooting through objects for special effects 01

    The whole idea of shooting through objects, is to have an out of focus foreground and be able to shoot through it, but at the same time keep the subject sharp. This effect is best achieved by placing the object close to the lens, either by hand holding it, or by resting it against the lens. Placing the foreground object further away from the actual subject and closer to the front of your lens, makes it easier to blur.

    Although any lens will work, the shorter your lens focal length the closer the foreground object will need to be to the front of the lens, making it much easier to hand hold. If the object you are shooting through is large, it is easy to miss the focus on the actual subject. In these situations, it is best to focus on the subject, lock focus by switching to manual focus (MF/AF toggle buttons are located on the lens body in most cases or using back button focus) and then bringing the foreground object close to the lens for the blur effect. Sometimes it is possible to use the out of focus foreground to hide distracting things in the background.
    Memorable Jaunts DPS Article Shooting through objects for special effects 06

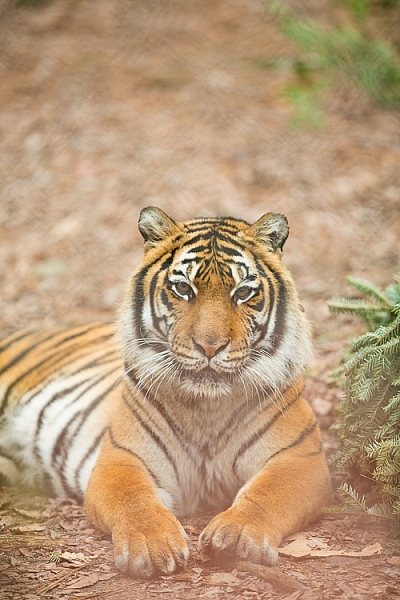
    In the above image, this tiger in North Carolina’s Tiger Rescue facility, was holding a perfect pose and staring dead straight at me. Thankfully, I had a fence between me and the tiger (I am sure he was viewing me as a tasty snack!) and I loved the blur shapes seen in the top of the frame. I also handheld a piece of candy wrapper towards the bottom of the lens to give a little pink tint to the bottom of the image. The only post-processing done here, was to bring up the blacks and add a little contrast to the image.

    The shoot-through technique works especially well with leaves, flowers, and even small pieces of glass. The possibilities are quite endless when it comes to finding things to shoot through. If you are feeling uninspired, sometimes bringing something as simple as a small strip of fabric, or a piece of clear plastic, can completely change the outcome of your final photograph. Look around your photography location and you are bound to find something to shoot through. Even if you often shoot in the same location, you may find something new each time. Flowers bloom at different times of year, leaves change color, and sometimes even dry twigs add an element of interest.
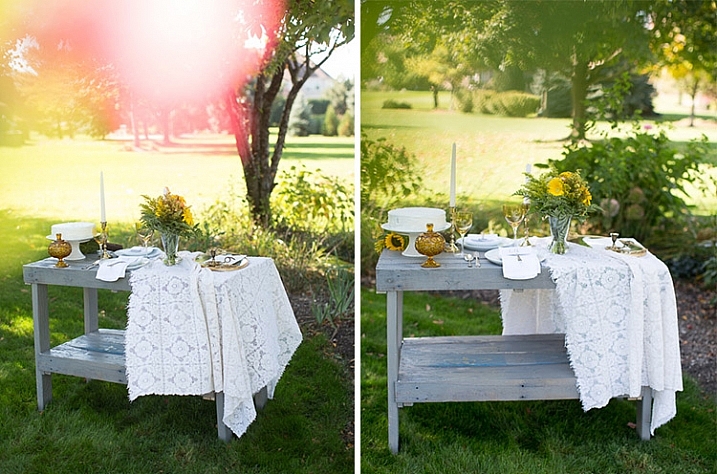
    Memorable Jaunts DPS Article Shooting through objects for special effects-SidebySide01

    Always use these effects to taste. In the side-by-side above, I initially used a pink flower to see if I could get a cool, light leak effect in the frame. But somehow that did not appeal to me. So in the next frame, I took a leaf and held it up to the top of the lens. I loved this effect, as if I was shooting through the bushes but still retaining the details in the bottom half of the image.
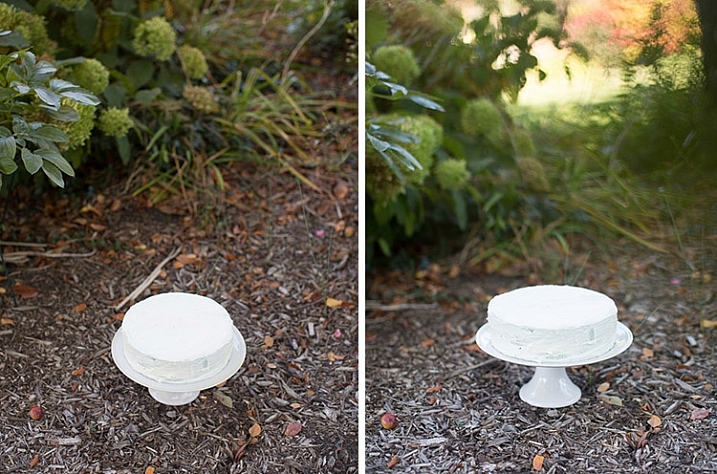
    Memorable Jaunts DPS Article Shooting through objects for special effects-SidebySide02

    In the images of cakes above, the first is a standard, run-of-the-mill, top shot of the cake. But when I changed my angle and used a leaf to shoot through, I loved the blur effect it produced at the top of the frame.

    Shooting through objects adds an element of interest to photographs. When you use colored pieces of glass or flowers, you get an effect similar to a light leak (from film days). Some photographs also appear to have been processed with unique filters, except all these effects are straight out of the camera (SOOC), not added during post-processing. When you use clear glass, plastic bags, or even sheer fabric, photographs appear to have additional texture and depth.
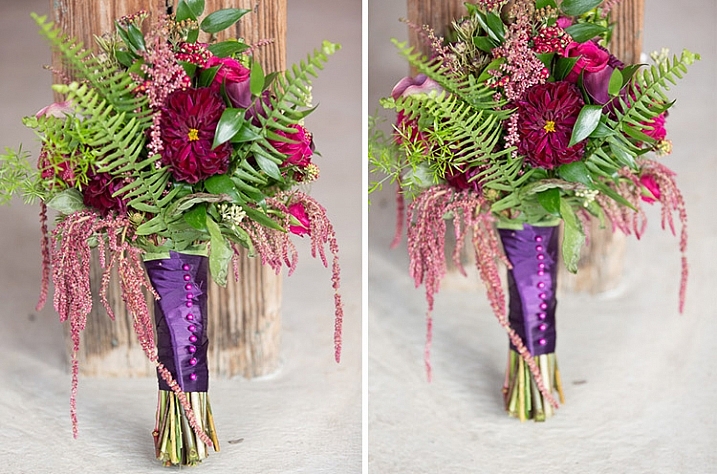
    Memorable Jaunts DPS Article Shooting through objects for special effects-SidebySide03

    The bridal bouquet on the left is a straight shot. The one on the right has a clear piece of plastic (it was used to cover the cake topper) – I held it to the bottom on the lens to add a little texture and interest.
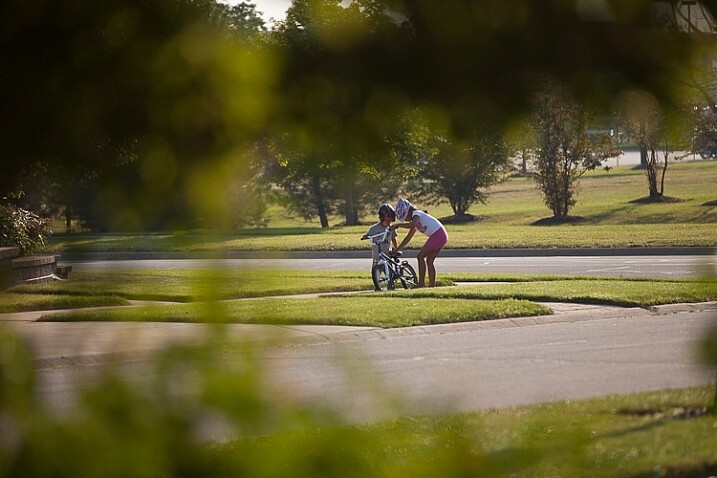
    Memorable Jaunts DPS Article Shooting through objects for special effects 05

    I love this image of my kids – my daughter is teaching my son to ride his bike. By shooting through the bushes, I caught them unawares, as well as used the bushes to frame the subject (in this case my kids!).
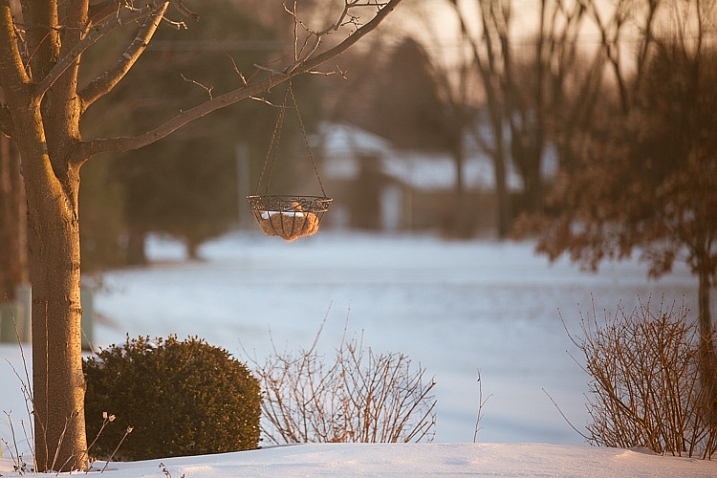
    Memorable Jaunts DPS Article Shooting through objects for special effects 03

    The sun was setting in my backyard, and to exaggerate its warmth, I added an orange piece of plastic (my flash gel cover). No post-processing needed!

    While this is not a technique that should be used on every photograph, there are so many options for framing, introducing texture, and adding interest when you add an unexpected element into your photographs. Use this tool when you want to break free from the mundane and the ordinary, you might be pleasantly surprised with the results!

    This week on dPS we are featuring articles on special effects. Check out the others that have already been published here:

    • How to Photograph the Full Band of the Milky Way
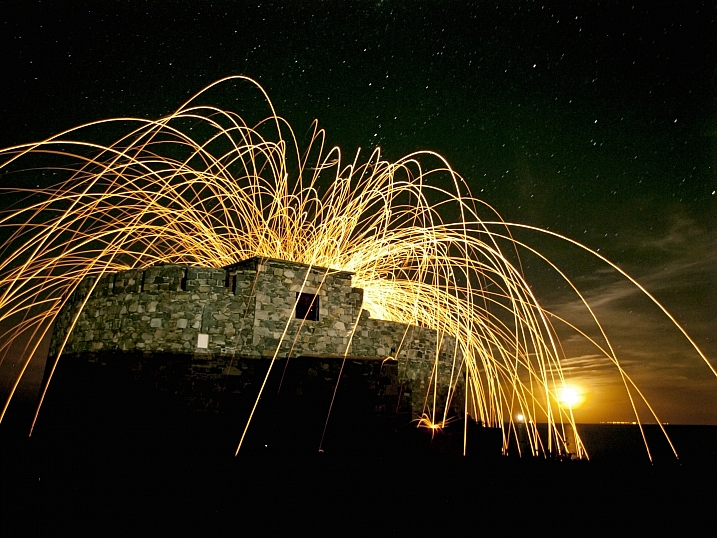
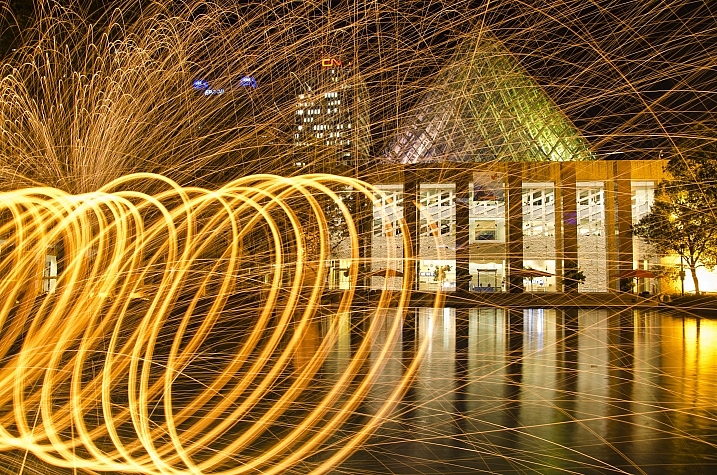
    • Fire Spinning with Steel Wool – A Special Effects Tutorial
    • Special Effect – How to Create Multiple Flash Exposures in a Single Frame
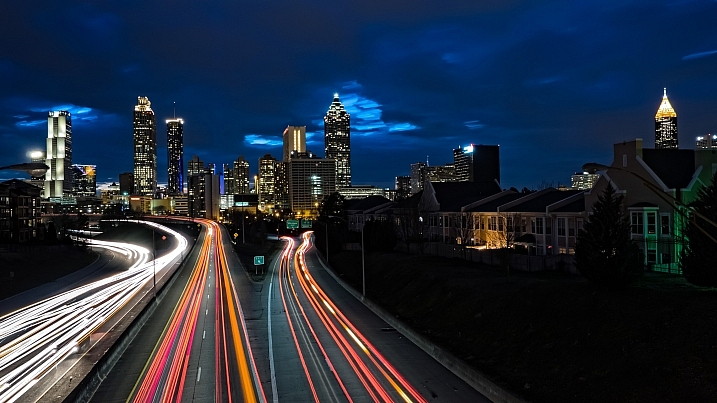
    • Stacking Light Trails for Night Photography Special Effects
    • 26 Unique Special Effects Photos to Spark Your Creativity
    • Weekly Photography Challenge – Special Effects

    googletag.cmd.push(function() {
    tablet_slots.push( googletag.defineSlot( “/1005424/_dPSv4_tab-all-article-bottom_(300×250)”, [300, 250], “pb-ad-78623” ).addService( googletag.pubads() ) ); } );

    googletag.cmd.push(function() {
    mobile_slots.push( googletag.defineSlot( “/1005424/_dPSv4_mob-all-article-bottom_(300×250)”, [300, 250], “pb-ad-78158” ).addService( googletag.pubads() ) ); } );

    The post Tips for Shooting Through Objects to Create a Special Effect by Karthika Gupta appeared first on Digital Photography School.


    Digital Photography School

  • Adobe announces Technology Previews for Lightroom on the Web with subject-identifying Search feature

    Adobe has launched Technology Previews for Lightroom on the Web, allowing Lightroom users to test new features before they are officially rolled out. To get things started, Adobe has released a Technology Preview that introduces ‘Search,’ a feature that uses new image analysis technology to identify photos based on subjects. 

    According to Adobe, the search function lets users search for any photograph that has been synced online using Lightroom on the Web, Lightroom for mobile, or one of the Lightroom desktop applications. Search terms like ‘food’ or ‘flowers’ will reportedly be indexed whether or not the photos contain any keywords. Users can access the feature by first logging into Lightroom on the Web, then clicking the ‘Lr’ menu in the top left corner and selecting ‘Technology Preview’ from the menu. Search will then index synced photos.

    The new search function is only available in English, though Adobe says it will be provided for other languages once the final version is officially rolled out. Before that happens, though, Adobe plans to expand Search’s functionality, adding support for metadata searches and more. 

    Via: Adobe

    Articles: Digital Photography Review (dpreview.com)

  • Beyond the Glass Ceiling: 14 Houses & Hotels Made for Stargazing

    [ By Steph in Boutique & Art Hotels & Travel. ]

    iceland igloo hotels 4

    Watch for shooting stars and identify constellations from the comfort of a warm and cozy bed in rooms designed to provide nearly unfettered access to the sky, with transparent roofs blurring the lines between indoors and out. From hotels in some of the world’s prime stargazing locations like Finland and Chile to homes equipped with observatories to a tree house that literally lifts its lid, these see-through structures flood the interiors with sunlight during the day and offer amazing views at night.

    Starlight Room

    starlight room

    starlight room 2

    starlight room 3

    starlight room 4

    starlight room 5

    Set on faux skis, with a glass ceiling and walls, the Starlight Room looks out onto the Dolomites in the northern Italian town of Cortina d’Ampezzo for high-altitude views far from light pollution and noise. The tiny hotel room accommodates singles and couples, and contains little more than a double bed and television. Guests arrive via snowmobile or snow shoes, and room service is delivered, though it looks like exiting the cabin to go to the bathroom in the snow might not be the most pleasant experience in the middle of the night.

    The Sky Den Literally Lifts its Lid

    sky den 2

    sky den 4

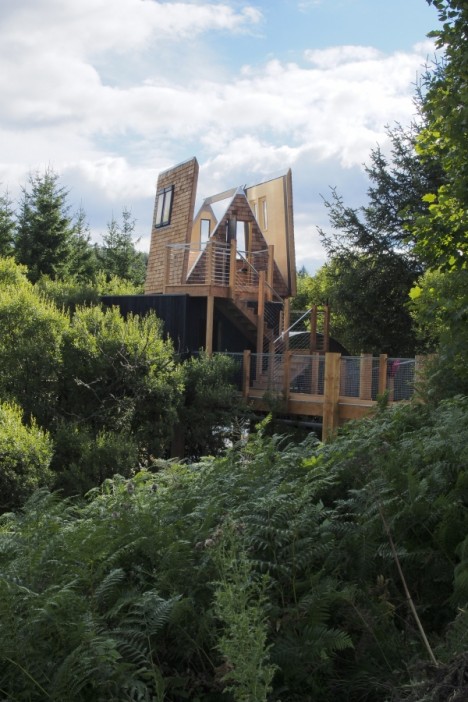
    The roof of this tree house by architect George Clark opens to the sky, enlarging the space so it can be used as a protected indoor shelter or an open-air observatory. Located in England’s Kielder Water & Forest Park, the Sky Den has flat-pack furniture built right into its movable walls, so guests can pull down and set up whatever they need to be comfortable, from beds to stools and benches.

    Camouflage House
    camouflage house 1

    camouflage house 2

    camouflage house

    A habitable greenhouse, Hiroshi Iguchi’s Camouflage House blends into the landscape, with an inner core of private spaces surrounded by a glass enclosure. Almost completely transparent, the house in Nagano, Japan incorporates an interior garden via openings that allow trees to grow straight up the angled roof from the courtyard.

    Transparent Ceilings and Floors

    glass ceiling house

    glass ceiling house 2

    glass ceiling house 3

    glass ceiling house 4

    This four-story house in Shanghai by architect Yung Ho Chang of Atelier FCJZ features a glass roof as well as transparent floors on three levels, so you can see the interior of each floor in addition to the sky. Designed as a concrete box with no windows, the home gets all of its daylight from the ceiling. Talk about radical transparency – the toilet is even visible from just below the dining room.

    Bob Hope’s UFO House
    bob hope ufo house

    bob hope ufo house 2

    bob hope ufo house 3

    bob hope ufo house 4

    bob hope ufo house 5

    Designed by John Lautner in 1973, the house Bob Hope lived in for decades with his wife Dolores features a dramatic oculus for daylight and stargazing. The bizarre-looking structure was nicknamed ‘UFO House’ and ‘Volcano Home’ for its unusual shape when viewed from afar. Lautner refused to claim the project as his own work, reportedly because Dolores Hope demanded changes to the interior that didn’t fit his artistic vision.

    Next Page – Click Below to Read More:
    Beyond The Glass Ceiling 14 Houses Made For Stargazing

    Share on Facebook


    [ By Steph in Boutique & Art Hotels & Travel. ]

    [ WebUrbanist | Archives | Galleries | Privacy | TOS ]


    WebUrbanist

  • Samsung Galaxy S7 edge takes top spot in DxO Mobile rankings

    DxOMark has put the Samsung Galaxy S7 edge through its testing, and with a score of 88 the device moves into the top spot in DxO’s mobile rankings. The S7 edge and slightly smaller S7 use a 12MP sensor with on-chip phase detection and an F1.7 lens with optical image stabilization. By taking the top position in the mobile rankings, the S7 edge relegates its Galaxy S6 edge plus and the Sony Xperia Z5 to a joint number two spot.

    Articles: Digital Photography Review (dpreview.com)

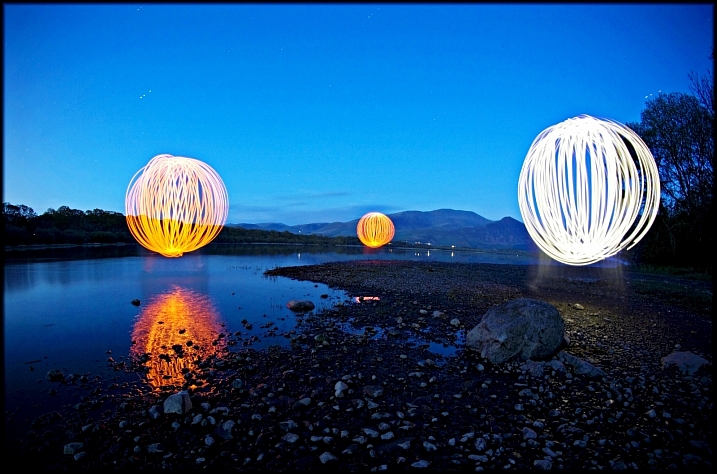
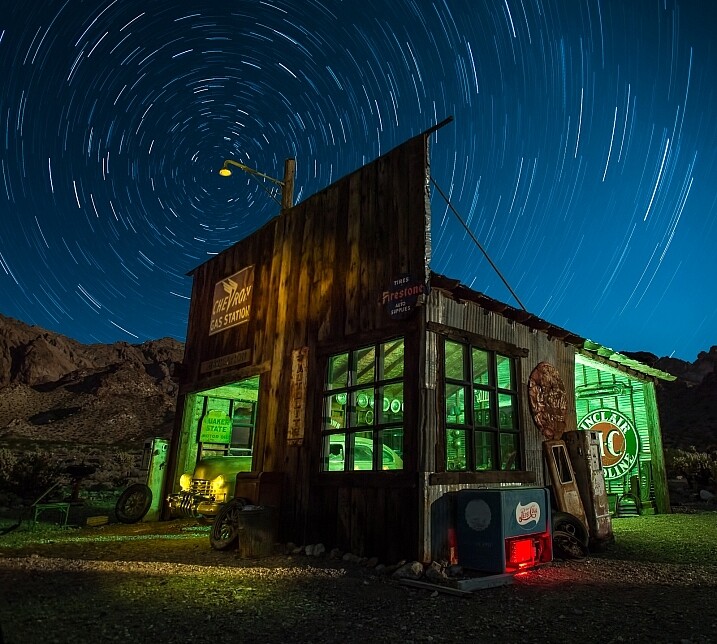
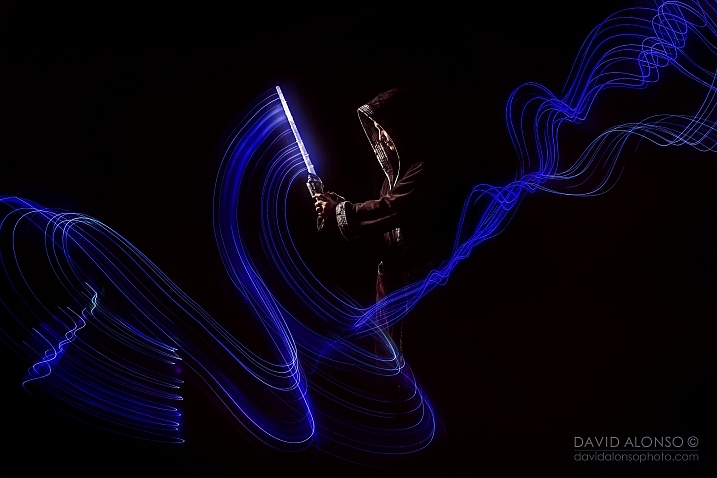
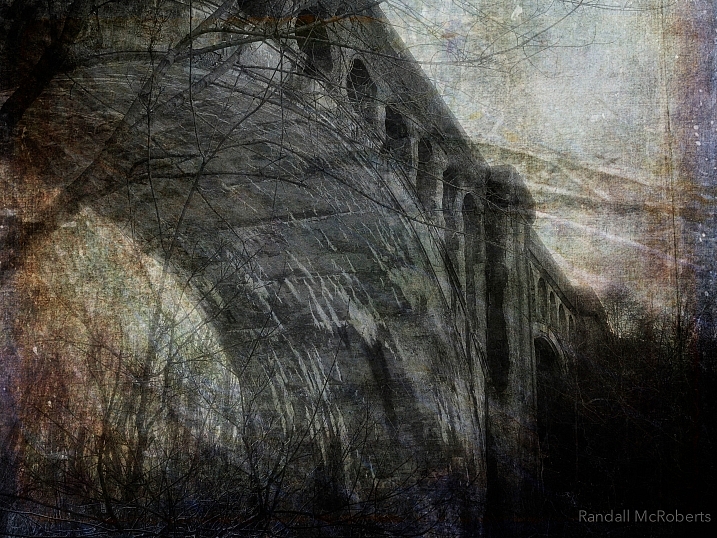
  • 26 Unique Special Effects Photos to Spark Your Creativity

    This week on dPS we are all about special effects. Check out the others that have already been published here:

    • How to Photograph the Full Band of the Milky Way
    • Fire Spinning with Steel Wool – A Special Effects Tutorial
    • Special Effect – How to Create Multiple Flash Exposures in a Single Frame
    • Stacking Light Trails for Night Photography Special Effects

    Now it’s time to look at some special effects images:

    I Am Dabe

    By i am dabe

    Redfishingboat (Mick O)

    By Redfishingboat (Mick O)

    Mike Boening Photography

    By Mike Boening Photography

    Neil Howard

    By Neil Howard

    Terry Lawson

    By Terry Lawson

    Louish Pixel

    By Louish Pixel

    Taichiro Ueki

    By Taichiro Ueki

    Thierry Marysael

    By Thierry Marysael

    John Watson

    By John Watson

    Nick Kenrick

    By Nick Kenrick

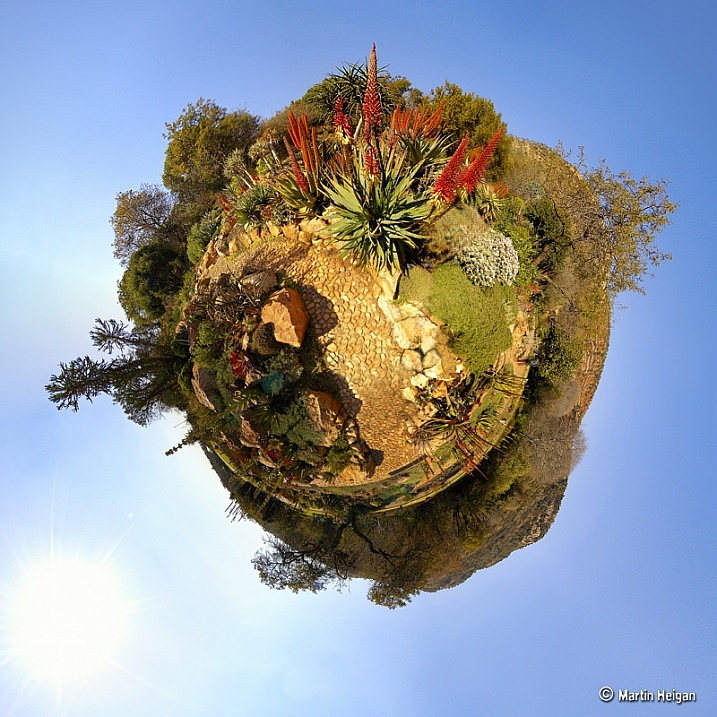
    Martin Heigan

    By Martin Heigan

    Mibby23

    By Mibby23

    Mickaël

    By Mickaël

    Inefekt69

    By inefekt69

    Knowsphotos

    By Knowsphotos

    Disco's Place

    By Disco’s Place

    Dennis Crabtree

    By Dennis Crabtree

    Wayne Stadler

    By Wayne Stadler

    Liz West

    By liz west

    TJ Gehling

    By TJ Gehling

    Alex Matravers

    By Alex Matravers

    Howard Ignatius

    By Howard Ignatius

    David Bokeh

    By David Bokeh

    Randy McRoberts

    By Randy McRoberts

    Manuel Paul

    By Manuel Paul

    Alex Matravers

    By Alex Matravers

    googletag.cmd.push(function() {
    tablet_slots.push( googletag.defineSlot( “/1005424/_dPSv4_tab-all-article-bottom_(300×250)”, [300, 250], “pb-ad-78623” ).addService( googletag.pubads() ) ); } );

    googletag.cmd.push(function() {
    mobile_slots.push( googletag.defineSlot( “/1005424/_dPSv4_mob-all-article-bottom_(300×250)”, [300, 250], “pb-ad-78158” ).addService( googletag.pubads() ) ); } );

    The post 26 Unique Special Effects Photos to Spark Your Creativity by Darlene Hildebrandt appeared first on Digital Photography School.


    Digital Photography School

  • Tamrac introduces colorful, water-resistant Hoodoo backpacks

    $ (document).ready(function() { SampleGalleryV2({“containerId”:”embeddedSampleGallery_5729733577″,”galleryId”:”5729733577″,”isEmbeddedWidget”:true,”standalone”:false,”selectedImageIndex”:0,”startInCommentsView”:false,”isMobile”:false}) });

    Bag manufacturer Tamrac has introduced a pair of water resistant backpacks designed for ‘hiking and outdoor’ photographers. The two Hoodoo bags are made with waxed canvas and PU-coated nylon that’s intended to keep out the rain, and they come in a choice of Kiwi green, pumpkin orange and ocean blue.

    There are two versions; the Hoodoo 18 and the Hoodoo 20. The 20 is the larger and comprises two separate compartments and a removable camera module that has its own strap for carrying over a shoulder. The camera module has room for a small DSLR with a few extra lenses, while the upper part of the bag can be used for clothes and features a slot for a 15in laptop.

    The Hoodoo 18 is suitable for a DSLR and a pair of lenses, and again the camera module is removable. The camera’s Goblin pouch fits into the upper compartment, while the front of the bag is for other items and a 13in laptop.

    The Hoodoo 18 costs $ 79.95/£89.99 and the Hoodoo 20 $ 129.95/£130. For more information see the Tamrac website.


    Press release:

    New Tamrac Hoodoo Backpacks

    Designed for adventure, the new series of backpacks take you and your camera anywhere you want to go.

    Made from water resistant waxed canvas and PU coated, lightweight ripstop nylon, Tamrac Hoodoo packs feature comfortable harnesses and high-grade components. Available in 2 sizes and three vibrant colours, the Hoodoo series is destined to be your go to camera bag for hiking and outdoor use.

    The Hoodoo18 is designed for carrying compact DSLR cameras or mirrorless systems plus a lens or two. Tuck your camera and extra lens into a Tamrac Goblin pouch and then pop them in the Hoodoo 18’s upper padded compartment, your personal gear in the main compartment and up to a 13” laptop in the laptop sleeve and you are ready for the day’s adventure.

    Larger than the 18 model, the Hoodoo 20 is actually 3 packs in one: a fully protective camera backpack, stand alone camera shoulder bag or stylish day pack.

    As a camera backpack, the Hoodoo 20 has easy access through the front of the pack to grab your camera. The fully protective camera module carries compact DSLRs and mirror-less camera systems with extra lenses. The top portion of the bag carries personal items as well as most 15″ laptops in it’s own protective sleeve. Or take out the protective camera module and use as a shoulder bag with included shoulder strap. The included dividers are fully customizable to adapt to your camera gear.

    Both models are available in 3 colours: Kiwi green, Pumpkin orange and Ocean blue.
    Suggested retail prices as follows:

    Tamrac Hoodoo 18 £89.99 inc VAT
    Tamrac Hoodoo 20 £130.00 inc VAT

    Both bags are available immediately.

    www.tamrac.co.uk

    Articles: Digital Photography Review (dpreview.com)

  • Weekly Photography Challenge – Special Effects

    This week on dPS we are all about special effects. Check out the others that have already been published here:

    • How to Photograph the Full Band of the Milky Way
    • Fire Spinning with Steel Wool – A Special Effects Tutorial
    • Special Effect – How to Create Multiple Flash Exposures in a Single Frame
    • Stacking Light Trails for Night Photography Special Effects
    • 26 Unique Special Effects Photos to Spark Your Creativity

    how-to-multiple-flash-exposures-2781

    Weekly Photography Challenge – Special Effects

    As you can see from the list of articles above, there are many ways to make special effects, and have some fun with photography. We have more great ones coming your way this week, so keep reading!

    This week try something different, a idea you’ve not tried before, or a post-processing technique. No idea is too crazy (just be safe!), and you never know what you get until you try – so this is a great time to experiment.

    Joy_n_the_jungle

    By joy_n_the_jungle

    Enzio Harpaintner

    By Enzio Harpaintner

    Dara

    By Dara

    Share your images below:

    Simply upload your shot into the comment field (look for the little camera icon in the Disqus comments section) and they’ll get embedded for us all to see or if you’d prefer upload them to your favourite photo sharing site and leave the link to them. Show me your best images in this week’s challenge. Sometimes it takes a while for an image to appear so be patient and try not to post the same image twice.

    SurFeRGiRL30

    By SurFeRGiRL30

    Shannon Dizmang

    By Shannon Dizmang

    Refeia

    By refeia

    Neil Howard

    By Neil Howard

    If you need more ideas watch this video from the Cooph team (Cooperative of Photography) on how to shoot the elements:

    googletag.cmd.push(function() {
    tablet_slots.push( googletag.defineSlot( “/1005424/_dPSv4_tab-all-article-bottom_(300×250)”, [300, 250], “pb-ad-78623” ).addService( googletag.pubads() ) ); } );

    googletag.cmd.push(function() {
    mobile_slots.push( googletag.defineSlot( “/1005424/_dPSv4_mob-all-article-bottom_(300×250)”, [300, 250], “pb-ad-78158” ).addService( googletag.pubads() ) ); } );

    The post Weekly Photography Challenge – Special Effects by Darlene Hildebrandt appeared first on Digital Photography School.


    Digital Photography School

  • Sony a6300 gallery updated with Raw conversions

    With access to Adobe Camera Raw support for the Sony a6300’s .ARW files, we re-visited our real-world sample-gallery and have added a number of Raw conversions to the existing out-of-camera JPEG files. You can check out our conversions in the updated gallery, or you can download the Raw files and see what you can do with them yourself – you just need to download the latest ACR update.

    Articles: Digital Photography Review (dpreview.com)

  • Tip of the iceberg: Learning photography in Antarctica

    $ (document).ready(function() { SampleGalleryV2({“containerId”:”embeddedSampleGallery_3701426939″,”galleryId”:”3701426939″,”isEmbeddedWidget”:true,”standalone”:false,”selectedImageIndex”:0,”startInCommentsView”:false,”isMobile”:false}) });

    People become interested in photography in many different ways, and at different stages of life. Some are hooked early on, and others discover the joy of making photos much later. For Kira Morris, it was the isolation and natural beauty of life in Antarctica that inspired her to take up photography. With a Nikon D7000, 18-105mm F3.5-5.6 lens and a tripod, Morris experienced the highs and lows of learning to take photographs just like the rest of us, but unlike the rest of us, her subject was both breathtaking and potentially dangerous.

    Morris shared her early experiences with photography to Resource Travel, which happened to be in the coldest place in the world. She describes a place where removing thick gloves to operate dials poses a real danger, where it’s business as usual even as Auroras fill the sky, and laying down in the snow with your camera can be rewarded with a close-up portrait of one of the feathered native residents. See a few of her images here and head over to Resource for the full story.

    Articles: Digital Photography Review (dpreview.com)

  • Photographic Education, Specialties, and Business: Interview with Photographer Melanie Weij

    In one of our recent newsletters, I asked our subscribers to share their stories with me. The newsletter celebrated the beginning of spring and was dedicated to inspiration and aspiration in the contemporary photographic world. I always encourage readers to hit the reply button and get involved in the conversation. And often, you do (high five!). So did our subscriber, Continue Reading

    The post Photographic Education, Specialties, and Business: Interview with Photographer Melanie Weij appeared first on Photodoto.


    Photodoto