Blog

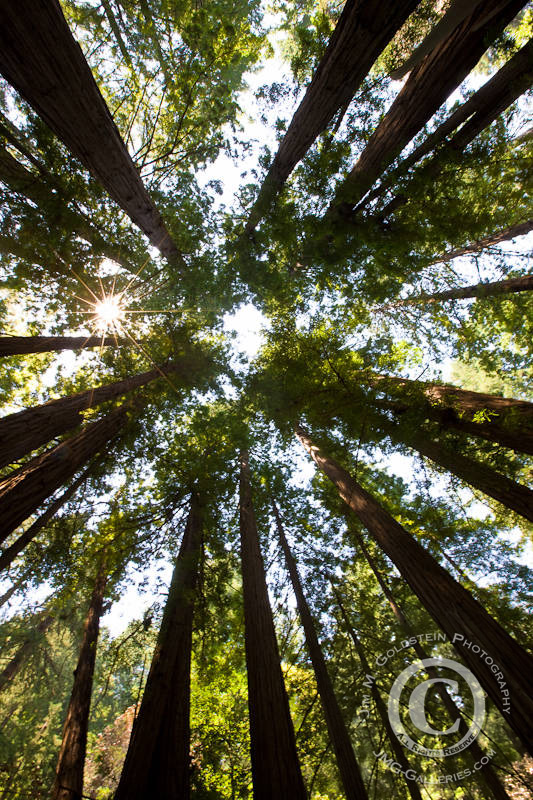
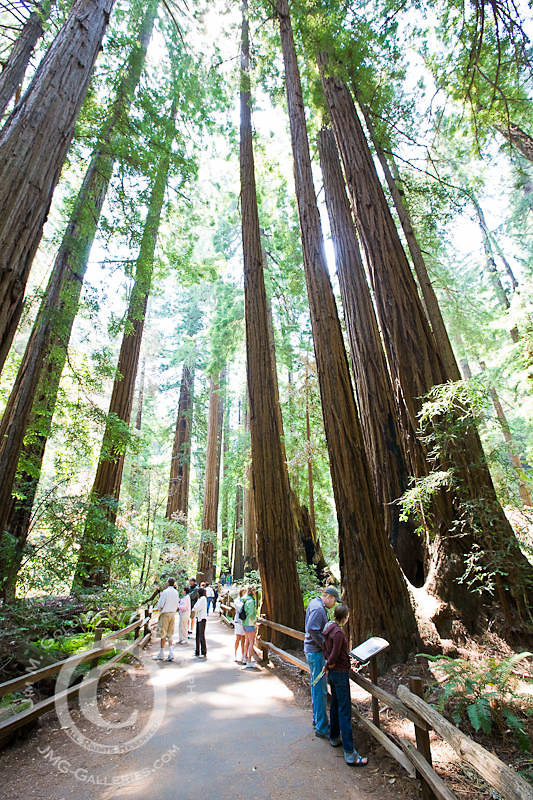
  • Redwood Canopy, Muir Woods National Monument

    It’s ironic and sad that only when we lose something does it become treasured. Muir Woods is a perfect example of this. These majestic Redwood trees were nearly wiped out to build and rebuild San Francisco (after numerous fires and the great earthquake of 1906). This last stand of local Redwood trees was saved by rough terrain that made logging difficult if not impossible and the donation of the land by William Kent.

    Muir Woods National Monument Visitors

    Muir Woods National Monument Visitors

    Muir Woods National Monument is among the most popular destinations in the San Francisco area. Just the other weekend my wife and I drove through Marin to see large crowds gathering at a shuttle stop to visit Muir Woods. The small parking lot there is quickly filled by early arrivals and numerous tour buses. I think it’s great that people now see the value in the serene beauty of this oasis of Redwood trees, but I can’t help but feel sad that it took their near destruction for others to appreciate their existence.

    God has cared for these trees, saved them from drought, disease, avalanches, and a thousand tempests and floods. But he cannot save them from fools. – John Muir

    Redwood Canopy, Muir Woods National Monument

    Redwood Canopy, Muir Woods National Monument

    Technorati Tags: , , , , ,

    Copyright Jim M. Goldstein, All Rights Reserved

    Redwood Canopy, Muir Woods National Monument


    JMG-Galleries – Jim M. Goldstein Photography

  • Sony A33 and A55 DSLRs [REVIEW]

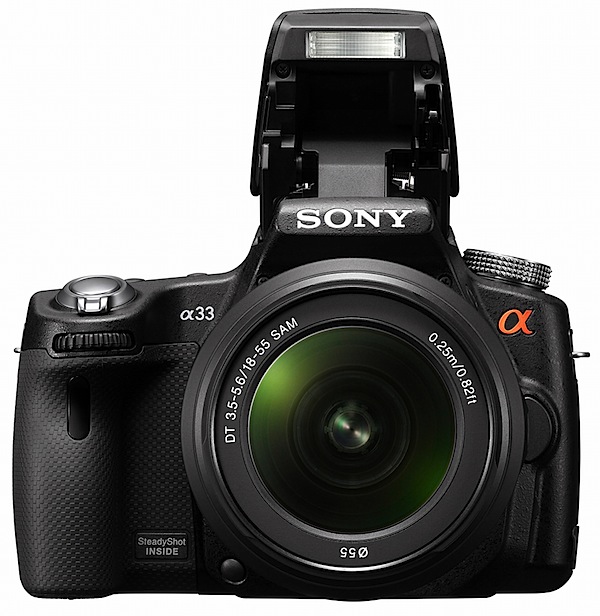
    Sony A33 1.jpg

    It’s been a great year for the DSLR. Not only have we seen the top models capture stills of amazing quality, leading to many serious workers questioning the need for medium format digital capture … and then, to many an amazed onlooker, we’ve seen TV series and feature films shot with high end stills cameras. ‘Mazing!

    So, in typical fashion, we now see Sony hit the Go! button and pack even more capability into these two new cameras.

    Then, a few days ago, heavily disguised, I snuck into Sony HQ to get a top secret preview of the new cameras. And ‘mazed I was.

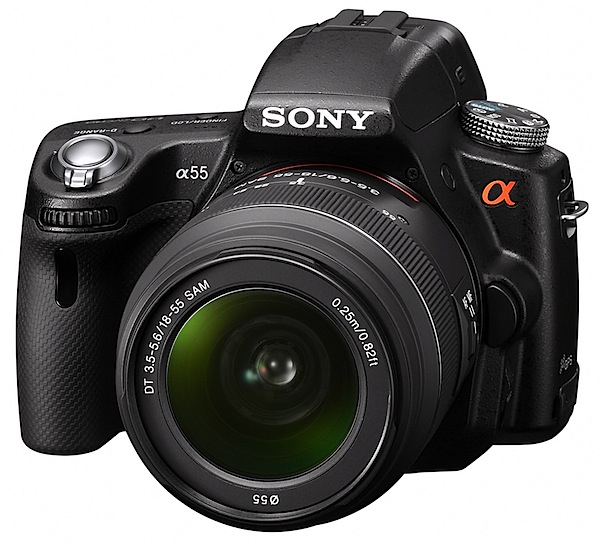
    On leaving, I was given a review camera to bring you the good news. As it was early days, I had to be satisfied with the lesser of the two models — A33 (pictured above) — because there was only one A55 (pictured below) to hand, and this was in the Sony techo’s hands. Ne’r mind, you’ll still get the full whiff of excitement this pair generates as, aside from a few specs, the cameras are near-identical.
    Sony A55 2.jpg

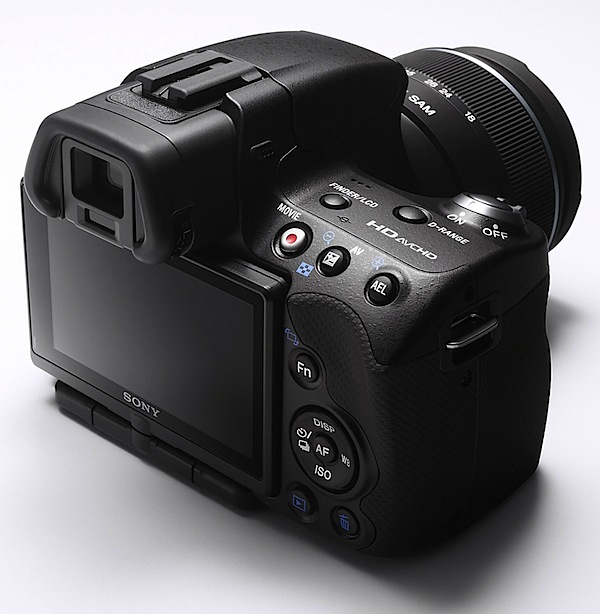
    Initially I was surprised at the smallness and lightness of the A33, barely larger than some maxi zoom, fixed lens models. The Exmor CMOS sensor is APS-C size, with a 1.5x lens factor, when compared to 35 SLR glass.
    Sony A3355 1.jpg

    The feature list would seem to satisfy even the most desperate photographer, anxious to bedeck him- or herself with the toppest end camera around.

    Features like: 4592×3056 pixels maximum size (A55: 4912×3264), leading to a print size of 39×26cm (42×28cm); writing to SD/SDHC/SDXC and Memory Stick Pro Duo/Pro HG Duo cards (but not to CF); SteadyShot image stabiliser; RAW and JPEG capture in stills; MPEG4 and AVCHD at a maximum res of 1920×1080 pixels; Sweep Panorama shooting; 7.5cm LCD screen that swings 180 degrees vertically and 270 degrees laterally; exposure modes that include auto, auto+, Program AE, shutter and aperture priority, manual and scene selection; face and smile detection; flash compensation; ISO sett8ings to 25,600; GPS (A55 only); three exposure HDR.

    Shopping centre pano.JPG

    The Sweep Panorama feature is to die for. Works quickly and accurately.

    High Speed

    Then we get to the continuous shooting figures: with the A33 you can pull in shots at a rate of 7 per second — and, amazingly, 10 images per second with the A55!

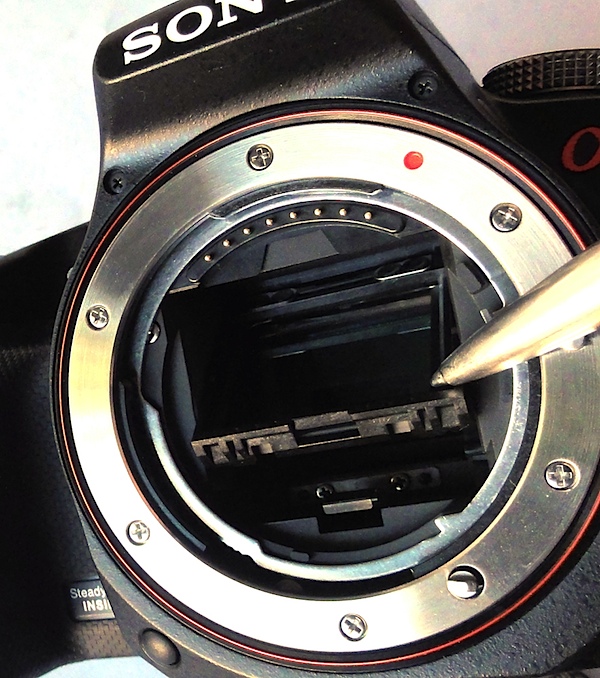
    So, how does it do this? Simply because there is no flipping mirror to slow it down! Instead, there is a semi-reflective mirror in the light path that transmits 66.66 per cent of the light to the CMOS sensor in the back of the camera — and 33.33 per cent of it to a tiny LCD built into the camera’s roof. When you move your eye from the large LCD at the camera’s rear to the eye level viewfinder you view the action via the smaller LCD.
    Pellicle mirror.jpg

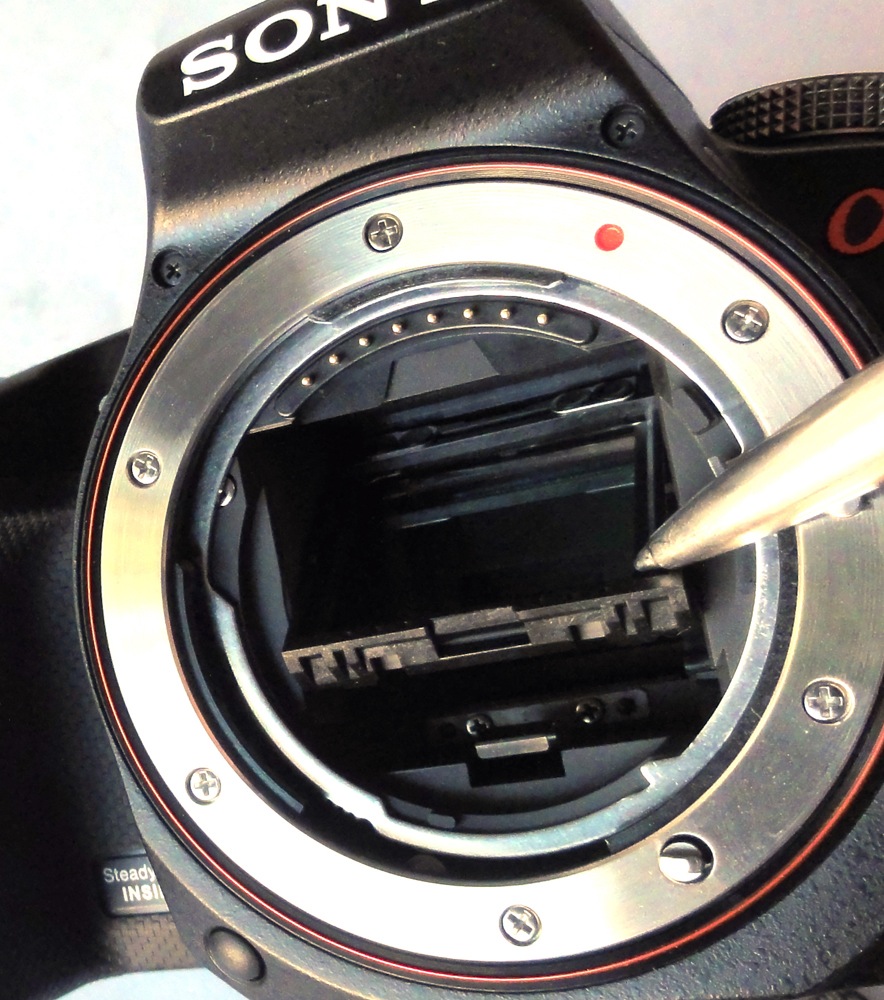
    Remove the lens and you can see how it works, with the mirror in place throughout the shooting cycle. Outside of shooting, the mirror can be tilted up in order to clean the sensor, but normally remains in place at a 45 degree angle.
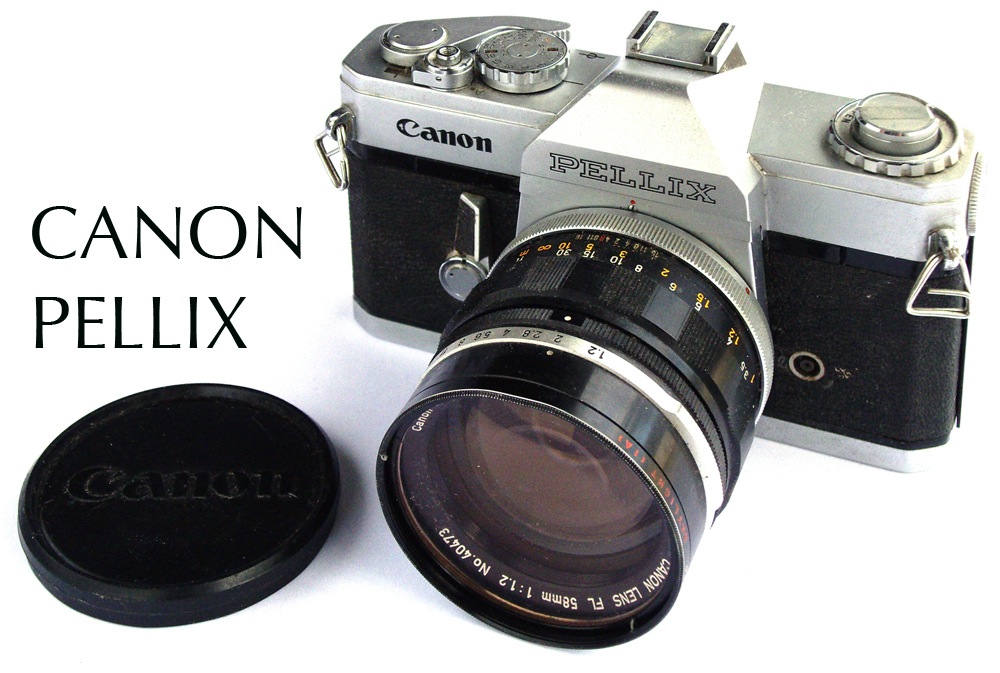
    Canon Pellix 1.jpg

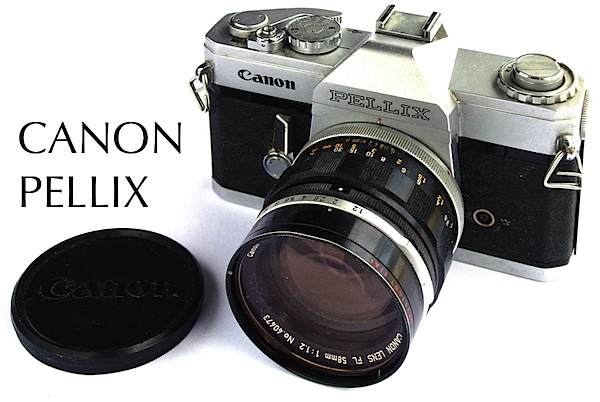
    For this neat trick you can thank a pioneering invention by Canon in their 1965 Pellix camera in which the traditional moving SLR mirror was replaced by a fixed, semi-transparent pellicle mirror splitting the light rays from the lens: two thirds of an f stop went to the film, with the rest passing to the viewfinder. The objects: simpler construction, quieter operation, no finder blackout, faster continuous shooting.

    Of course, you can ask the question: why didn’t Sony build in a pentaprism to provide a full live optical experience — a la Pellix? The LCD view is a little murky and an optical view would have been far superior. Perhaps the third of an f stop loss for viewing is the reason: a dark finder view.

    Movies

    With even the occasional compact able to shoot High Def video these days you could expect this little DSLR duo to lead the band — and they do.

    You have a choice: record in Full High Definition 1920×1080i AVCHD or MPEG4 1440×1080.

    Kick off the dedicated record button adjacent to the viewfinder, pan around, zoom as you wish… and the system follows you, pulling focus firmly on everything you point the camera at and taking care of exposure right through the shot.
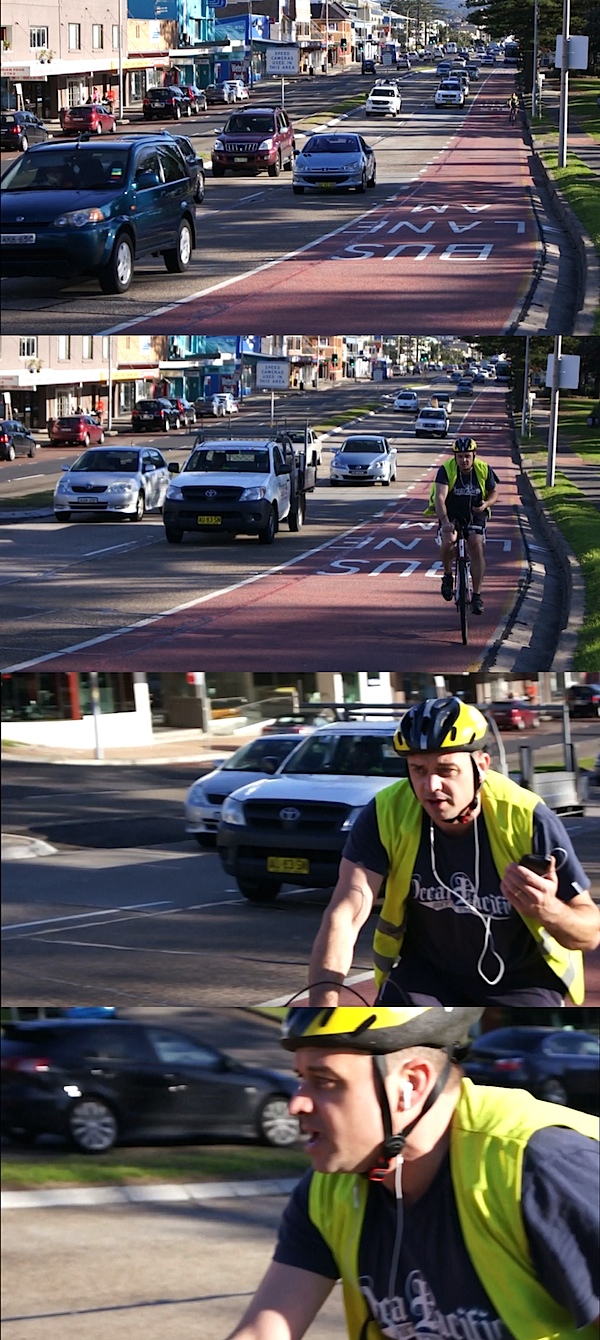
    Four movie frames.jpg

    These four frames come from an AVCHD sequence: the AF and exposure working hard and well.

    One caution: you may find the AF and stabilising functions leave some noise on the audio. A fix: turn off the stabiliser and place the camera on a tripod. There is an input for an external stereo microphone, which may help as you will find the wind noise from the camera mic excessive if shooting outdoors.

    But overall, I absolutely loved the video feature!

    ISO Settings
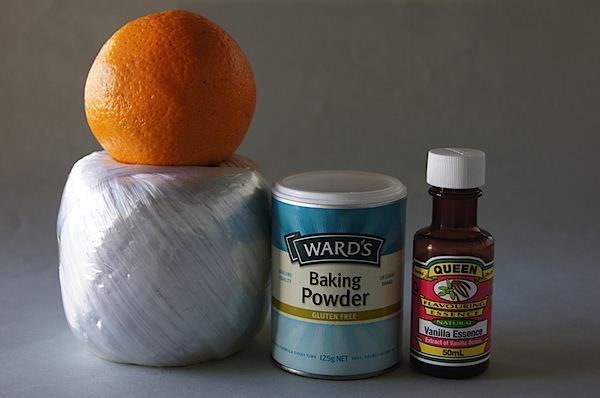
    Sony A33 ISO 100 f5.6 1:13 sec.jpg

    Sony A33 ISO 800 f5.6 1:100 sec.jpg

    Sony A33 ISO 3200 f5.6 1:400 sec.jpg

    These shots cover the ISO settings at 100, 800 and ISO 3200. All show excellent resolution, low noise, colour fidelity.
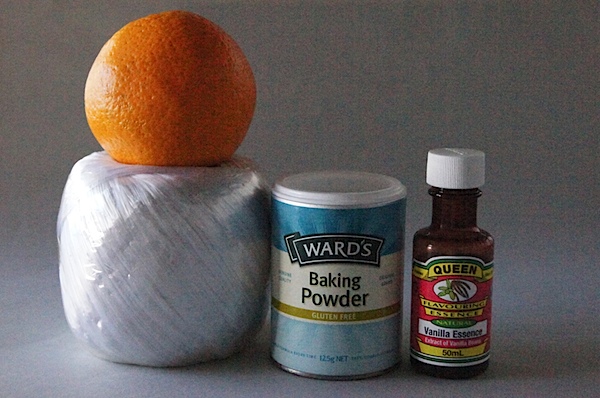
    Sony A33 ISO 12,800 f5.6 1:1600 sec.jpg

    At ISO 12,800 the wagon falls over: definition is down, noise well up, along with colour artefacts. Not useable.
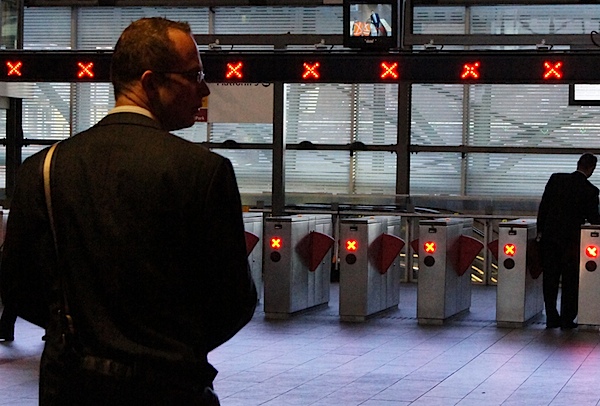
    Man and rail station ISO 6400.JPG

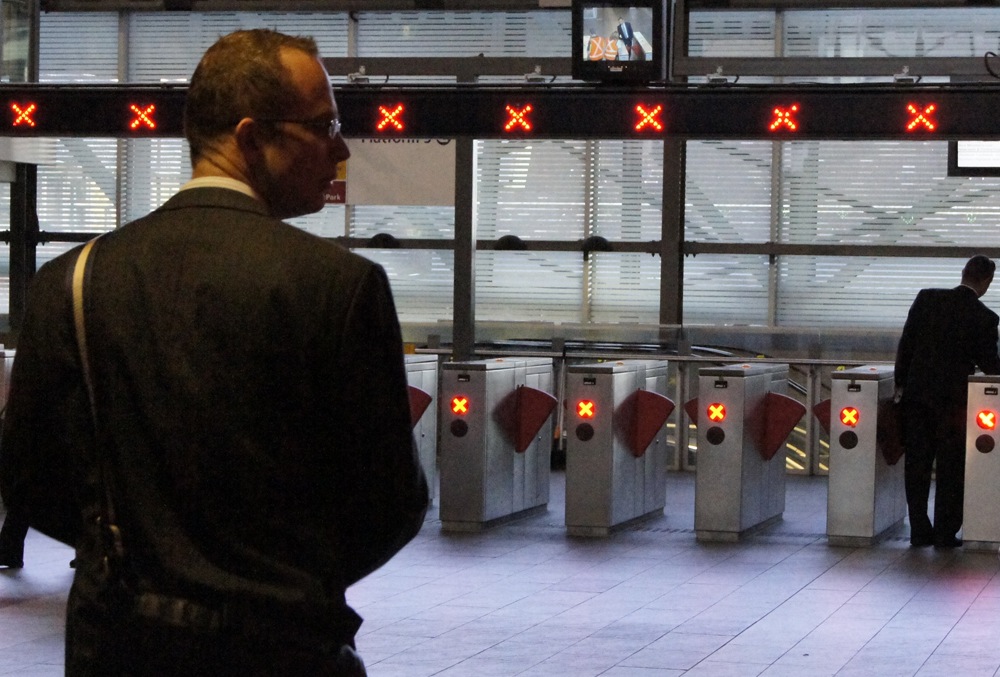
    This shot was taken at ISO 6400 and cropped to a quarter its original size: as you can see, the right shot can take advantage of high ISO settings.
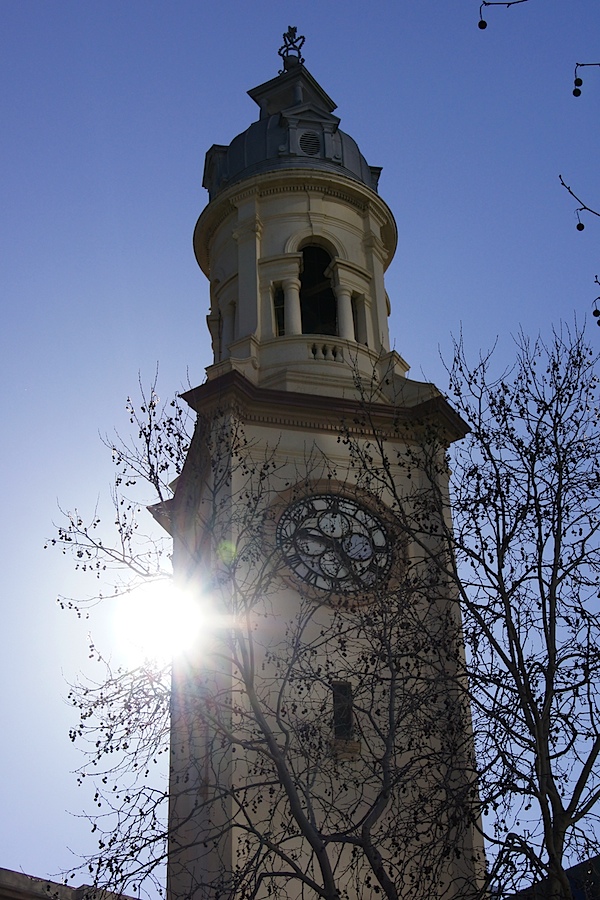
    Post Office 2.JPG

    Comment

    Quality: overall, excellent, good colour, high sharpness.

    Why you would buy one of these: small size and light weight; superb video capture; rapid stills rate.

    Why you wouldn’t: card compartment is in the base of the camera, so if using it tripod-mounted, it’s a hassle to remove and reload the card.

    Part of the pleasure of the A33/55 is its compact size and light weight. Even with one or two more lenses, this outfit would make a painless traveling companion.

    Sony A33 Specifications (A55)

    Image Sensor: 14.2 (16.2) million effective pixels.
    Metering: Multi-segment, centre-weighted metering and spot.
    Effective Sensor Size: 23.4×15.6 — APS-C sized — CMOS.
    35 SLR Lens Factor: 1:5x.
    Compatible lenses: Sony and Minolta A-mount, Konica Minolta Alpha/Maxxum/Dynax.
    Exposure Modes: Auto, Program AE, shutter and aperture priority, manual, scene selection, sweep panorama.
    Shutter Speed: 30 to 1/4000 second, Bulb. Flash sync: 1/160 sec.
    Memory: SD/SDHC/SDXC/Memory Stick Pro Duo/Pro HG Duo cards.
    Image Sizes (pixels): 4592×3056 to 2288×1280 (4912×3264 to 2448×1376).
    Movies: 1920×1080 to 640×480 at 25/29.97 fps.
    Continuous Drive: 7 frames (10 frames).
    Viewfinders: Turret 1.1cm LCD; rear 7.5cm LCD (921,600 pixels).
    File Formats: RAW, RAW+JPEG, MPEG4, AVCHD, Dolby Digital (AC-3).
    Colour Space: Adobe RGB, sRGB.
    ISO Sensitivity: Auto, 100 to 25,600.
    Interface: USB 2.0, AV, HDMI, microphone, wireless remote, DC input.
    Power: Rechargeable lithium ion battery, AC adaptor.
    Dimensions: 124.4×92×84.7 WHDmm.
    Weight: Approx. 492 g (with lithium battery and card).
    Price: $TBA.

    Post from: Digital Photography School – Photography Tips.

    dpsbook.png

    Sony A33 and A55 DSLRs [REVIEW]


    Digital Photography School
  • Anders sehen: Konzertfotografie in Island

    Tina Bauer Tina Bauer ist freiberufliche Journalistin und Fotojournalistin aus Stuttgart und lebt zurzeit in Reykjavík/Island. Nach einer professionell geführten Fotoreise durch Island hat sie ihr Schwerpunktthema gefunden und zeigt ihre Arbeiten jetzt in Fotoausstellungen sowie in verschiedenen Magazinen. Als Bloggerin ist sie noch ein Neuling.

    Schwierige Bedingungen austricksen und andere Perspektiven wählen, lautet bei der Konzertfotografie mein Motto. Die Isländer lieben Musik, fast jeder hier kann ziemlich gut singen. Und es ist erstaunlich, wie viele Bands, Sängerinnen und Sänger ein Land mit rund 320.000 Einwohnern hervorbringt.

    So komme ich in Island kaum drumherum, auf Konzerten zu fotografieren. Da es aber viele gute Konzertfotografen gibt, versuche ich meist etwas andere Fotos verstärkt im Reportagestil zu machen. Ich möchte euch von einigen Erfahrungen berichten. Es geht weniger um technische Details, als um den Spaß am Experiment.

    Andere Perspektive wählen

    Es schüttete aus Kübeln beim Open-Air-Konzert ?Inspired by Iceland? in Reykjavík. Die Kameramänner und Zeitungsfotografen waren mehr damit beschäftig, ihre Linsen abwischen als zu filmen und zu fotografieren – Bilder und Livestreams gibt es dennoch genug. So habe ich mich unter den Bühnenrand gerettet – um mich einerseits vor dem Regen etwas zu schützen – und von dort mal von dort die Zuschauer fotografiert – um andererseits ein anderes Motiv als die üblichen Musiker- und Bandfotos zu bekommen.

    inspired by iceland

    Die Leute haben schon ein bisschen komisch geschaut, als ich quasi in die falsche Richtung fotografiert habe. Aber mir war es wichtig zu zeigen, dass trotz strömendem Regen die Leute mit Gummistiefeln und Regenschirmen ausgestattet zum Feiern und Musikhören gekommen sind.

    In Schwarz-weiß umwandeln

    Von schlechten und häufig wechselnden Lichtverhältnissen können Konzertfotografien ein Lied singen. Doch auch wenn man mit einem lichtstarken Objektiv arbeitet, empfiehlt es sich oft, mit einen hohen ISO-Wert zu fotografieren. Beim Bræðslan Musikfestival in den isländischen Ostfjorden habe ich den ISO-Wert bis auf 1600 hochgeschraubt. Das Konzert fand in einer ehemaligen Fischfabrik statt: geniale Atmosphäre, aber sehr düster.

    fanfarlo

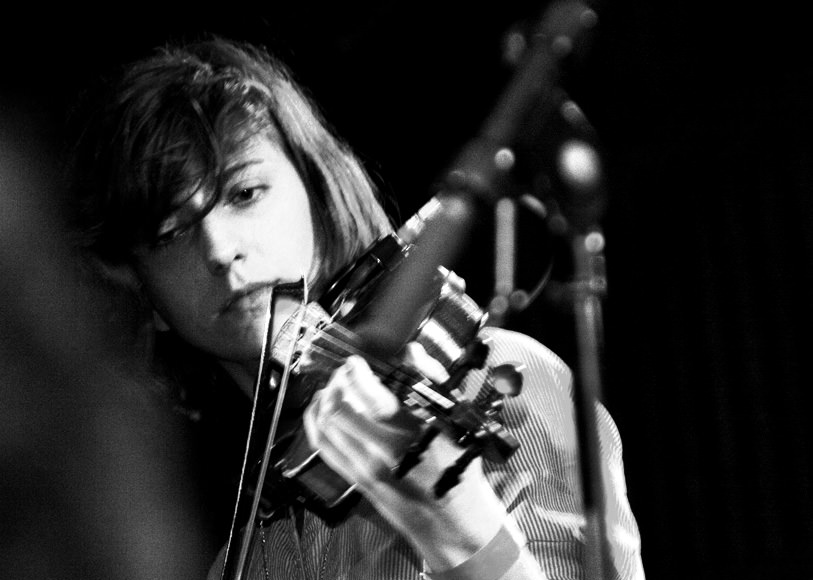
    Mit den Farbaufnahmen war ich gar nicht zufrieden: zu viel Rauschen und Unschärfe. Also habe ich es mal in Schwarz-Weiß versucht – so kommt die Atmosphäre viel authentischer rüber. In Schwarz-Weiß wird der konzentrierte Blick von Cathy noch stärker fokussiert.

    Details hervorheben

    Auch wenn es in Island viele kleine Konzerte und Gigs gibt ?- das Großereignis ist das Airwaves-Festival im Oktober jeden Jahres. Da etliche Fotografen aus dem In- und Ausland bei diesem Event sind und tolle Fotos auf dem Markt sind, habe ich versucht, weniger beachtete Details aufzunehmen. Bei der Gruppe ?Boys in a band? von den Färöer Inseln ist mir der banale Bandname, über den ich in einem Interview gelesen hatte, sofort ins Auge gesprungen.

    airwaves

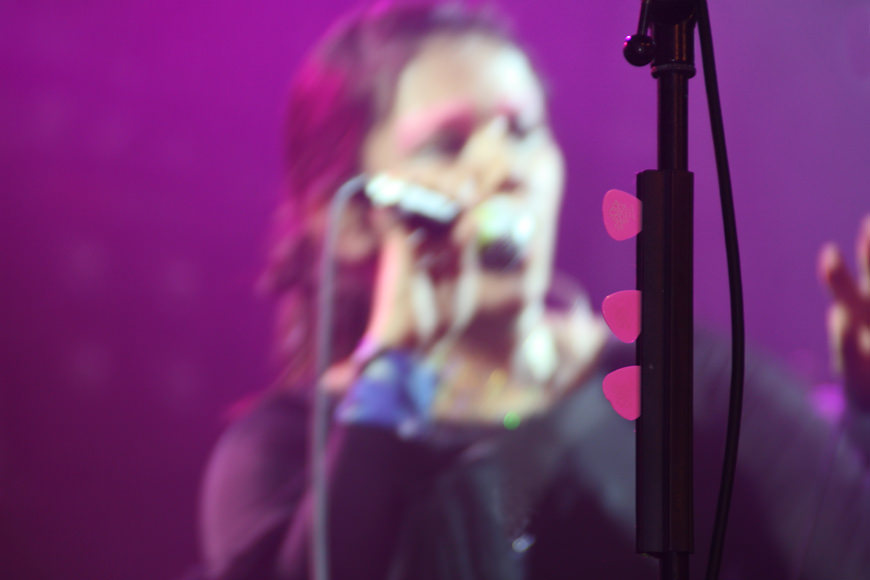
    Das Bild der Plektra der brasilianischen Band CSS – Cansei de Ser Sexy – soll ein Kontrast zum Auftritt sein. Dieser war absolut schrill mit einer exzentrischen Sängerin. Im Gegensatz dazu haben die Plektra ihren festen, beständigen Platz am Mikro bis sie zum Einsatz kommen.

    airwaves

    ***
    Werbepause: Buchtipp – Vom Alltäglichen zum Besonderen!


    KWERFELDEIN | Digitale Fotografie

  • Q&A – Mini-Boom

    Quite a few people asked me about the small boom that was used for the key light in the photos of J.D. Roth.

    Here’s the skinny, in seven words: Cheap, travels well; I really like it.

    Details, after the jump.
    __________

    Okay, here’s he thing: It is not a boom at all. It’s a reflector holder:


    That said, it is a pretty slick little boom for speedlight folks. But officially, it is the LumoPro LP621 Reflector Holder, and it is . (But until the end of the August, there is an instant rebate that takes it down to .)

    Note that the stand also shown above does not come with the boom — you get the swivel head and the boom itself. It comes with the clamps to hold a reflector, which I will probably never ask it to do. So I pulled them off.

    Here’s why I like it as a boom. It extends to 66″, but collapses to 30″ for easy travel. The swivel head is ratcheted, which means it punches above its weight. It’ll hold more than you’d expect.

    Further, it has a stud on each end so in addition to hanging your speedlight out there (firmly) on one end, you can hang a counterweight on the other end with the included hook. I like to use a 2.5-lb free weight disc, which you can barely see at right.

    One caveat: I do not recommend balancing this thing on top of a compact, 5-way stand. While I love them for speedlights, this would be asking too much of the stand. (The boom is sturdy, the compact stand combo is not.)

    So you’ll want to stick it onto just about any other standard-sized light stand everything’s cool. Remember to slide the boom on the fulcrum until your weight easily balances your flash naturally before locking down the clamp.

    For good measure, I hand a camera bag on the stand itself, too.

    But all-in-all, a very wallet-friendly solution for an over-the-top problem.
    __________

    :: Mini-Boom ::


    Strobist

  • 10 Tips for the Aspiring Street Photographer

    Let’s face it, starting street photography is no easy task. For the average photographer, going from shooting flowers into shooting people in the streets is like stepping into a Ferrari after driving a Toyota Prius. It is intimidating at first, but quite exhilarating once you try it out. After shooting on the streets for about four years, here are my top ten tips for somebody (with absolutely no background in street photography) to get their feet wet.

    1. Ditch the zoom and use a wide-angle prime

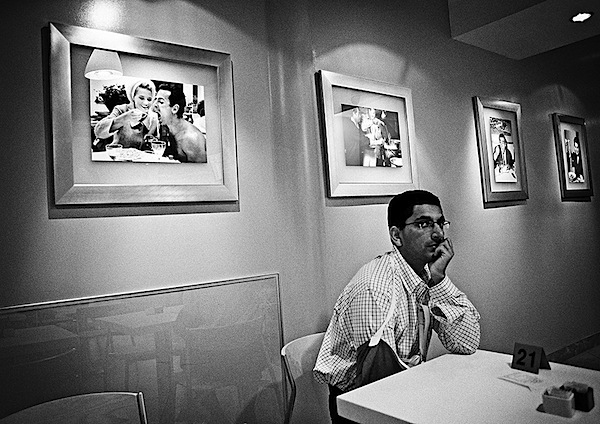
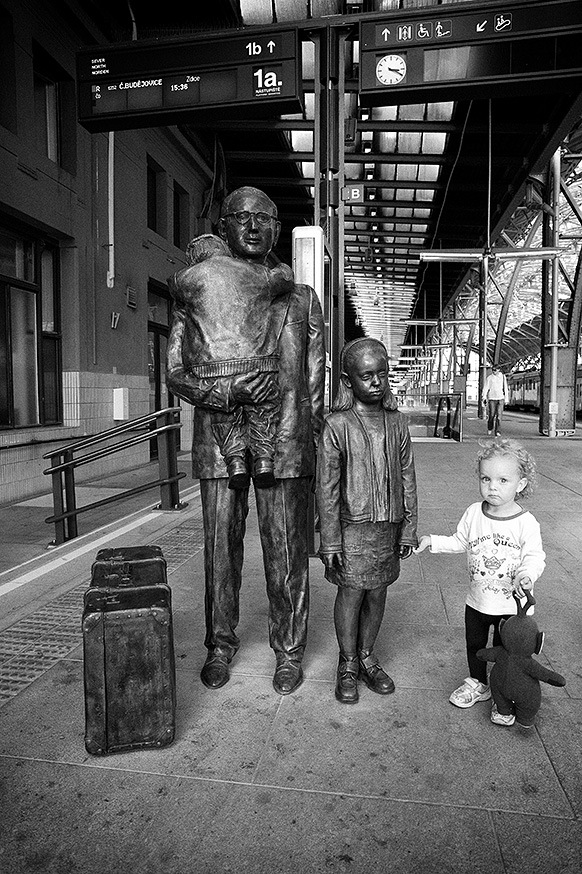
    midnight dining.jpg

    Street photography is not like your 2nd grade science class. You don’t examine your subjects under a microscope. Rather, street photography is about experiencing life, up close and personal. When starting off street photography, you may be tempted to use your 70-200 zoom lens to feel less “awkward” from shooting in the streets. Rather, it will do much more harm than good.

    First of all, you will look even more conspicuous in public holding a huge zoom lens. Secondly, if you use a zoom lens you have to point it directly at somebody, which makes the person you are trying to capture feel as if they have a gun pointed to their head. Rather, try using a wide-angle prime lens. This will solve two of the forementioned problems. One, prime wide-angle lenses are often quite small and look much less threatening than the typical telephoto lens. Furthermore, by using a wide-angle lens, you can still capture your subjects without necessarily pointing your camera directly at them. Which brings me on to my next point…

    2. Get close

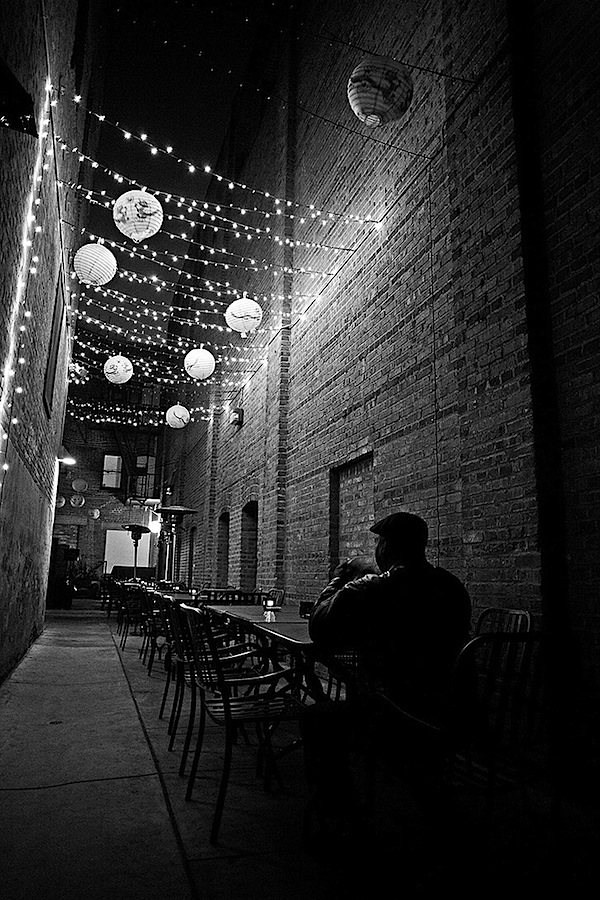
    a lone dinner.jpg

    When I say close, I mean GET CLOSE. Get so close so that when you are taking photos of people on the street that you can see the perspiration dripping from their forehead or the texture of their skin. By using a wide-angle prime lens (as mentioned in the before point), you will be forced to get close to your subjects. The advantage of this is that the wide-angle lens will give you a perspective which makes the viewer of your images feel as if they are a part of the scene, rather than just a voyeur looking in. Not only that, but when you are taking photos really close to people, they often think that you are taking a photo of something behind them. I recommend using either a 24, 28, or 35mm on a full-frame or crop camera.

    3. Always carry your camera with you

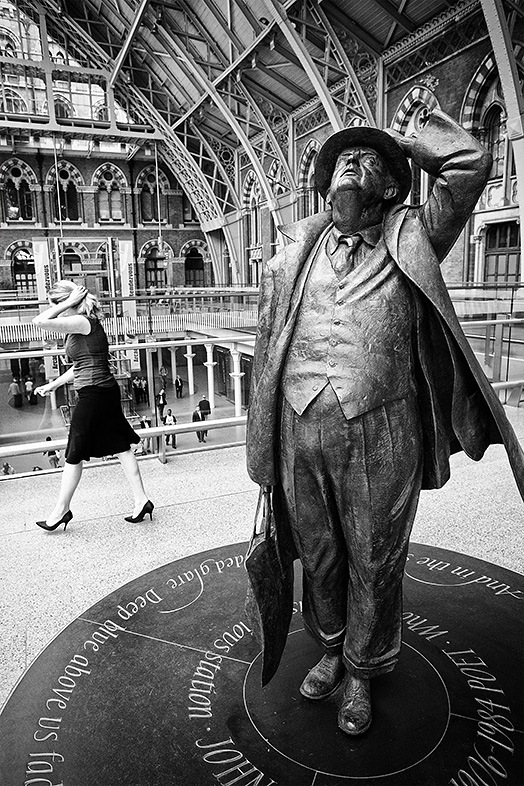
    mime at st pancras.jpg

    You have heard this a million times and you know that you should, but you always seem to find excuses or reasons NOT to always carry your camera with yourself. “It’s too heavy, it’s annoying, it’s a hassle, it’s frustrating.” I’ll tell you what’s frustrating. Missing the perfect photo opportunity (the decisive moment) and regretting it for the rest of your life. I have to admit that is a bit dramatic, but it is true. If you always carry your camera with you, you will never miss those “Kodak moments” which always seem to happen at the most unexpected times. I have taken some of my best images at the most unexpected moments—images that would have been impossible to take if I did not have my camera by my side.

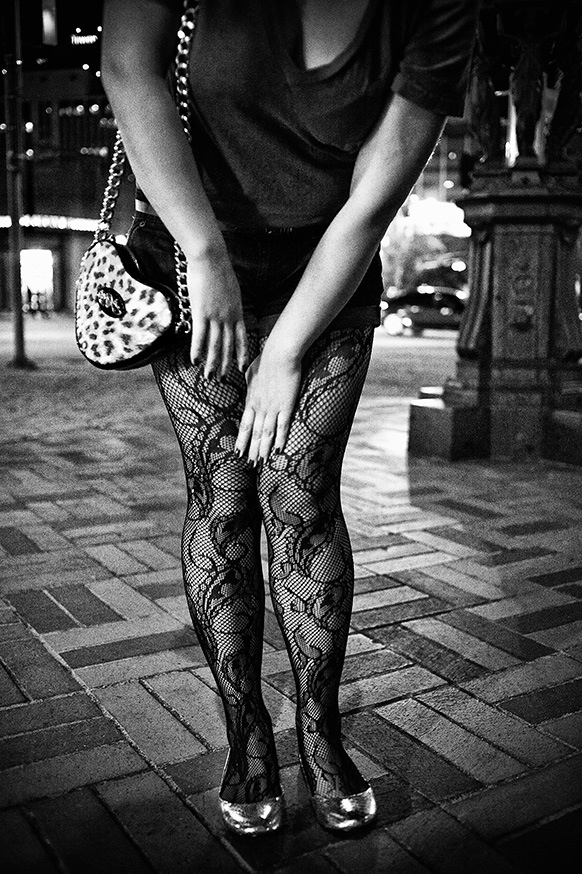
    4. Disregard what other people think of you

    stockings.jpg

    One of the things that people are worried about when starting street photography is worrying about being judged by other people as being a “creeper” or just being plain weird. Disregard these thoughts. When you are shooting on the streets, you will most likely be alone. That means that anyone who may be “judging” you is people that you do not know and will most likely never see again in your life. So why let them get in your way?

    We may feel constricted by these “social rules” but remember, they can always be broken. There is no law out there which doesn’t allow photography in public places (regardless of what the police may tell you).

    To prime yourself better for your street photographer “role,” try doing something unusual in public. Lay on the ground for a minute and see how other people react around you, get up, and simply walk away like nothing happened. Go to a busy intersection and stand like a statue and see how people react (trust me, nobody notices. I had to do this as an experiment for one of my sociology classes). When you go into an elevator, stand the opposite way. The social world is full of false rules that constrict us. Break them, and shooting in the streets should become quite natural.

    5. Smile often:

    smile a little bit.jpg

    It is funny how far a smile can go, especially when shooting in the streets. If you take a photo of somebody and they give you a weird look, simply tip your hat to them and show them two rows of your pearly white chompers. I would say that when smiling to strangers (even in the city of angels) I get over a 95% response rate. Even some of the most unapproachable people will smile back at you. By smiling often and to others, this will help you relax and lighten the atmosphere around yourself. People trust a street photographer who smiles, as they will simply disregard you as a hobbyist, rather than someone with malicious intent.

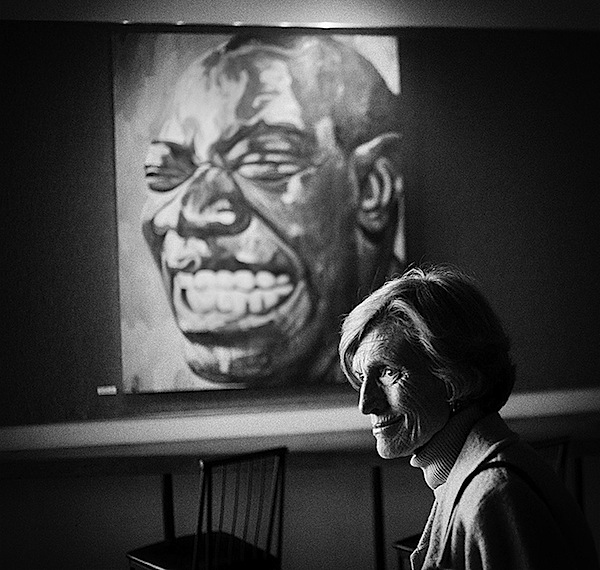
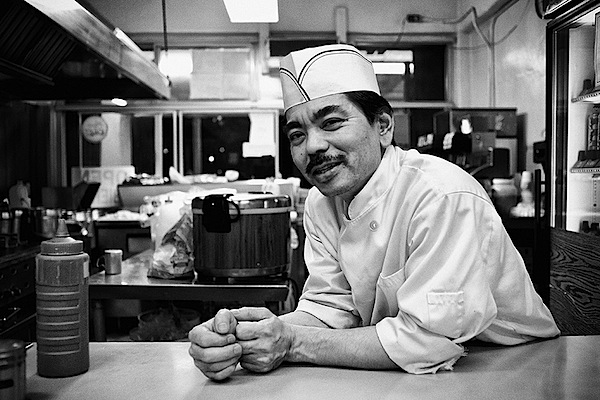
    6. Ask for permission

    shinji.jpg

    Although many street photography purists say that the only true street photography is candid, I would highly disagree with them. Feel free to go up to strangers who you think look interesting, and ask to take a portrait of them. People love getting their photos taken, and as long as you act courteous and casual about it, most people will accept. Feel free to ask to take portraits of many mundane subjects of everyday life like the waitress at the diner, the bellboy of a hotel, or even a parking lot attendant.

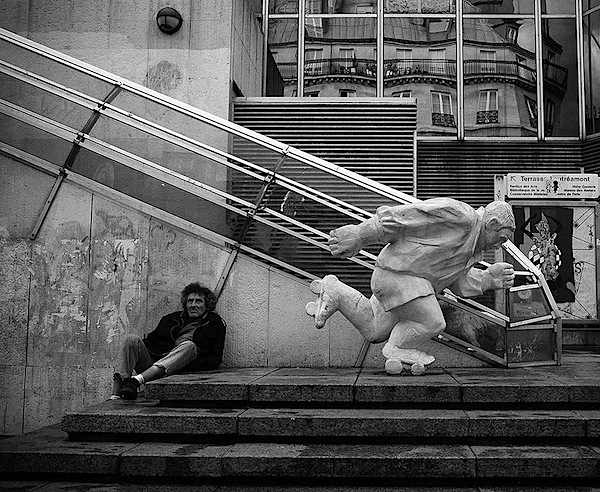
    7. Be respectful:

    skating.jpg

    This is one of the tricky grey lines when it comes to street photography. I personally try my best not to take photos of homeless people when they look too down on their luck. Although I do agree that there are tasteful images taken of homeless people which call people into helping these people, there are also many images that look like pure exploitation. Think of the cliché shot of a homeless person crouched over on the street, begging for money. Before you take these images, think about what message you are trying to convey. Are you shooting for the reason of building awareness of the atrocious situations that many homeless people live in? Or are you merely taking a photo of a homeless person for the sake of taking their photo? Nobody can be the judge—only you can decide.

    8. Look for juxtaposition:

    adopted.jpg

    I feel that this is what makes street photography so unique and fascinating when compared to other genres of photography. Street photographs are able to convey the humor, irony, and the beauty of everyday life, by juxtaposing people with others and the environment. Look for signs with interesting messages that seem to be contradictory to the people standing around it. Be on the lookout for human heads that seem to be displaced by street lamps. Look for two individuals that seem to be differing in height, complexion, or even weight. Capture an array of emotions from people, whether it be happiness, sadness, or curiosity.

    9. Tell a story:

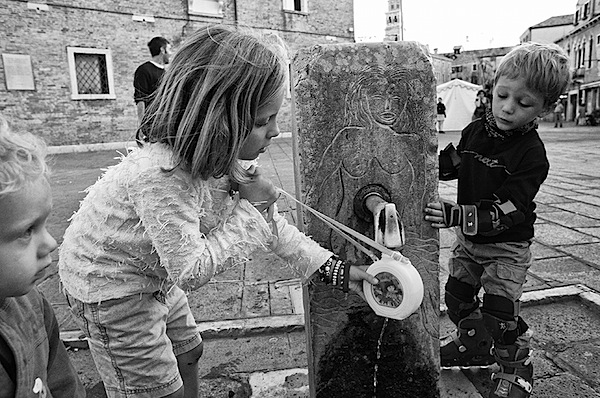
    thirst.jpg

    Imagine that you are a film director and that you are trying to make an interesting play. Who would you decide to play as your actors? What is your backdrop going to be. How are the actors going to be interacting with one another and the environment? What kind of emotion are you trying to convey—whimsical, curious, or gloomy? If a viewer looks at one of your photos, will they simply move on or will they take a minute or two and study your image, trying to figure out the intrinsic story? Does your image captivate the viewer and make them feel that they are a part of the scene? Ask yourself these questions the next time you are taking photos on the street.

    10. Just do it:

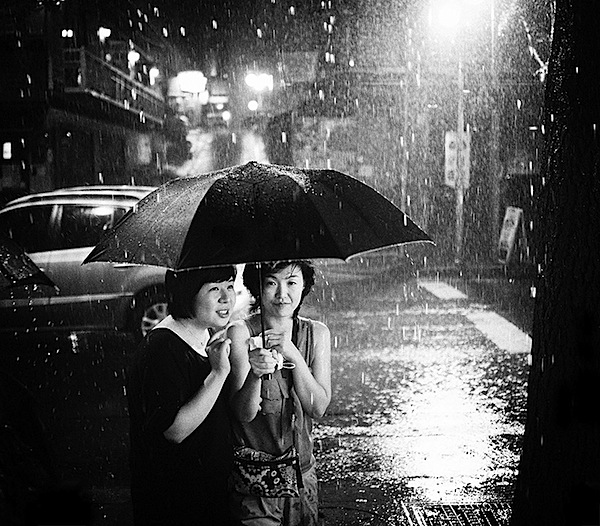
    together in the rain.jpg

    This is the last but most quintessential point of all of becoming a street photographer. Reading all of these tips aren’t going to do you any good to become a street photographer. Photography is not done behind the computer screen, but on the streets with a camera in hand. Honestly when it comes down to it, all this obsession over cameras, lenses, and gear doesn’t matter. Grab your DSLR, point-and-shoot, iPhone, or whatever and hit the streets. The beauty of the world awaits you—don’t miss your chance.

  • Which Digital Photo Editing Software Should You Use?

    The site I have linked for this posting poses the question: "Should digital photographers use image editing software?"

    Well, the quick answer is, yes, of course, and the article presents many reasons why digital photographers should post process their photo files for best effect.

    When you consider all the variables in the picture taking process it's nigh on impossible to get every one of these parameters spot on every time.

    Differences among all the various types of digital image editing software also …

    Digital Shot

  • What Mistakes do you Make most in your Photography?

    Over at the dPS Facebook page (please do connect with us there) earlier today I asked the following question:

    What mistake do you most commonly make or what problem do you most commonly come up against in your photography?

    The responses have been great so I thought I’d open it up for discussion here on the blog. Feel free to share your response here in comments below or over on Facebook.

    PS: I’m glad I’m not the only one with the problem of forgetting to switch a high ISO off when I’m taking a shot in low light.

    Post from: Digital Photography School – Photography Tips.

    dpsbook.png

    What Mistakes do you Make most in your Photography?


    Digital Photography School

  • Miscellaneous Software – Freeware Typing Tutor with Aquarium Animation

    The freeware Rapid Typing Tutor displays animation while taking users through a succession of keyboarding drills.

    Rapid Typing Tutor for Windows aims to help speed up your typing through a series of lessons. This freeware application will have you start out with just a few letters, work your way through punctuations and short syllables, tackle capital letters, key in longer words, and then run through digits and finally longer blocks of text. More advanced typists can jump around to specific lessons if desired.

    While typing, to keep you entertained an animated aquarium scene appears behind the characters to be keyed (this can be turned off if you find it distracting). A visual keyboard appears below, with transparent hands moving as you type….

    Read more at MalekTips.
    New Computer and Technology Help and Tips – MalekTips.Com

  • 5 July, 2010 – Finally Here: 10-bit LCD Graphic Monitors

    If you can’t view it properly, you can’t print it properly. That’s a mantra that I and many other fine art printers subscribe to. But, is the latest 9 monitor special from Best Buy the way to go?

    Possibly for some, but since the discontinuation and eventual demise of the famous Sony Artisan the search has been on for the next candidate for monitor nirvana.

    Our regular contribotor Pete Myers today shares with us his experience with and impressions of the Eizo Nanao ColorEdge CG243W in his report titled – Finally Here: 10-bit LCD Graphic Monitors.

    ____________________

    NOW AVAILABLE

    The Luminous Landscape Guide
    to Capture One Pro

    Thank´s for one of the best tutorials I´ve seen so far!
    It´s much easier to listen and learn when there is an educated discussion going on
    between two very knowledgeable guys!

    Find out more and watch our sample training video.


    The Luminous Landscape – What’s New

  • Approaching the Modeling Agencies

    Getting your Foot in the Door Isn’t that Scary!

    Contacting Agency

    One of my blog readers, Troy Copes, wrote to me recently and suggested I write a post about how to approach modeling agencies. In truth, I have gotten a fair amount of emails asking the same question. So I thought I’d try to answer the question and post some of my early work from my first portfolio, the very same portfolio that I used to get my own foot in the door of the modeling agencies. Keep in mind, I first approached modeling agencies back in the late ’80′s and early ’90′s. Also keep in mind that this is just from my personal experience. I can only write about what I have experienced myself. And it’s been a few years since I first started out…….but hopefully you’ll find some useful information in the post!

    Starting Out

    I remember it was a pretty daunting experience to approach an agency like Ford or Wilhelmina. You’re at the point where you NEED good models for your book and while you’re not exactly booking big money jobs, your portfolio is at a place where pro models are the next step in furthering your work and your career. I am not sure why agencies can be intimidating and trust me, I’m trying to remember my early fears of them and why I was so shy. Maybe it’s from the stand point of the agency having something you need and you know that you don’t have a lot of money to offer or jobs on the table to make it worth their while to send good models your way. But you have to start somewhere so making those initial calls HAS to be done. First of all, remember, not everyone out there is going to fall all over themselves to help you. And not everyone out there is going to think your work is utterly amazing. There will be some agencies that really like you and your work and will want to help you, while others may not show that much interest. That’s okay. Obviously, stick with the agencies that show interest in having you test with some of their new faces and start to develop relationships with those bookers.

    Contacting the Agency

    Before you approach any agency you have to have a website to refer the bookers to. You would call the agency and ask to speak to the booker in charge of new faces. After introducing yourself, ask him or her if you can get their email so you can send them your website. In the email to them, keep it short and sweet. Don’t send them paragraphs of personal information about your life and your vision. They don’t care. All they care about is if your work is good enough for them to take a chance with you by sending you some of their girls that need to test for their books. So in your email, introduce yourself, give them the link to your site, offer to come in and show them your print portfolio, thank them for their time and consideration and wish them a good day. That’s all you need to do in the beginning. If they’re interested in working with you, they’ll email you back or call you. It’s that simple, really.

    Fogettah Bout’ It!

    In the early days, I clicked immediately with some bookers and was able to really start testing with some very good, professional models right away. And then again, there were some agencies that just simply weren’t that interested in working with me. Even today, I click with some bookers and approach them first when I have a job or even if I feel like testing. And then I send out the casting call to the others. Some bookers I’ve met and I’ve known for 20 years. Some bookers I’ve never met in person but we have a strong on-line relationship. I make an effort to go out and meet the bookers at some point because I think it’s still important to introduce myself to people in the industry. It’s not a daunting experience for me anymore but I’ve developed a thicker skin at this point and I know deep down that some people are going to love my work and some people aren’t going to “get it”. That’s okay nowadays. But when I was younger and more insecure, it was really intimidating. All I can say is that after time you will become aware of this fact and it will get easier to approach the agencies.

    To Print or Not to Print?

    I still think it’s important to have a print portfolio. I was recently in New York and took my print book to all the agencies when I went to introduce myself. I recently bought an iPad ( I know….I’m such an apple groupie ) and I will probably start carrying that around with me on appointments from now on. But I will continue to keep my print book updated and carry that with me as well on most appointments. The one thing I think the iPad will be great for is presentations for clients and editors. I’m not sure about Fed Ex’ing an iPad to a potential client yet. I’ve been reading about it on other blogs but I don’t feel comfortable with the idea at this point. But it’s definitely something I will use in meetings when discussing upcoming projects.

    If at First You Don’t Succeed…

    Most fears are conquered by just facing them down. I have found through experience that overplaying a scenario that intimidates me in my mind over and over again is far worse in my head than the actual situation ends up turning out. Find the best local modeling agencies in your area and then start calling them one by one. You can always ask the receptionist for the email of the booker you wish to contact, sometimes they will give it to you. Or you can ask the receptionist what the agency’s protocol is for potential photographers that want to test. Some agencies have an open call day where you go in during certain times to show your book. It just can’t hurt to ask. And you’re not the first photographer who has called asking to test their models. One thing that goes without saying, and again, this is just my humble opinion but I wouldn’t try to get my foot in the door of an agency you wish to test with by asking to do paid tests. A paid test is where the model pays the photographer for pictures for her book. Start out by offering to test for free and after time, when you’ve built a good relationship with the agency, THEN you can start asking for payment. Again, all of this is just my own opinion and advice. Other photographers might tell you differently!

    Old Work 2

    Old Work 3(All Images © Melissa Rodwell Photography 2010)


    Fashion Photography Blog – A Resource for Fashion Photographers, Created by One.