Newly merged Kenko-Tokina has quietly launched the Tokina SD 17-35mm F4 AT-X PRO FX, a semi-fast wideangle zoom for full frame cameras. The company says the F4 maximum aperture makes it easier to produce a smaller lens with fewer aberrations, to sit alongside its 16-28mm F2.8 PRO. The lens features ‘SD’ glass that the company says offers similar properties to fluorite elements as well as its ‘silent drive module’ AF motor and high-precision AF position sensor for fast, accurate focusing. No details of pricing or availability are yet available from the company’s distributors outside Japan.
News: Digital Photography Review (dpreview.com)
Blog
-
Kenko-Tokina launches Tokina SD 17-35mm F4 AT-X PRO FX
-
Das Entscheidende ist der Blick: Über das Fotografieren auf der Straße
 Dies ist ein Artikel von Alexander Pini (fotocommunity). Er ist IT-Projektleiter und fotografiert seit vier Jahren. Sein fotografisches Interesse gilt fast ausnahmslos der Straßenfotografie.
Ich habe in den letzten Jahren viele Erfahrungen „auf der Straße“ gemacht und möchte hier mal die aus meiner Sicht wichtigsten Erkenntnisse weitergeben.
Zunächst habe ich mich nur mit größeren Brennweiten getraut loszuziehen, deutlich über 50mm. Dadurch konnte ich mich meistens schön im Hintergrund halten und hatte dennoch die gewünschten Motive auf dem Bild.
Der Nachteil einer großen Brennweite ist jedoch, dass man neben dem eigentlichen Motiv von der Atmosphäre der Straße häufig wenig darstellen kann. So habe ich mich nach und nach an kleinere Brennweiten gewagt und musste dadurch selbst direkt ins Getümmel.

Dies kostet anfangs zwar ein wenig Überwindung, macht mir jetzt aber auch viel mehr Spaß. Inzwischen nutze ich nur noch (Fest-)Brennweiten zwischen 30mm und 50mm, Crop-Faktor der Kamera schon einbezogen.
Wichtig für ein gutes Straßenfoto ist, dass man sich die Gegend zunächst einmal anschaut, ohne gleich die Kamera im Anschlag zu haben. So erkennt man schnell, welche Ecken für Fotos gut geeignet sind.
Jetzt kommt natürlich noch der Mensch ins Spiel, der sich nicht immer genau dort entlang bewegt, wo man es gerne hätte. Straßenfotografie bedeutet deshalb auch, Geduld zu haben. Ich kann nur empfehlen, sich an einer gut geeigneten Stelle mit der Kamera in Bereitschaft zu postieren und darauf zu warten, dass zur Umgebung passende Menschen in den Bildausschnitt hinein laufen.
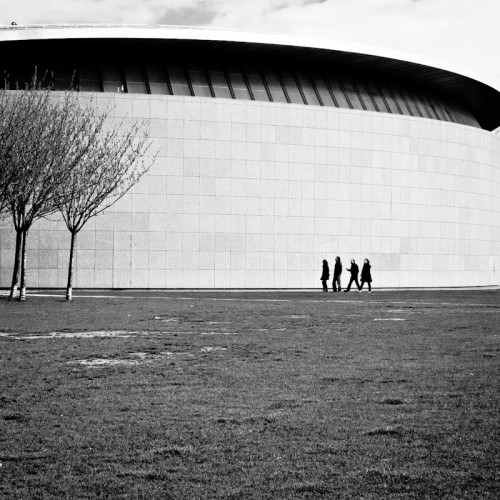
Man hat dadurch sehr schön die Möglichkeit, die vermeintlich schnell und eher zufällig entstandenen Bilder zu komponieren. Ein weiterer Vorteil des längeren Ausharrens vor einem Motiv ist, dass die Menschen sich durch die Kamera nicht bedroht fühlen, da sie ja diejenigen sind, die dem Fotografen ins Bild laufen.
Dieses Vorgehen ist aus meiner Erfahrung wesentlich zielführender, als einfach durch die Stadt zu laufen und die Kamera schnell auf alle scheinbar interessanten Motive zu richten.
~
Da es in der Straßenfotografie in der Regel darum geht, auch die Umgebung der Menschen zu zeigen, sollte die Blende nicht zu klein gewählt werden. Ich nutze meistens einen Blendenwert von 8 oder höher. Natürlich kann man auch mit einer ganz offenen Blende schöne Fotos machen, aber der typische Street-Charakter geht dabei durch die geringe Tiefenschärfe häufig verloren.
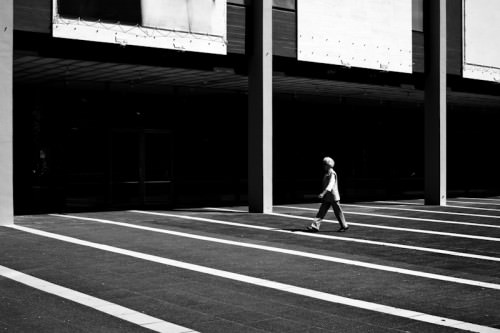
Ausserdem gilt: Je unauffälliger, desto besser. Dies gilt sowohl für den Fotografen (Kleidung etc.), als auch für die Kamera. Ich fotografiere mit einer Canon EOS 400D und träume von einer kleinen Leica M9. Allerdings bin ich der Meinung, dass in der Straßenfotografie, anders als z.B. in der Modefotografie, die Kamera nicht so entscheidend ist.
Das Entscheidende ist der Blick für eine gute Szene und somit ein gutes Bild.
Über eine bessere und meistens auch teurere Kamera sollte man erst nachdenken, wenn einem die Grenzen seiner jetzigen Ausrüstung bewusst werden.
Ich fotografiere nur in schwarzweiß, denn dadurch wird das Bild auf das Wesentliche konzentriert und nicht durch Farben abgelenkt.
Für die Nachbearbeitung verwende ich fast auschließlich Lightroom. Da mir starke Kontraste sehr gefallen, gehört die Kontrastanpassung für mich immer dazu – auch unter Zuhilfenahme vieler selbstdefinierter Lightroom-Presets.
Natürlich muss ich viele Bilder auch noch leicht zurechtschneiden. Das sind dann aber auch schon alle meine Bearbeitungsschritte. Für mich ist es wichtiger, mehr Zeit zum Fotografieren zur Verfügung zu haben als diese für die Nachbearbeitung aufzuwenden. Gerade bei der Straßenfotografie kann man auf aufwändiges Nachbearbeiten aus meiner Sicht auch gut verzichten.
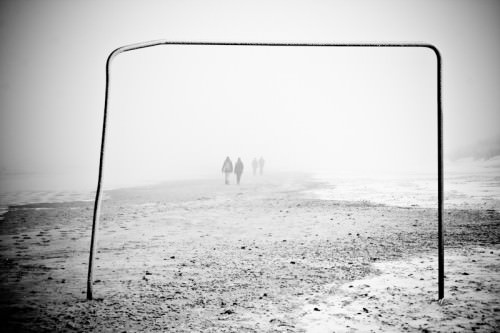
Sehr wichtig bei der Straßenfotografie ist auch noch die rechtliche Seite. In Deutschland gilt, dass man von Menschen, die man in der Öffentlichkeit fotografieren will, immer eine Erlaubnis benötigt. Ausgenommen davon sind (im Wesentlichen) Menschenmengen und Versammlungen.
Für mich bleiben also die Möglichkeiten, entweder vor dem Fotografieren zu fragen oder nachdem das Foto gemacht wurde. Im ersten Fall ist fast immer die Spontanität der Szene verloren, das kommt für mich deshalb gar nicht in Frage.
Im zweiten Fall ist die Person oft schon weiter weg, ich müsste also hinterher laufen und evtl. sogar wieder ein Bild löschen, das ist für mich auch nicht wirklich eine Lösung. Allerdings spielt für mich weniger die rechtliche Seite als die Ethik die entscheidende Rolle, wieso ich auf nicht explizit freigegebene Personenaufnahmen verzichte.
Solange man mit seinen Bildern keine kommerziellen Zwecke verfolgt (so wie ich), ist das Schlimmste, was rechtlich passieren kann, dass ich ein ins Netz gestelltes Bild herausnehmen muss. Ich halte es aus ethischen Gründen aber durchaus für problematisch, Menschen für meine (wenn auch künstlerischen) Zwecke ohne deren Wissen zu verwenden.
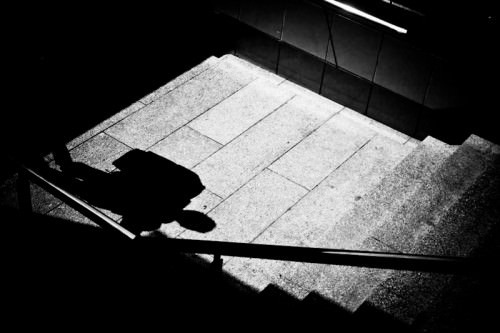
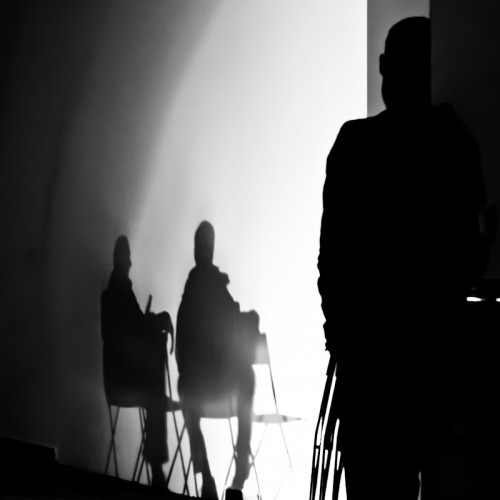
Bei mir hat das dazu geführt, dass ich mich vor allem auf Szenen konzentriere, in denen Menschen eher als grafisches Element beteiligt und nicht klar zu identifizieren sind. Auch sehr interessant – und juristisch völlig unkritisch – ist das Fotografieren von menschlichen Schatten, von Personen im Gegenlicht oder vor sehr hellen Hintergründen, die dazu führen, dass auf dem Bild fast nur noch ein Schatten zu erkennen ist. Ich bin eher durch Zufall auf diese Technik gestoßen, mache aber immer wieder gerne solche Bilder.
Und noch ein Tipp zum Schluss: Schaut euch viele unterschiedliche Bilder an – in Fotocommunities, Blogs, Büchern. Dadurch bekommt ihr Anregungen, die ihr selbst in abgewandelter Form umsetzen könnt.
-
Yosemite Falls Moonbow

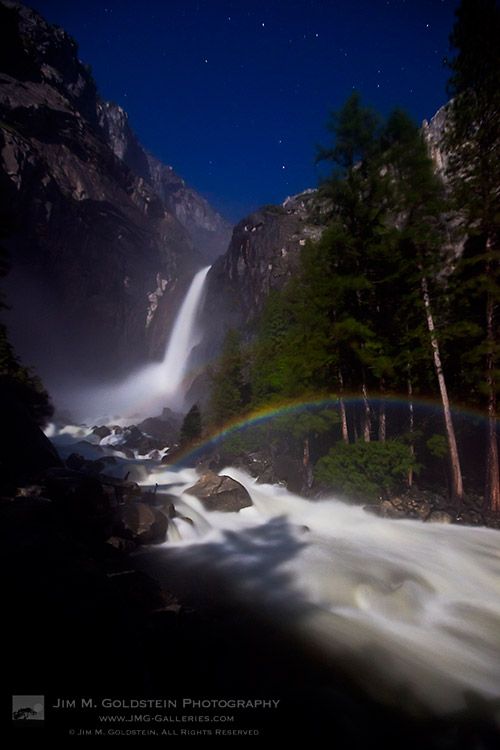
Photographing Yosemite in the Spring is an amazing sight, particularly this year, with waterfalls flowing in full force. This year I’ve seen more waterfalls in Yosemite than ever before. Seasonal waterfalls were visible no matter where you looked. Even more amazing in these conditions is photographing what you cannot see namely a moonbow or lunar rainbow. Anatomically our eyes cannot see color at night, but our camera sensors can. It’s a bit magical to photograph something you cannot see.
Photographing lower Yosemite Falls for moonbows (aka lunar rainbows) is both easy and difficult. Accessing the lower falls lookout it the easy part, while the difficult part is braving the non-stop mist shower. Dressed in a rainproof jacket with hood, rain proof pants and wearing gloves I needed a bath towel to dry off after. My camera was protected with a ThinkTank Hydrophobia 70-200 keeping it far dryer than me. Of course the big challenge is keeping your front lens element free of water. It took a few tries and a lot of lens clothes before I got all the compositional variations of this scene that I wanted less any distracting water droplets clouding the image. My personal favorite being this vertical that highlights the stars in the sky, the falls, the rapids and the moonbow.
Yosemite Falls Moonbow
Technical information:
Canon 5D Mark II, 16-35mm f/2.8 Mark II at 16mm, f/4, 9 seconds at ISO 1600
f/4 was chosen as opening up your lens allows more light in making for a shorter exposure time, but the added benefit is that the wider open your lens the less apparent water droplets appear on your front lens element. A handy trick to know. Here are a couple posts to prove the concept in real world scenarios one with a cracked lens and another with a pencil infront of the lens.Technorati Tags: photography, Yosemite, National Park, moonbow, lunar rainbow, travel, stock photo, stock pictures
.gif)
Copyright Jim M. Goldstein, All Rights Reserved
Yosemite Falls Moonbow

-
Ah! My Goddess – Ah! Living Under One Roof Together!
Keiichi has left his books and papers at home, and Belldandy goes back to get them. Disguising her ulterior motives, Sayoko approaches Keiichi in Belldandy’s absence, and challenges him to stop acting so timidly in his relationship. Keiichi begins to doubt himself, and struggles on what to say to Belldandy. He creates a romantic atmosphere at home with candles and music. Will it do the trick?
Watch HQ anime on TOONZAKI.COM. When Sonic and the seventh emerald are knocked into the water after a fight with Eggman’s Chaos Emerald-powered robot , Chris steals Eggman’s emeralds and drops them into the water, causing Chaos Control and a mysterious island to appear.
Video Rating: 4 / 5 -
Ah! My Goddess: Flights of Fancy – 4 – Ah! Fill The World!

Unexpected events surround Belldandy at Sayoko’s Christmas party. And Keiichi finds himself in pursuit of a goddess who decides to spread the love of a goddess all about town!
Video Rating: 4 / 5Urd and Skuld return to heaven to tie up a few loose ends. Skuld has Keiichi eat some flan which transforms him into a woman. Now he’ll keep his hands off Belldandy, right? Keiichi and Belldandy go through Urd’s potion ingredients to find an antidote, but the formula goes wrong and Belldandy catches some kind of flu, and it’s getting worse! Keiichi will have to push himself to his finest hour to find a solution.
Video Rating: 4 / 5 -
Despicable Me 3d Trailer
Despicable Me 3d Trailer Visit biohemmet.se for your 3d fix.
OnLive Micro-Console and Service Review Features The OnLive Micro-Console has support for 1080p video, 5.1 surround sound, stereoscopic 3D, four controllers, and four bluetooth headsets. 1080p gaming should be available by next year, along with voice chat. The Wireless Controller is probably the most impressive part of the hardware, sporting a very comfortable design, hefty balance, smart button layout, and convienent media bar along the bottom. The triggers have a very natural pressure to them, and the shoulder buttons are easy to get to without getting in the way. The D-Pad is very nicely designed, making it perfect for fighting games and exact movements. As for the OnLive Service itself, gaming on the service is very much community focused. You have the norms such as friends lists and messaging, but OnLive also has features like the Arena, Brag Clips, and Zero Latency Multiplayer. The Arena is a spectators sport, where you can watch other OnLive members play games in real time. While watching you can Cheer or Jeer them depending on how well they are doing. Brag Clips are another great feature that records the last 10 seconds of the game you are currently playing. Multiplayer in OnLive is unique compared to other consoles. Unlike other games you play online where you can see players jittering around on the screen, people using hacks and exploits, and other latency related issues, OnLive is completely devoid of these things. OnLive is basically run like a giant LAN …
Video Rating: 4 / 5 -
Nice Visual Art photos
Check out these visual art images:
PAINTINGS FROM THE MET’s ART COLLECTION 2011 – Metropolitan Museum of Art, Manhattan NYC
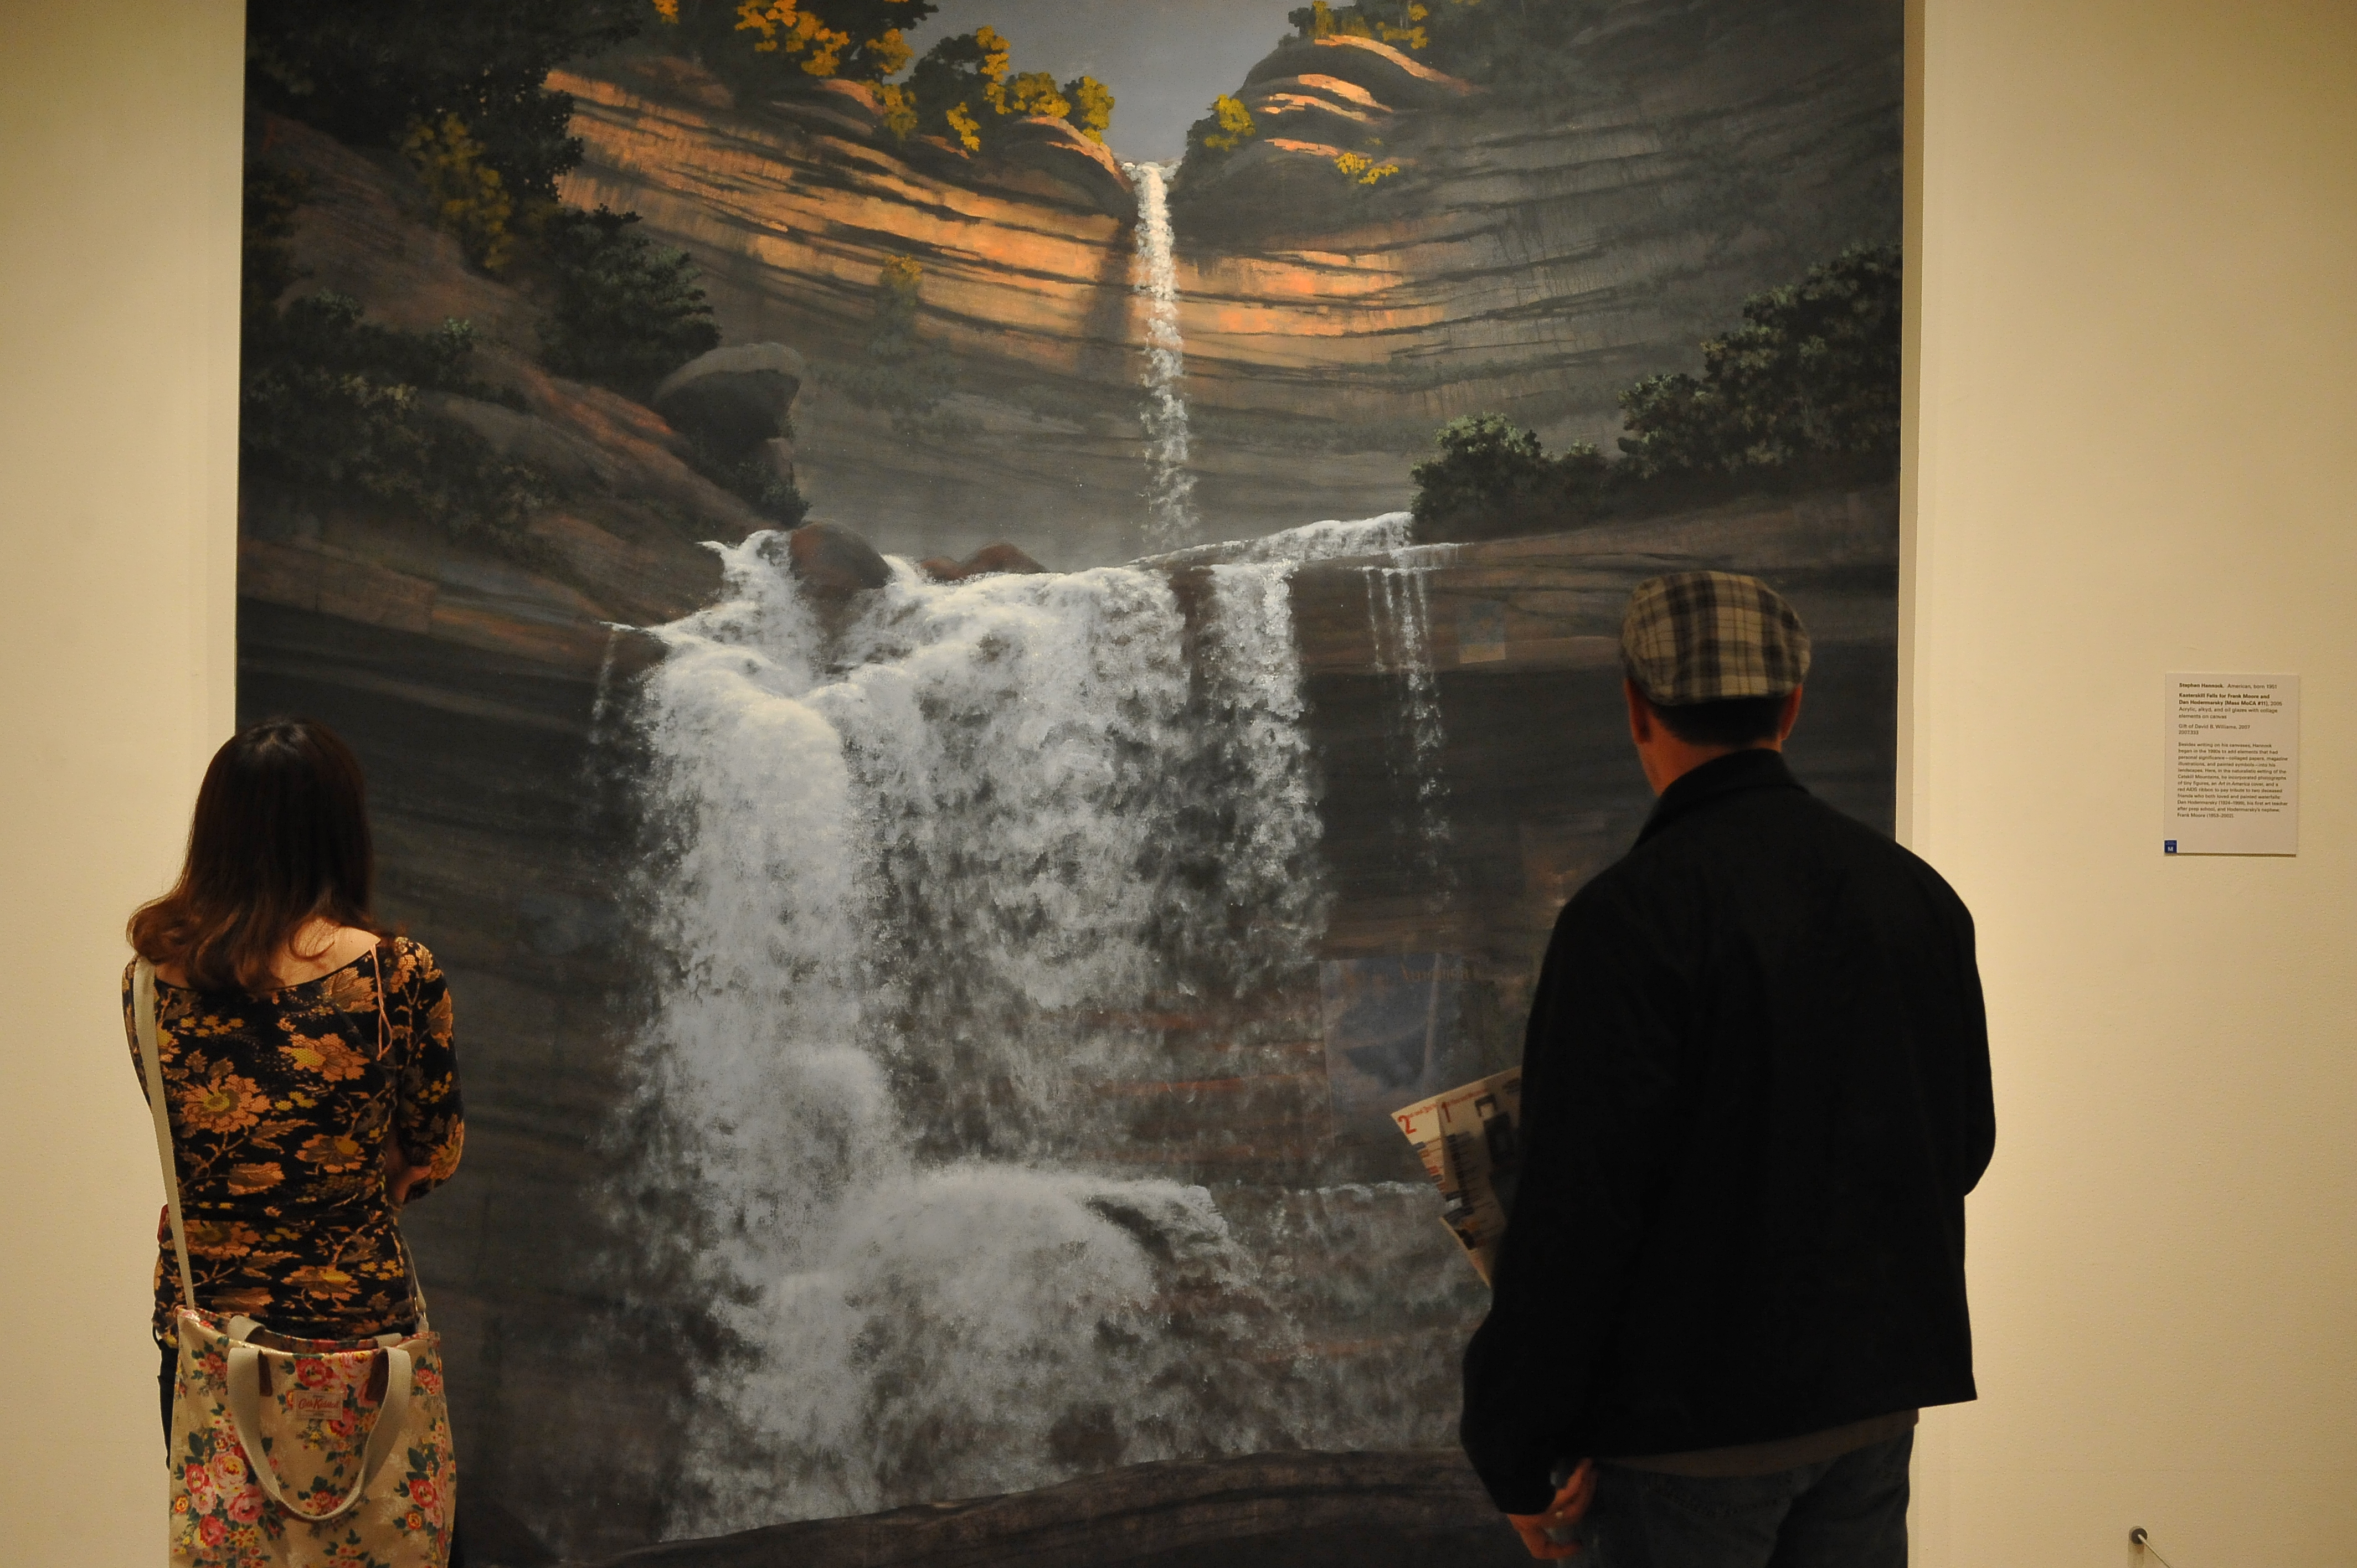
Image by asterix611
PAINTINGS FROM THE MET’s ART COLLECTION 2011 – Metropolitan Museum of Art, Manhattan NYCPAINTINGS FROM THE MET’s ART COLLECTION 2011 – Metropolitan Museum of Art, Manhattan NYC
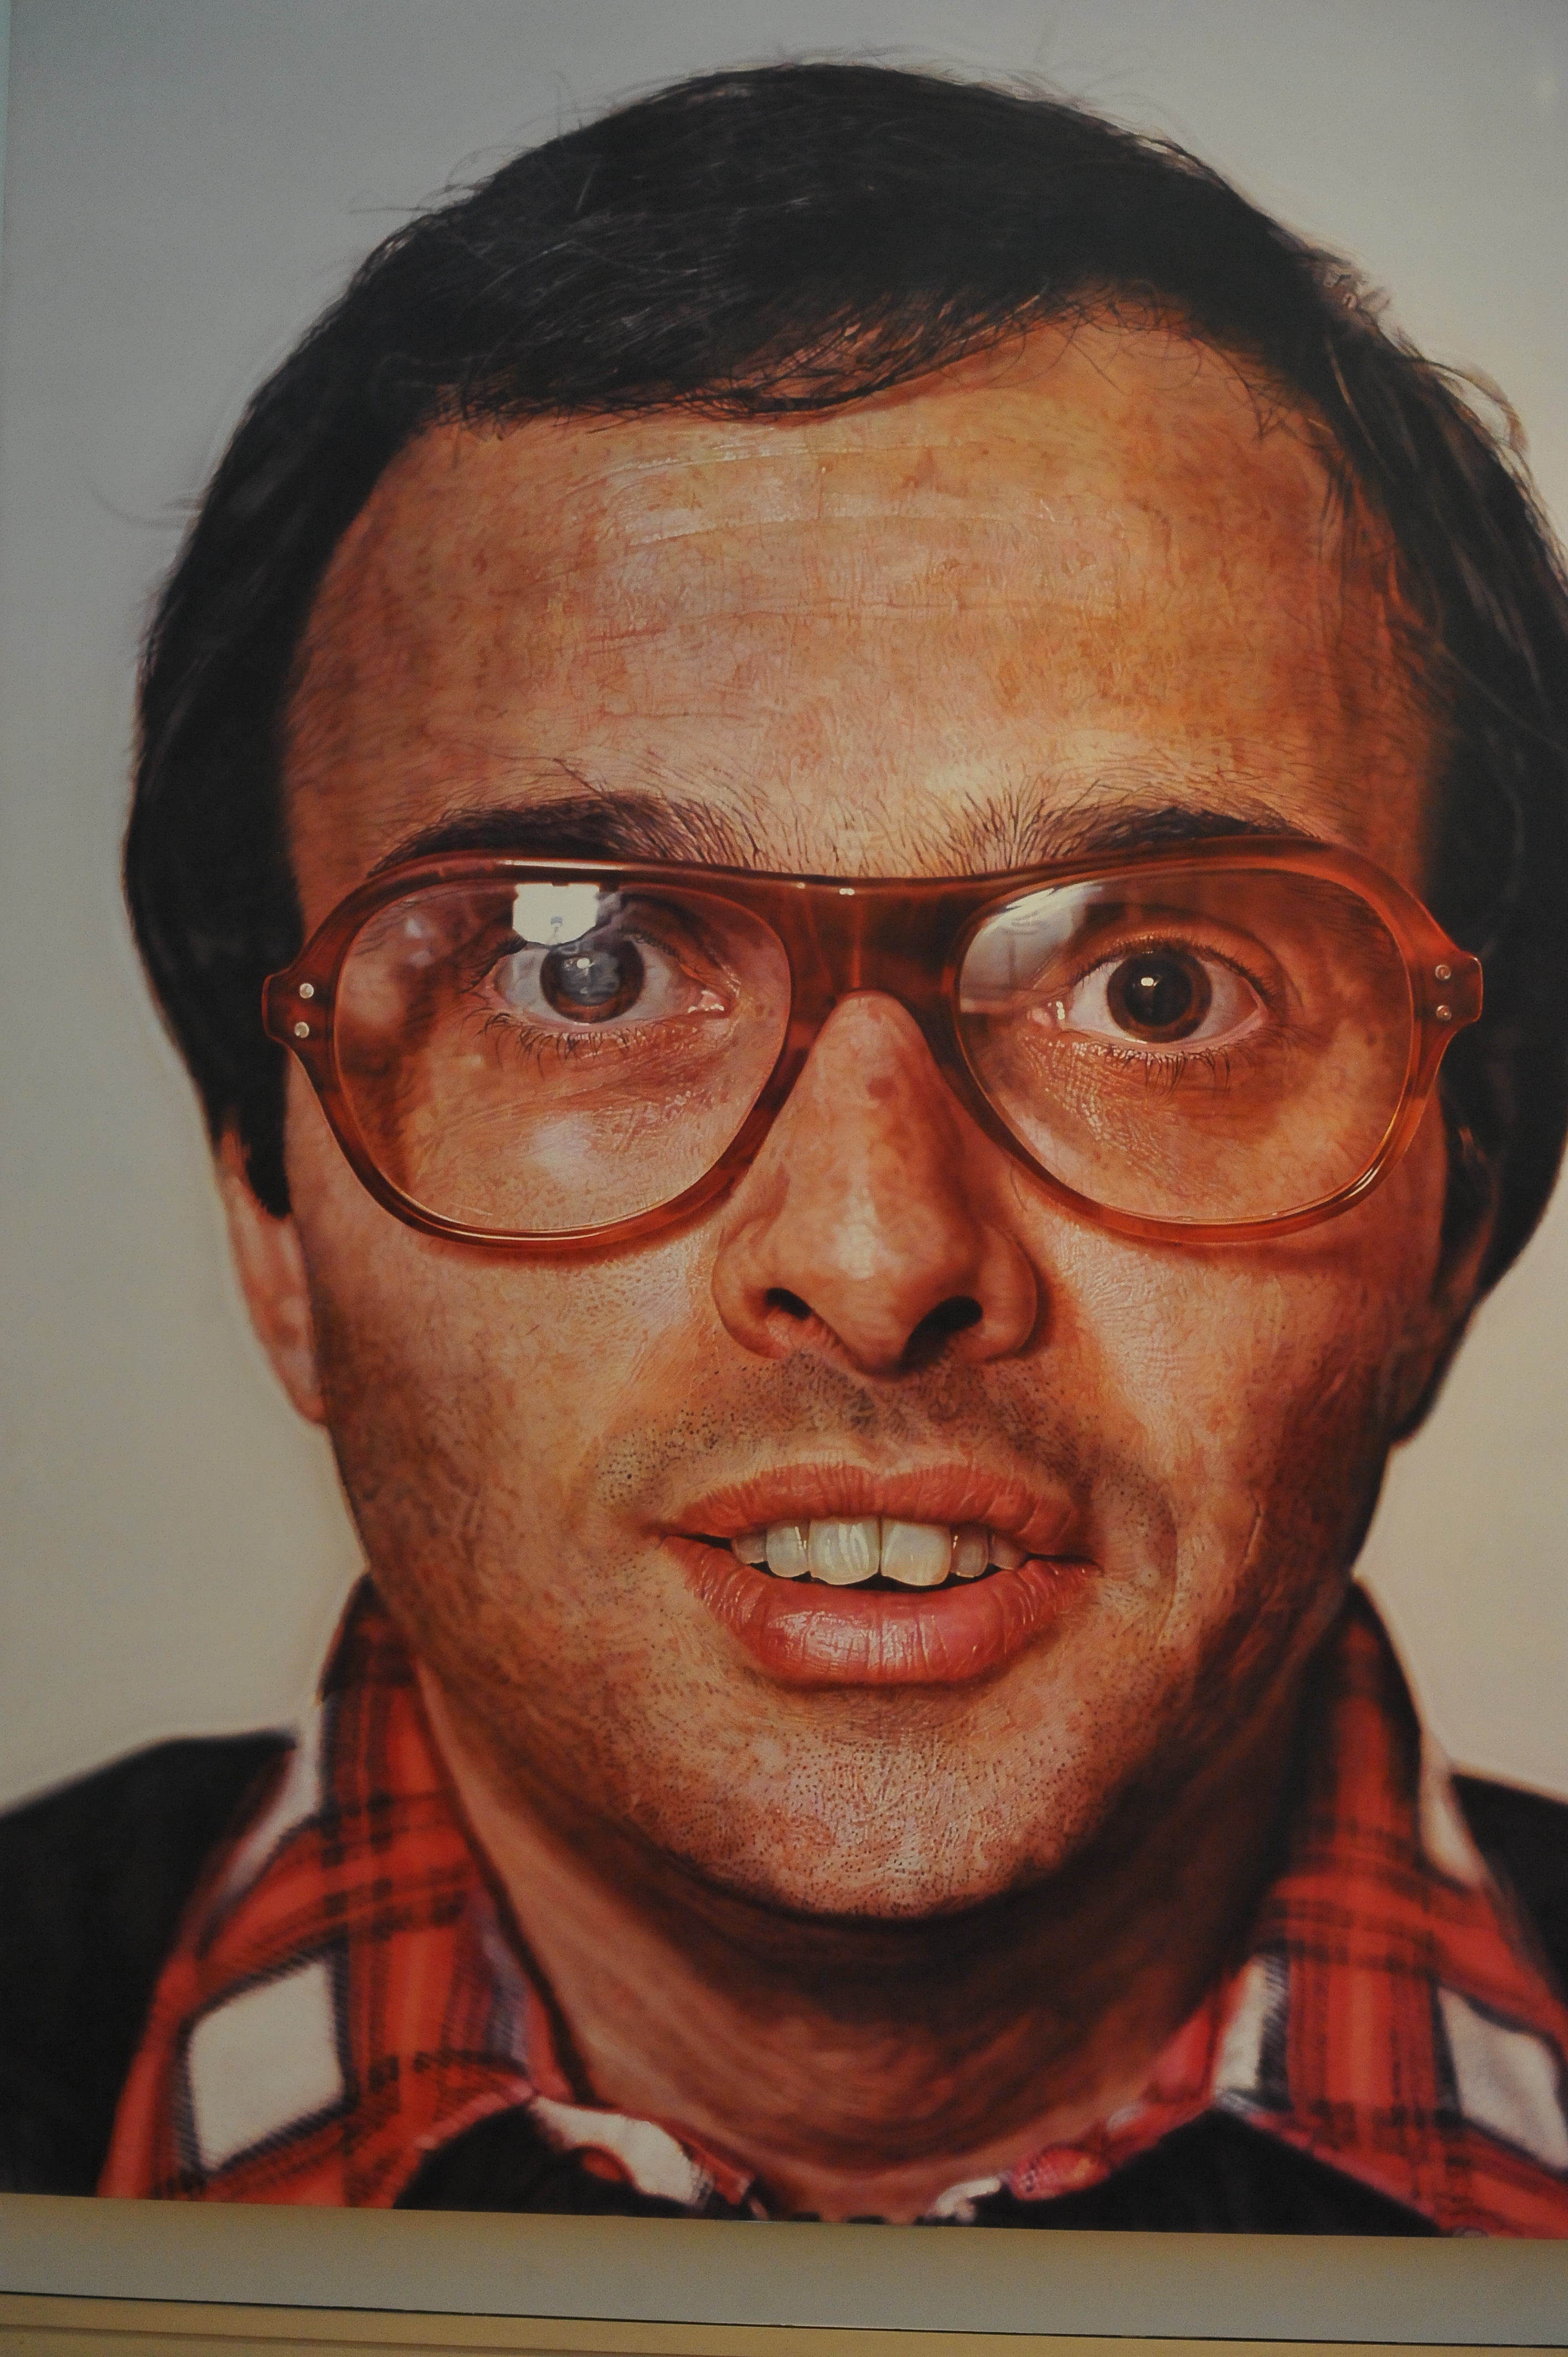
Image by asterix611
PAINTINGS FROM THE MET’s ART COLLECTION 2011 – Metropolitan Museum of Art, Manhattan NYCPAINTINGS FROM THE MET’s ART COLLECTION 2011 – Metropolitan Museum of Art, Manhattan NYC
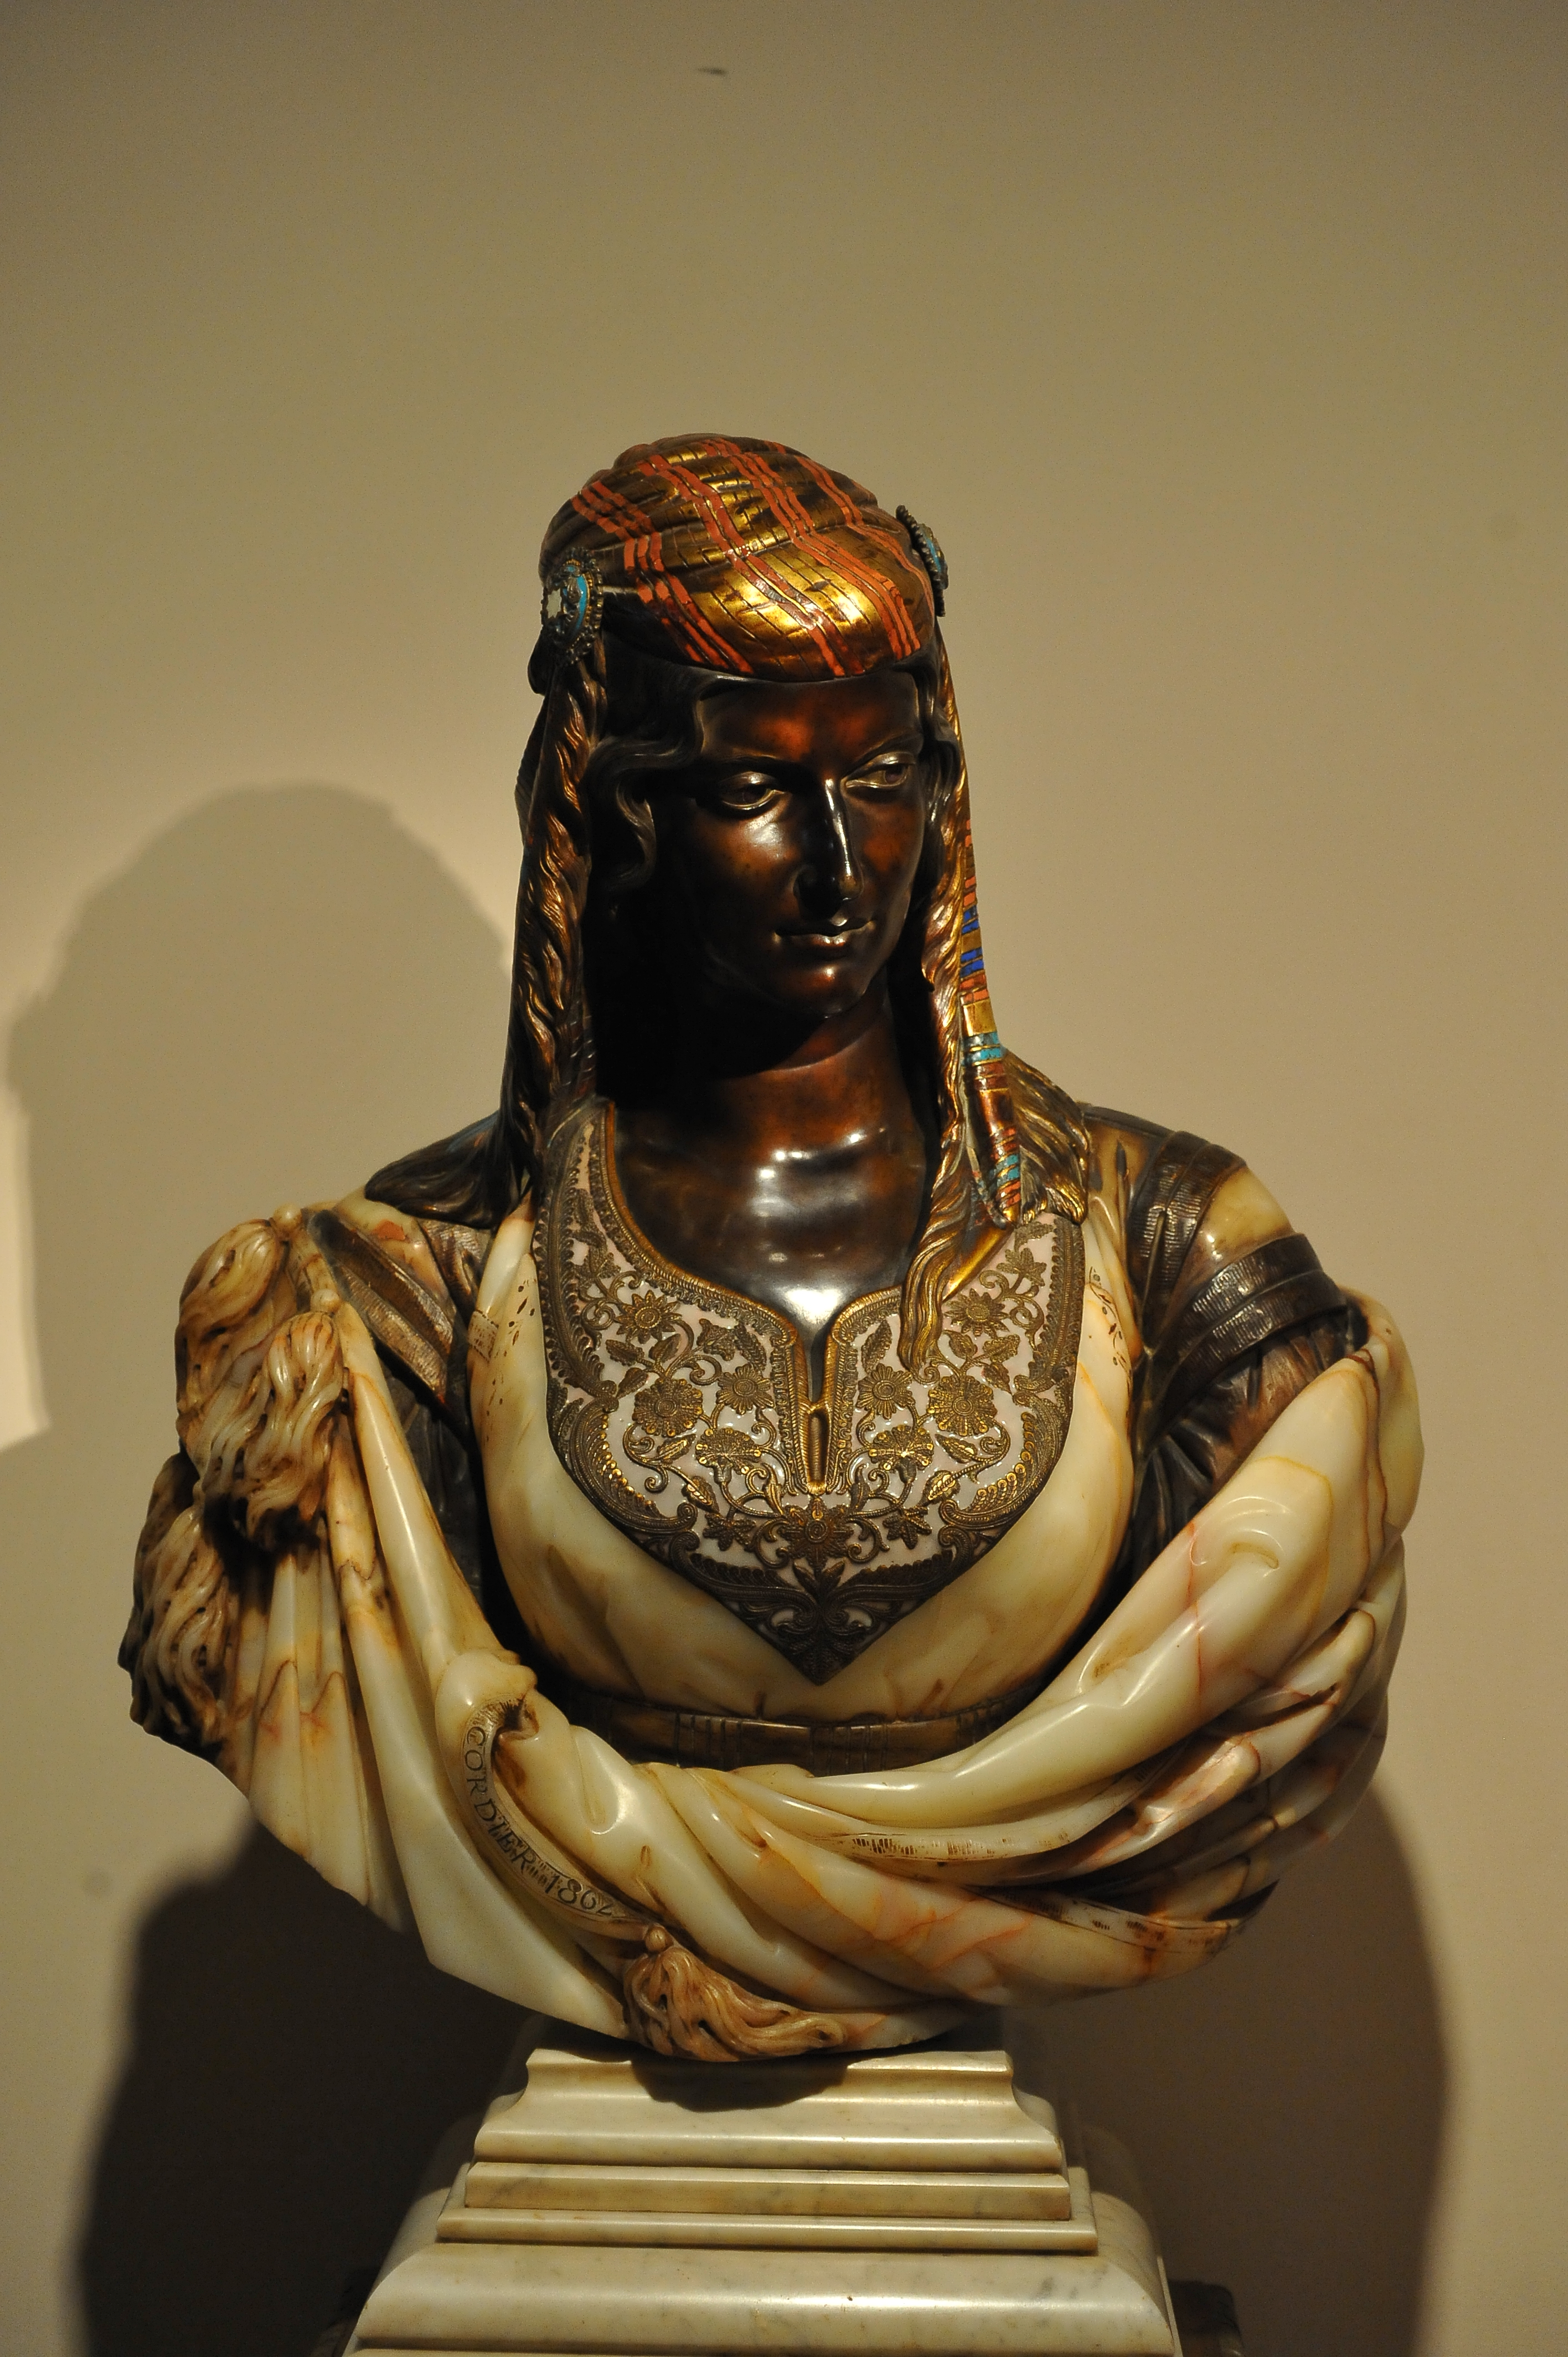
Image by asterix611
PAINTINGS FROM THE MET’s ART COLLECTION 2011 – Metropolitan Museum of Art, Manhattan NYC -
A Setting Sun
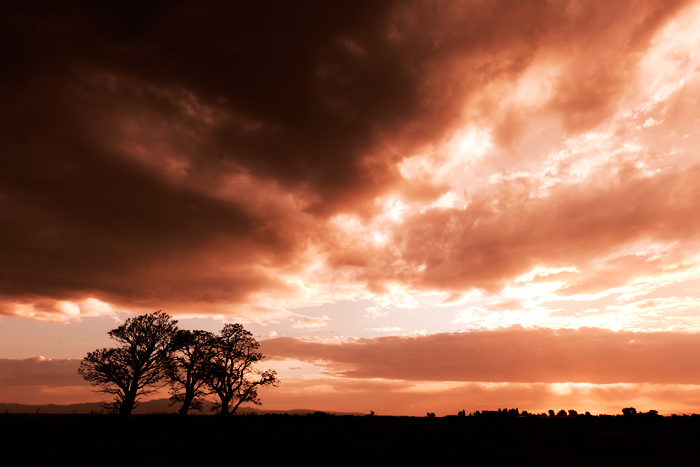
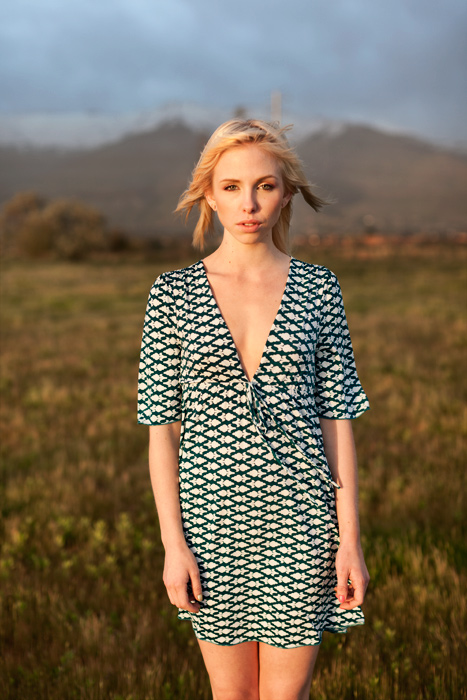
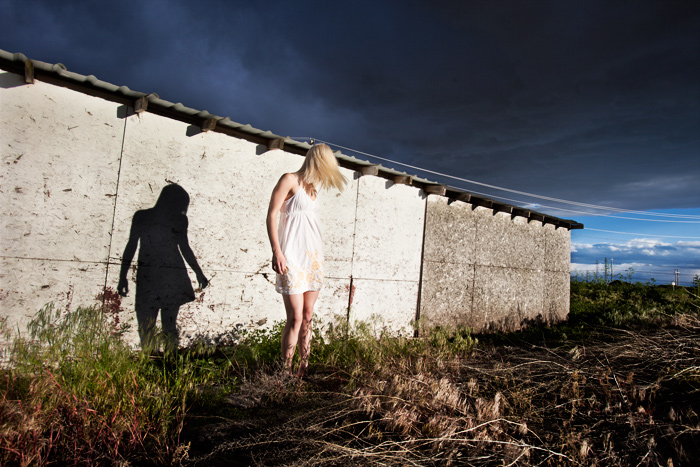
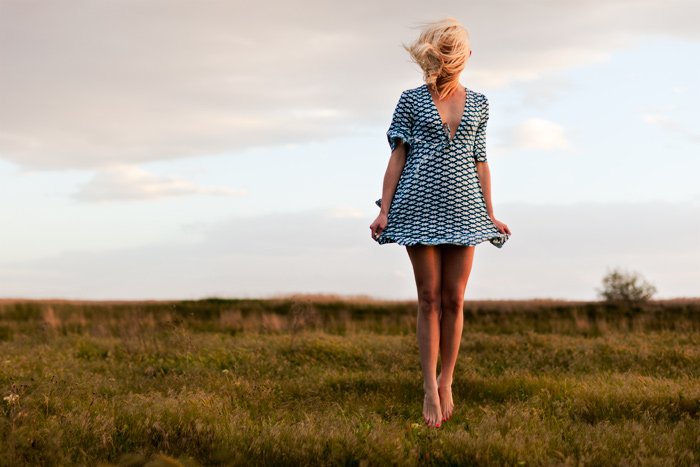
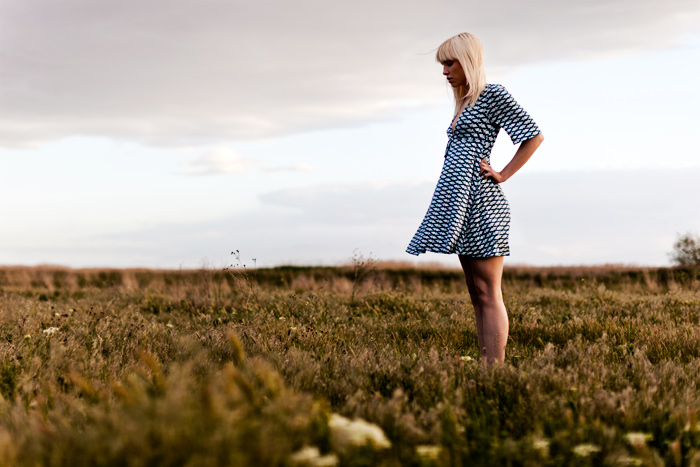
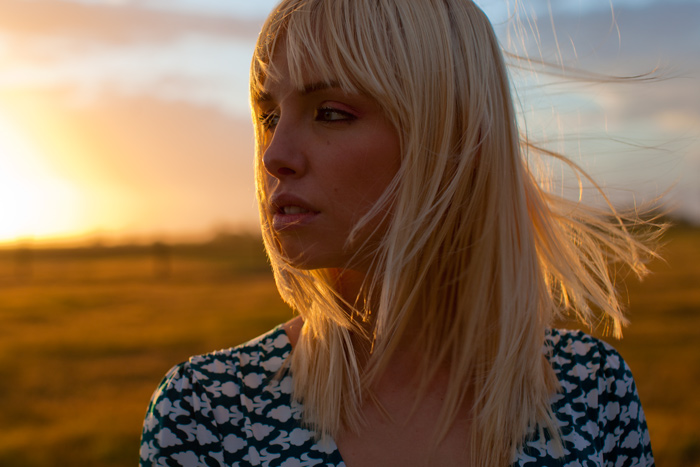
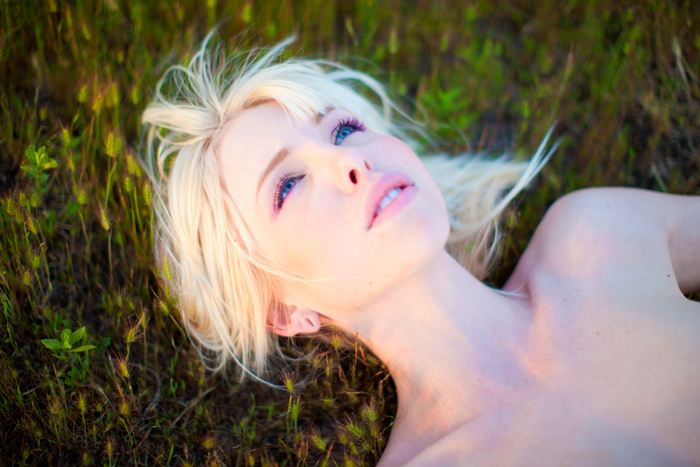
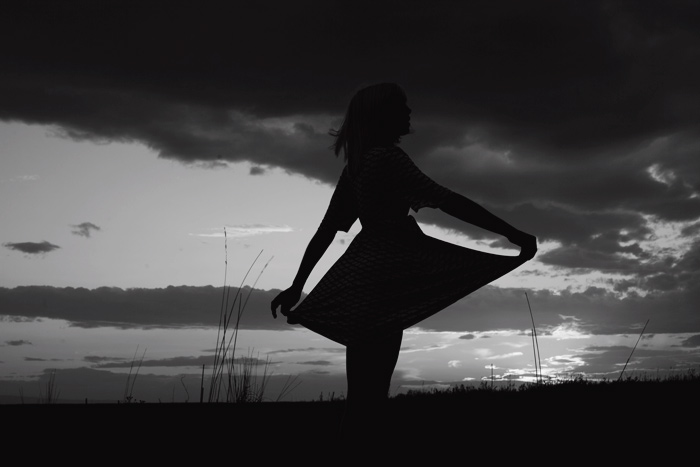
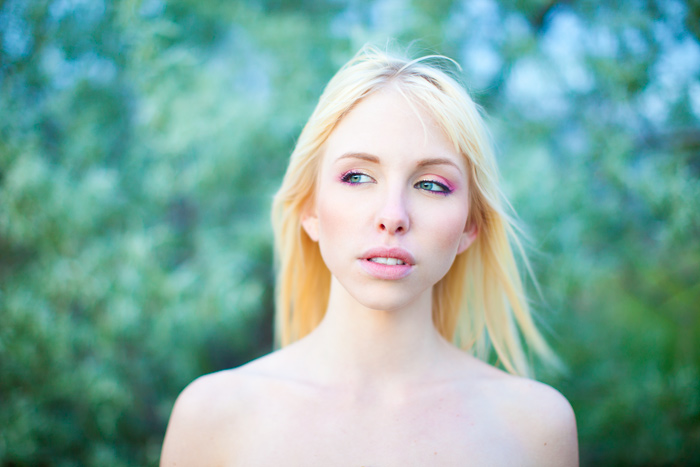
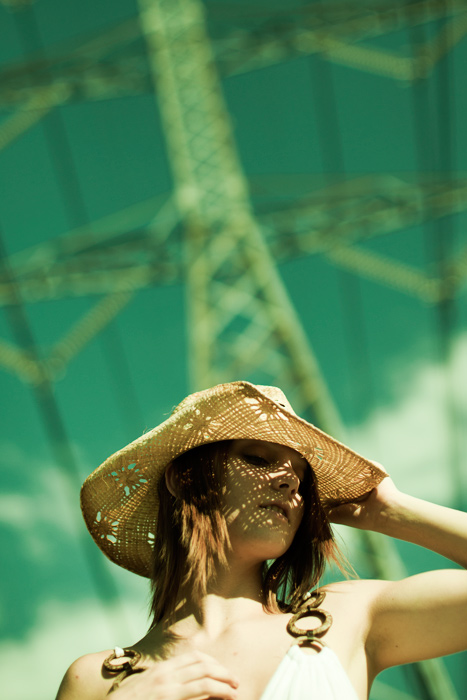
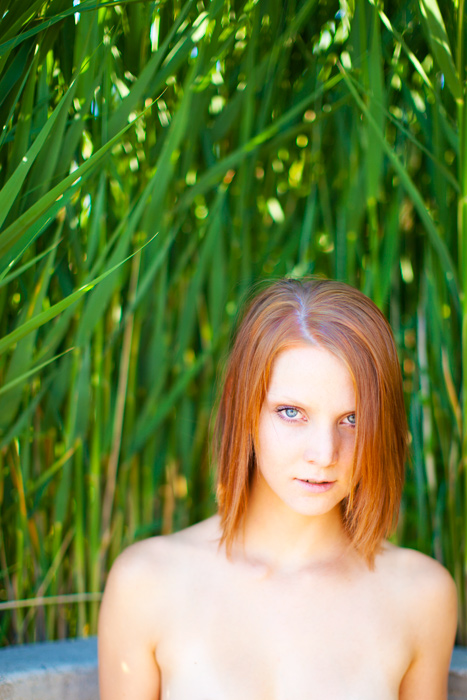
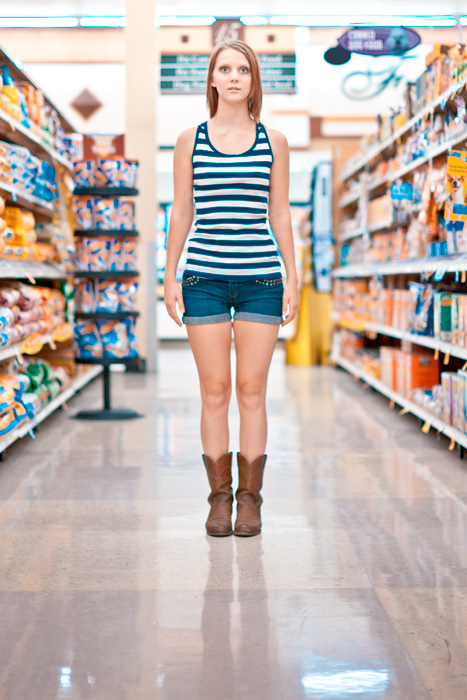
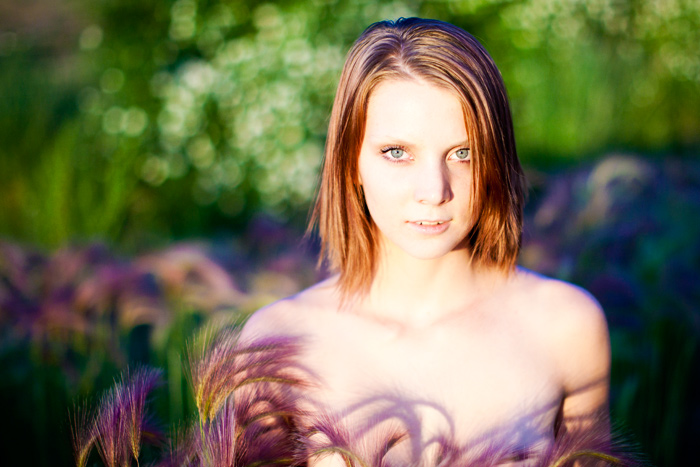
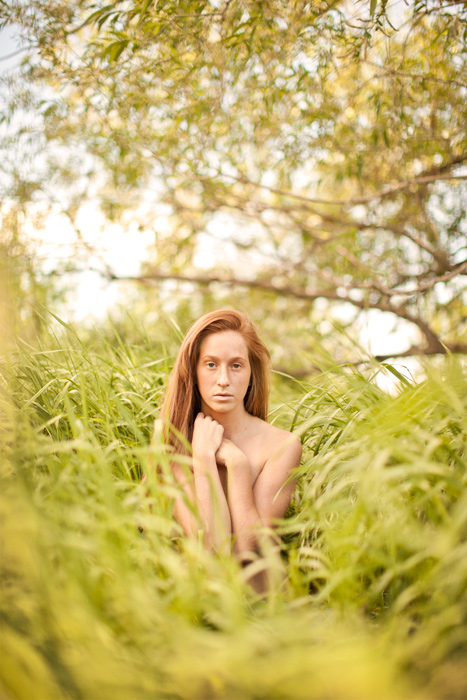
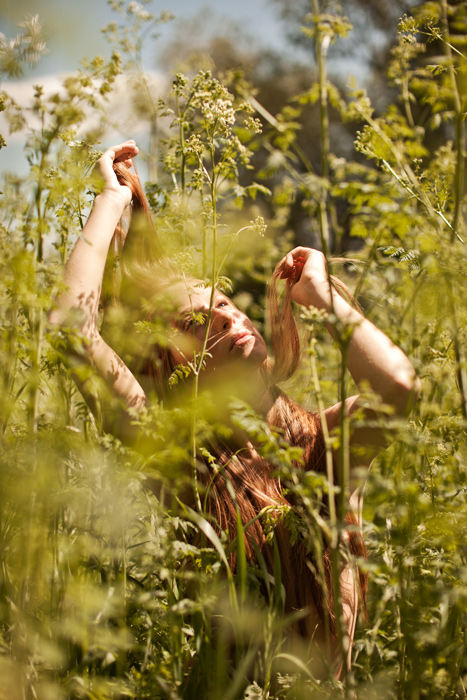
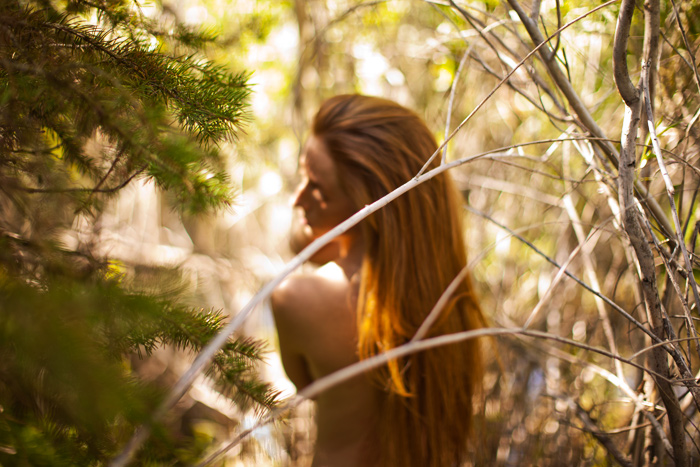
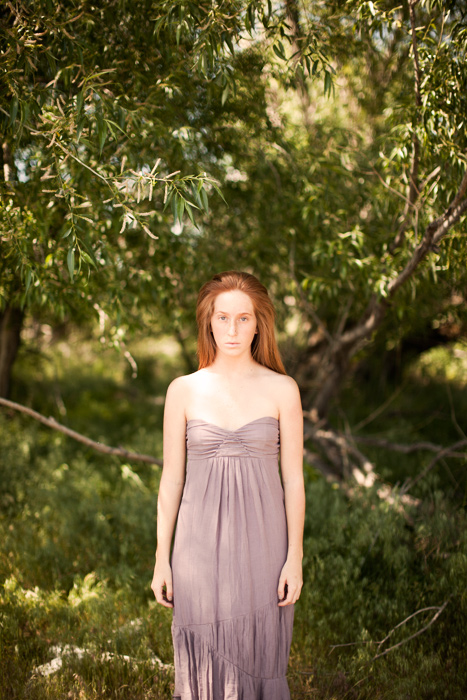
Spring storms just have a certain allure to them. Last night the rain was starting and stopping as the clouds rolled across the sky and I kept trying to focus on finishing my to do list. Finally it was just too tempting, so I sent out a couple messages to models that lived close and Lindsi responded.
I’m so glad she did! All these images were shot as the sun made it’s final dash into the horizon, the clouds seemed to change by the minute. All natural light. The beautiful bokeh is from the Canon 50mm 1.2L lens, attached to the Canon 5D Mark II.