Tag: exposures

  • Weekly Photography Challenge – Long Exposures

    In this collection of long exposure photographs you can see some great examples of how you can use this technique to produce stunning images.

    Stewart Ayrey

    By Stewart Ayrey

    I teach a night photography class and many times I’ve seen a whole new world of exciting things open up for my students when they learn about long exposures. Of course you can use this technique in the daytime as well, but it is often associated with night photography. On a weekend workshop I lead we go out and photograph the sunset and I MAKE them use tripods, amid much grumbling. Then after the sun goes down they start to pack up and head back to our hotel. I tell them to keep shooting. Many times I’ve been told “I didn’t know you could take photos in such dim light”. Then we get out the flashlights and do some light painting and the magic begins.

    To see some of the top articles on night photography on dPS in 2014, head over here.

    Weekly photography challenge – long exposures

    Have you tried any long exposure photography before? If not, now is the time. You will need a good, sturdy tripod and ideally a remote trigger to fire the camera (reducing camera shake). Here are a few long exposure images to give you some ideas on what you can do:

    Mike

    By Mike

    Kostas Kokkinos

    By Kostas Kokkinos

    José Miguel

    By José Miguel

    Duane Schoon

    By Duane Schoon

    Howard Ignatius

    By Howard Ignatius

    Bill Devlin

    By Bill Devlin

    Abi Booth

    By Abi Booth

    Trey Ratcliff

    By Trey Ratcliff

    William Cho

    By William Cho

    José Miguel

    By José Miguel

    Jason

    By jason

    Dave Wilson

    By Dave Wilson

    Nicholas Chai

    By Nicholas Chai

    Note: please take note if you are going to attempt doing fire spinning with steel wool, please make sure you read about safety and do so at your own risk. IT IS dangerous and can result in fire or injury if precautions are not taken.

    Okay it’s your turn – go! Show us what you can come up with. Get creative.

    Share your long exposure images here:

    Simply upload your shot into the comment field (look for the little camera icon in the Disqus comments section) and they’ll get embedded for us all to see or if you’d prefer upload them to your favourite photo sharing site and leave the link to them. Show me your best images in this week’s challenge. Sometimes it takes a while for an image to appear so be patient and try not to post the same image twice.

    googletag.cmd.push(function() {
    tablet_slots.push( googletag.defineSlot( “/1005424/_dPSv4_tab-all-article-bottom_(300×250)”, [300, 250], “pb-ad-78623” ).addService( googletag.pubads() ) ); } );

    googletag.cmd.push(function() {
    mobile_slots.push( googletag.defineSlot( “/1005424/_dPSv4_mob-all-article-bottom_(300×250)”, [300, 250], “pb-ad-78158” ).addService( googletag.pubads() ) ); } );

    The post Weekly Photography Challenge – Long Exposures by Darlene Hildebrandt appeared first on Digital Photography School.


    Digital Photography School

  • Tiffen launches 10-stop ND range to prevent red-tinted long exposures

    Tiffen has introduced a new range of neutral density filters that aim to allow stills photographers to shoot extreme long exposures without incurring the red colour cast that is so common with ND filters. The XLE series comprises three 10-stop ND filters with differing infrared-cut characteristics, ranging from none in the XLE Axent, to moderate in the Advantix and complete IR suppression in the Apex. Learn more

    Articles: Digital Photography Review (dpreview.com)

  • Cyclonic Pictures: Long Exposures Spin Art from Light & Air

    [ By WebUrbanist in Art & Photography & Video. ]

    air light stick art

    The shots seem impossibly composed, consisting of light that arcs and twists like a tornado in the night skies, but the process of creating them is much simpler than you might first imagine.

    air art distance thrown

    aerial cyclone light art

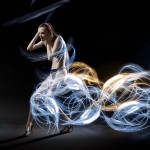
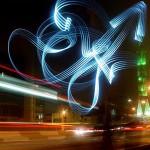
    Martin Kimbell twirls, tosses and hurls LED sticks then uses long-exposure techniques to capture the twisting, turning and arcing patterns that result from each throw.

    air timelapse spinning photos

    air tornado light art

    Some of the loops look like natural phenomena, swirling dust, stormy cyclones or campfire smoke, for instance, except spun from bright and colorful lights instead of organic materials. Others trajectories are simpler and captured in black-and-white instead.

    art art black white

    night light aerial art

    air art up down

    Inspired by Stu Jenks  and other light artists, Kimbell is a “freelance photographer based in Nottingham, England, specialising in light painting and action sports photography.” You can see more of his photography beyond this type on Flickr as well, and be sure to check out Diliz who crafts figures from sparklers in a much different style.

    Share on Facebook


    [ By WebUrbanist in Art & Photography & Video. ]

    [ WebUrbanist | Archives | Galleries | Privacy | TOS ]


    WebUrbanist

  • Unique Flower Photography Using Multiple Exposures

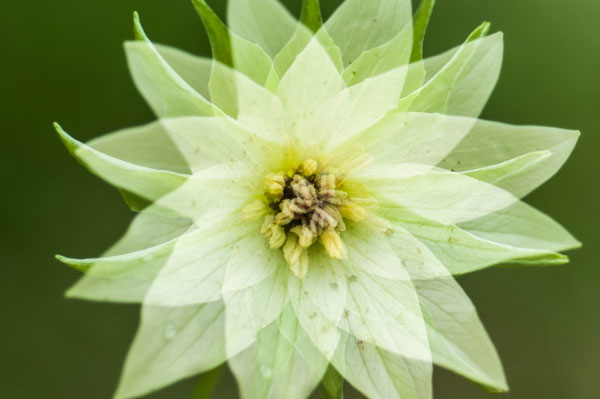
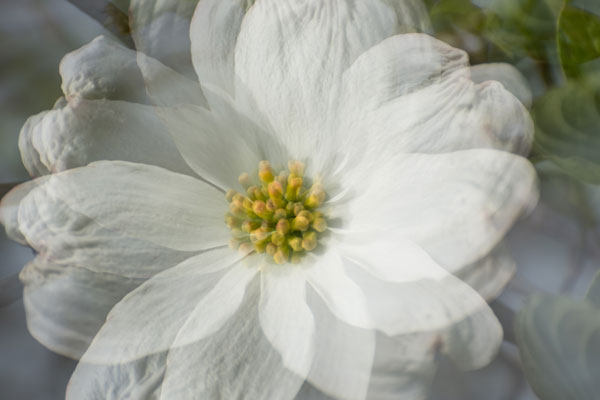
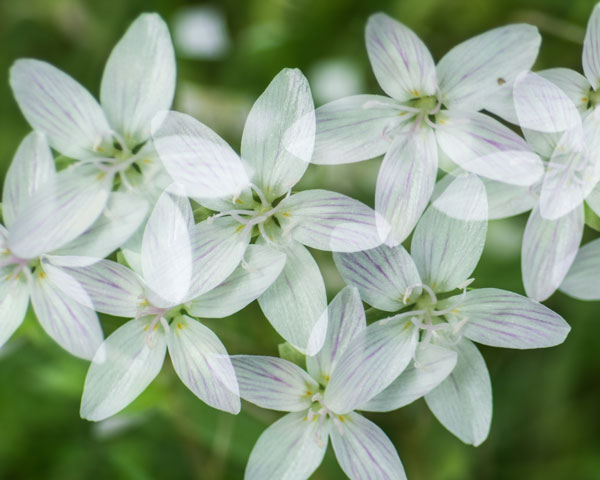
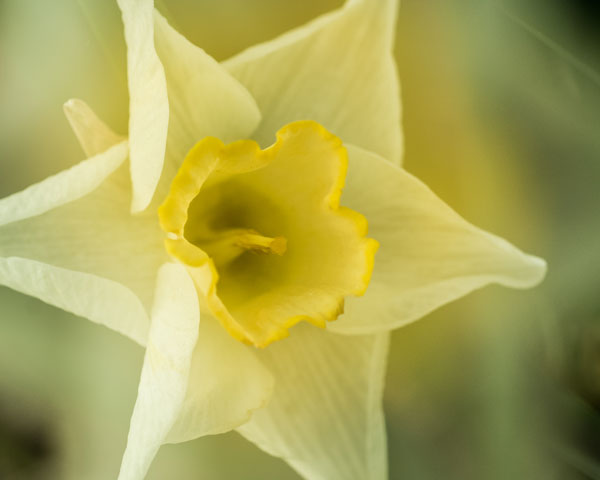
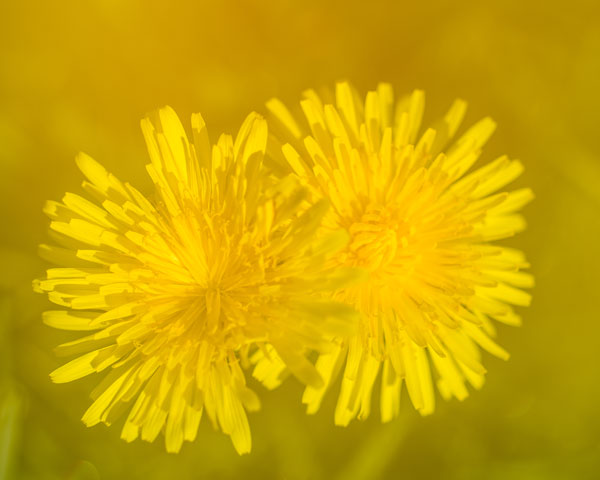
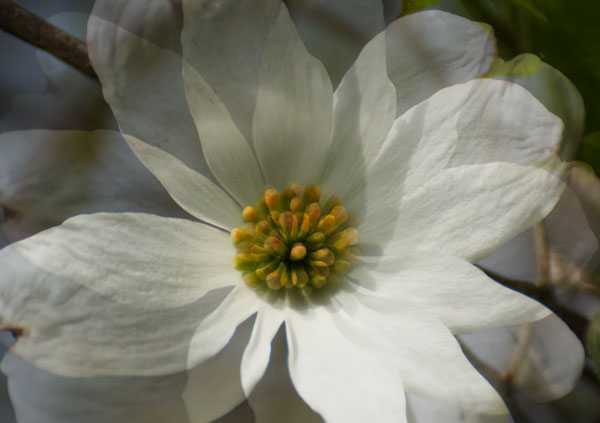
    Most of the new cameras from both Nikon and Canon now have the capability to create multiple exposures. The technique is rather simple to set up, but the results can be both unlimited and unpredictable. So try using this feature to create some unique floral images.

    DSC_3968

    Set-up

    1. Select Multiple Exposure from your camera’s menu. The default option on this setting is, of course, OFF. Select the ON option. Some cameras will give you the option here for ON (series) which will keep the option on until you turn it off or ON (single photo) which will capture only one multiple exposure image.
    2. Scroll down to select the number of shots you desire, select either two or three. (Some cameras will allow you to select up to 10).
    3. The third setting is Auto Gain. When set to ON, your camera will automatically adjust exposure gain for the addition of each image. In the OFF position you must manually adjust for the exposure of each layered image. (All the sample images here were created with the Auto Gain ON.)
    4. Confirm that you have Multiple Exposure set to ON and hit OK.
    5. You’re now ready to shoot, so set up your exposure and focus like you would do with any floral image.
      menu1 menu2 menu3

    Taking multiple exposure images does take some practice to perfect, and you will have a lot of throwaways. As you take each exposure, your camera will show you a preview of the image just exposed, and you have 30 seconds to shoot the next image or the camera will finish the process without any additional exposures. After the last exposure of the series, you will see the final image.

    Type of Multiple Exposure Images to Try

    The resulting photos you can accomplish with this technique are limited only by your own creativity. The following paragraphs describe how to shoot three types of images:

    • The Twist
    • The Fill
    • The Shoot Through

    The Twist

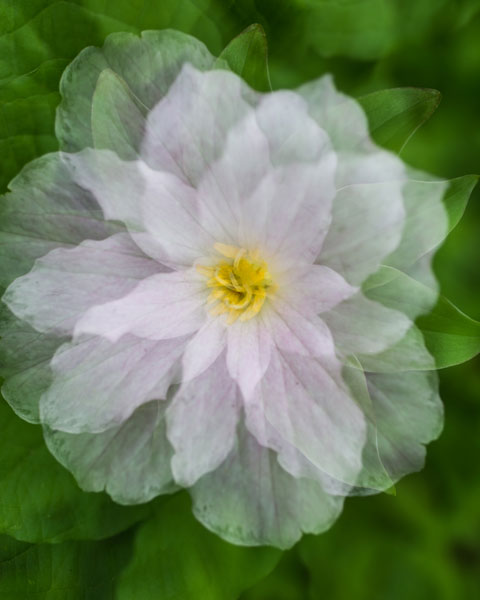
    In this method, set the number of shots to three. The key to this method is to keep the center of the flower in the same location on all three images. Using your spot focus point as a reference point to help keep the images aligned, take the first image. Keep the center of the flower in the same location of the view finder and turn the camera to the left or right and take a second exposure. Then, again keeping the center of the flower in the same location, turn the camera again and take the third image. The degree of your turn can vary depending on the size of the subject flower. Remember to refocus before each of the three exposures.

    DSC_0009


    DSC_0060

    DSC_4035

    The Fill

    In this method you will fill the frame with flowers by shooting however many multiple exposures you choose and placing flowers in different locations within the frame with each exposure.

    DSC_4059

    The Shoot Through

    Set your number of exposures to two. Your first exposure should be a normal exposure of the floral subject. Without changing the focus setting, move your camera closer to the flower to fill the frame with an out-of-focus image, which will give you a soft shoot-through effect.

    DSC_3958

    DSC_4045

    Other Tips

    • Some Nikon models will automatically turn off Multiple Exposure after each image, so you will need to go back into the menu and turn it back on after each image is completed.
    • Simple backgrounds work best.
    • Most successful images are shot handheld. Using a tripod to create these images makes it difficult to move freely.
    • LiveView will be disabled on your camera during multiple exposures.
    • Remember, after your first exposure is taken, if no operations are performed within the next 30 seconds, the camera will automatically end the Multiple Exposure mode.

    Creating Multiples in Photoshop

    If your camera doesn’t have the Multiple Exposure options, you can still create these same effects in Photoshop.

    1. Take all your images as describe above as single frames. Open the first image in Photoshop.
    2. Open the second image and copy and paste it onto the first image as a second layer. Change the layer blending modes to multiply. You can experiment with different blending modes to get some wild effects. You can also change the opacity of each layer to get the effect to your liking.
    3. Repeat Step 2 for every image in the series.

    photoshop

    Shooting multiples is a lot of experimenting, but when you get a good image, you will know it! This method can also be used for many other kinds of images. For example, try shooting a silhouette and filling it with another image. . . the possibilities are endless!

    The post Unique Flower Photography Using Multiple Exposures by Bruce Wunderlich appeared first on Digital Photography School.


    Digital Photography School

  • NightCap Pro enables ultra long exposures on the iPhone

    NightCap-Pro-5-iPhone-5-B.png

    While the latest generation of smartphones can in many ways rival traditional compact cameras, the lack of true long exposure functionality on most phones is a limitation. However, now there’s an app for that with NightCap Pro. It has two unlimited exposure time modes. Learn more

    News: Digital Photography Review (dpreview.com)

  • Two Gizmos For Making Double Exposures

    Extra photos for bloggers: 1, 2, 3

    They say a picture is worth a thousand words. So, we did some math…

    Turns out, a double exposure is worth two thousand words!

    When you meld one image onto another, all of those extra words tend to run along the lines of, “Wow! Cool! Looks neat! I love it. How did you…?”

    Sure, there are apps to fake double exposures and you can spend hours in photoshop or a darkroom (remember those?) creating ‘em.

    But, we’re here to share two ways to make double exposures as you shoot, using reflective little Color Lens and Flash Filters and the magical Instax 90 Instant Camera.

    Learn To make Double Exposures Two Ways*

    *total value = 4,000 words

    (…)
    Read the rest of Two Gizmos For Making Double Exposures (373 words)


    © laurel for Photojojo, 2014. |
    Permalink |
    No comment |
    Add to
    del.icio.us

    Post tags:


    Photojojo

  • Two Gizmos For Making Double Exposures

    Extra photos for bloggers: 1, 2, 3

    They say a picture is worth a thousand words. So, we did some math…

    Turns out, a double exposure is worth two thousand words!

    When you meld one image onto another, all of those extra words tend to run along the lines of, “Wow! Cool! Looks neat! I love it. How did you…?”

    Sure, there are apps to fake double exposures and you can spend hours in photoshop or a darkroom (remember those?) creating ‘em.

    But, we’re here to share two ways to make double exposures as you shoot, using reflective little Color Lens and Flash Filters and the magical Instax 90 Instant Camera.

    Learn To make Double Exposures Two Ways*

    *total value = 4,000 words

    (…)
    Read the rest of Two Gizmos For Making Double Exposures (373 words)


    © laurel for Photojojo, 2014. |
    Permalink |
    No comment |
    Add to
    del.icio.us

    Post tags:


    Photojojo

  • Extreme Exposures: Light Landscapes Take Hours to Shoot

    [ By WebUrbanist in Art & Photography & Video. ]

    light art figure ground

    Most light photographers focus on making a shape in the foreground in a matter of seconds, then setting it against a dark static backdrop – this artist often animates every inch of the frame.

    light art flowing energy

    light art room interior

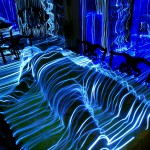
    Finnish artist Janne Parviainen of Helsinki takes these all-encompassing, long-exposure shots over many minutes (even hours at times), each line representing mere seconds along the way.

    light art crouching portrait

    light drawing laying down

    As surreal as they look, there is no post-production involved. Aside from props and plans, even their creator cannot really see what he is making them until they are completed.

    light drawing water monster

    Parviainen was an oil painter previously, but pivoted when an accidental long-duration photo of streetlights, clicked on a nighttime walk, triggered a fascination with lighting. Now using light as paint, he employs a new series palettes and brushes. Glowsticks, light strings, strobes and flashlights help him animate everything from human figures to abandoned cars.

    light drawing figures circle

    light drawing orange room

    light art surreal scen

    He begins tracing what is there and then adds his own haunting portraits and inventive twists to the scenes he sets. The results are so saturated with light that it is sometimes hard to tell what is really behind them and what he created from scratch along the way – what is foreground, background or sheer imagination.

    Share on Facebook


    [ By WebUrbanist in Art & Photography & Video. ]

    [ WebUrbanist | Archives | Galleries | Privacy | TOS ]


    WebUrbanist

  • Removing Noise from Non-Dark Framed Long Exposures

    One of the big disadvantages of taking long exposures with DSLR cameras is the introduction of noise especially when higher ISO settings are used. Camera manufacturers have addressed this by using Dark-Frame Subtraction, but taking advantage of Dark-Frame Subtraction (DFS) isn’t always possible.  If you’re shooting a sequence of images either for a night time-lapse or startrail photo DFS will introduce unwanted gaps or breaks. If you’re shooting extremely long exposures then your camera battery might not last long enough to complete your exposure, the dark-frame exposure and record the exposure to your memory card.   In regard to my pursuit of low-light or night photography for extreme long-exposures, star trails and time-lapses I’ve resorted to shooting without Dark-Frame Subtraction / Long Exposure Noise Reduction and addressing the noise in post-production.

    The Technique

    Here’s the technique I employ to manage the digital noise and hot pixels in my extreme long exposure photographs:

    1. Import & Edit in Lightroom

      After each shoot my photos are imported into Adobe Lightroom where I post-process my image to my personal taste adjusting exposure, black/white levels, vibrance, clarity, curves, etc.  Note: if you’re curious about the file formats I work with read DNG, RAW and JPEG: What I Use & Why 

    2. Lightroom Noise Reduction

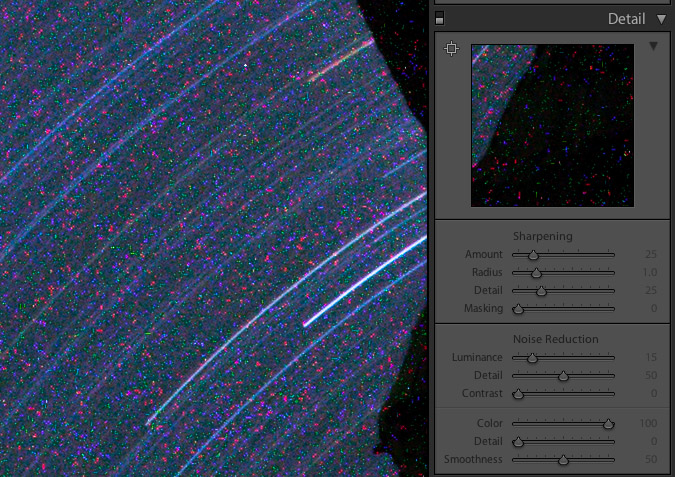
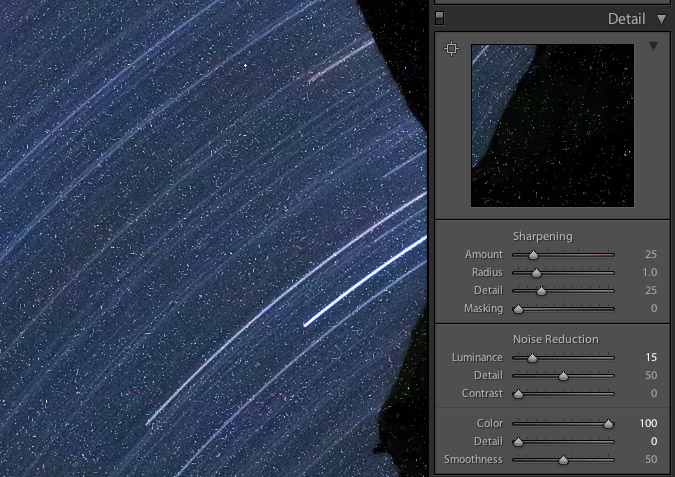
      Toward the end of my post-processing I remove chromatic and luminance noise in Lightroom “Develop > Detail” module. To remove chromatic (color) noise it’s not uncommon that I crank the “Color” adjustment all the way to 100 leaving only dust or grain like noise that is white. (see images below)

    3. Open Image in Photoshop

      In Lightroom I right click on my image and “Edit In > Photoshop”. This opens my file with all my Lightroom edits applied in Photoshop.

    4. Duplicate the “Background” Layer

      When my photo is opened in Photoshop a single layer appears titled “Background”. I duplicate this layer which by default is named “Background copy”.

    5. Dust & Scratches

      To the “Background copy” layer (the top layer) I apply “Filters > Noise > Dust & Scratches”. A dialogue box will open allowing you to specify how drastically or minimally you want to apply the filter. This filter will remove noise by blurring the photo. Ideally you want to keep the Radius as low as possible and the Threshold as high as possible. Once doing this your image will look quite blurry and seemingly useless.

    6. Employing the Blending Mode “Darken”

      To the “Background copy” layer, that has had the “Dust & Scratches” filter applied, I change the blending mode to “Darken”. Magically this will allow the sharper lighter elements of the layer below to show through while keeping the noise free darker elements of the top layer. Once done the last signs of digital noise are removed.

    Here’s How It Looks

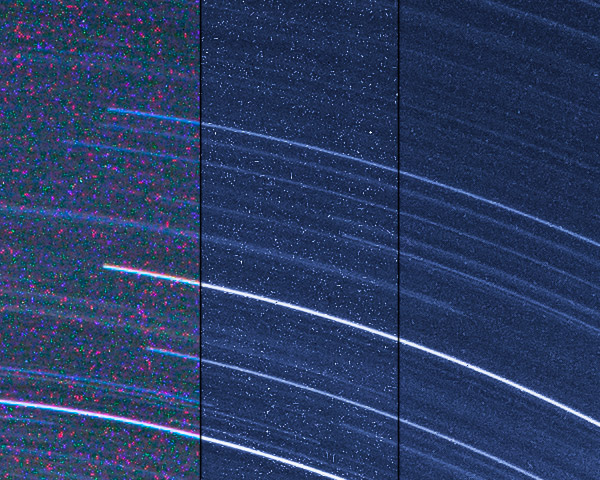
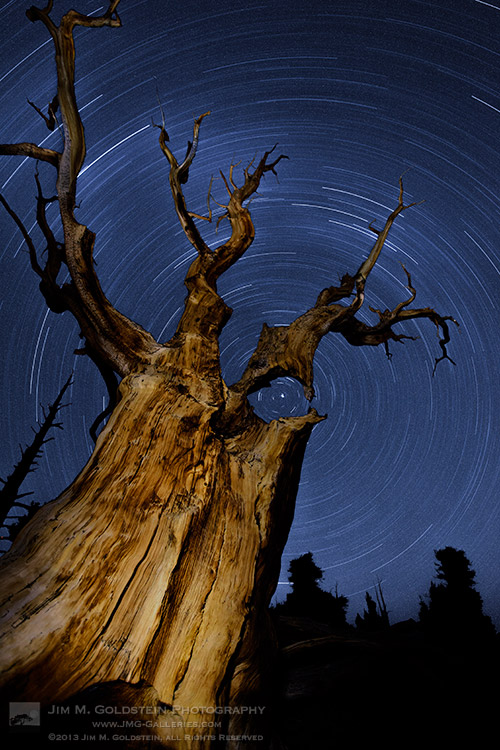
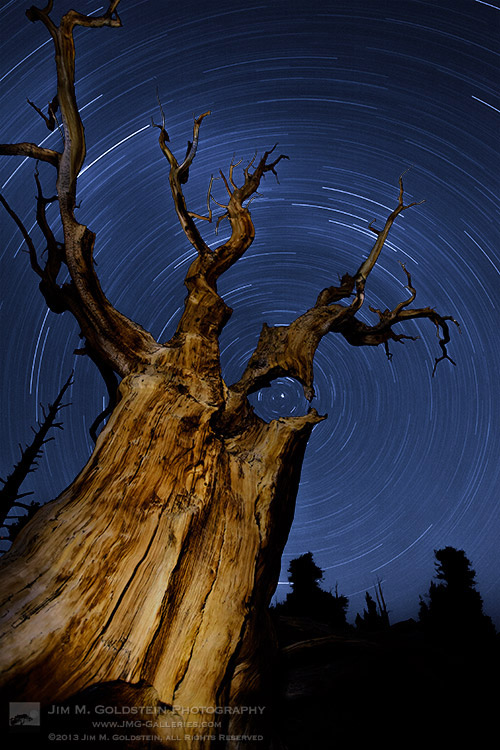
    To show an extreme example below are 1 to 1 crops of The Ancients a 91 minute single exposure taken on my Canon 5D Mark II.

    1:1 crop in Lightroom straight out of the camera

    Note the seemingly horrific amount of chromatic noise appearing as splotchy colors.

    1:1 Crop in Lightroom after color noise reduction

    With the Color slider at 100% all that is left are millions of white specks


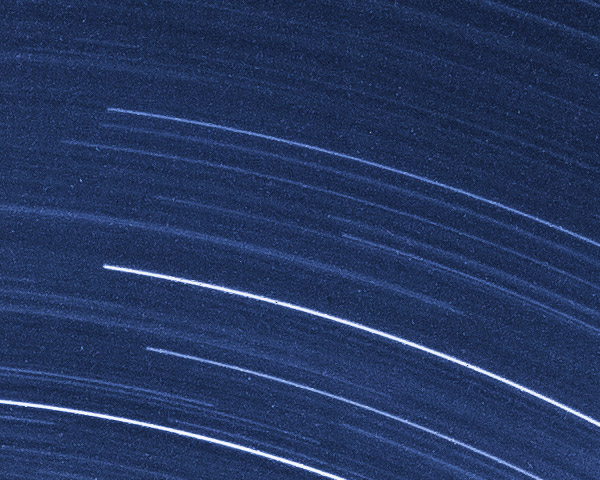
    1:1 crop with noise  

    Even with chromatic noise removed it would seem there are too many white specks to make this a useable image

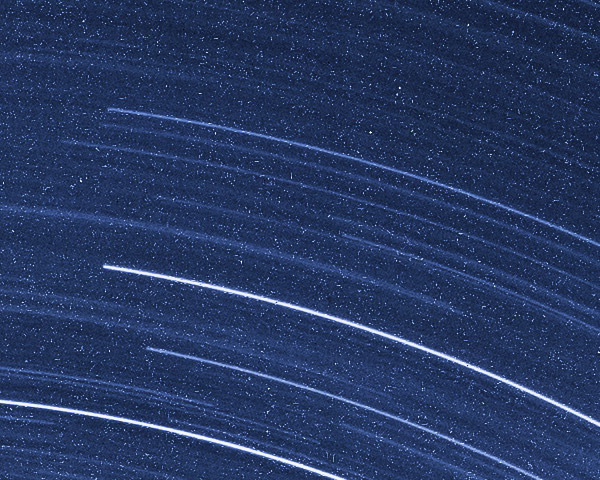
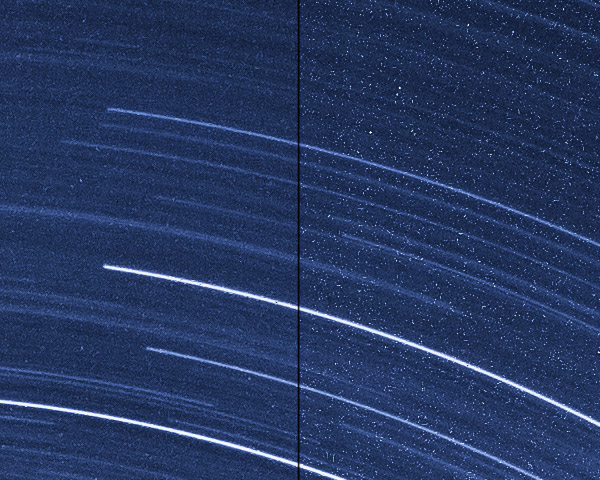
    1:1 crop without noise

    Applying Dust & Scratches and Blending it with the original image magically removes the white specks.

    1:1 crop with comparing final vs noise

    The same image showing the before and after to highlight the stark difference

    1:1 crop from RAW import to Final


    What does the end result look like on a web sized image?

      Web version with noise

    Web version without noise

    For web display the improvement may be marginal, but for prints this technique will make a notable improvement. My lone disclaimer is that your mileage may vary with this technique depending how much noise your camera produces, how long your exposures are and what ISO setting you use.

    For more on long exposures check out my ebook Photographing the 4th Dimension – Time

    Copyright Jim M. Goldstein, All Rights Reserved

    Removing Noise from Non-Dark Framed Long Exposures

    The post Removing Noise from Non-Dark Framed Long Exposures appeared first on JMG-Galleries – Landscape, Nature & Travel Photography.


    Related Stories

    • Removing Noise from Non-Dark Framed Long Exposures – Enclosure
    • Photo Term Series #21: Dark-Frame Subtraction
    • Photo Term Series #21: Dark-Frame Subtraction – Enclosure
    Feed Ads by FeedBlitz
    powered by ad choices


    JMG-Galleries

  • Dubble app uses crowdsourcing to create double exposures

    dubble.png

    Dubble, a new community-based photography app takes the concept of double exposures — either a trick or a mistake in which photographers expose a roll of film twice, thereby layering two images in a single frame — and applies it to your smartphone, with a crowdsourcing twist. We take a closer look at Dubble on connect.dpreview.com.

    News: Digital Photography Review (dpreview.com)