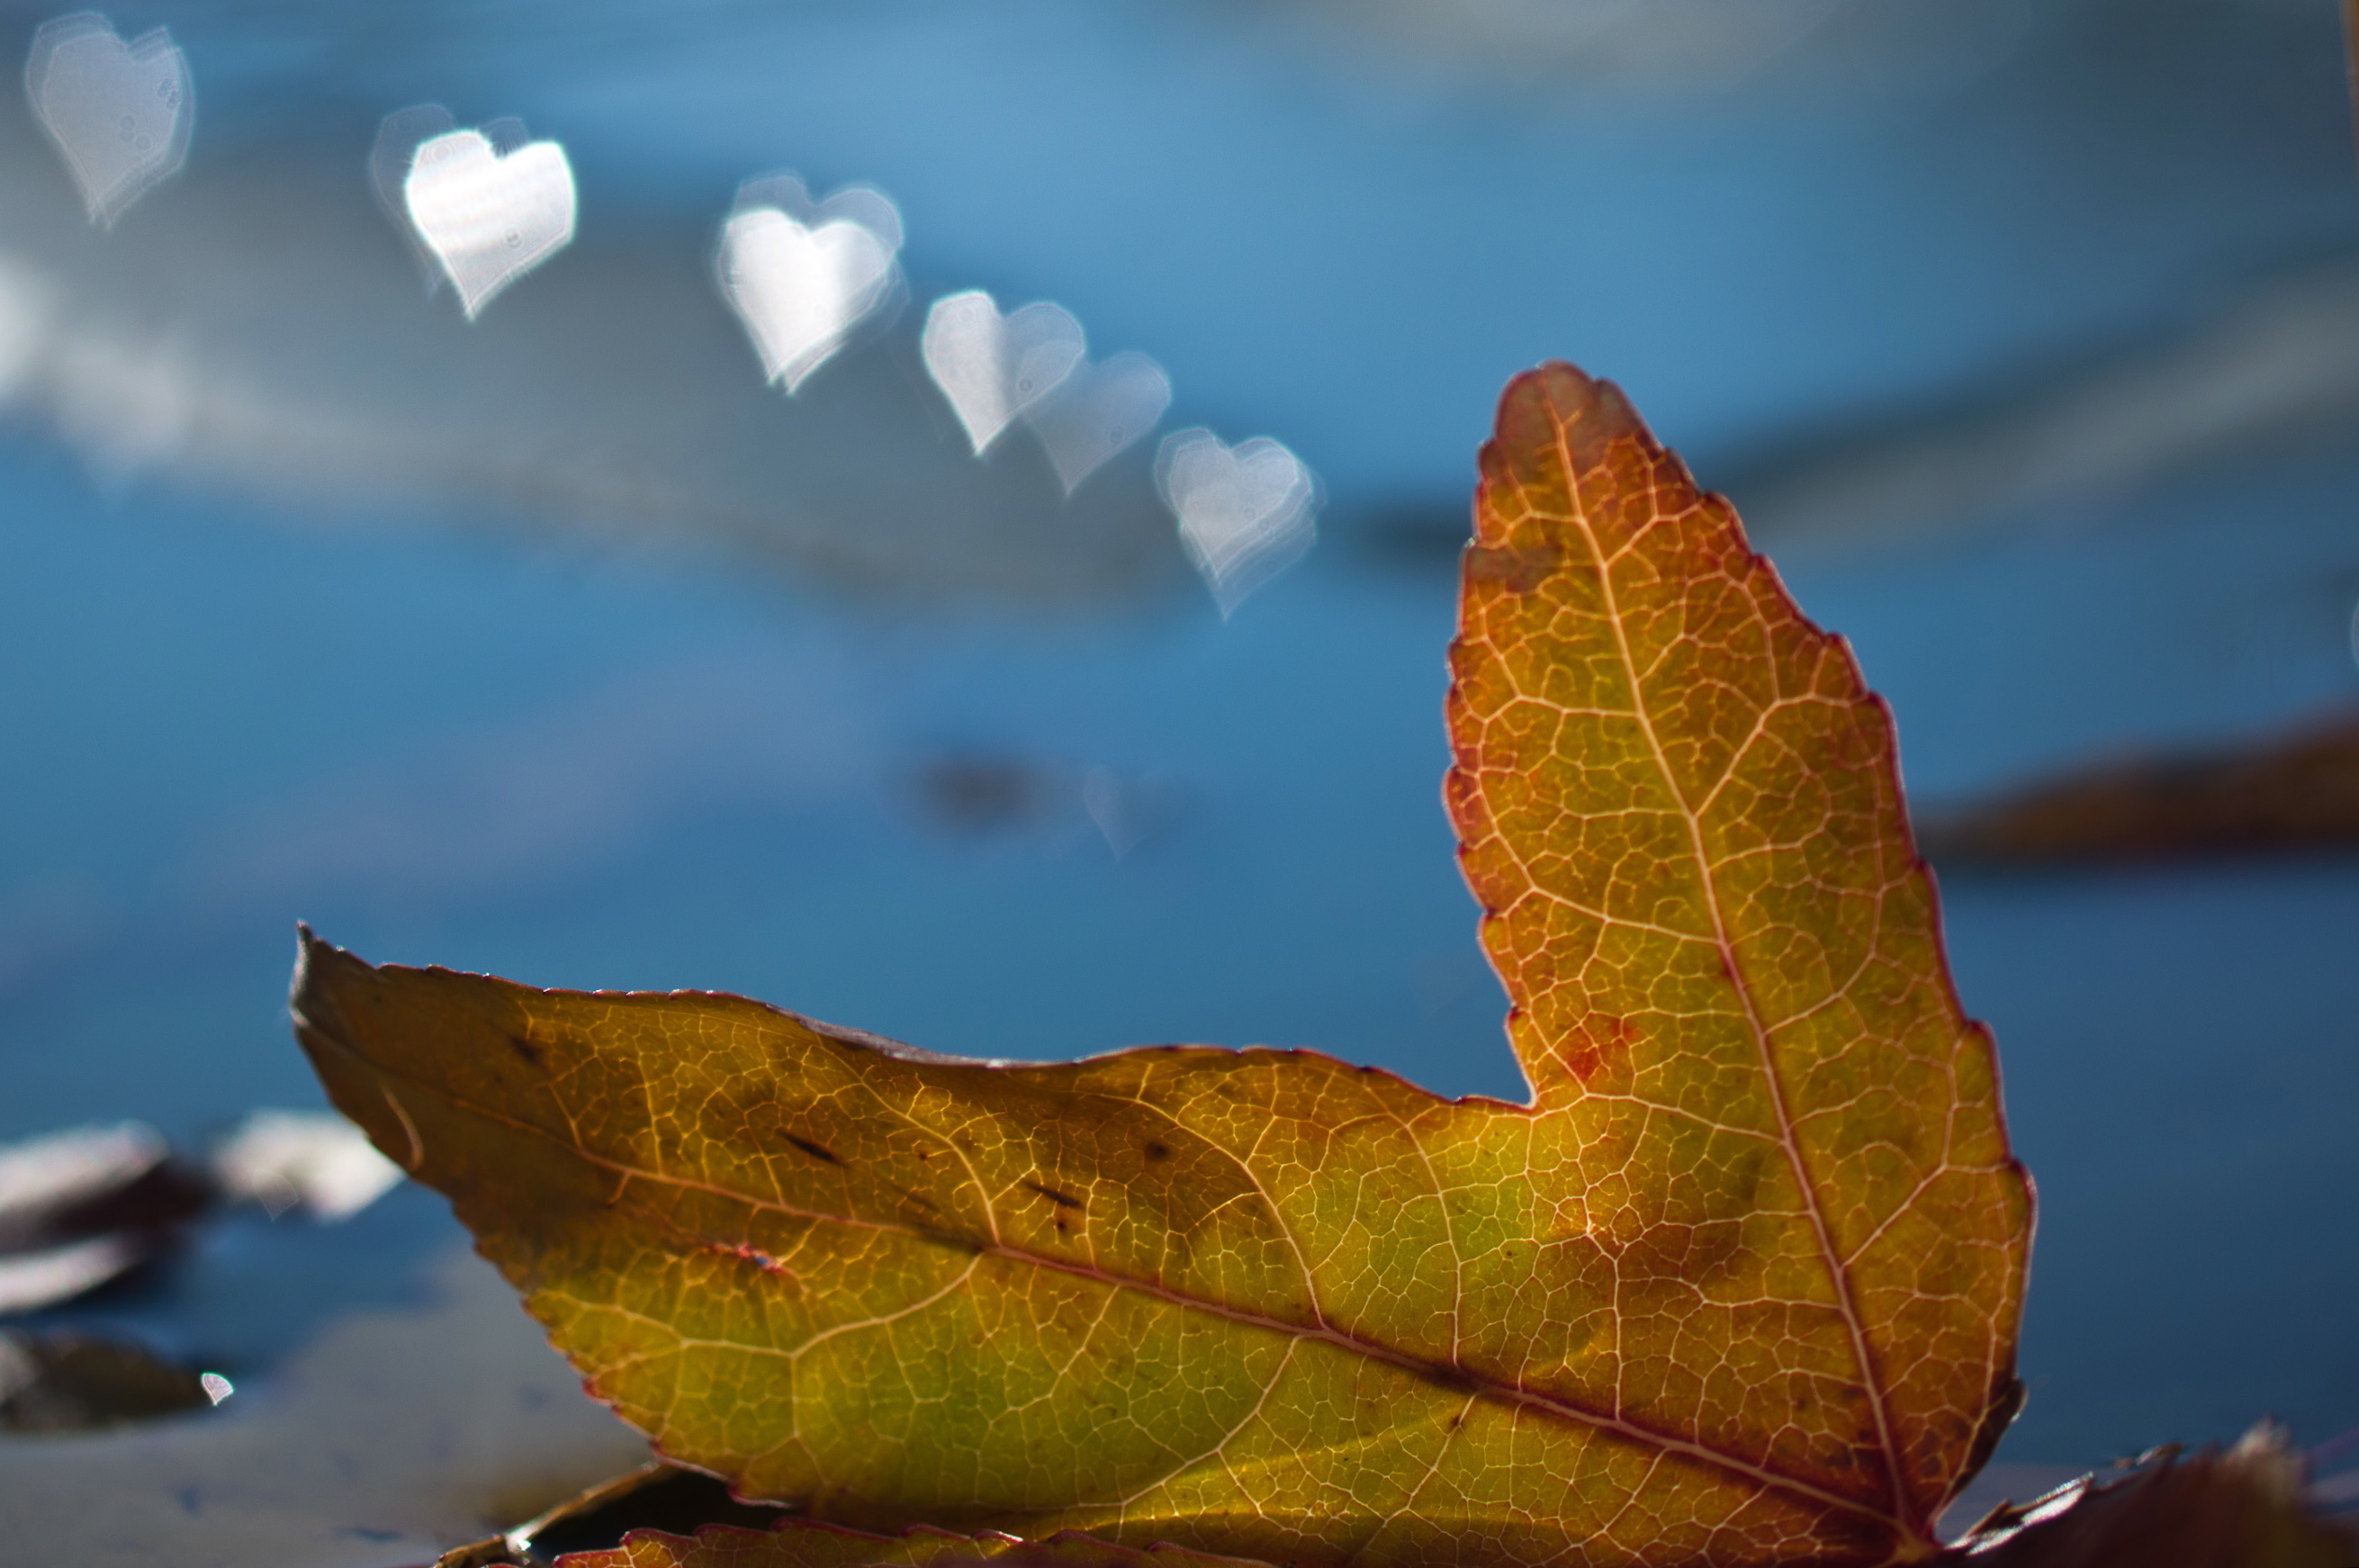
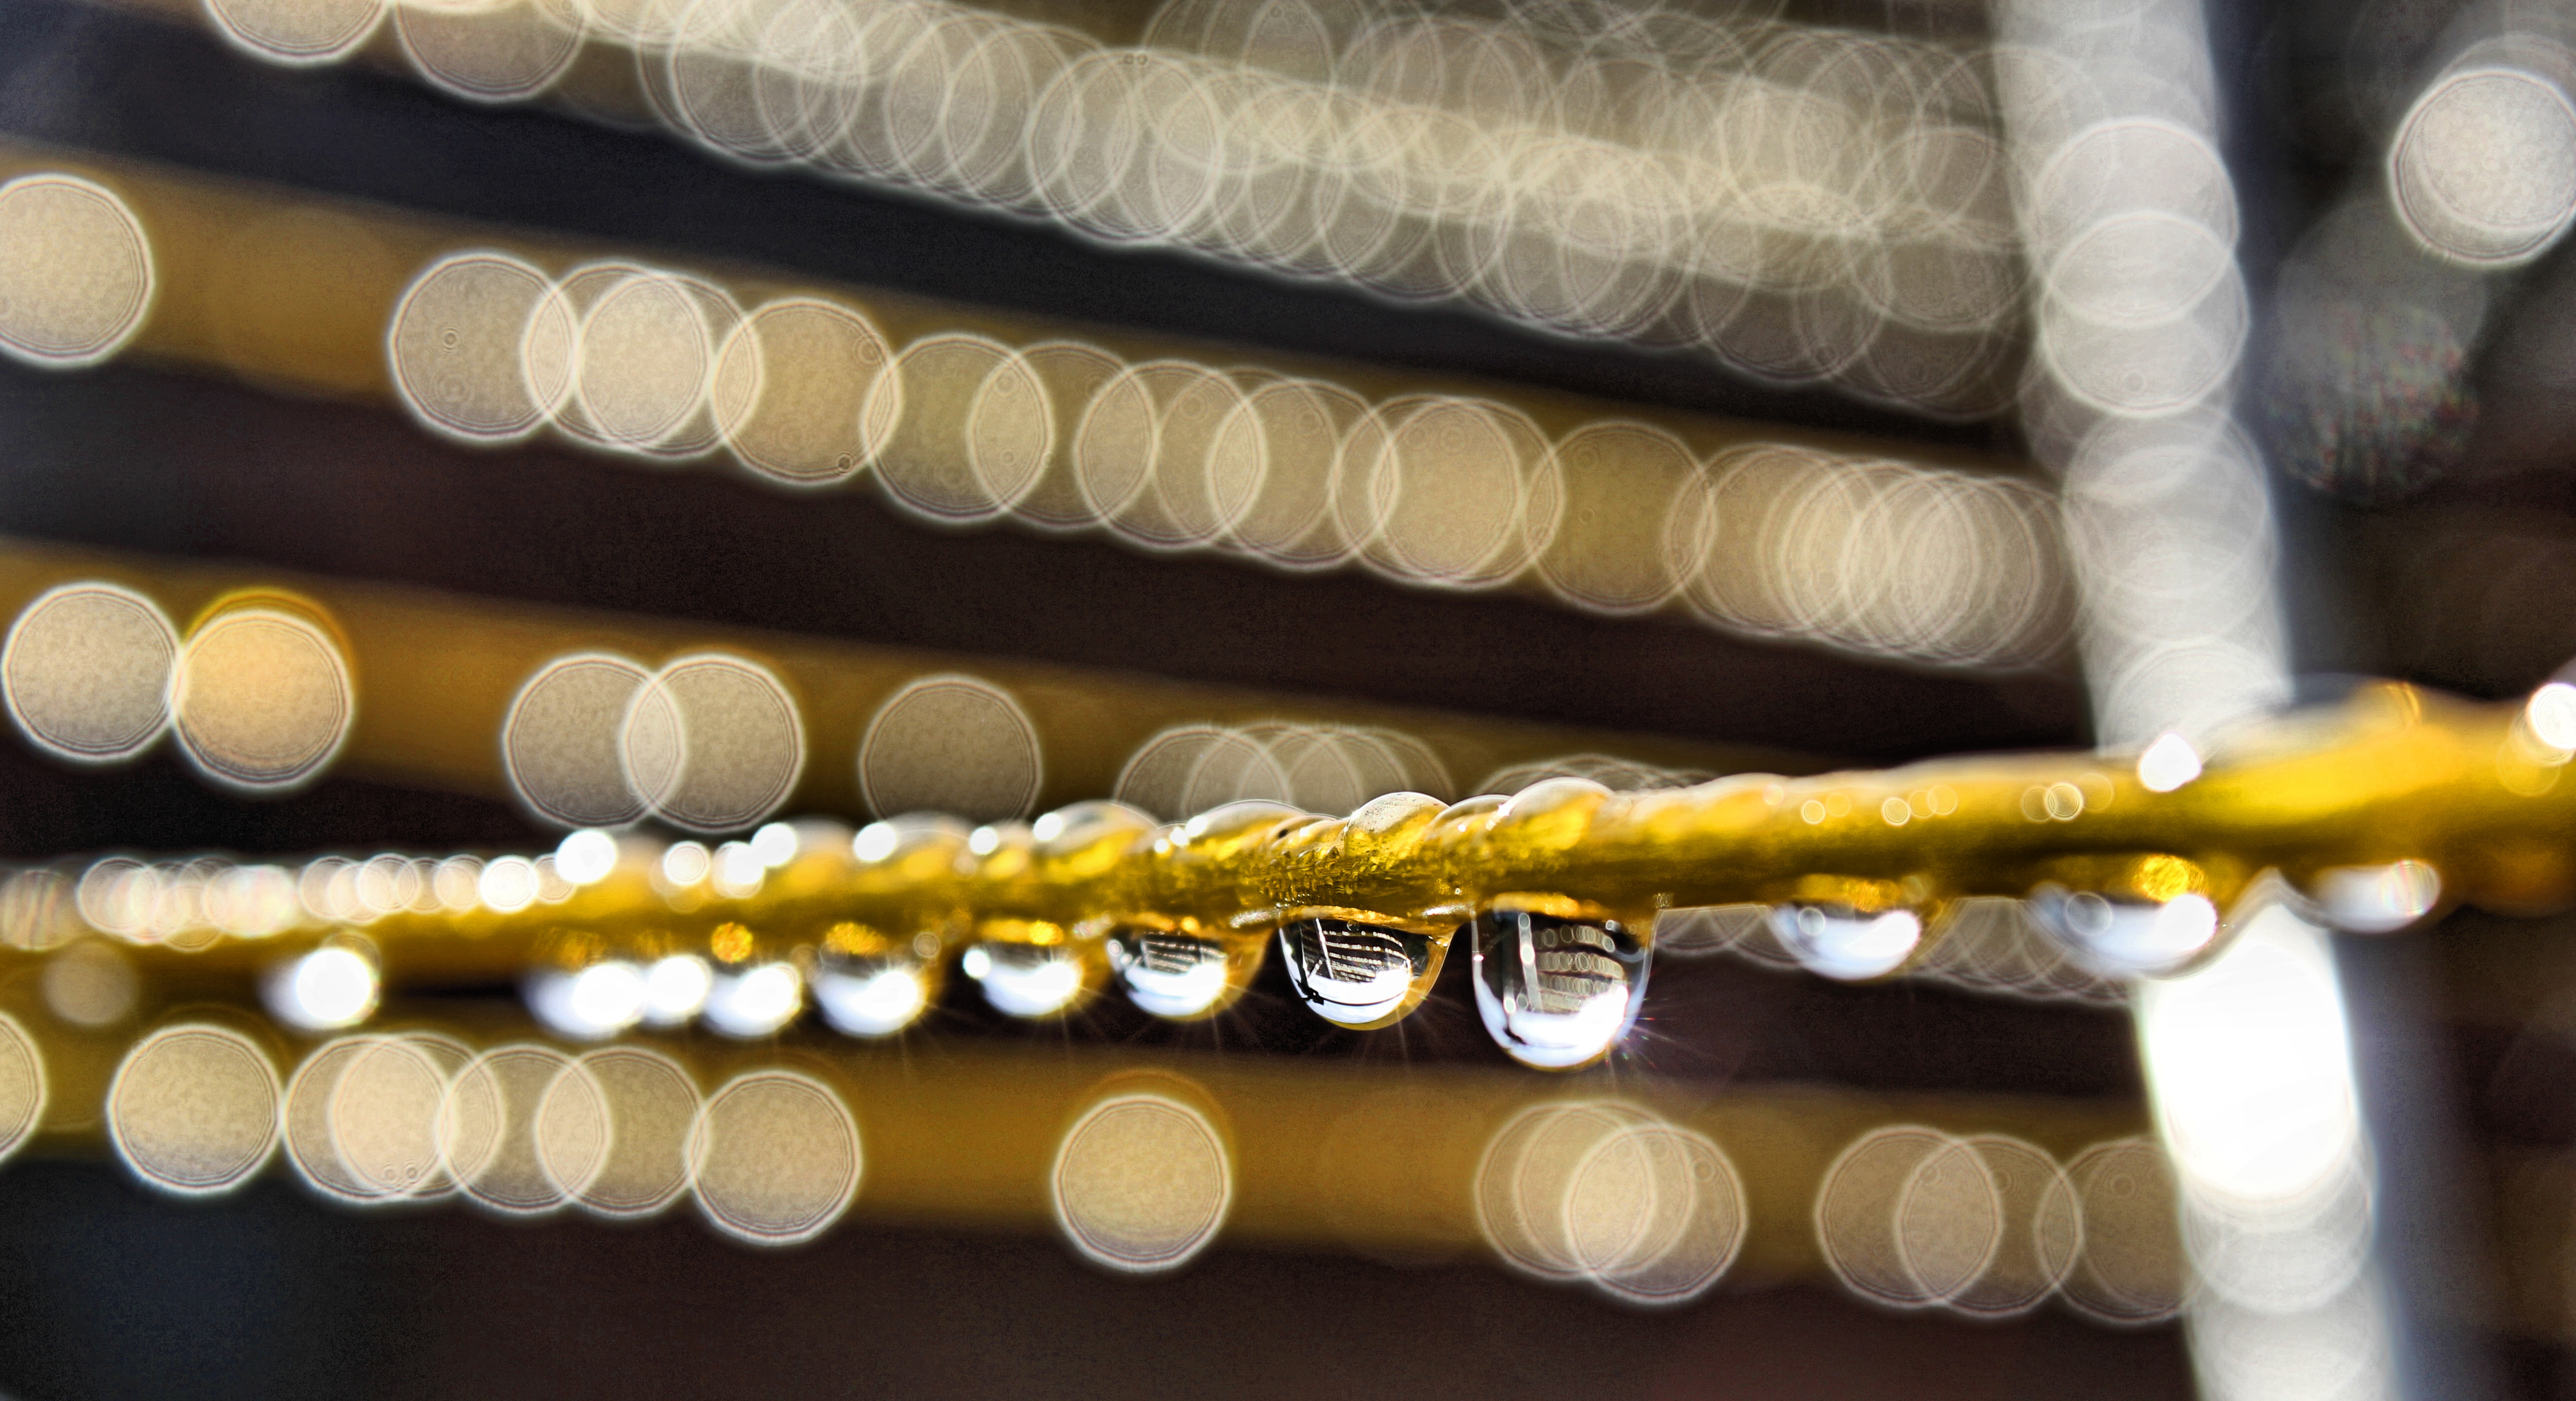
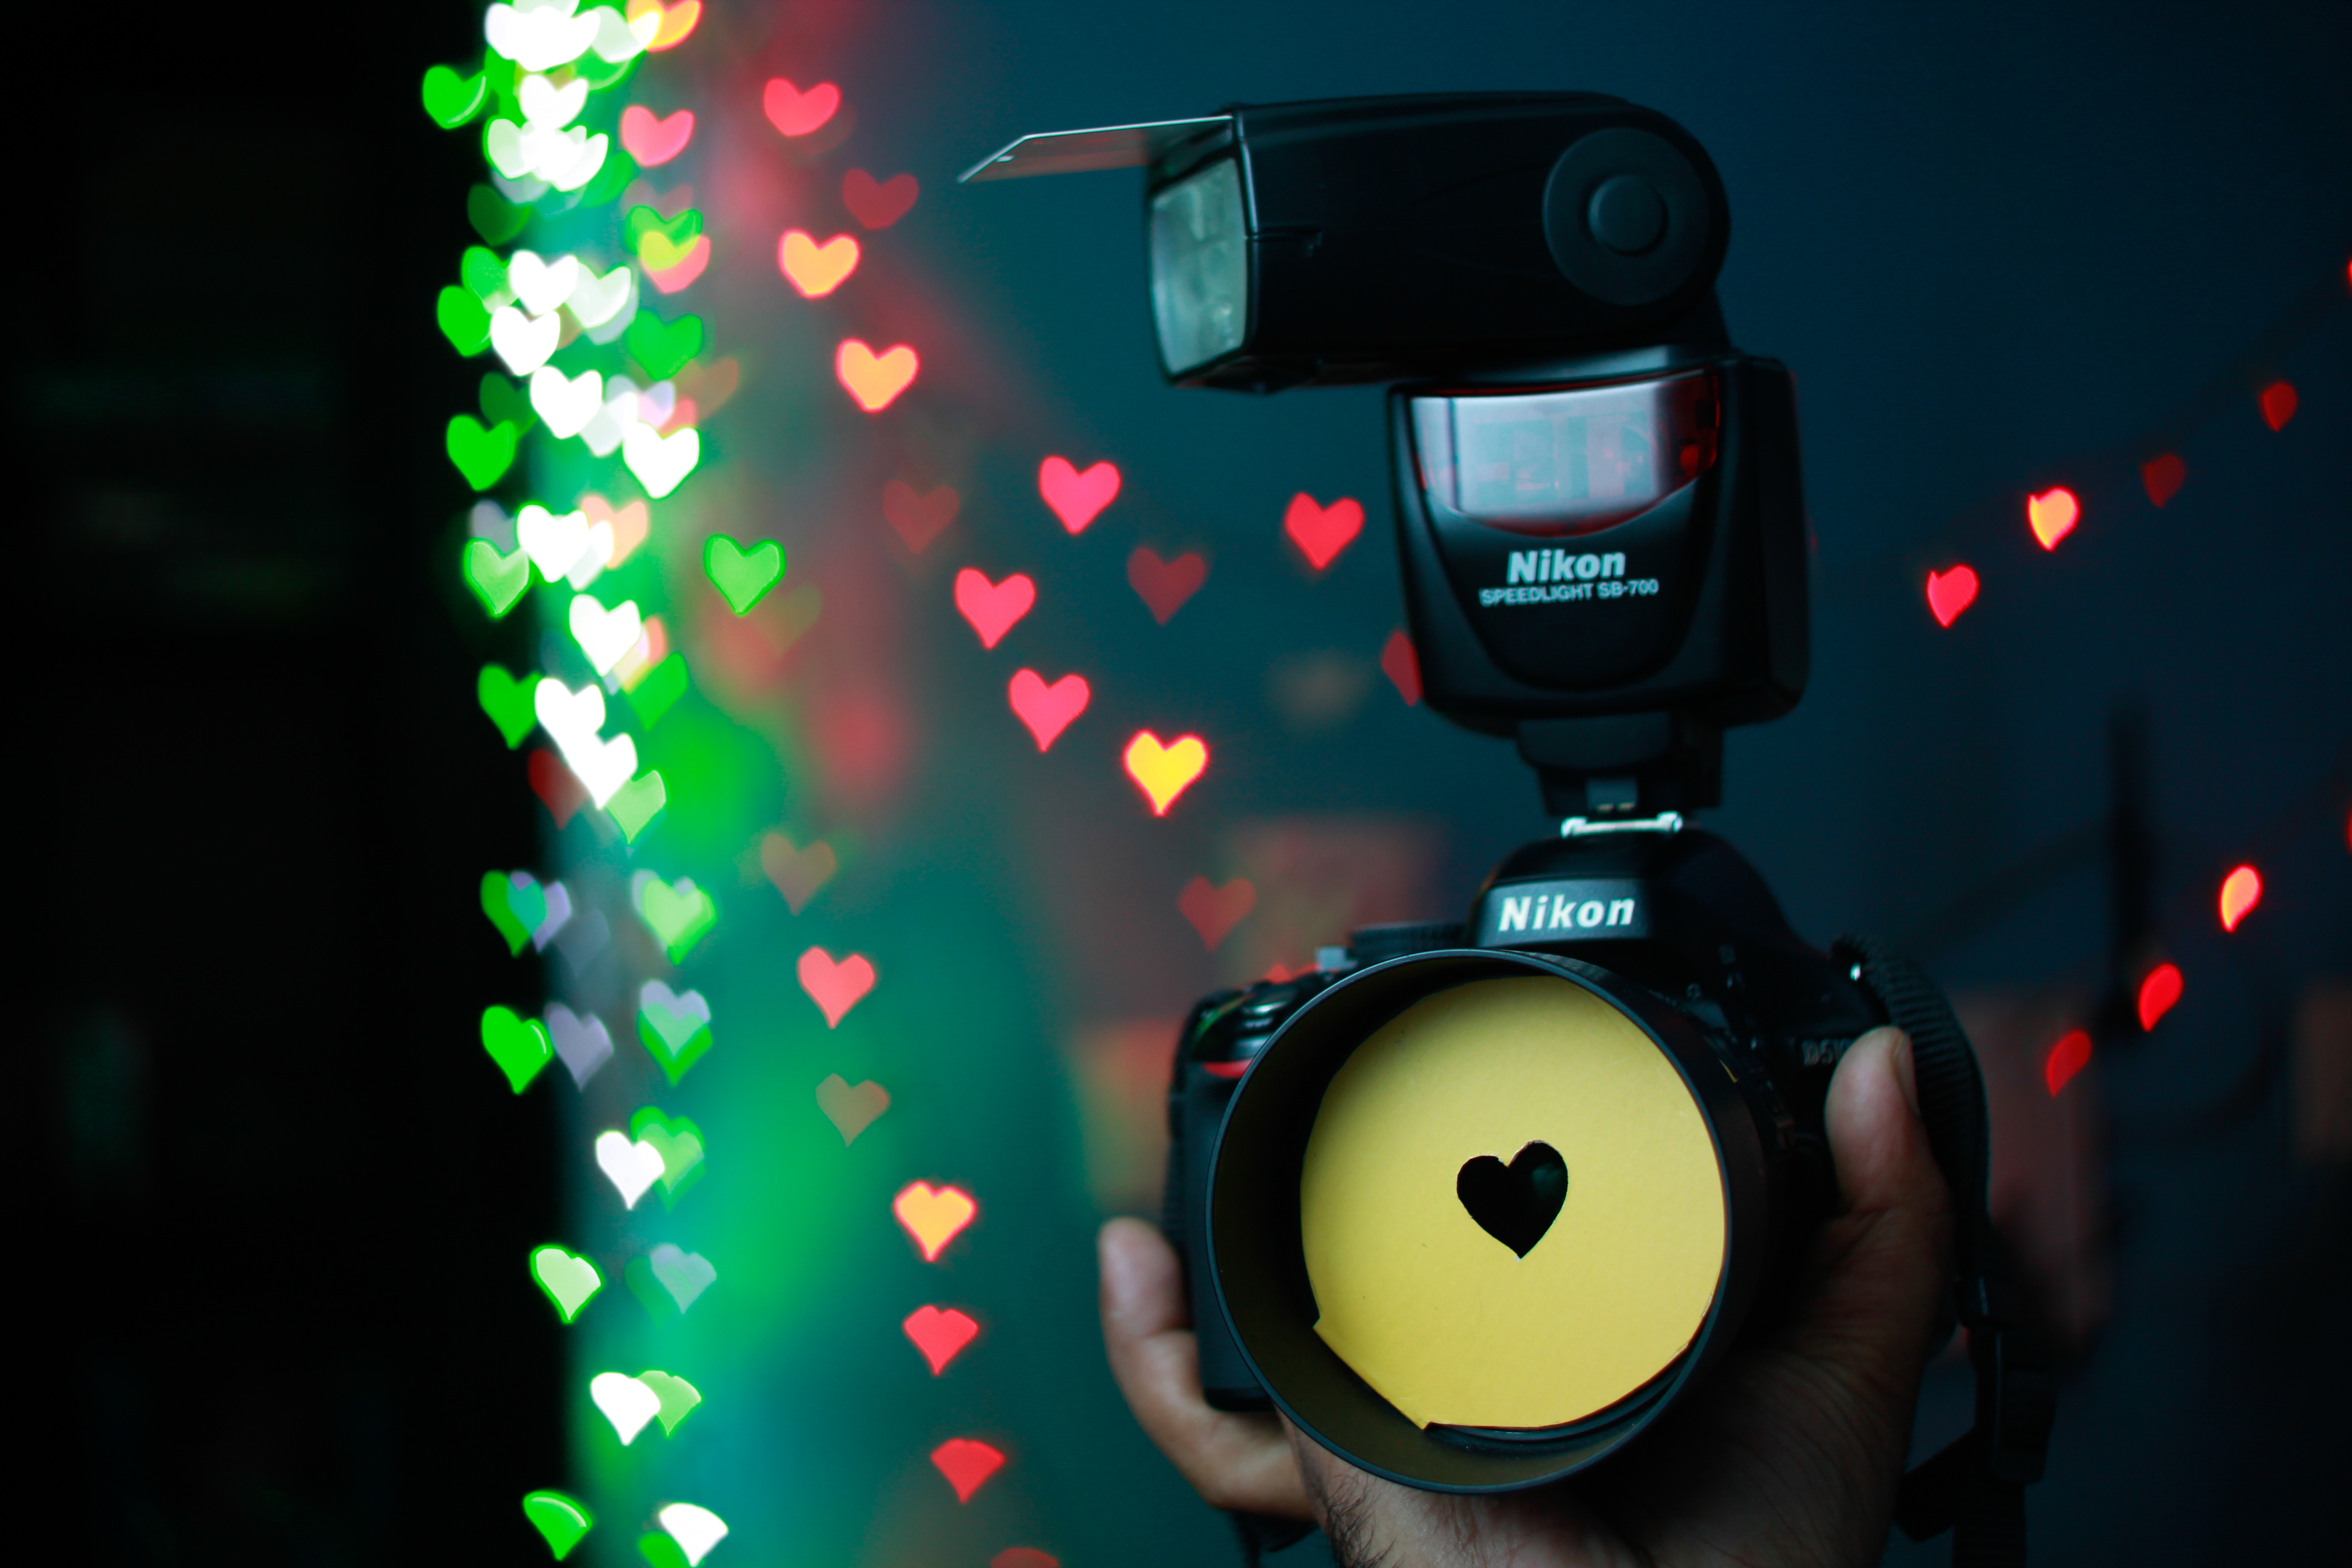
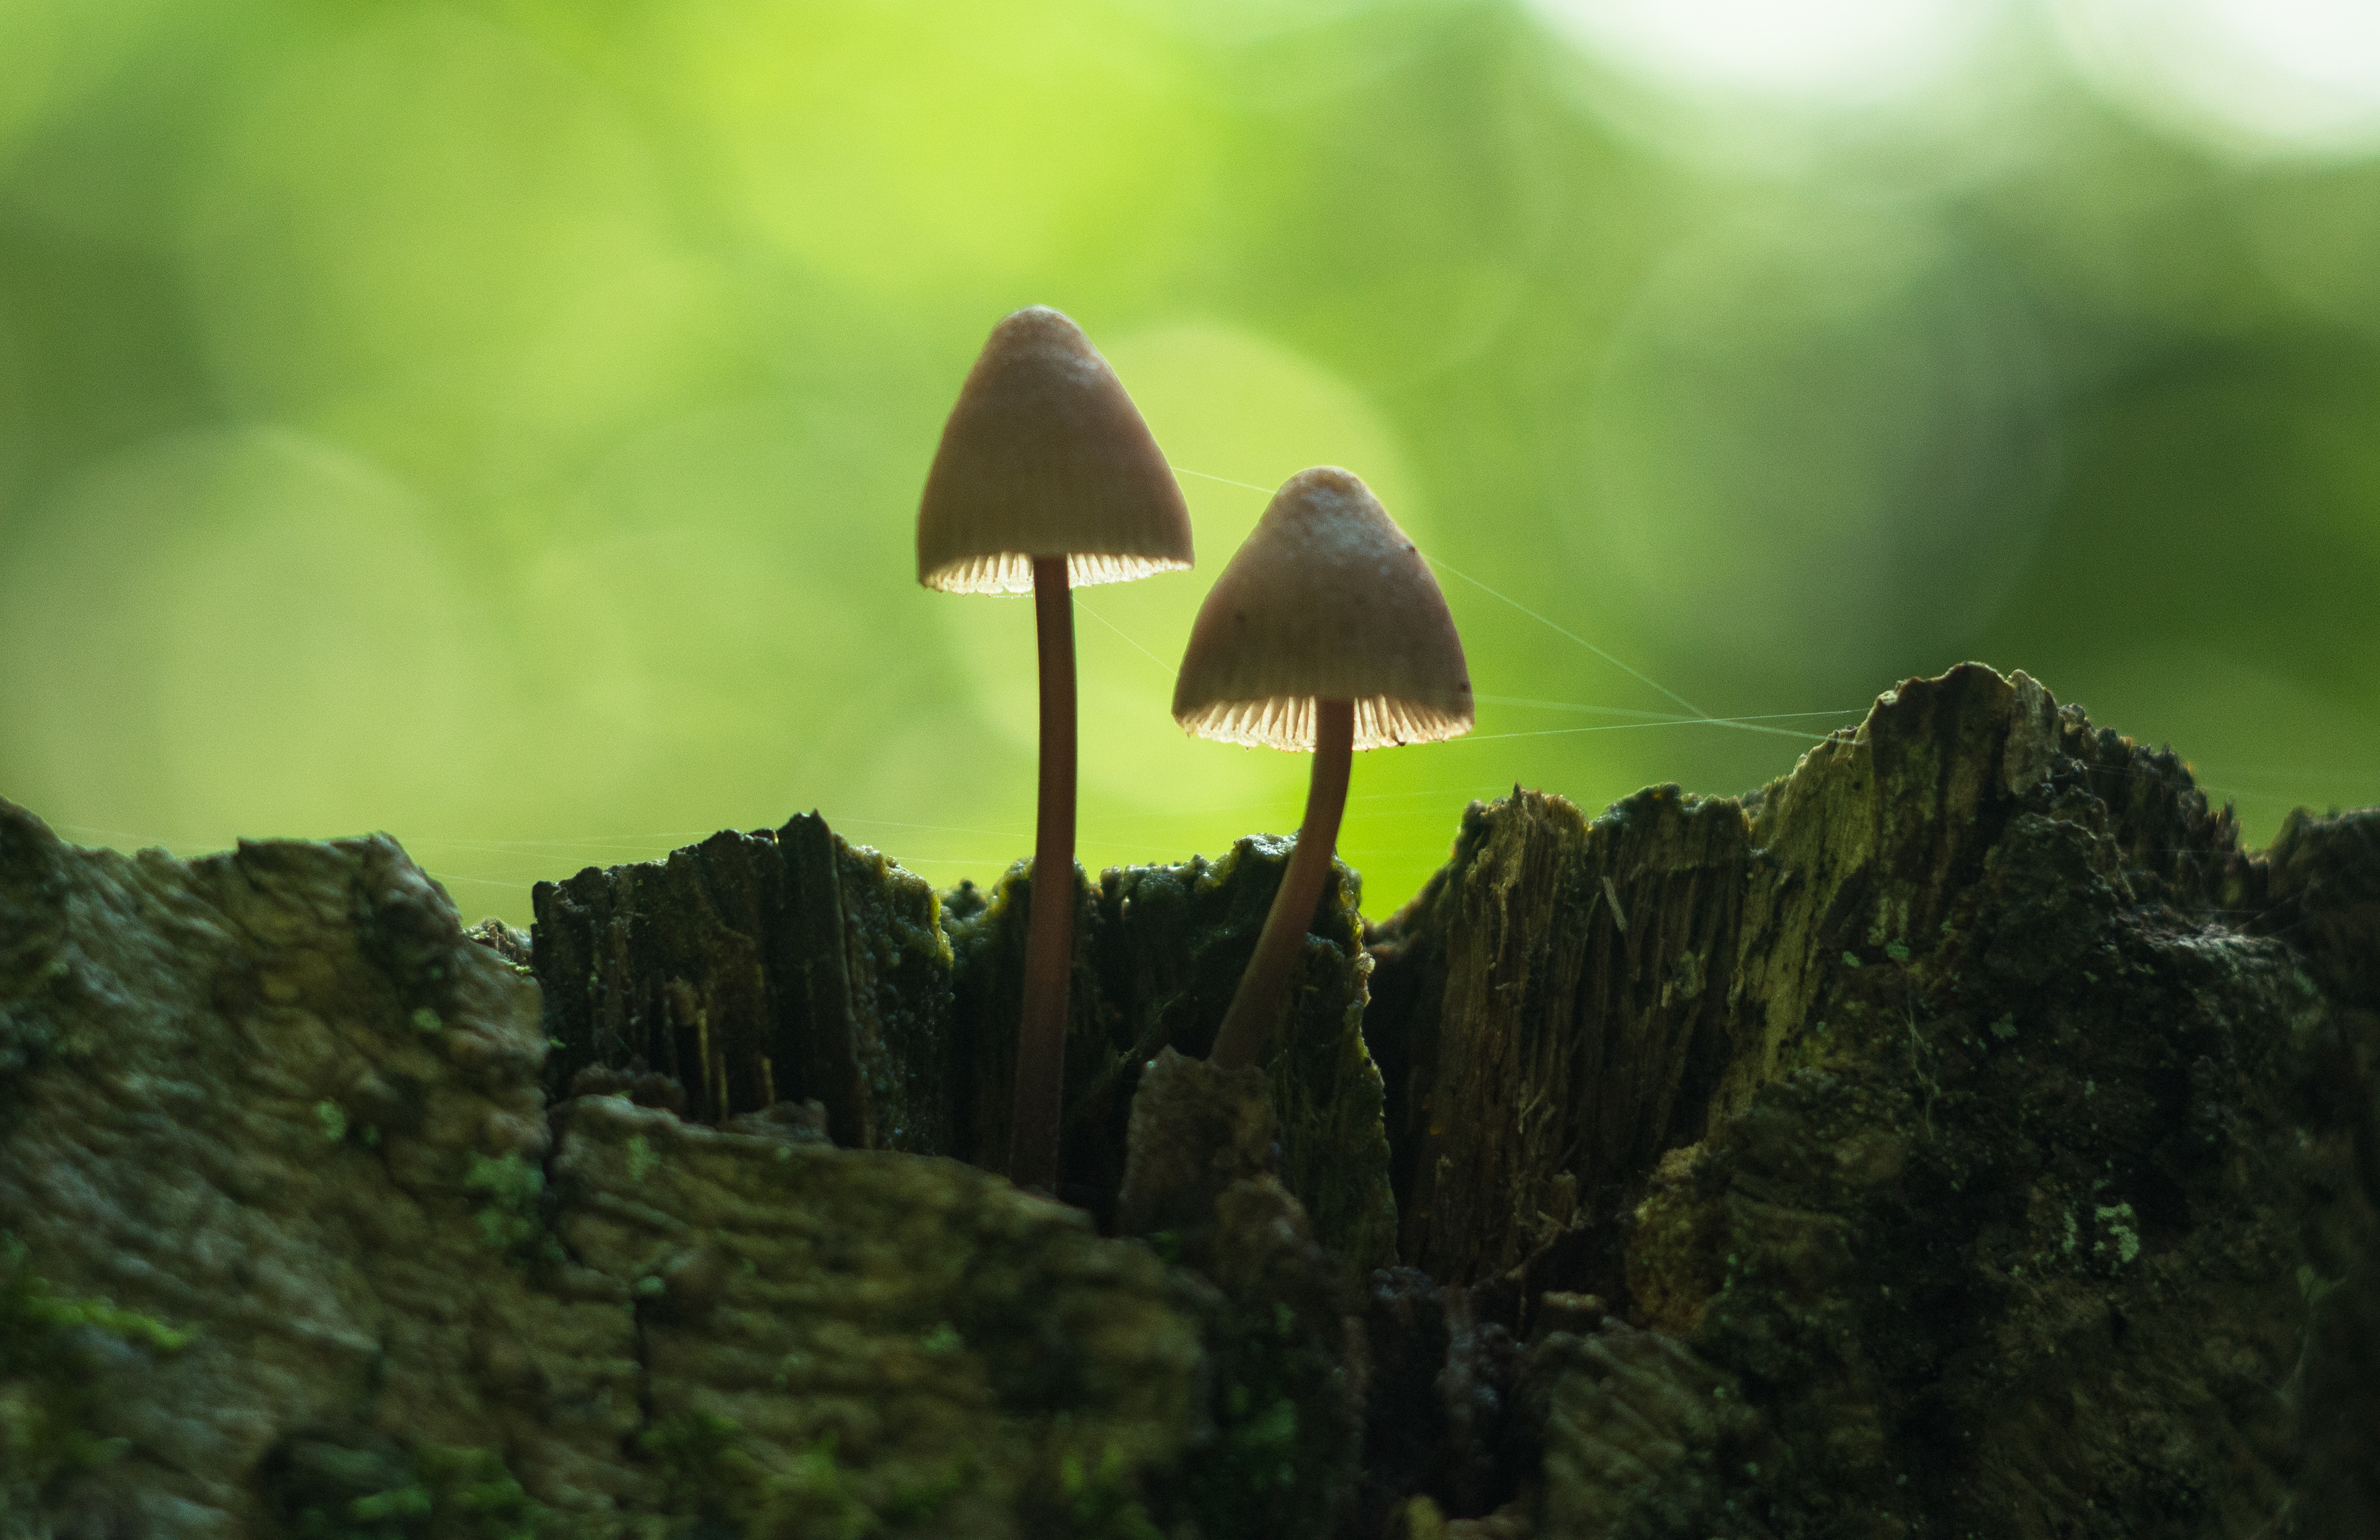
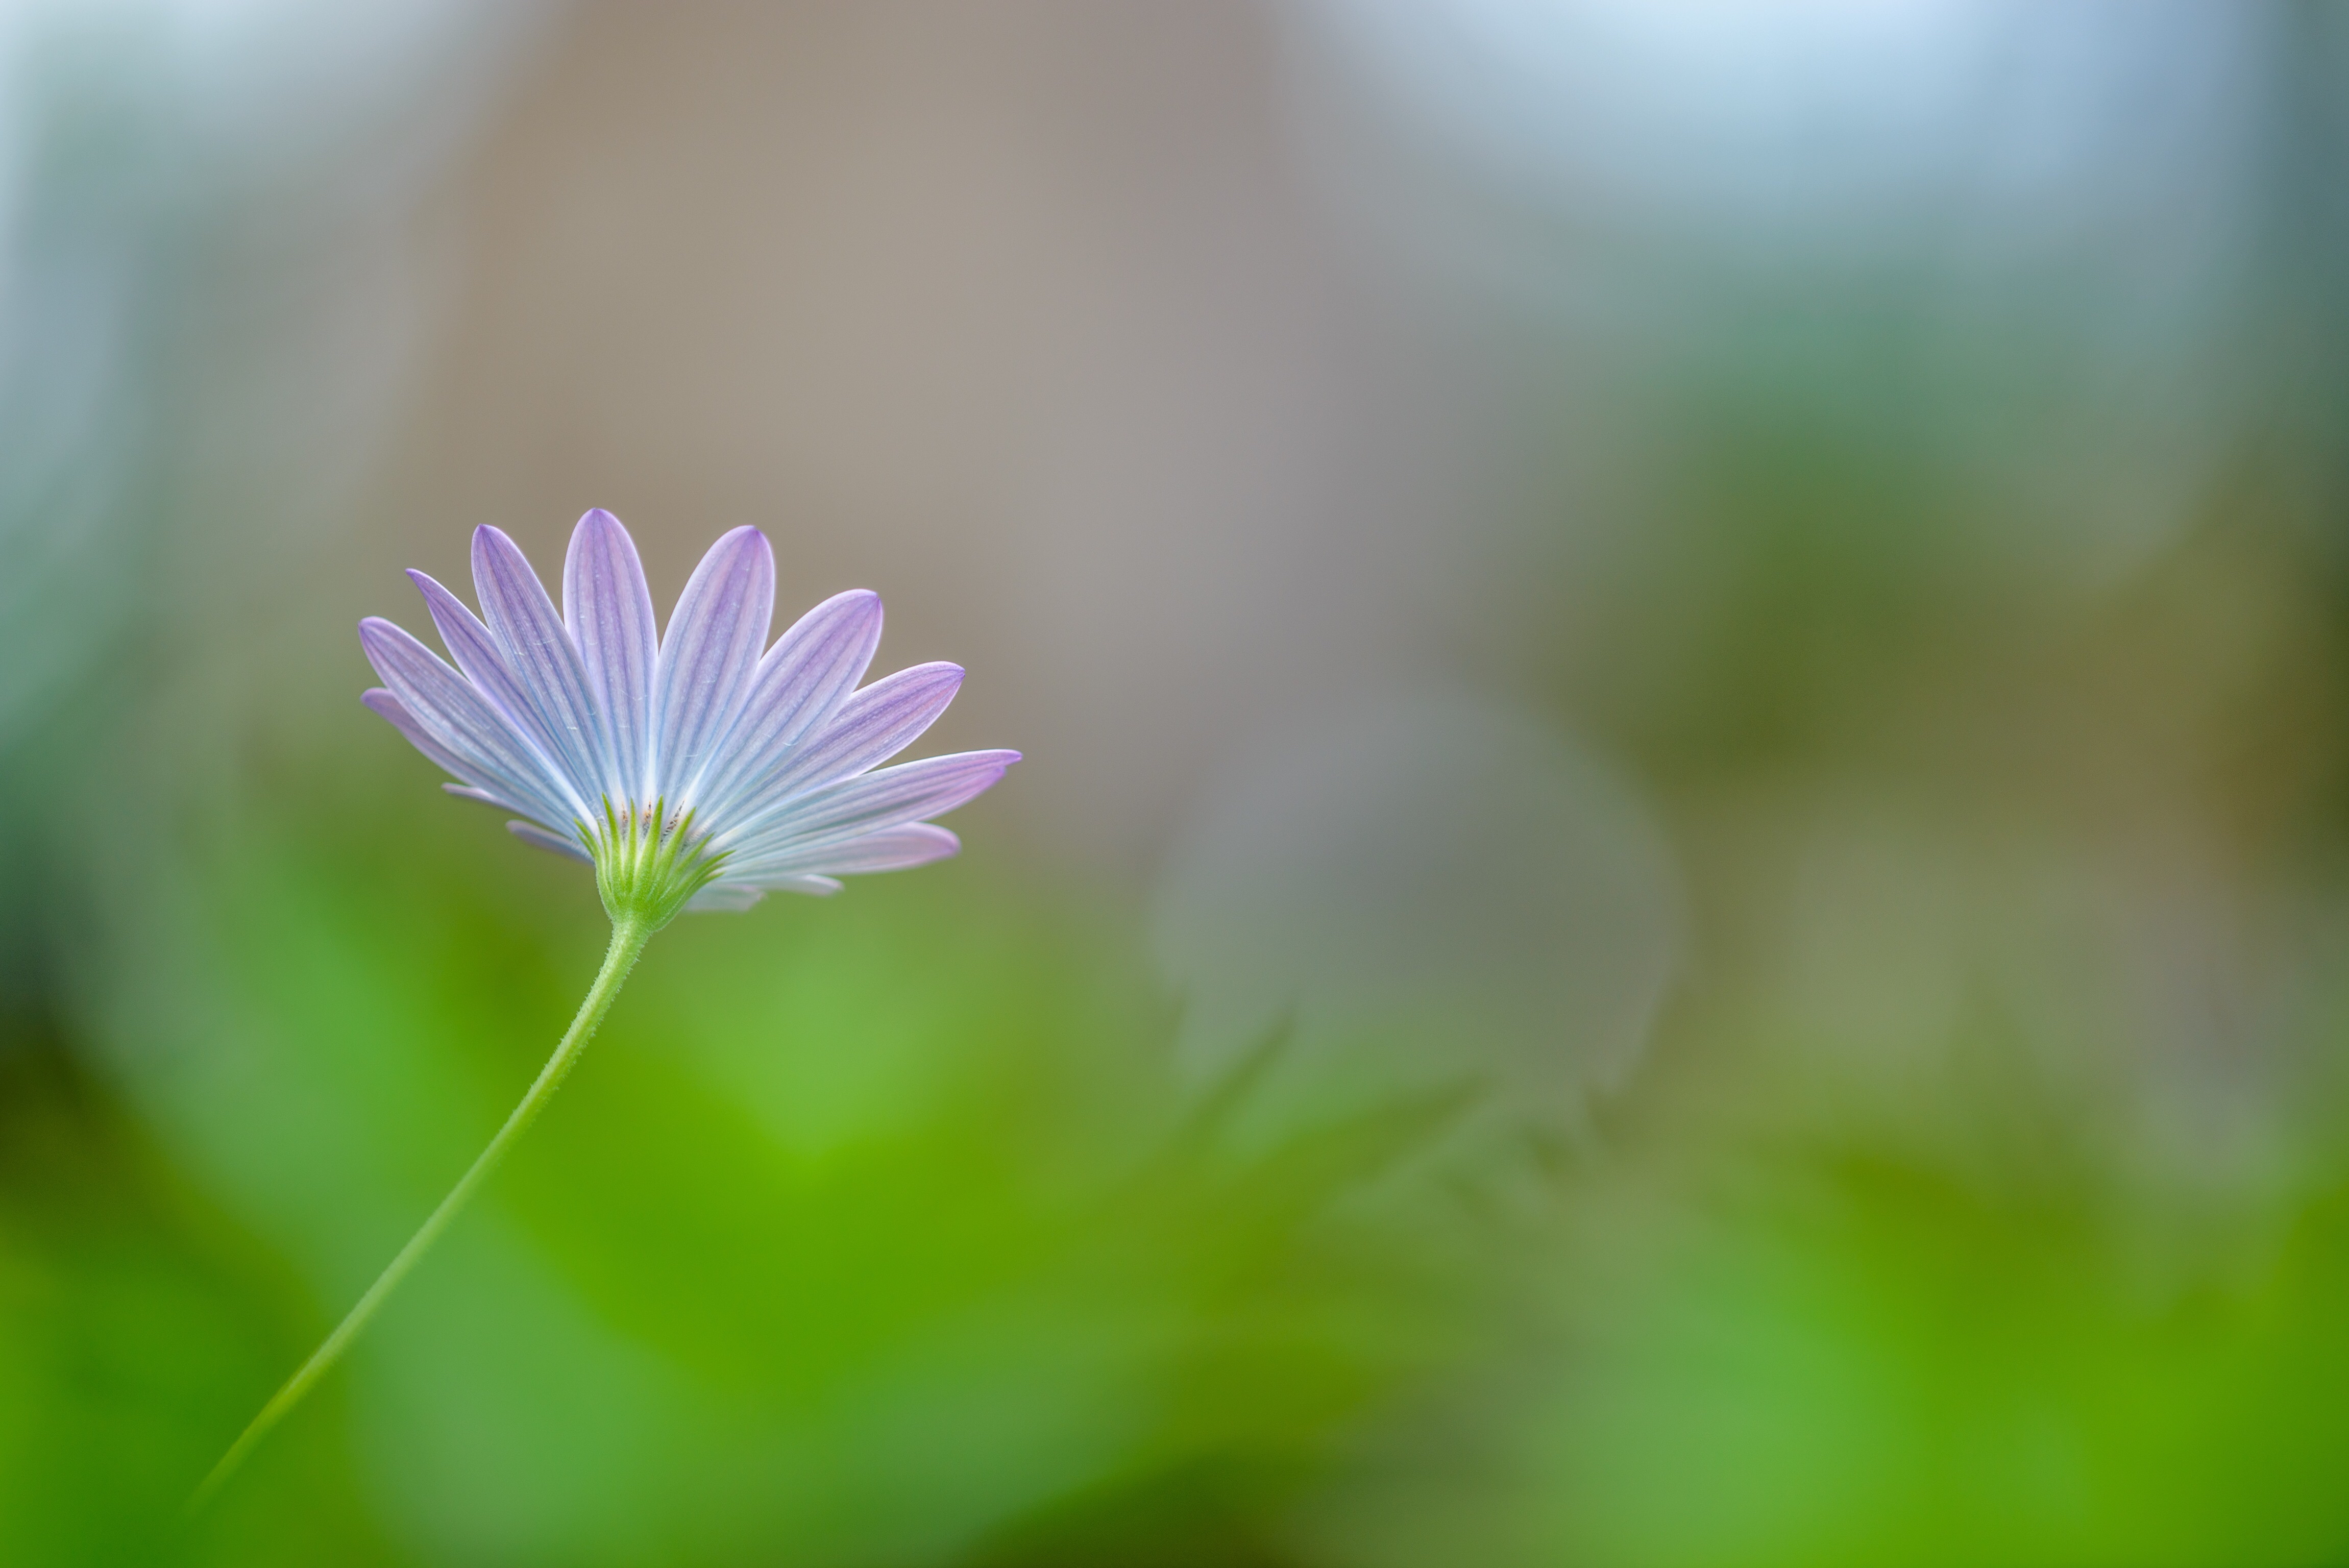
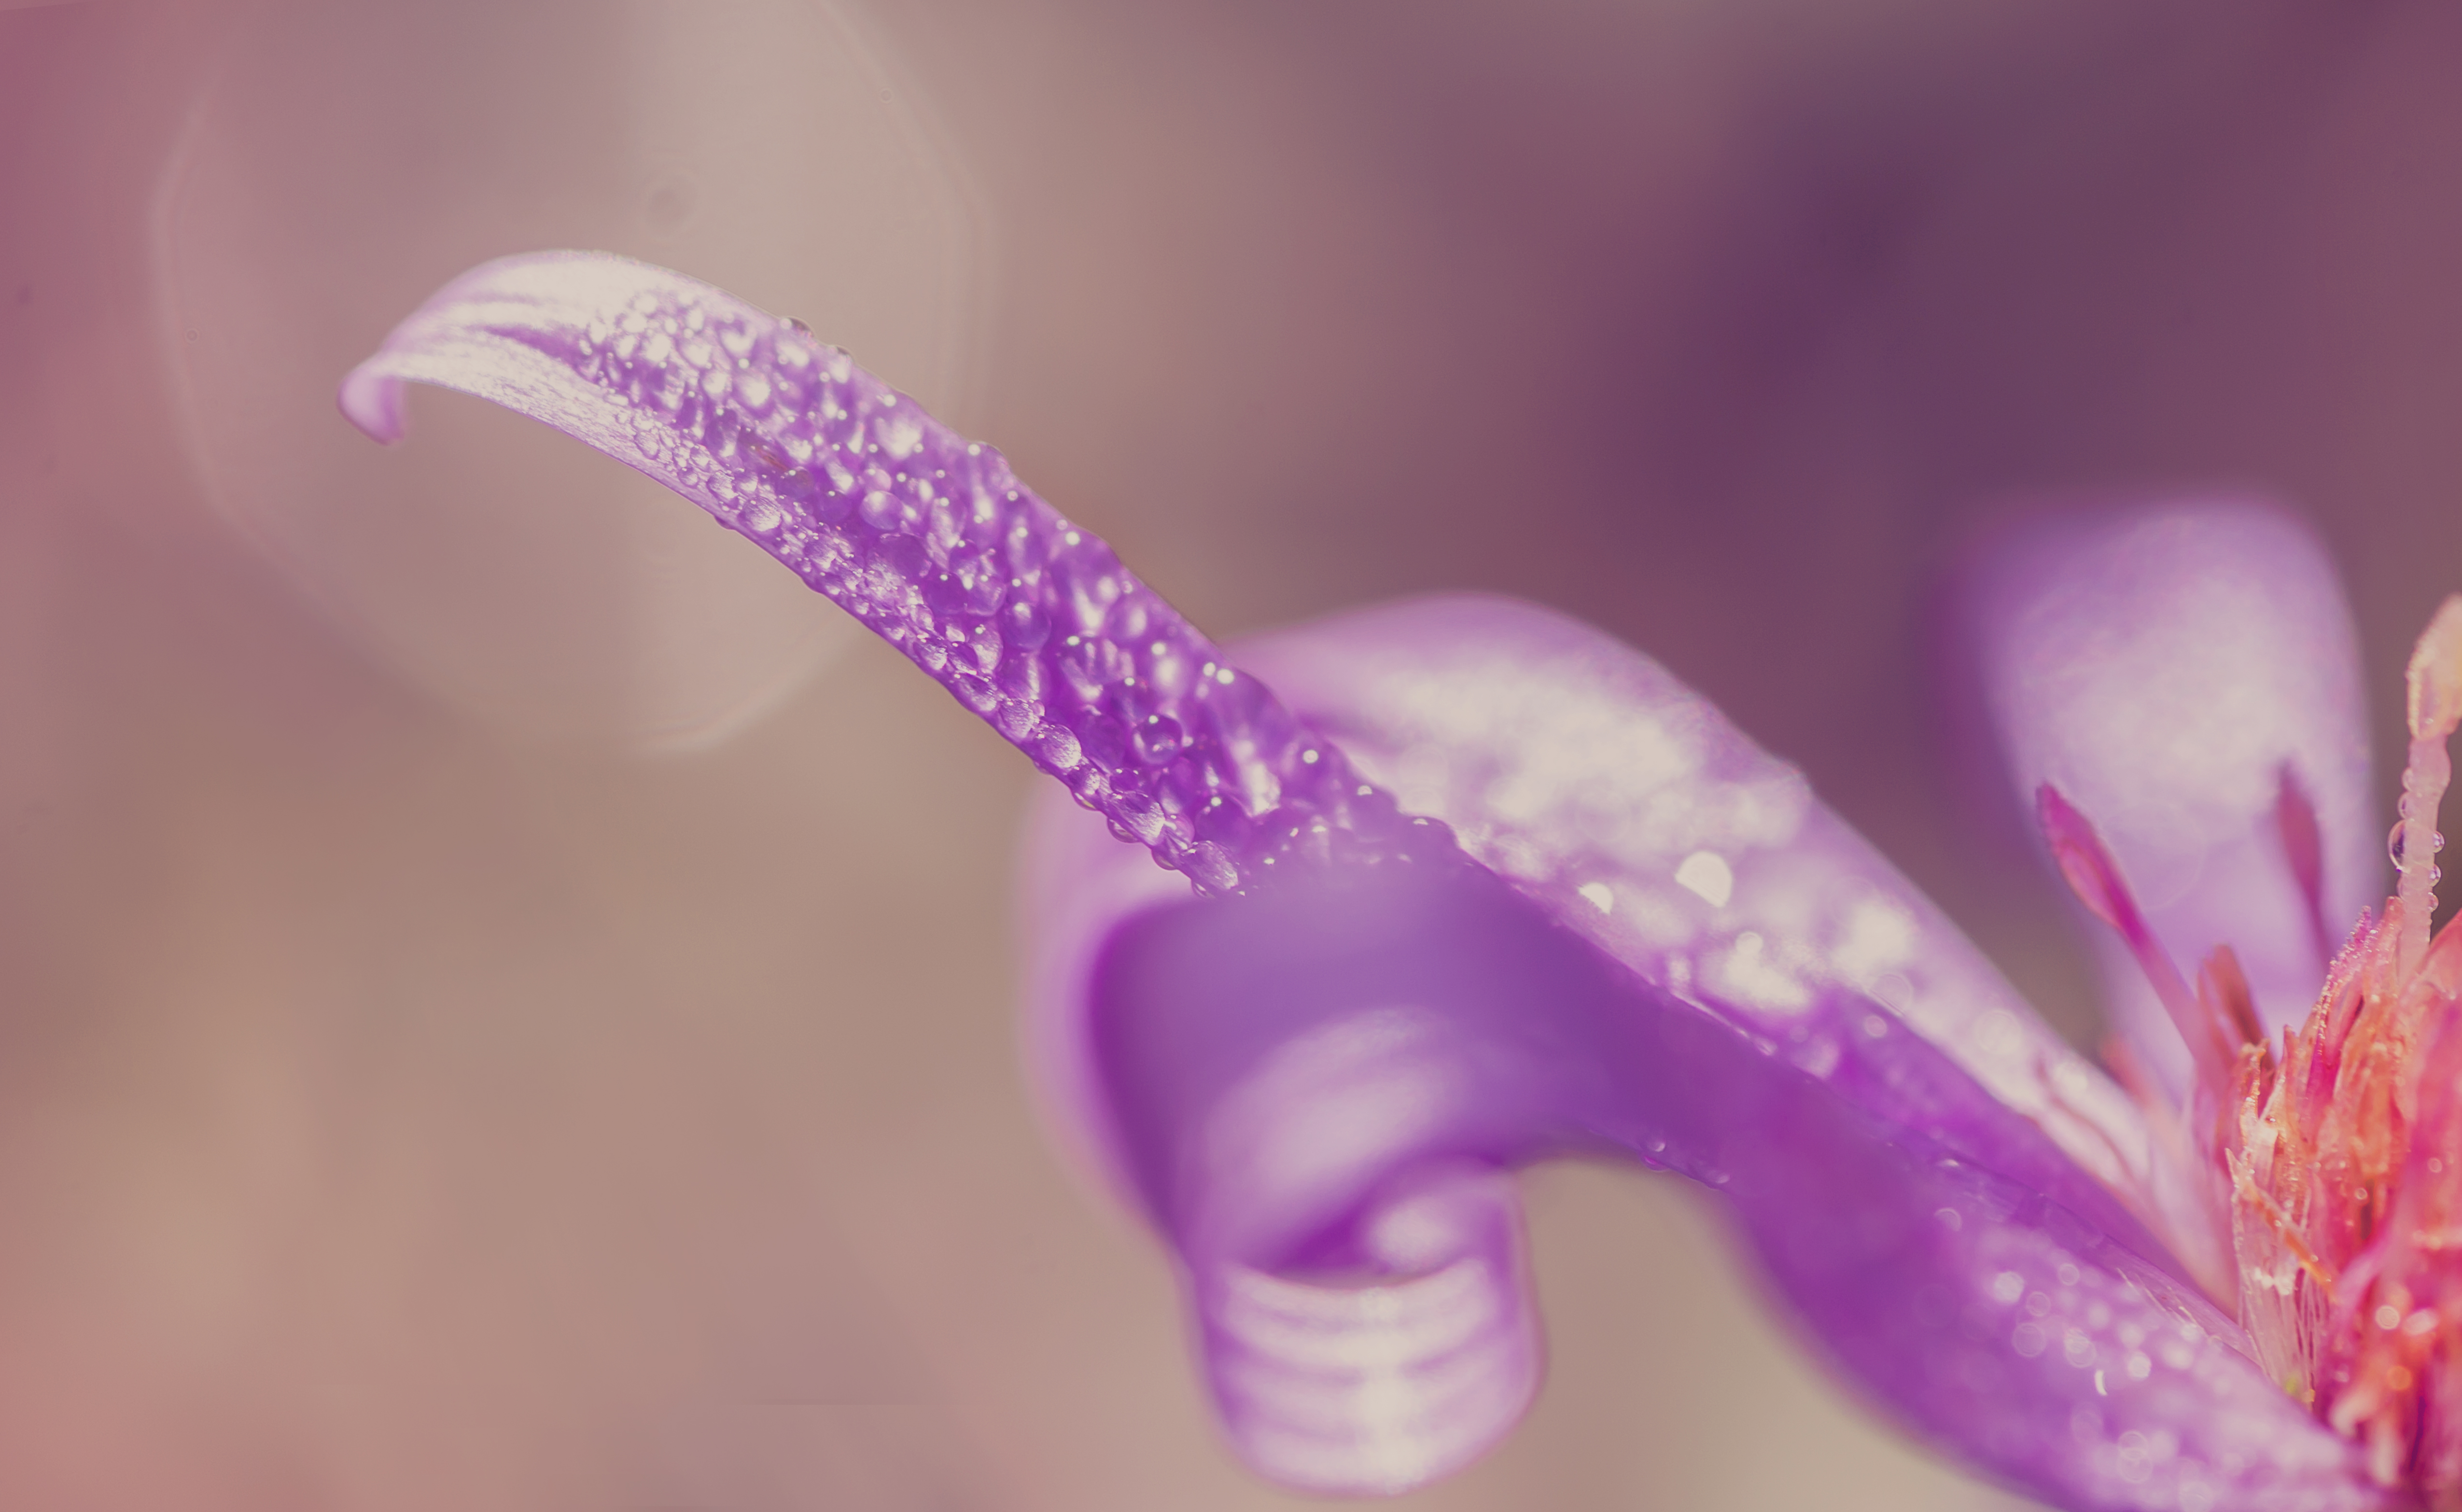
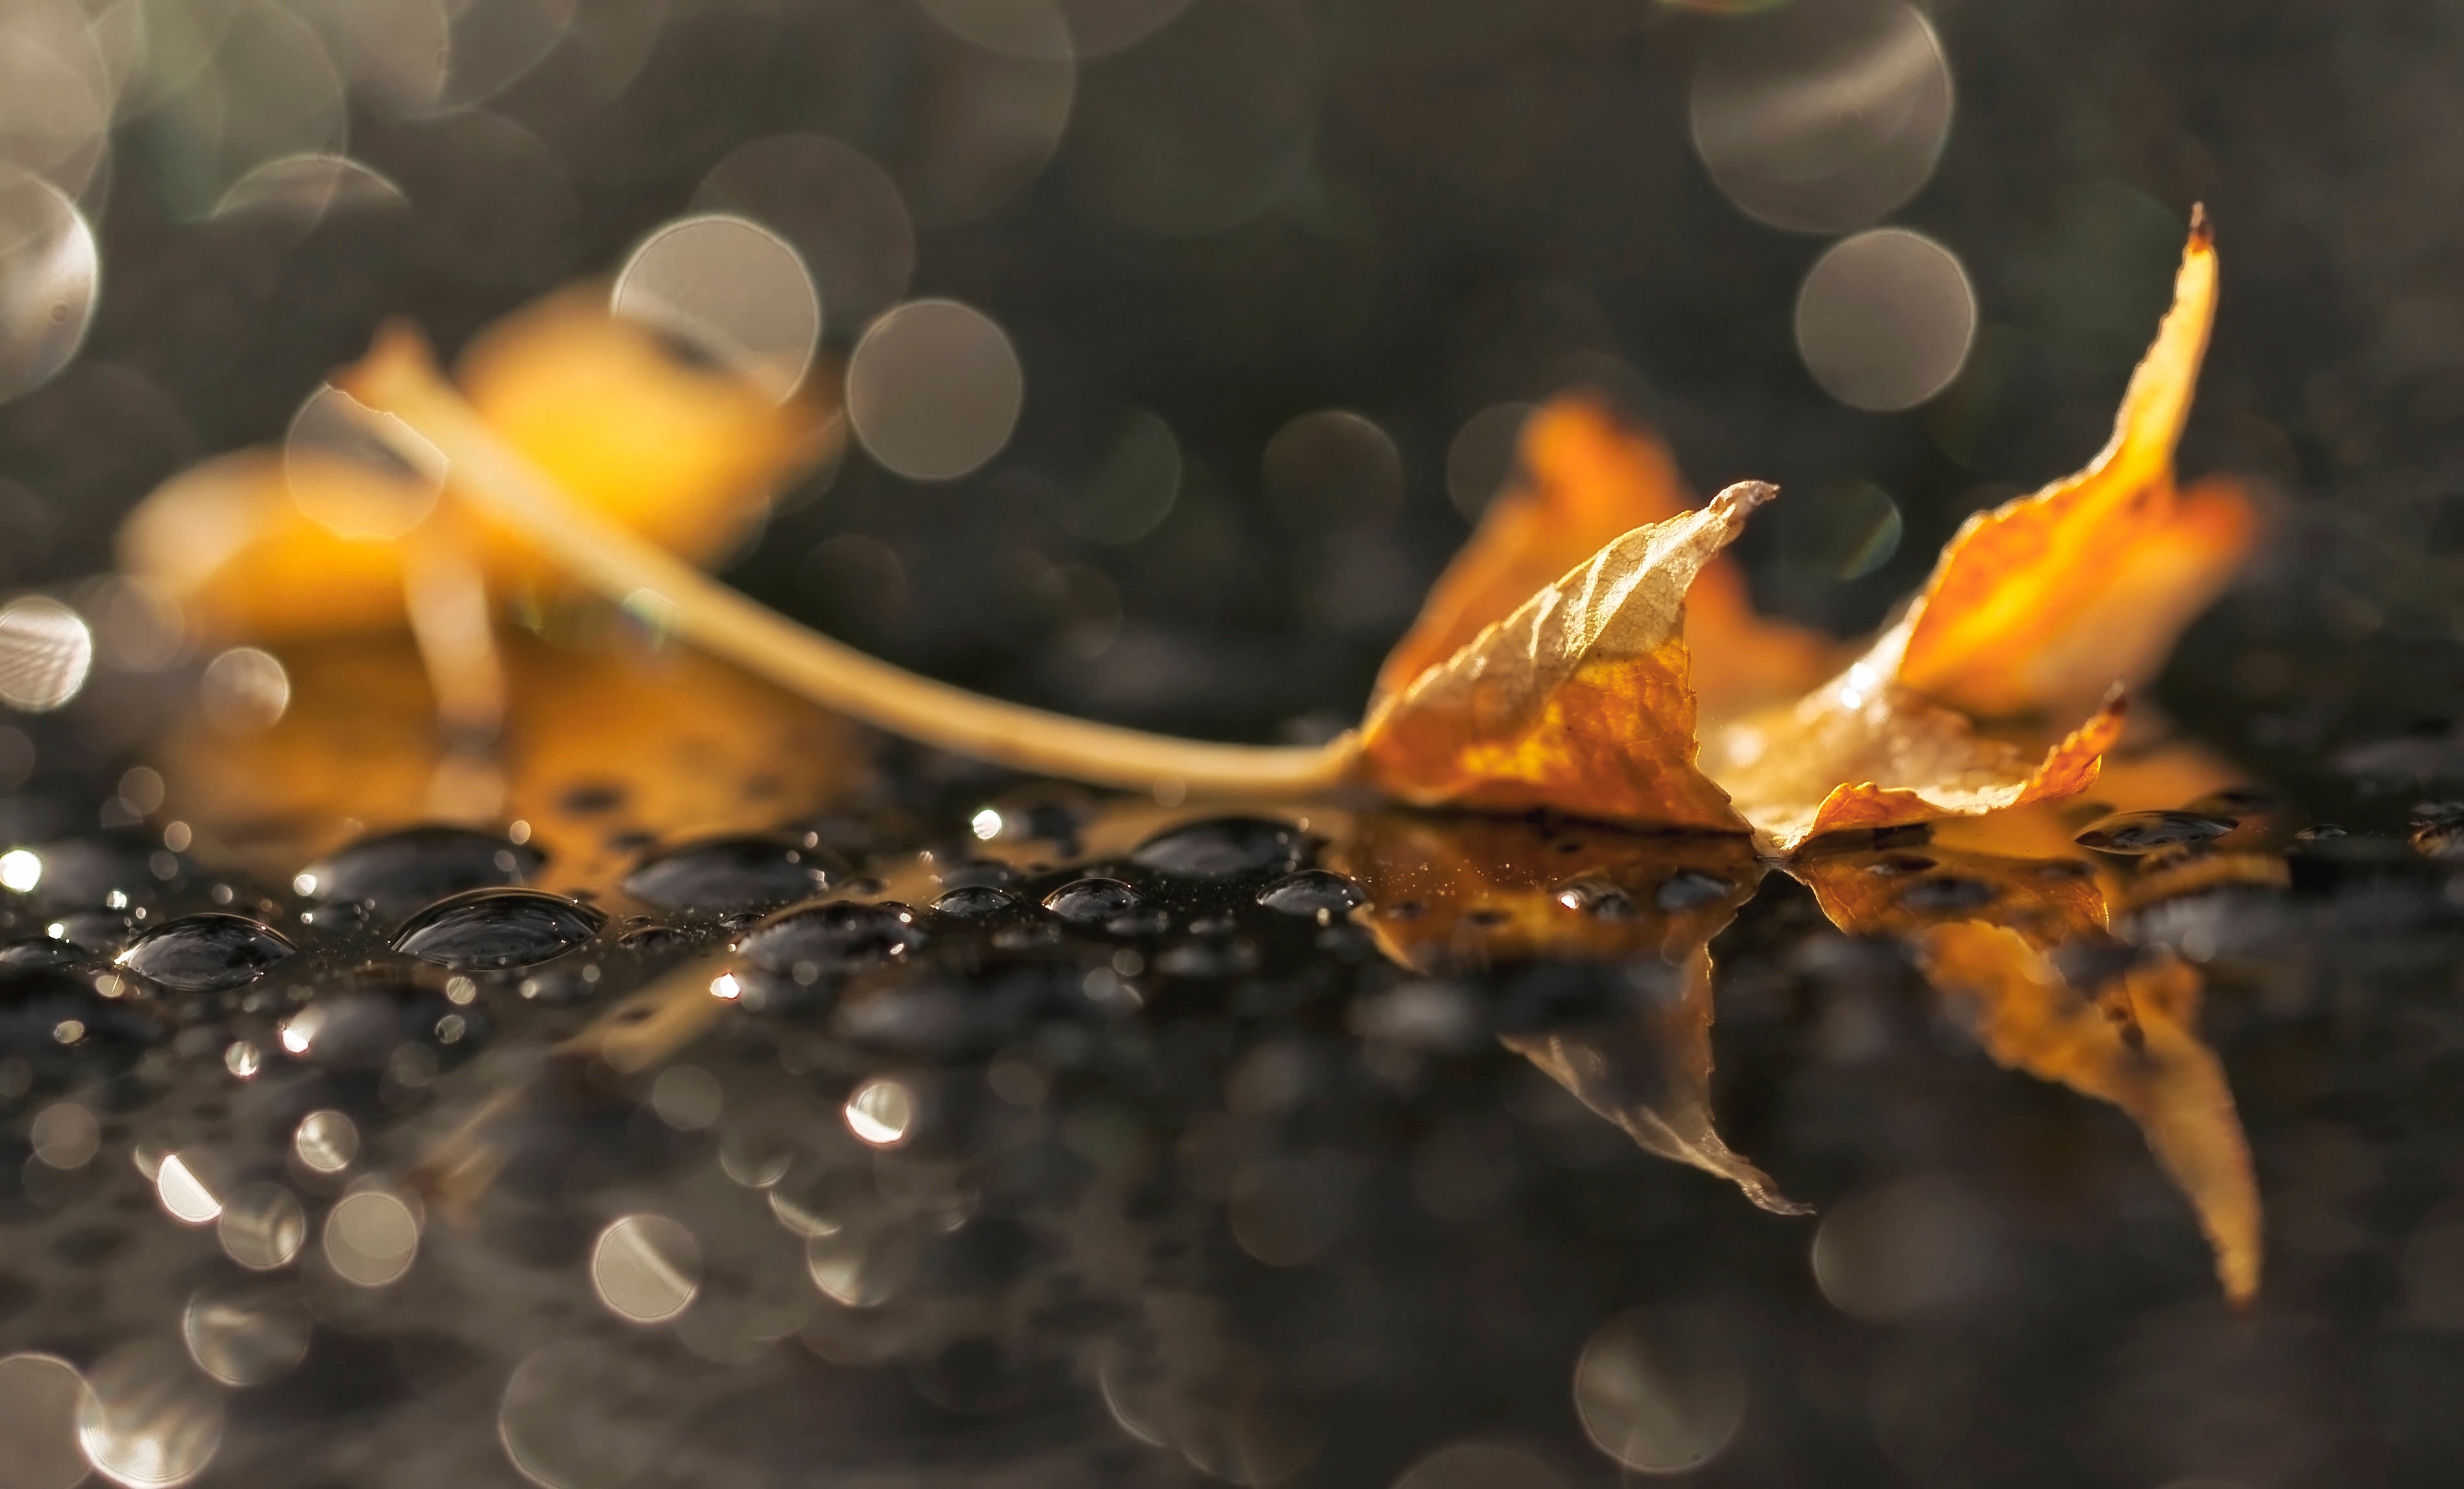
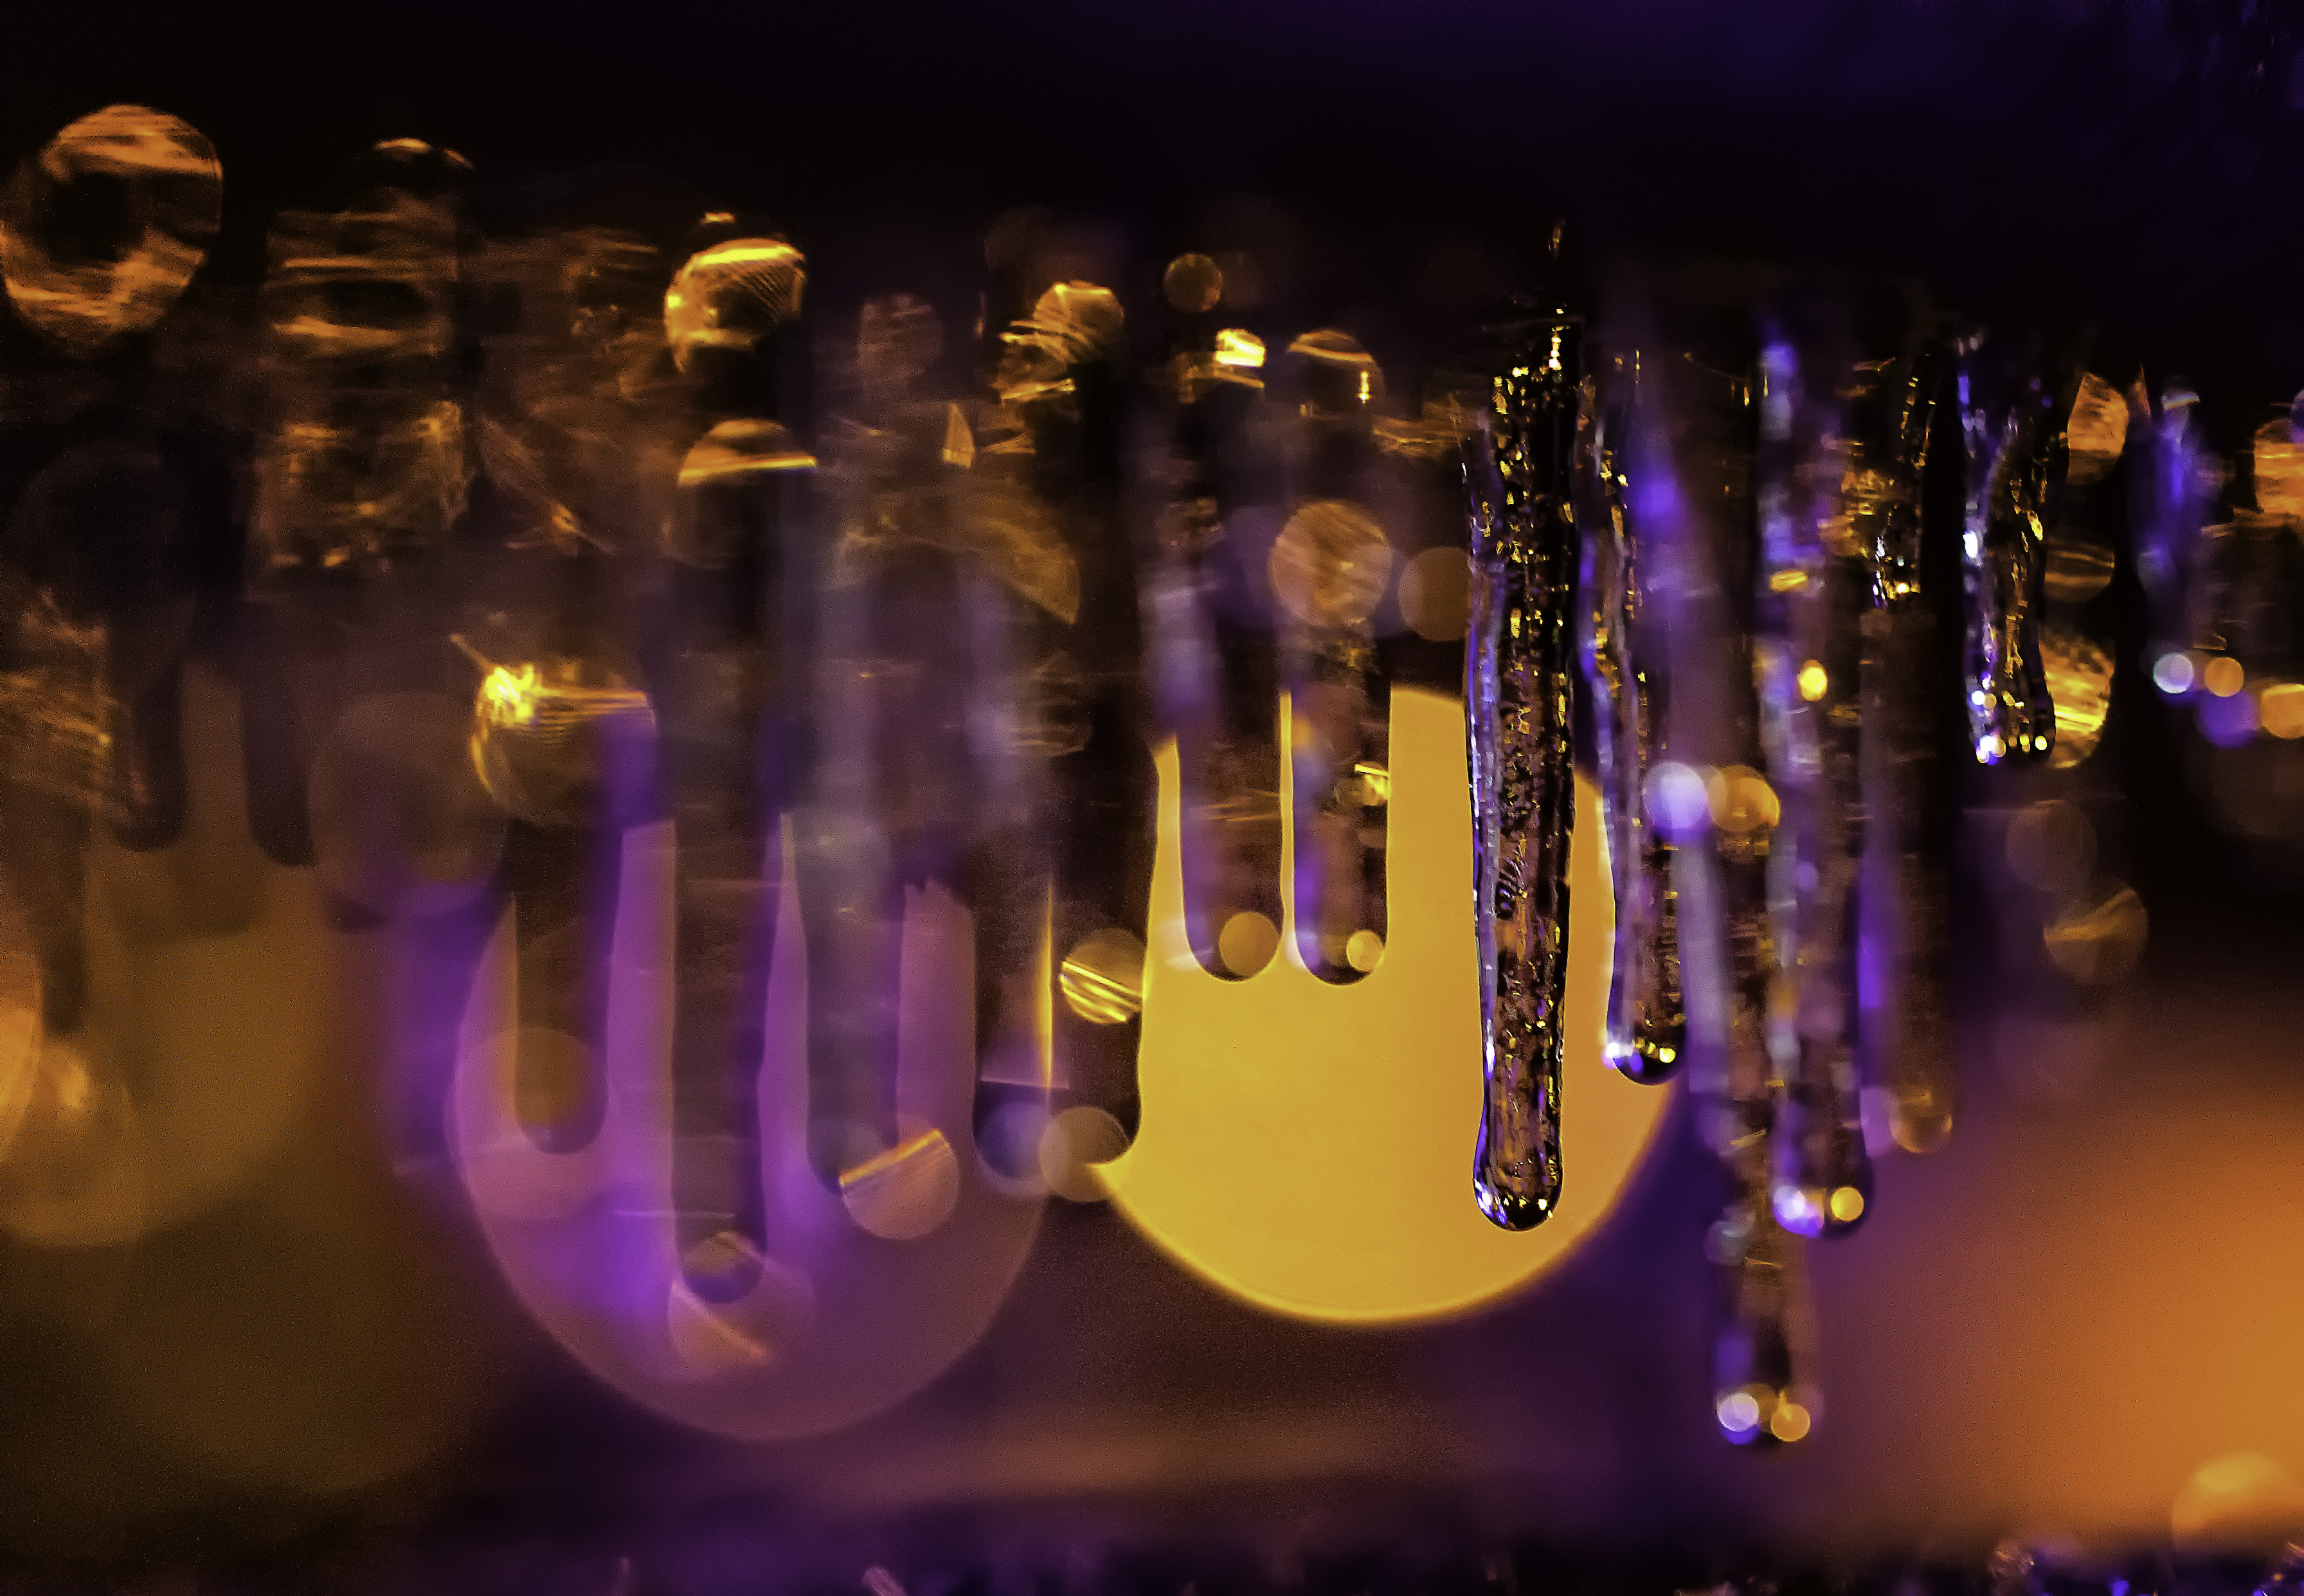
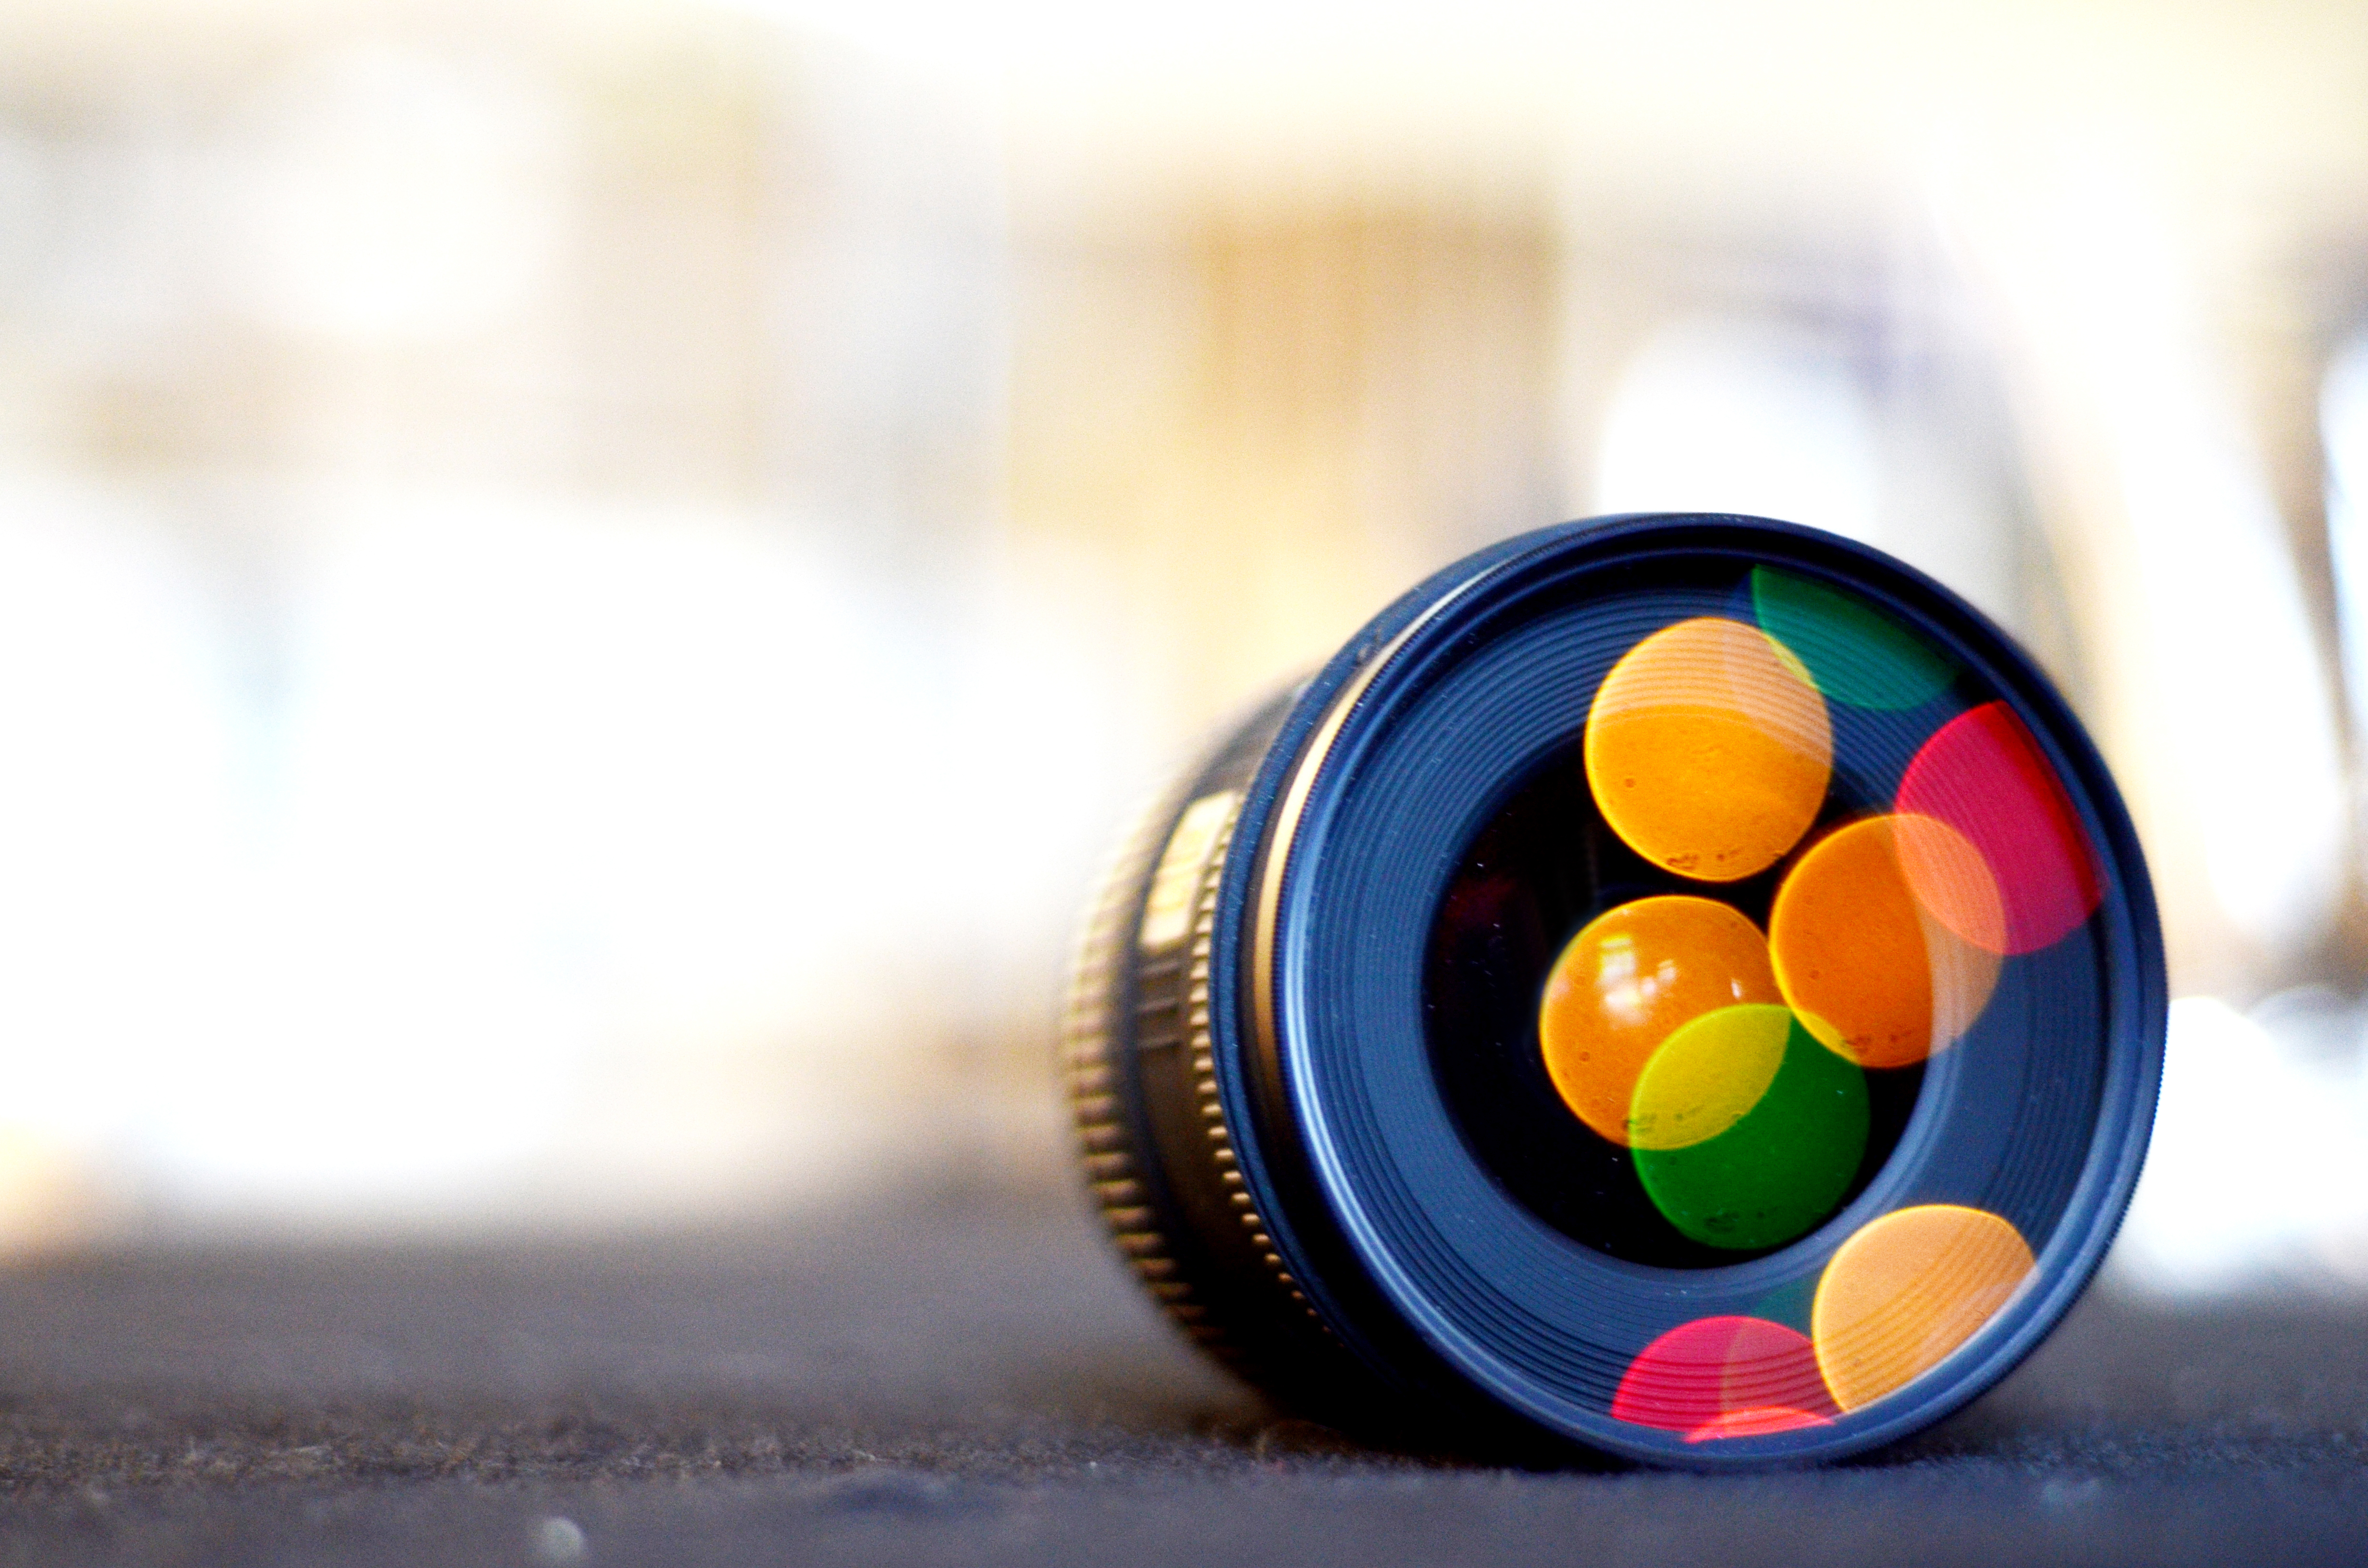
Blurry backgrounds are nothing new when it comes to photography. The technique of blurring the background to emphasize a subject in the foreground has been used by photographers for decades, and by painters and other visual artists for hundreds of years. Now thanks to the proliferation of digital cameras this phenomenon has exploded in recent times.
Many people like photos with a tack-sharp subject and a smooth blurry background, and even though some might say it’s more of an over-used trend, the truth is that bokeh is here to stay. The trick to using it effectively, is to learn how to use the physical properties of lenses and light to create the look you are going for. While some people turn to creative editing tricks like adding blurry filters or doing Photoshop gymnastics there really is no substitute for the genuine article. If this is something you have always wondered about or wanted to try for yourself, here are four easy steps to get you started.

50mm, f/4, 1/350th of a second, ISO 400
The term bokeh is a Japanese word that doesn’t have a precise English translation, but refers to the type and quality of the out-of-focus areas of an image. In other words, when the blurry parts of a picture look nice, you might say the image has good bokeh. While a thorough discussion of what bokeh is, what causes it, and what affect your lenses and lens elements have on the type and quality of bokeh could go on for several pages, this article is going to be a bit more basic look at how to create visually pleasing blurry elements in your photos. If you don’t want things to get too complicated, and aren’t quite ready for a thorough breakdown of aspherical elements or the circle of confusion, then get out your camera and follow along with these few simple tips to help you get the look you have always wanted.

50mm, f/1.8, 1/6000th, ISO 100
1 – Shoot with a wide aperture
Take a look at the front of your lens, you will probably see a few numbers that look like 1:3.5-5.6, or 1:2.8, or f/4 (read: What the Numbers on your Lens Mean for more on how to find this). These numbers refer to the size of the aperture in the lens itself, and how big the opening can get. Ironically smaller numbers are bigger, and a lens that says 1:2.8 will be able to let in much more light than a lens that says 1:4 or f/4. (Some manufacturers use different schemes to show the aperture size but it’s always the number after the colon, or on the second side of the / that you want to look for when determining the maximum size of the lens opening.)
The smaller the number, the wider your aperture will be, and the less light you will need to take a properly exposed photo. Wide apertures also mean your photos will have a shallower depth of field, and anything out of focus behind your subject will begin to take on a smoother, more visually pleasing blur. In other words, wide apertures help give you more bokeh.
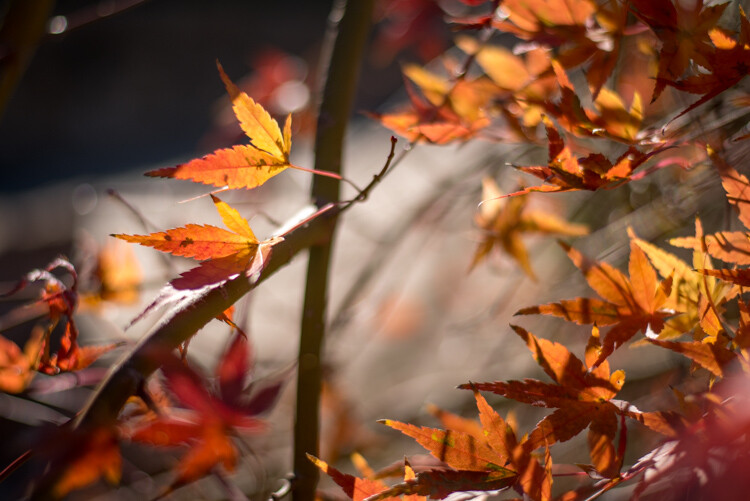
50mm, f/1.8, 1/4000 second, ISO 100
If you’re itching to get some pictures with the same kind of buttery-smooth background blur you have seen in nature magazines or fashion spreads, put your camera in Aperture Priority mode (on Nikon) or Av (Canon, Pentax, etc.) and turn the control dial until the aperture value number is as close to zero as it can go. It helps if you have a prime lens that doesn’t zoom in and out, since they usually have wider maximum apertures, but even a kit lens can give you decent results if you have enough light. Now go out and find something to photograph, even if it’s just a coffee mug on your office desk.

To put my money where my mouth is, I took my camera to work and literally snapped a picture of a coffee cup on my desk. No photoshopping or magic tricks here, just a wide f/1.8 aperture. 50mm lens, 1/100 second, ISO 160
2 – Put your subject far away from the background
If you have been trying to get the kind of silky, blurry bokeh you seem to notice in everyone else’s photos you might try this one simple trick and you won’t believe what happens! Simply putting a great deal of distance between your subject and whatever is behind it, can go a long way towards creating the bokeh you have always dreamed about.
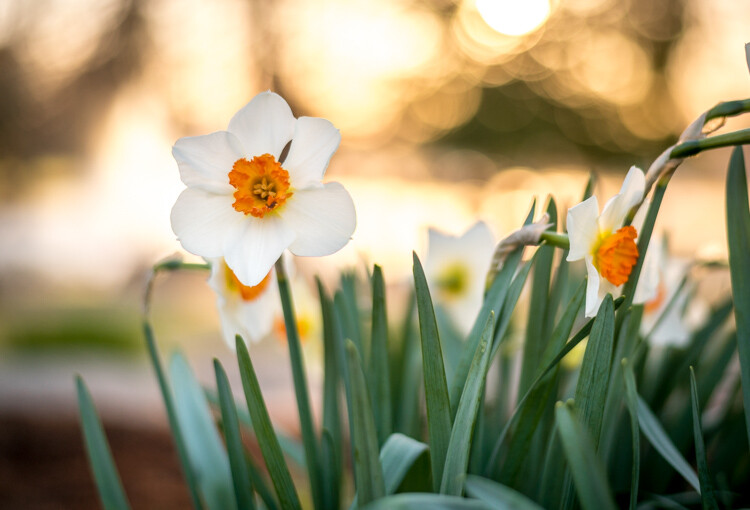
50mm, f/1.8, 1/1000 second, ISO 100
If you are shooting portraits, try moving your subjects to a location where there is a great deal of space behind them, or even just repositioning yourself so you are looking at your subjects from a different angle that puts more distance between them and the background. In the photo below, I specifically shot the scene so that there was about 50 meters between the couple and the fountain, which caused it to have a nice blurry out-of-focus appearance that complements the woman and her fiancée quite well. I could have used a bench that was much closer to the fountain, but it would have had a very different affect on the picture, and it would not have given me nearly the same amount of bokeh as you can see in the final image below.
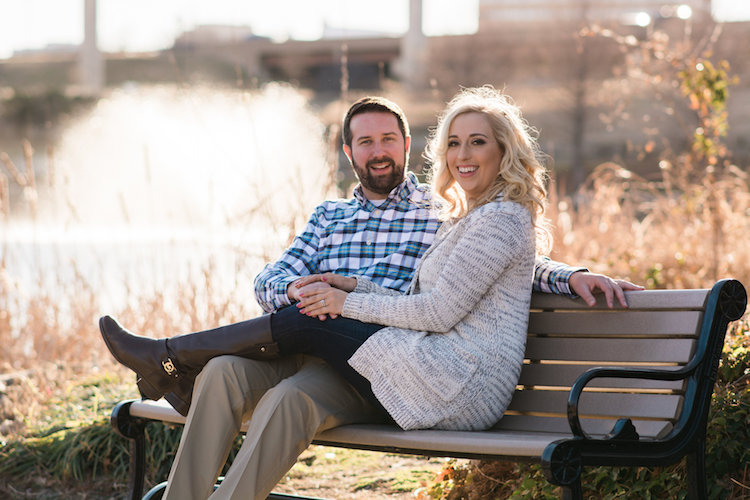
85mm, f/2.4, 1/2000 second, ISO 200
3 – Get close to your subject
As I mentioned in the opening paragraph there are many different optical elements that come into play when dealing with bokeh and background blur, and certainly shooting with wide apertures while putting a great deal of distance between your subject and the background are critical elements of the equation. Another thing you can do, is position your camera and lens physically close to the subject you are shooting. Combine this technique with the first two, and you’re virtually guaranteed to get good results.
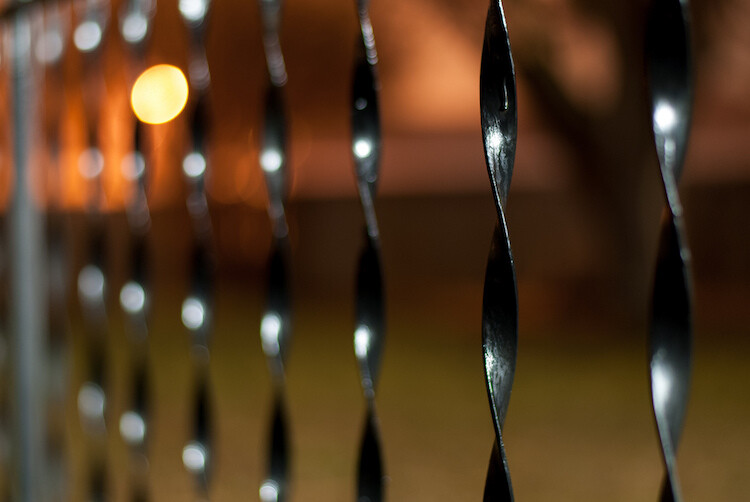
This shot has all the techniques rolled into one: a wide f/1.8 aperture, a far-away street light in the top left corner, and a very short distance between my camera and the fence bar on the right side.
4 – Zoom in, waaay in
If you are trying to get bokeh-licious shots and not having much luck, there’s another technique that could mean the difference between frustration and celebration. Due to how lenses collect, and focus incoming light rays, it’s easier to get blurry backgrounds with longer focal lengths. This is why these types of shots are difficult to get on mobile phones, which generally have lenses with a much wider angle of view. Grab your nearest camera, whether it’s a DSLR or a humble little point-and-shoot, and zoom the lens as far in as it will go. Now use the other tips I have already mentioned: set the aperture to the widest setting, find a subject that’s relatively close to you, and make sure there is plenty of room between the subject and the background.

A golden eagle, taken with my 300mm f/4 lens on a Nikon D7200. A very expensive combination, but it produces outstanding results with silky-smooth bokeh.
You might not get the photo of your dreams, but with a little bit of practice you should start to see some improvements, as you begin to understand how to use your camera to create sharp subjects with pleasing out-of-focus areas.

Just kidding! I made that first image above with a cheap Panasonic ZS7 pocket camera, and all I did was zoom in as far as it would go. This is the same scene, with the same camera, a few seconds later – but zoomed all the way out.
Now with all this being said, I have a challenge for all of you dPS readers: What is your favorite picture you have taken that has nice pleasing bokeh? Is it a portrait, a wild animal, or more along the lines of abstract art? Share your picture in the comments section below along with a few tips of your own to help others take similarly beautiful bokeh photos.
googletag.cmd.push(function() {
tablet_slots.push( googletag.defineSlot( “/1005424/_dPSv4_tab-all-article-bottom_(300×250)”, [300, 250], “pb-ad-78623” ).addService( googletag.pubads() ) ); } );
googletag.cmd.push(function() {
mobile_slots.push( googletag.defineSlot( “/1005424/_dPSv4_mob-all-article-bottom_(300×250)”, [300, 250], “pb-ad-78158” ).addService( googletag.pubads() ) ); } );
The post How to Create a Delicious Blurry Bokeh Background in 4 Easy Steps by Simon Ringsmuth appeared first on Digital Photography School.

Digital Photography School