RSS
 

Posts Tagged ‘Subjects’

Clothing for Portraits – How to Tell your Subjects What to Wear

31 Oct

The post Clothing for Portraits – How to Tell your Subjects What to Wear appeared first on Digital Photography School. It was authored by Darlene Hildebrandt.

clothing for portraits

What is the best clothing for portraits? The clothes your clients or portrait subjects are wearing in their portraits can be a touchy subject to discuss with them, especially if you are just doing a portrait for them as “a friend with a good camera.” Even as pros, we have a hard time getting people to listen; they frequently show up in clothes that make us cringe and that even hurt our eyes.

This article will help you understand what to suggest your subjects wear for their portrait photoshoots. You’ll also learn how to help clients understand why your suggestions really are in their best interests so they actually listen and get it right.

Clothes make the portrait

What your subjects are wearing is just as important as all the other portrait details, such as lighting, location, and posing.

Poorly-selected clothing can really take away from an otherwise great portrait.

Here are the goals when helping your portrait subjects or clients select clothing:

  • Make the people the main subjects
  • Flatter the subjects and make them look their best
  • Make the clothing disappear and be a non-issue

Poorly-chosen clothing, or having no discussion about clothing for portraits at all, can result in just the opposite. This is not what you want to have:

  • Clothing that stands out so much you hardly even notice the people
  • Arms, legs, or tummies that look less than flattered and people that are unhappy with the end results
  • Clothing that gets so much attention it becomes more about the clothes than about a portrait of the people wearing them

So what is the best thing for people to wear?

I get asked for tips on clothing for portraits a lot in my portraiture classes. People hear funny things about what they should or shouldn’t wear for their portraits, and they show up in the damnedest things that sometimes make you shake your head and say, “What were they thinking?”

But people won’t know what is right (or what is best) unless you tell them. And you must help them understand why.

This is what I recommend people do for a portrait session:

  • Wear solid-colored clothing
  • Choose muted tones that are a bit subdued
  • Choose similar tones for the top and bottom (both dark or both light)
  • Choose one to three colors for your group portrait, colors with similar tones that go nicely together. Then have everyone work within that color palette. For example, a group could wear dark green, navy, and burgundy, which are all dark jewel tones. Or a group could wear tan, a lighter olive-green, and denim, all of which are lighter, softer tones.
  • Choose a top with sleeves at least to the elbow
  • Choose long pants for men/women or a skirt below the knee for women
  • Choose dark socks and footwear (unless it’s a barefoot photo on the beach)
  • Keep jewelry simple and minimalistic
  • Do hair the way you’d normally do it while wearing these clothes (more on that later!)
  • If people plan to get a haircut or new hairdo, make the appointment at least two weeks prior to your portrait session

(I added a few bonus pointers on hair and makeup, but they go right along with the clothing.)

Did you notice how I did not use the word “Don’t” anywhere in the list above? 

There’s a reason for that.

People’s brains actually don’t register the words “Don’t,” “Not,” or “No.” So when you say them, the brain just disregards that part and registers what comes after. For example, if I say, “Do not think of a lemon,” what did you just do? Of course, you thought of a lemon. So when you are explaining clothing (or anything, for that matter) and giving suggestions on what to wear, take great care to always say what you do want.

If you tell people, “Okay, don’t wear stripes, flowers, or bright colors,” what will they remember? “I think my photographer said something about stripes and bright colors, so that’s what I’ll wear.”

Your subjects also probably heard somewhere that, for photography, you need to put your makeup on extra dark and heavy. Even people that normally wear no makeup or very little makeup can show up to a photoshoot with black eyeliner and raccoon eyes.

(I know because this has happened to me when I didn’t discuss makeup with my subjects ahead of time. And if it does happen, your subject will hate their photos because they won’t look like them. They likely won’t say anything; they just won’t pick any photos and you’ll think they didn’t like your work.)

It is your job as the photographer, even if you are just doing it for fun and for friends, to help people look their best in the portrait you take. So let’s look at the points above and how you should explain portrait clothing to your subjects so they get on board!

I actually had a hard time coming up with examples of what not to wear for portraits. I’ve been doing this for so long that I don’t have any subjects that come unprepared. So I’ve found a couple of group images just so you can see the difference clothing makes.

The image below is from a wedding, so the subjects weren’t all planning on having this group portrait done. But it shows what happens when the clothes have not been planned. There are multiple colors, some dark and some light. We have a few bright patterns and a short skirt. We have a lot of short sleeves (it was a hot day) and some white shoes. Can you see how all of those things make an impact? Overall, the effect actually isn’t that bad, and I’ve seen a lot worse. But let’s see what a little refinement can do to help.

wedding portraits clothing example
A group portrait from a wedding. The shot wasn’t planned, so people were wearing what they were wearing.
clothing for portraits group of people during a photowalk
Another “bad” example of clothing for portraits (from a photo walk). Notice how all the colors and patterns draw attention?

Examples of clothing that is working

The family shown below chose all black and denim, and for the most part, it is working really well. I’d only suggest that the mother wear longer sleeves. Notice how much attention her arms get? For her, it’s fine, but for someone self-conscious about their arms or their weight, short sleeves will make their arms look larger.

planned clothing for portraits

In the image below, everyone is in black except for the baby. Babies are always tough, because finding plain colors or black for a baby is almost impossible.

Notice two things here:

  1. The baby stands out the most. In this case, it’s fine, because she’s the smallest and you want to see her. 
  2. If there had been an adult in the light outfit, would it work as well? I doubt it; the person would stand out and look larger. No one likes to look bigger! Trust me.
clothing for portraits

The image below shows my sister’s family, so they’ve been well-trained on what to wear.

Once again, dark tones have been selected: grays, deep purple, and navy. Those all work well with jeans. Can you see the difference between me wearing long sleeves (left) and my sister wearing short sleeves (upper right)? What does it do to the bare arms? How do they look compared to mine?

planned portrait clothing example

How to get subjects to agree and follow your suggestions

The key to explaining all this and getting people to agree and go along with your suggestions is in how you tell them. If you just list off all this stuff, it can seem a bit pushy, like you’re telling them what to do. Most people assume they know how to dress; giving them a list could make them feel a tad insulted, so they get defensive rather than listen to your suggestions.

Photography is part technical stuff, part artistic stuff, and part psychology!

Let’s look at my recommended list again, but this time add in the why. By stressing the benefits to your subjects, they will get it in a big way.

As I said:

I’ve had very few subjects that I’ve photographed in the last ten years who showed up in poor clothing – simply because I’ve prepped them so well. They know that, if they want to look their best, they must follow these guidelines:

  • Wear solid-colored clothing so that we see all of your faces and no individual stands out. If you wear stripes or flowers, you will stand out from the rest of your group.
  • Choose muted tones that are a bit subdued so that you are the subject, not your clothes, and so you don’t stand out from the group. Bright colors project (especially reds, oranges, and yellows), which makes you look larger.
  • Choose similar tones for the top and bottom (both dark or both light). A white top and dark pants will make your top look bigger. White pants and a dark top will make your butt look bigger.
  • Choose one to three colors for your group portrait, colors with similar tones that go nicely together. Then have everyone work within that color palette. For example, a group could wear dark green, navy, and burgundy, which are all dark jewel tones. Or a group could wear tan, a lighter olive green, and denim, all of which are lighter, softer tones. This is so we see people first and your portrait looks stunning. Wedding group photos look so good because they’re all wearing the same colors and the people stand out!
  • Choose a top with sleeves at least to the elbow, because your arms take up more skin area than your face and will draw attention. It may also make your arms look larger.
  • Choose long pants for men/women or a skirt below the knee for women so that your legs don’t take attention from your face, and you will be able to sit and bend without showing too much leg.
  • Choose dark socks and footwear (unless preparing for a barefoot photo on the beach), because white sticks out like a sore thumb and that’s all you’ll notice in your portrait.
  • Keep jewelry simple and minimalistic, because too much jewelry takes attention away from your face.
  • Do your hair the way you normally would while wearing your portrait clothes: No fancy updos with jeans, no ponytails with evening gowns, etc. (This is common sense, or so you’d think, but I’ve had ladies go to the hair salon and get fancy updos, then show up in jeans and a t-shirt. It simply doesn’t make sense, because you wouldn’t normally do that when putting on jeans and going to the park for a BBQ or something.) This is because your portrait will be more timeless and represent more closely who you are, not just what you look like.
  • If you plan to get a haircut or new hairdo, make the appointment at least two weeks prior to your portrait session. Fresh haircuts rarely look their best the same day or the next day. Ladies need time to practice working their hair; men need it to grow out just a little. Allow some time to live with your new look before your portrait session.

See a common thread in my notes above? Most people have the same fears about being photographed – yes, fears! Being photographed is right up there on the fear list, next to public speaking and going to the dentist. I kid you not! 

People’s fears are about looking stupid, not knowing how to stand or pose, and looking fat or old. So if you can help them see that these clothing tips will allow them to eliminate at least one of their fears before you even start, then you just have to deal with all the rest later! 

Most of these clothing suggestions have to do with helping subjects look slimmer and not stand out. How to stand and pose to minimize weight issues is another question entirely.

Putting it all together

You may notice that most of the “good” examples here are wearing dark colors.

That’s pretty common, as most people have heard that dark colors or black makes you look slimmer. To some degree, that’s true. But light colors can work, too.

In fact, if everyone in the group dresses similarly, then the one person in dark clothes would stand out. Little kids in denim and white tops with bare feet are super cute, as are little girls in white sundresses.

So don’t be afraid of other colors or tones. Just keep them similar. Some of my largest extended family groups that have done the best went so far as to put each family unit in their own color scheme (one in browns, one in greens, etc.), with the mother and father in another color scheme – all with dark jeans. I’ve also had some ladies buy everyone a matching shirt.

The thing is:

Once you get your subjects on board and understanding the logic behind portrait clothing choices – the “why” – they will go to great lengths to make it work, because they know it’s for their benefit!

clothing for portraits

Clothing for portraits: action plan

If all this portrait clothing advice sounds like a lot and is overwhelming, feel free to copy my list and make a little sheet to hand out to people. Just make sure you add the benefits, as shown in my second list!

The post Clothing for Portraits – How to Tell your Subjects What to Wear appeared first on Digital Photography School. It was authored by Darlene Hildebrandt.


Digital Photography School

 
Comments Off on Clothing for Portraits – How to Tell your Subjects What to Wear

Posted in Photography


5 Ways to Make Extraordinary Photographs of Ordinary Subjects

14 Sep

How to Take Extraordinary Photographs of Ordinary Subjects - leaf in the snow

How do you take extraordinary photographs of ordinary subjects? Many photographers think that this is impossible. They think that the best photography requires far-flung locations or sweeping landscapes. Yet creating beautiful photographs of everyday things is not only possible, it’s easy!

In this tutorial, you will find five ways to make incredible photographs of ordinary subjects.

5 Ways to Make Extraordinary Photographs of Ordinary Subjects - close up of a white flower

1. Change your angle

I’ll start with a simple but very useful trick, that is changing your camera angle. Many photographers often shoot from a standing position, and this can be a useful starting point.

Yet when faced with an ordinary subject, it’s important to change things up. Otherwise, you’ll get a boring image that anybody could have taken.

red leaves - 5 Ways to Make Extraordinary Photographs of Ordinary Subjects

I stood underneath the leaves to get this image.

Instead, you should be more creative. Try crouching down low, so that you’re shooting up at your subject. This will create a sense of drama and your subject will loom in the frame.
I often lie on the ground, especially when shooting wildlife. Getting down on this level, even with the most ordinary of subjects, will give your images a sense of intimacy and draw the viewer right in.

Another option is to shoot from up high. You can hold the camera above your head, and use the LCD to compose your photograph. Or you can find some way of elevating yourself by using a chair, a balcony, or some stairs.

succulent plant - 5 Ways to Make Extraordinary Photographs of Ordinary Subjects

Regardless of which method you use, by changing your angle, you’ll find that you can make even the most ordinary of subjects come to life.

2. Photograph in dramatic light

A second way to take extraordinary photographs is to use dramatic lighting. Dramatic lighting can significantly add to the feeling and mood of your images. Therefore, by using dramatic lighting, you can create powerful images of ordinary subjects.

How do you create dramatic lighting?

One of my favorite types of dramatic lighting is with direct backlight. By this, I am referring to situations where the sun is low in the sky and directly behind your subject.

tree bark backlit - 5 Ways to Make Extraordinary Photographs of Ordinary Subjects

The sun was setting just beside the tree in the background.

Make sure that the sun itself is not in the image. You can either hide the sun behind the subject or photograph so the sun is just out of the frame.

Direct backlighting can single-handedly save a lackluster image. It will make viewers stop in their tracks. They’ll be pulled in by the high contrast and the drama.

Try it. I guarantee that you’ll see huge improvements in your photographs.

3. Find abstract compositions

A third way of taking extraordinary photographs of ordinary subjects is to look carefully for abstract compositions.

Abstract compositions are ones that don’t view the subject merely as the subject. A good abstract image emphasizes lines, shapes, and colors over any identifiable real-world elements.

dandelion - 5 Ways to Make Extraordinary Photographs of Ordinary Subjects

Often, good abstract photographs can be made by zooming in close (perhaps with a macro lens). But you can take beautiful abstract photographs with any lens.

How?

The trick is to forget about the subject as you would normally think about it. Say you’re taking a picture of a rose. You must stop thinking about the rose as a flower. Start thinking about the rose in terms of its delicate lines, its solid color, and its curves.

rose abstract - 5 Ways to Make Extraordinary Photographs of Ordinary Subjects

Compose with these components in mind.

Even if your subject is completely ordinary, being able to find abstract compositions will do wonders for your photographs of the most mundane subjects.

4. Use creative photographic techniques

By “creative photographic techniques,” I’m referring to tricks that professional photographers employ.

These tricks will add a special touch to any photograph. By using these tricks, your everyday images will come to life.

snow and ice - 5 Ways to Make Extraordinary Photographs of Ordinary Subjects

I’ll share two with you today.

The first technique is called “freelensing.” It involves detaching the lens from your camera and holding it manually in front of the camera body.

By tilting the lens in different directions, you can change the area of the image that is in focus, resulting in some very creative effects.

I use this technique quite often when photographing nature.

red leaf on a tree - 5 Ways to Make Extraordinary Photographs of Ordinary Subjects

I used freelensing to capture this photograph of autumn leaves.

The second technique is called “intentional camera movement.” You simply set your shutter speed for a significant length of time (anywhere between 1/50th of a second and 2 seconds is a good place to start).

Then, once you’ve pressed the shutter button, you intentionally move the camera during the exposure. You might try panning from left to right. Or you can bring the camera downward. Really, you can use any kind of motion, the possibilities are endless!

This intentional camera movement technique will undoubtedly result in some stunning abstract images. So go ahead and experiment!

camera movement - 5 Ways to Make Extraordinary Photographs of Ordinary Subjects

5. Add a touch of editing

Some photographers often skip post-processing, thinking it unnecessary. But while you don’t have to edit your images, even subtle editing can be used to accentuate certain aspects of a photograph. Editing can make a photograph moody, colorful, or dramatic.

In short, a touch of editing can make your ordinary photographs extraordinary.

One of my favorite tricks for editing a photograph of an ordinary subject is simple. Convert it to black and white.

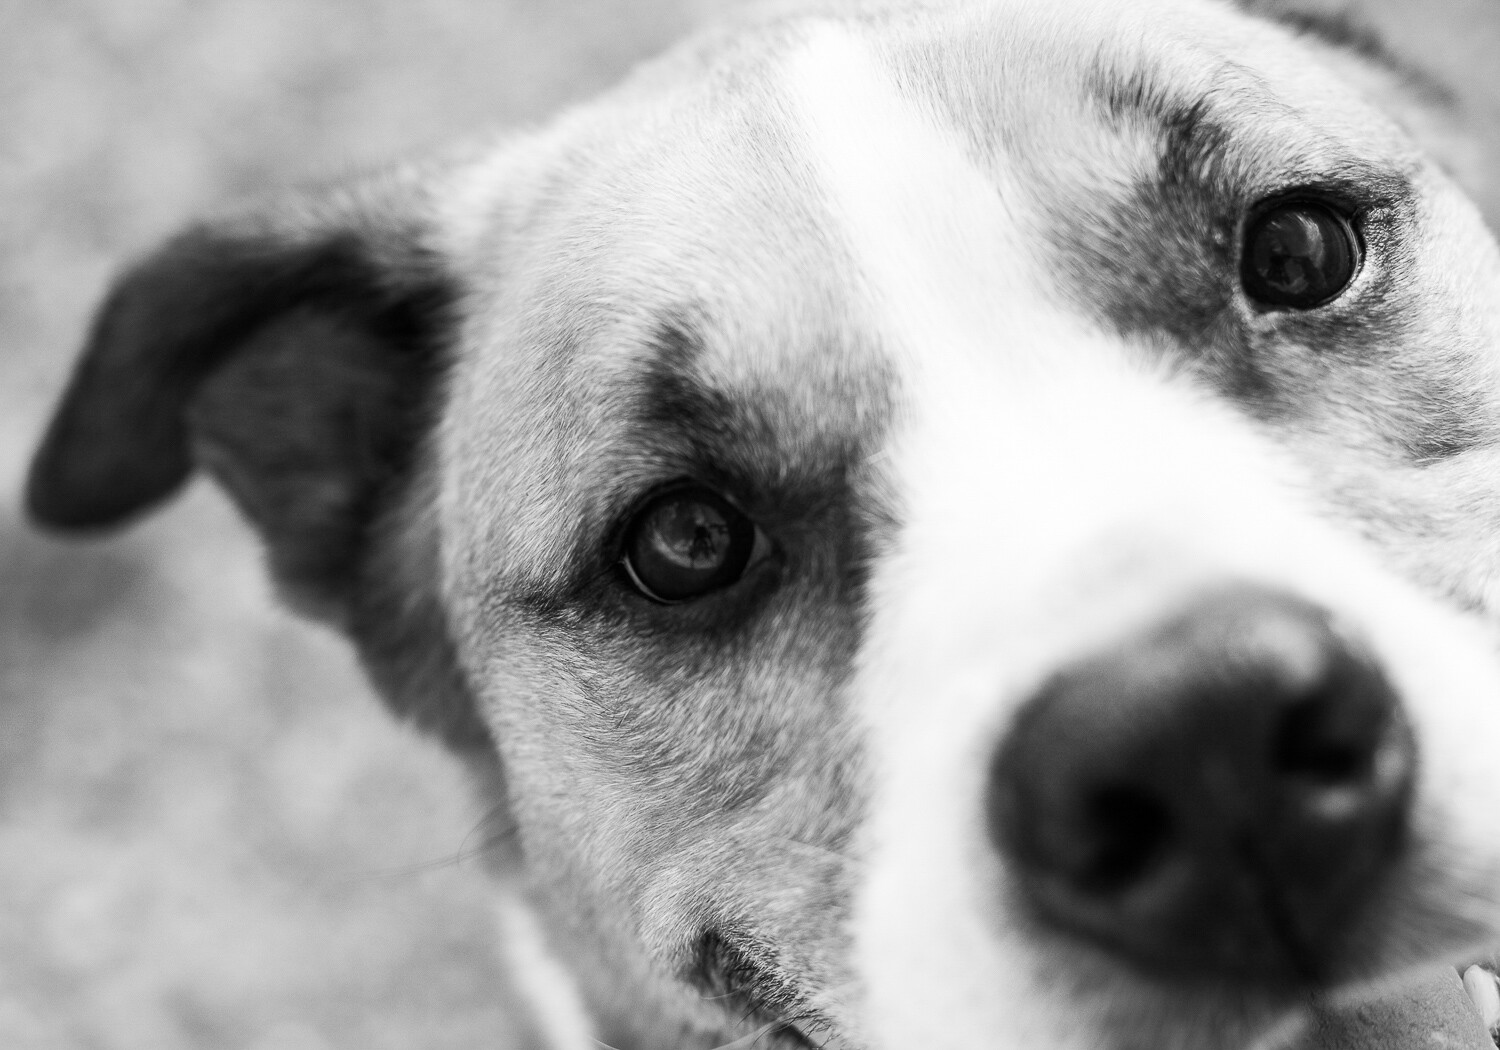
cute dog - 5 Ways to Make Extraordinary Photographs of Ordinary Subjects

I liked the color version of this pet photograph, but I loved the drama of the black and white.

That’s it. If you have Lightroom, go ahead and use one of their free presets.

What’s so special about black and white?

Black and white emphasizes the contrasting elements of a scene while stripping away all color. This makes your images far more artistic and dramatic.

By lightly editing your photographs, you can make them pop off the screen. You can make them come to life. You’ll create images that you’ll be proud of, even years later.

palm leaf backlighting - 5 Ways to Make Extraordinary Photographs of Ordinary Subjects

In Conclusion

By changing your angle, photographing in dramatic light, finding abstract compositions, using creative techniques, and by lightly editing your photographs, you’ll be able to take stunning images of even the most ordinary of subjects.

abstract of a leaf - 5 Ways to Make Extraordinary Photographs of Ordinary Subjects

So get out there and start shooting!

Have another tip for taking great photographs of ordinary subjects? Share it in the comments!

purple flower - 5 Ways to Make Extraordinary Photographs of Ordinary Subjects

The post 5 Ways to Make Extraordinary Photographs of Ordinary Subjects appeared first on Digital Photography School.


Digital Photography School

 
Comments Off on 5 Ways to Make Extraordinary Photographs of Ordinary Subjects

Posted in Photography


Guide to Choosing Subjects and Compositions for Flower Photography

09 Jul

How does the budding flower photographer go about selecting subjects and choosing compositions? In this article, I will give a detailed answer to this question. First, I will discuss the different types of flower photography subjects. Then I will give guidelines for creating stunning compositions.

All throughout this article, I will emphasize producing clean, dynamic images.

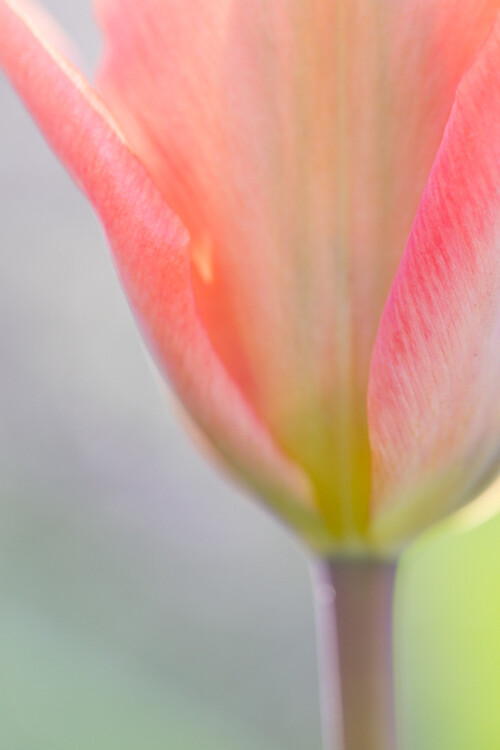
flower photography macro tulip

Subjects

Choosing a subject in flower photography may seem easy – flower photographers shoot flowers, right?

While this is true, it’s important to consider several factors about any particular flower. Among these is the color of the flower, the condition of the flower (is it dying and/or dirty?), and the shape of the flower.

flower photography macro yellow orange abstract

Color

Considering color is simple. The more colorful the flower, the more interesting the image is going to be (generally speaking, of course). I like to use bright colors, placed before a brightly colored background.

flower photography macro tulip abstract

It can also be useful to think in terms of complementary colors. These are the red/green, blue/orange, and yellow/purple combinations. When they are placed together in the same frame, the results can be powerful.

Condition

Another important consideration is the condition of the flower. Before taking your photograph, you should inspect your potential subject carefully.

flower photography macro backlit

Ideal flowers are at peak bloom: petals spread wide, edges crisp and unblemished. I try to avoid photographing flowers that are on their way out because more often than not I’m disappointed with the resulting images.

The best flowers are also free of dirt. I often wipe dirt off carefully with my finger. If there are insects, I gently blow them away from the flower center. Another tactic is to obscure the blemishes or dirt by shooting soft-focus images or silhouettes.

flower photography macro silhouette

This flower wasn’t in peak condition, so I chose to shoot a silhouette, emphasizing the shape over the condition.

Shape

This final aspect of flower photography is more difficult to explain, but it is important, so I’m going to give it a shot. Certain flower shapes are better than others for flower photography.

More specifically, the flowers that will get you the most pleasing images are often those with clear patterns and bold, dynamic shapes.

Consider the rose. It is one of my favorite flowers to photograph. Why? The petals are dynamic, flowing and changing. They also have a clear pattern, and therefore imbue your images with a sense of organization.

flower photography macro rose

Another flower that I love to photograph is the tulip. Its structure is simple but bold, and it has large petals that curve slightly. It isn’t chaotic or messy. The viewer’s eye can easily trace its shape without getting lost.

flower photography macro tulip

The rose and tulip sit in contrast to flowers such as zinnias, which are rather chaotic and therefore difficult to pin down in an image. Which is not to say that a good zinnia image is impossible; it’s just a lot more difficult.

Compositions

When composing flower photographs, it is a good idea to keep a checklist in the back of your mind. In every flower photography image, try to incorporate at least a few of the guidelines provided below.

Simplify

My first tip is the most important – simplify!

Figure out what it is about the flower that you like, and focus on that, removing any extraneous elements, be they extra flowers, stems, petals, etc. Make sure that any distracting elements are not present.

flower photography macro pattern abstract

Use Symmetry

While you shouldn’t always strive to use symmetry in your flower images, it can be a good starting point. Flower centers are often symmetrical or nearly symmetrical. This is something that you can use, composing with the flower smack-dab in the center of your image, anchored by its center point.

flower photography macro symmetry

I used this flower’s symmetrical center to create a bold composition.

Have a Clear Point of Focus

Without a clear point of focus in your images, the viewer will be lost. Their eyes will wander from place to place without really being drawn into the image.

How do you create a point of focus? You ensure that at least one part of your image is sharper than the rest. You also compose with this point of focus in mind, making sure that the rest of your image merely complements this point of focus (rather than dominating it or detracting from it).

flower photography macro abstract

Here, the eye is drawn straight to the in-focus petals of this flower.

Use a Clean, Pleasing Background

Above, I discussed the importance of colorful subjects. But the subject isn’t the only thing that should be colorful. It’s also important to have a colorful background, or at least a pleasing one.

This can be a bit of a balancing act because you don’t want the background to overpower the subject. White and black backgrounds can work well, as can backgrounds that are a colorful but uniform wash.

macro photography flower trout lily

I aimed for a uniform, calming background when taking this trout lily photograph.

Tilt the Camera

One last tip for creating dynamic compositions is to try tilting the camera.

Rather than having the flower sitting statically within the frame, by tilting the camera, you communicate a sense of movement. The flower seems to be emerging from the frame in a very pleasing way.

flower photography macro black-eyed susan

Notice how tilting the camera to shoot this Black-Eyed Susan resulted in a more energetic image.

Conclusion

When doing flower photography, it is important to carefully consider both the subject and your composition. By keeping your subjects colorful and clean, and by aiming for simple, clean compositions, your flower photography will instantly improve.

The post Guide to Choosing Subjects and Compositions for Flower Photography appeared first on Digital Photography School.


Digital Photography School

 
Comments Off on Guide to Choosing Subjects and Compositions for Flower Photography

Posted in Photography


Ways to Get Amazing Smiles from Your Subjects

24 May

Photographing people is a deceptively simple process these days. It seems with the wide availability of high-quality photo equipment and digital editing software that every Tom, Dick, and Harry is now a professional photographer. The reality is that true pros know technical knowledge is not the only thing that sets them apart from the amateurs. Connecting with your subject when Continue Reading

The post Ways to Get Amazing Smiles from Your Subjects appeared first on Photodoto.


Photodoto

 
Comments Off on Ways to Get Amazing Smiles from Your Subjects

Posted in Photography


Ways to Get Amazing Smiles from Your Subjects

17 May

Photographing people is a deceptively simple process these days. It seems with the wide availability of high-quality photo equipment and digital editing software that every Tom, Dick, and Harry is now a professional photographer. The reality is that true pros know technical knowledge is not the only thing that sets them apart from the amateurs. Connecting with your subject when Continue Reading

The post Ways to Get Amazing Smiles from Your Subjects appeared first on Photodoto.


Photodoto

 
Comments Off on Ways to Get Amazing Smiles from Your Subjects

Posted in Photography


Top 10 Subjects to Help You Tell the Story of Your Neighborhood

12 Apr

In this article, you will get 10 photo story ideas to help you connect with and tell the story your community including; bus stops, your community garden, and the grocery store.

Finding a unique and extraordinary scene to photograph can take a lot of energy. Thanks to the internet, you’re bombarded daily with exotic scenes caught on camera from all around the world and suddenly your own community or neighborhood feels commonplace by comparison.

What we often forget is that magic happens in our own backyards. What feels mundane to you, can be fascinating to people from other regions, countries, and cultures (and looking back from future decades).

Animal - Top 10 Subjects to Help You Tell the Story of Your Neighborhood

To get that magic working in photographs of your community, tell a clear story with a mix of long shots, mid shots, close-ups, and extreme close-ups. You’ve already overcome the first hurdles. You know what the light is like and probably have an idea of some settings to use. Chances are, you speak the language and understand the culture.

You know the best place to pick up a coffee, and what time the trains, boats, or sheep go past each day. With technical and communication issues sorted before you begin, you can work on breaking some (photographic) rules. Push your creativity by experimenting with composition, framing, and movement to further convey the vibe of your neighborhood.

Need some inspiration? Here are my top ten subjects to help tell the story of your neighborhood:

1. Bus Stop Narratives

Bus stops speak volumes about the neighborhood. Whether your closest one is posh or plain, busy or quiet – there’s always something there to photograph.

If the bus stop is a building, look for strong lines and shapes. If it’s busy, experiment with different shutter speeds to show the movement of vehicles and people. Perhaps it’s just a seldom-used seat overgrown with weeds.

Use wide angle shots to convey a feeling of space and emptiness as the light fades at the end of the day. Get friends or family to pose to provide context and scale to the scene.

Bus stop Top 10 Subjects to Help You Tell the Story of Your Neighborhood

2. Animal Life

For some, photographing animals in their neighborhood means capturing images of local domestic pets, or common birds. For others, it means finding larger, scarier animals (the rest of us are jealous).

Even the common sparrow can be a beautiful subject to photograph, and it can help tell the story of your community. Get familiar with where local wildlife (or pets) hang out, and the times they show up. Take snacks and water for yourself, and a good zoom lens if possible.

Using a fast shutter speed is ideal for photographing animals but reduces the amount of light entering the camera, so you might need to increase your ISO to compensate. Try a shallow depth of field for slow animals, and greater depth of field for the less predictable species.

Animal - Top 10 Subjects to Help You Tell the Story of Your Neighborhood

3. Found Neighborhood Alphabet

This subject is super fun and easy to get a bit obsessed over. The idea is to find an alphabet made entirely of shapes and forms, but not actual letters. You might come across twigs making the shape of an E, a roofline that looks like a V, or stonework in the shape of a J. This makes you look at details in quite a different way and is a great exercise for your brain.

There’s a catch to this – you actually have 27 photographs to make. The 27th is the ampersand, which is the “&” shape (and not particularly easy to find)!


4. The Grocery Store

People have a love/hate relationship with grocery stores. It might be a place you associate with stress and fatigue . . . but also with ice cream! All that shelving and stacking provides fantastic lines, repetitive patterns, and colors.

Perhaps your neighborhood store is small and full of old character, or it might feel vast with plenty of reflective surfaces and wide aisles. Keep an eye on your White Balance setting, as it might need some adjustment with fluorescent lighting.

As with photographing any business, talk with the management first about your project, and be prepared to share your results with them.

Grocery - Top 10 Subjects to Help You Tell the Story of Your Neighborhood

Grocery - Top 10 Subjects to Help You Tell the Story of Your Neighborhood

5. Signage

Signs come in all shapes and forms and have a wide range of purposes. Street signs, shop signs, road works signs, lost cat signs, temporary signs – they all tell a unique narrative of your neighborhood.

While the graphic design of some signage can be beautiful in itself, try photographing signs with some of the surroundings in the frame. Look for groups of signs, clever signs, and signage that evoke emotions. You don’t have to include the whole sign in your frame – perhaps pick out specific words or colors that have meaning.

Combined, a series of signage photographs can tell a story figuratively or literally.

Signage - Top 10 Subjects to Help You Tell the Story of Your Neighborhood

Signage - Top 10 Subjects to Help You Tell the Story of Your Neighborhood

6. A Year of a Community Garden

If you’re lucky enough to live near a community garden, you’ve got a fantastic year-long photographic project ready to start. Talk with the garden organizers about access and the best times to photograph gardeners in action. Return regularly to capture the changing colors and textures.

The photographs don’t have to all be pretty. Use a macro or zoom lens to photograph the decomposition and composting processes. Take a small ladder to photograph garden patterns from a fresh viewpoint. If it’s surrounded by buildings, celebrate the contrast of colors and shapes that the garden provides.

Garden - Top 10 Subjects to Help You Tell the Story of Your Neighborhood

7. Ground-Level Series

A lot goes on at ground level, regardless of what type of environment you live in. In our day-to-day lives, we scurry on by without noticing the details at our feet. At ground level, your neighborhood might be full of sand dunes, grasses, and bare feet. Or maybe you’re surrounded by fences, road markings, and running shoes.

Try shooting from a standing position using a bird’s eye view angle, or you can sit or even lie down so that you’re at the same level as the subject.

Hot tip: Take a small mat or tarpaulin to lie down on and make sure you aren’t a tripping hazard!

Ground Level - Top 10 Subjects to Help You Tell the Story of Your Neighborhood

8. Street Art Story

My favorite subject to photograph is street art. I love documenting other people’s creativity – particularly if it’s temporary artwork that is scheduled to be covered up or torn down. Every town and city has their own unique art vibe.

If you live in a community with lots of street sculptures and paintings, find out the stories behind them. Photograph their relationship with the surrounding buildings at different times of the day. Capture people interacting with the artwork, and include some of the environment around it by using different angles.

Street Art - Top 10 Subjects to Help You Tell the Story of Your Neighborhood

9. Demolition Documentary

This won’t work for all neighborhoods, but you might live in an area where there are lots of physical changes happening. Buildings coming up and going down are fantastic to photograph. Apart from the changing lines, shapes, and angles, this is a cool way to document an interesting moment in time for your community.

By using a shallow depth of field and/or by getting close-up to safety fencing, you may be able to get a clear shot of the subject without the fence getting in the way.

If there’s an authorized opportunity to get onto a building or demolition site – grab it! Follow health and safety guidelines at all times, and get to know people at the site so you get a heads-up of upcoming activity to photograph.

Demo - Top 10 Subjects to Help You Tell the Story of Your Neighborhood

Demo - Top 10 Subjects to Help You Tell the Story of Your Neighborhood

10. Doorways

If you have great neighbors who you’re on good terms with, have a go at photographing a doorway series. The good thing about this theme is that you can stick with one lens and work to easily measurable straight-lines.

Places of worship and heritage buildings can have beautiful doorway architecture, but don’t underestimate the aesthetics of barn doors and slick city business entrances.

Hot tips: Photograph the doorways closed and avoid private properties unless you have permission. Watch out for reflections in glass or polished surfaces. You might need to use the distortion or upright tools in your post-production software to make sure the lines are nice and straight.

Door - Top 10 Subjects to Help You Tell the Story of Your Neighborhood

Conclusion

Exploring your neighborhood with your camera is a great way to get back to the basics of photography. You can make mistakes and test out new techniques without feeling like you’re wasting time and money. It compels you to find beauty and diversity in everyday objects and push the boundaries of your creativity close to home.

The post Top 10 Subjects to Help You Tell the Story of Your Neighborhood appeared first on Digital Photography School.


Digital Photography School

 
Comments Off on Top 10 Subjects to Help You Tell the Story of Your Neighborhood

Posted in Photography


How to Use Still-life Subjects to Understand Focal Lengths

11 Dec

Do you think that using an 18mm lens or a 100mm one will only zoom in or out your scene? Why are camera lenses are measured in millimeters? Do you know what those measurements mean for your photo? If you’re not sure which lens to use and why I invite you to keep reading and learn about focal lengths and how to use them.

The most common consideration when choosing your lens is whether or not you need to zoom in or zoom out. Therefore logic dictates that you would use a wide-angle lens for landscape photography and a telephoto for a detail of that landscape. Another well-known factor is the distortion of wide-angle lenses, so for example, if you want to do a portrait you would instead use a normal or a telephoto lens.

But how about shooting objects or photographing still life subjects? Which lens is better? I’ll use this subject to illustrate the characteristics of different focal lengths that normally get less attention.

What is focal length?

When light comes in through the lens, it passes through a small hole called a nodal point. The distance from that point to the sensor when your lens is set to infinity is called the focal length and this is measured in millimeters. A smaller distance gives you a wider angle of view and that’s why it’s called a wide-angle lens. Therefore a bigger distance gives you a narrower angle of view which is called a telephoto lens.

What is normal?

When you say a normal lens, it means that it will see more or less the same angle of view as the human eye. Anything longer than the normal focal length is a telephoto and everything shorter is a wide-angle lens. This measurement depends on the size of your sensor because the measure of its diagonal is what determines “normal” for that camera.

For example, in analog photography, it was a very standard measure because there were only so many negative film formats. A 35mm film had a normal lens of 50mm, this can be translated into digital cameras that have a full frame sensor because it’s about the same size as 35mm film. If you have a cropped sensor camera, that “normal” lens becomes a telephoto.

Left – longer lens more zoomed in. Right – wider lens more zoomed out.

Why is this important?

As I mentioned before, zooming in or out is the most obvious impact of the focal length. But what happens when you are shooting something where you can achieve that by getting closer or further from your subject? How do you choose your lens? Well, that’s where the other characteristics of the focal length come into play.

Compression

A photograph is a two-dimensional representation of a three-dimensional world. By changing the focal length you can compress or extend the distance between two objects, or between the subject and the background. Let me show you with a series of images taken of the same scene but with different focal lengths.

I put a measuring tape next to the objects so that you have a reference and see that they were separated by the same distance even if it doesn’t look like it in the various images.

18mm lens.

35mm lens.

55mm lens.

Notice how the distance between the shells seems to change. With wide-angle lenses, things will seem further apart from each other, compared to how they look with a telephoto lens. Now, you probably also perceived another difference between the images, and that is the focus. Which brings me to the second characteristic.

Depth of field

As you probably know, the depth of field (area in focus) depends on the aperture. A small aperture gives you a greater depth of field than a big one. But there is another factor involved and that is the focal length.

A wide-angle lens appears to have a greater depth of field than a telephoto at the same aperture. It is a common misconception that wide-angles have more depth of field than longer lenses. The reason it appears so has to do with the subject to camera distance, not focal length.

This effect is intensified by the fact that you will be physically closer or further away with each lens to achieve the same framing. Allow me to illustrate with this photos in which I maintained the same aperture but changed the focal length.

180mm - Using still-life to understand focal length

1800mm

160mm - Using still-life to understand focal length

160mm

100mm - Using still-life to understand focal length

100mm

70mm - Using still-life to understand focal length

70mm

55mm - Using still-life to understand focal length

55mm

35mm - Using still-life to understand focal length

35mm

18mm - Using still-life to understand focal length

18mm

See how the photo taken with a 180mm lens has such a shallow depth of field that the blurry background even creates a halo that comes over the sharp focus subject. After that, each image got greater and greater depth of field by using smaller focal lengths.

Conclusion

In conclusion, there is no such thing as the best lens for the type of photography you are doing. It really depends on the results you want to get.

The post How to Use Still-life Subjects to Understand Focal Lengths by Ana Mireles appeared first on Digital Photography School.


Digital Photography School

 
Comments Off on How to Use Still-life Subjects to Understand Focal Lengths

Posted in Photography


How to Find Interesting Subjects for Photography in a Boring Place

26 Sep

One of the common complaints I hear about photography is from people who struggle to find interesting things to take photos of. I understand the frustration. Some people are lucky enough to live in photogenic places that other people have to travel to see. But lots of people live in places where it’s genuinely hard to find interesting subjects for photography.

So, what do you do when this happens to you? Here are some ideas to help you find interesting subjects and inspiration.

pink flower - How to Find Interesting Subjects for Photography in a Boring Place

Food photography

Okay, I admit that people taking photos of their brunch with smartphones and uploading them to Instagram is getting old. But don’t let this put you off taking food photos at home. The nice thing about food photography is that it combines two hobbies – cooking (or baking) and photography. If you’re a good cook, it could be the perfect subject you.

There are two sides to food photography. One is the ability to prepare food so that it’s photogenic enough for a photo. The other is to provide the right environment to show the food off at its best.

If you don’t have what you need already that does involve a small investment. Think chopping boards, wooden tables, hand-made plates, and so on.

For lighting, nothing more sophisticated than window light is required. But you can also use it as an opportunity to practice your flash skills. I made this photo below using natural light.

Interesting subject - How to Find Interesting Subjects for Photography in a Boring Place

Flower photography

It’s quite possible that you don’t need to look any further than your backyard for an interesting subject. Most people have flowers in the garden. If you don’t, perhaps you know somebody who does. There may also be a park or botanical garden nearby that provides an interesting selection of flowers to photograph.

To be successful you’ll need to get close to the flowers using extension tubes, close-up lenses or a macro lens. It’s a good way to practice your macro and close-up techniques.

I made this photo in a local park.

flowers - How to Find Interesting Subjects for Photography in a Boring Place

Build a studio

The advantage of photographing food or flowers is that you can set up your photos indoors. There’s no need to worry about the weather or light, as window light is beautiful enough for both types of photography.

But why not take it further and set up an indoor studio? It’s possible to create a studio in the smallest of spaces. If you have any doubts about this then check out Nick Fancher’s book Studio Anywhere. It’s full of ingenious tips and tricks for setting up a studio in the tightest of spaces.

Note you can read more from Nick in these dPS articles:

  • How to Create Dramatic Portraits in Your Garage
  • Making the Most out of the Photography Stuff You Have Already
  • How to Create Dark Moody Low-Key Portraits with Minimal Gear

Get a model

Once set up, you need a subject. We’ve already looked at food and flowers, but you can take it a step further by finding local people to model for you. Whether you’re looking for models or characters, friends and family are a good way to start. Once you’ve got a few shoots under your belt – and the start of a portfolio – you can approach other people to see if they’d be interested in taking part.

I made this portrait using a single Canon Speedlite flash in a 90cm Lastolite softbox.

portrait - How to Find Interesting Subjects for Photography in a Boring Place

Start projects

Feeling inspired yet? My next tip holds the true key to finding interesting subjects in boring places. There’s no better way to become a better photographer than to start a project. They are so good for improving your photography skills that even pros regularly set themselves personal projects.

Projects can be simple, or they can be complex, expensive and time-consuming. But don’t feel intimidated by grand projects – you can get started with a modestly ambitious project.

For example, over the last few years I’ve spent time photographing dancers, craftspeople, artists, musicians, parkour and circus performers. Here’s a photo I made recently of a dancer.

dancer - How to Find Interesting Subjects for Photography in a Boring Place

The reward of these projects has been twofold. On one hand, I’ve made some interesting photos and portraits for my portfolio. On the other, I’ve met lots of new and interesting people and made new friends. I’ve had experiences that I would never have had if I had not created these projects.

Reach out to new people

The great thing about projects is that they give you an excuse to contact people who may be interested in taking part. For example, let’s say you’d like to start a project photographing dancers. There may be local dance schools you can approach or Facebook groups for dancers. You can get in touch, explain your project idea, and ask if anybody is interested in taking part.

The hardest part is getting started. After your first photo shoot, you will have some photos to show other people. Also, the person you photographed might be able to introduce to other people who could be interested in taking part.

Projects are a fantastic way of finding interesting subjects to photograph. I’m sure that wherever you live, no matter how boring it may seem, there are people nearby doing interesting things that could make a great photo project.

I made this portrait of a local singer after getting in touch by email and asking if she’d like to take part in a shoot.

singer - How to Find Interesting Subjects for Photography in a Boring Place

Conclusion

Hopefully, these ideas give you a head start on defeating boredom and finding interesting things to photograph in your area, no matter how boring or uninteresting it may seem.

Do you have any suggestions for finding interesting things to photograph? Please let us know in the comments, I’d love to hear them.


If you enjoyed this article and would like to learn more about the creative side of photography then please check out my ebook Mastering Photography. It shows you how to take control of and be creative with your digital camera, no matter what your skill level!

The post How to Find Interesting Subjects for Photography in a Boring Place by Andrew S. Gibson appeared first on Digital Photography School.


Digital Photography School

 
Comments Off on How to Find Interesting Subjects for Photography in a Boring Place

Posted in Photography


19 Cool Images of Blue Subjects

13 Aug

A while back we took a look at images with the primary color of summer, green. Now let’s have a peek at the color of the night time – blue.

Of course, there are many other things which are blue as well, as you can see below.

By StudioTempura

By Albert Vuvu Konde

By O. R.G.

By Joao Clerigo

By Maarten Takens

By Bill Dickinson

By Roy Cheung

By nathan_gamble

By Mirai Takahashi

By Stanley Zimny (Thank You for 24 Million views)

By Neil Tackaberry

By Javier Díaz Barrera

By Neal Fowler

By Stanley Zimny (Thank You for 24 Million views)

By Maria Eklind

By Tom Roeleveld

By Michiel van Nimwegen

By Ivan Rigamonti

The post 19 Cool Images of Blue Subjects by Darlene Hildebrandt appeared first on Digital Photography School.


Digital Photography School

 
Comments Off on 19 Cool Images of Blue Subjects

Posted in Photography


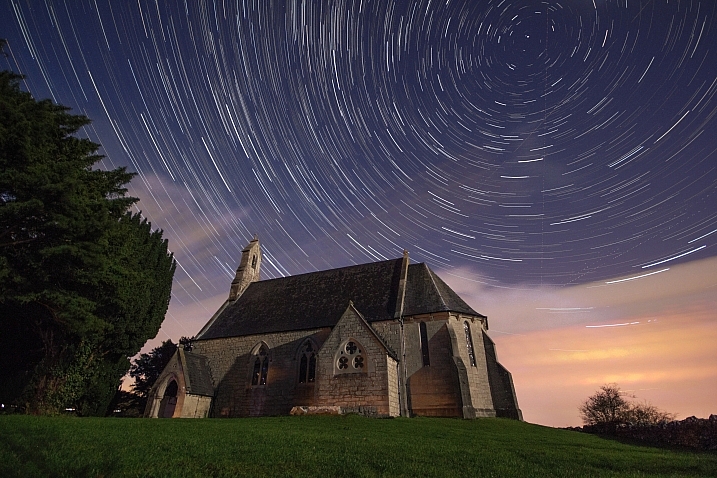
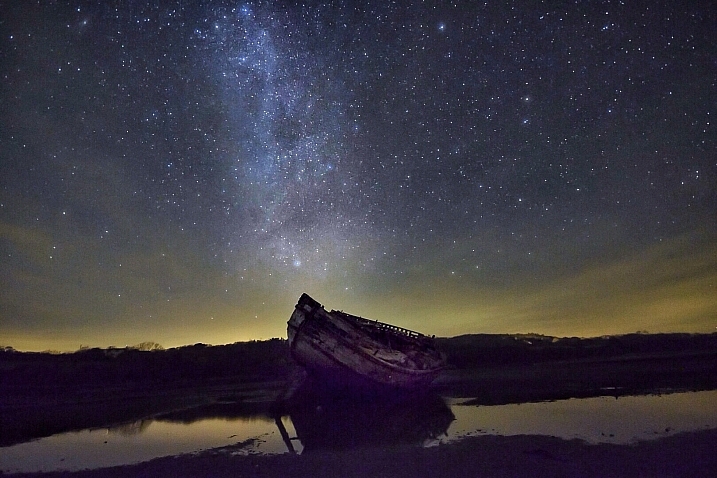
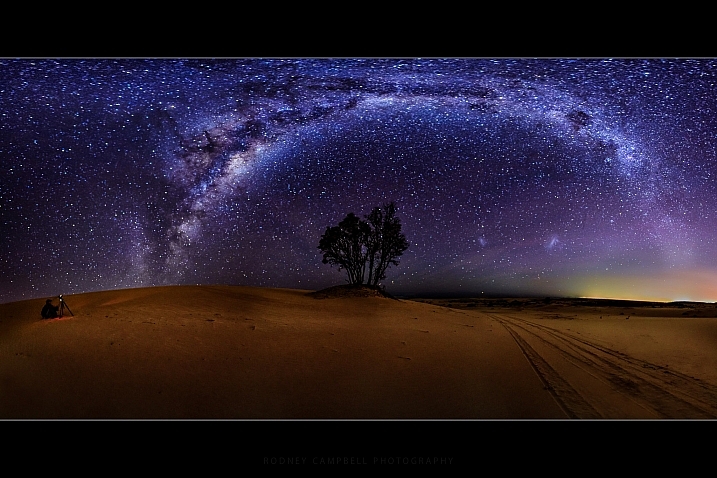
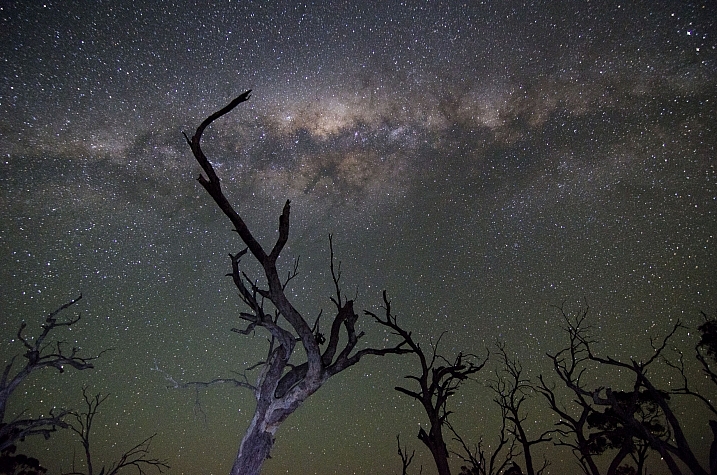
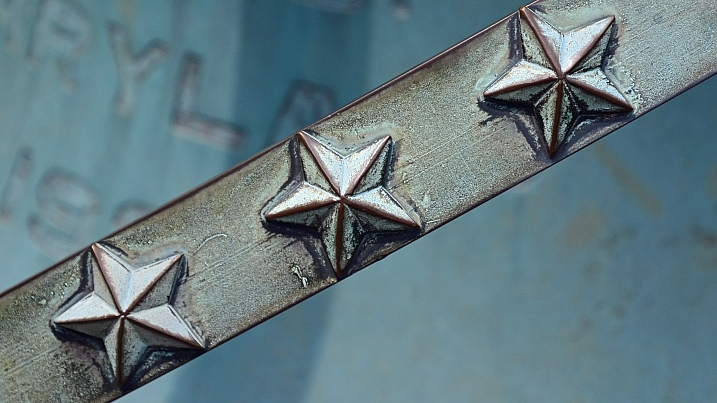
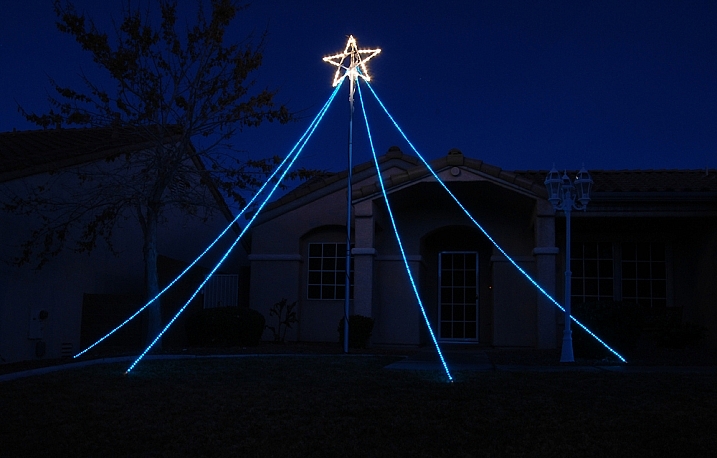
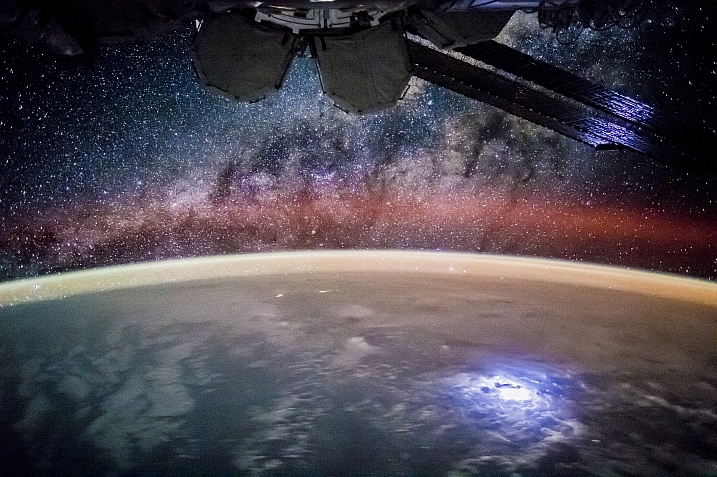
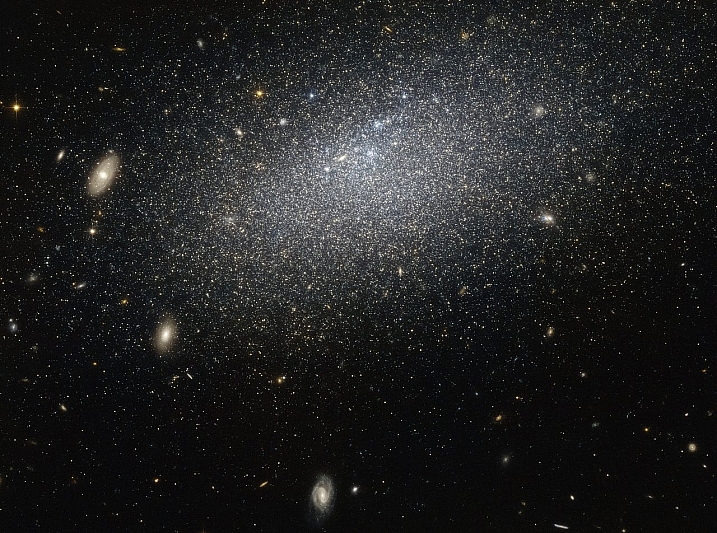
23 Star Struck Images of Celestial Subjects

01 Jul

We can be star struck in more than one way. Celebrity sightings of famous Hollywood stars is one way, the other is by the celestial stars themselves – literally!

Let’s look at a few images of celestial subjects and see how they can be captured in photographs:

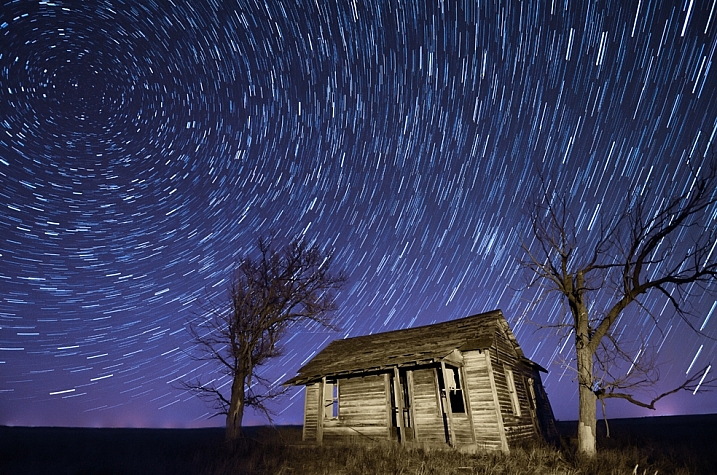
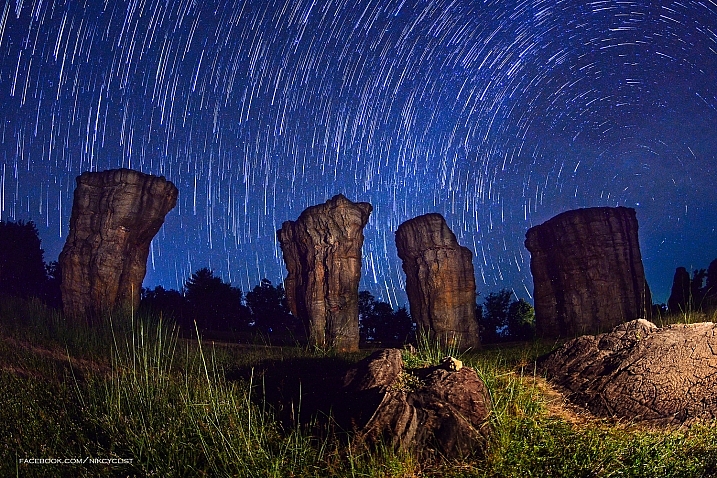
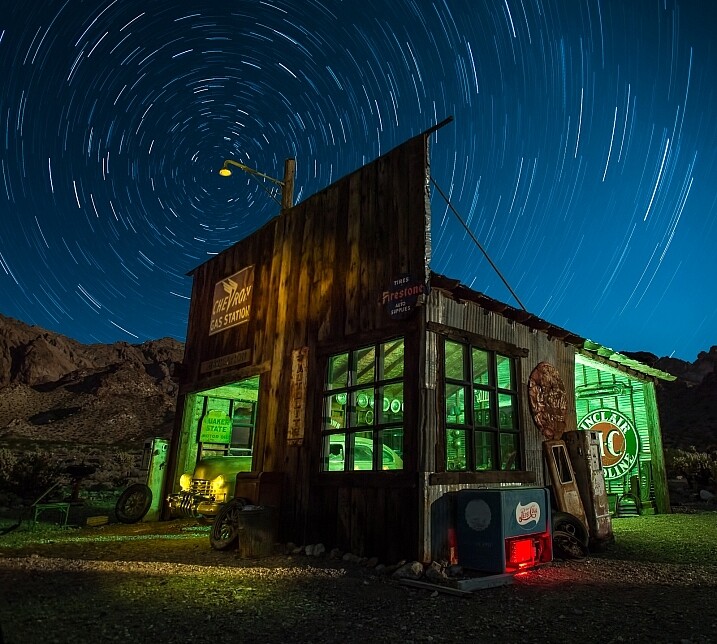
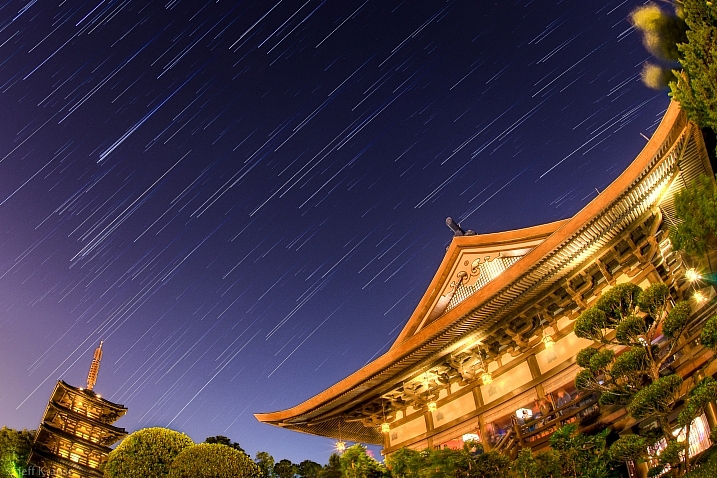
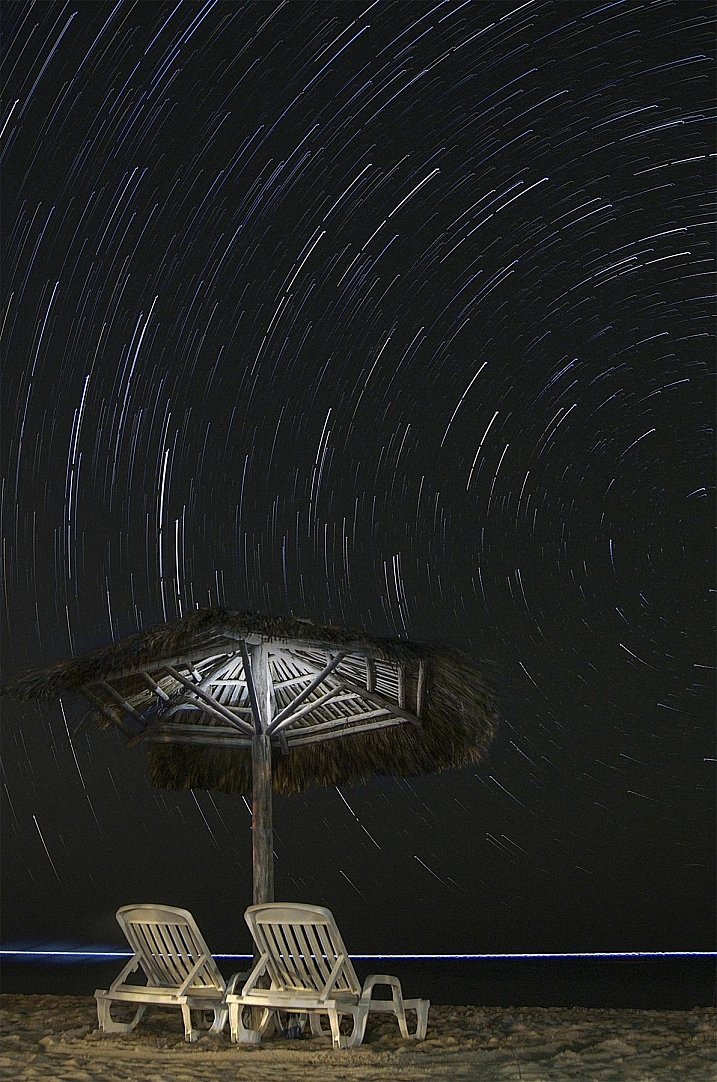
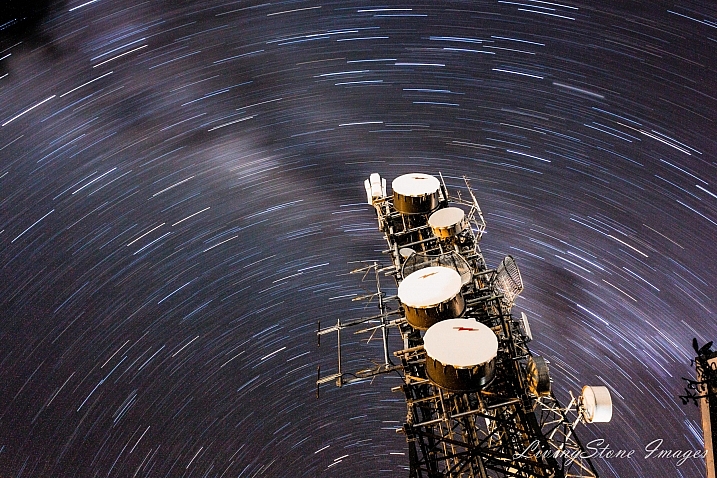
Star trails

Shannon Dizmang

By Shannon Dizmang

Prachanart Viriyaraks

By Prachanart Viriyaraks

Howard Ignatius

By Howard Ignatius

Howard Ignatius

By Howard Ignatius

Jeff Krause

By Jeff Krause

Rodger Evans

By Rodger Evans

Andrew

By Andrew

Aaron

By Aaron

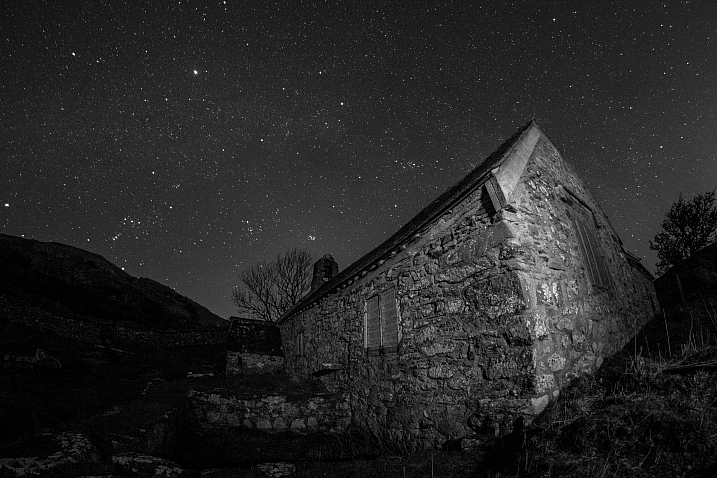
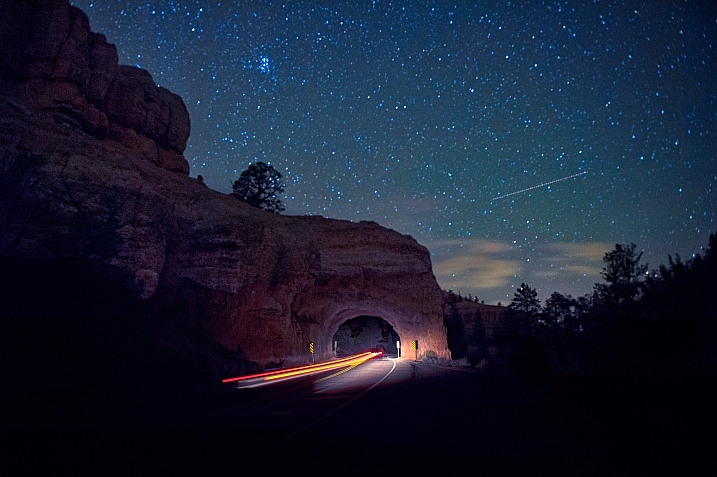
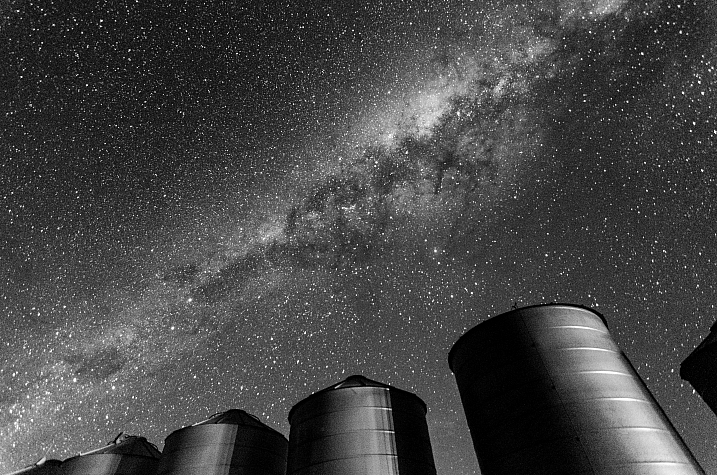
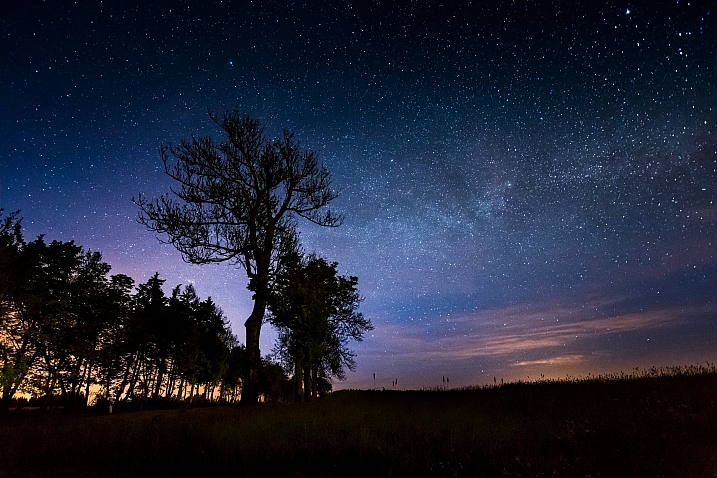
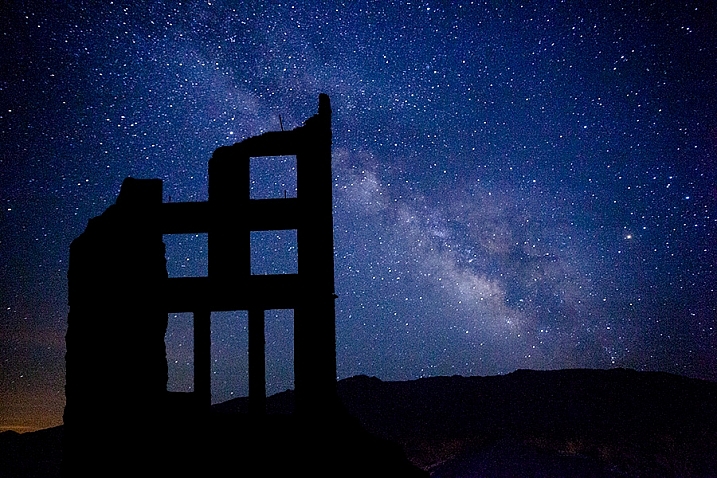
Starry skies

Sian Monument

By sian monument

Rodney Campbell

By Rodney Campbell

Indigo Skies Photography

By Indigo Skies Photography

Aaron

By Aaron

Diana Robinson

By Diana Robinson

Indigo Skies Photography

By Indigo Skies Photography

Olli Henze

By Olli Henze

Dennis Behm

By Dennis Behm

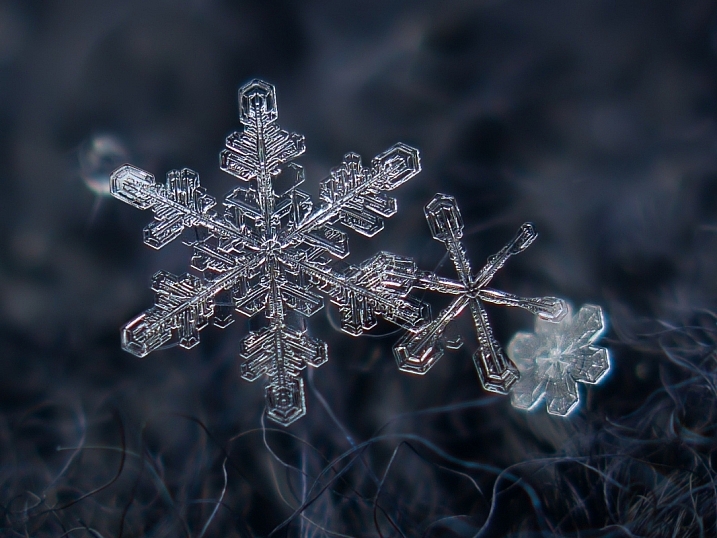
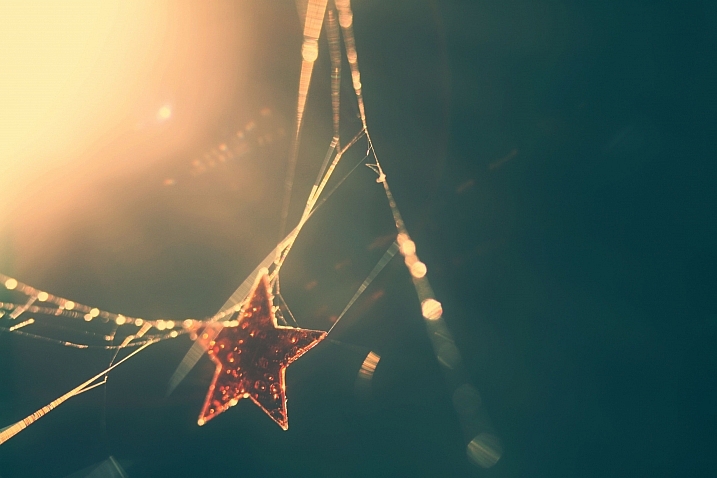
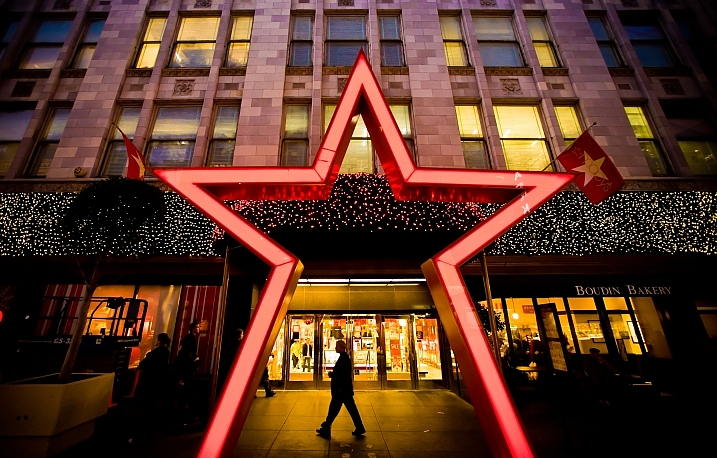
Other kinds of stars

Alexey Kljatov

By Alexey Kljatov

Neal Fowler

By Neal Fowler

Nanabcn19

By nanabcn19

Ra1000

By ra1000

Thomas Hawk

By Thomas Hawk

Peter Miller

By Peter Miller

Roadsidepictures

By Roadsidepictures

Bonus – some from NASA

NASA's Marshall Space Flight Center

By NASA’s Marshall Space Flight Center

NASA's Marshall Space Flight Center

By NASA’s Marshall Space Flight Center

NASA's Marshall Space Flight Center

By NASA’s Marshall Space Flight Center

NASA's Marshall Space Flight Center

By NASA’s Marshall Space Flight Center

googletag.cmd.push(function() {
tablet_slots.push( googletag.defineSlot( “/1005424/_dPSv4_tab-all-article-bottom_(300×250)”, [300, 250], “pb-ad-78623” ).addService( googletag.pubads() ) ); } );

googletag.cmd.push(function() {
mobile_slots.push( googletag.defineSlot( “/1005424/_dPSv4_mob-all-article-bottom_(300×250)”, [300, 250], “pb-ad-78158” ).addService( googletag.pubads() ) ); } );

The post 23 Star Struck Images of Celestial Subjects by Darlene Hildebrandt appeared first on Digital Photography School.


Digital Photography School

 
Comments Off on 23 Star Struck Images of Celestial Subjects

Posted in Photography