RSS
 

Posts Tagged ‘Card’

Lexar release new ‘Professional’ 3-in-1 and ‘Compact’ 2-in-1 card readers

01 May

Lexar has announced a pair of new multi-card readers, the Professional Multi-Card 3-in-1 Reader and the Compact Multi-Card 2-in-1 Reader.

Professional Multi-Card 3-in-1 Reader

The Professional Multi-Card 3-in-1 Reader features slots for SD, microSD and CompactFlash cards, with transfer speeds up to 312MB/s for UHS-II SD and microSD cards, and up to 160MB/s for CompactFlash cards. The reader is also backward-compatible with UHS-I SD and microSD cards up to 170MB/s and features a USB 3.1 (Type C) port for connecting to your computer or mobile device.

The Lexar Professional Multi-Card 3-in-1 Reader, which comes with a USB Type-C to USB Type-A cable, will be available to purchase later this month for $ 29.99 at authorized Lexar retailers.

Compact Multi-Card 2-in-1 Reader

Lexar has also announced the Compact Multi-Card 2-in-1 Reader built around a USB Type-A (3.1) connector that features maximum transfer speeds of 312MB/s through its two slots for USH-II SD and microSD cards. It too is backward-compatible with UHS-I SD and microSD cards with transfer speeds up to 170MB/s.

The Lexar Multi-Card 2-in-1 USB 3.1 Reader will also be available later this month for $ 19.99 at authorized Lexar retailers.

Articles: Digital Photography Review (dpreview.com)

 
Comments Off on Lexar release new ‘Professional’ 3-in-1 and ‘Compact’ 2-in-1 card readers

Posted in Uncategorized


Nikon releases firmware update for its D780 DSLR to fix SD memory card errors

24 Apr

Nikon has released a very minor firmware update for its D780 camera system.

Firmware version 1.01 (up from 1.00) addresses just a single issue, wherein some SD memory cards wouldn’t work inside the camera. Nikon doesn’t specify what memory cards caused problems, but a two-month-old DPReview forum post, embedded below, from ‘JS Photo’ noted his Lexar 2000x SD cards (a 128GB and a 64GB card) were throwing errors during a wedding shoot.

We have contacted Nikon to see if any further clarification is available on what cards were causing the problems and will update this article accordingly if we receive an appropriate response.

In the meantime, you can head on over to Nikon’s D780 support page to download firmware version 1.01 for macOS and Windows computers.

Articles: Digital Photography Review (dpreview.com)

 
Comments Off on Nikon releases firmware update for its D780 DSLR to fix SD memory card errors

Posted in Uncategorized


ProGrade Digital releases new Thunderbolt 3 CFexpress/XQD, updated CFexpress/SD card readers

01 Apr

ProGrade Digital has announced the release of the PG04 and PG05.5, a pair of memory card readers designed to make the most of their respective compatible media formats.

First up is the PG04, a single-slot Thunderbolt 3 reader for CFexpress Type B and XQD cards that offers max transfer speeds up to 40Gb/s (5GB/s). The PG04 comes with a Thunderbolt 3 to Thunderbolt 3 cable as well as ProGrade’s patent-pending adhesive metal plate for attaching the magnetic reader to various surfaces.

Next up is the dual-slot PG05.5, a replacement for ProGrade Digital’s PG05 that features a CFexpress Type B (not compatible with XQD cards) and SD card slot (UHS-II). The updated reader uses a USB 3.2 Gen 2 interface that offers speeds upwards of 10Gb/s (1.25GB/s). The PG05.5 comes with a USB Type C to USB Type C cable, a USB Type C to USB A cable and ProGrade’s patent-pending adhesive metal plate.

The PG04 and PG05.5 are currently available to purchase for $ 129.99 (Adorama, B&H) and $ 79.99 (Adorama, B&H), respectively.

Articles: Digital Photography Review (dpreview.com)

 
Comments Off on ProGrade Digital releases new Thunderbolt 3 CFexpress/XQD, updated CFexpress/SD card readers

Posted in Uncategorized


The Canon EOS R6 Will Have Dual Card Slots, 20 FPS Shooting

23 Mar

The post The Canon EOS R6 Will Have Dual Card Slots, 20 FPS Shooting appeared first on Digital Photography School. It was authored by Jaymes Dempsey.

Canon EOS R6 Rumors - The Canon EOS R6 Will Have Dual Card Slots, 20 FPS Shooting

The Canon EOS R5 has been attracting a lot of attention recently with its 45 MP sensor, blazing-fast shooting speeds, and 8K video.

So much attention, in fact, that you’d be forgiven if you weren’t aware of Canon’s other soon-to-drop mirrorless model, the EOS R6.

To be fair, the EOS R6 hasn’t been officially announced by Canon. All the information we have on it comes from rumors, but this type of rumor tends to be pretty accurate, and there’s little doubt that the EOS R6 will debut in 2020.

So what can we expect from this new mirrorless body?

First, the R6 will have a full-frame sensor, but one that packs just 20 MP, making it Canon’s lowest resolution EOS R model to date.

Not that 20 MP is insufficient for most purposes, of course, but it comes as something of a surprise, especially given that Canon’s enthusiast full-frame mirrorless model, the EOS RP, features 26 MP.

Fortunately, a low-resolution sensor can often make way for other features, such as high continuous shooting speeds. On that front, I have good news:

The EOS R6 will shoot up to 12 frames per second using the mechanical shutter and 20 frames per second using the electronic shutter, putting it above many of the action-centric cameras currently on the market. If you’re looking to shoot sports or wildlife, that’s more than enough speed for top-of-the-line images.

The EOS R6 will also offer in-body image stabilization, making it the only Canon mirrorless body, aside from the upcoming R5, to do so.

And if all these specs weren’t interesting enough, we have a new EOS R6 rumor on the docket, suggesting that the camera will offer dual card slots, but will also have an EVF and build quality that can’t match the R5.

So what, exactly, is this camera shaping up to be?

It’s highly likely that Canon engineers are working on a professionally-oriented sports body (often dubbed the EOS R1), but this is almost certainly not it. The lack of a rugged build, plus the lower-resolution electronic viewfinder, suggests that the R6 will be an enthusiast camera rather than a professional one. Plus, I can’t see Canon releasing another 1D-type camera, just a few months after the 1D X Mark III was announced.

Instead, the EOS R6 is shaping up to be a Canon 6D, of sorts. A camera with excellent full-frame image quality, but lacking the durability of a true pro body, and probably limited in other areas (such as customizability).

But note that the EOS R6 is no simple rehash of the 6D series. The presence of in-body image stabilization and ultra-fast shooting speeds suggest that Canon has thoroughly “mirrorlessed” this new model, and the result is likely to make quite a splash.

While the EOS R6’s release date is currently unknown, and the situation with coronavirus is causing production delays, look out for an announcement in May.

Now over to you:

What do you think of the EOS R6 rumors? Who do you think this camera is meant for? Would you be interested? Share your thoughts in the comments!

The post The Canon EOS R6 Will Have Dual Card Slots, 20 FPS Shooting appeared first on Digital Photography School. It was authored by Jaymes Dempsey.


Digital Photography School

 
Comments Off on The Canon EOS R6 Will Have Dual Card Slots, 20 FPS Shooting

Posted in Photography


The ‘KD-K1’ keyboard manages to pack in multiple USB ports, an HDMI output and an SD card reader

25 Feb

Minimizing desk clutter is a seemingly impossible task to achieve on the regular, but you might find yourself one step closer with the help of the Kolude KD-K1, an all-in-one keyboard that manages to pack in not only a full-size keyboard, but also a number of ports, including an SD and microSD card slot.

The KD-K1 reached its funding goal on Kickstarter in just 12 hours and has amassed roughly $ 117k in funding from 895 backers as of publishing this article — over ten times its initial goal. The keyboard effectively combines a USB-C hub with a keyboard to create a simplified solution to all forms of input and output for your computer.

Specifically, the KD-K1 features three USB-A 3.0 ports, one USB-A 2.0 port, two USB-C ports (including one Power Delivery port for charging your connected computer/tablet), an SD card slot, a microSD card slot and an HDMI port (4K/30Hz). In addition to the HDMI slot, the USB-C port can output video as well, up to two 4K/30Hz displays.

The keyboard itself is constructed of 100-percent aluminum and uses chiclet-style keys atop scissor-switches. In addition to coming in both black and white variations, both models feature a white LED backlight to make typing and navigating easier in low-light environments.

Kolude says the keyboard was specifically designed with Apple devices in mind, the KD-K1 does have Windows and Android support as well. Kolude says the keyboard supports the following languages at this time, with more anticipated in the future: English, French, German, Italian, Spanish, Russian, Taiwanese/Hong Kong Cangjie, Japanese, Russian, Arabic, Portuguese and Korean languages.

The first units are expected to start shipping in June 2020 for the ‘early bird’ backers. A $ 119 pledge will secure your spot in line for a Kolude KD-K1 when the keyboard will inevitably be funded in nine days when the Kickstarter campaign ends.


Disclaimer: Remember to do your research with any crowdfunding project. DPReview does its best to share only the projects that look legitimate and come from reliable creators, but as with any crowdfunded campaign, there’s always the risk of the product or service never coming to fruition.

Articles: Digital Photography Review (dpreview.com)

 
Comments Off on The ‘KD-K1’ keyboard manages to pack in multiple USB ports, an HDMI output and an SD card reader

Posted in Uncategorized


News: The Canon EOS Rs to Have 75 MP Sensor and Dual Card Slots

12 Dec

The post News: The Canon EOS Rs to Have 75 MP Sensor and Dual Card Slots appeared first on Digital Photography School. It was authored by Jaymes Dempsey.

gear-news-canon-eos-rs

Over the past few months, rumors have abounded regarding a “professional” Canon EOS R. But recent news has given us the month of the release, making this new Canon camera more exciting than ever.

As initially reported by Canon Rumors, this Canon mirrorless snapper is about to enter the market, offering a resolution far beyond anything previously offered by Canon.

The Canon EOS Rs (as the folks at Canon Rumors are calling it) will apparently be announced in February of next year, presumably around the same time as the Canon 1D X Mark III and the Nikon D6, though it’ll be aimed at a completely different audience.

So what should we expect from Canon’s pro-level mirrorless model?

The EOS Rs will have plenty of the features you’d expect based on the EOS R, but better:

  • The latest and greatest Canon processor, the DIGIC 9.
  • A “similar” continuous shooting speed to the EOS R (which clocks in at 8 fps in One-Shot AF).
  • An improved EVF.
  • Weather sealing.

But the Canon EOS Rs is also rumored to possess a few traits that should pique the interest of quite a few professional photographers:

  • Dual card slots and a 75 MP sensor.

The dual card slots are somewhat expected, given the slew of complaints that Canon received regarding the lack of dual slots on the EOS R. But a 75 MP sensor is groundbreaking for a 35mm camera, offering a higher pixel count than either the Canon 5DS and 5DSR duo or the Sony A7R IV. It would be, in fact, the highest-resolution 35mm digital camera currently available.

Now, a camera like the EOS Rs is designed with professional photographers in mind. The huge megapixel count is required by, for instance, commercial photographers, as well as those looking to make giant landscape prints.

But while megapixel monsters are undoubtedly powerful, they come with some downsides.

The first is the price; the Canon 5DS debuted at around $ 3700 USD, and I don’t expect Canon to knock many dollars off the EOS Rs MSRP.

The second is file size. The RAW files produced by a 75 MP camera will be huge, which makes storage (both in memory cards and on computers) potentially frustrating.

And third, higher megapixel counts result in smaller pixels. This hurts high ISO performance on even the most professional of cameras, which is one of the reasons why megapixel monsters are often outperformed by other full-frame cameras in low-light scenarios, especially when images are compared at native resolutions.

What do you think about the Canon EOS Rs? Is it something you’d be interested in? What would you like to see in it?

Let me know in the comments!

The post News: The Canon EOS Rs to Have 75 MP Sensor and Dual Card Slots appeared first on Digital Photography School. It was authored by Jaymes Dempsey.


Digital Photography School

 
Comments Off on News: The Canon EOS Rs to Have 75 MP Sensor and Dual Card Slots

Posted in Photography


8 Tips to Minimize Memory Card Problems

27 Nov

The post 8 Tips to Minimize Memory Card Problems appeared first on Digital Photography School. It was authored by Megan Kennedy.

minimize-memory-card-problems-tips

Memory cards are a crucial component of digital photography. Here are 8 tips to help minimize memory card problems.

glitch

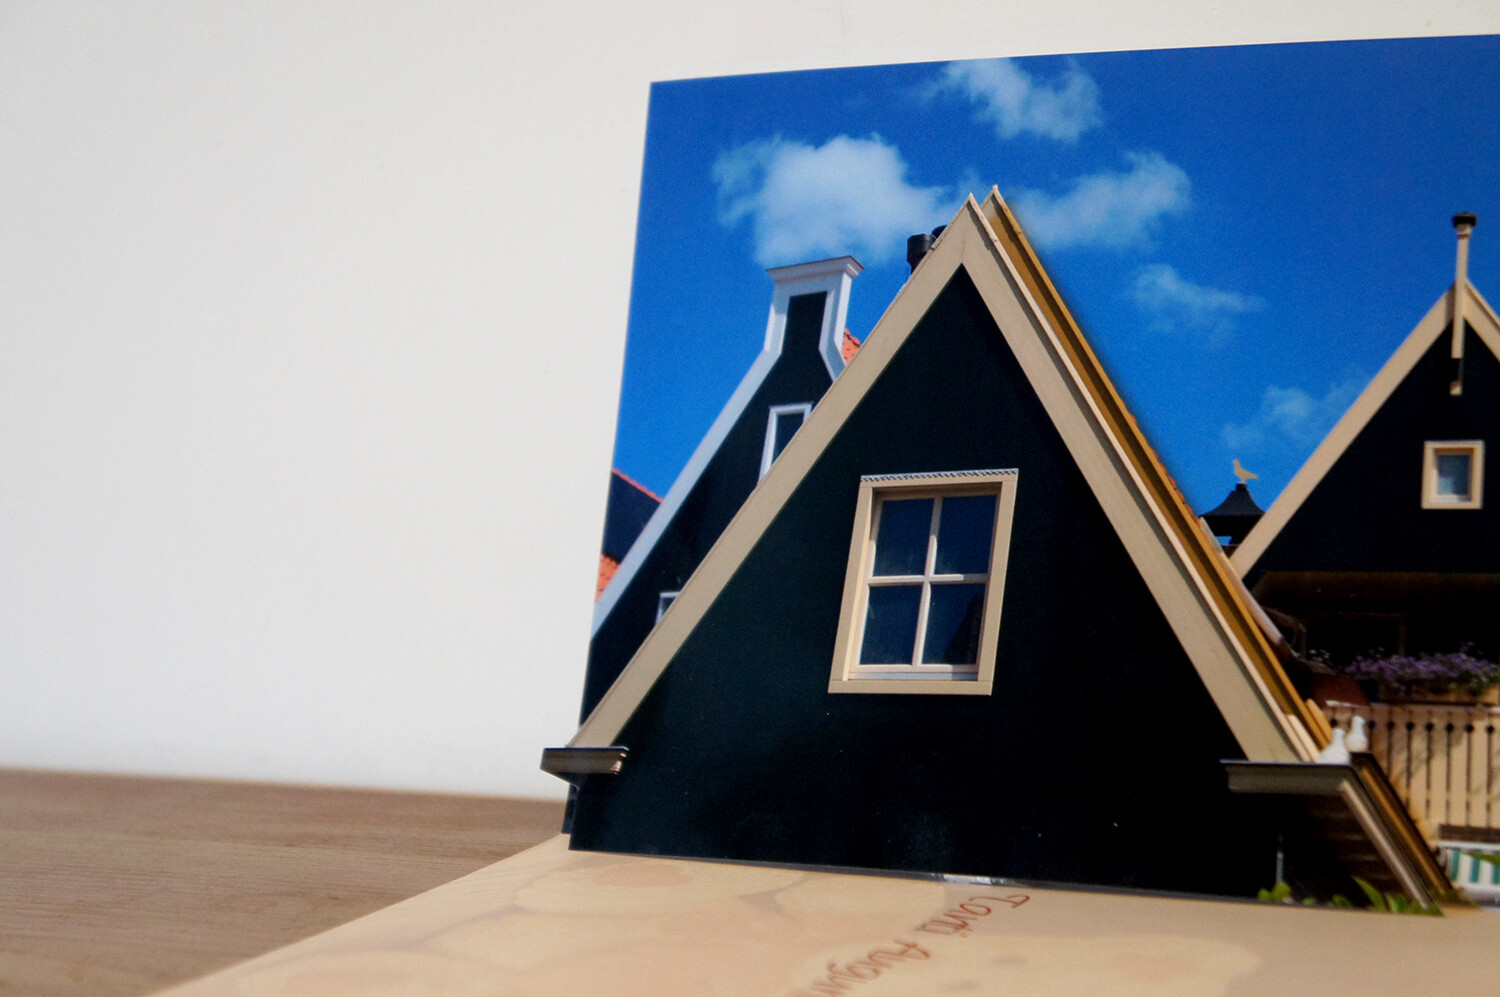
The unfortunate result of a memory card issue

What is a memory card?

minimize-memory-card-problems-tips-CF-card

A memory card is a storage accessory that records the image data you make while taking photographs with a digital camera.

Square or rectangular in shape, a memory card slots into your camera and reads/writes each image file you create.

At the end of a shoot, the memory card can be removed from the camera and connected to a computer where images are then transferred for viewing, editing and storage.

There are many different memory cards built to suit different needs, camera models and budgets.

To have an in-depth look at memory card specifications, check out our article here.

Memory cards are no doubt an amazing piece of technology, but they do require care. Fortunately, a bit of research can help minimize memory card problems.

1. Use a good card reader

As I mentioned before, there are various types of memory cards, each with different specifications and levels of quality. There are also card readers of different qualities to match.

Card readers are the devices that transfer data from the memory card to your computer.

While card readers seem like a pretty straight-forward piece of equipment, you don’t want to run the risk of corrupting files as you upload them to the computer.

Investing in a good memory card reader can save a lot of stress down the road.

2. Purchase quality cards

example-of-cheap-equipment

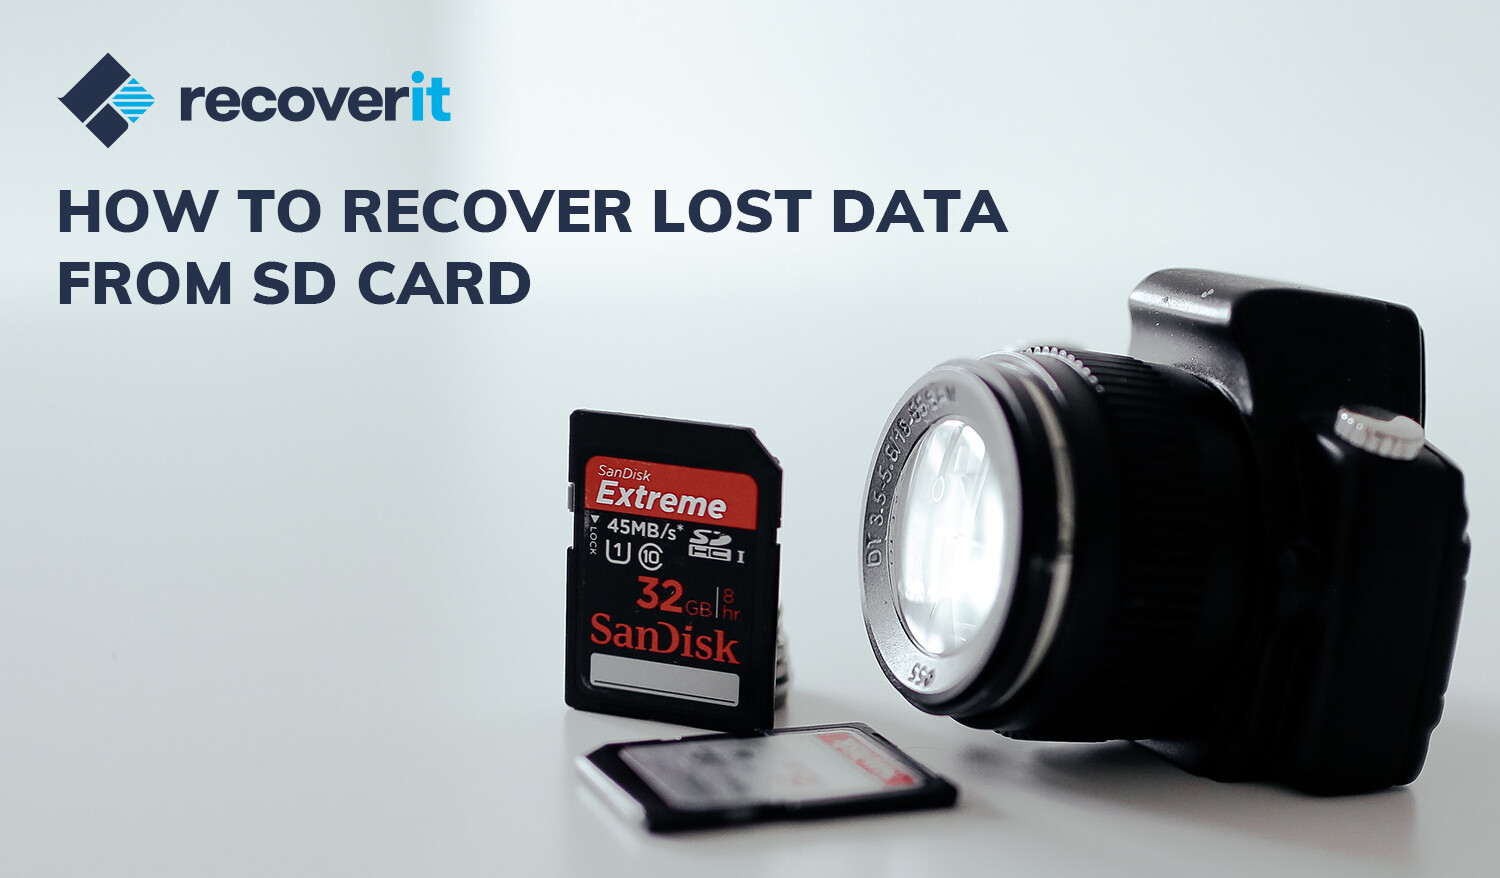
Uh, oh…the result of using a cheap memory card. Unfortunately, this image couldn’t be saved.

Purchasing a good memory card is key to safeguarding your images. While quality cards may be more expensive, a cheap memory card can compromise your photography.

Brands like SanDisk and Lexar are a go-to for professional photographers. Steer away from deals that look ‘too good to be true’ or obscure brands with poor reviews.

3. Eject your memory card from the computer safely

8 Tips to Minimize Memory Card Problems

While it might seem harmless to remove your memory card from the computer without ejecting, you could be putting your next shoot at risk.

Not ejecting your card may result in corrupted data or card failure. To minimize memory card problems, always eject your card through the computer before removing it.

4. Turn your camera off before removing your memory card

Another simple way to minimize memory card problems is to turn your camera off before removing your card. Removing your memory card while the camera is still on can interrupt the writing process and potentially corrupt your image files.

In addition, avoid shooting while your camera battery is low. If your camera runs out of power while reading/writing it can be detrimental to all the data on your memory card.

5. Don’t completely fill your card with images

It sounds counter-intuitive, if you have the space, why not fill the card…right?

The fact is, just like a maxed-out hard drive, a card nearing capacity under-performs, and this can compromise your images.

To avoid this issue, invest in a large memory card, keep an eye on your image-count, don’t fill your card over 85-90% capacity, and always have a spare card at the ready.

6. Don’t switch devices without formatting

minimize-memory-card-problems-tips

Switching a memory card into different camera devices risks compatibility issues that can corrupt the data of the whole card.

If you need to change equipment, formatting a card before use or using a new memory card is the safest way to go.

7. Don’t delete files in-camera

If you take a photograph you aren’t too keen on, it’s tempting to erase the image then and there. However, deleting photographs individually in-camera can result in corrupted images.

Going through and deleting images can also soak up valuable shooting time. Wait till you have uploaded your files to the computer before you start deleting content.

8. Format your memory card before using it

8 Tips to Minimize Memory Card Problems

At the start of a new shoot, you want a memory card that is ready to read/write plenty of new data.

To do this properly, it’s a good idea to format your card in-camera first.

Selecting the format option in your camera menu will clear the card, readying it for new image files.

Formatting before a shoot also minimizes the likelihood of scrambling new images with lingering data left on the card from previous shoots.

Conclusion

Memory cards are amazing little pieces of technology. With a few simple steps, you can minimize memory card problems, allowing you to focus your attention on image-making instead!


Do you have any other tips for minimizing memory card problems? Or have you had corrupted cards and lost files? Share with us your tips and stories in the comments.

The post 8 Tips to Minimize Memory Card Problems appeared first on Digital Photography School. It was authored by Megan Kennedy.


Digital Photography School

 
Comments Off on 8 Tips to Minimize Memory Card Problems

Posted in Photography


LaCie’s announces new Rugged SSDs, including one with a built-in SD card reader

12 Sep

Storage company LaCie has introduced three new portable, rugged SSDs that it says are designed specifically for creative, media, and entertainment pros who need ample storage while working remotely. The company’s new lineup consists of the LaCie Rugged SSD, Pro, and BOSS SSD models, each offering high durability alongside features targeted at different user needs.

The most notable of the three new models is the LaCie Rugged SSD Pro, a device featuring Thunderbolt 3 and USB 3.1, a Seagate FireCuda NVMe SSD with speeds up to 2800MB/s, and an IP67 resistance rating against dust and water. This device is designed for digital imaging technicians and filmmakers dealing with up to 8K footage.

Joining the Pro model is LaCie’s new Rugged SSD, an alternative for media professionals who have less demanding needs. This model features USB 3.1 Gen2 and a Seagate FireCuda NVMe SSD with speeds up to 950MB/s. According to the company, that’s fast enough for handling up to 4K video. As with the Pro model, this drive is secured in a durable housing with an IP67 rating, plus crush resistance and drop tolerance.

Finally, LaCie’s new Rugged BOSS SSD is designed for photographers and filmmakers, offering a 1TB SSD with speeds up to 430MB/s. As well, this drive is unique due to the housing’s built-in SD card slot alongside the USB port, as well as its built-in display for seeing the real-time status on data transfers, battery life, and available capacity. The housing is dust, splash, and drop-resistant and the drive works with a companion mobile app for managing content.

The LaCie Rugged SSD lineup will be available at the following prices:

  • LaCie Rugged SSD: 500GB ($ 179.99), 1TB ($ 299.99), and 2TB ($ 499.99).
  • LaCie Rugged SSD Pro: 1TB ($ 399.99) and 2TB ($ 699.99)
  • LaCie Rugged BOSS SSD: 1TB ($ 449.99)

Articles: Digital Photography Review (dpreview.com)

 
Comments Off on LaCie’s announces new Rugged SSDs, including one with a built-in SD card reader

Posted in Uncategorized


How to Make an Awesome Pop-Up Card with your Photos

25 Aug

The post How to Make an Awesome Pop-Up Card with your Photos appeared first on Digital Photography School. It was authored by Ana Mireles.

If you can cut and fold a piece of paper to make a pop-up, why can’t you make it to an image? A photograph translates our three-dimensional world into a two-dimensional representation. With a pop-up card, you can present it with tridimensionality. Here are some ideas to bring your photos to life by turning them into an awesome pop-up card!

How-to-Make-an-Awesome-Pop-Up-Card-with-your-Photos

From paper crafting to paper engineering, this creative practice can be as complex as you want. I will show you two basic techniques that you can apply to your own images. Keep in mind that each image will need specific measures and some testing before you get it right, so be patient!

What you need to make your awesome pop-up card

I recommend you print some copies of the photo in black and white on a cheap paper so you can do your testing without spending much. Then get scissors, a precision cutter, ruler or measuring tape, double-sided tape, and a cutting board.

How-to-Make-an-Awesome-Pop-Up-Card-with-your-Photos

1.Single image pop-up card

Choose the right image

Because you want to give it a third dimension, images that have a clear separation of elements will work best. For some guidelines on this check out the article How to Use Figure to Ground Art Theory in Photography. Print your image at least two times, and one for each layer you want to add.

Foreground and Background are separated for a better pop-up card

Layers and more layers

The more elements you separate into layers, the more interesting and elaborate your card will look. I promised to keep it simple so I’ll just add one layer to show you the process, then just repeat it as many times as you want. Cut out the element of the layer that will pop up. In this case, I’ll cut the house in the front.

How-to-Make-an-Awesome-Pop-Up-Card-with-your-Photos

Cut also a stripe of paper, either from the photo or any other thick paper that will hold the layer up. The longer you make it, the bigger the separation to the background.

Fold and paste

Now paste the background to the card which can be store-bought or just a piece of colored paper folded in two that you can later write your message on. Place the base of the photo on the crease where the card folds.

paste background into card

Fold the paper stripe into a square. Then paste one side to the background and one to the bottom side of the card. This will serve as support to the pop-up cutout.

piece of paper to hold the pop-up piece

Paste the other side of the square to the background, and the bottom part to the card. Making sure the cutout matches the original image when you position it. That’s it. Do the same for any elements you want popping out.

How-to-Make-an-Awesome-Pop-Up-Card-with-your-Photos

2. Multiple image pop-up card

This technique is great when you want to showcase many images. For example, an anniversary or a birthday where you want to sum up the highlights of the year. It’s also useful when you want to make a themed card to communicate a concept.

Create the layout

The first thing you want to do is choose your images. Then arrange your images in a grid. To automatize this process you can use Lightroom. If you need some direction just follow the instructions of How to Create Contact Sheets in Lightroom. Set it to the size of the card you’re going to use: for me is an A3 so 4 columns and 3 rows should look nice, but this is entirely up to you.

Print thumbnail images to use

Note that the outer images of the middle row will get folded in half, so use images that fit this crease, or leave it black.

Fold

Fold the paper vertically in half, and then each side again in half towards the opposite direction. As a result, you will have an accordion where the folds separate the columns.

Fold contact sheet as accordion

Cut

Unfold the accordion and just leave it in half. If you do it in a way that the images are towards the outside, you won’t have to measure and just guide yourself by the images. Cut horizontally between rows reaching the middle of the outer image. Then fold inwards the piece you just cut.

How-to-Make-an-Awesome-Pop-Up-Card-with-your-Photos

Paste

Now put some double-sided tape into the side edges and fix it to the card. Make sure the fold in the middle of the accordion coincides with the fold of the card.

pop-up card with accordion photo album

I hope you enjoyed reading How to Make an Awesome Pop-Up Card with your Photos and that you enjoy making pop-up cards yourself! For future occasions, if you want to go deeper into this craft side of photography I’ll leave you some links to check out.

Additional reading

If you’re feeling creative and want to do other types of cards, check out these amazing tutorials:

  • How to Make Your Own Postcards: Cheap!
  • Greeting Card Templates in PS or PSE
  • How to Make Great Photo Invitations in Photoshop


How-to-Make-an-Awesome-Pop-Up-Card-with-your-Photos

The post How to Make an Awesome Pop-Up Card with your Photos appeared first on Digital Photography School. It was authored by Ana Mireles.


Digital Photography School

 
Comments Off on How to Make an Awesome Pop-Up Card with your Photos

Posted in Photography


How to Recover Deleted Photos from an SD Card

07 Jul

The post How to Recover Deleted Photos from an SD Card appeared first on Digital Photography School. It was authored by Theodomentis Lucia.

A while back, all the photos stored on my Sony camera’s SD card were wiped off entirely. Needless to say, it was a nightmare as the SD card had pictures of my last vacation. This got me digging into data recovery for SD cards – as I was not ready to let go of my precious memories under any circumstances.

How to Recover Deleted Photos from an SD Card

Thankfully, after some unsuccessful attempts, I was able to get back my lost photos.

I took the assistance of a reliable data recovery tool and followed a stepwise process to recover my lost photos from the convenience of my home.

Is it possible to recover data from SD cards?

Before we get into the details, it is important to answer this million-dollar question.

In a nutshell – yes, you can get back your lost data from an SD card, hard drive, or any other data source.

This is because when you delete data from a source, it isn’t wiped away entirely. Instead, the address allocated to it becomes accessible to be overwritten by something else.

This is where a data recovery tool comes to the rescue. It can help you extract this inaccessible content before it gets overwritten by any other operation.

How to recover deleted photos from SD sards

To get back your lost or deleted data from an SD card, consider using a reliable data recovery tool. Personally, I encountered a few gimmicks and imposters on the web that didn’t yield expected results. Overall, I found Recoverit to be a very good data recovery tool out there. Since it was pretty easy to use Recoverit 8.0, I didn’t have to seek the help of a professional. I downloaded its Windows version. However, you can also get the Mac recovery application as well.

Here’s how I got back my lost photos from my SD card using Recoverit:

Step 1: Download Recoverit on your system

Needless to say, you need to start by downloading the data recovery tool on your computer. Just download Recoverit data recovery software on your Mac or Windows. You can get the free basic version if you wish. Although, to enjoy its unlimited features, you can purchase the pro or ultimate subscriptions too.

Step 2: Install and launch Recoverit

When the setup file is downloaded, simply open it and click on the “Install” button to get things started. Follow a basic click-through process to complete the installation and launch Recoverit on your computer.

How to Recover Deleted Photos from an SD Card - 2

Step 3: Connect your SD card

Carefully, unmount your SD card from your digital camera or camcorder and connect it to your system. If your computer doesn’t have an inbuilt card reader, then use a dedicated card reader unit to connect it. As soon as it is detected, you will be notified by the system.

Step 4: Select your SD card as a source location

Once you launch the Recoverit data recovery application on your computer, you can view different location options on its home page. This includes internal drives, partitions, and even connected external devices. You can select the drive of your SD card (under external devices) or browse to a specific folder to scan as well.

How to Recover Deleted Photos from an SD Card - 3

Step 5: Start the scan

After selecting the SD card as a source location, click on the “Start” button to initiate the data recovery process.

Step 6: Wait for the scan to be over

Sit back and wait for a few minutes as Recoverit Data Recovery scans the connected SD card in an extensive manner. Since it might take a while, make sure that your SD card stays connected to the system during the entire process. There is an on-screen indicator to depict the progress of the scan.

Step 7: Preview the extracted data

Upon the completion of the recovery process, the extracted content gets displayed under different categories. Here, you preview your photos, videos, documents, etc., and select the files you wish to save. The search option allows you to look for specific files in no time.

Step 8: Recover and Save your photos

On the native interface of Recoverit, you can select multiple files as per your convenience. In the end, just click on the “Recover” button to save the selected files. A browser window will open, letting you save these files to a secure location of your choice.

How to Recover Deleted Photos from an SD Card - 7


Tips for getting better recovery results

  • Recover the extracted content to a trusted location. Preferably, it should not be your SD card from where you have just recovered your lost photos.
  • After losing your photos, stop using your SD card or digital camera right away. If you restart it a few times, or use it for other reasons, then it might overwrite your old photos. This will make the chances of getting your photos back pretty bleak.
  • If there is no inbuilt card reader slot in your system, consider using a dedicated third-party unit to attach your SD card.
  • Don’t format the SD card or change its file system, hoping to get better results. Simply use a reliable recovery tool as soon as you can get positive results.

Conclusion

That’s it! By following this simple drill, I was able to get back my lost data from my SD card in no time. You can also try the same and perform an SD card recovery from the convenience of your home.

If you have also gone through a similar situation to recover deleted photos and would like to share your experience, feel free to let us know in the comments below.

Download Recoverit Free Version


Recoverit is a dPS paid partner

The post How to Recover Deleted Photos from an SD Card appeared first on Digital Photography School. It was authored by Theodomentis Lucia.


Digital Photography School

 
Comments Off on How to Recover Deleted Photos from an SD Card

Posted in Photography