RSS
 

Posts Tagged ‘Beauty’

Report: Google looking to stop smartphone manufacturers from adding built-in ‘beauty’ modes

21 Jul

According to a report from XDA Developers, Google might be making changes to its Camera API in Android 11 that will prevent them from using algorithms to smooth skin, change skin color or alter the facial geometry of subjects.

Sharp-eyed XDA Developers Editor-in-Chief, Mishaal Rahman, noticed in Google’s Android 11 Compatibility Definition Document that the company is banning equipment manufacturers from ‘implementing facial tweaking algorithms during image processing.’ Although the relevant section — [C-0–12] in particular — has been removed from the documentation, the below screenshot from Rahman shows it said the ‘facial appearance [can] NOT [be] altered including but not limited to altering facial geometry, facial skin tone or facial smoothing.’

This stipulation targets smartphone manufacturers who are suspected of adding these types of ‘beauty filters’ to the first-party camera app, even after turning off specific ‘Beauty’ modes, such as the one found on the Vivo X50 Pro.

Based on the wording of the documentation, it appears as though third-party apps that offer these kinds of ‘beauty’ features and filters won’t be affected — only the manufacturer’s first-party app. However, that hasn’t been confirmed at this point.

Articles: Digital Photography Review (dpreview.com)

 
Comments Off on Report: Google looking to stop smartphone manufacturers from adding built-in ‘beauty’ modes

Posted in Uncategorized


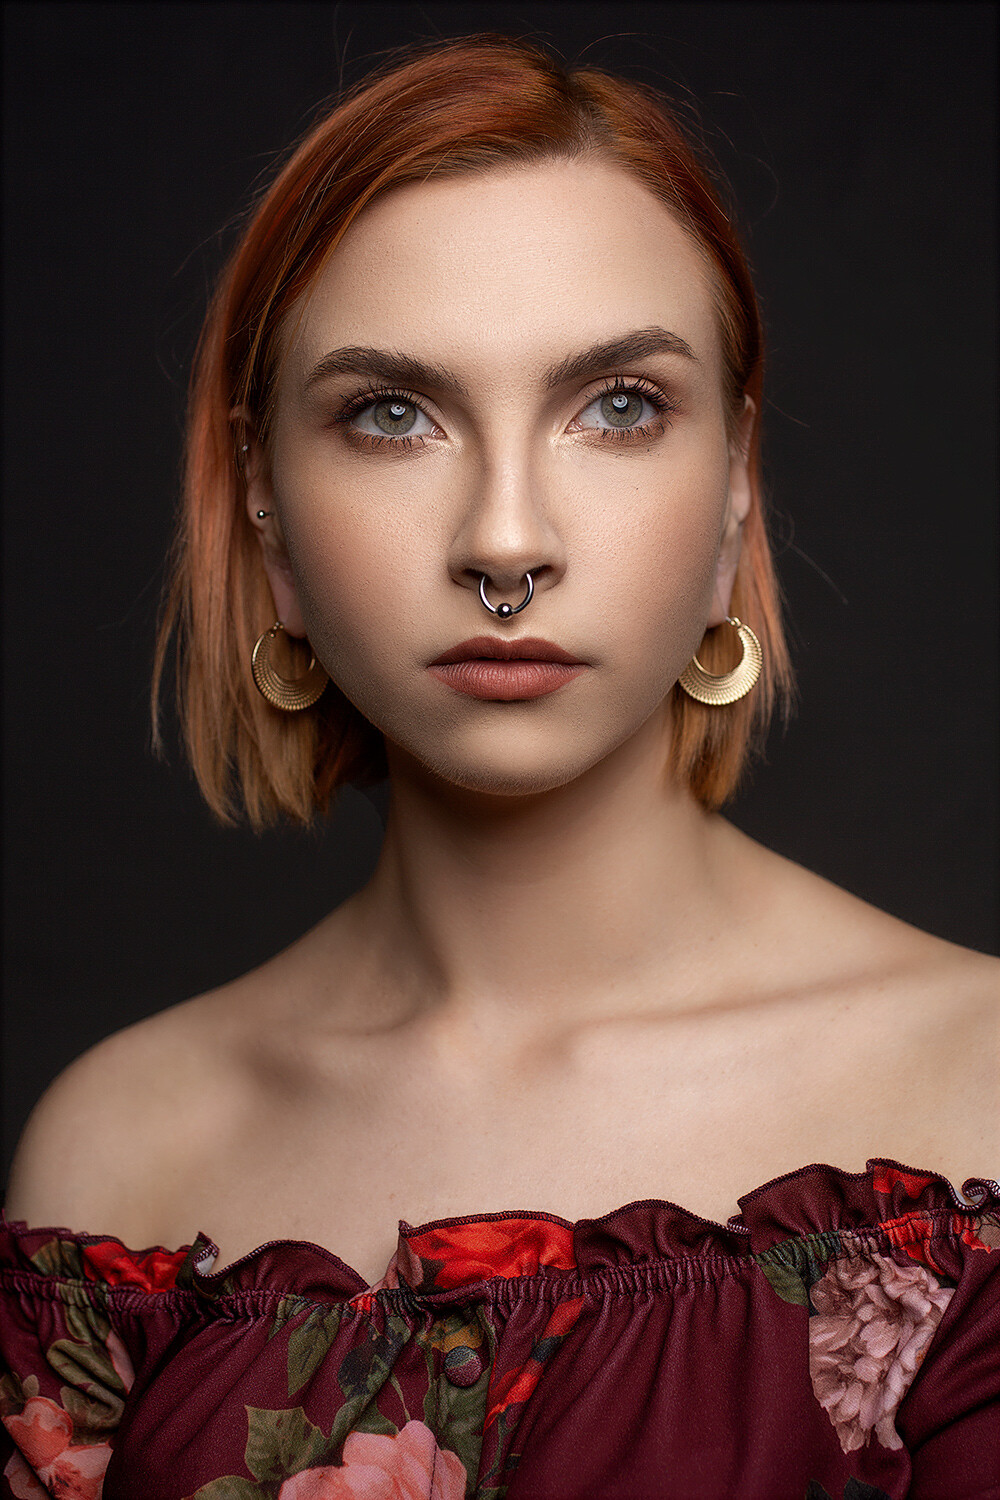
What Size Beauty Dish is Right For Your Portrait Photography?

03 Jul

The post What Size Beauty Dish is Right For Your Portrait Photography? appeared first on Digital Photography School. It was authored by John McIntire.

What Size Beauty Dish is Right For Your Portrait Photography?

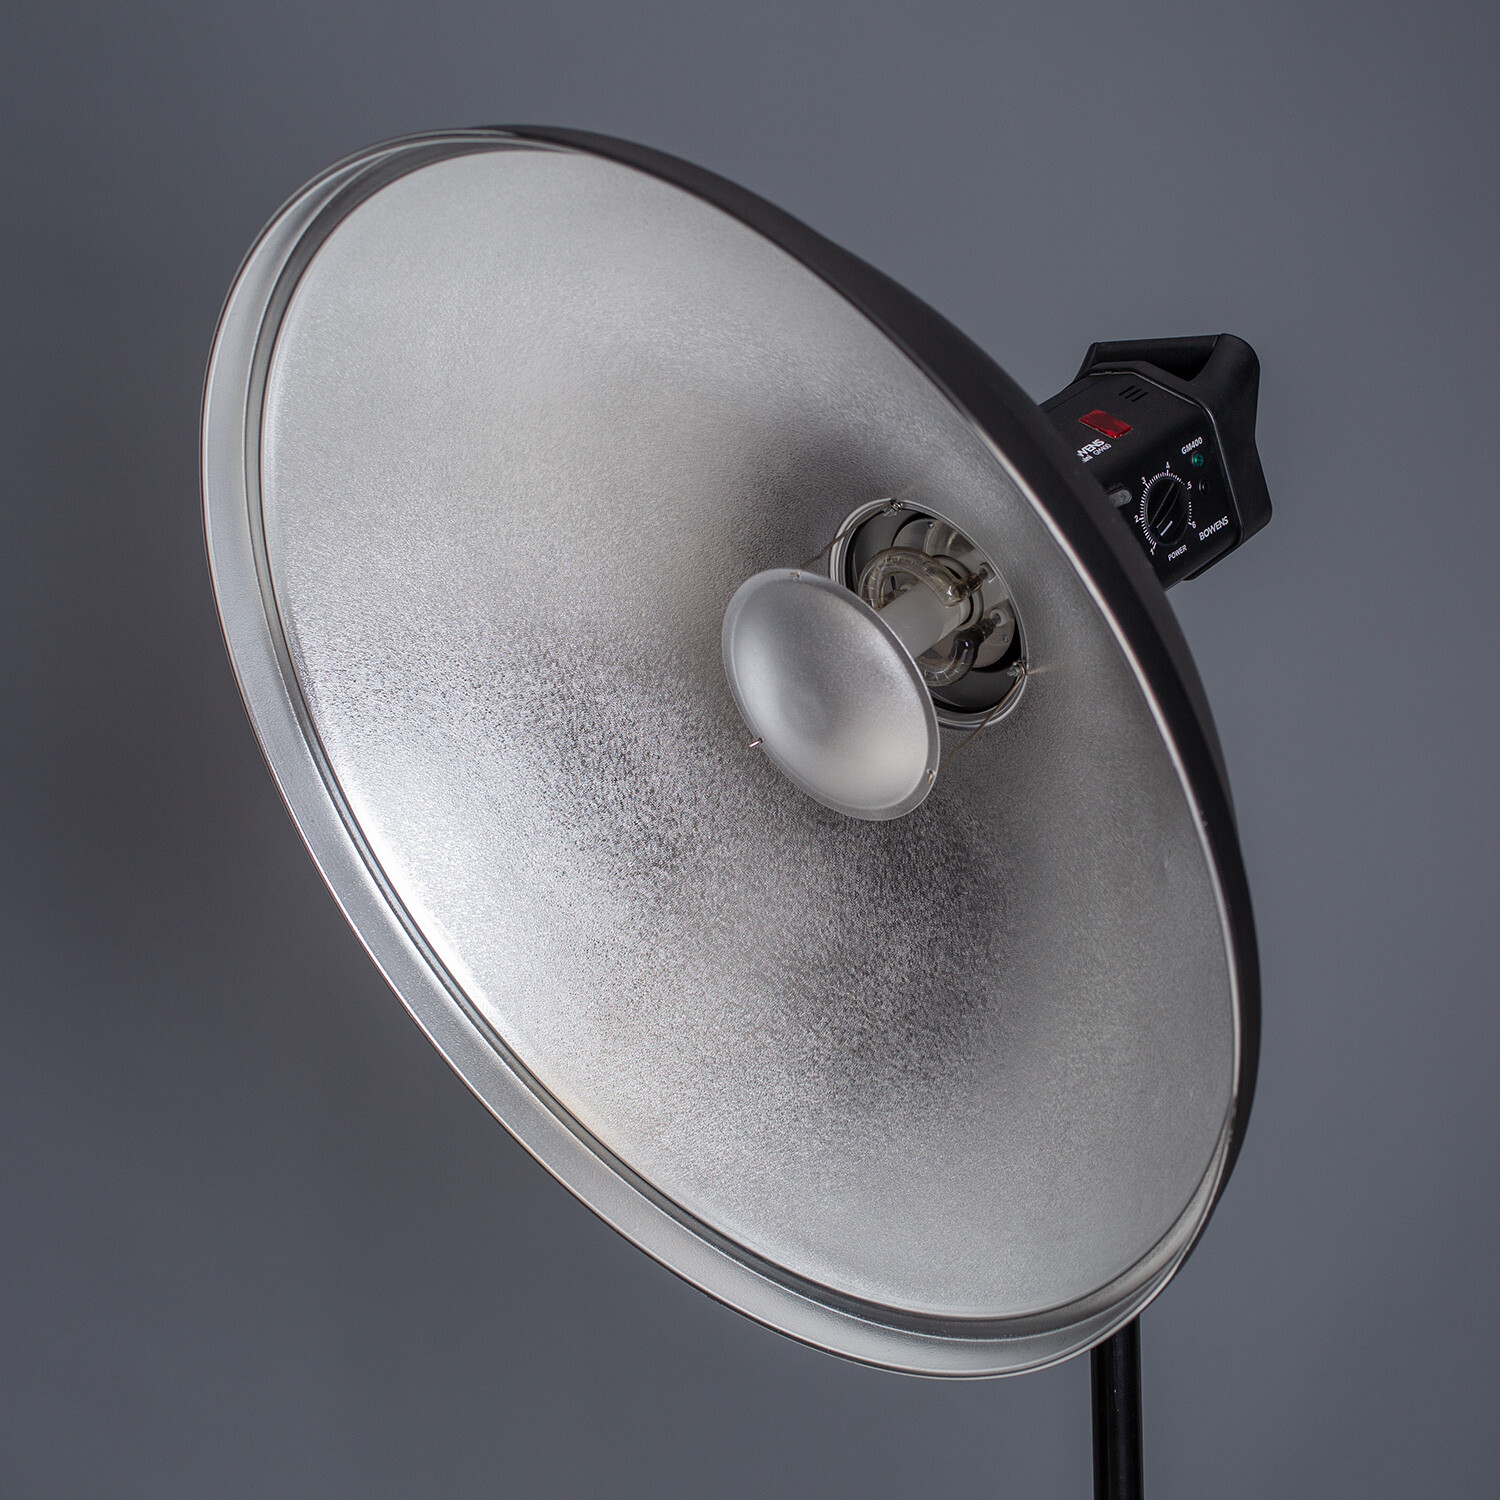
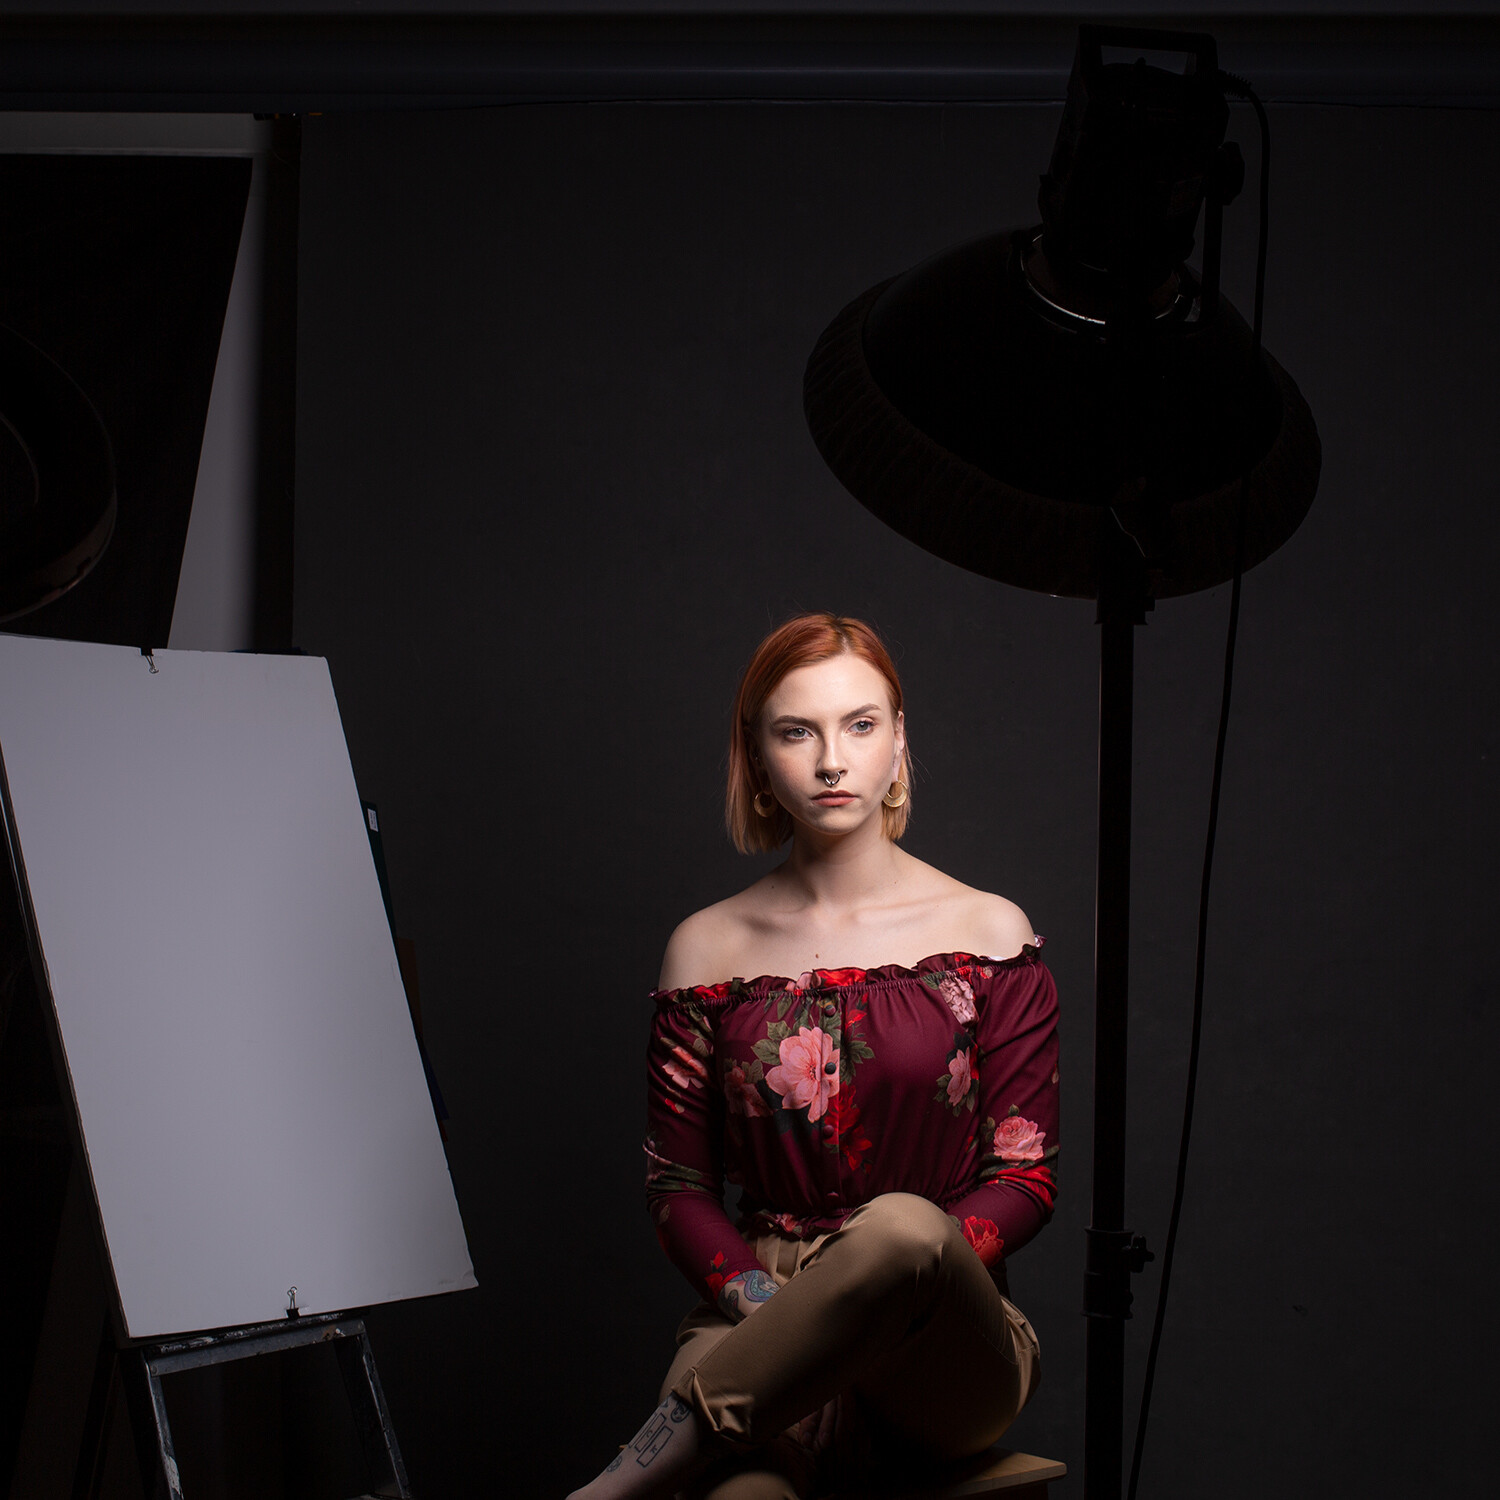
Beauty dishes are common and well-loved lighting modifiers. They are particularly useful for portraits (beauty is in the name after all). They also tend to be a lot cheaper than decent sized softboxes. Years ago, your choice of beauty dish was quite limited. Nowadays, if you try searching for beauty dishes, you will be presented with a multitude of options that greatly vary in size and even how they set up.

2- What Size Beauty Dish is Right For Your Portrait Photography?

Although the numbers don’t seem to be that different, the actual sizes of these beauty dishes vary greatly, and they all have a distinct effect on the light in your images.

What do you do when faced with this kind of choice and how do you know what size beauty dish you should buy? This article discusses three common sizes of beauty dishes and shows you what effect they have on your images. All of the beauty dishes discussed here are silver, and none of them are collapsible. As long as they are of decent quality, the fact that a beauty dish is collapsible should have no impact on your images.

What is a beauty dish?

Three different size beauty dishes. Left: 16″ Middle: 20″ Right: 27″

Beauty dishes are bowl-shaped modifiers that are known for the contrasty light they provide. The quality of light is usually somewhere between hard and soft (when brought in close to your subject). This sets them apart from other modifiers, like umbrellas and softboxes, where the goal is to achieve the softest light possible. This allows you to achieve well-defined edges and shadows, but still retain a flattering light on your subject.

This image shows an unmodified beauty dish on the left. A gridded beauty dish in the middle, and a beauty dish fitted with a diffusion sock on the right.

Often, you will find that beauty dishes come with grids and diffusion socks to help modify them further. Grids alter and increase the directionality of the light, while diffusion socks diffuse the light further, softening it a bit and altering the shape.

What sizes are there?

Any search for a beauty dish should reveal a huge amount of results these days. You can find tiny beauty dishes that are only a few inches across that are designed for flashguns and you can find massive beauty dishes that would be ideal for lighting groups of people. This article compares three sizes that fall more into the normal sized category. These are a 27″, 20″ and 16″.

All three beauty dishes were positioned the same distance from the subject to clearly demonstrate the differences in the effect they provide.

1. 27″

At 27-inch in diameter, this beauty dish is at the upper reaches of what you can expect to find in terms of size. When it’s in close, the light it provides is really soft and is comparable to a medium-sized softbox, but with a bit more contrast to it. It also provides large catchlights in your subject’s eyes.

Because of its size, it’s easy to bring the light further away from your subject to achieve a similar effect to that of smaller beauty dishes, while giving you more room to work. This beauty dish would also be great for lighting multiple people, whereas smaller dishes might struggle.

The 27″ beauty dish provides really soft light when placed in close. Pay attention to the shadow and highlight transitions as well as to how the light wraps around the subject.

There are a couple of disadvantages to a beauty dish this big. The bigger the light source is in relation to your subject, the less bright your subject’s eyes are going to be. If you want bright, clear eyes, a smaller beauty dish may be the way to go. It is also harder to control the light fall off (without a grid) as the bigger source will cast more light behind your subject.

2. 20″

The second beauty dish we’re going to discuss comes in at 20 inches. This is pretty close to what may be considered a standard size for a beauty dish (if there is such a thing). Placed a few feet (1-4) away from your subject, the qualities of light it produces are great for all sorts of portraiture and for a wide variety of subjects.

It is great for male and female subjects, though for flattering portraits of older people you may want to consider not using a beauty dish. Instead, opt for large softboxes and umbrellas. As the beauty dish isn’t a great deal bigger than your average subject’s head (from an appropriate distance), you also have good control over the light fall off, and you have even more control when you introduce a grid.

The 20″ beauty dish also provides good, soft light but the edges of the transitions from shadow to highlight are more defined. You’ll also note the light wraps around the subject less and results in darker shadows toward the back of the subject’s head.

3. 16″

This last beauty dish is 16-inches in diameter. This is the size that I have used the most ever since I bought it well over a decade ago. You can see in the images just how battered and well-used it is.

Because it is quite small, it is easy to control and great to bring in really close to your subject. This beauty dish clearly lights and defines your subject’s eyes. The harder light source also provides clearly defined edges between shadows and highlights but in a flattering manner.

If you want to reduce light fall off as much as possible, this size is definitely the way to go. However, if you want to increase it, you are better off with a larger modifier. This is because moving this beauty dish any distance from your subject will result in really hard light that you might find unflattering to most subjects.

The 16″ beauty dish also provides excellent light. Here you can see the transitions from shadow to highlight are clearly defined. Also, the rapid light fall off means the areas towards the back of the subject’s head are more in shadow.

In terms of portability, this size beauty dish is great. It doesn’t weigh very much at all and just carrying it in your hand takes minimum effort.

When used as something other than a key light, this size beauty dish is really effective. Its small size makes it unobtrusive and easy to position anywhere you need, whether that’s for use as a hair light or fill.

What size should you get?

Left: 16″ Middle: 20″ Right: 27″

Some of the differences between these three modifiers can be subtle and hard to spot if you’re new to lighting. If you’re still wondering which you should opt for, my best advice (which is by no means gospel) would be to evaluate what you need it for.

Do you need portability? Get a small one or consider a collapsible one.

Will you be shooting groups of people often? Go for the largest one you can.

Are you shooting in a small space? Go for the small one again.

Are you shooting in a large space where you can’t get the lights very close to your subject? Again, go for the biggest one possible.

Whichever you choose, make sure that it comes with both a grid and a diffusion sock for the most control possible.

No matter which way you choose to go, you are going to find yourself with a versatile and useful modifier that will last you for years.

Have you used these modifiers? Share your thoughts with us in the comments below.


what size beauty dish

The post What Size Beauty Dish is Right For Your Portrait Photography? appeared first on Digital Photography School. It was authored by John McIntire.


Digital Photography School

 
Comments Off on What Size Beauty Dish is Right For Your Portrait Photography?

Posted in Photography


Photoshoots that Go Wrong – the Challenges and Beauty of Working in Photography

28 Mar

The post Photoshoots that Go Wrong – the Challenges and Beauty of Working in Photography appeared first on Digital Photography School. It was authored by Erin Fitzgibbon.

The illusion of perfect experiences

I haven’t used any images from the anecdotes I discuss. I don’t want to create targets. Instead, the images in this article are from successful photoshoots but also some very challenging shoots.

It’s time to talk about the photoshoots that go wrong.

Most people write about the tricks and tips that guarantee success. That’s an illusion. I won’t say the word “lie” – it’s too harsh. Those articles promise success where none can be assured.

Don’t get me wrong – the advice is useful and good to know. It does help the shoot go smoothly; however, life has this funny way of throwing a wrench into even the best-laid plans. Sometimes no matter what you do or how prepared you are things can and do go wrong.

It’s okay! It doesn’t mean you’re a bad photographer. It’s just a part of the daily grind. It is real life and you cannot escape this reality.

Sometimes photography, just like every other endeavor, hands you a bag of hammers. The important thing is to handle the situation. You need to come out of the proverbial lion’s den with all your faculties intact.

Hopefully, the following stories will lift your spirits. I also hope they will give you some inspiration and some courage to continue when all you see before you are roadblocks and negativity. Knowing you’re not the only one may make it easier to get out bed tomorrow and to keep working hard.

Note: As I mentioned in the photo caption above, I haven’t used any images from the anecdotes I discuss here. I don’t want to create targets. Instead, the images in this article are from successful photoshoots but also some very challenging shoots.

The family that hates each other

The oldest boy was being rather grumpy in this session. Allowing him to poke and pester his brothers actually made for a great image. This is the family that loves each other. The total opposite of the family in the anecdote below.

When you shoot family portraits you witness some interesting family dynamics. Most of the time scenarios are pretty average. Perhaps there’s a bossy mom or a grumpy. You might run into the moody teenager or difficult children. All of these issues are relatively easy to manage. Bossy moms need a little encouragement to focus on being relaxed. Grumpy dads are easy to appease with a few jokes and a promise that the session will be over quickly if he can try to have fun. Teenagers are usually easy to bribe if you take a few photos and then promise to give them their favorite for social media.

However, what happens when you meet the family from hell? What do you do when the situation is far more complicated than you expected? Imagine trying to get images that portray love and caring in a family when there is none present. Imagine a situation in which family members are staring each other down across a picnic table. I never imagined that I would meet one of those families until I did – and it shocked me.

The family members were making thinly veiled insults towards each other. When I asked them to pose, they began to throw a few snide comments my way.  I was not impressed. When clients don’t treat you with respect, it’s really difficult to create images that are appealing and unique.

It seemed like a situation in which nothing was going right. Truthfully, nothing was. The shoot became far worse the moment the grandmother pulled out her point and shoot camera. She proceeded to stand behind me and shoot over my shoulder.  Normally, I would have stopped the shoot and walked away. The clients would have received a refund when I returned home, and that would have been the end of the whole event.

I should have followed my instincts and walked away, but I didn’t. Knowing when to get out of or turn down a job is as important as taking amazing photographs. The only thing that stopped me was the woman who booked the shoot. I’d known her for a long time and felt wrong about lumping her in with her mother in law. That was my mistake. The advice is simple. Never let personal relationships affect your professional nature. The client was being rude and overstepping her boundaries. That was reason enough to walk away.

Instead of creating the best possible images I made the bare minimum effort and didn’t try to add in any of my usual fun creativity. The shoot ended with the client receiving some pretty basic images.

The behavior of a client affected my ability to produce the best possible portraits. That’s not good. Never allow that to happen. If you can’t produce great images in the situation, then don’t take them. Don’t deliver sub-par work. It will only affect you later on. Those who view your work won’t know that the client was impossible; they’d see the photo online and assume your talent is limited.

In this session the challenge was lighting. It was rather harsh in the end.

The client who wants you to “Photoshop” them until they look 20 again

We’ve all run into this situation. We end up with clients who want you to turn them into something they are not. They show you pictures of themselves from 20 years earlier and 30 pounds lighter. They expect you to create the fountain of youth for them. This becomes the challenge. You have to convince your clients that they are beautiful just the way they are. That’s probably more than you can accomplish in 90 minutes.

The advice is simple – be gentle, be kind. Do your best to put the client in poses that show off their best features but at the same time be firm. If you create portraits that address the insecurities of your client, and the images are photoshopped and look fake, it will once again reflect badly on you.

Instead, work with the client to achieve the look while still holding to your vision. The work must reflect your skills and aesthetic as well as satisfy the client.

In this case, I asked the client to show the photos to her friends. I knew the images were great, but the client couldn’t accept her own body. The comments and praise from friends helped. She purchased the images, but I’m pretty sure she did so to be polite.

A few months later, I saw her new real estate signs around town, and in the end, she had used a different photographer. The images were highly photoshopped and looked nothing like her. There’s nothing you can do when a client wants a certain look. You either have to deliver or hold to your vision.

Part of me wishes I had caved and given her what she wanted. Perhaps I would have landed more jobs from her if I had, but it just didn’t feel right. I didn’t want to create an image that wasn’t true to the beautiful person I saw before me. The lesson in this situation is that photography cannot repair someones damaged self-image. Be prepared for the client who dislikes your work.

I find photographing animals quite challenging. I’m able to connect with humans much more easily.

The day the hurricane blew through town

This final scenario presents a situation in which no matter how much you prepare, you cannot prevent mother nature from wreaking havoc on your photoshoot. The family requesting the portraits had just the one day available. Family members were visiting from the west coast of Canada, and it was a do-or-die type of scenario. There was no option to reschedule, and just our luck, the remnants of a hurricane decided to blow through the Toronto area making the option for shooting outdoors impossible.

The challenge here was to create a warm family atmosphere despite the raging wind and rain outside. The family was understanding, but they were adamant they needed their photographs completed then. The hurricane forced us to have to improvise a setting and deal with bad lighting.

We moved some furniture and tried to create a nice setting with a large couch. I moved the couch to face the large window to add natural light to go with my flash. My strength as a photographer is in shooting solely with natural light and in outdoor settings. I don’t do well inside in confined spaces without the opportunity to improvise and add some physical activity. However, we had no choice.

In this case, the resulting photographs were not up to my usual standards, and I was unsatisfied with the work. While the client seemed satisfied with the product, there was the issue of personal pride in the work. This experience resulted in a personal decision to improve my studio photography skills so that in the rare circumstance when I cannot shoot outdoors, I can still create work with which I’m satisfied. The lesson here is knowing your limits and then working to improve your skills.

The skies opened up suddenly and we had to rush to finish the shoot in the pouring rain.

In Conclusion

Photography can be unpredictable. That very factor makes it exciting.

For those of us who crave some variety and challenge within our work, we embrace this fact about the photography world. It can cause frustration and anger, and sometimes you might wish you had a different career or hobby.

Then in the next moment, the truth hits you, and you know the unpredictable challenges keep you going. You’d be bored otherwise. The idea of knowing how each day begins and the end makes you cringe. So take a deep breath and dive into the business. You can handle all the challenges life throws your way.

The challenge here was pure exhaustion. We had been working for 6 hours without a break.

The post Photoshoots that Go Wrong – the Challenges and Beauty of Working in Photography appeared first on Digital Photography School. It was authored by Erin Fitzgibbon.


Digital Photography School

 
Comments Off on Photoshoots that Go Wrong – the Challenges and Beauty of Working in Photography

Posted in Photography


10 Ways to Use the Beauty and Complexity of Reflections in Photography

27 Mar

The post 10 Ways to Use the Beauty and Complexity of Reflections in Photography appeared first on Digital Photography School. It was authored by Anthony Epes.

I’m a huge fan of simple ideas that will create immediate effects for your photography.

Photography is a vast subject and learning all the intricacies of your camera, shooting on manual, as well as processing can seem overwhelming.

But there are so many ways to take wonderful photos, using simple ideas you can play with, that will create compelling photos for you right now.

When you take great photos, it inspires you to keep learning and pushing yourself on this intensely fulfilling creative journey.

In this article, you’ll learn how the simple idea of reflections can bring a wonderful complexity, beauty, and depth to your images.

The fantastic thing is reflections are everywhere! In the puddles you pass on your way to work, on shop windows, and on the sun-soaked sea of your holidays. They are on shiny cars, floors, walls, rivers, and streams. They are, of course, wherever you can find a reflective surface.

Reflections are fun to play with – bringing humor, abstraction, and patterns into your images. Here I’ll suggest many different ways to use them in your photography and give you tips to use right now, to create new effects and new looks in your images.

And, by focusing on one technique or one concept and really learning how to use that, you will become incredibly strong in that area.

By picking up one technique at a time, you can build a toolbox of skills that will help you feel confident and able to create magnificent photos.

Let’s get started. Let’s look at all the different aspects of capturing reflections in photography.

1. Reflections create depth

A reflection can create a feeling of depth within an image.

In the photo above taken in the early morning in Venice, the subtle reflection in the puddle on the street creates an image with a strong midground, background, and foreground – so the image isn’t so flat.

Here is another image from Venice, where the rain on the streets creates long reflections from the street lamps. They enhance the journey down the street and help draw you into the scene.

Tip: To get a smoother look for your reflection, use a long exposure, like in the photo above.

2. Reflections create eye-pleasing patterns

The eye finds symmetry and patterns very pleasing. In the photo below, I needed absolutely perfect positioning.

Tip: Finding the best angle for your shot is incredibly important. Many people get so awed by their subject they just start shooting instead of working out where the very best angle for that subject is.

So go up somewhere high, or lie on the ground. Move around until you find the perfect angle for your composition.

Try capturing patterns in the world around you, that when photographed as reflections, become an intriguing abstract image:

3. Reflections can create humor

As well as wicked patterns, reflections can be used to enhance or create humor.

I am not a particular ‘humor’-driven photographer – but occasionally I find something funny I want to capture.

Tip: There are two focal points in most reflections: the surface and the subject of the reflection. Shoot reflections using different shutter speeds and this will blend the colors. This sounds tricky, but with practice, you can nail it.

4. Reflections can create mystery and abstraction

“In photography, there is a reality so subtle that it becomes more real than reality.” – Alfred Stieglitz

I have taken a lot of photos of reflections in shop windows. I love to play with the different shapes you can create, superimposing the outside reflection onto the items in the shop window.


Of course, don’t include yourself in the image – unless you want to! I sometimes do for added interest, but generally, I keep out of my photos.

The photo below has a very intriguing reflection. What is it? Where is it? I know, of course, but I sometimes like to create mystery. To remove reality from reality and play with shapes, textures, color, and reflections.

When I am wandering around, I look everywhere. I look up, look around – and then my favorite – I look down.

I think we get so used to our environments we often don’t look all around us – particularly upwards or downwards. Think of a street you walk down every day. Do you look at the tops of the buildings, the roofs, the upper floors? It’s the same with the world at our feet. There is so much going on down there that we don’t notice.

Colorful, strong light reflecting off the wet pavement.

5. Reflections create texture

In the photo below, whilst walking past a canal, I noticed some strong yellow light that, with the texture of the water, created a sensual reflection and a lovely pattern.

When you see a reflection it’s not always obvious where it is coming from, look for the source, seek the light!

6. Reflections to enhance your photo

I often like to use reflections in quite subtle ways in my photography. It doesn’t have to be a big obvious reflection to be engaging.

One question I always ask my students on my workshops is, what is the light doing here in this situation?

We are all able to see the apparent sources of light, but what about the more subtle ways that the sunlight is bouncing off the glass and into the puddle on the floor?

In the photo above you have reflections in the water which are quite subtle but add a nice complexity and depth to the image.

In the image below the scene is made intriguing by the reflected light of sunrise in the windows of the buildings. Without it, the scene would be flat and boring.

The glint of golden light on a dark morning brings beautiful color as well as a hint of magic and mystery. The scene has turned into something quite compelling.

Tip: Always be looking to see what the light is doing, and how it’s affecting everything around you.

7. Reflections are beautiful, passing moments

I feel that reflections are little pretty moments, bringing an appreciation of the present moment of lovely light:

“Photography is a way of feeling, of touching, of loving. What you have caught on film is captured forever… It remembers little things, long after you have forgotten everything.” – Aaron Siskind

In the photo above of some birds in Istanbul on a foggy day, the reflections are subtle but create some depth to the photo. I think the movement of the birds is brought to life by the reflections.

8. Reflections create an alternative reality

Wherever I have beautiful light and reflective surfaces I am looking for reflections. In the photo above I like that the water is moving just enough to make what would be quite a bland photo a little surreal.

Tip: As you often have a lot of different and contrasting light sources in a reflection, expose for the brightest part of your photo.

9. Reflections of light create exuberance

Here is a simple photo with the sunrise reflected in the sea. Warm, beautiful sunshine is a wonderful thing to photograph. Sometimes it’s the simplest elements in your image that create the most impact.

In the photo below it’s also the sea, but this time the reflection of the moonlight:

What a gorgeous scene, right? And to show the wash of reflected moonlight makes the image stunning.

10. The sheer joy of light reflected on water

Water is involved in so many of my reflection photos. Here we have gorgeous light reflecting off the moody sea with the clouds reflecting the light around them.

I find clouds endlessly fascinating to photograph – they create wonderful texture within an image.

Last, but not least, I love having fun taking my own portrait using reflections. I mean, why not?

I hope this lesson has helped you with new ideas and ways to capture the complexity and beauty of reflections in photography.

What I love about photography is how much it helps us see the world in new, fresh ways. So keep going on your photography journey. There is always more to capture, more to see and more to learn. It’s a wonderfully enriching life pursuit.

“Through this photographic eye you will be able to look out on a new light-world, a world for the most part uncharted and unexplored, a world that lies waiting to be discovered and revealed.” – Edward Weston

I’d love to know what you thought of these ideas – let me know in the comments below.

The post 10 Ways to Use the Beauty and Complexity of Reflections in Photography appeared first on Digital Photography School. It was authored by Anthony Epes.


Digital Photography School

 
Comments Off on 10 Ways to Use the Beauty and Complexity of Reflections in Photography

Posted in Photography


SmugMug Films: An inspiring BTS look at photographing the autumn beauty of Slovenia

15 Jan

SmugMug Films has released ‘Framing the Journey,’ a short film that follows photographer Karen Hutton around the landscapes and cityscapes of Slovenia.

The seven minute film, which was made in partnership with Fujifilm, ‘unveils both the epic beauty of a charming country tucked between Italy and Croatia and the wonder of the artist experiencing it all for the first time.’

Hutton, whose past careers have included acting, singing, voiceover work, figure skating and horseback riding, says her ‘photography is about a philosophy […] It’s about the world, about life, and all the possibilities that exist in between.’

The short film does a great job highlighting the fantastic work of Hutton and showcasing the seemingly endless beauty across Slovenia. Sure it’s effectively a glorified ad for both SmugMug and Fujifilm (as well as DJI whose Mavic Pro 2 drone was used to capture much of the 4K footage), but that doesn’t take away from the inspiring and informative narration provided by Hutton nor the stunning scenery.

To see more work from Karen Hutton, visit her website. To see other SmugMug Films, head to the SmugMug Films’ YouTube Channel.

Articles: Digital Photography Review (dpreview.com)

 
Comments Off on SmugMug Films: An inspiring BTS look at photographing the autumn beauty of Slovenia

Posted in Uncategorized


iOS 12.1 arrives with ‘beauty filter’ fix and real-time Portrait depth control

02 Nov

Apple has released iOS 12.1 for iPhone and iPad on Tuesday. As promised, the update brings a fix for the “beauty filter” issue that resulted in soft selfies and debate. The new version also adds the ability to preview Portrait mode depth of field in real-time before capturing the image.

The ability to adjust Portrait mode depth of field post-capture remains, but users now have the option to adjust that depth of field before capturing the image, as well, with a real-time preview of the background blur for more control over the process.

Camera updates aside, iOS 12.1 also brings dual SIM support to the newest iPhone models, more than 70 new emoji, and Group FaceTime for chatting with up to 32 people.

You can download iOS 12.1 by going into Settings > General > Software Update.

Articles: Digital Photography Review (dpreview.com)

 
Comments Off on iOS 12.1 arrives with ‘beauty filter’ fix and real-time Portrait depth control

Posted in Uncategorized


Apple to fix ‘beauty filter’ issue with iOS 12.1 update

24 Oct

Apple’s iOS 12.1 software update will fix a bug causing the “beautygate” scandal impacting the iPhone XS and XS Max, according to The Verge. Critics have complained about overly smooth skin in selfies taken with the front-facing camera on the iPhone XS, believing it to be the result of a beauty filter akin to what Samsung uses on some of its phones.

Earlier this month, Sebastiaan de With, developer of iOS camera app Halide, had placed blame for the issue on excessive noise reduction, but The Verge reports that Smart HDR is to blame. The feature may incorrectly choose a base frame captured with a longer shutter speed, using this frame for preserving detail in the selfie.

The lack of optical image stabilization for the front camera may result in a slight blur on the frame that smooths out some details, this producing the “beauty filter” look some users have complained about. According to the report, iOS 12.1, which is currently in beta, will fix Smart HDR so that it chooses a frame captured with a short shutter speed, eliminating the issue.

Articles: Digital Photography Review (dpreview.com)

 
Comments Off on Apple to fix ‘beauty filter’ issue with iOS 12.1 update

Posted in Uncategorized


Camera app developer says there’s no ‘beauty filter’ being applied on the iPhone XS, XS Max

03 Oct

Yesterday we learned that at least a handful of iPhone XS and XS Max users are unhappy with their new devices’ front camera image quality, with some early adopters reporting over-excessive skin smoothening and beautification effects when taking self-portraits.

Software developer Sebastiaan de With, the man behind the Halide camera app, has had a closer look at the new iPhone models’ camera processing and says there isn’t any beautification applied to the front camera images. Instead, he says, it’s Apple’s new approach to image processing that can result in soft textures and smoothening.

Both the front and rear cameras in the iPhone XS and XS Max are applying computational photography methods, merging multiple frames into one to optimize image quality across the image. Frames are captured at different exposures, with the image processor picking the best elements of each frame and combining them into the final image output.

In his blog post de Wit says that this method results in a “whole new look” that’s quite different from previous iPhone cameras. The frame merging reduces the brightness of the bright areas and the darkness of the shadow areas, resulting in textures with lower levels of contrast. All the detail is still there but the viewer perceives those areas as softer and less sharp. This is also why the skin in selfie images looks softer.

Additionally, the new iPhone models are applying more aggressive noise reduction — something Apple was already known for going heavy on in the past. This is necessary because the iPhone XS tends to user faster shutter speeds and higher ISO values than previous versions, presumably to keep motion blur to a minimum. Getting rid of the noise inevitably also eliminates some fine detail.

The reduction in detail is particularly true for the front camera where a smaller image sensor comes with higher noise levels to start with. On the plus side, dynamic range is increased which is particularly useful for high-contrast scenes, where highlight-clipping is reduced and more shadow detail visible.

De With also says all these software parameters can be tweaked by Apple. So, if it turns out the “new look” isn’t too popular with consumers the Apple engineers could pretty easily revert to a more “traditional” look via a software update.

De With’s Halide app will soon receive a new Smart RAW feature that “deactivates” Apple’s Smart HDR algorithm to reduce noise reduction and reveal more image detail and fine textures. For more information head over to Sebastiaan’s complete article on the Halide blog.

Articles: Digital Photography Review (dpreview.com)

 
Comments Off on Camera app developer says there’s no ‘beauty filter’ being applied on the iPhone XS, XS Max

Posted in Uncategorized


Using four Godox EC-200 extension heads as a quad-flash for beauty and close-up lighting

25 May

Flashpoint/Godox have just announced the EC-200 extension head, adding an effective and extremely low-cost tool for cosmetic and macro photography. These heads are exclusively designed for the Evolve 200 / AD200 pocket flash, a widely popular and highly efficient product, operated by long-lasting lithium batteries.

Throughout my career I have used various types of ring flashes and parabolic umbrellas. I also collaborated with Swiss lighting manufacturer Broncolor for over a decade on countless marketing and promotional projects, and shot their launch campaigns for the original Para 330 and Ringflash C.

Super model Iman for DeBeers global campaign (2003), shot with Broncolor Para330, and Fujifilm GX680III, on Fujifilm Provia film.

These types of lights are often used by fashion photographers, as they are both easy to work with and offer many options—the Broncolor Paras in particular, which range from the 88 to 330, can produce a wide variety of effects. However, neither types are ideal for extreme close up work when balanced, even front-lighting is required.

The new remote heads from China on the other hand, are small and light enough to allow for several of them to be mounted on a camera flash bracket and rail.

Selecting tiny but wide-angled reflectors, the resulting light is much less harsh, and more feathered than the output from a ring flash, in very close distance. The total weight of, let’s say, four extension heads with the small reflectors and including the bracket/rail set is just about 24 ounces, making handheld shooting is easy.

This new kind of ‘Quad Ring’ set up offers also the additional advantage over traditional ring flashes of allowing individual control of each of the flash heads in turn, which permits me to limit the output of the flash hitting the model’s face from underneath.

This is not as easily achieved with a ring flash.

Placed on tripod, the four extension heads are still mounted on the bracket and rail, but the camera is hand-held, so the four lights hit from a slight angle.

Fujifilm GFX 50S, GF 250mm lens, F8, 1/4000 sec, ISO 100

The Evolve 200 / AD200 pocket flash performs extremely well and reliably in HSS (High Speed Sync) mode, and when used for this ‘Quad Ring’ arrangement, provides output powerful enough to completely black out direct midday sunlight.

This four-light arrangement also makes an excellent off-camera light by simply setting the contraption on a tripod and shooting from various angles around it.

The ‘Quad Ring’ is also off-centered in this image. This time it’s placed to the camera angle, resting on a tripod.

Fujifilm GFX 50S, GF 120mm macro lens, F11, 1/125 sec, ISO 100

As evident by the unusual catchlights, the four extension heads are mounted on bracket and rail around the lens here.

Fujifilm GFX 50S, GF 120mm macro lens, F11, 1/125 sec, ISO 100

The announcement of the new remote heads is timely. The recent release of new macro extension tubes by Fujifilm for the mirrorless medium format GFX 50S (and the release of the GF 120mm macro lens) have ushered in a new era for macro photography. One can now easily shoot 1:1 handheld, with very fast and reliable autofocus, or manually focus while zoomed in.

Compared to previous systems, macro photography with medium format mirrorless cameras has become easy and accessible. Adding the creative options created by the convenient new remote heads, it has never been more fun to shoot close up!


About the Author: Markus Klinko is an award-winning, international fashion/celebrity photographer and director, who has worked with many of today’s most iconic stars of film, music, and fashion.

Klinko has photographed the likes of Beyonce, Lady Gaga, David Bowie, Jennifer Lopez, Britney Spears, Mary J. Blige, Mariah Carey, Kanye West, Anne Hathaway, Kate Winslet, Will Smith, Eva Mendes, Kim Kardashian, Naomi Campbell, and Iman. His editorial clients include Vogue, GQ, Vanity Fair, Harper’s Bazaar, and Interview magazine.

You can find more of his work on the Markus & Koala website or by following him on Instagram.

Articles: Digital Photography Review (dpreview.com)

 
Comments Off on Using four Godox EC-200 extension heads as a quad-flash for beauty and close-up lighting

Posted in Uncategorized


Demo: How to edit professional beauty images with GIMP on Linux

24 Apr

Though Photoshop remains the most recognizable image editing application out there, open-source alternative GIMP is still around, still free, and still receiving updates. In this video tutorial, photographer Shane Milton spends around 25 minutes demonstrating how to use the software to apply a pro-level beauty edit to an agency’s model image.

If you want to go fully open source for your photo editing, Milton is a great resource. His YouTube library offers numerous other videos on GIMP and free Lightroom alternative Darktable. In this particular video, Milton uses a Wacom Intuos Pro Small tablet with GIMP 2.9 running on Linux. He previously demonstrated optimizations that users could make to this version of GIMP, as well as setting up the Wacom tablet for use with Linux.

GIMP can be downloaded at this link for Windows, macOS, Linux, BSD, and Solaris.

Articles: Digital Photography Review (dpreview.com)

 
Comments Off on Demo: How to edit professional beauty images with GIMP on Linux

Posted in Uncategorized